Oatcakes with a Protein Punch

Who would have thought adding protein to my snakes would be so good.

So life has had me in full out overload mode for a few weeks so I have been a little behind in my posting. Today I am hoping to catch up with a few over the week.

One of the fun finds I came across was a great recipe for a protein-based, oatmeal version of “pancakes” I wrote about them on my blog post on my Engage blog which had a theme that day about “How A Middle-Aged Workforce Can Keep Up With Millennial Coworkers“. I found this recipe in the  March Issue of  Men’s Health Magazine for Blueberry Oat Pancakes, the primary ingredient is plain oatmeal with added protein. While dense, when whipped up on a Sunday night, cooled and wrapped – they freeze well and I can grab them on my way out the door.

Cold or toasted, maybe with a bit of peanut butter on them, they are a lot better than skipping a meal or grabbing something on the road. I found a similar version here, but the March version as follows is updated more and better tasting.

Since then I have made it a few times and made some additional revisions:

I am sharing my adapted version of the March version below:

  • 3 cups old-fashioned oats (any will do I just happen to use this one)
  • 3 scoops of Vanilla whey protein powder (I use a few versions and mine tend to be lactose-free. I also found that those with “pea” base didn’t lend this a very good aftertaste. A little too “green for me”
  • 3/4 teaspoon baking powder
  • 1 pinch of salt
  • 3 bananas
  • 3 large eggs, plus 6 egg whites (I used the pre-made version from the store for this)
  • 3/4 teaspoon vanilla extract (I would use more at least a full teaspoon)
  • 1 teaspoon cinnamon
  • 1/4 teaspoon of Nutmeg (optional)
  • 1/4 teaspoon of All Spice (optional)
  • 1 cup fresh or frozen blueberries
  • 1 teaspoon coconut oil or butter for brushing the cooking surface

To Make: 

  • Using the blender or a Ninja machine; blend together everything but the blueberries and the oil/butter. It will be “batter” like texture.
  • Using a non-stip skillet, brush with coconut oil or butter and ladle about a 1/3 of a cup of batter (this will make about 12 cakes).
  • Cook 2-3 minutes per side.
  • Cool (or eat), package in zip bags and freeze or put them in refrigerator

Note: this is a simple example of how to snack or eat on the go – it’s a flexible batter – so change it up! So while recipe says a serving is 3, I found 1 -2 to be perfect.


SaveSave

Sometimes a recipe just doesn’t work the first time

Let’s face it we all have done it. We’ve made that recipe either from a book or from a friend of a friend or even one we created ourselves and it just doesn’t work out as planned.

Maybe it was because we lost our concentration, the environment, the products. Sometimes we just read it wrong (because you know sometimes, you just don’t put our glasses on) or the notes we have are hard to read.

No matter the reason – the reality is there are a few givens when trying new recipes:

  • Expect to have to make it several times
  • Never plan to use it for a party or unsuspecting guests unless you’ve pre-warned them
  • Take notes as you go, especially when it comes out of the oven and when you taste it. Don’t try to rely on memory
  • And ultimately, don’t take it so hard. For most of us this is just an opportunity for laxation or feeding the people we love their expect us to nail it right every time if we make it too hard on ourselves we lose the fun and passion in the process.

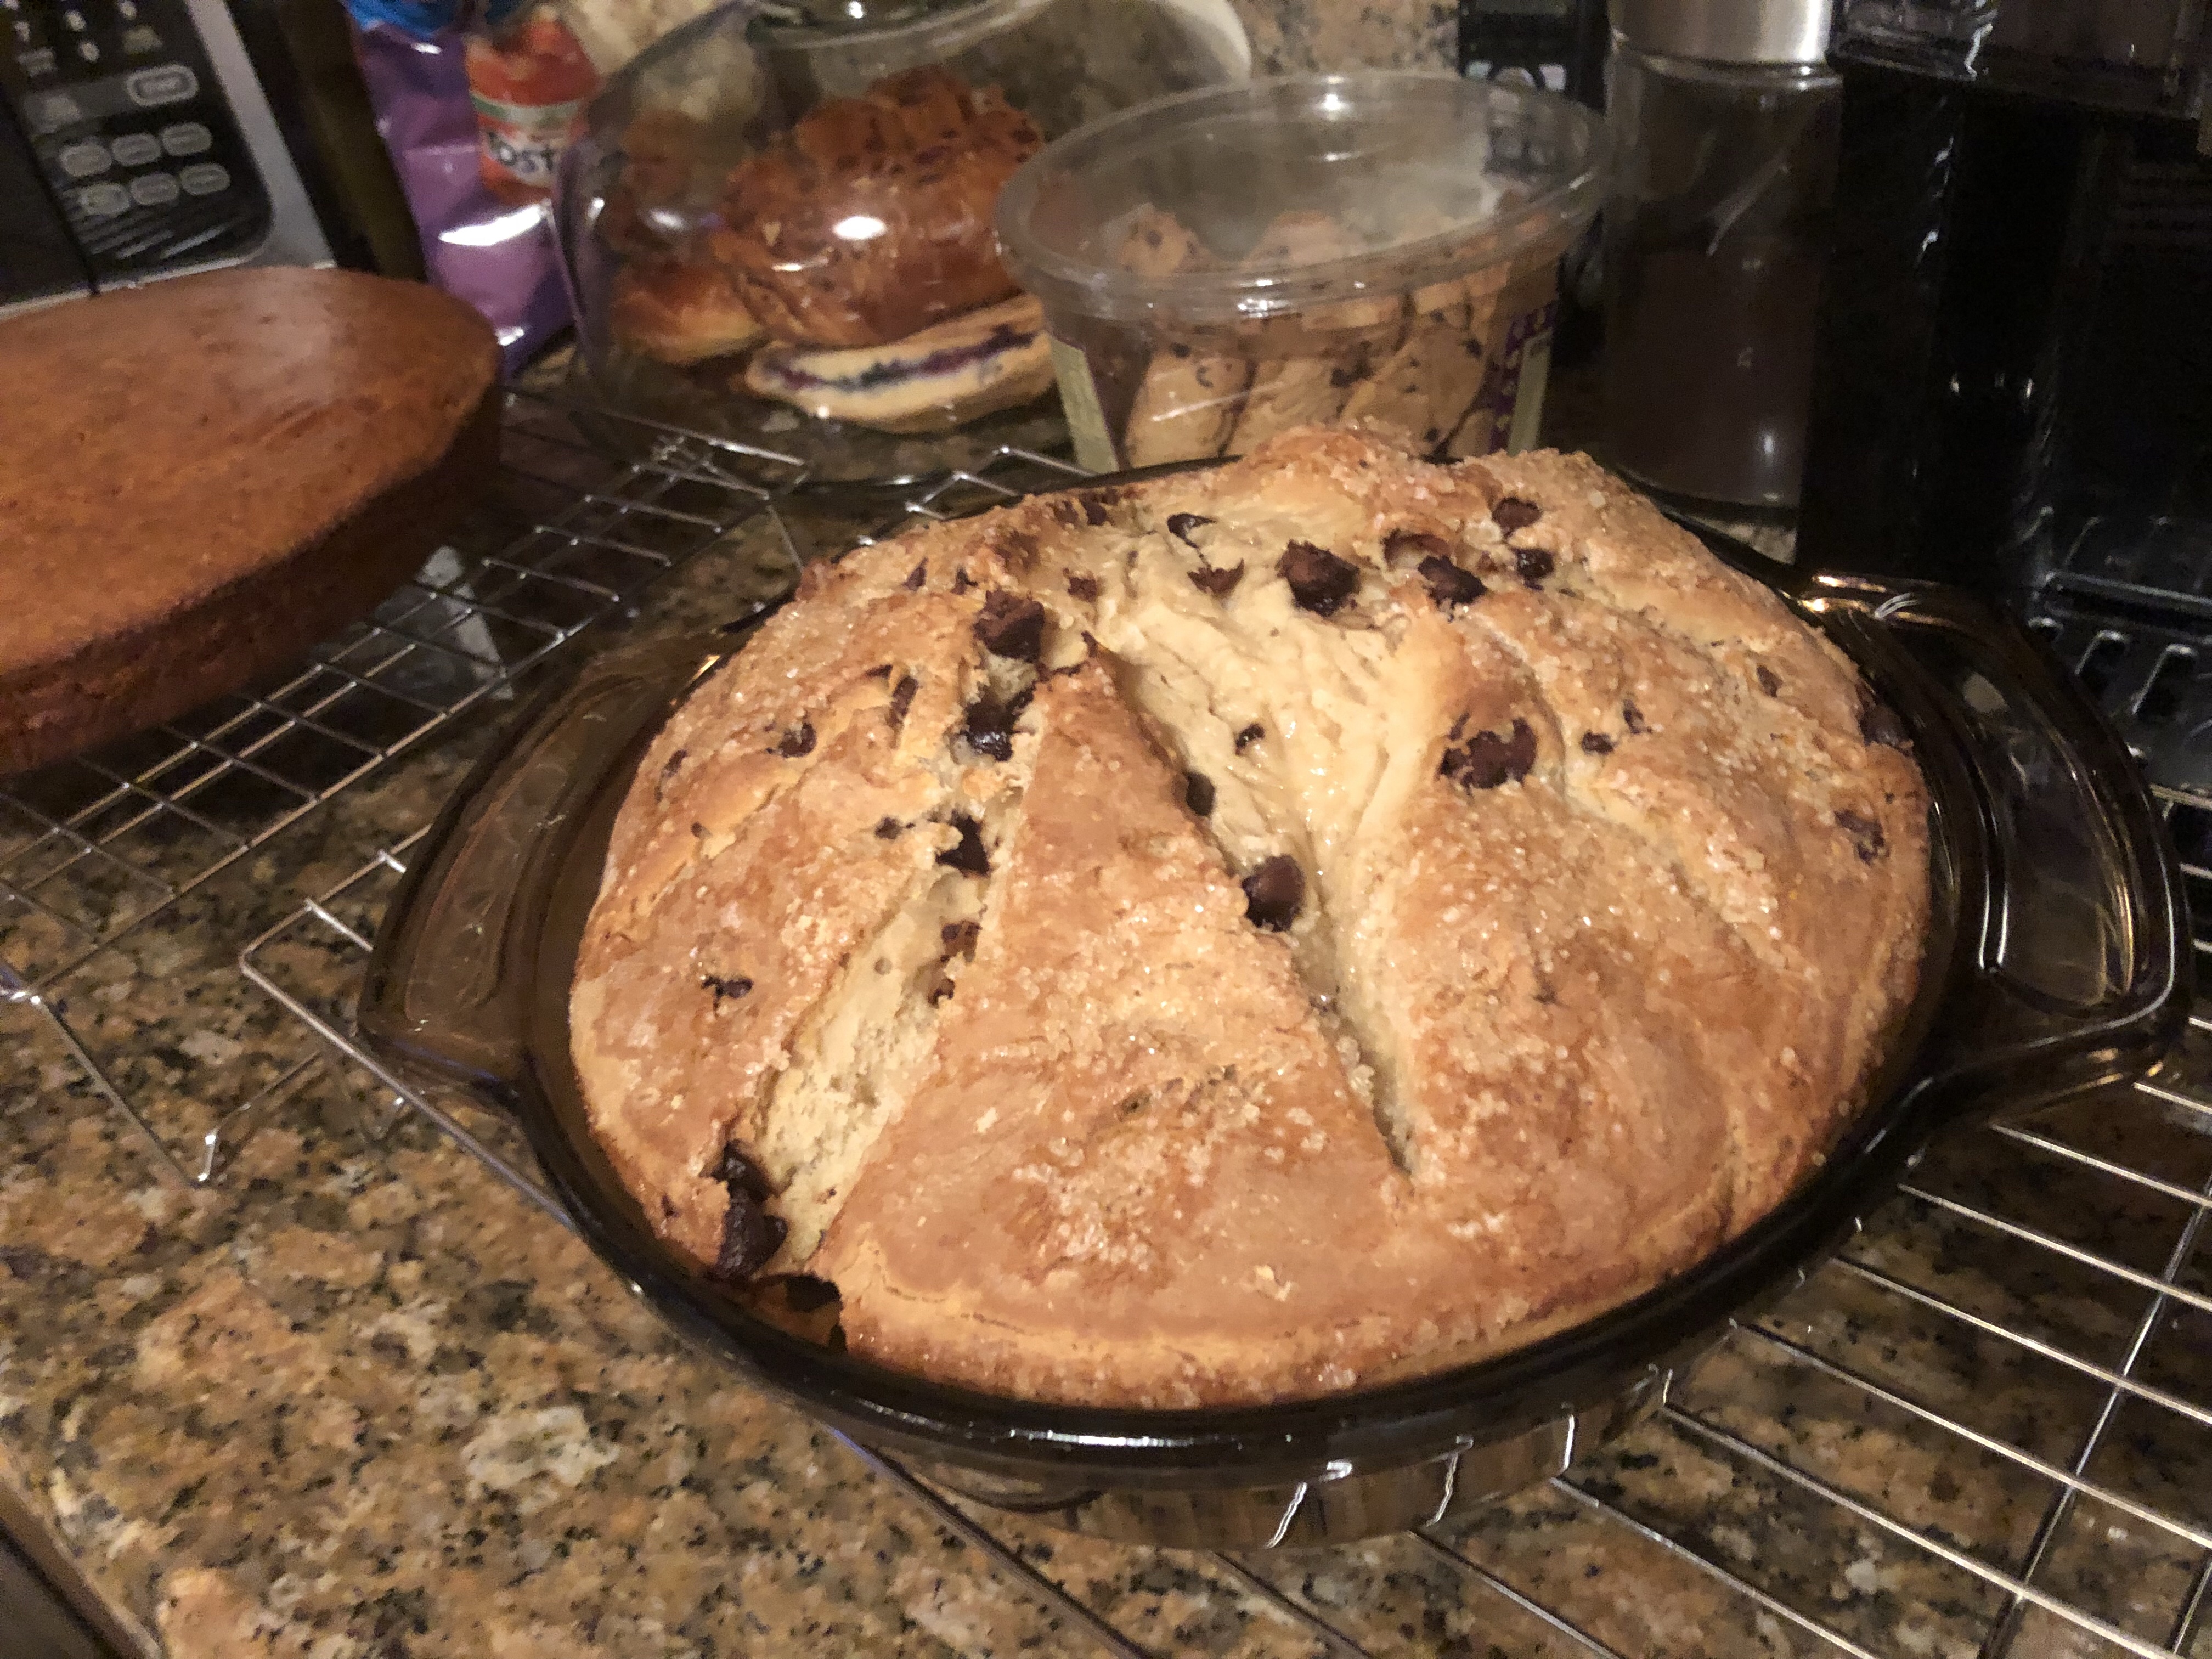
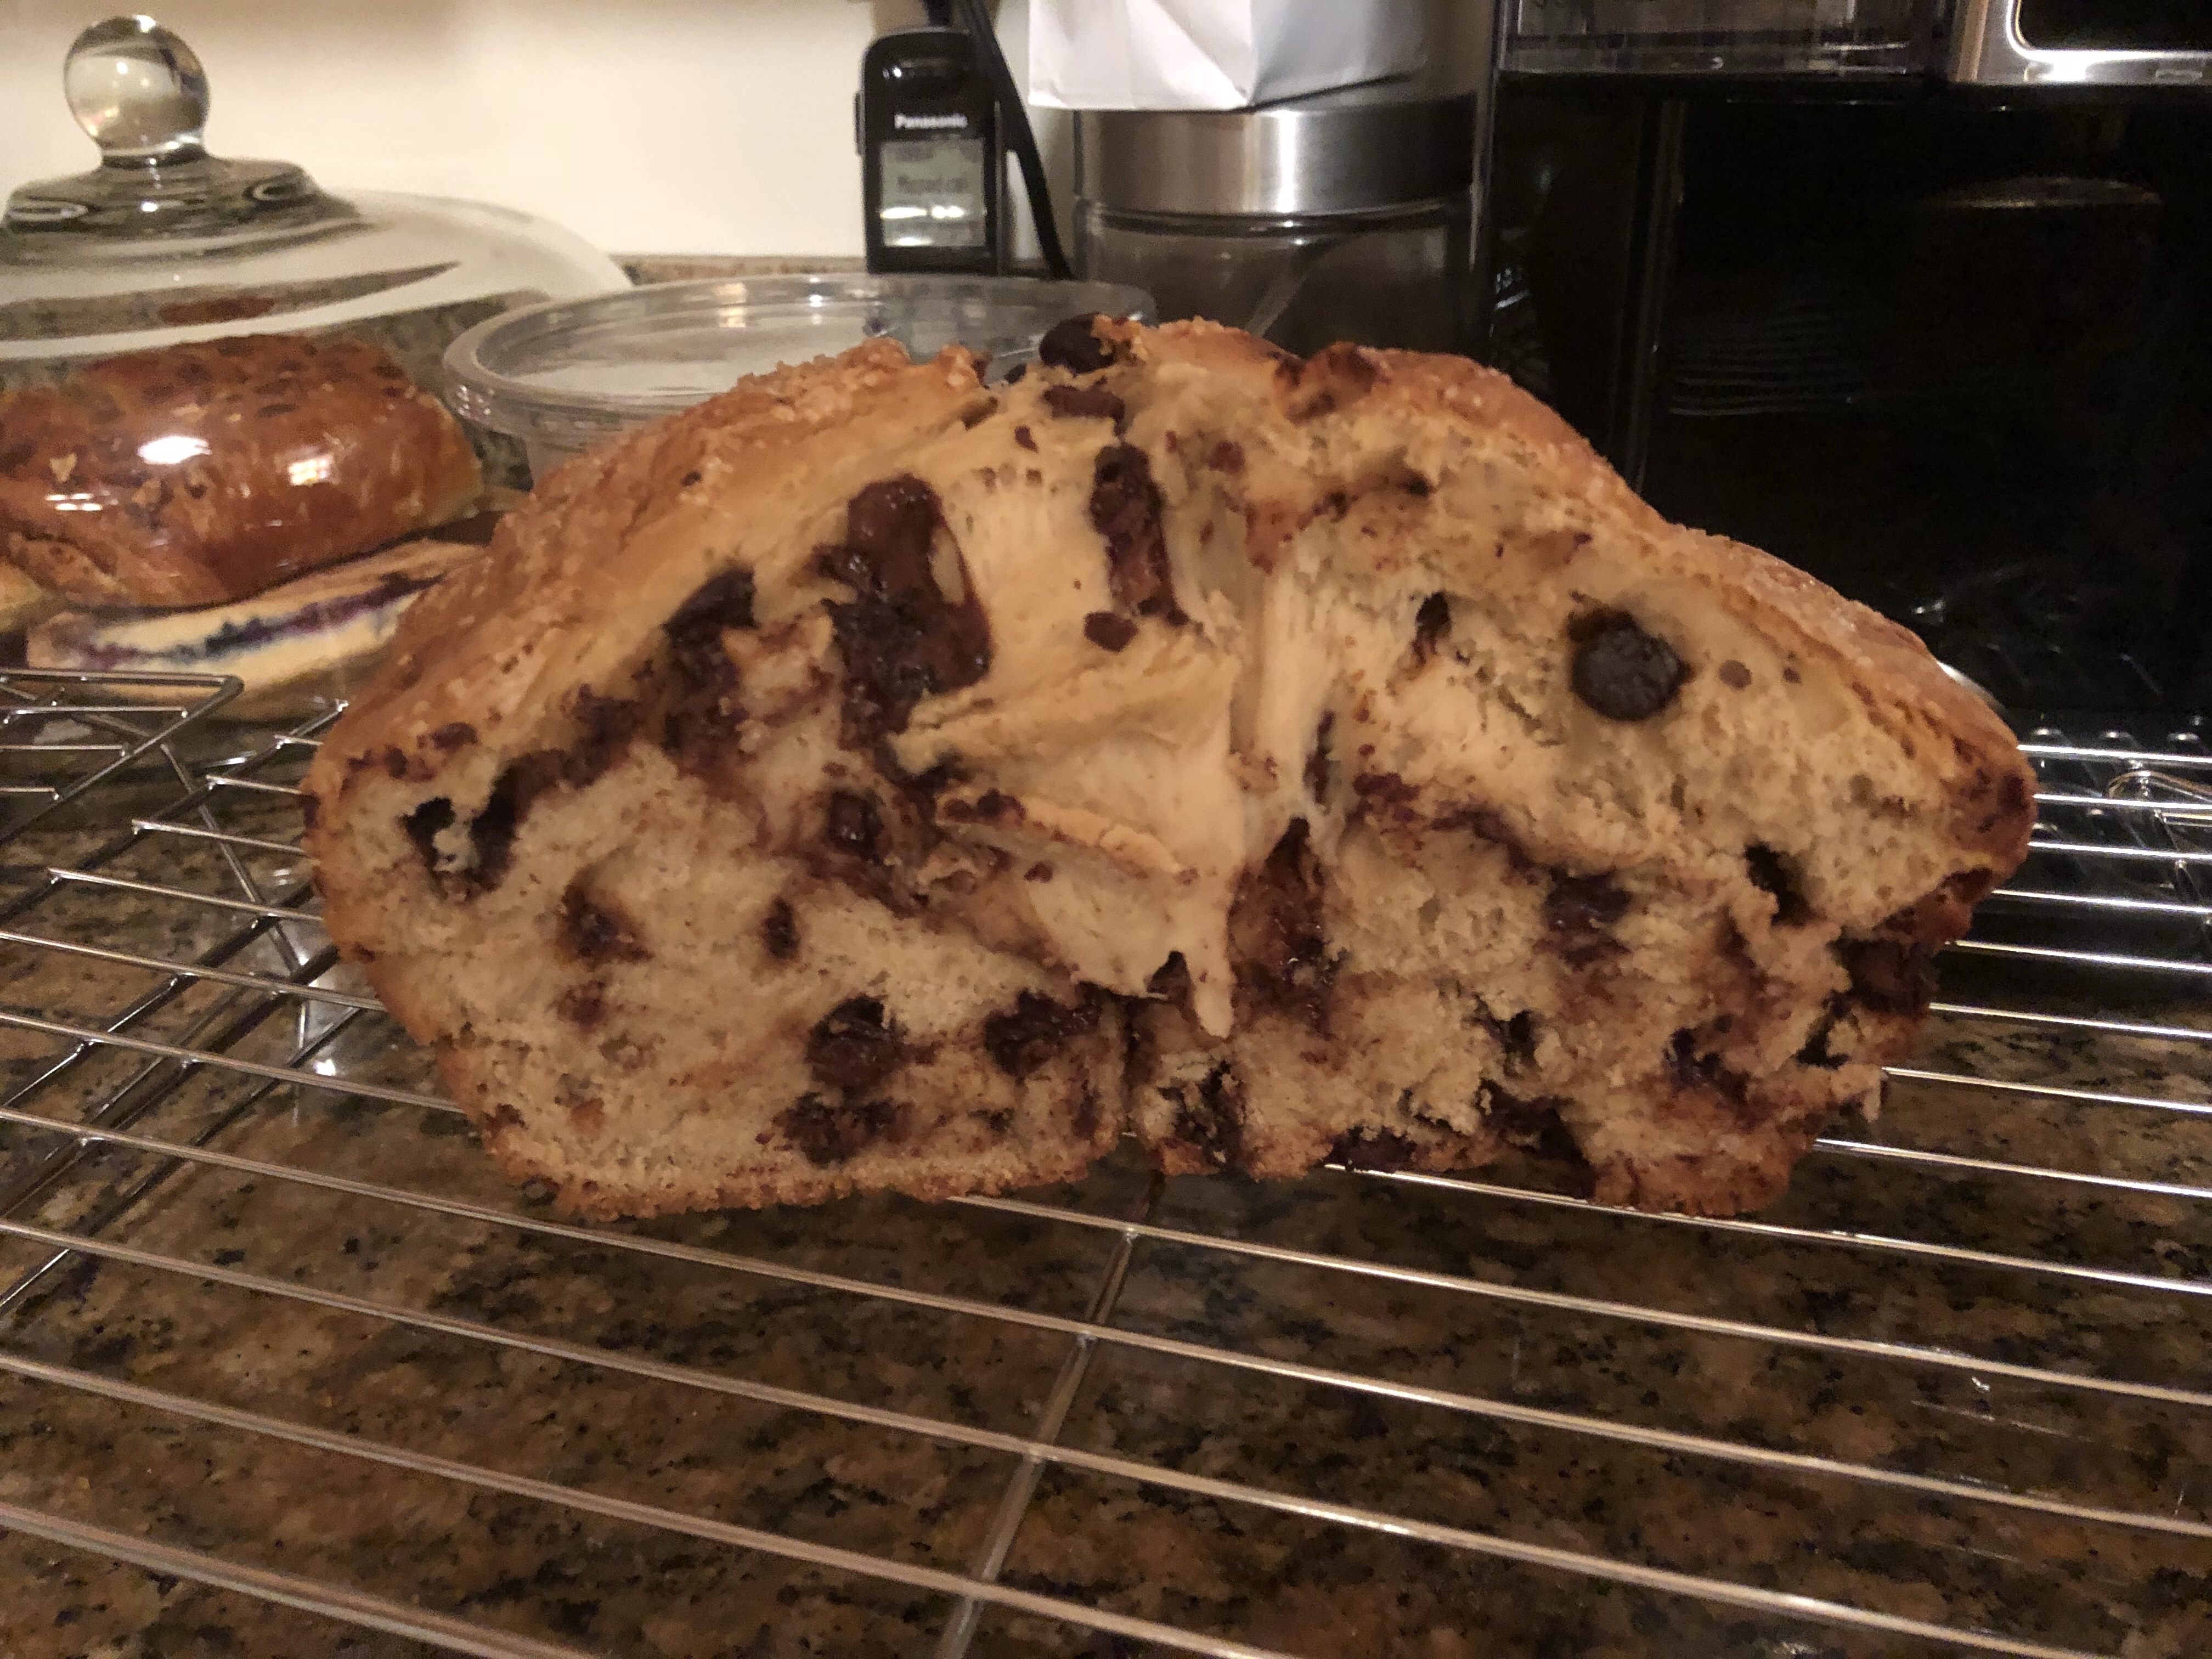
Tonight I had one of mine with an attempt at a chocolate chip version of Irish soda bread. It ended up under cooked, dense and tasting at flour still. A great reminder for me to use my thermometer even with breads again😛). Yeah trying to cover it up with cherry jam didn’t help.

But the outer sides were crunchy and sweet where I wanted it to be. So just means I keep retooling it.

The Power of Home Crafted Vanilla2.0

For You More Creative Types, Make Your Own Vanilla2.0

Yup – that’s right. Well, I goofed this week – I had intended to let had my guest post from Anna go live first, but some of you might have gotten a sneak preview of this one when the “now” feature got clicked. In either case, you can read Anna’s post  “Know Your Extracts: Sniffing out the Best Vanilla for Your Baking” once it goes live late this week, then perhaps you will be inspired to go on to the next step and try making your own version of Vanilla2.0

Vanilla is one of those elements in baking that you either love or don’t. Somewhat like using good quality Tumeric is in cooking. I got started on this road myself after watching some of the baking shows on TV that were using Vanilla Bean Paste which I hadn’t seen before. After visiting the blog Superfoodly.com which had posted a December piece “The Scandal Between Vanilla Bean Paste vs. Vanilla Extract” .and served as a good place to start (I didn’t necessarily agree with everything – they shared some great content on the post).  I started following links, speaking with other folks who do more baking and came across the whole movement of making your own Vanilla Extract.

Several great recipes are available online for making your own home inspired version of vanilla extract. But to make a good quality one, you need time and the right beans. It isn’t something you want to rush. In fact, if you get them started now. They will make great Holiday gifts this season.

Choosing which beans you want to use also takes some research. Areas to take note of include the grade of bean, the type of bean, the age of them and the source ( they can be expensive) and what liquid you intend to use to extract the flavor (a variety of options exist based on flavor or non-alcohol needs).

My next plan

I will be starting a batch in April in fact with ” Tahitian Grade B beans but I also like the Madagascar Bourbon Vanilla Beans (Vanilla Planifolia so may make some comparison batches. A few of the online sites that offer recipes for making your own, including purchasing recommendations include: 

Once you get ready to start making your own here are a few things you will need to have on hand.

If you are like me and tend to be more creative, plan early:

  • You will need the beans; that means deciding on the grade of the bean and the ration of beans to the liquid mix; I saw lots of variations on this from 1 whole vanilla bean for every 2 liquid ounces of alcohol. I think to keep it simple I may start with a 1:1 ratio as in 1 bean to each ounce of liquid (then depending on the jar size might top off)
  • Extracting liquid; lots of options for this the most common include Bourbon, Rum, Brandy, and Vodka. The key factor is the liquid has to be greater than 70% proof
  • Bottles/Jars; You will need to decide if you are making a large batch then decant into smaller ones or just go right to the smaller ones. I think I will be hitting the swap and flea markets for vintage and unusual decanters to use as gifts. One common theme I heard was to avoid clear jars (or keep stored in a dark place) and my preference to stay away from plastics. As a back up I found 4 ounce Amber jars on Amazon that I may order to have on hand for “extra” last minute needs.
  • Labels: start thinking what size you will need and how you plan to label them if you are gifting them

Note: this post has some affiliate links to Amazon

SaveSave

SaveSave

SaveSave

SaveSaveSaveSave

Keepers; one for the journal and planner users

Art? Bookmarks? Keepers?

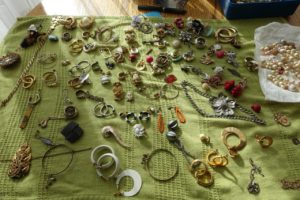
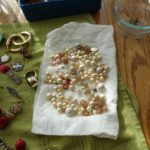
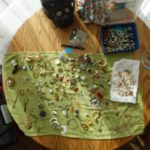
In December of 2017, I tackled a new art project involving recycling old broken jewelry as pieces of art.  I had seen a similar type of art years ago and it stuck with me – so once I have the image and the right person to give one too I gave it a try when I was gifted with a box of vintage jewelry from a friend.


One of the unanticipated outcomes of the project was the amount of extra material left over, that I still wanted to work with. So with the thought of a furlough hanging over my head and knowing I needed something other than computer time to occupy my mind coupled with not wanting to see it all go to waste or sit in a box.  I looked around and decided to make Bookmark Jewelry for the people who needed a little bling ( and yes I still have some left). But with those in place. It didn’t end…


Now what??

As folks shared the gifted ones, I got some requests for a variation for the journal and planner crowd. They wanted something with bling that would work on notebooks or even that would be suitable to put on tablet cases.

My initial prototype

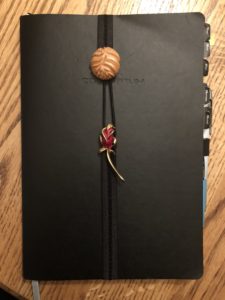
So I put together some Keepers.  They are designed to be flexible and adjust with a button/loop end so that as you move through the book,  the left side could adapt in tension to hold the pages – allowing you to always open to the current page.

This is the first of the set of Keepers that was done by special request, as a gift. By the weekend I expect to have a bunch of them made for gifting.

It’s likely I will make them available for sale as a donation to some local charitable groups – so to more come on that phase. Who knows – with the tension at work – this might my new stress reduction activity.

SaveSave

SaveSave

SaveSave

SaveSave

SaveSave

SaveSave

SaveSave

Meat Buns Nebraska style

For last week’s Bookclub, I needed a recipe that would be connected to the theme from the book Oh Pioneers by Willa Cather.After searching around a bit – I found several versions of a local version Runza. Similar to other regional “hand-held meat buns”,  such as the spicey one I did in a previous Bookclub. This was version seems to be popular in the books region oNebraskaka with the addition of cabbage to the ground beef and onions. I had some time so I also made a rolled loaf version using pizza dough that mimicked the Cheese Bread recipe I posted about back in November.

Here is my version of the Runza recipe;

Runza

  • Frozen Bread Dough (I used the frozen bread dough loaves from Safeway which comes in a three pack. Each loaf, thawed allowed to raise will make 6-7 buns)
  • 2 pounds ground beef
  • 1 head of cabbage
  • 1 yellow onion
  • garlic salt/minced or whatever you like for garlic ( I use the Sage, Thyme & lemon seasoned salt I make)
  • 2 TBSP butter.

Instructions

Step 1

  • Brown ground beef and drain fat, season with salt and pepper ( you can do this in two pans if you like)
  • Add chopped onion, garlic, butter, and chopped cabbage. Cook until wilted (7-10 min) on med-high. Mix with meat if done separately and let cool.
  • Note: You can also brown meat, season, then set aside and in a second pan sauté cabbage, onion and garlic, season with salt and pepper at each step. Then toss together. 

Step 2

  • Follow package instructions for bread dough (or make your own); Let the dough thaw covered and raise for up to 5 hours or as directed on your dough.
  • Cut and Roll into small sections.
  • Preheat oven to 350

Step 3

When ready to make

  • Flatten each section
  • Add ¼ to ½ cup of the cooled beef mixture to rolled out sections of dough. Fold and seal in half/wrap/shape how you wish but gently compress the air out of each bun.
  • Let sit covered with plastic wrap 20 min. (Or freeze them for later)
  • Prior to baking coat with melted, salted butter, oil or an egg wash. Omit butter topping if you want a crisper bun
  • Bake uncovered middle rack for 30-35 minutes at 350 degrees.

A few hints;

  • Pizza dough works well too.
  • Mix in small cubes of cheddar cheese in the cooled mix for a different variation.
  • Update: if you have leftover stuffing it makes a great addition to a simple soup. Simmer carrots, veggie or chicken stock, a few bay leaves, parsley, a can or two of drained canned beans and pepper for 50 mins.
  • Then add the meat & cabbage stuffing, ( you can also toss in leftover rice or pasta) simmer on med for another 30 min more. Toss in some halved cherry tomatoes. Serve

SaveSave

Dressing up your coffee table books with book-bling

So with the Crown Mosaic done and wrapped… I realized I still have some pieces that needed to get a new life beyond finding themselves being sold. So I searched around for ideas and found one! I started making a series of “Book Jewelry” bookmarks.

Yup bookmarks, you know those things you used to use before e-readers came along. But these were designed to serve as a functional way to dress up books that often sit unadorned and naked on a coffee table or the bedside table and I supposed if you like a little pizzaz at church they might look good hanging out of the good book some Sunday services.

I first needed to organize myself and figured the best way was to store my cleaned and dried pieces in something better than an old shoebox. So I got myself one of these portable organizers, of course as luck would have it – they only had pink that day – but what the hell did I care I had a coupon and it was 50% off.  I got mine at Micheals, but Amazon has them as well; VonHaus Very Small Utility Tool Storage Box – Portable Arts Crafts Organizer Case with 4 Drawers & Adjustable Dividers (10.9 x 10.1 x 6.9 inches – Black/ Orange) about the same price.

Once I had the pieces cleaned and sorted the same was I did for the Crown Mosaic, I next begin the matching process. I also removed any old threads and looked for creative ways to “gather” them. Think of it as a mental game of visual balance. I didn’t want them all to be too “matchy-matchy” so I sorted and looked for other themes to balance them. I tied several types of ribbons and found I favored the velvet ones in black and grey. I went online and ordered a few kits of crimp ends (often used when making ribbon chokers) in different finishes. they aren’t very expensive and you can like them in local resources as well. In the end, I changed combinations as I went on, and sometimes when I had someone specific in mind. But the idea was to reuse them to catch someone’s eye.to give them as gifts I found some inexpensive slimline journals to “package” them in for mailing (except for the folks who we actually purchased books for.

Of course, I didn’t stop there – so the latest round is being adapted is for journalers and planner users, with a closed design that loops around the cover and pages. 

It kind of makes me happy to see these pieces getting a new life. .. and yea if you have some bits and pieces around your homes, or come across those boxes of them in the attic – send them my way!  several folks about my selling them. I hadn’t planned on it, but it is possible jsut drop me a message via the BitetheRoad Facebook page facebook.com/bitetheroad

SaveSave

SaveSave

SaveSave

SaveSave

SaveSave

SaveSave

SaveSave

SaveSave

What to do with old jewlery that needs a new home? Make a Crown of course!

Yup.. a Crown is what I said.

This was my season of “crafting” between making Meyer Lemon Marmalade, Seasoned Salts for gifts.
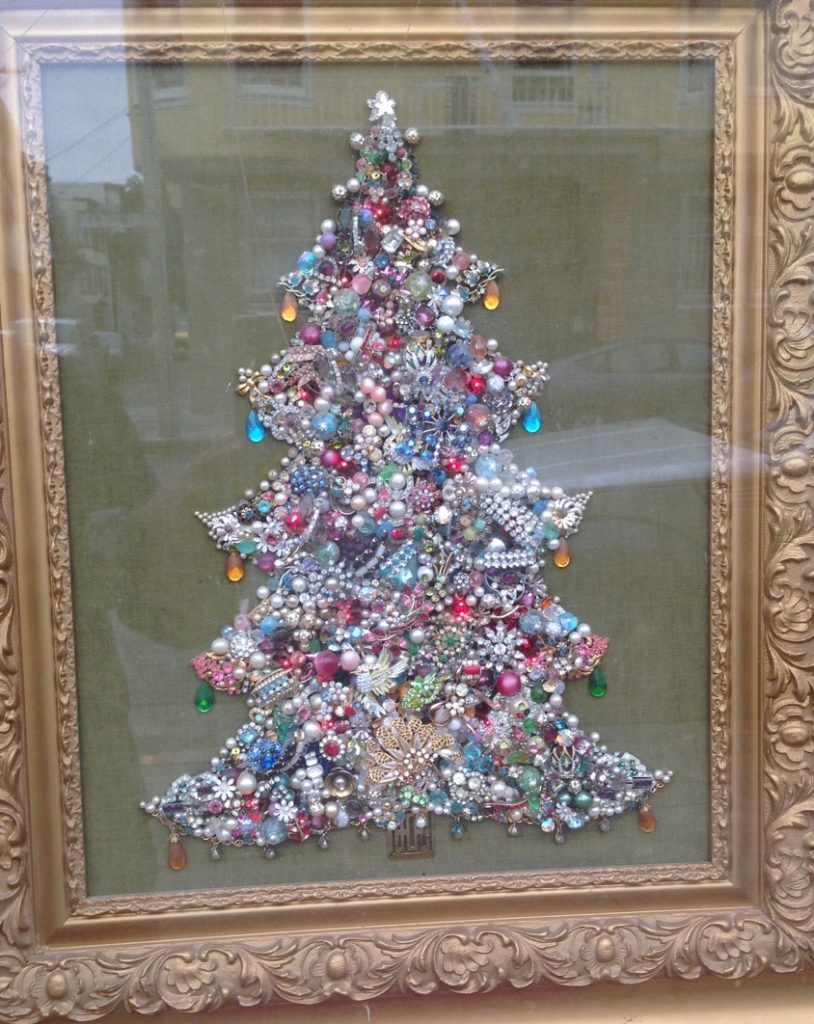
So a few people saw the end result of my “call for used and old jewelry” before the holidays. But a few of you asked to see the finished project. But let me step back a moment and explain what started this journey. For many years, each holiday season I would see this version in the window of an old “crim cram” shop each holiday season. If stuck with me and this fall I committed to making one for us. When I started it, it was to make something for us at the house, as luck would have it, a friend had an entire box of old jewelry collected back over several generations that she didn’t want and was glad to hand them over to me. So that began the process of making it real. But as I said, while this was supposed to be for us, it morphed into my deciding to make it as a gift for someone that would also have a timer lights and framed.

Getting started on the “Crown”

Designs

I knew I wanted a crown theme and that some crown pins would serve as the foundation pieces. So I went online and looked for stencils. When I found the one I wanted, I printed it to size and then used a sharp nail to outline it on the paper I intended to use as my background.

Cleaning:

After doing some checking online on how best to clean them and get rid of some of the “old smell” I opted for washing them in a bath of warm water, a drop of Dawn Dish Soap, Ultra Dishwashing Liquid, Original Scent, Blue, 21.6 Fl Oz (Pack of 2 ),a few drops of tea tree oil and a splash of hydrogen peroxide. I only let them soak for a few minutes, then rinse them in cool clear water and dried them in the sun. The next step took the most time – separating the pieces into three groups; 1) for the mosaic, 2) for other projects and 3) too nice to break apart – hold on too for now.

Logistics:

After selected a background, and once I started the laying out the signature pieces of the mosaic and I realized I needed to choose how I was going to secure the pieces. I opted for Devcon 18245 Weld-It Cement – 1 oz.. It dries clear and stayed tacky long enough for me to move and shift things. I also lucked out with the thin wire lights with a timer that I had around the house – but these would workBRIGHT ZEAL 33′ FT Cool White LED String Lights Battery Operated LED Lights (Silvery Wire, 6hr Timer) – Silver Wire Fairy Lights – LED Christmas Lights – Twinkle Star Firefly Lights LED Battery Lights. Just make sure to determine how many lights you want.

After that:

It was all about adding pieces and textures, stepping away, coming back and filling in spots. It helped to snap photos and look at them that way from time to time as well. Making sure the frame and mat fit and time for gift giving.
 

 And not worry.. check out this post which will explain what I did with all the leftover pieces!

SaveSave

SaveSave

SaveSave

SaveSave

SaveSave

SaveSave

Planning My 2018 Pleasure Read-Goals Today

Why a yearly Read-Goals list?

With so much to catch up with on posting; this weeks begin the end of the year holiday posts, and a detailing of some of the  recipes that won and failed, treats and projects that I worked on. But for today – to keep it simple. I worked on my 2018 read-goals list. This is the way I balance work, academic and news reading with pleasure stuff.

My Read-Goals for the year:

Frank’s 2018 Book List

books reading read-goals

A few more from the 2017 read-goals list

Working on my 2018 book list this morning while revising a copy of Bookmarks Magazine and decided that this would be the group I would use as my “intentional reads” over the next 12 months in addition to the others that come my way.  You might even notice a theme, in that not all of them are current trending titles since I decided part of the gaol was relooking at some of the older titles I missed when they initially rolled out.  I figure this batch coupled with the one from our book club should give me plenty for the year.

SaveSave

SaveSave

Packing the weekend with Holiday Fun

Packing the weekend with Holiday Fun & Treats

With the gift of unexpected tickets to see the San Francisco Gay Men’s Chorus SFGMC Elfstravaganza concert last night from our friends Paul & Ryan –  after a day of baking some treats for my Pauls office fundraiser on Monday and a trial run of an older Lemon cake recipe I had found a few weeks back. Dinner at Rocco’s then heading over to the SFGMC Concert at the Nourse was a perfect way to end the night. The Lemon “bread or cake” or jelly toast as its post was called on the blog I found it on was flavorful but super dense when we cut into it this morning – so either it needed more time to cook or a few more modifications to make it work. I also think it needed some sharpness so would mix the lemon varieties in a future batch (but.. umm yeah that didn’t stop me from eating it. I am thinking maybe convert the rest into a bread pudding. The Marbled M&M mini’s worked into the Biscotti is always a favorite!
As usual, dinner at Rocco’s Cafe down on Folsom Street is always good. FYI you crab lovers – get on Rocco’s email list to get the announcement for when it’s winning crab Chioppino will be back on the menu during Christmas week.

Packing more in as “The Men Sing On”

Nothing took the message home stronger of the power of the enduring voice of these men has had, than the simple two number reminder held by conductor Tim Seelig. Season 40 is ready to hit the bricks with the 40TH ANNIVERSARY; CRESCENDO GALA SATURDAY, FEBRUARY 24, 2018 .
 
This is the power that a unified voice has. Kudos to an outstanding year gentlemen and the successful Southern States tour. Not to mention some of the very exciting updates that Tim Seelig shared which you can find out more of from visiting the #SFGMC facebook page or website (http://www.sfgmc.org/welcome)
 
I took more shots – but have left them with Paul to whip up some editing magic on them. In the meantime… a few snaps from the show. Ff course, it wouldn’t be a proper #SFGMC concert without a political comment or two and a few special guests you might spot.

You still have a chance to see the men sing during its “Home for the Holidays” Castro show

Sunday, December 24, 2017   5:00 PM, 7:00 PM & 9:00 PM
Castro Theatre – San Francisco

Every year, the San Francisco Gay Men’s Chorus comes together on Christmas Eve to celebrate the holiday season with three not-to-be-missed concerts at the historic Castro Theatre! This year is the 28th Annual iteration of “Home for the Holidays,” and we have quite a few tricks up our holiday sweater sleeves. These shows always sell out, so be sure to buy your tickets early.

Packing Even more

Next up this week is to try to knock out a few more treats and perhaps a remake of the lemon bread.. perhaps… but first its some Chocolate blossom cookies!

The Value of Holiday Cheer; Gestures, Thank You’s & Acknowledgments

This is a good time to consider the art of thank-you’s and gestures.

Like it or not, Thanksgiving has passed and we are officially on the close-out of 2017.

Every year about this time I start messages from folks, asking me about our annual Orphans Holiday Party held each year around late December and how will I be managing to pull it off this  year or how do I have all that stuff to prepare for it.

As the summer wraps up, the fall is normally one of my favorite times of the year and the Orphans Holiday Party is one of the highlights of the year to share time with friends.

This year, I seemed to get several inquiries asking me about my thoughts on the customs, gestures, and traditions that go along with being a guest. You know, those commonly held, or historically offered niceties that civil society says is “what polite society” dictates as a way to thank a host.

I started this post as I sat on a flight from DC just before Thanksgiving but got sidetracked catching up till now. So I figured  I would try to jot out some thoughts as I check my “to be answered” folder of questions.

What is the scoop on “Invitation Protocols”?

Frank,   It’s that time of the year when I have started to get invitations to dinners, brunches etc. What do I bring ? Do I need to bring something?  Is there a universal set of gestures I should know?— TK

This is a great question and while I wouldn’t say I am the “arbiter of good taste and manners” all the time –  I have some opinions on what I believe to be common courtesy and reflect a gesture of appreciation for your host. (For the sake of ease when I write “host(s) it is implied as “host or hostess”).

Mostly it’s about three things:

Appreciating the gestures of being invited

Acknowledging the effort and work that goes into that brunch or party

Common Sense understanding that tokens & gestures do matter to some, but doing something needs to not derail the host/hostess’s game plan.

Appreciation

This is key – when you are invited to something – your host(s) has taken the forward thought to plan, design and arrange what they hope will be a memorable time. During the days that lead up even to the smallest luncheon or brunch to the largest open house – tension rises and many last minute “fixes” are in full implantation mode.

Ensuring that your host(s) know how much you appreciated the invite, the time you had, and any special moments that the event made for you. These could include photos, gestures, networking or even a memory made is a great way to appreciate the experience.

3 simple gestures to show your appreciation

Ask: If you know you are going to the store the day of the event. Maybe in the morning (or the day before). Call and ask if you can pick anything up that may have been forgotten. But be prepared to get those supplies back to the host early so that they have time to use them as needed. (Hint: even if you don’t need to go to the store, but you have the free time and willingness to help, the offer to do so is huge)

Offer to stay late to clean up; come the “witching hour” when the bulk of the guest have left, most of us that toss the party, push through on adrenalin alone. So come the end, the energy runs out. Nothing says “appreciation” better than “Frank, We are going to stay and help you clean up; what do you need to be done

Check in after the event; If you aren’t able to attend or have conflicting events, let your host know as soon as possible. then a day after the event, drop the person a call, text or email asking how it went. That lets the host know you valued the invitation and was disappointed at not being able to attend. Who knows you might even get an invite for coffee or dinner to help use up those leftovers.

Acknowledgment

Look I can say how much I love to throw a party – and I do. But being acknowledged for the effort I put is, while it may not look like it’s important, it is.

Those of us that like to entertain and create these moments, feed off the excitement of the planning and staging something that will be memorable. We often take special care to blend in specialties to make everyone feel good. So hearing someone acknowledge the time and effort that goes into it, or noticing the small personal touches go a long way.

For instance, for me, I take pride in creating a menu that includes dishes and options that encompass vegan, gluten-free, dairy-free needs without them feeling like an aside. I use these as a way to “challenges” me to expand my food thinking and try new dishes that I might not generally eat myself.

In fact, some of the results can be stellar, like the gluten-free orange cardamom granola and spinach stuffing I created for a stuffed turkey one year. That recipe has now become a great alternative to my regular “old school” recipe.
One simple way to show your acknowledgment is to let the host know with a simple gesture says ” you noticed something that made them feel special”. One way to send a small token; this could be something fun, whimsical, or useful and in the theme that the host would enjoy. Feel free to ask for the recipe or the brand and where they found it. We generally love to tell you; once the event is out of the gate. For those of you “less creative types” here are a few ideas that I either send or have enjoyed receiving:

For those of you who know how “anal” I can be, will understand why this Magnetic Dry Erase Weekly Meal Planner 11X17 Whiteboard ($12.99) tickled me: 

Many of us make notes for the planning of the next event and your comments, feedback, and notes are ways we know what to keep or use again so journals such as this Refillable Travel Diary Notepad ($15.99)

Another way to acknowledge the effort is to share your own specialty ideas. If you have special food issues and knowledge of brands, recipes (or even well-loved book cook) and ideas for substitutions. Those I keep handy for the future. A great way to do this is making use of mail order or online services that stock your preferred “finds”. In some cases, you may even find them on Amazon.com.

Common Sense

Tokens and gestures to show your appreciation with a thank you are long-held traditions. They may changes from time to time, perhaps with an updated look or trend – but the basics remain the same.

If you are invited to a small dinner party, brunch or dinner:

Cut and arranged flowers, potted plants are perfect thank you gestures. But if you really want the host(s) to know you are excited or had a good time, have them delivered the morning of the event so that they have time to place them in a spot instead of having to figure out a frantic fix while trying the deal with the last minute preparations. (Hint: you really want the host to love you? Call  a few days before and say you want to send over an arrangement to the table or the fireplace and what colors is the room or theme). Or even better, have something delivered a few days after the event for the host(s) to enjoy a lovely personal note inside.

At the holidays (or any time of the year) if you know the host has a fondness for collecting something; I work hard to custom select something for them. In my case, I have a “story tree” at the holidays where most of the ornaments come from friends & family.  So I often get unique ornaments from places I might not have visited as a thank you or clever people found out I keep a “gift” list on Amazon of stuff that I want (and eventually plan to buy but should someone ask – it’s easier to send them to the list)

A few thoughts for those that haven’t got a clue yet:

Resoprocity is equally as important. 

Even the most gregarious and “party loving” host, doesn’t always want play host.  Offering to have the host over for a dinner to say thank you is perfect. It doesn’t have to be fancy, it’s the fact that you took the time to say thank you and take the night off is what matters. If you don’t cook, then offer to take them to dinner or at minimum, send them a gift certificate to a store with a fun personalized note “saying you are happy to taste any new dishes this inspires“.

Larger events like open houses, parties etc

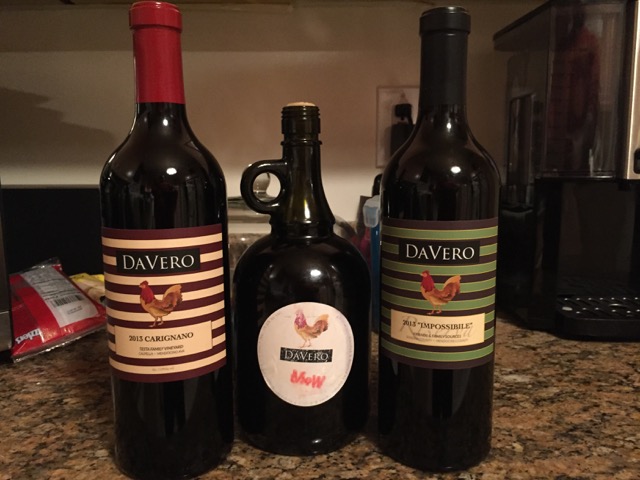
These are less formal or because of the crowd less likely to need something to be given. But special bottles of wine or alcohol is always a nice touch – but remember to add a personal note – with your name and mention why this beverage is significant. Is it a special year or from a vineyard you love. Is it a hidden wonder etc. I know one of my “go to” gifts this year will be a vodka that has a dedication of funds toward dog adoption. Or try your hand at making something. The last few years I have made and jarred gifts to give to hosts; preserved lemons, pickled vegetables are two that get mentioned a lot. Remember to include the recipe tag and hold long they will keep with them.

What about Potlucks? Or invitations to meals or parties held at a restaurant?

Potlucks play a unique role. If you agree to bring a dish, let the host know early on what you are bringing and ask when do they want it. Nothing puts a host on edge more than during a potluck when someone arrives late with a dish and half the food has already been served. You can always drop your dish offer earlier if you think you will be late.

If you aren’t bringing a dish to a potluck – any of the other ways listed above will work – but letting the host(s) know you would like to offer to help out with clean up is always welcome.
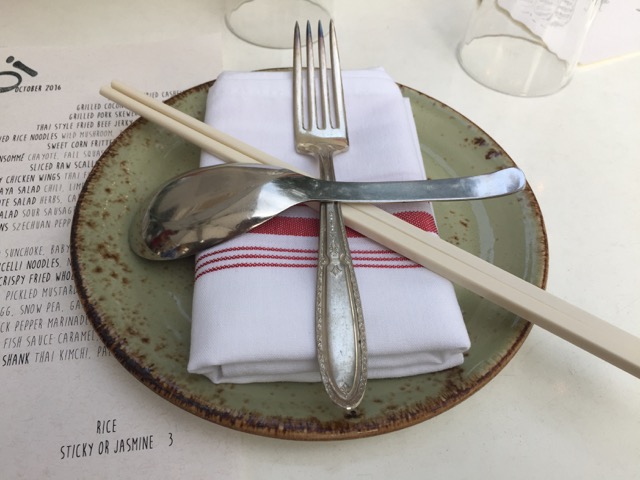
Resturant or venue-based dinner parties: If you are invited to a dinner party held at a restaurant and the host has made it clear that you are guests (i.e. they are covering the costs of the meal) can be tricky. I rarely want to bring in a bottle of something or a gift as I know the hosts then have to figure out a way to get them all home.
So try to find out what the host’s plan is.  For a birthday or anniversary held at a beloved resturant or because of the host(s) lack space at home, then it’s likely they may either have a “no gifts” on the invite or will have a place identified to put cards, gifts, and gestures. Just remember to secure your card well so they don’t get separated. I can’t tell you how many times I have ended up with orphan gifts and gift tags after we get them home.

If it is a more casual setting or annual open house type thing, I would lean towards sending your acknowledgment after the event (use any mentioned above – I personally love waking up to breakfast or brunch baskets) and have it delivered to them at home.

When all is said and done  

Whatever you send or do, it should be significant to the host, serves as a way to show you care, and how you felt special about being included and appreciate the effort.

You can blend all or any of these ideas into one “thank you”. Gifting the host with that special dietary cookbook you love, with a note inside letting the host know much that it meant including their food sensitivities into the party menu and you are wanting to share this cookbook… etc. Those personal touches are the part I like best.

Over the years I have had several “thank you’s” that stand out as memorable to me:

One was to find a case of small batch, specialty tomato sauce delivered as a thank you from two guests who had been to a dinner party at my home. the brand was a favorite they thought I would enjoy being introduced too.

Another was taken right from the “Martha Steward school of entertaining” when the morning after a rather large party, my doorbell rang and I opened it to find a box with all my favorite breakfast foods; bagels, lox, cream cheese, hard boiled eggs, a loaf of poppyseed bread, jam, ground coffee ready to be made and savored.

Another was a gift certificate good for brunch at a restaurant we had spoken about but that I hadn’t gotten a chance to try yet. Included with a thank you card reminding me of our chat about how much they liked the food and they thought I would as well.

The common theme here is personalizing it, make it memorable and do it timely.

I have left the comments open on this post so that others can share ideas as well…

SaveSave

SaveSave

SaveSave

SaveSave