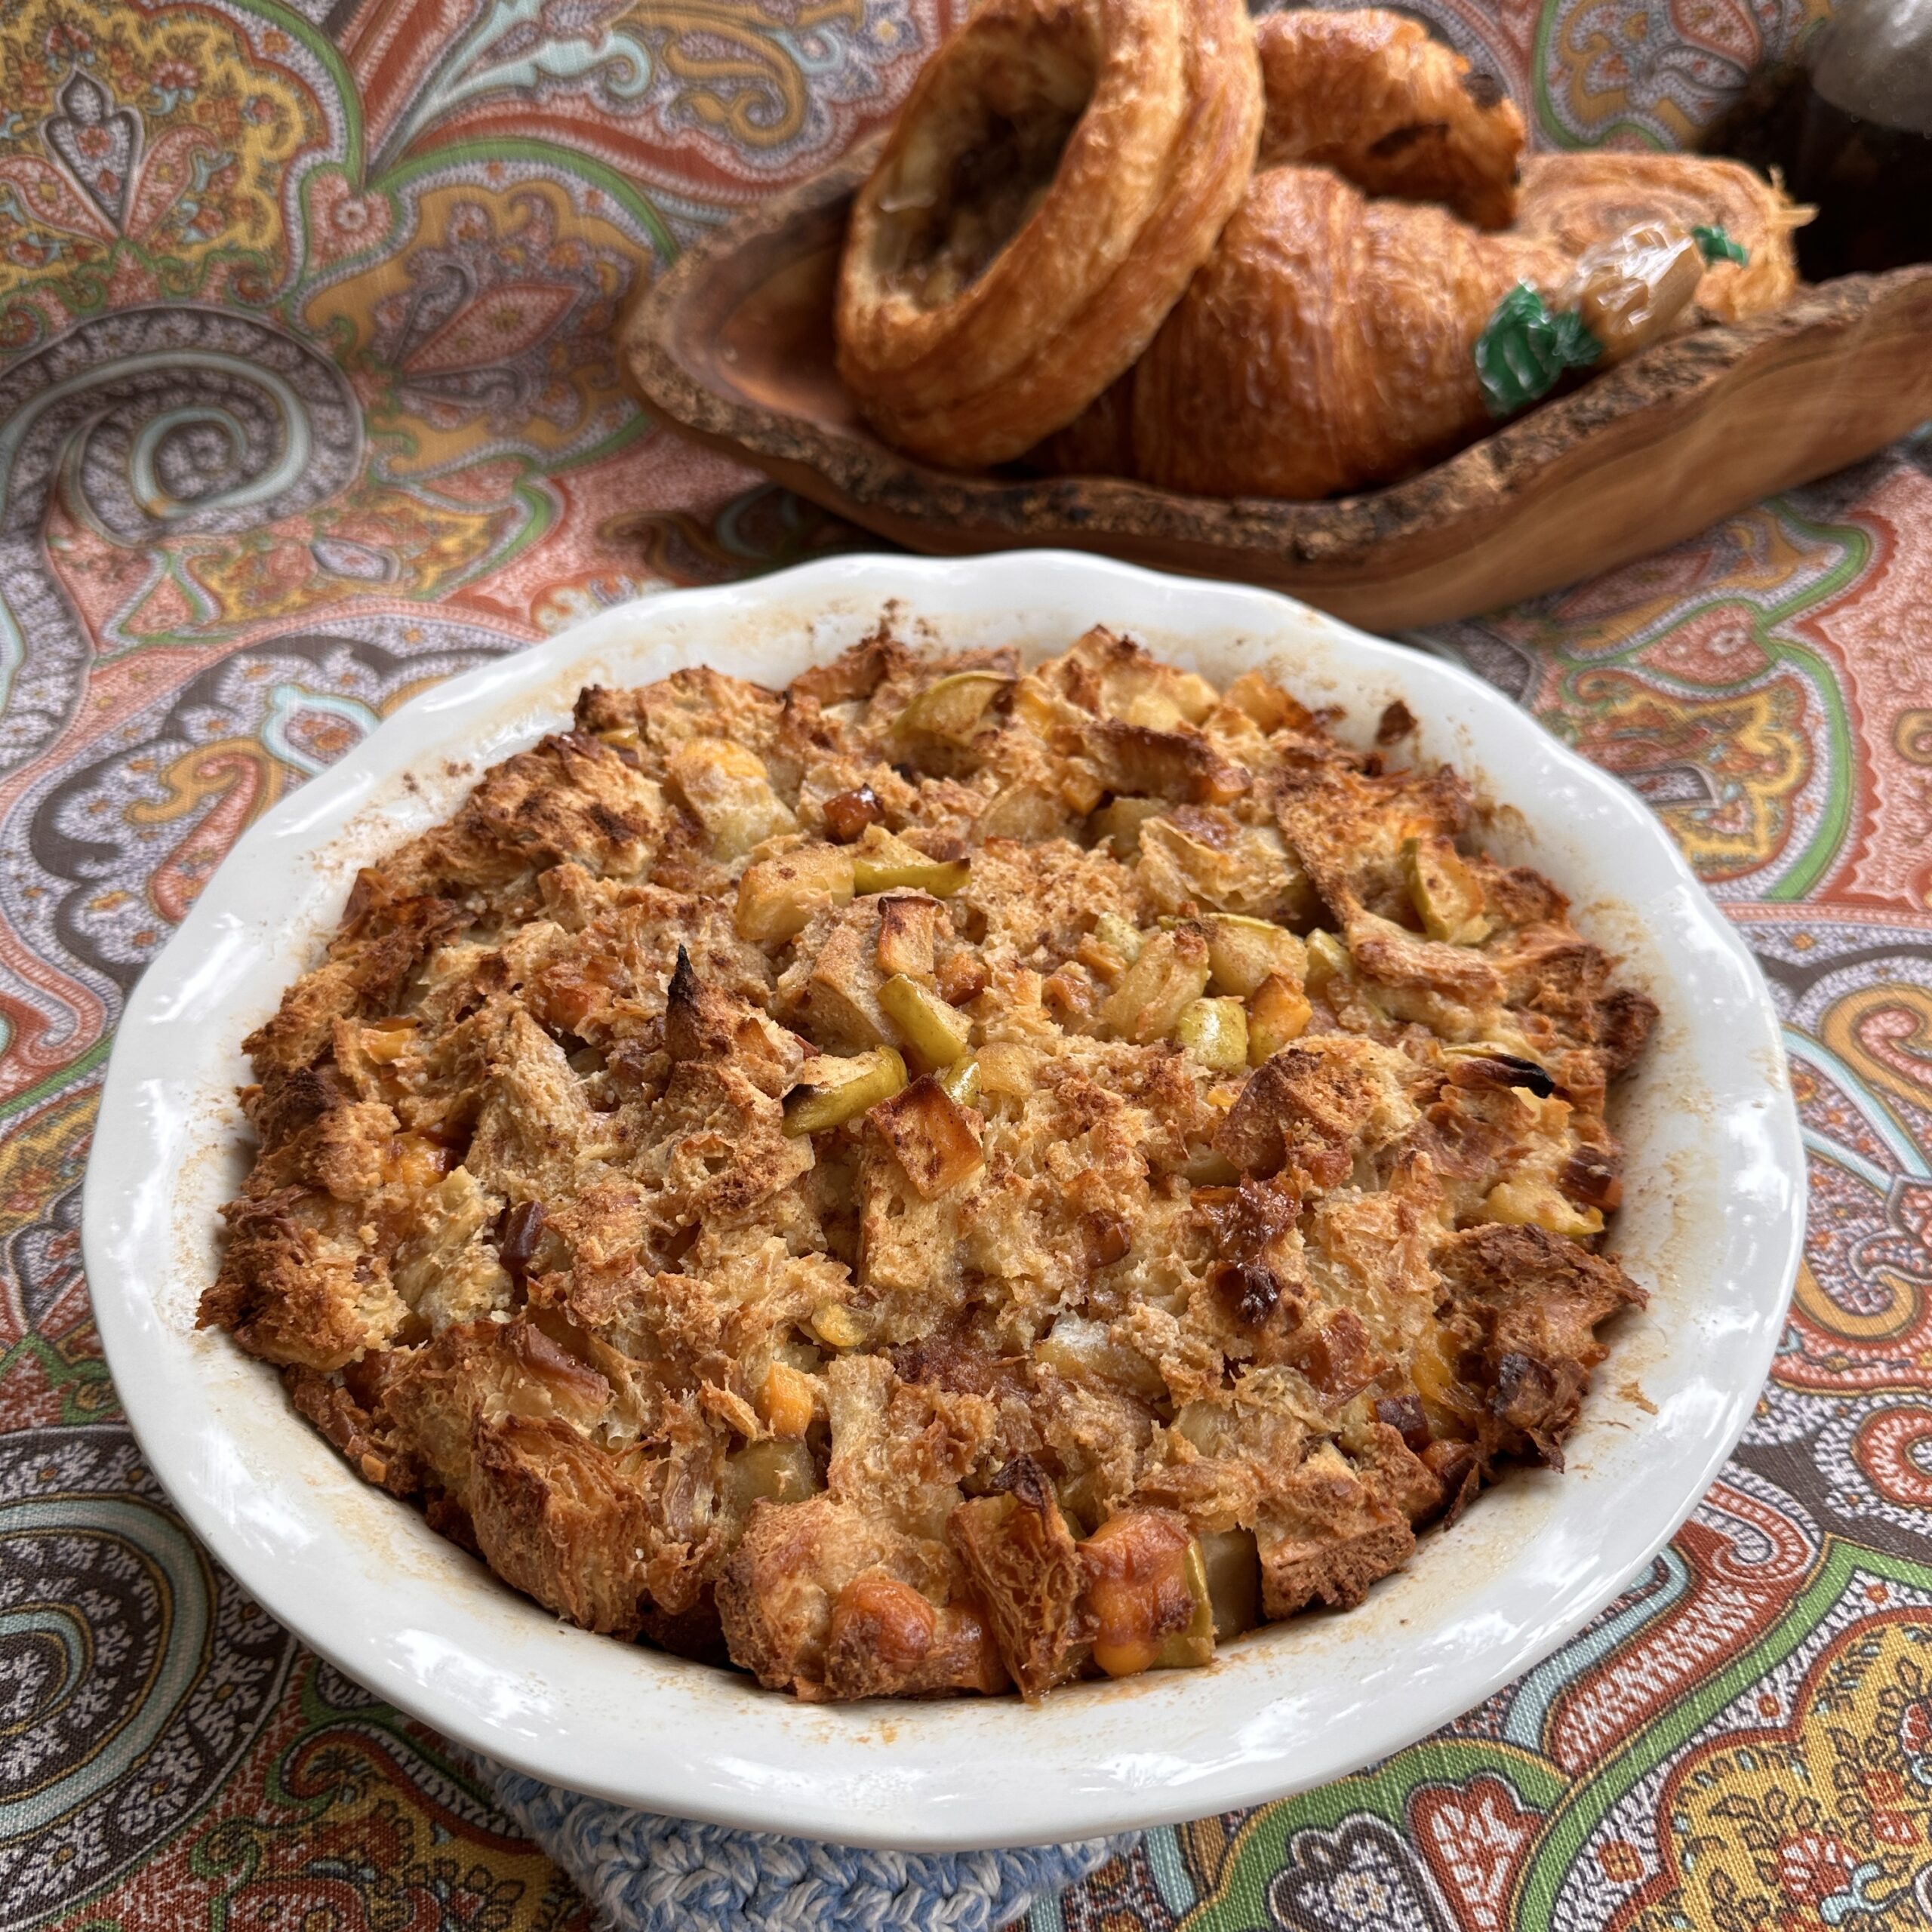
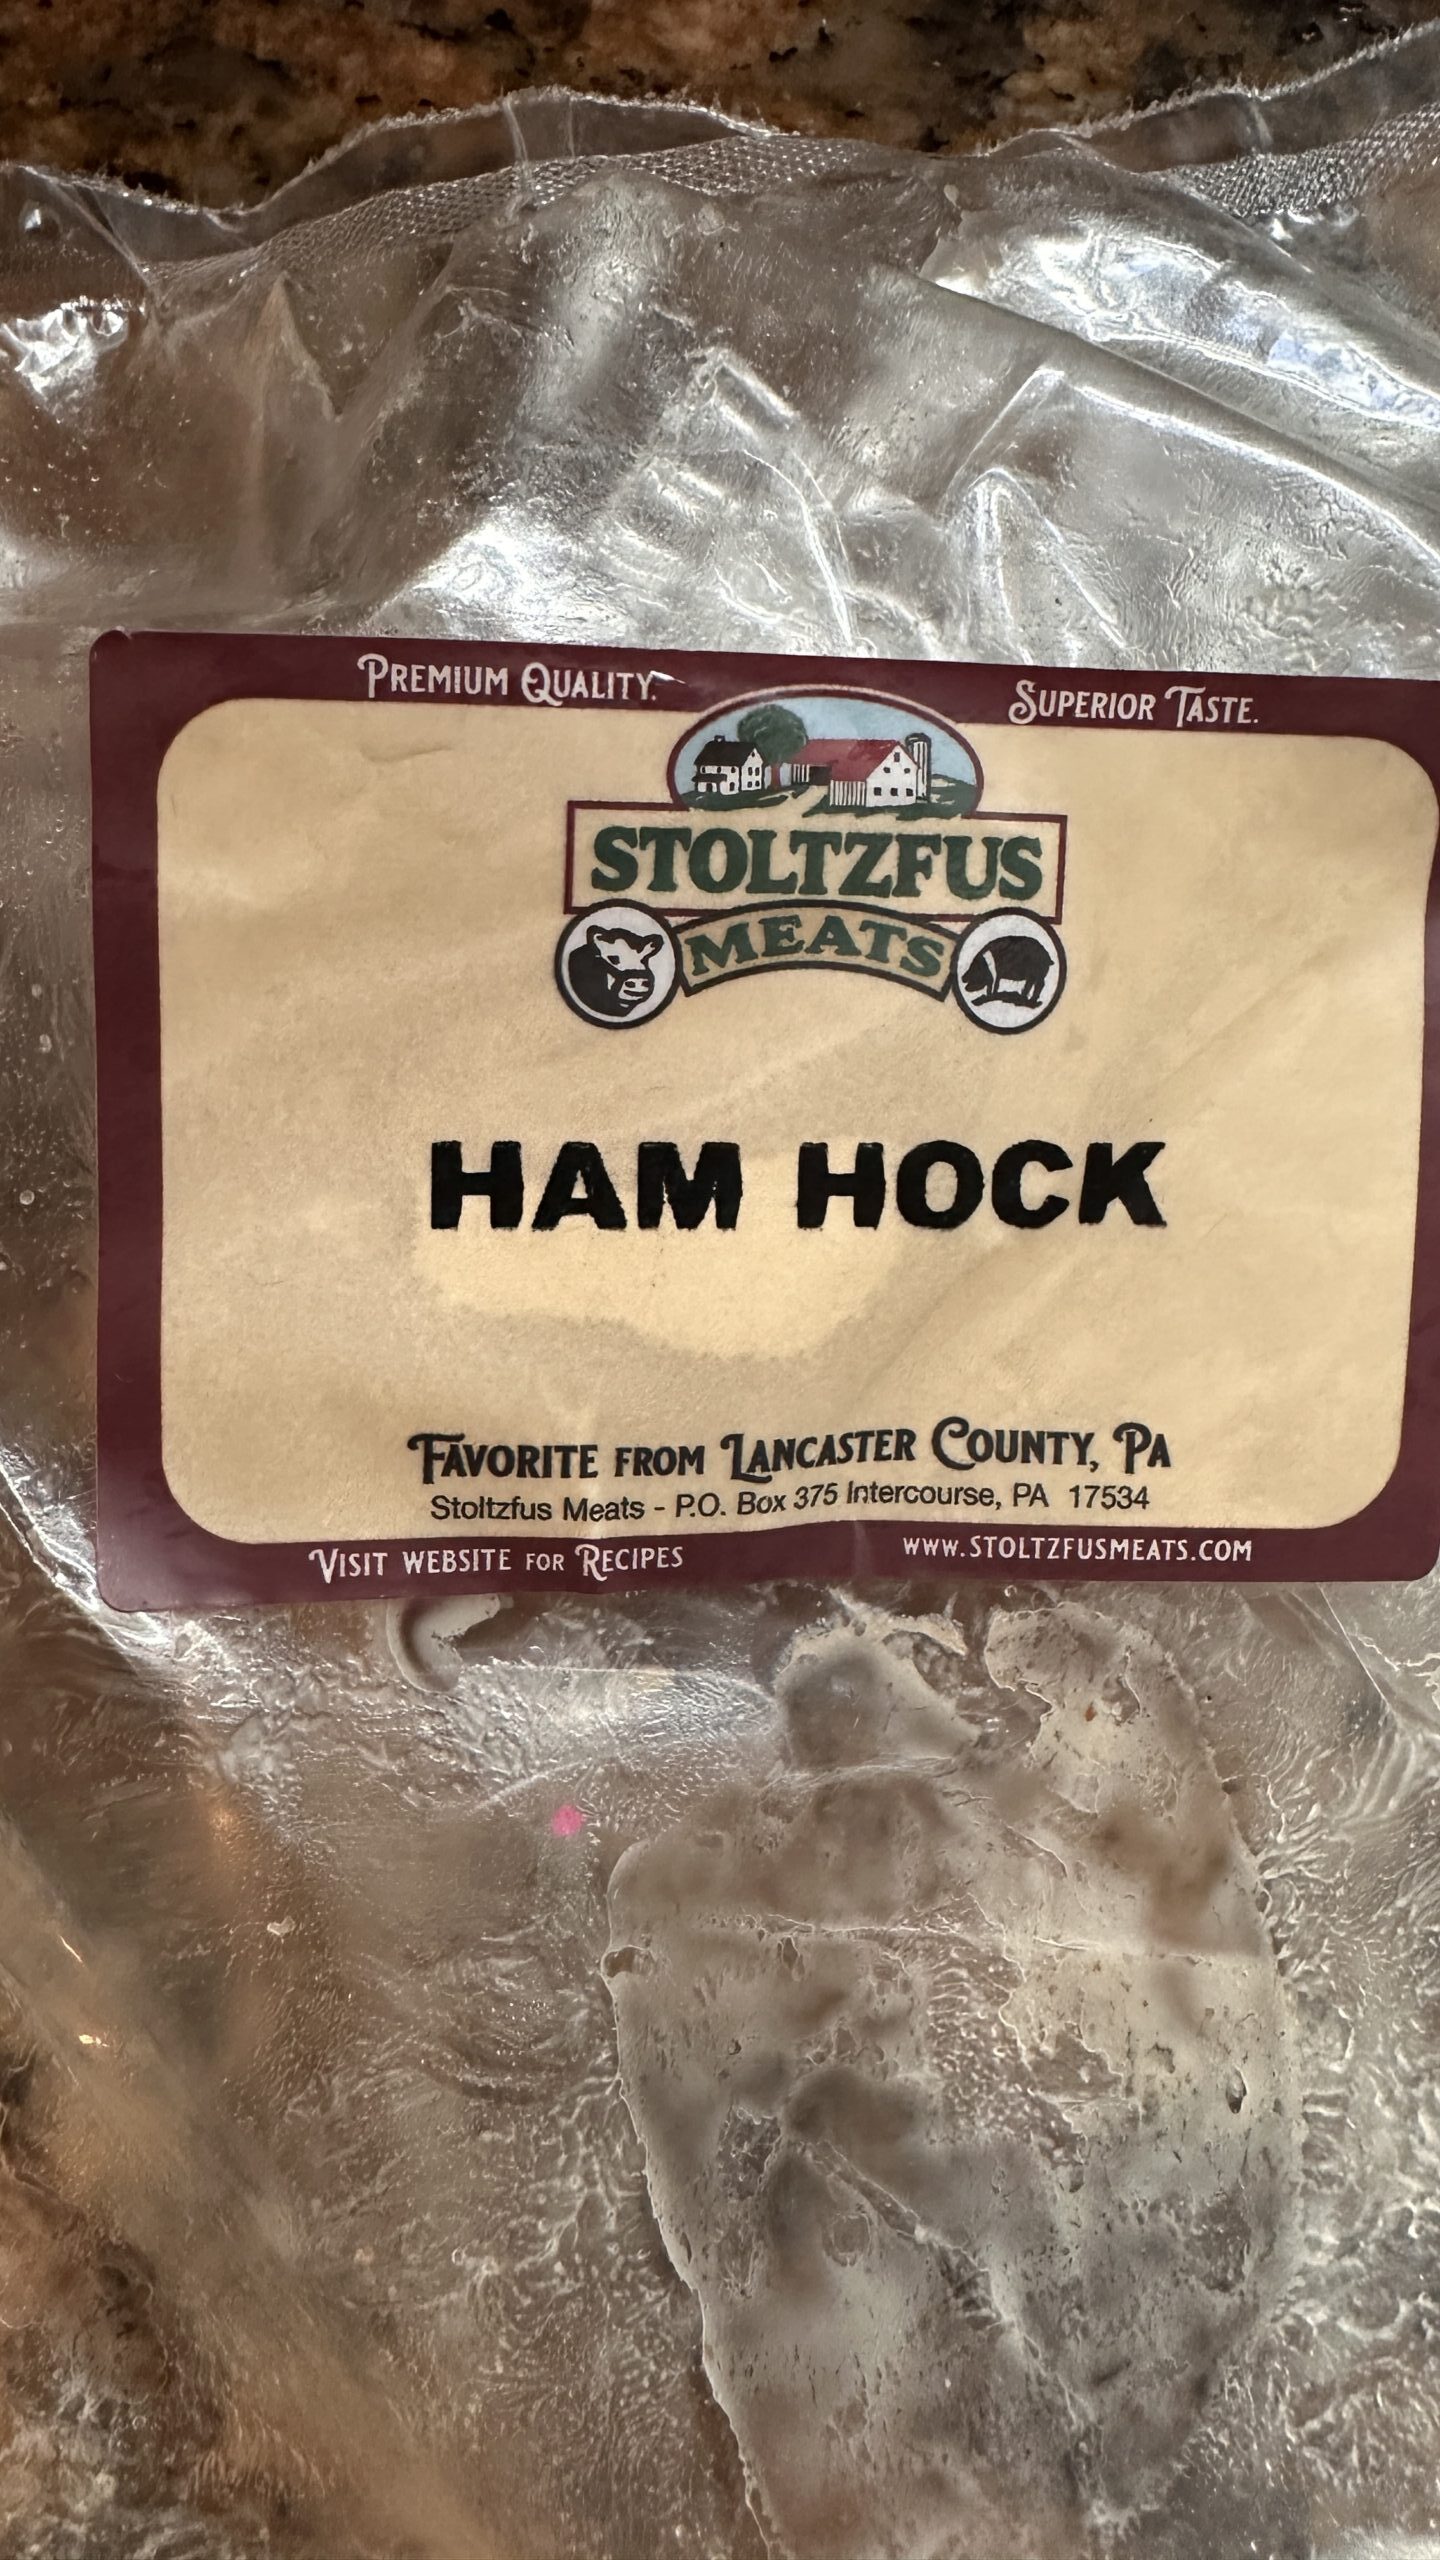
Recently our pals over at Stoltzfus Meats sent me a new box of meats and part of the box included a smoked ham hock. You may recall I used the Cottage Bacon from Stoltzfus Meats when I did my Smoked Hog Muffule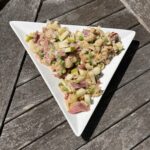 tta.
tta.
 So what to do with Ham Hocks?
I don’t cook with them often and when I do use them it’s usually like many people do. I put them in greens, lentils or beans.I wanted to come up with a recipe that was a little different and given it was a warm spell – not a soup. After a little researching in the vintage book collection, I came up with a variation I have to say it was pretty good.
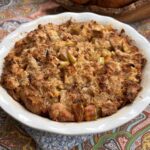
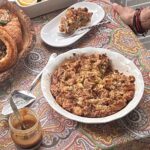
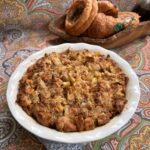
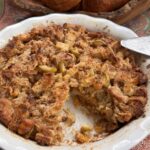
 Smoked Ham Hock Cheese Herbed Pasta

What you will need:
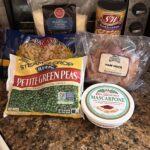
- 2 smoked pork hocks
- 1 large bunch of flat-leaf parsley, roughly chopped
- 1 cup Parmesan, grated
- freshly ground black pepper
- 2 tbsp good olive oil
- 8 tbsp mascarpone ( more or less to your taste and texture)
- 1 package of linguine or any pasta of your choosing.
- 2 cup peas
Feel free to experiment – capers, other seasonal herbs, vegetables, even garbanzo brands could be included.
Making It
- Place the hocks in a large pan, cover with cold water and bring to a boil. Reduce the heat, cover and simmer for 1 hour.
- Remove from the heat and leave until cool enough to handle.
- Reserve about a cup of the stock. (you can freeze the rest for the fall when its time to make split pea or lentil soups
- Remove the ham hocks from the broth, then peel off the skin and discard along with any excess fat.
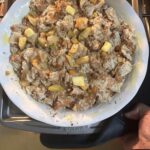
- Pick off all the meat and roughly shred/chop.
- In a medium bowl, mix 3/4 of the chopped parsley, parmesan cheese, black and red pepper flakes, olive oil, mascarpone cheese, apple/lemon mixture, 1/2 lemon zest and reserved stock. Mix well. Thin with the remaining lemon juice. Thicken with more mascarpone or grated cheese
- Fold in the ham hock pieces
- You want this to be a thicken “grace”texture. Remember when you mix it into the pasta it will loosen some with the heat.
- Bring a large pan of water to a boil and cook the pasta according to the packet’s instructions (dont overcook the pasta).
- Drain pasta (reserve 1 cup of the pasta water), returning the past to the hot pan, toss with the ham mixture. Add reserved pasta water if needed to loosen.
- Garnish with the remaining parsley and lemon zest and few thin slices of apple
- Serve warm.But I will say it reheat well too!
If adding other components like beans or veggies – sauté them off with pepper, garlic and olive out while the ham hocks simmer and let cool then mix into at step #6
If you aren’t into a lot of cheese – I also made it with just the grated cheese and it was just as good! Made a great side dish