Don’t let the summers end, mean you can’t still eat like its a day at the fair

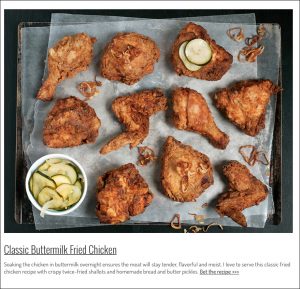
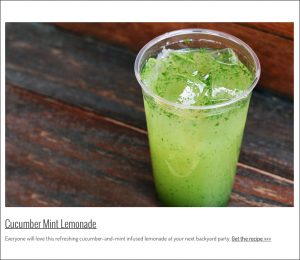
On his September 2016 website post- fav food traveler and culture cuisine explorer Andrew Zimmern posted a great list of Classic Fair recipes; I think I have my winter blahs recipes well in hand now!

Give it a read at: Classic State Fair Dishes To Make at Home  Also check out his website for his Recipes, his own blog aka Editorials and follow him on Twitter at @andrewzimmern or on Instagram @chefaz

All images are from the article and posting.

One of the fun things I caught on his site I caught was the AZ Canteen, which according to the man himself; “That’s why I’ve created AZ Canteen. This carefully curated menu showcases some inspired versions of the best food items I’ve discovered on the road. From a Nicaraguan shaved ice that I’ve seen only once outside of Central America, to goat sausage grinders (one of the most delicious meats on the planet!) made with an exclusive cabrito blend from my friend Pat LaFrieda, these foods resonated with me and I’m thrilled to share my culinary experiences with you.”

@AZCanteen is an   food adventure

And because he isn’t busy enough; he also launched Foodworks Inc. and check out his Podcasts

Ginger crunch; bday style

Hmm; it was my birthday yet somehow last night I ended up baking last week.
Tried making the Ginger Biscotti again but this time using old metal ice trays as the form instead of the free-form style on the pan because of the sticky loose batter.
While at it I used an old “Martha” trick of using clips to hold the parchment paper and place. All in all these vintage worked great and gave me a more uniform size an bake.

I used a pretty easy recipe for it that I found on the King Arthur Flour website http://www.kingarthurflour.com/recipes/ginger-biscotti-recipe

Ingredients
6 tablespoons (3 ounces) butter
2/3 cup (5 ounces) brown sugar, packed
1/4 teaspoon salt
4 teaspoons ground ginger
1 teaspoon ground cinnamon
1/2 teaspoon ground nutmeg
1 teaspoon vanilla extract
1 1/2 teaspoons baking powder
2 large eggs ( I used XL eggs and also tried Jumbo ones – the difference is the firmness was not as brittle)
2 cups (8 1/2 ounces)  Unbleached All-Purpose Flour
1 cup (6 1/2 ounces) finely diced crystallized ginger

Instructions

Preheat the oven to 350°F. Lightly grease (or line with parchment) one large (about 18 x 13-inch) baking sheet. For the variation I did – one batch filled two ice trays.
In a medium-sized bowl, beat the butter, sugar, salt, spices, vanilla, and baking powder until the mixture is smooth and creamy. Beat in the eggs; the batter may look slightly curdled. At low speed of your mixer, add the flour and crystallIized ginger, stirring until smooth; the dough will be quite soft and sticky, but should hold its shape when you drop it from a spoon.

Transfer the dough to the prepared baking sheet, and shape it into a rough log about 14″ long. It will be about 2 ½” wide, and about ¾” thick. Using your wet fingers, smooth the top and sides of the log.

Bake the dough for 25 minutes (my oven 20 min was perfect – the extra 5 gave me a more brown bottom). Remove it from the oven, and allow it to cool on the pan anywhere from 15 to 25 minutes; just work it into the schedule of whatever else you’re doing in the kitchen.

(Note – they suggest using a spray bottle filled with room-temperature water, lightly but thoroughly spritz the log, making sure to cover the sides as well as the top. Softening the crust just this little bit will make slicing the biscotti much easier. But I don’t find that easier.)

Reduce the oven temperature to 325°F. Wait another 5 minutes, then use a serrated knife to cut the log into ½” to ¾” slices. Cut at a 45° angle, for long biscotti; cut crosswise slices, for shorter biscotti. As you’re slicing, be sure to cut straight up and down, perpendicular to the pan; if you cut unevenly, biscotti may be thicker at the top than the bottom, and they’ll topple over during their second bake.

Set the biscotti on edge on the prepared baking sheet. Return the biscotti to the oven, and bake them for 25 to 30 minutes, till they feel very dry. They’ll still feel a tiny bit moist in the very center, if you break off a piece; but they’ll continue to dry out as they cool.

Remove the biscotti from the oven, and transfer them to a rack to cool. Once they’re cool, store airtight, to preserve their texture. If biscotti aren’t as crunchy as you’d like (and the weather is dry), store them uncovered, overnight, to continue drying. Biscotti can be stored at room temperature for one week; for longer storage, wrap airtight and freeze. Make sure they are well cooled.

Yield: about 16 large (about 5 ½” long) biscotti.Variation: For smaller biscotti, shape the dough into two 12″ logs, about 2″ wide. Bake as directed above.

Yield: about 3 dozen mini-biscotti.


Spicy Citrus Jicama & Mango Fruit Salad with Blueberries and Mint

I tried this for Pauls office picnic and have done it several times since with both a vegan version and a regular one.

Several versions exist online but I found them too plain for me – so I adapted it some with adding the blueberries and more citrus.IMG_2995 
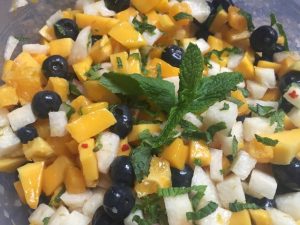
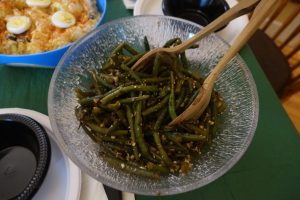
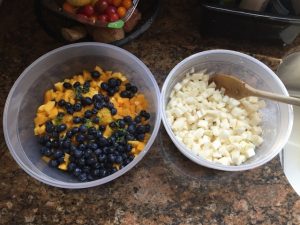
The big part of this is not to add herbs like basil unless you want it to become more of a “salsa”.

Ingredients


  • 3 tablespoons sugar (for vegan use Agave Nectar)
  • Grated lime zest plus 3 tablespoons juice (2 limes)
  • 1/4 teaspoon red pepper flakes ( too taste – I usually add more as the Jicama can take it)
  • Pinch salt
  • 12 ounces jicama  – diced
  • 2 mangos chopped
  • 2 oranges and the zest of both of them
  • 1 lemon
  • fresh mint leaves
  • a pint of blueberries
  • 1 tablespoon of honey (or early season maple syrup)(optional)
  1. Prepare the JicamaIMG_2996
    1. Peel the jícama, and cut into 1/4″ dice (should yield 1-1/2 cups).
    2. In small saucepan, add the sugar, 1/2 the lime zest and juice, 1/2 the orange zest, 1/4 teaspoon red pepper flakes, a pinch salt. (note adding some fresh ginger root also has a nice flavor)
    3. Put over medium burner and cook for 3 minutes until the sugar dissolves; stirring constantly.
    4. Remove pan from burner, stir in jícama to coat, and allow the syrup to cool for 20 minutes.
  2. Rest of the fruit
    1. Meanwhile, peel the mangos, removing pit, and cut into 1/2″ dice (should yield about 4 cups).
    2. Add to a large serving bowl.
    3. Peel your oranges and cut away the pith. Slice into 1/2″ thick rounds and then into 1/2″ dice.
    4. Add to bowl with diced mango.
    5. Add the rest of the lime and orange zest, honey and toss.
  3. After the syrup has cooled for 20 minutes, pour over fruit in serving bowl and toss until well combined.
  4. Cover and refrigerate for 15 minutes prior to serving.
    1. I think this is better after it has sit for a few hours or overnight.
    2. Add the chopped mint before serving.img_3307

You can add more lemon if you need it brighter. the amounts are really a tarting place – depending on if you buy your mango already cut up, how sweet it is, and how large your jicama is – you can play it by taste. This feeds a lot – figure 5 -8 people, so is great for a picnic or potluck

img_3008

Other versions include:

Mango, Orange, and Jícama Salad

https://www.americastestkitchen.com/recipes/7783-mango-orange-and-jicama-salad


Cast Iron Skillet S’mores

Super easy. Both adult & child friendly.

Several variations exist for this dish – but they all essentially say the same thing.

  • 1/2 tablespoon butter
  • 1 1/2 cups chocolate chips (semi-sweet, milk chocolate, or a combo)
  • 15 jumbo marshmallows, halved ( use larger scissors to cut them)
  • Graham cracker squares

Heat your stove to 450 degrees and use a good solid heavy pan – Cast Iron is perfect, put the pan in the middle of the oven while it is heating up! This is important – you want the pan good and hot.

Once oven lets you know it has hit 450, wait 5 more minutes. Then using a pot older or mitt (Don’t even ask me why I need to mention this…) take the pan url of the over and place on the stove.

Place a good pat of butter in the center of the pan and as it sizzles, move it around so the bottom and sides are covered with melted butter.

Pour chocolate chips in an even layer into the bottom of the skillet to form a good layer.

With out touching the pan or the melting chocolate, arrange the marshmallows to cover and fit (much like biscuits)  – essentially cover all the chocolate.

Bake for 5 to 7 minutes or until marshmallows are toasted to your preference (watch closely!). Remove from the oven and allow to rest for 5 minutes. This is important.

Serve with graham cracker squares or sticks, pretzel sticks, biscotti – you name it. …but be careful, because the dip (and the skillet) will be very hot!Notes

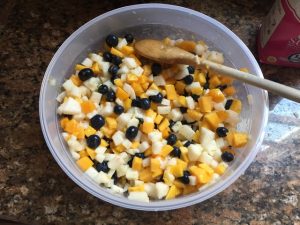
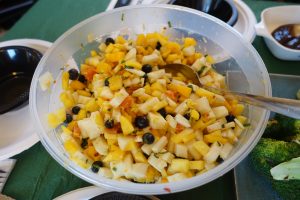
A few collected notes from the recipes:

  • One of our pals suggested adding bananas to the pan after the butter then adding chelate – but I am thinking that might not get the chocolate fully melted – but I bet you could add them on top under the marshmallow.
  • You may use another type of oven-safe baking dish, but it should be noted that the chocolate will probably melt more evenly (and stay melted more consistently) using a heavy cast iron skillet, which retains heat better than other types of dishes.
  • Be sure to let the skillet rest for 5 minutes before serving so that the residual heat from the skillet can finish melting the chocolate chips. Some of the chocolate chips may retain their shape, but once you dip a graham cracker into them, they should be fully melted (in the same way that chocolate chips melted in the microwave hold their shape until stirred).
  • Adjust the proportions of chocolate and marshmallows to your liking or to the size of the skillet or baking dish that you use, but don’t make the layer of chocolate chips too thick or they may not fully melt.
  • You may use whatever type of chocolate or marshmallows you have on hand…finely chopped chocolate, mini chocolate chips, regular chocolate chips, mini marshmallows, (halved) jumbo marshmallows, etc.
    Here is the one we used ; http://www.fivehearthome.com/2014/08/10/smores-dip-baked-in-skillet-oven/


Just an last minute grill day

After several bday meals out last week, including a great dinner at our local Espetus, dinner & a movie night @drafthouse I fugured it was a cook at home day.

Using a new find, cherry bbq sauce ( picked up on my recent trip to Traverse City, Mi) – the menu called for grilled chicken thighs, an adapted  vegan adapted spicy sweet mango-jicama salad, homestyle baked beans, coffee-cocoa nibs rubbed eggplant planks, roasted broccoli and a few pals willing to bring string beans, patato salad and some sweets for after. Friend added green beans and potato salad..

I will post the recipes for the Jicama & Mango salad shortly, and well share more on the Baked Beans fiasco too

Sundays the way they should be..oh wait it’s only Saturday.

image
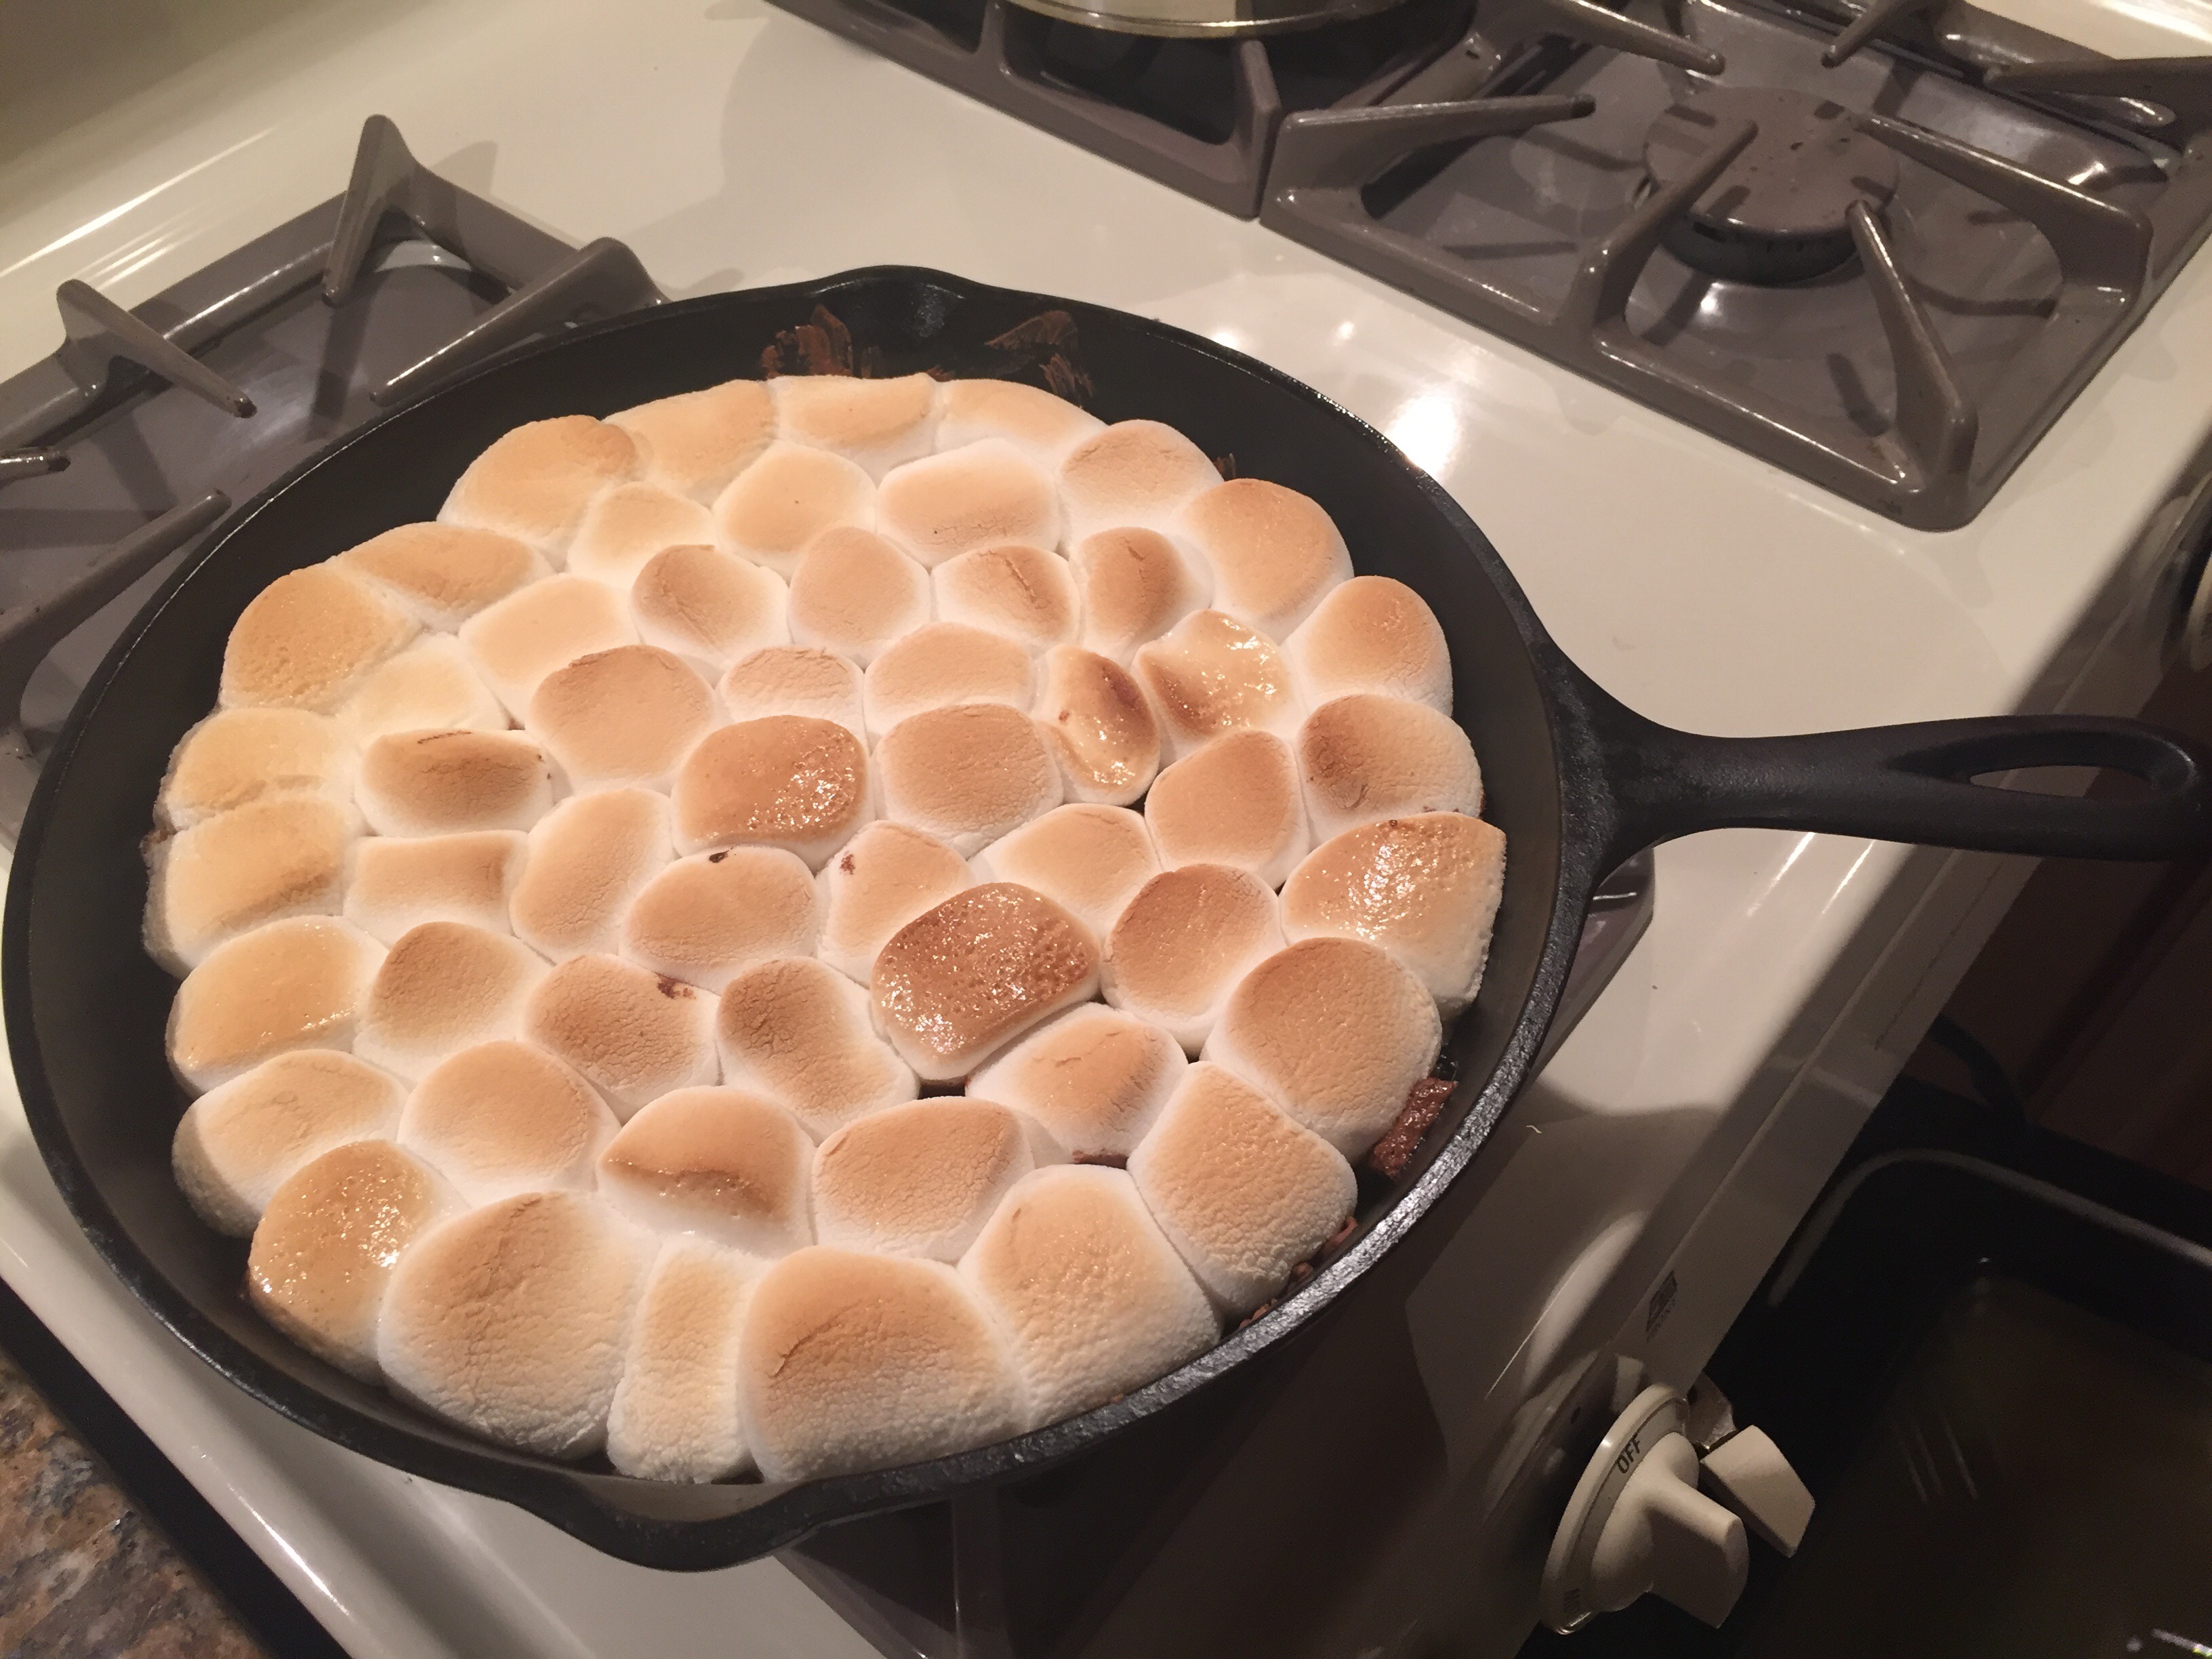
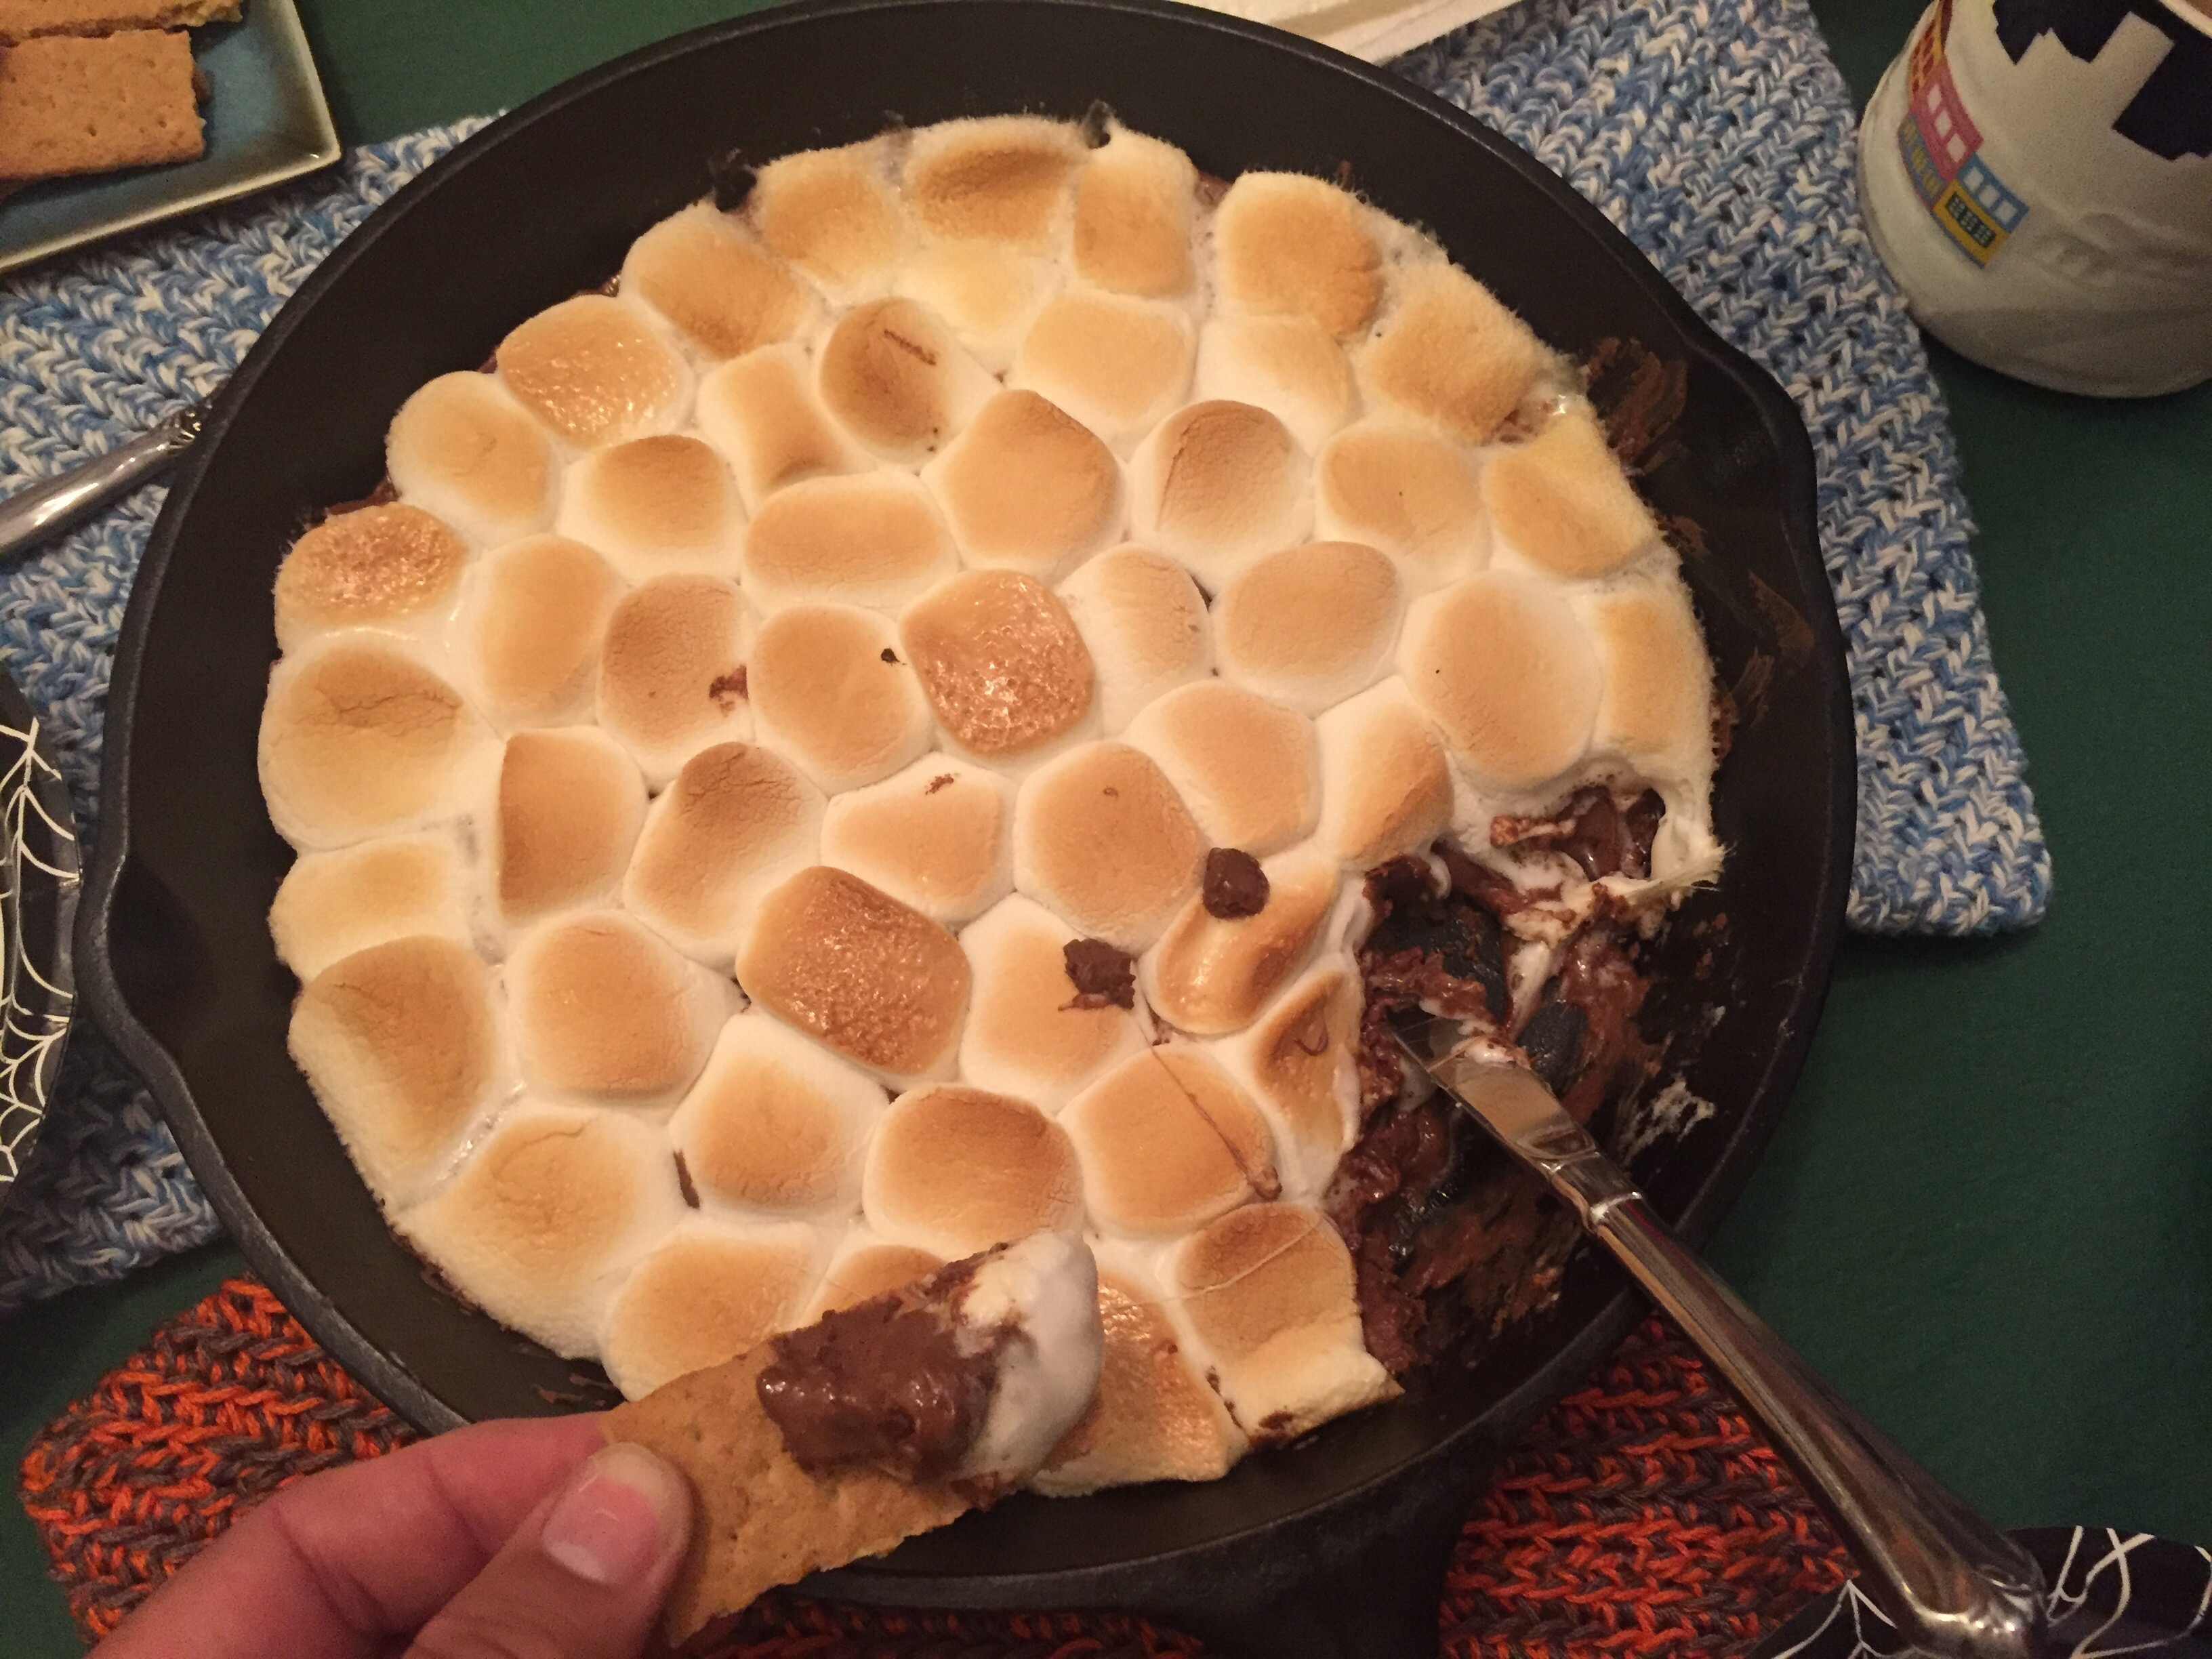
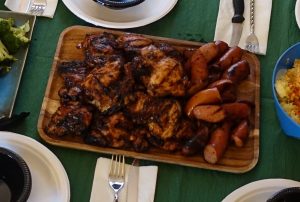
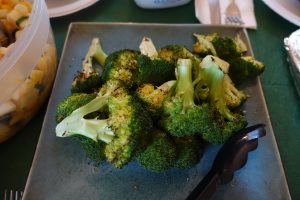
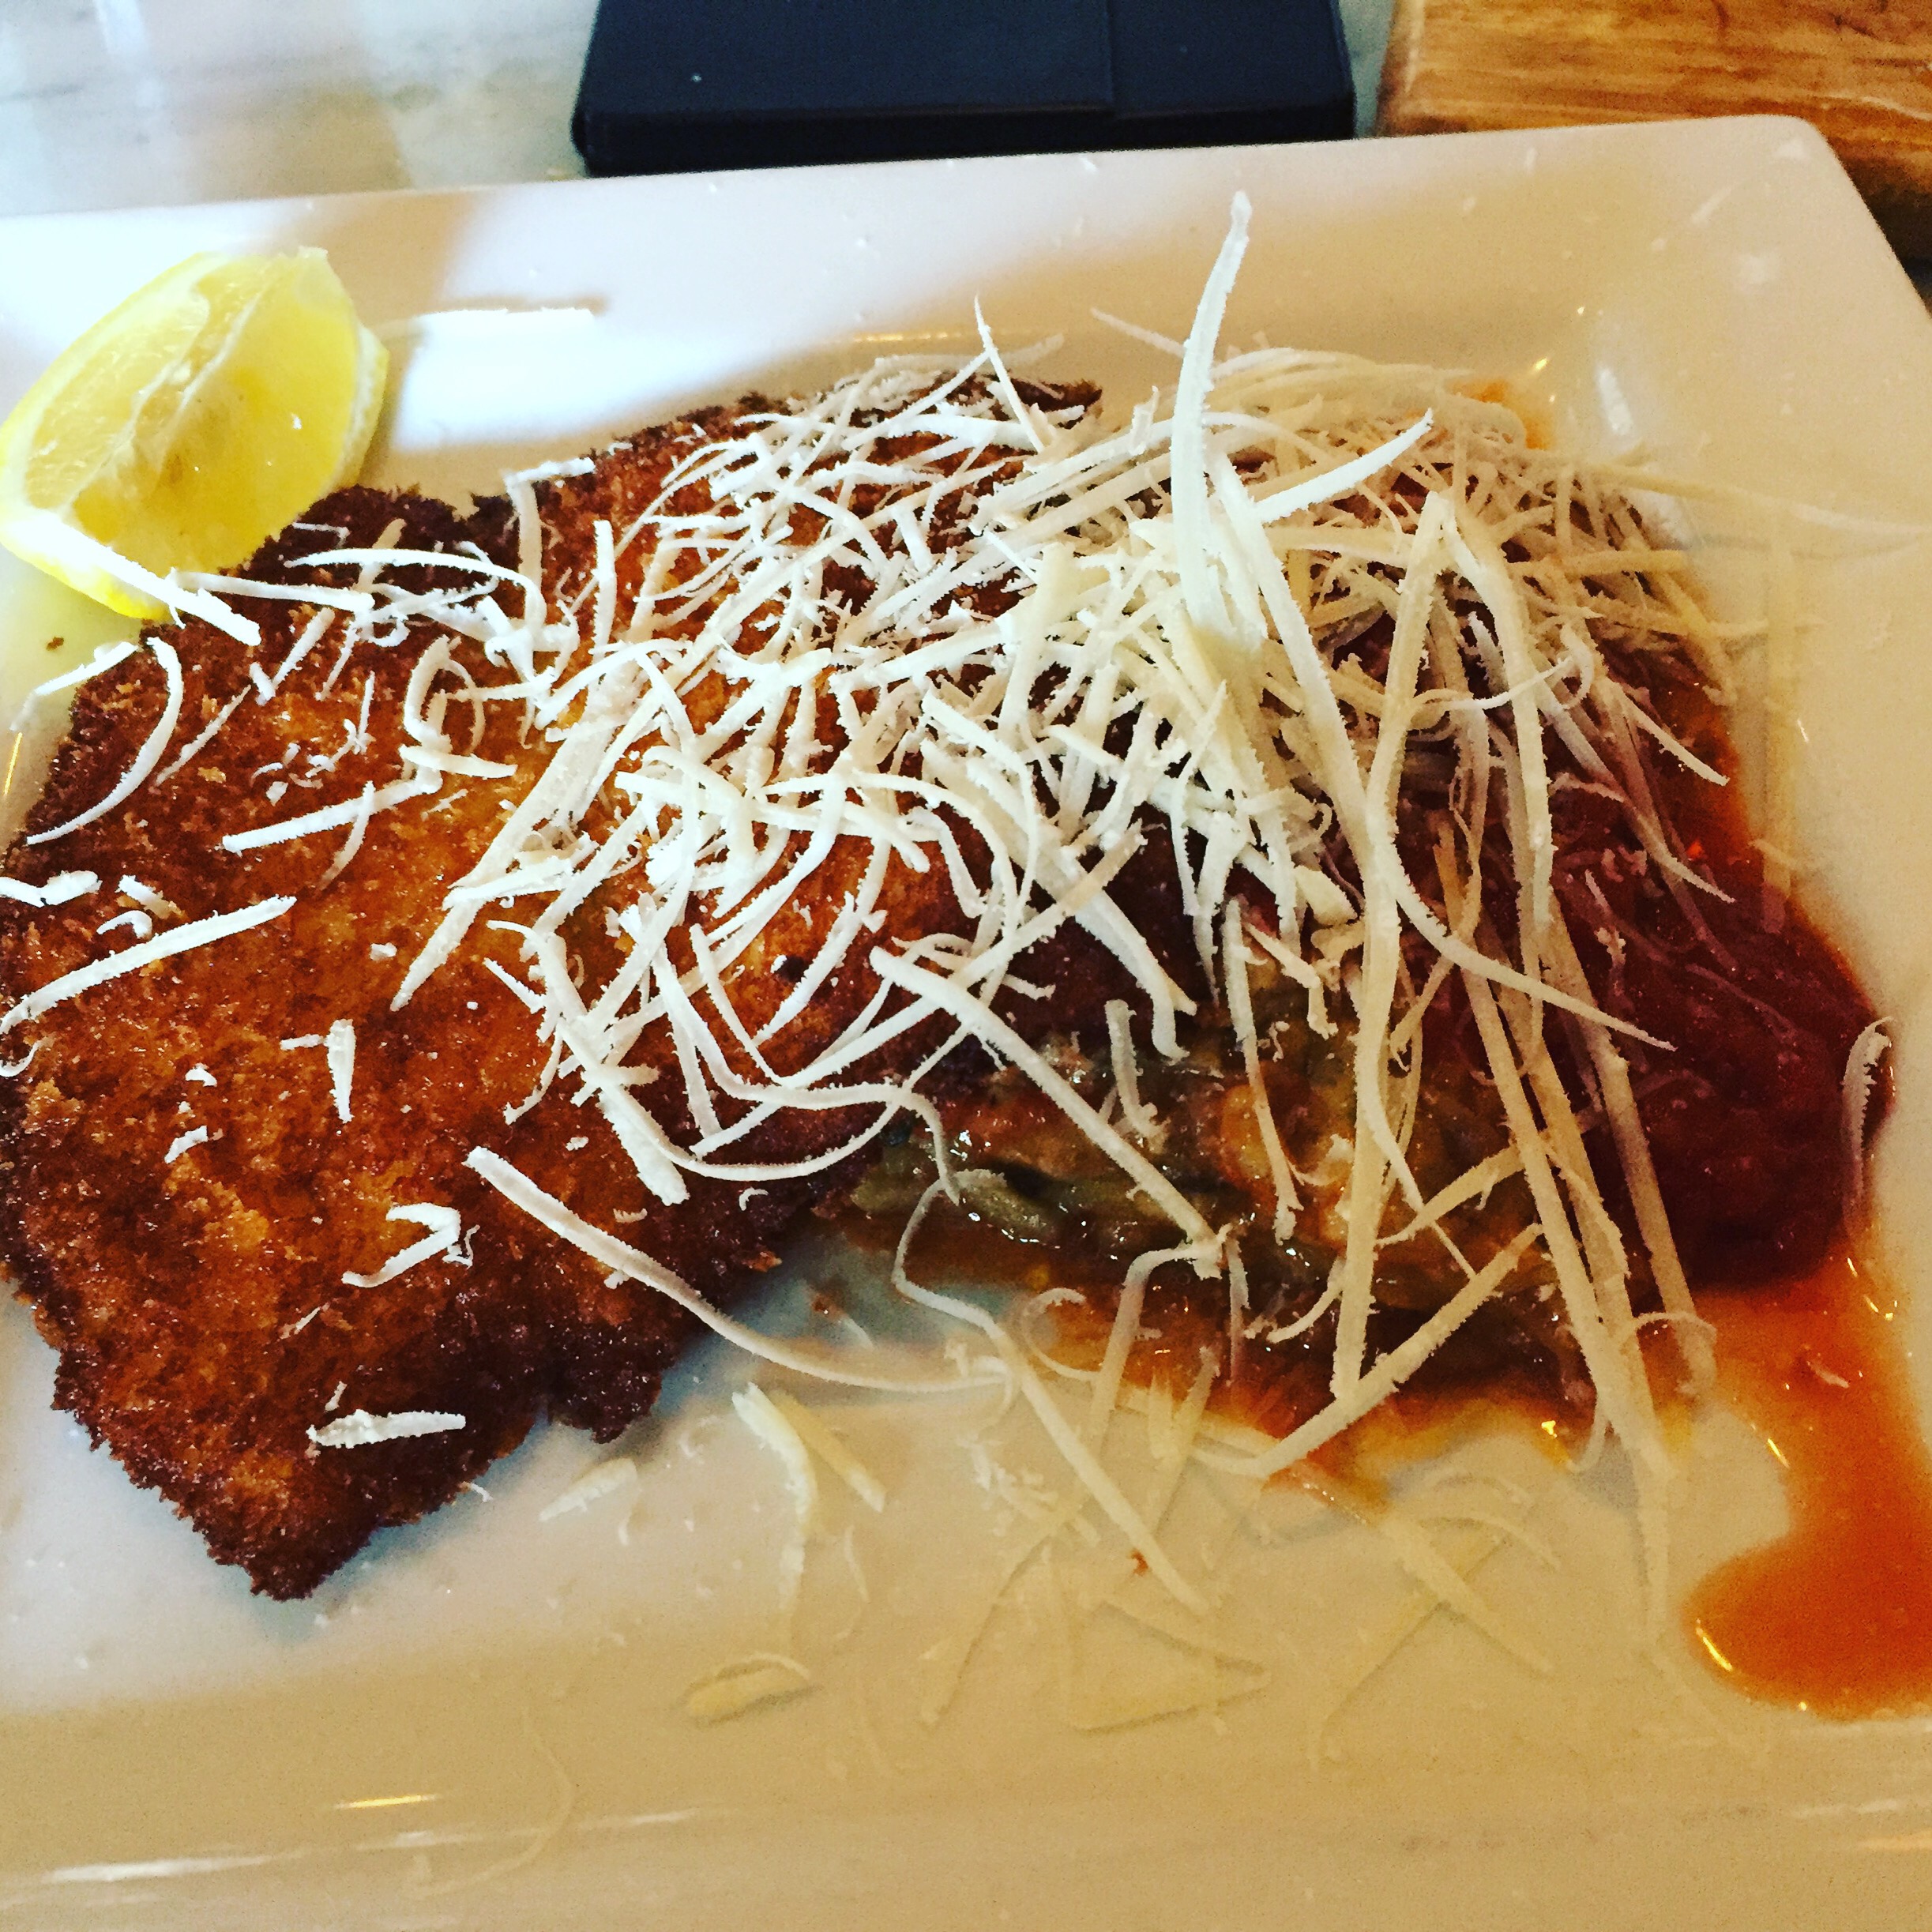
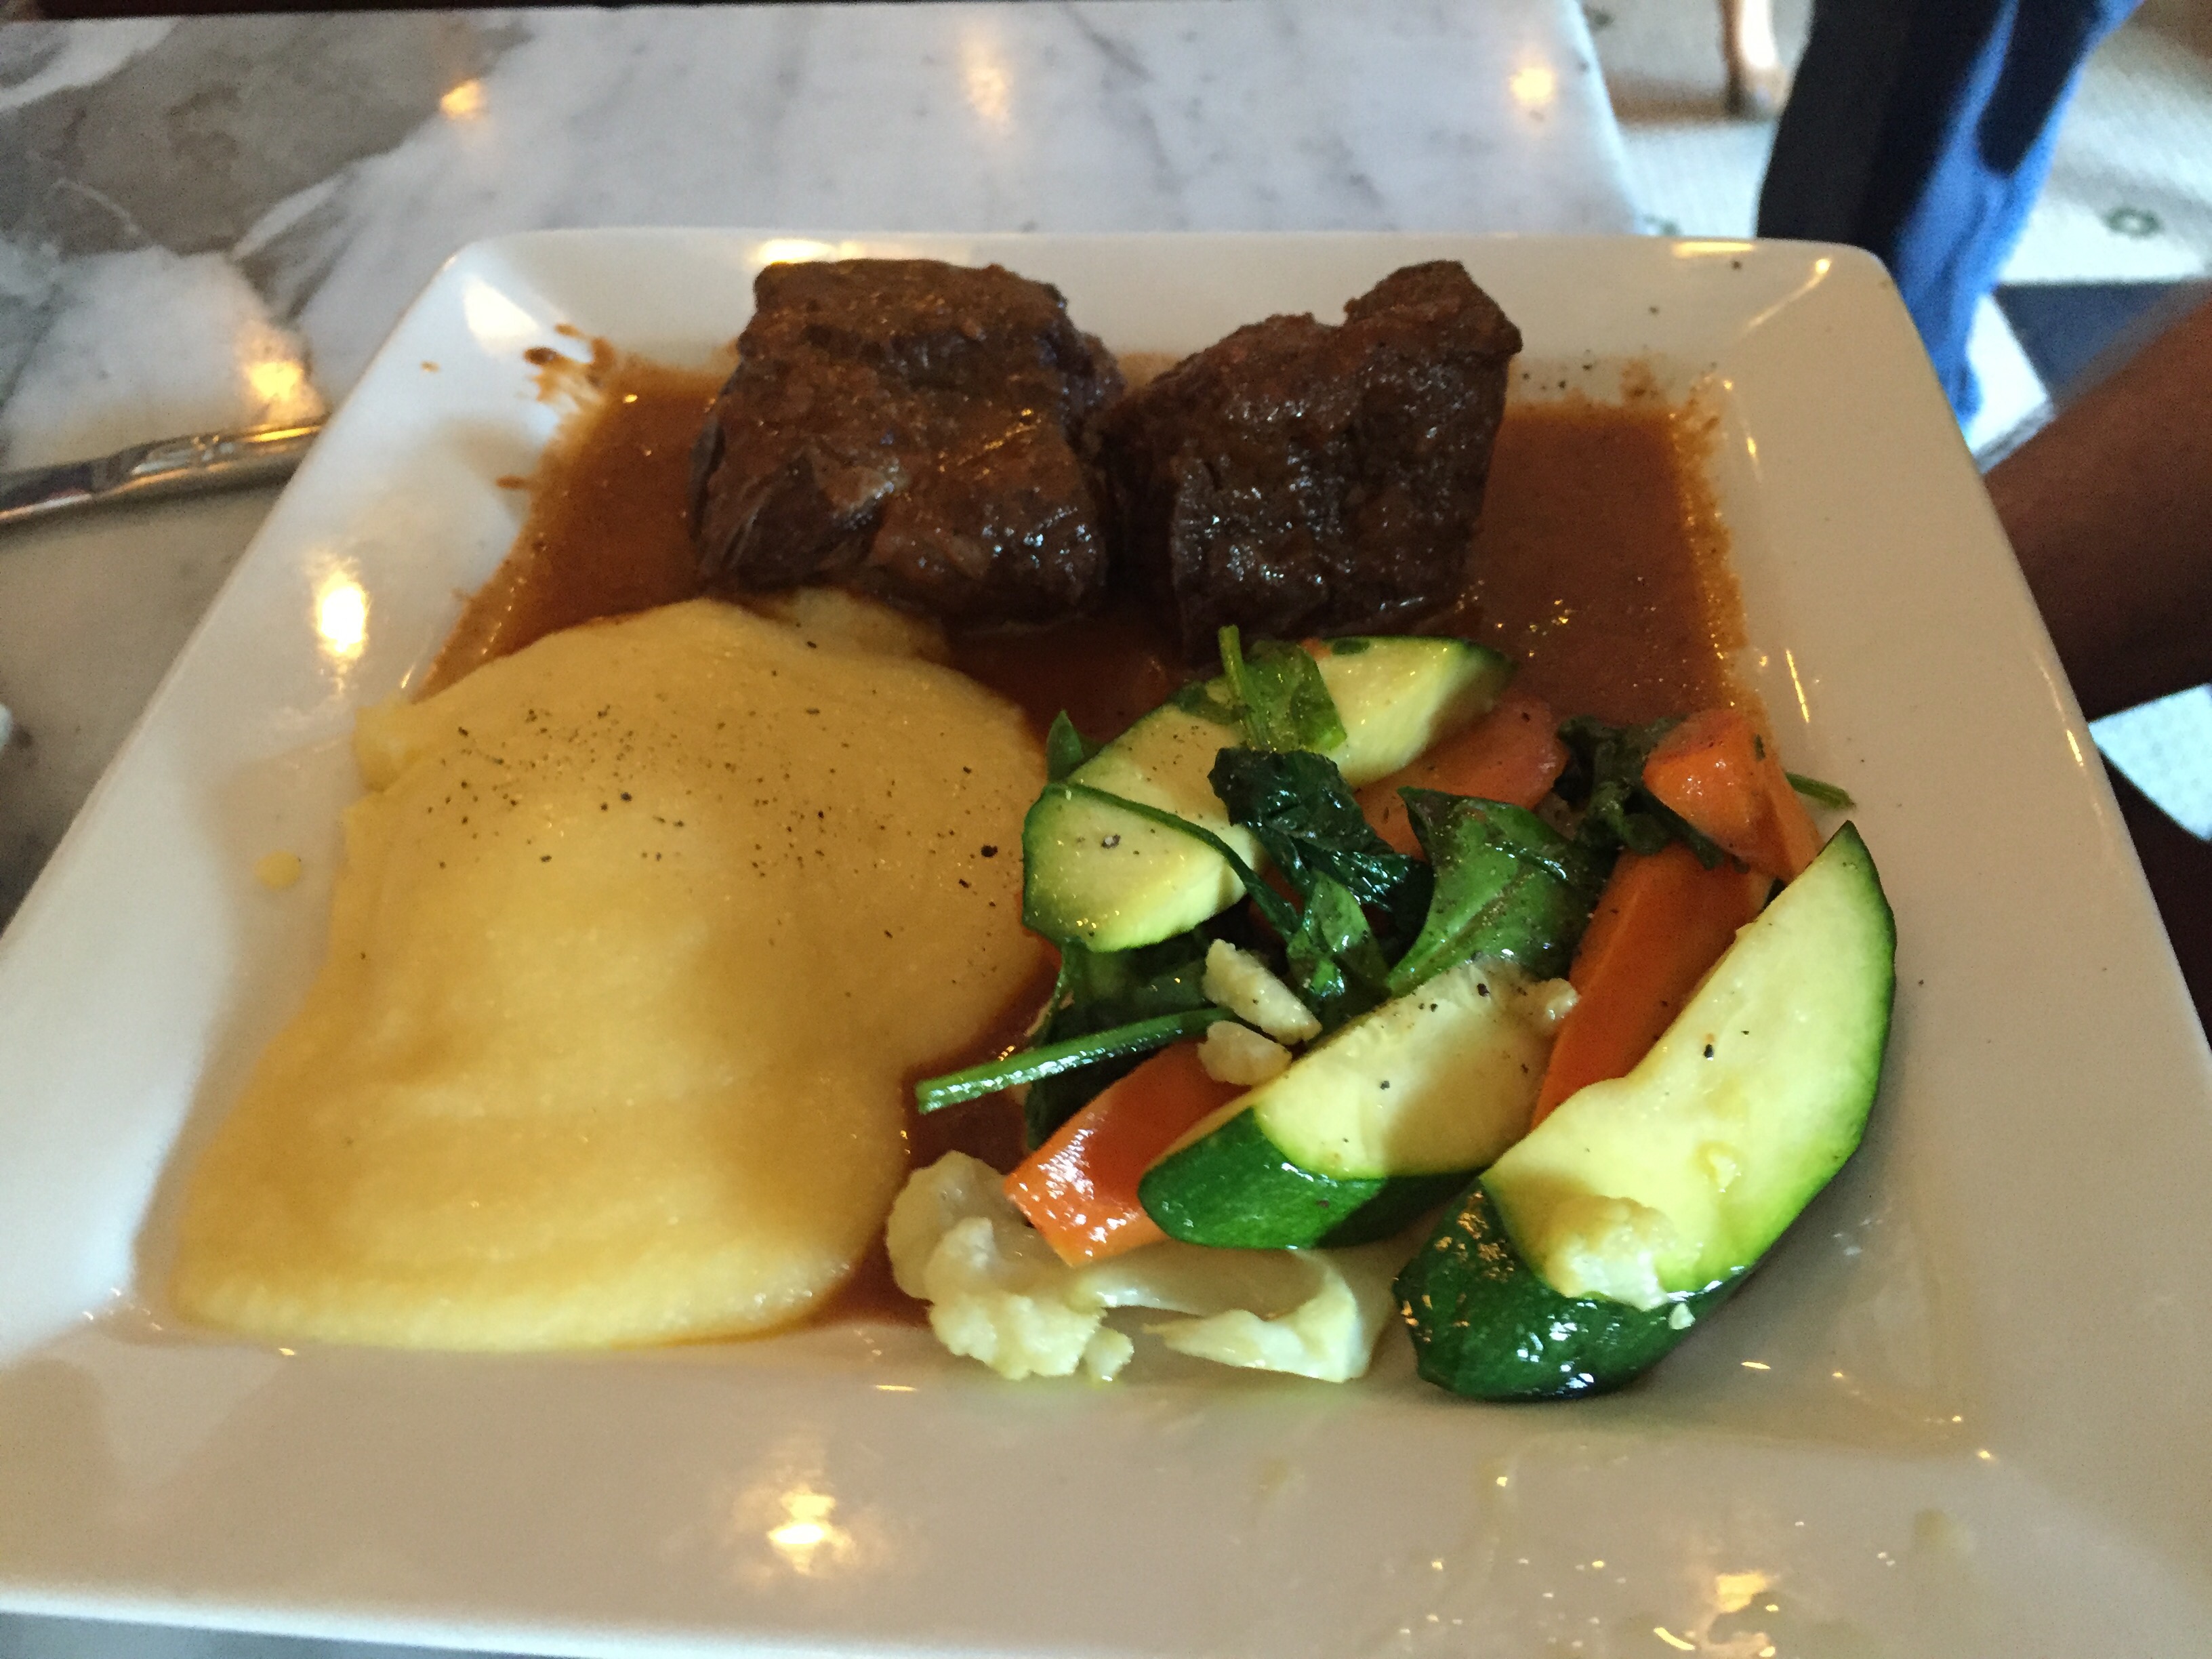
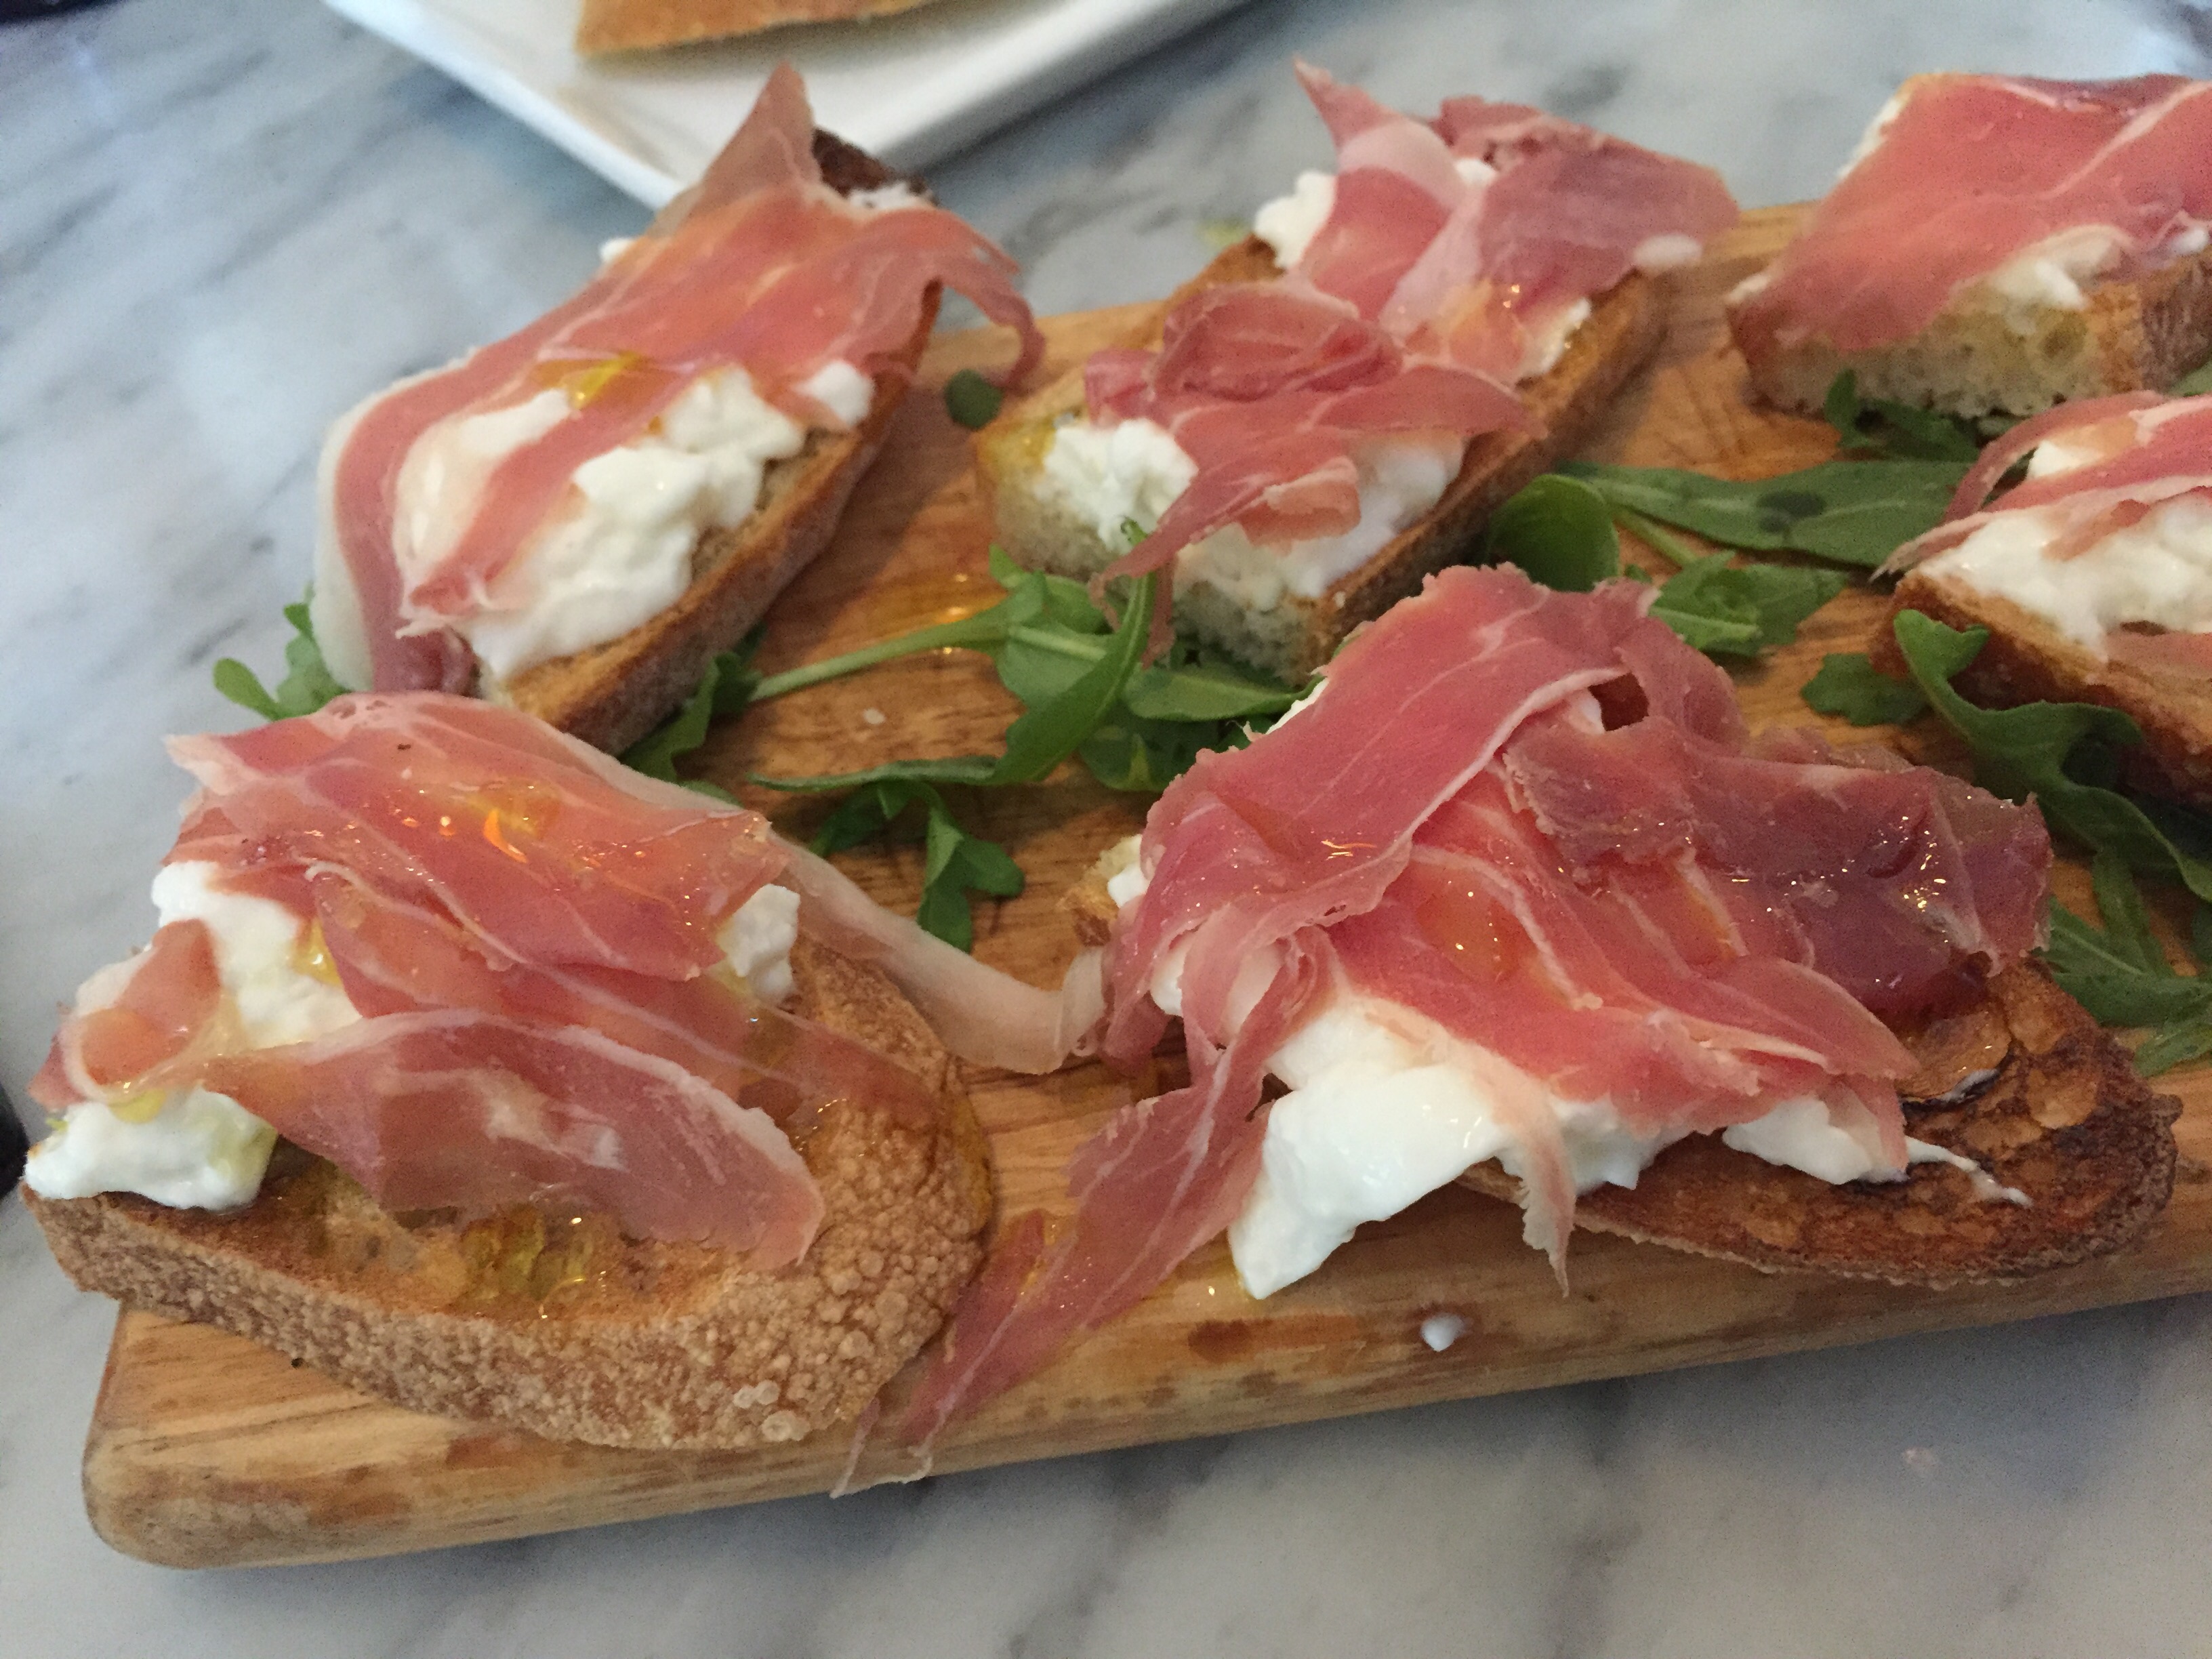
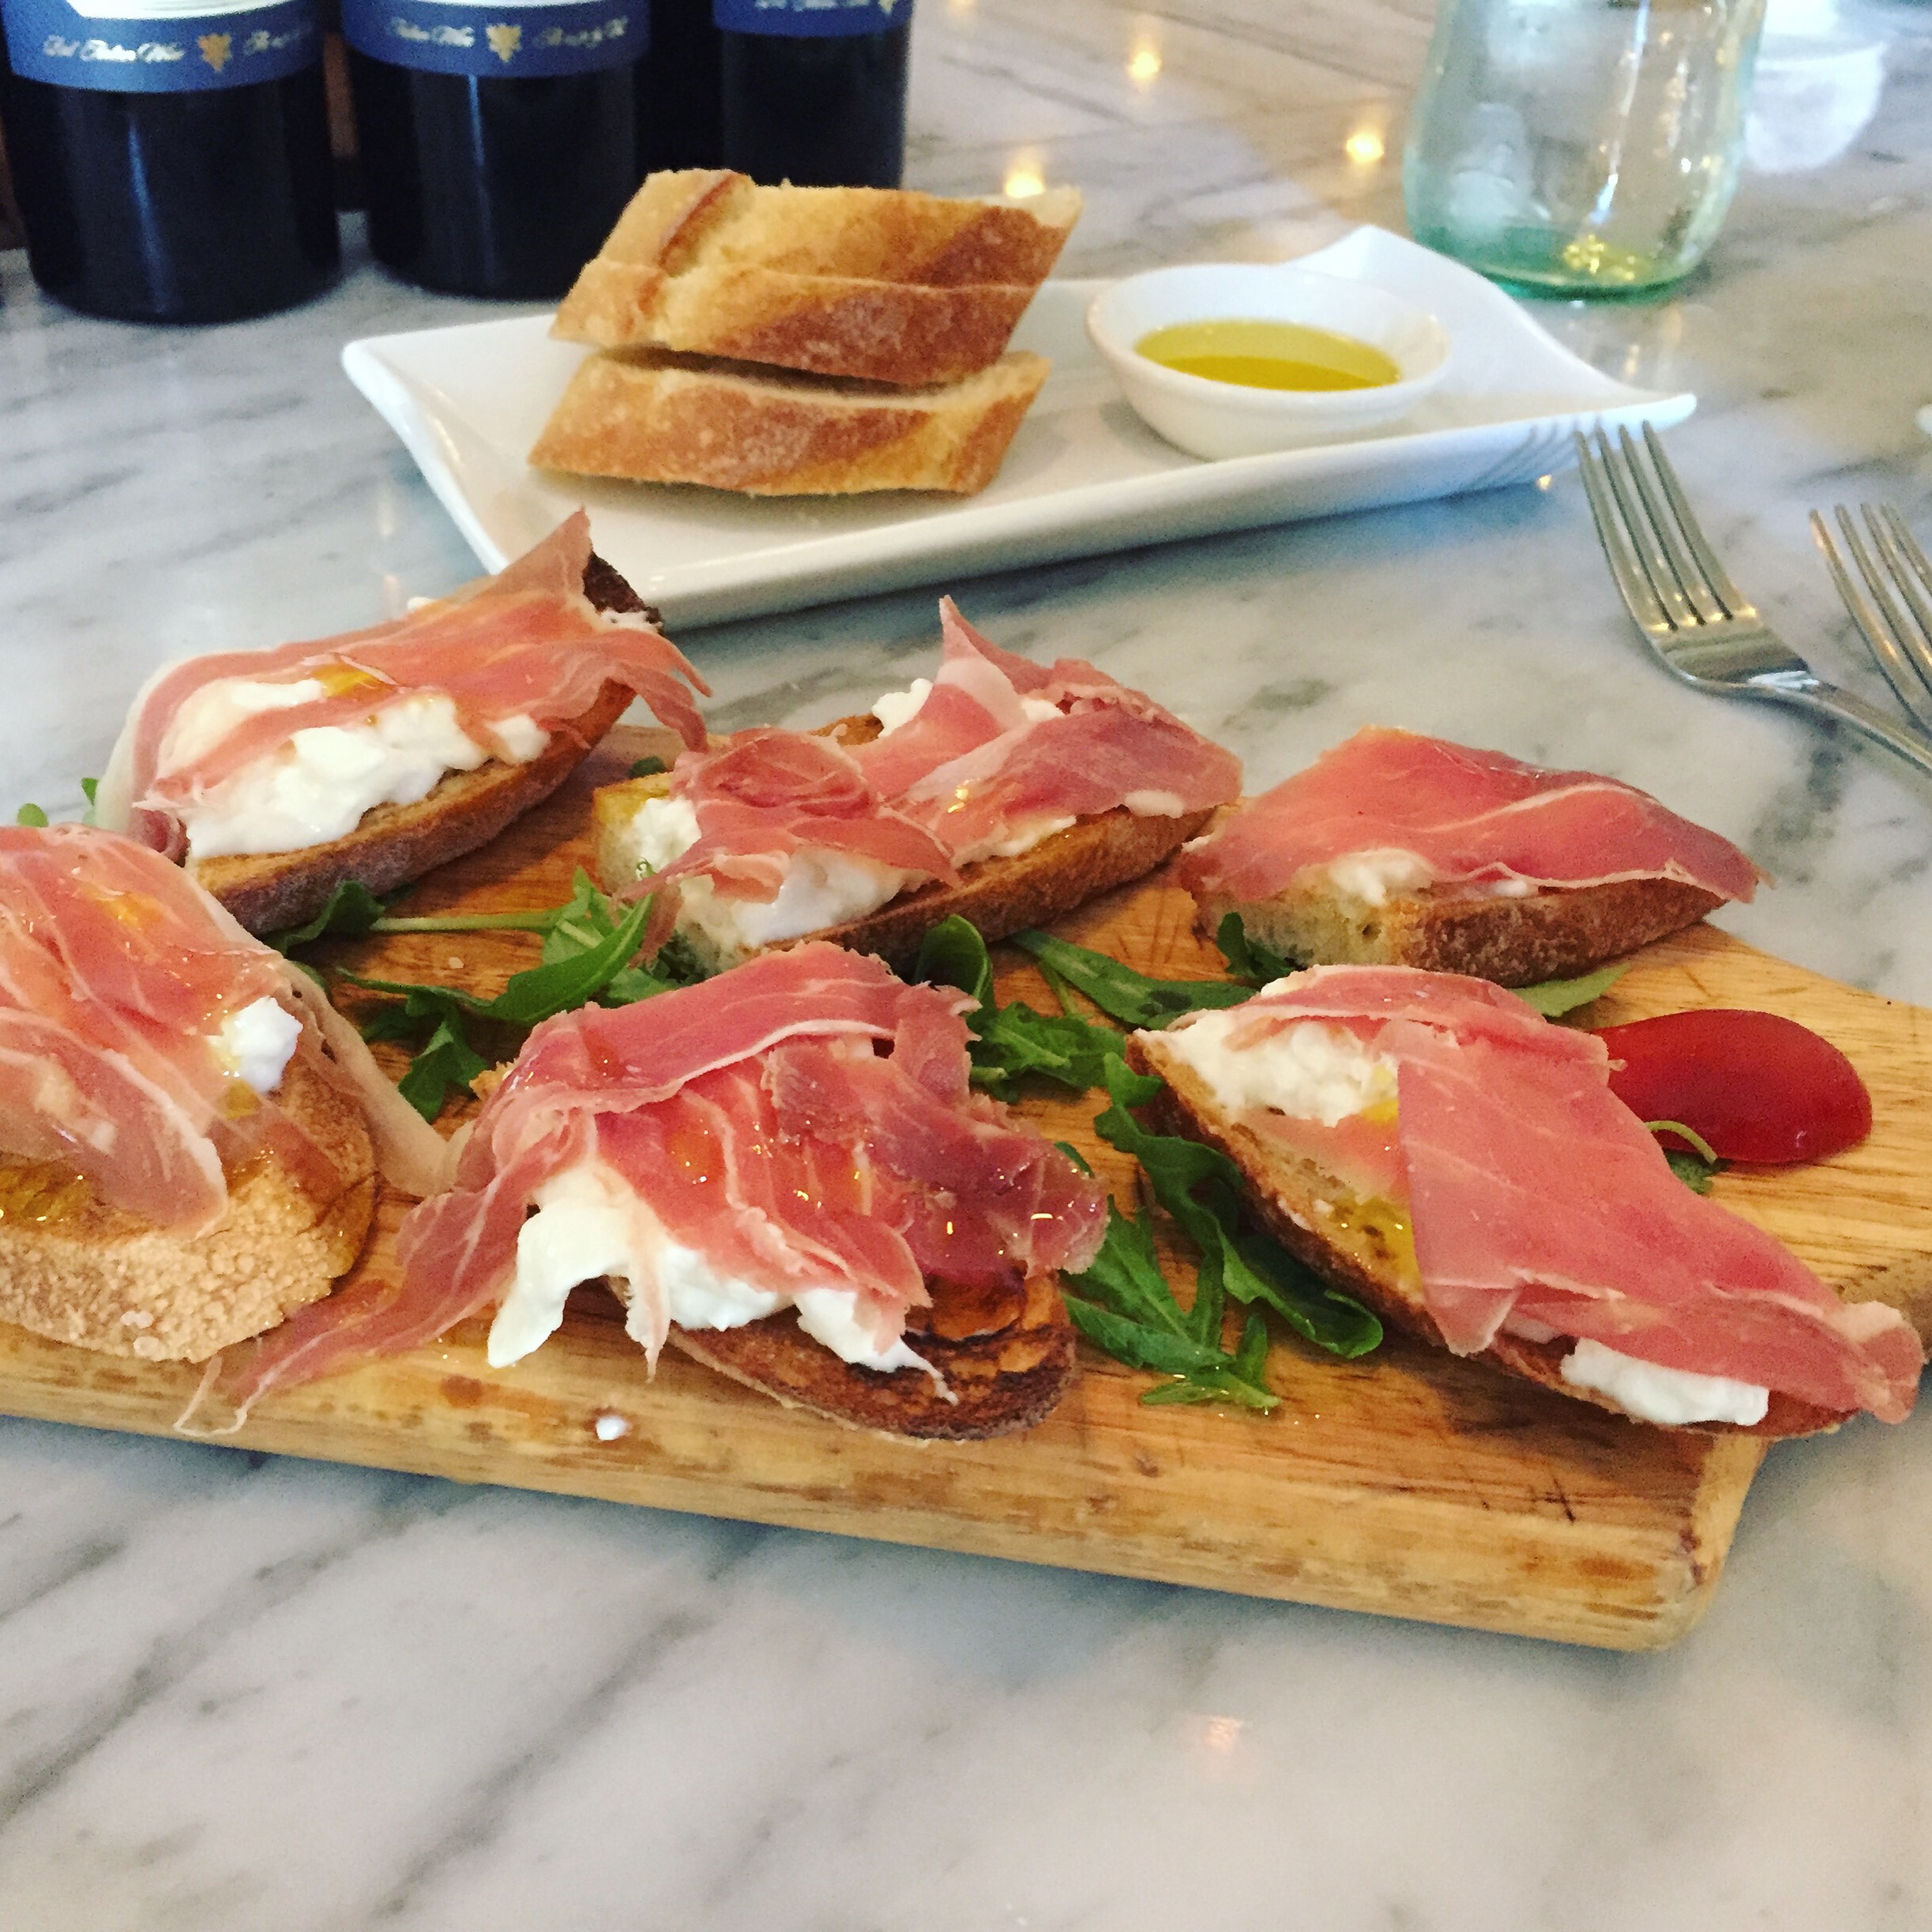
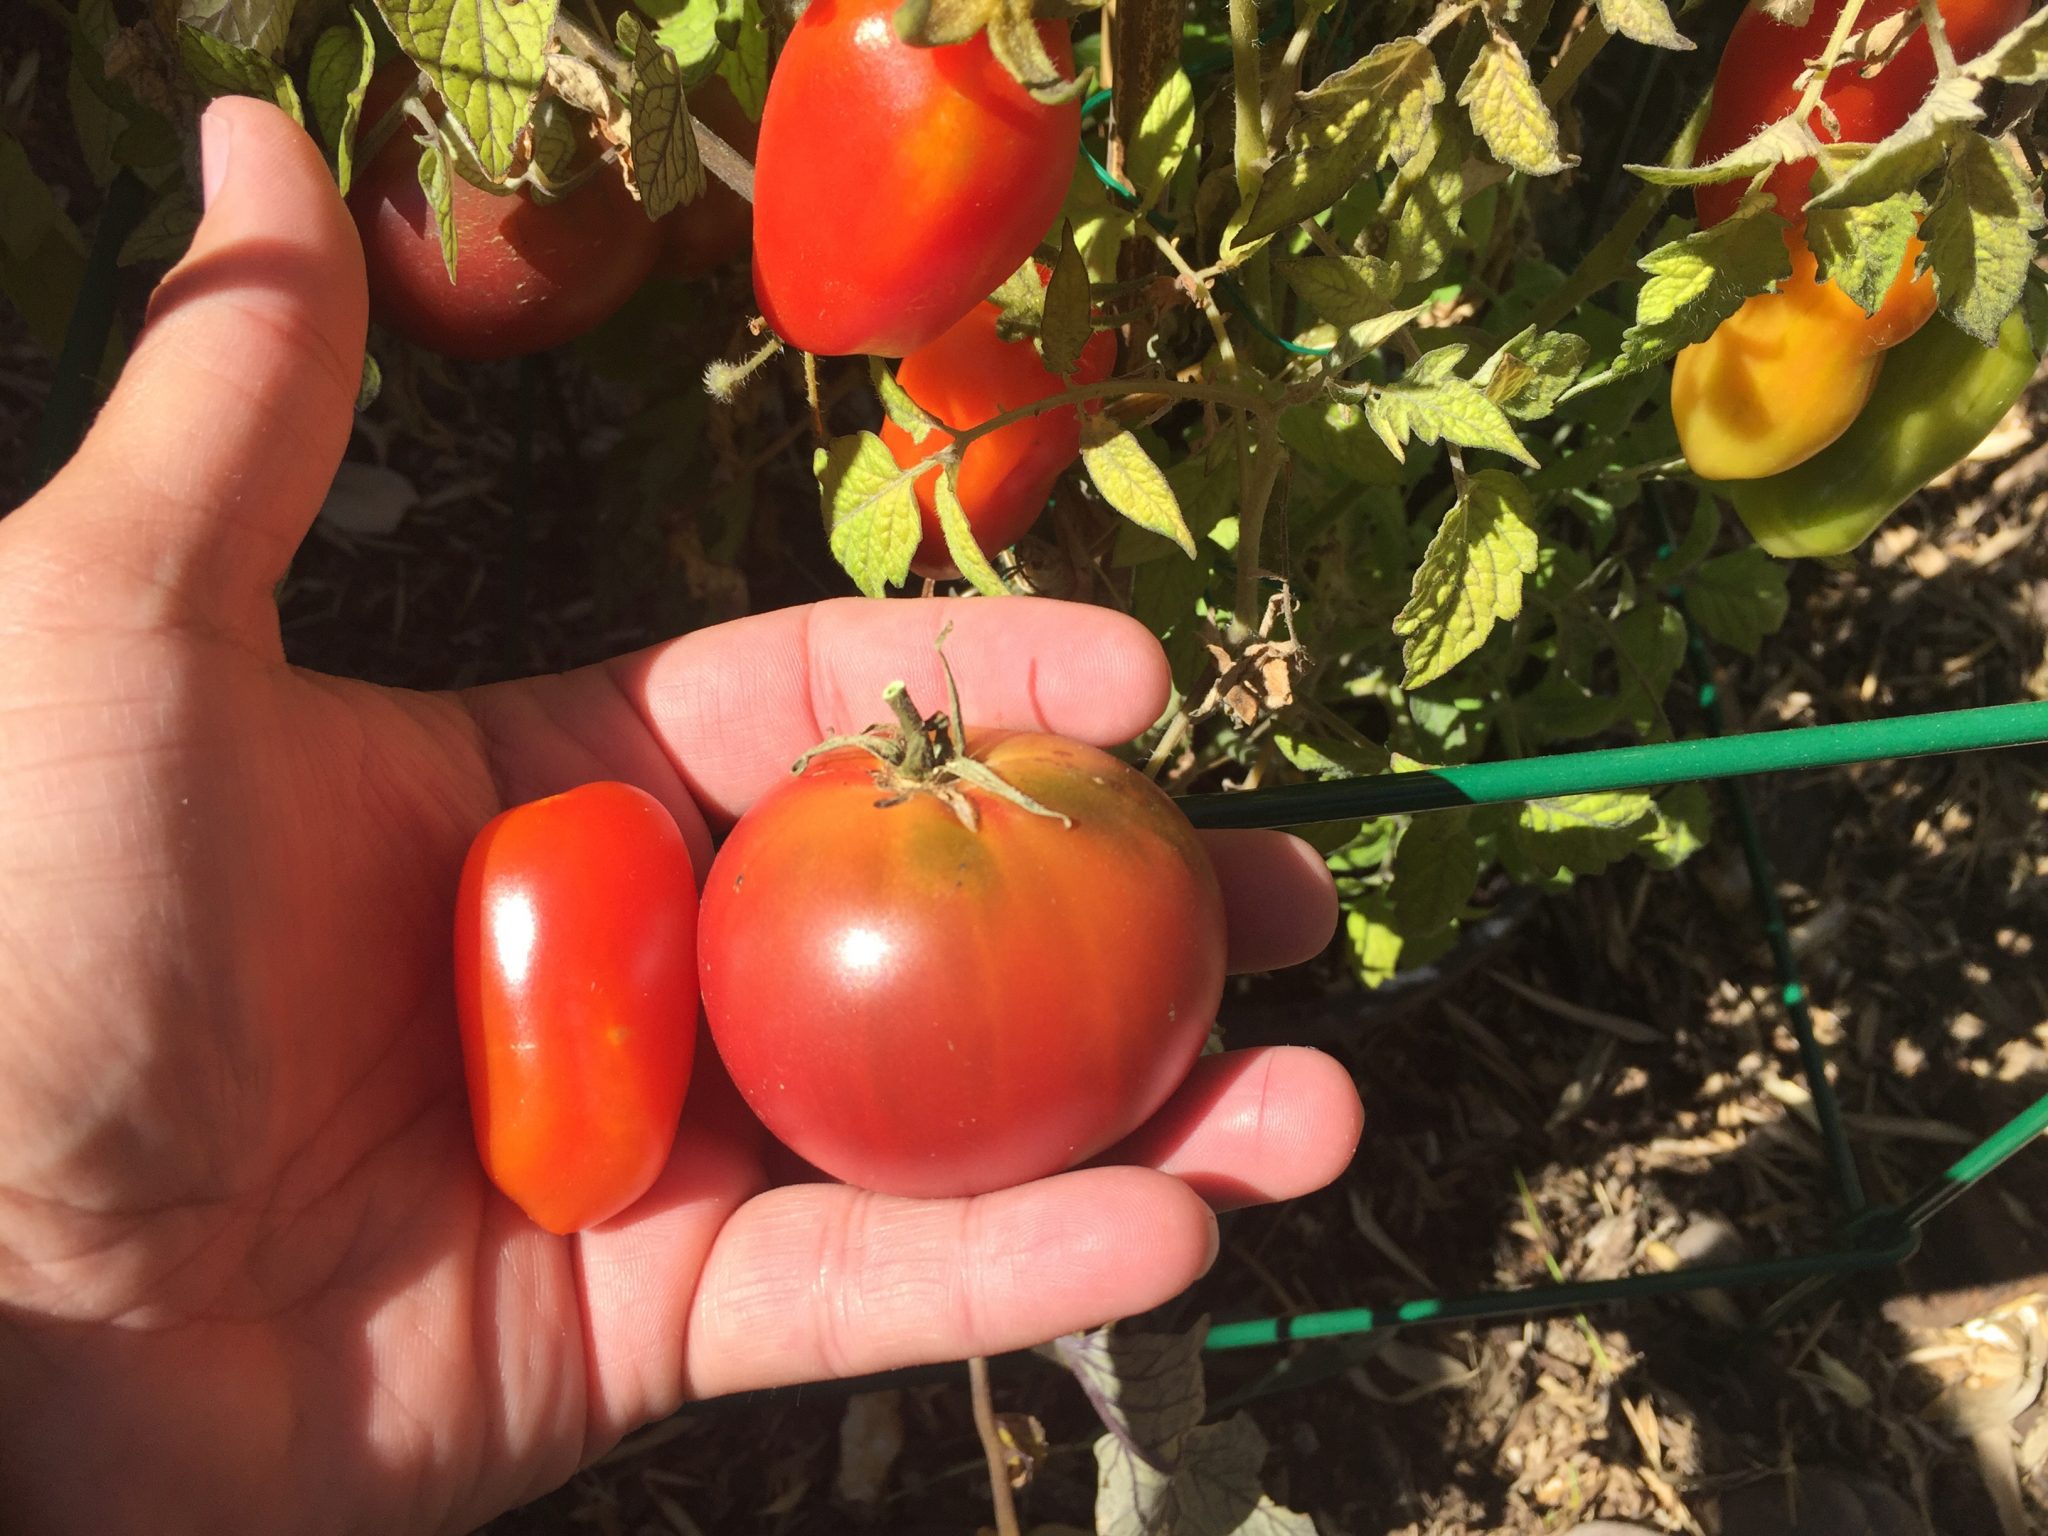
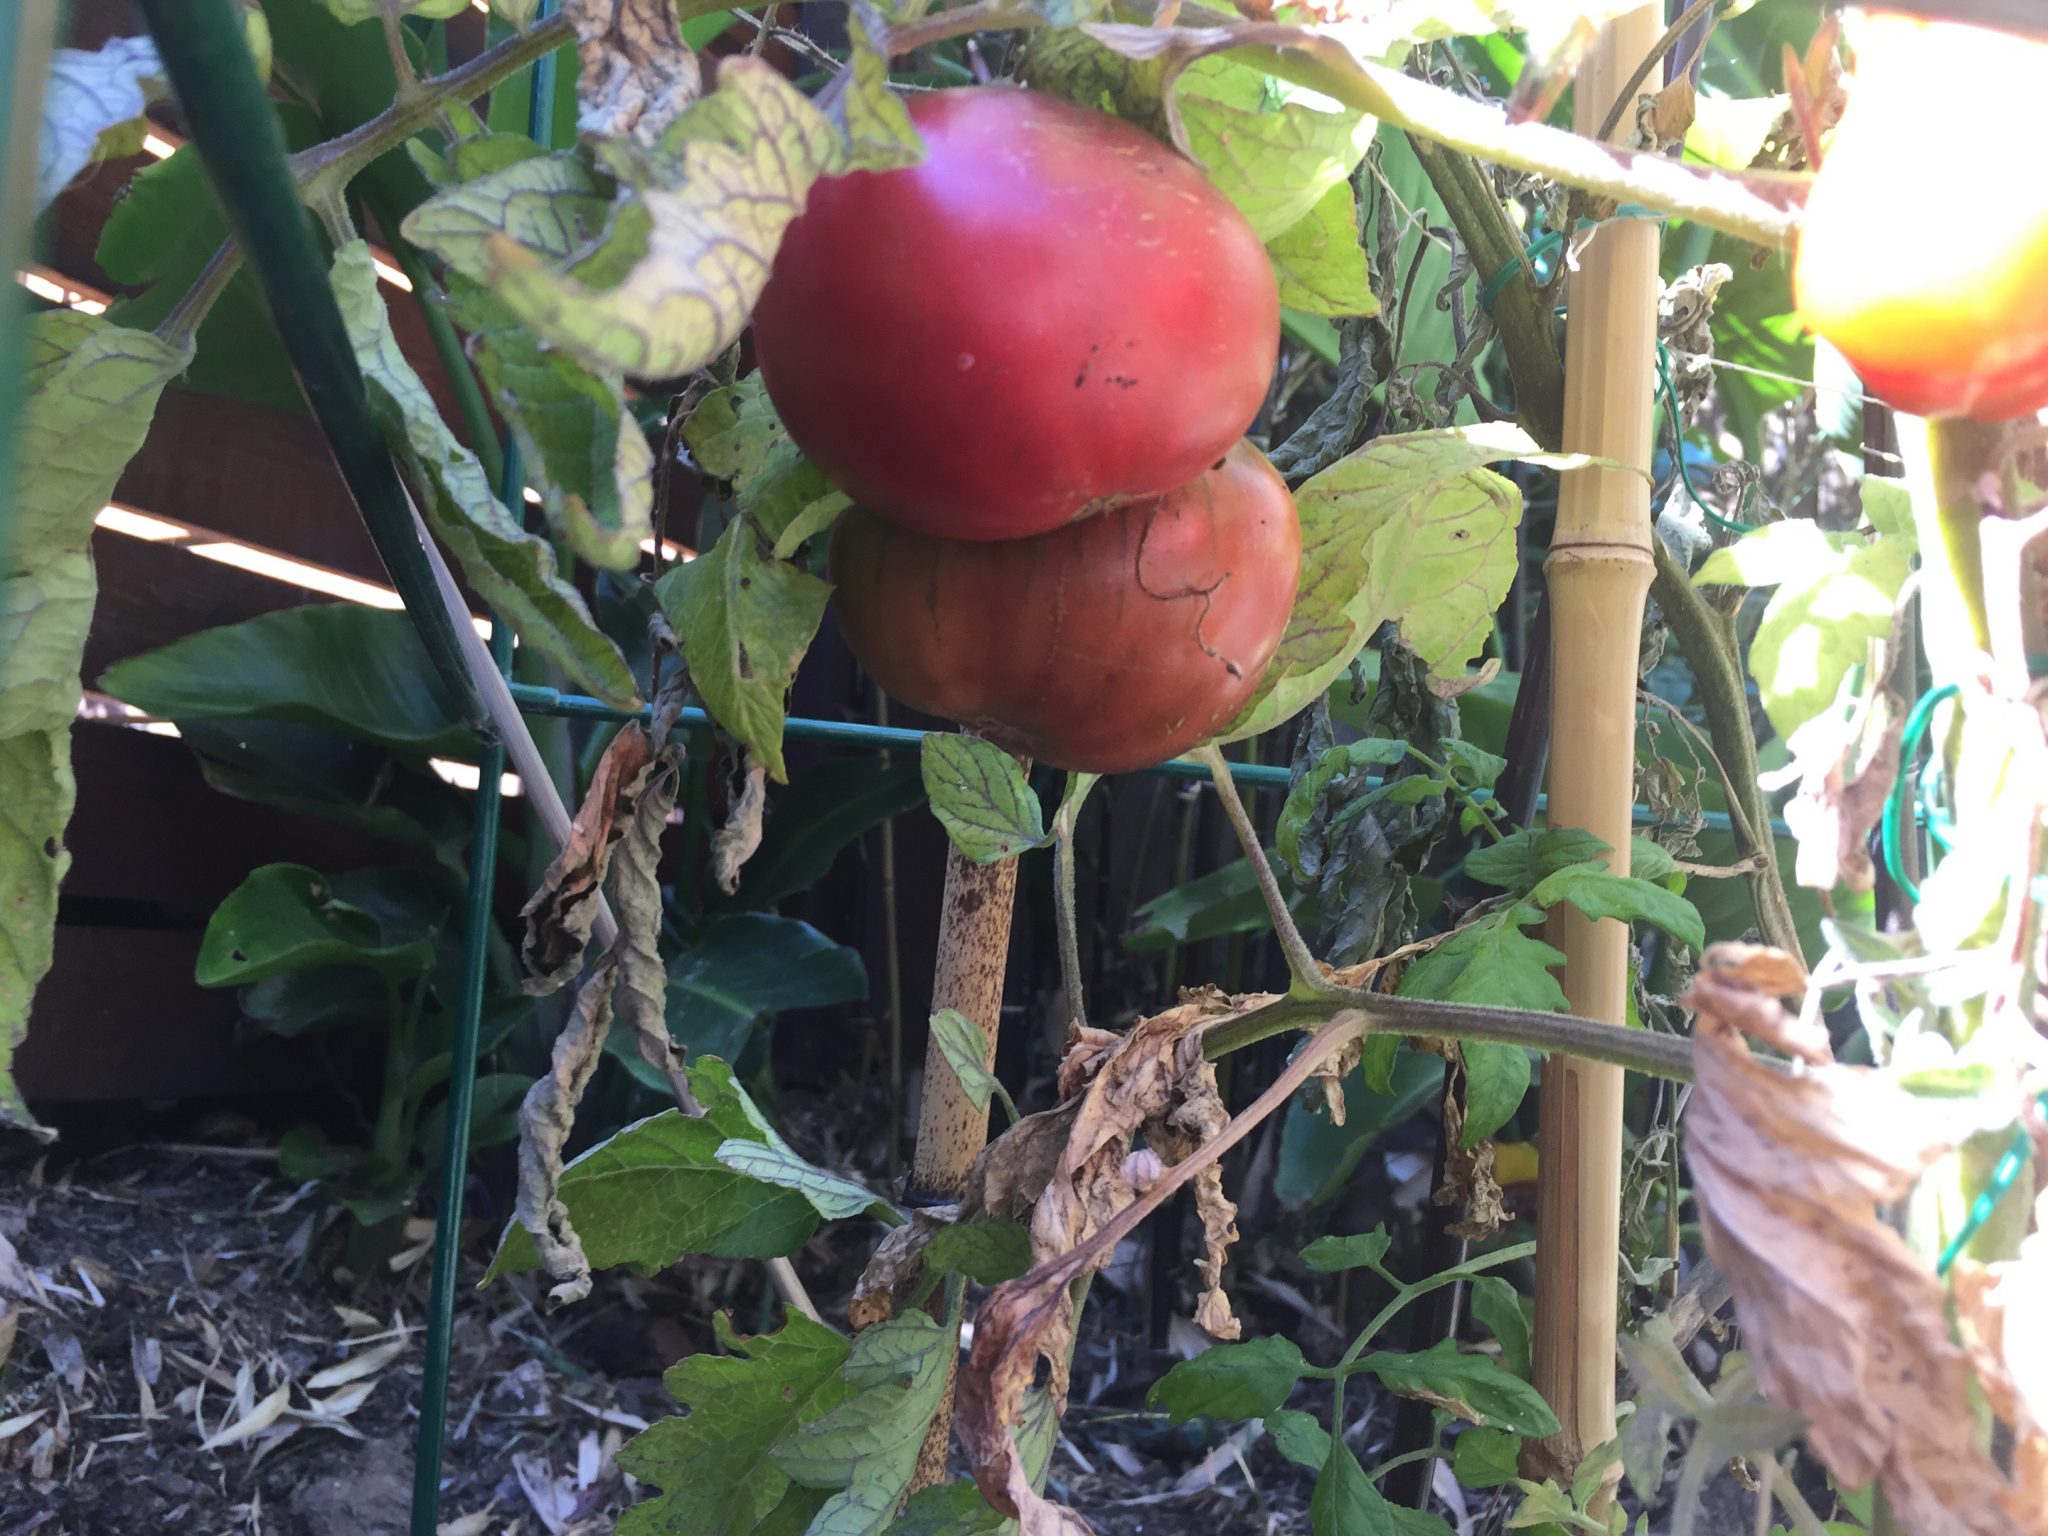
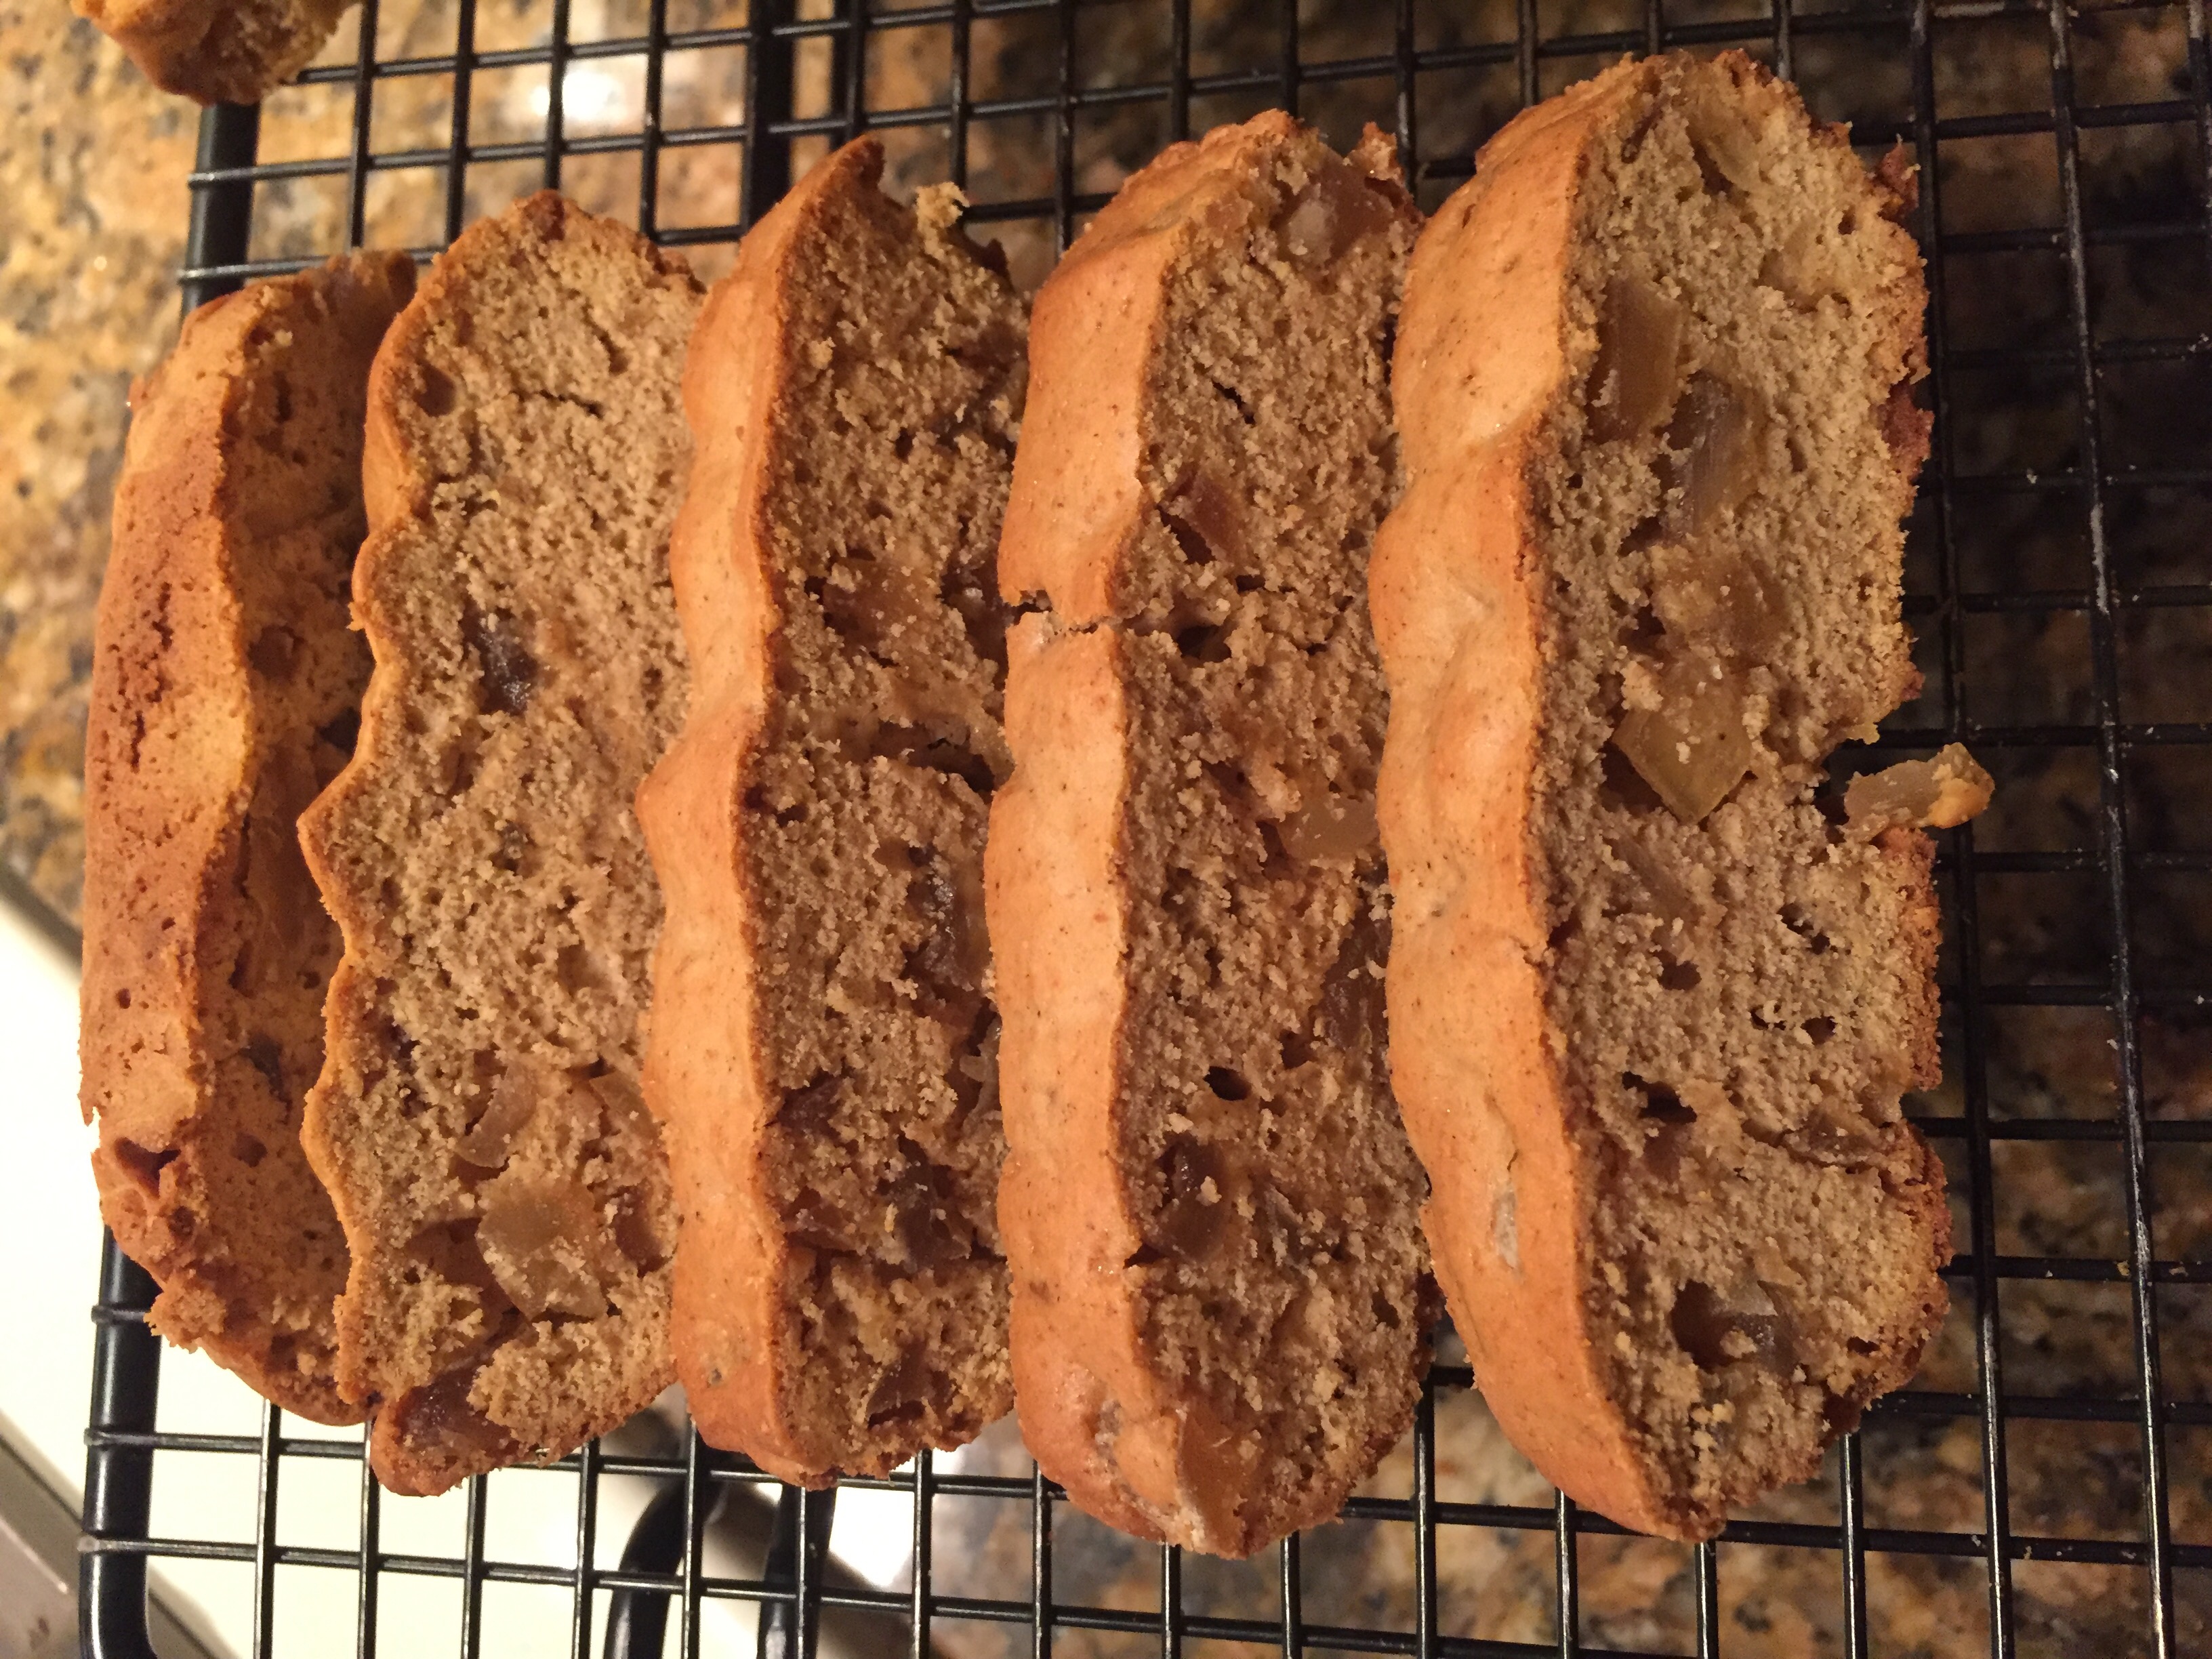
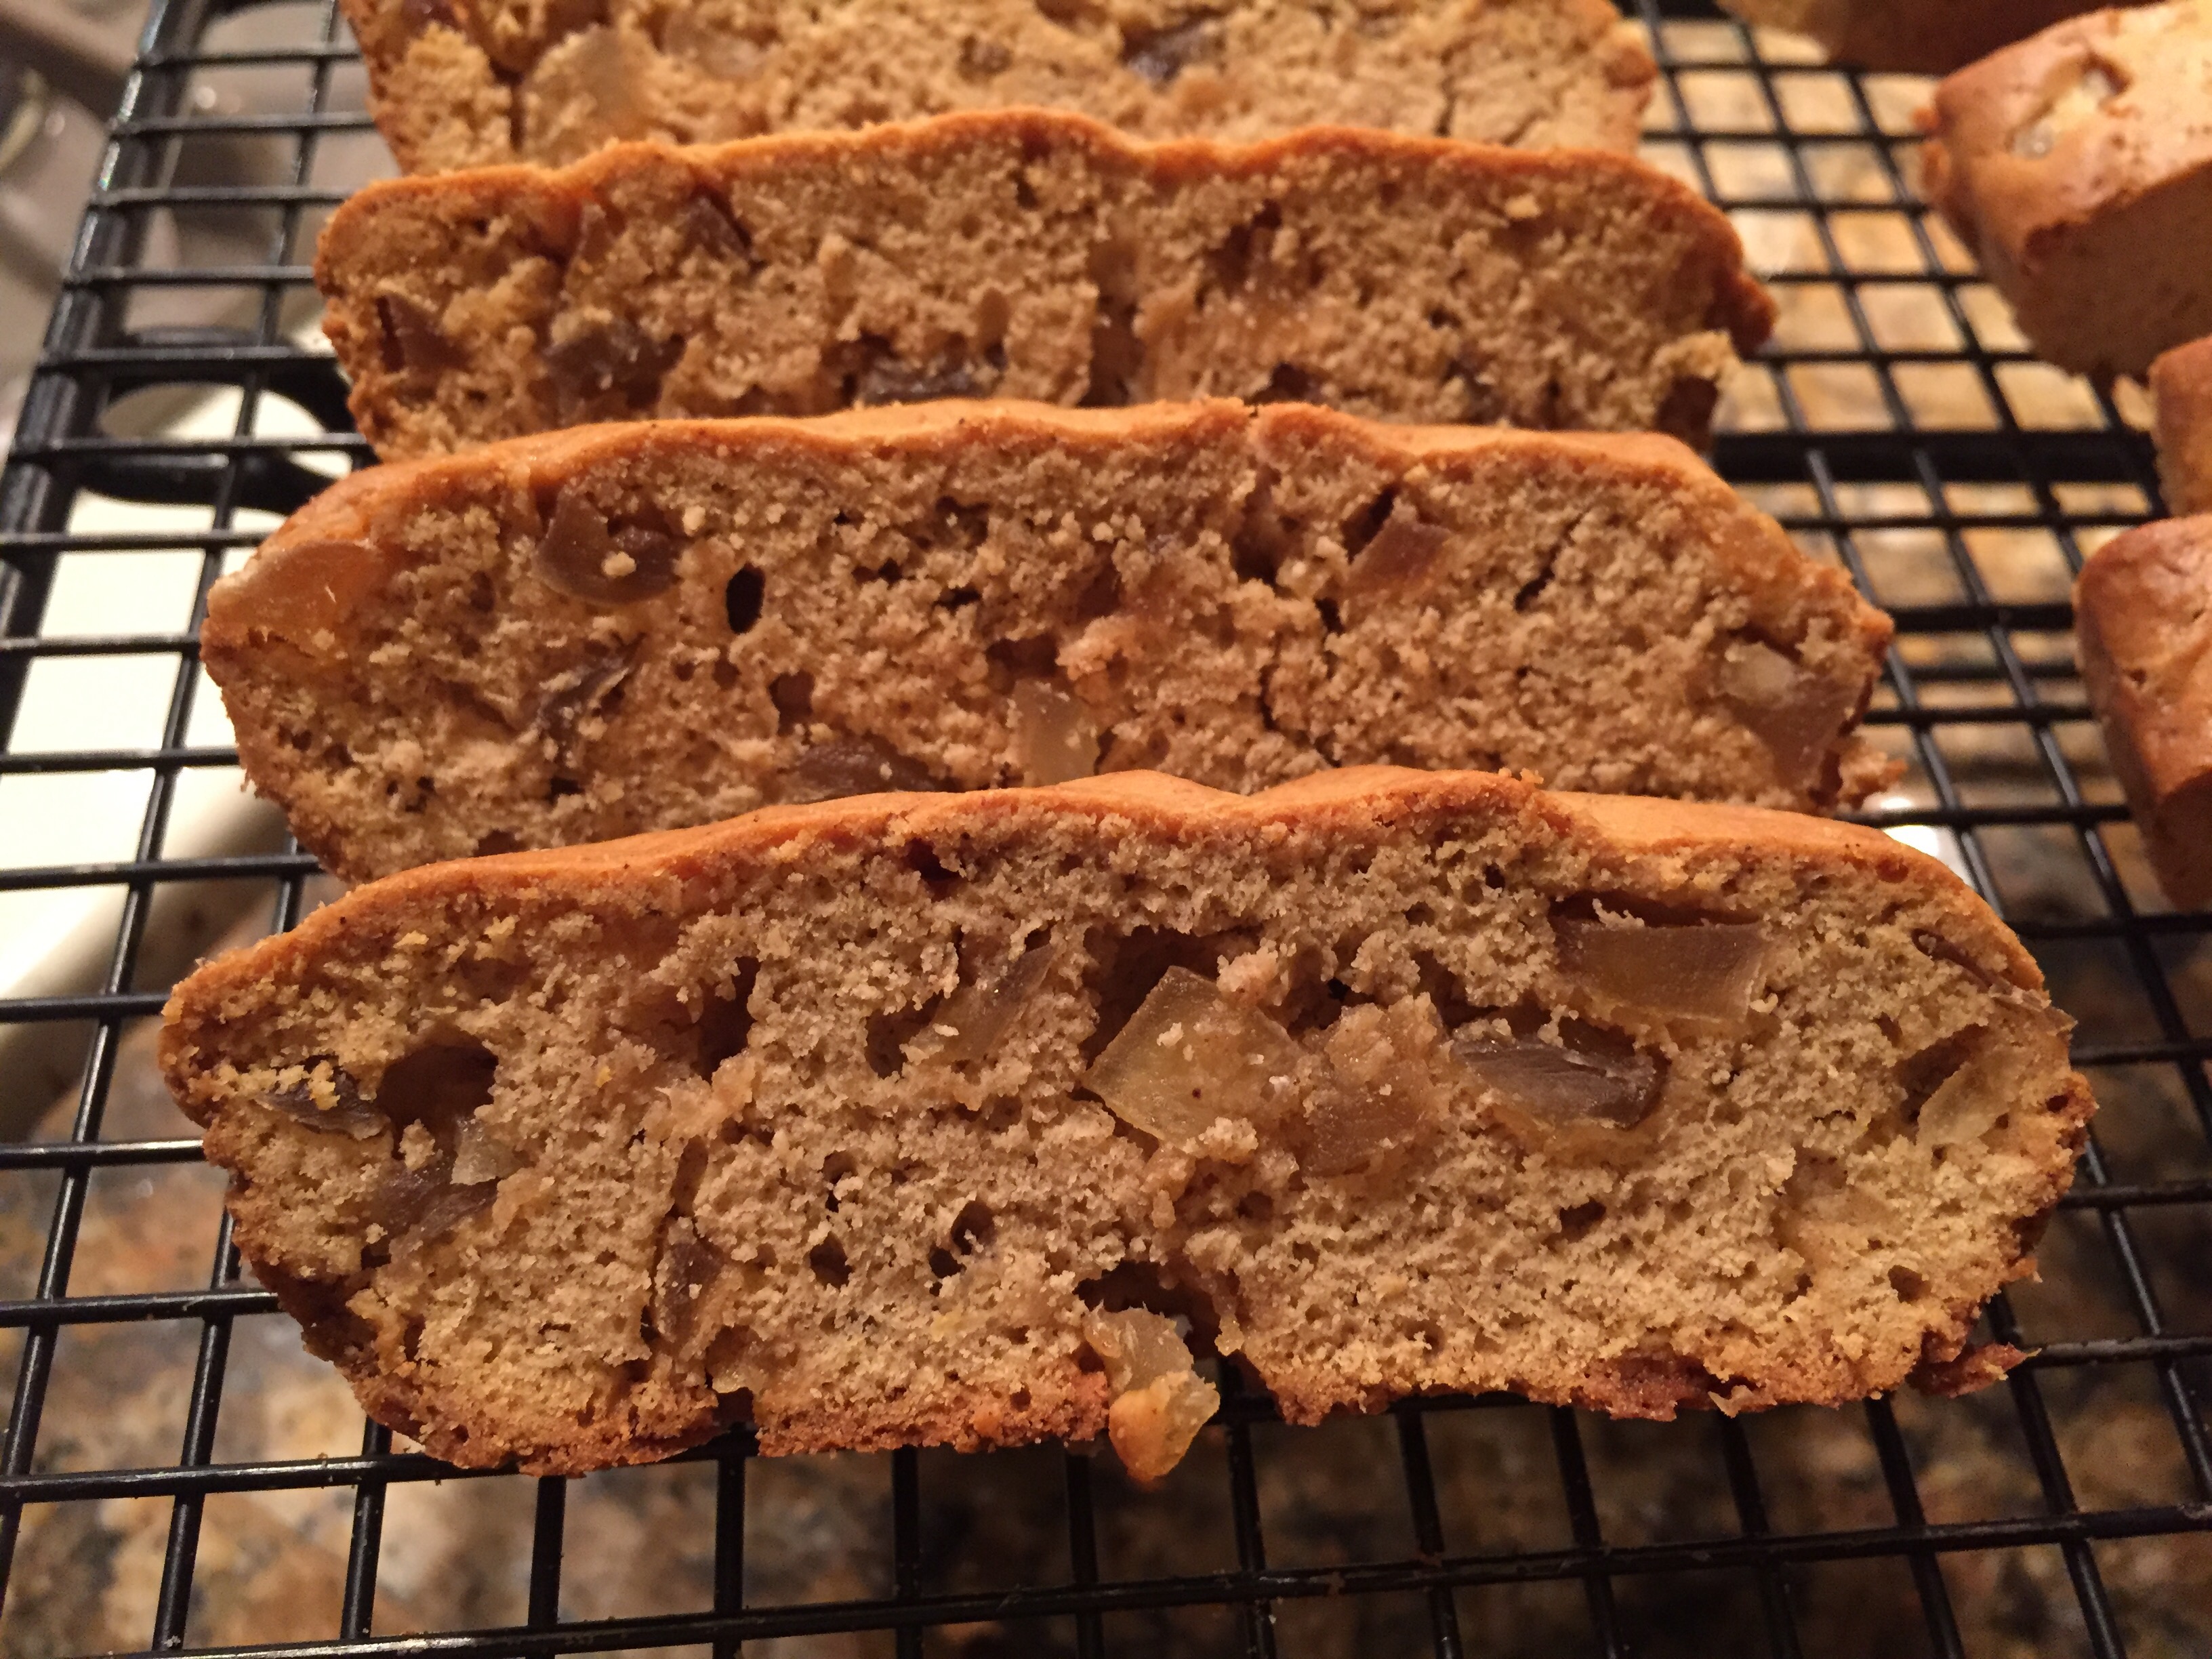
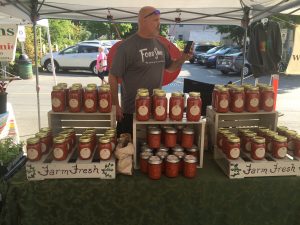
Enjoying a summer memory

From sweet to savory.. much like it’s staff, my morning visit at Joe’s Coffee is how I start my days in ptown. With the everchanging, yet consistant range of people watching, parade of “walk of shamers” to the local dishen up “care” with the daily menu of  “did ya hear about”, I can say I wouldnt have it any other way.

image


On the Saturdays when the Farmers Market is in; you never know what specialty awaits. Today it was fresh local  jared tomato sauce from Foss Farms.  My order, which will be arriving in San Francisco by mail soon after my return

image

Relish isn’t just a summer goto place – here comes “santa”

Let’s face it  – every so often, you just need a good cupcake. Sometimes you want to get creative with the fancy flavors and icing – but more often than not, I want plain, good, deep dark chocolate with a slightly gooey, sweet chocolate frosting.image

While it Ptown of the summer, one rainy day I knew just where to go! Relish. Down in the west end, this little but highly fast and efficient sandwich, snack & bakery shop not only puts out some great sandwich and sides – they do some incredible desserts. I would say I eat three several times eat stay.image

A new feature I noticed this year was that your an order xmas cookies!! A pretty great idea – what better way to treat friends and family than with food products you already love. they have an entire holiday menu of options to choose from.image

Over on the website – I notes posting from the past that indicates; they do Thanksgiving Pies and Cupcakes and kick off  a workshop for Christmas cookies.  Orders for Christmas need to be placed by December 1st.

image
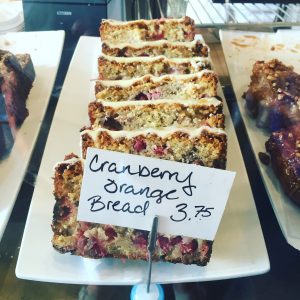
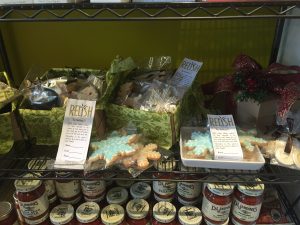
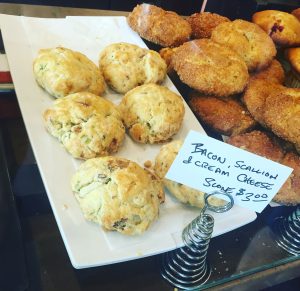
For more information, give them  a call at 508-487-8077.

you can find them at:

93 Commercial Street (at Cottage)  Provincetown  MA  02657

p: 508-487-8077

e: [email protected]