Hmm; it was my birthday yet somehow last night I ended up baking last week.
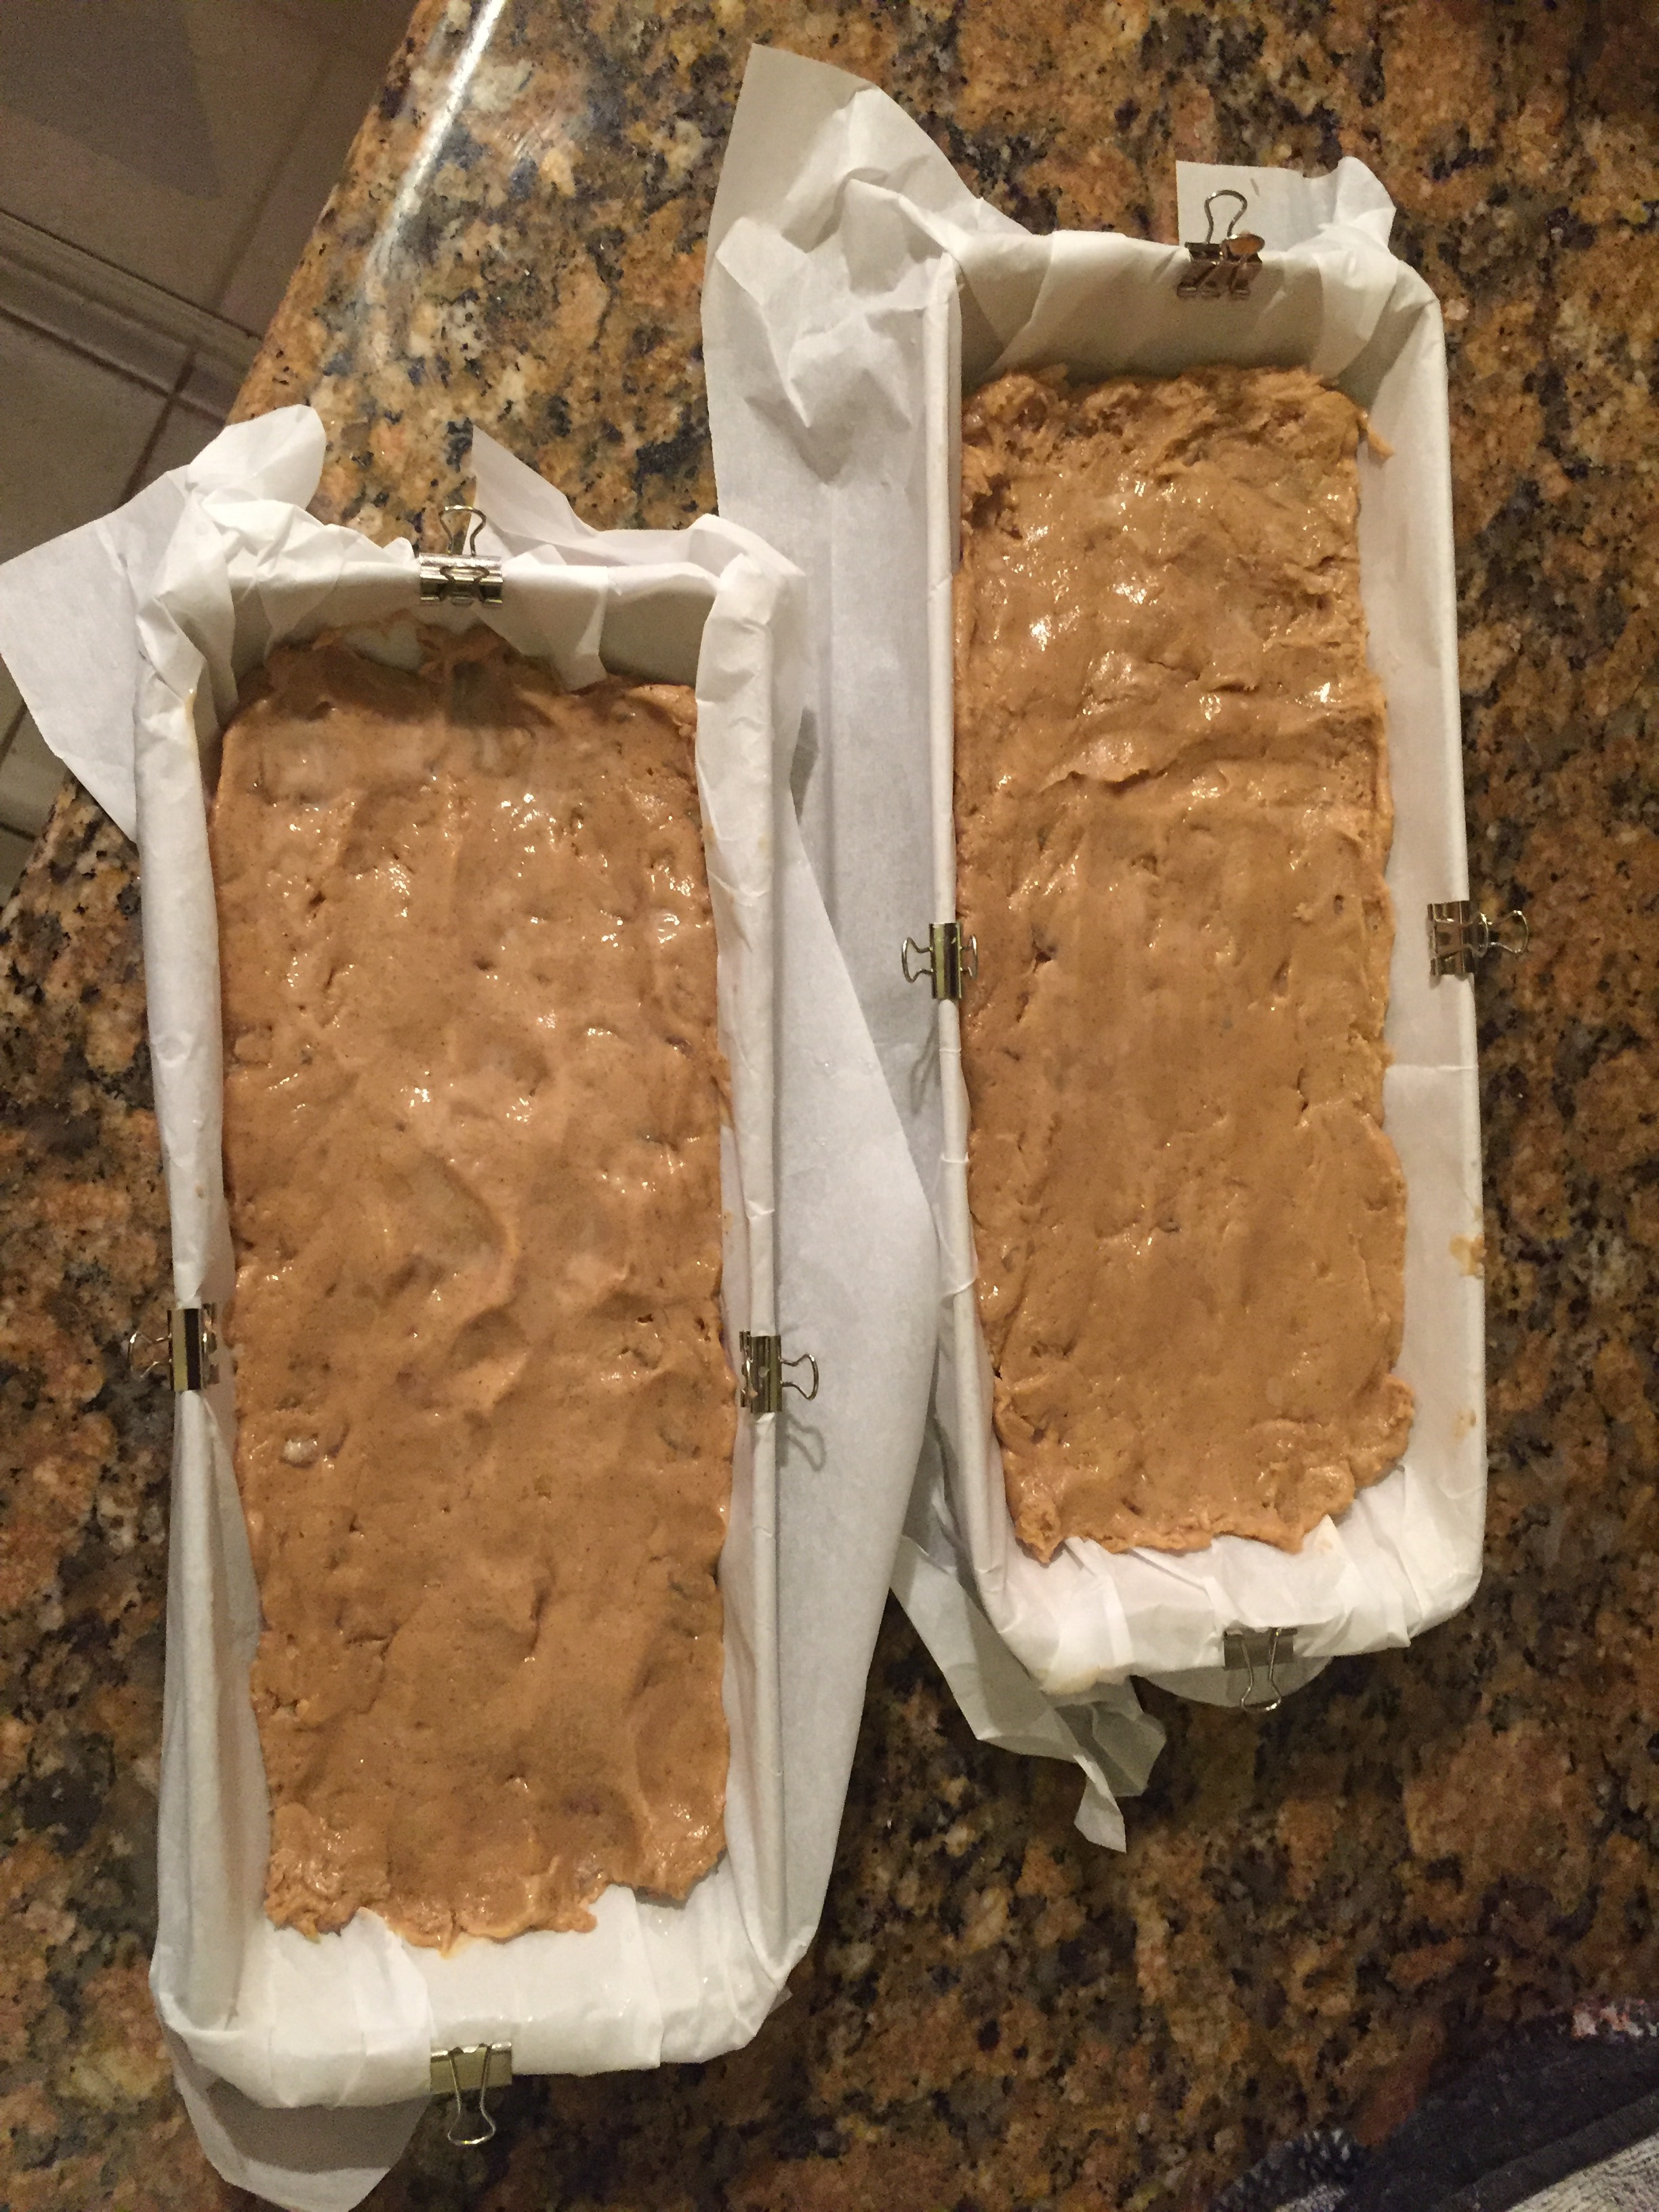
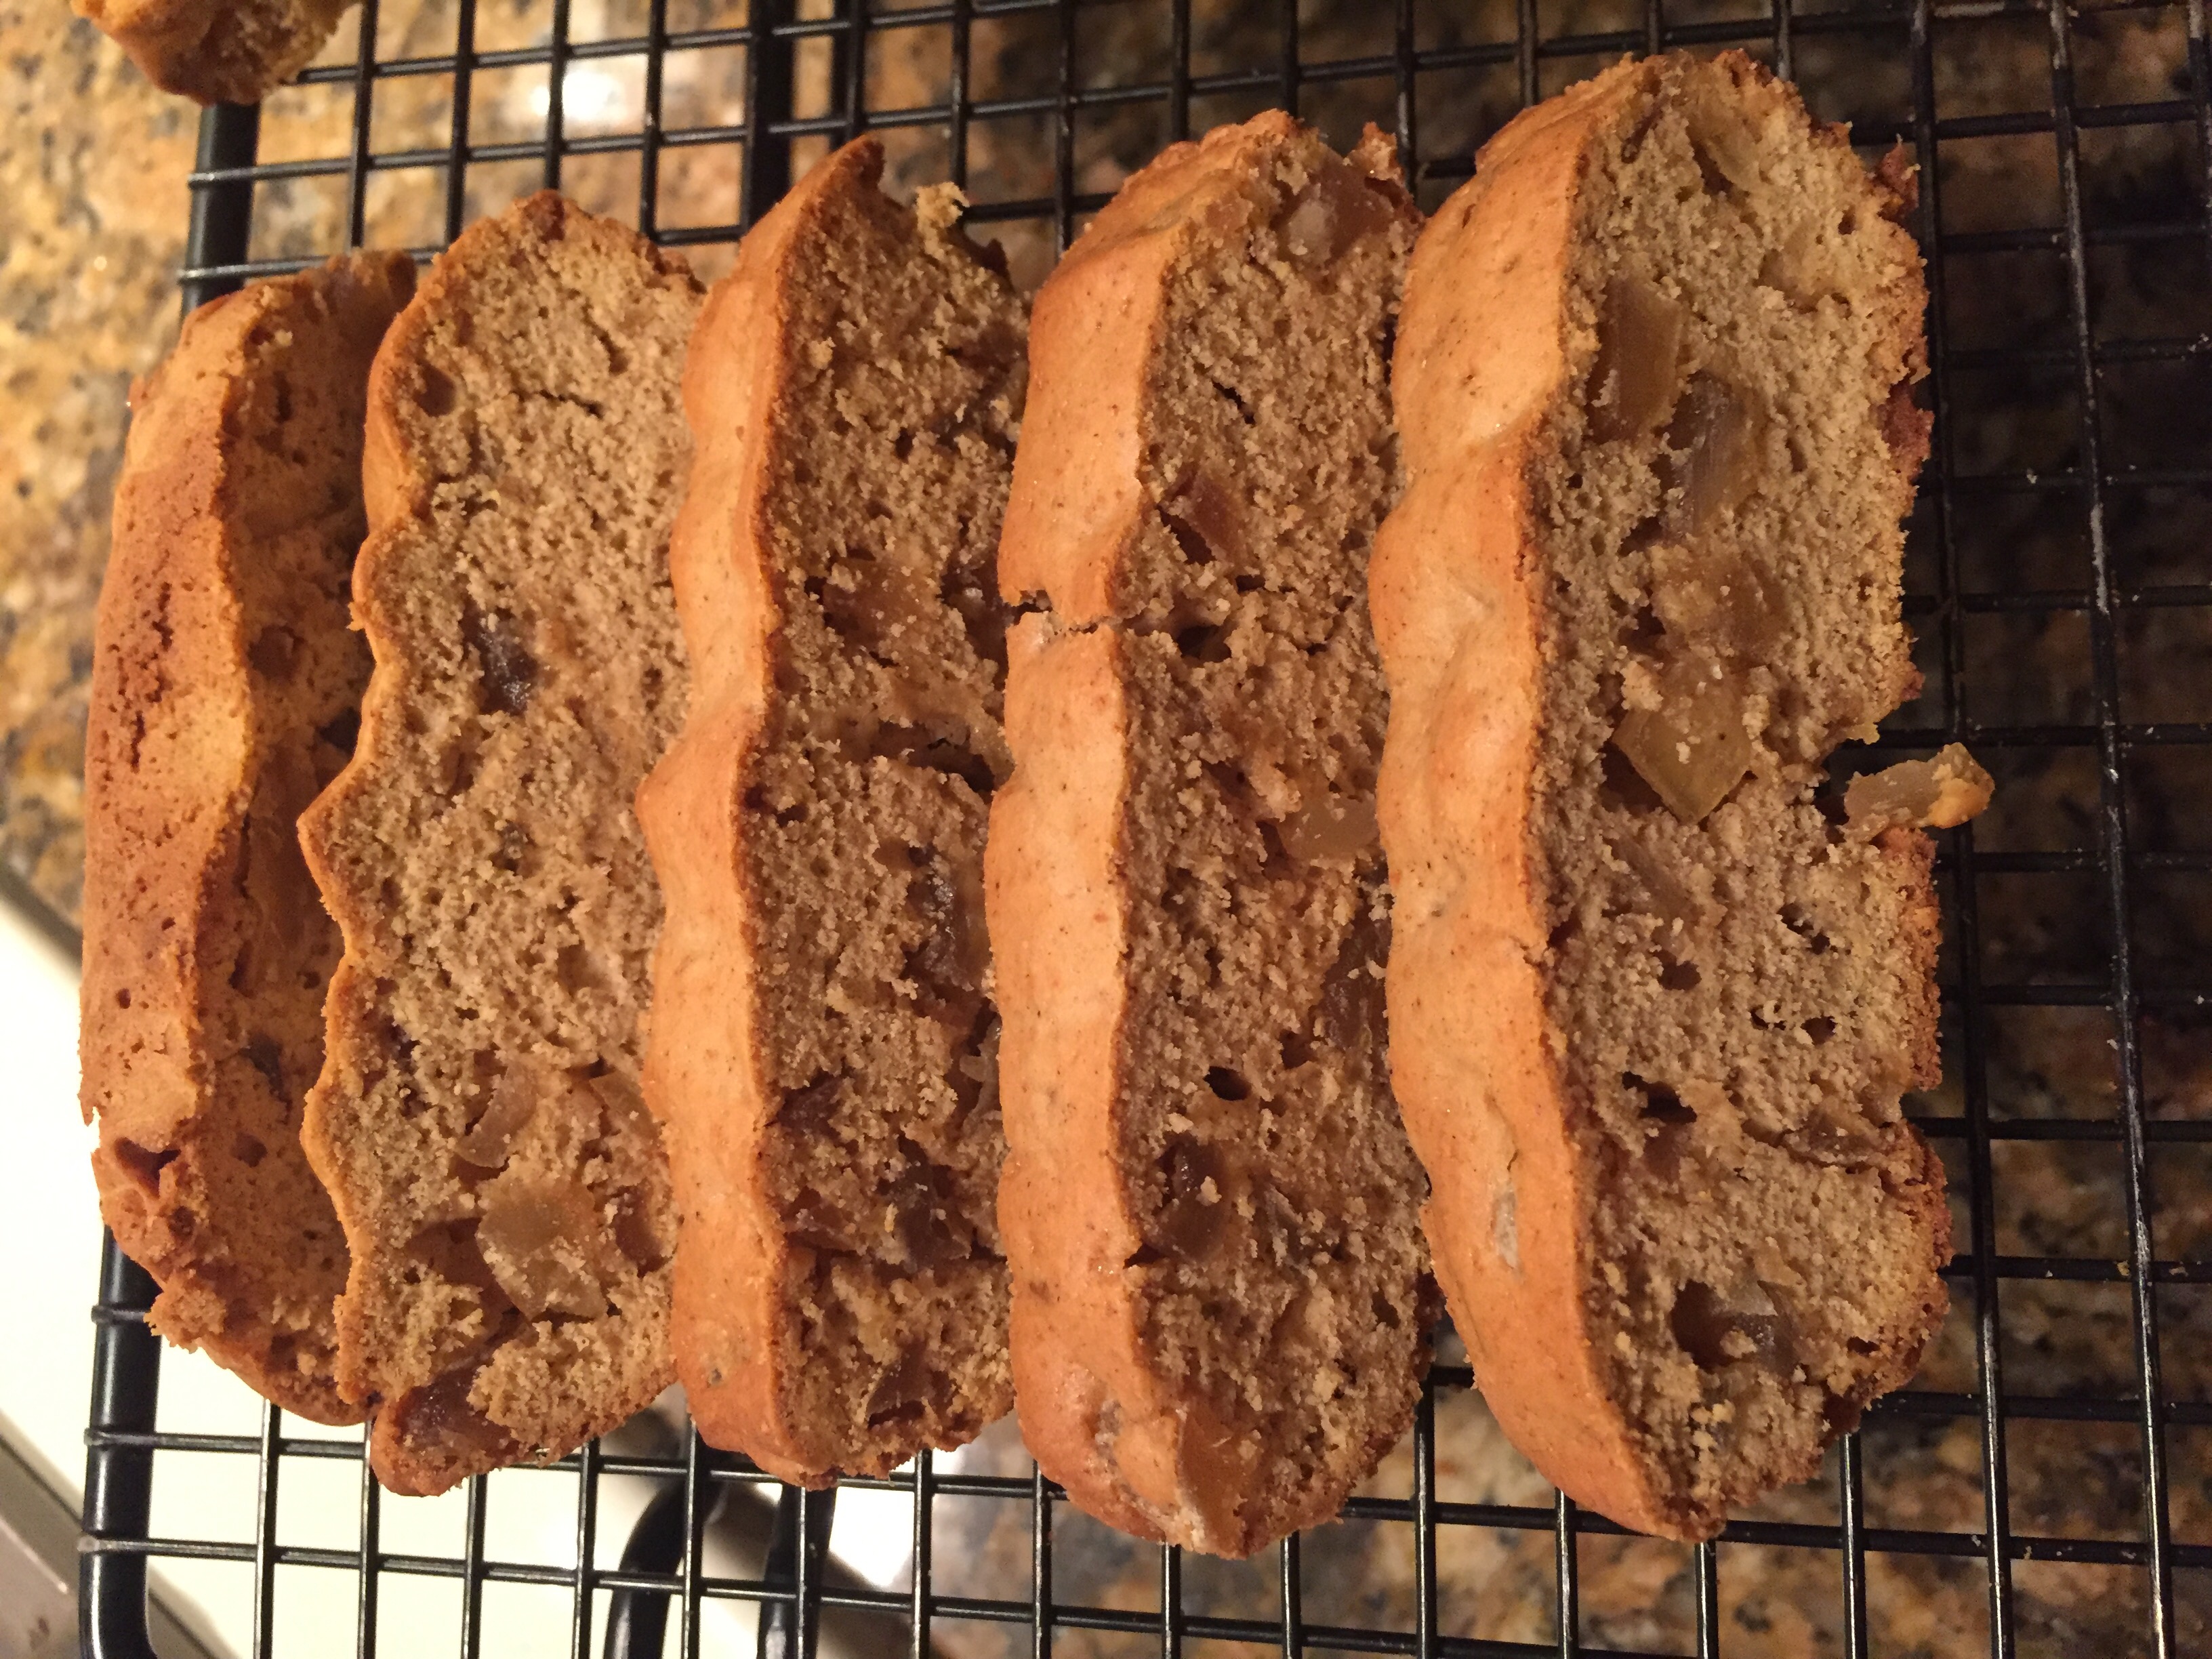
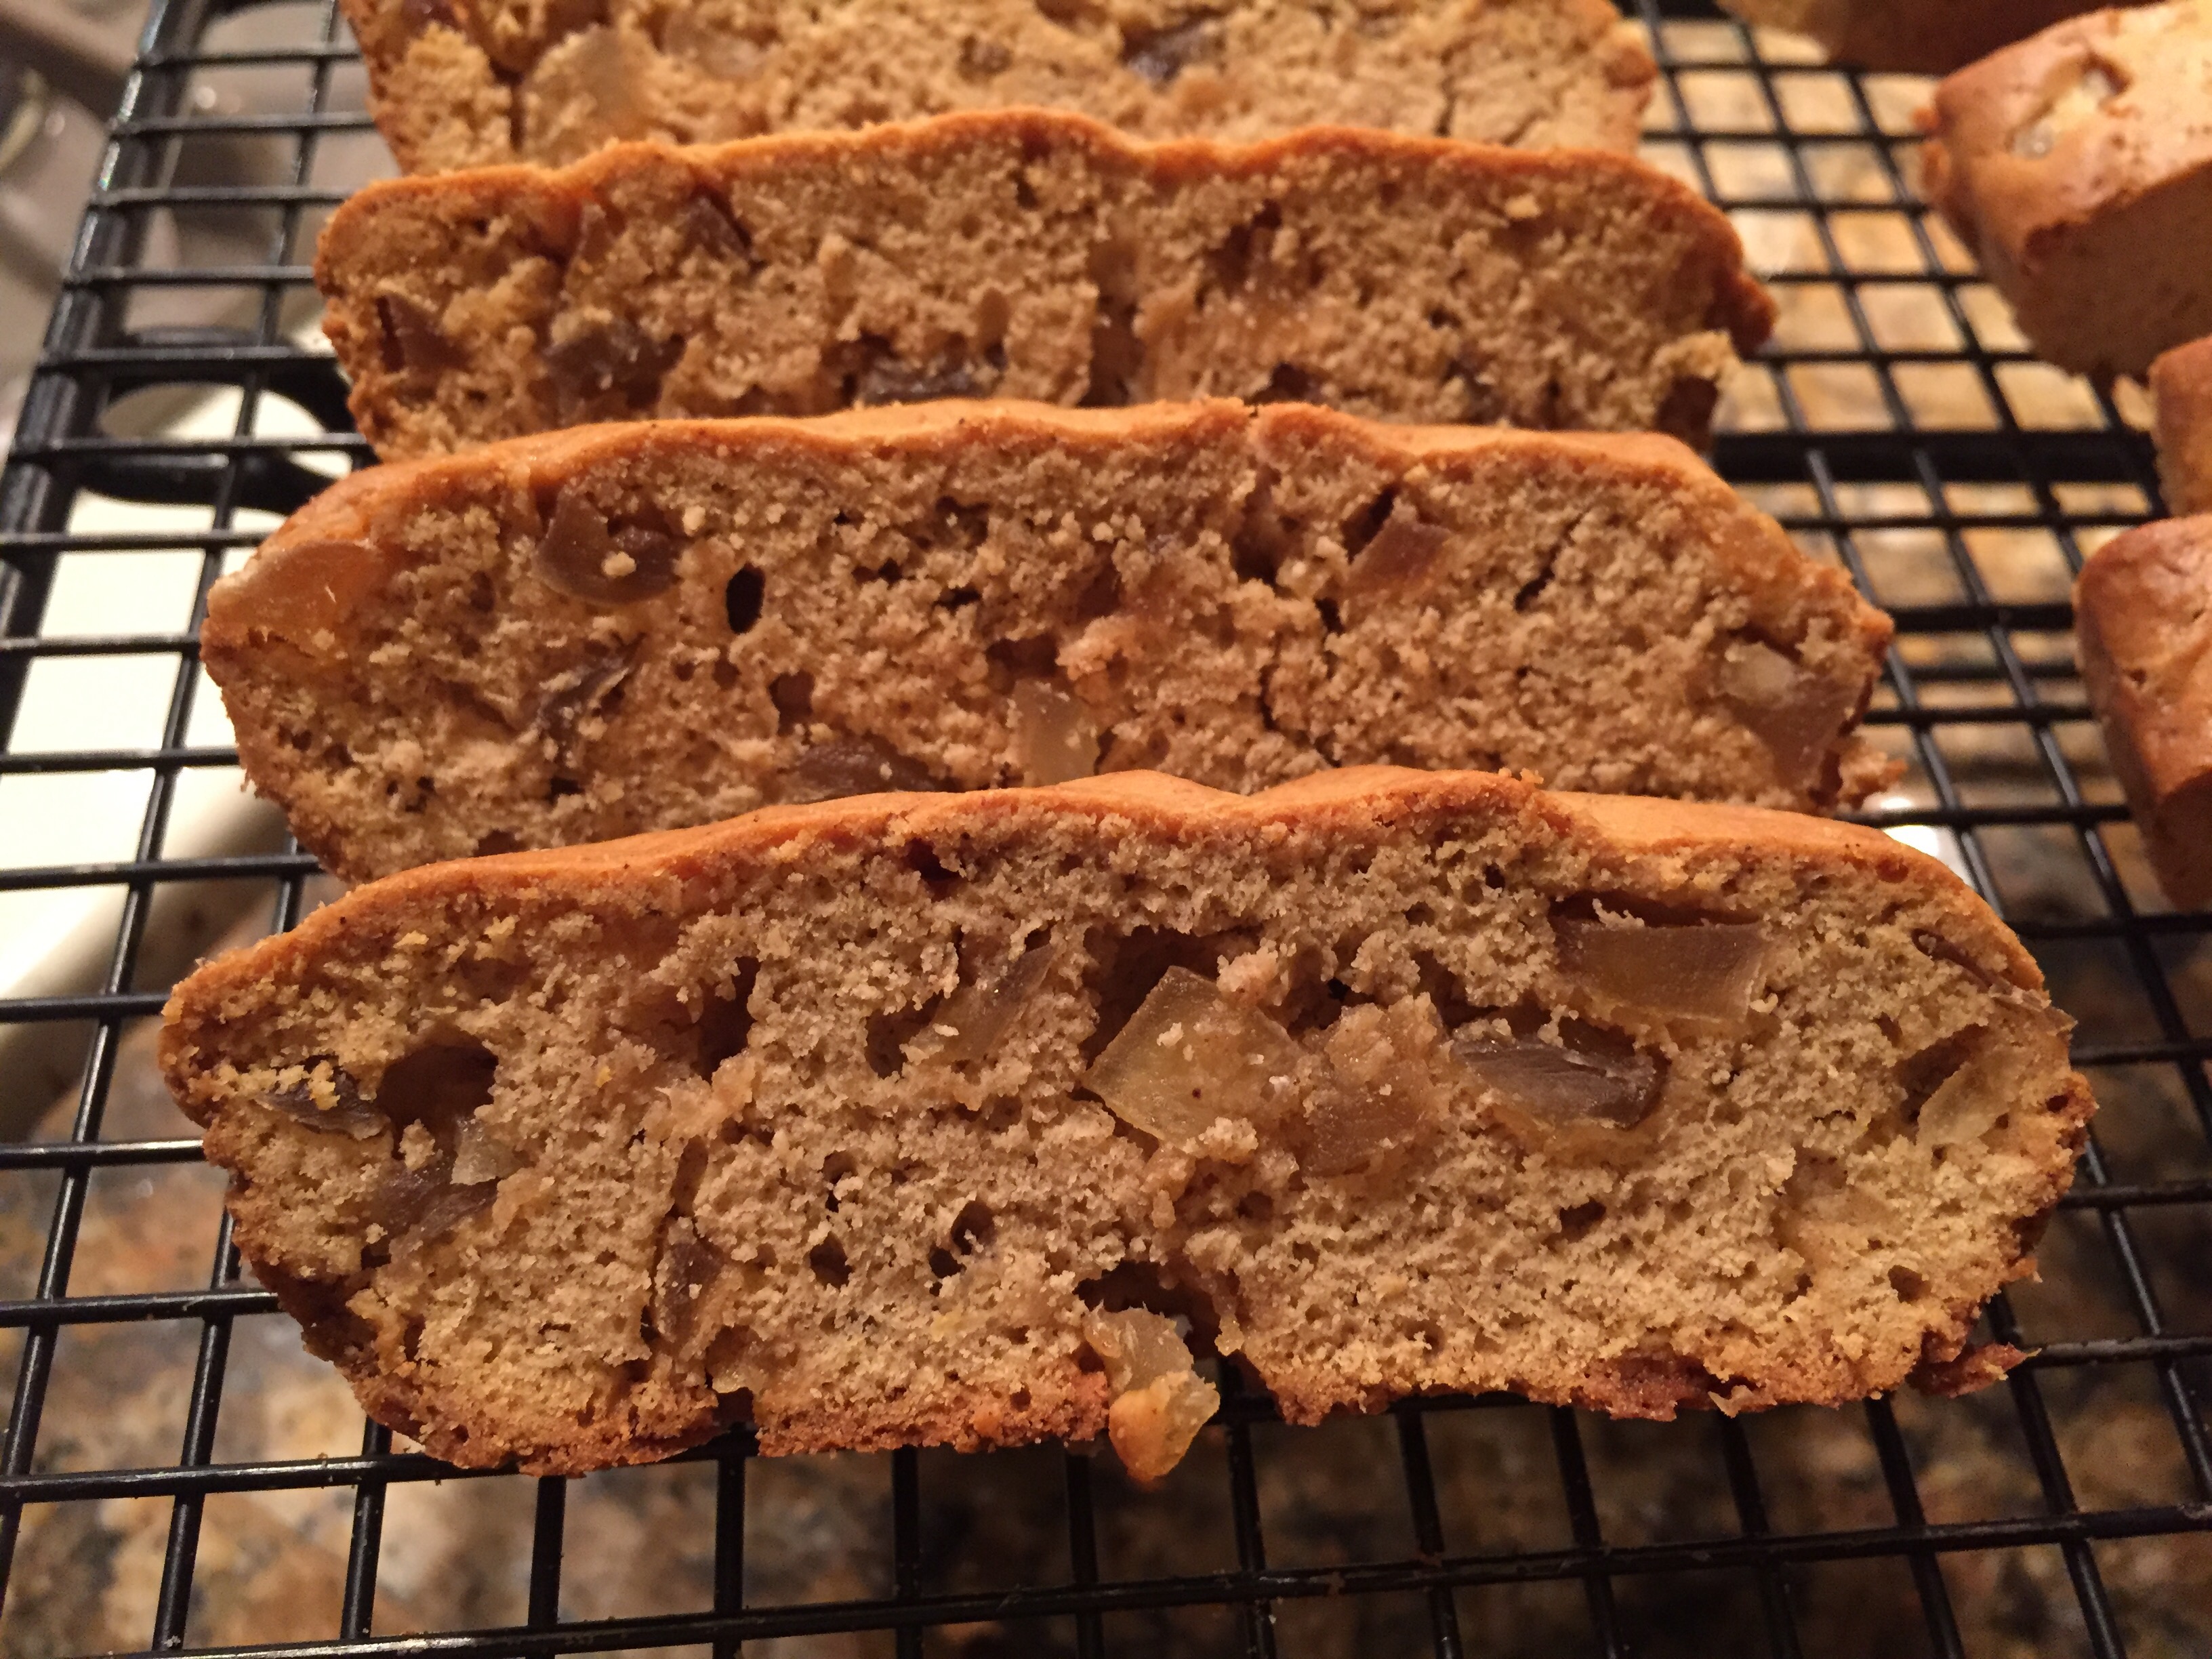
Tried making the Ginger Biscotti again but this time using old metal ice trays as the form instead of the free-form style on the pan because of the sticky loose batter.
While at it I used an old “Martha” trick of using clips to hold the parchment paper and place. All in all these vintage worked great and gave me a more uniform size an bake.
I used a pretty easy recipe for it that I found on the King Arthur Flour website http://www.kingarthurflour.com/recipes/ginger-biscotti-recipe
2/3 cup (5 ounces) brown sugar, packed
1/4 teaspoon salt
4 teaspoons ground ginger
1 teaspoon ground cinnamon
1/2 teaspoon ground nutmeg
1 teaspoon vanilla extract
1 1/2 teaspoons baking powder
2 large eggs ( I used XL eggs and also tried Jumbo ones – the difference is the firmness was not as brittle)
2 cups (8 1/2 ounces) Unbleached All-Purpose Flour
1 cup (6 1/2 ounces) finely diced crystallized ginger
Instructions
Transfer the dough to the prepared baking sheet, and shape it into a rough log about 14″ long. It will be about 2 ½” wide, and about ¾” thick. Using your wet fingers, smooth the top and sides of the log.
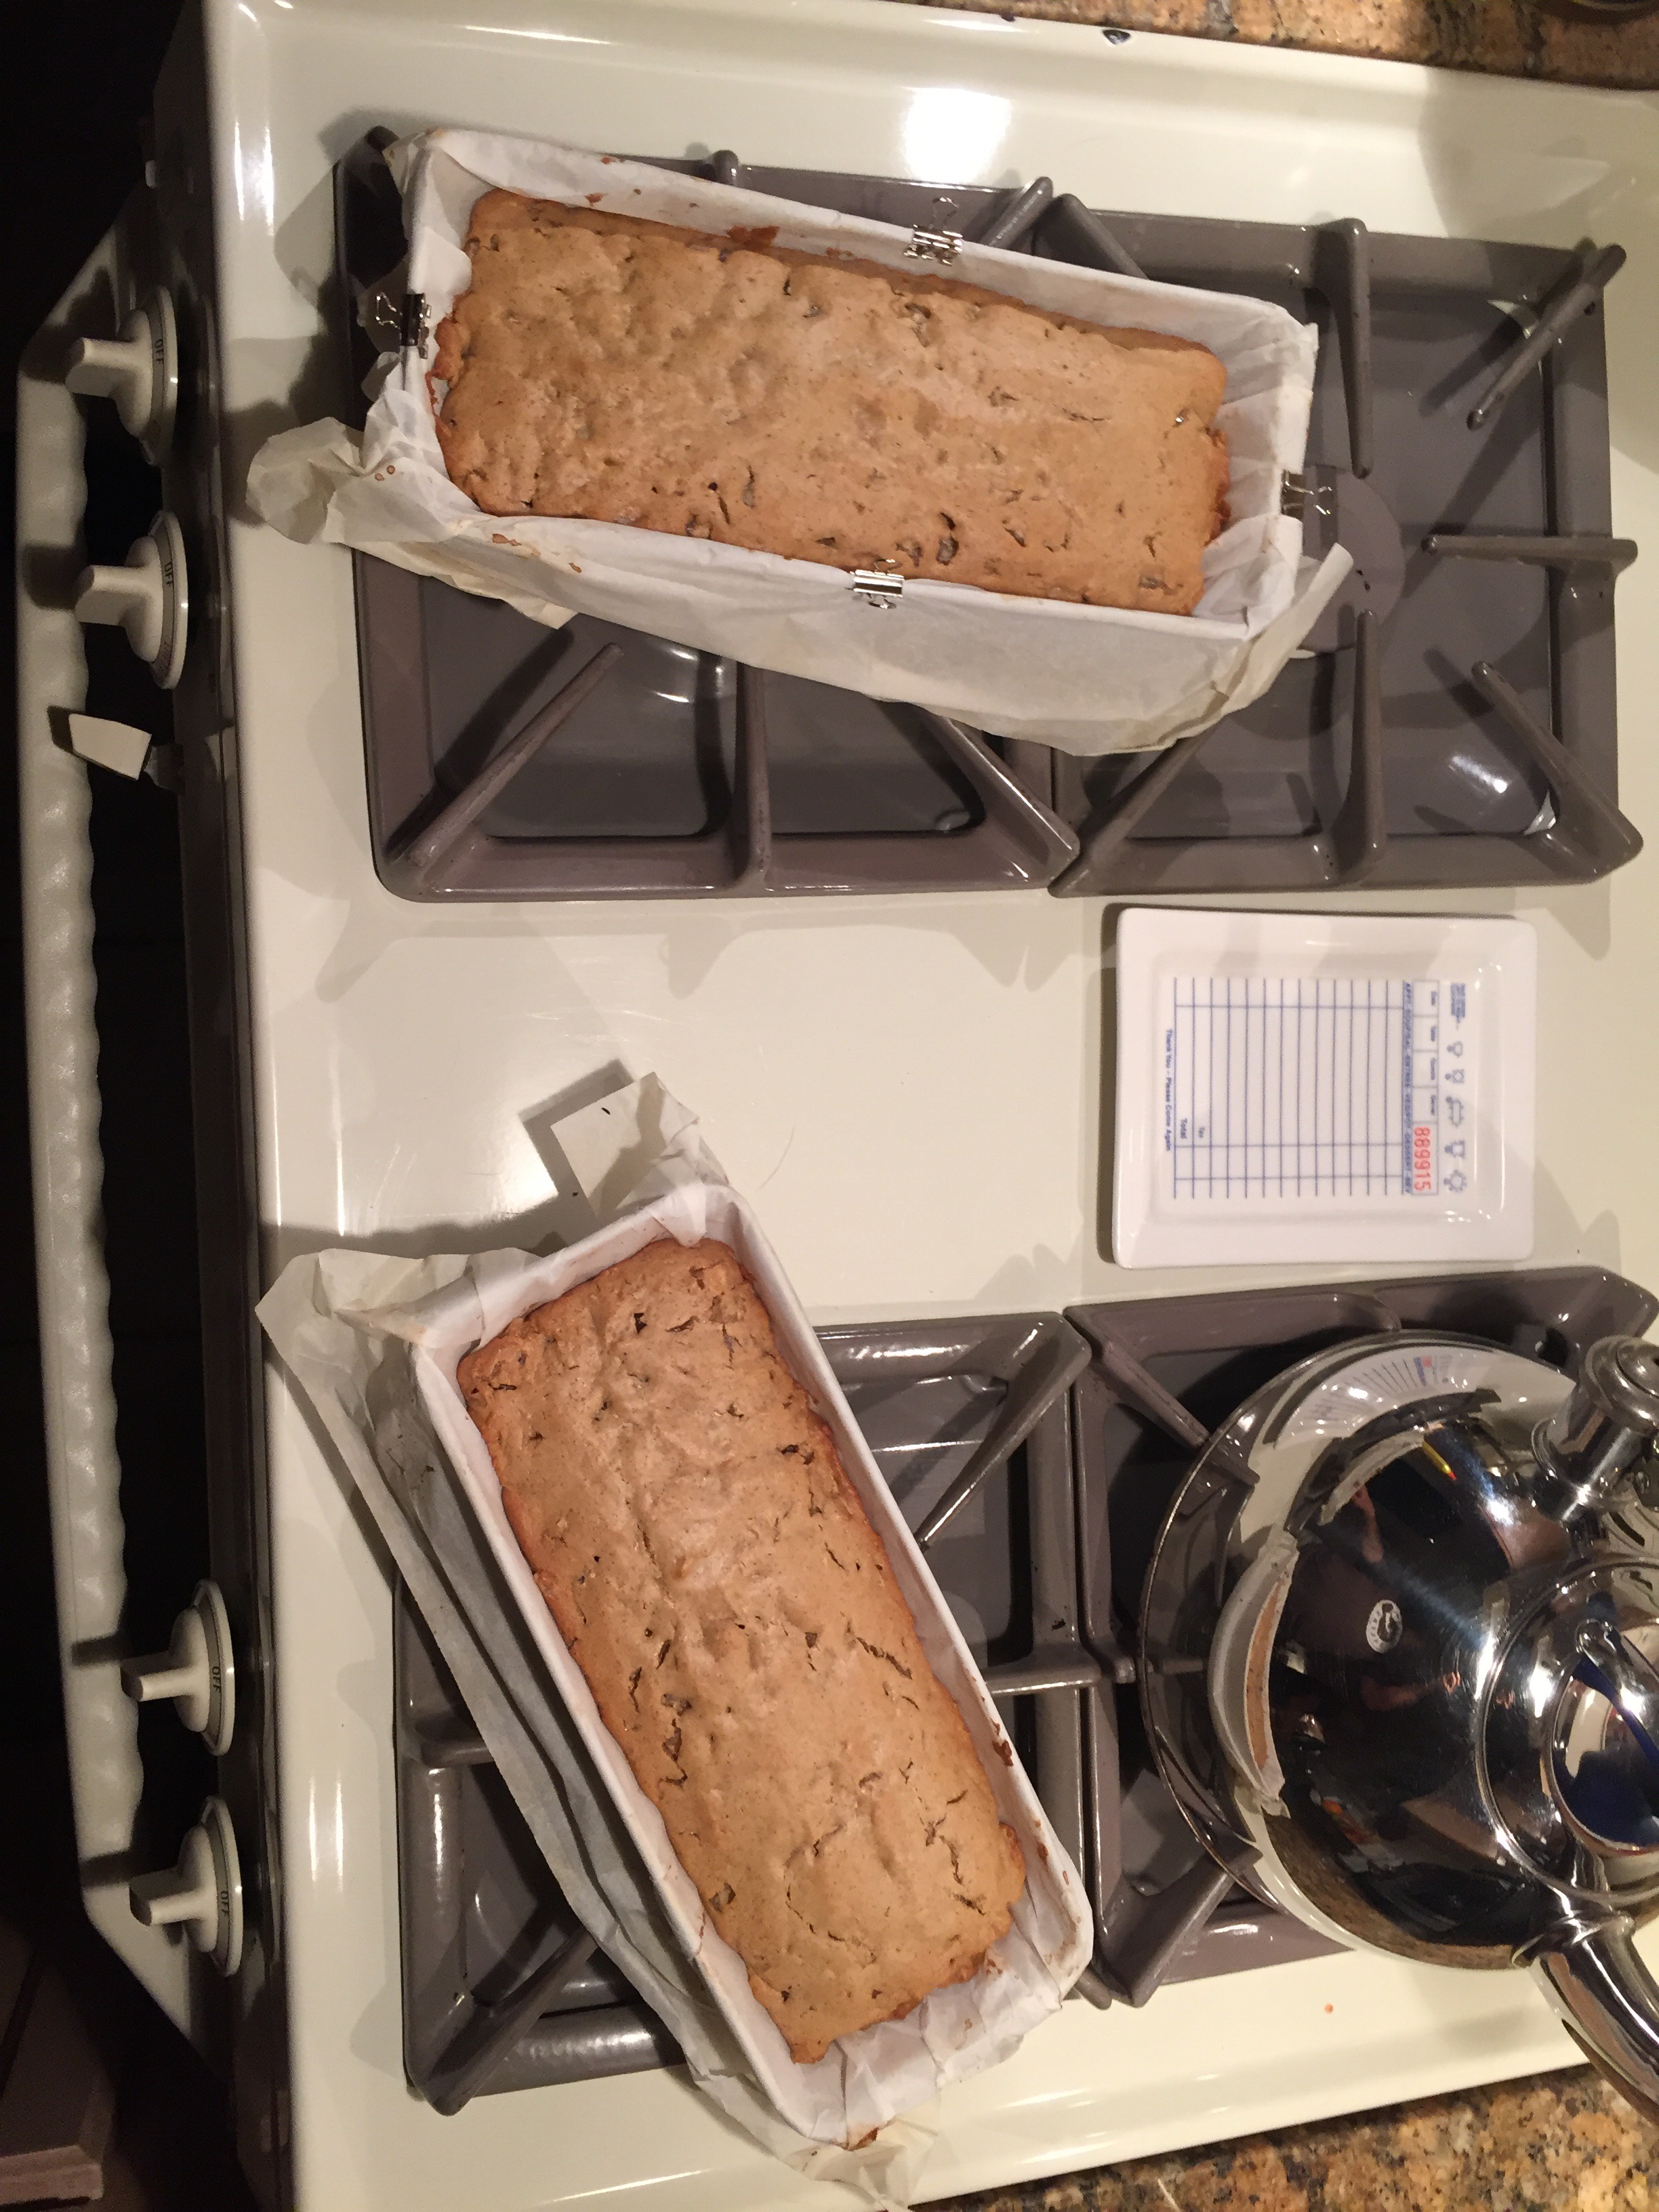
Bake the dough for 25 minutes (my oven 20 min was perfect – the extra 5 gave me a more brown bottom). Remove it from the oven, and allow it to cool on the pan anywhere from 15 to 25 minutes; just work it into the schedule of whatever else you’re doing in the kitchen.
(Note – they suggest using a spray bottle filled with room-temperature water, lightly but thoroughly spritz the log, making sure to cover the sides as well as the top. Softening the crust just this little bit will make slicing the biscotti much easier. But I don’t find that easier.)
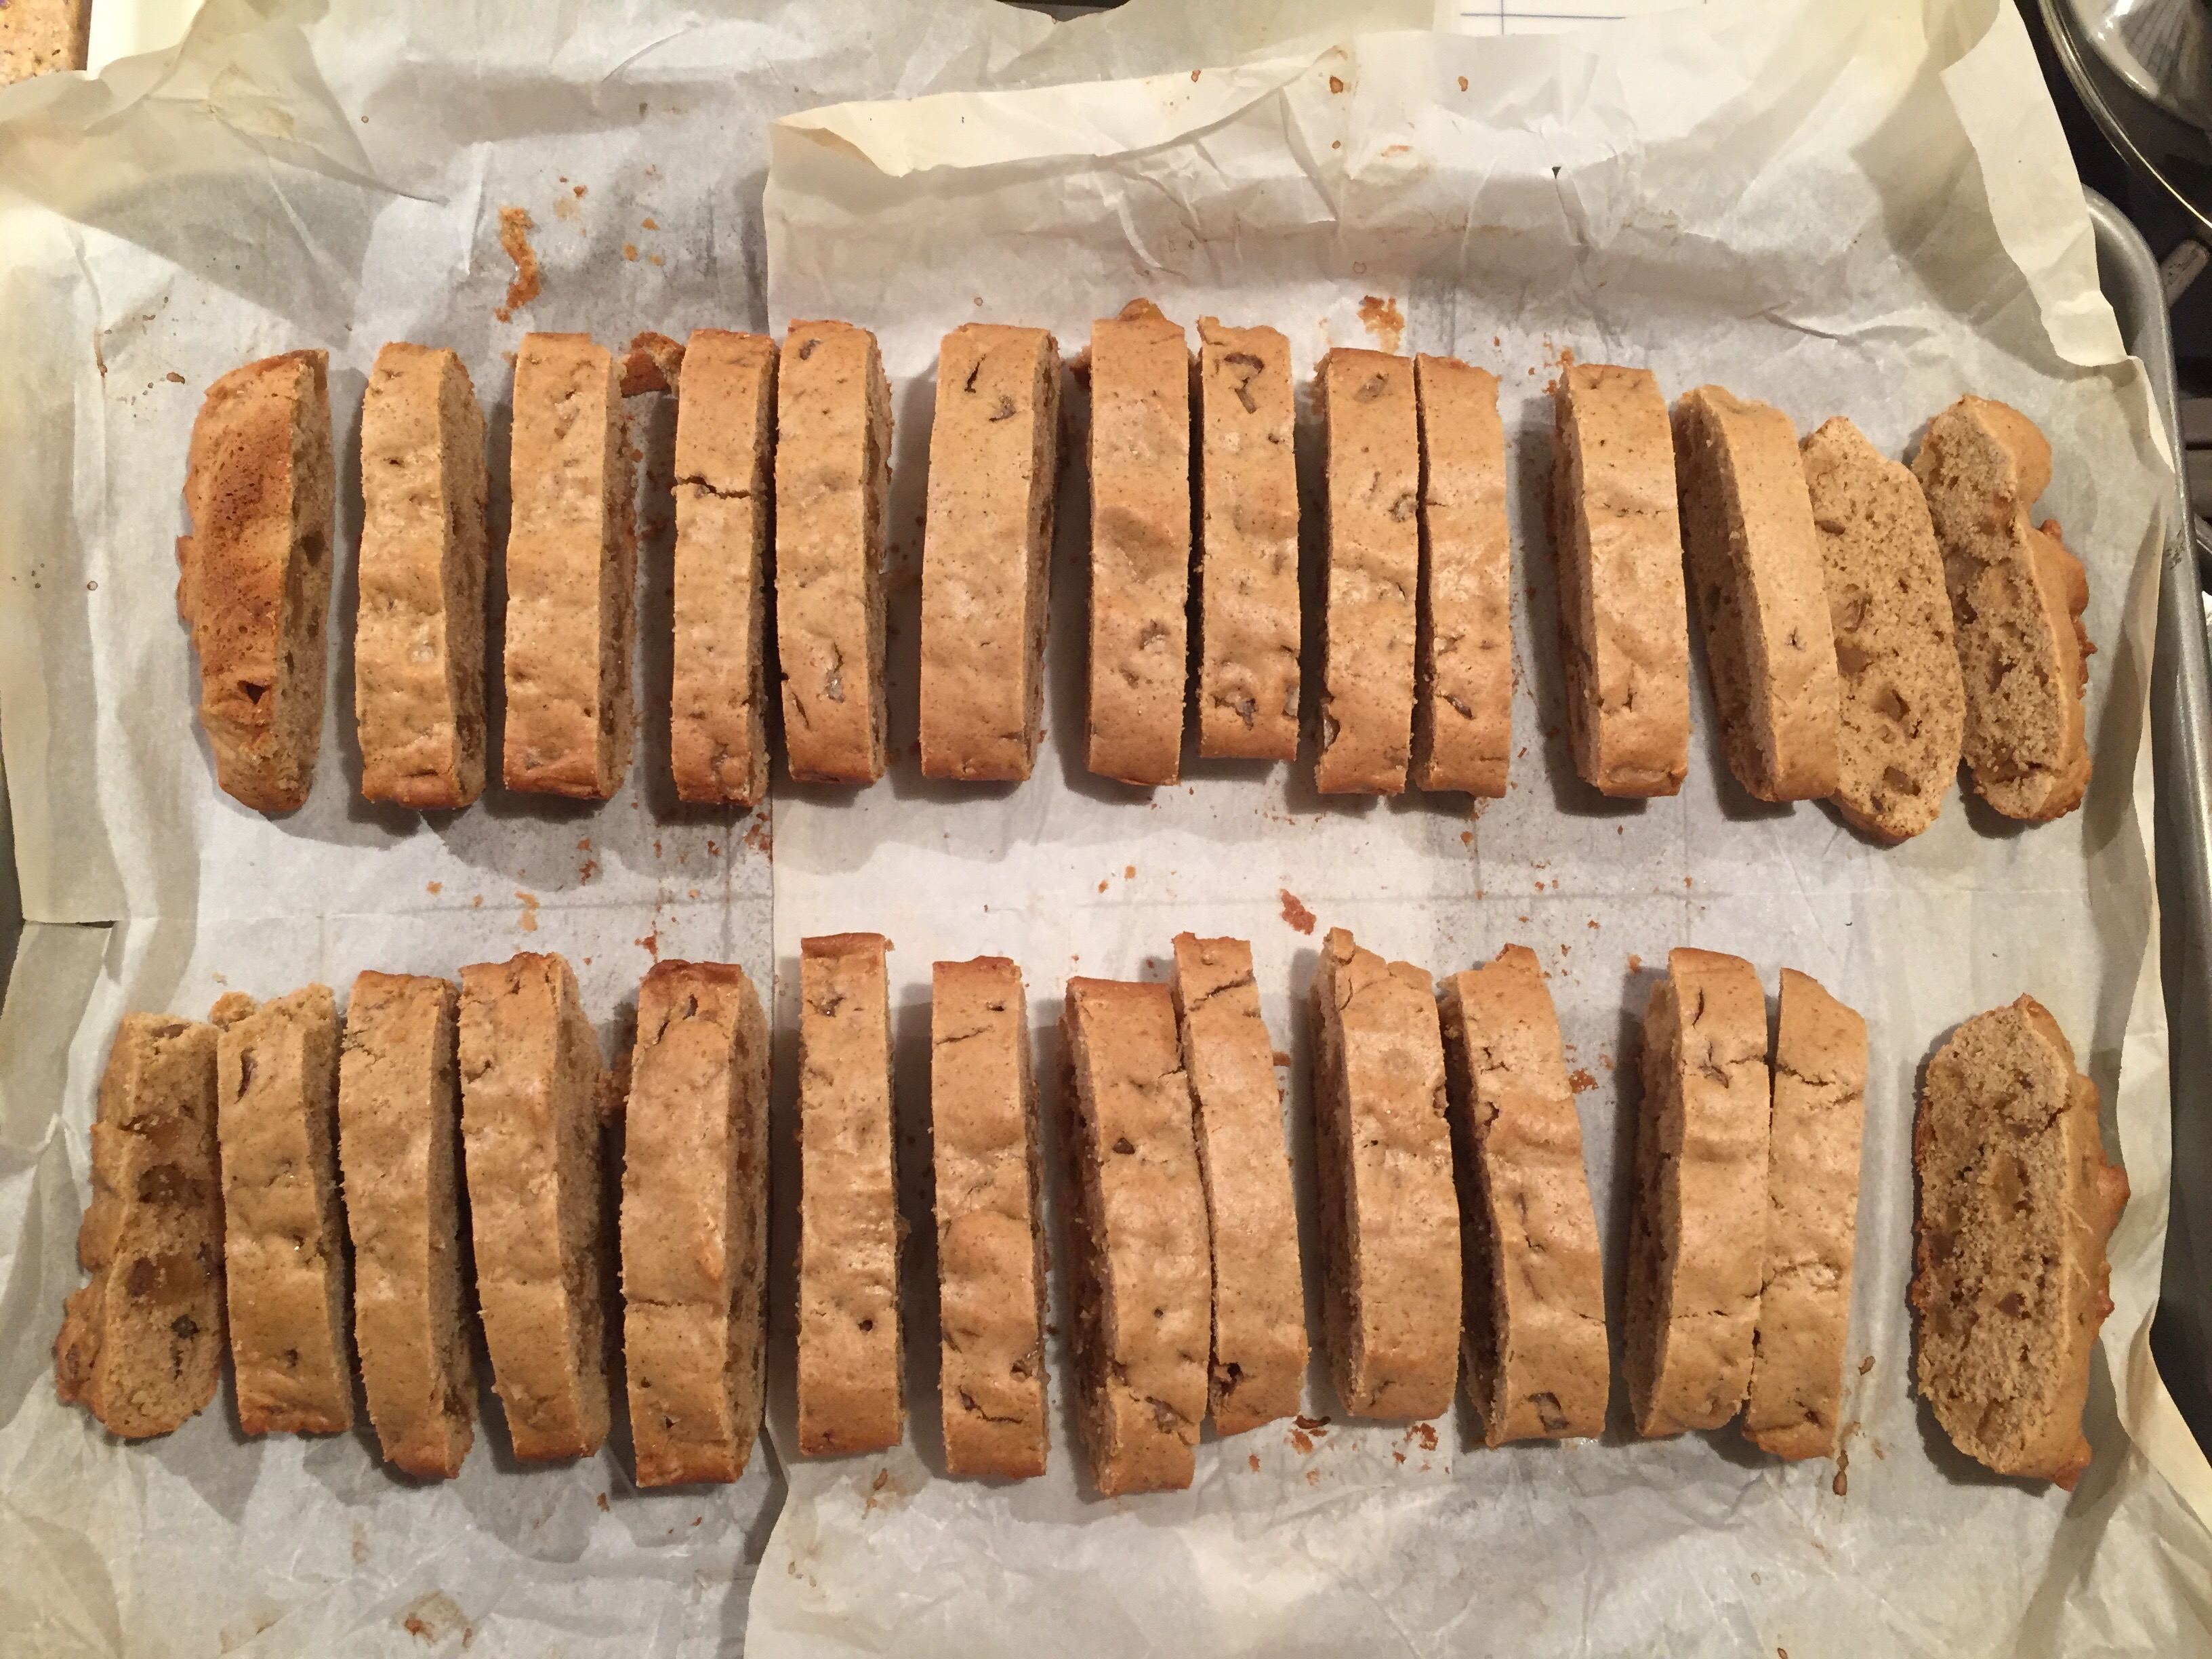
Reduce the oven temperature to 325°F. Wait another 5 minutes, then use a serrated knife to cut the log into ½” to ¾” slices. Cut at a 45° angle, for long biscotti; cut crosswise slices, for shorter biscotti. As you’re slicing, be sure to cut straight up and down, perpendicular to the pan; if you cut unevenly, biscotti may be thicker at the top than the bottom, and they’ll topple over during their second bake.
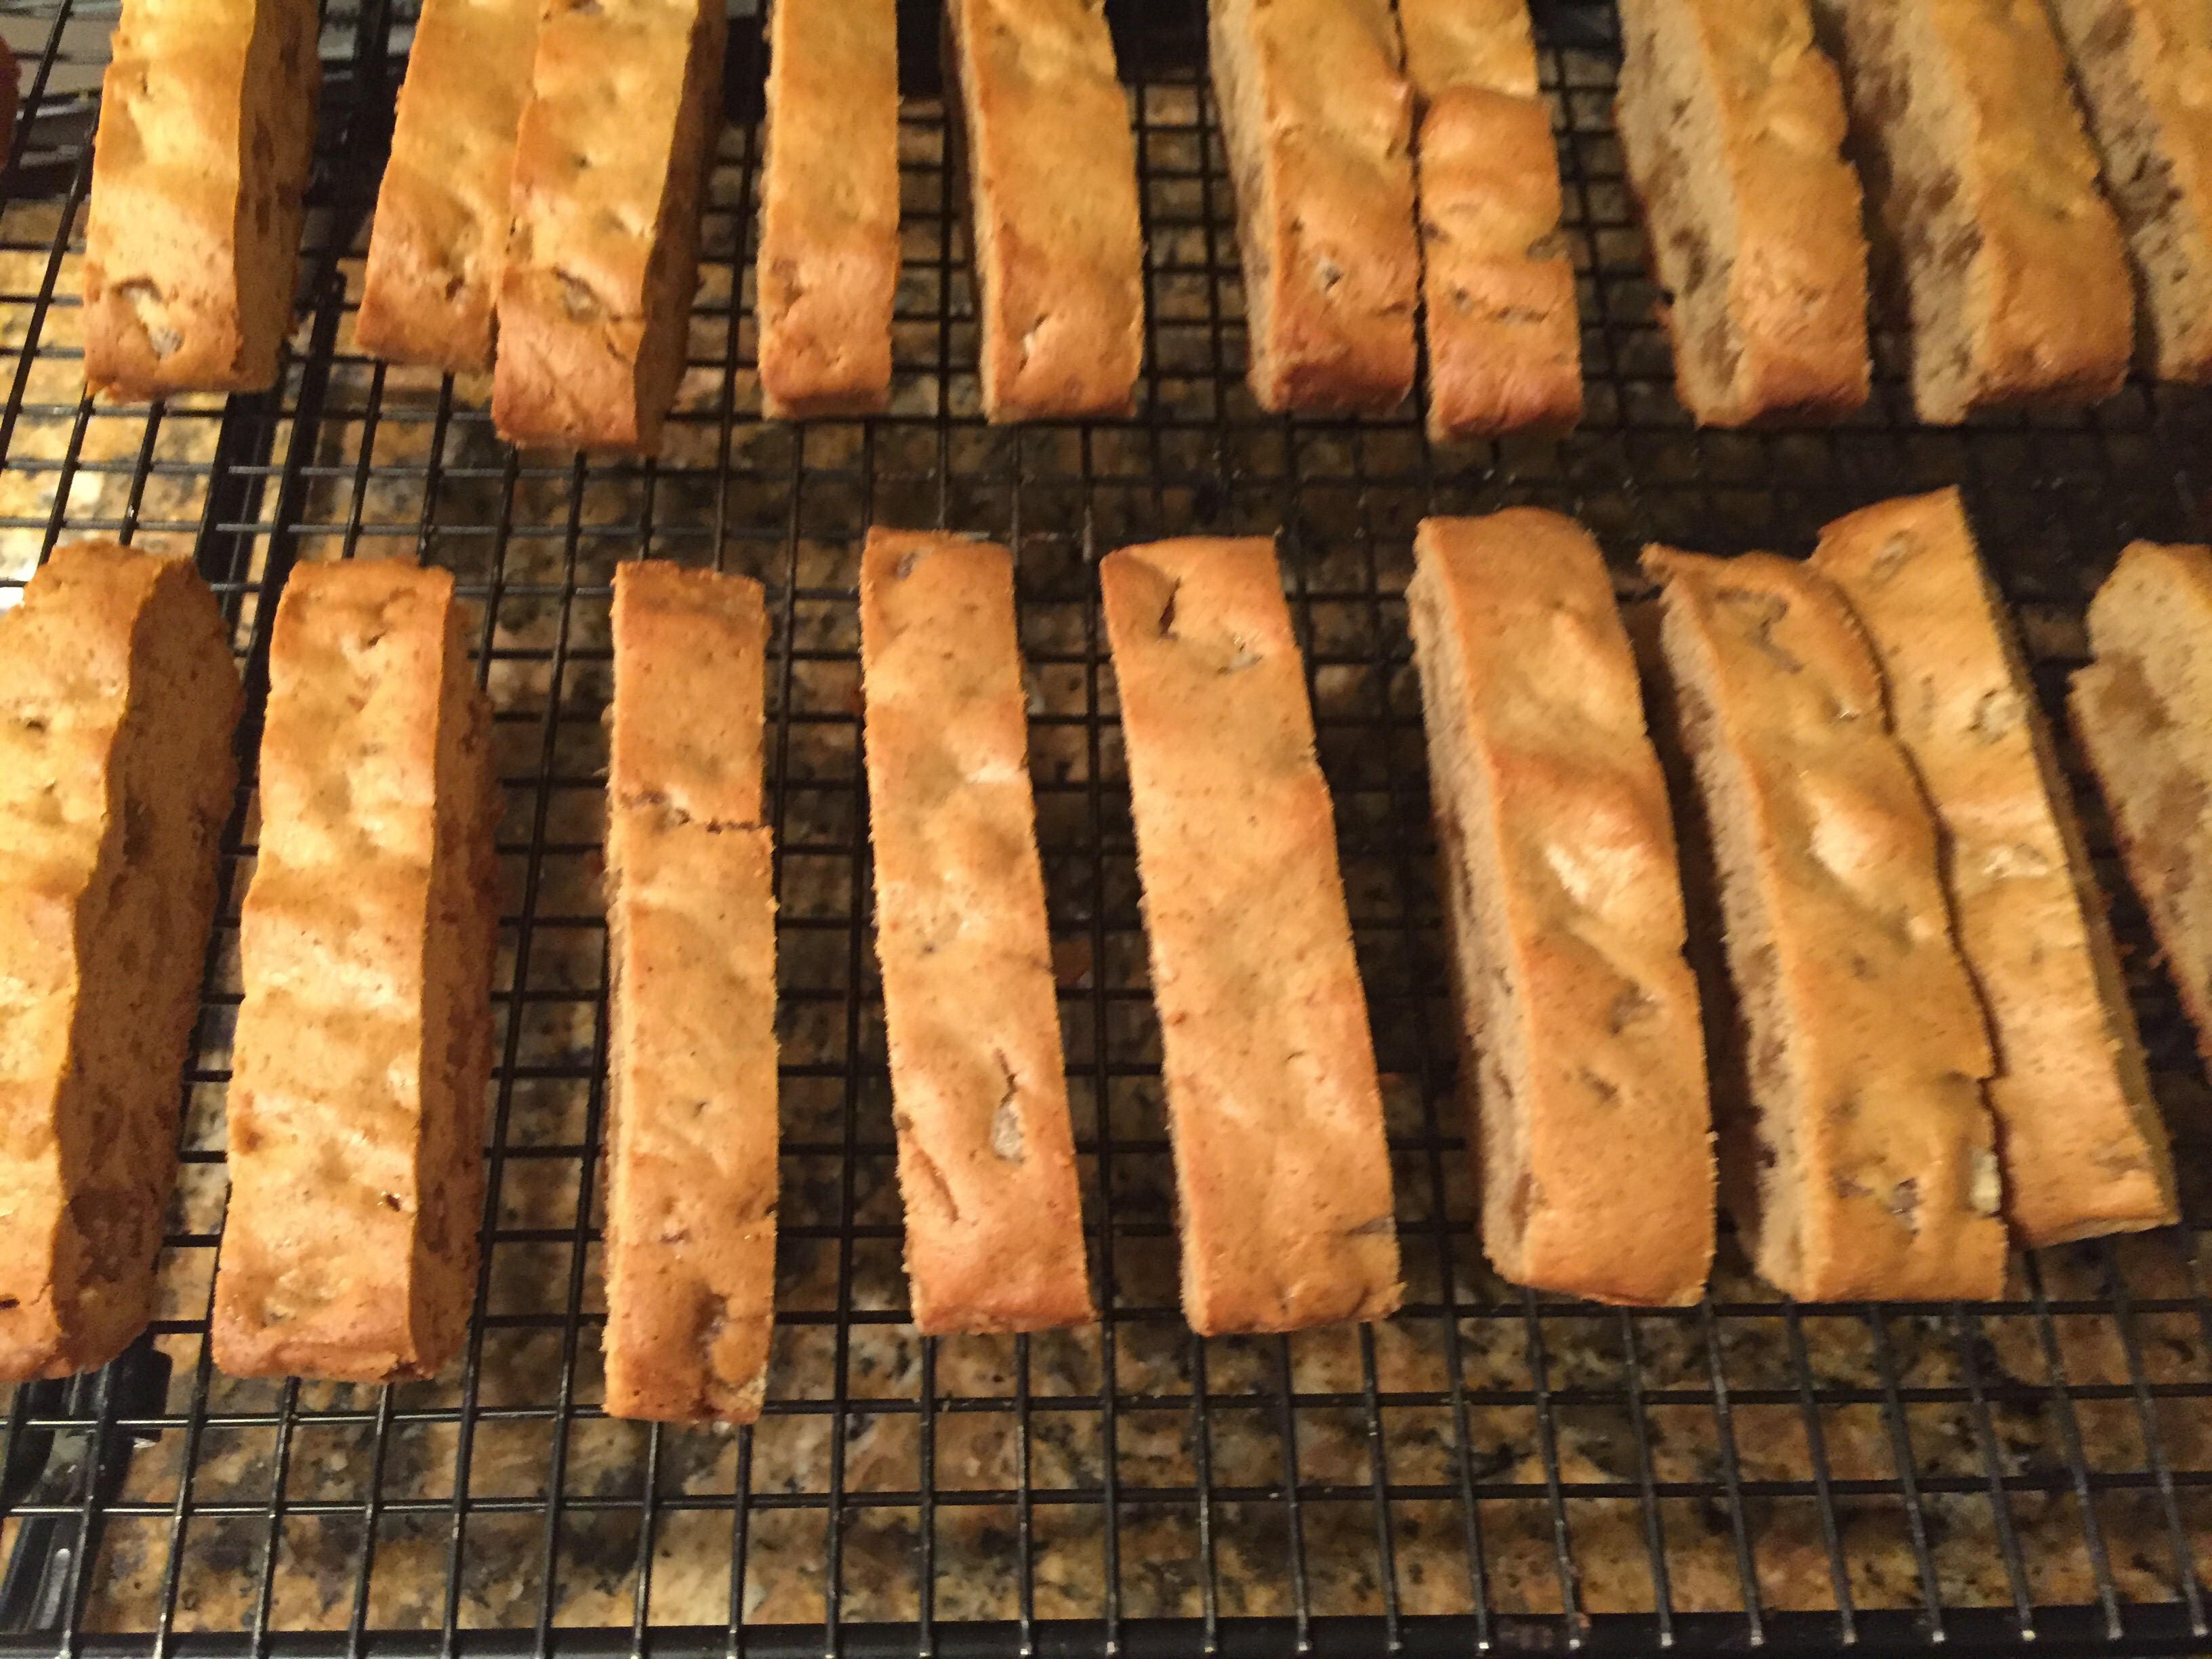
Set the biscotti on edge on the prepared baking sheet. Return the biscotti to the oven, and bake them for 25 to 30 minutes, till they feel very dry. They’ll still feel a tiny bit moist in the very center, if you break off a piece; but they’ll continue to dry out as they cool.
Remove the biscotti from the oven, and transfer them to a rack to cool. Once they’re cool, store airtight, to preserve their texture. If biscotti aren’t as crunchy as you’d like (and the weather is dry), store them uncovered, overnight, to continue drying. Biscotti can be stored at room temperature for one week; for longer storage, wrap airtight and freeze. Make sure they are well cooled.