Jimmy’s Hideaway Version
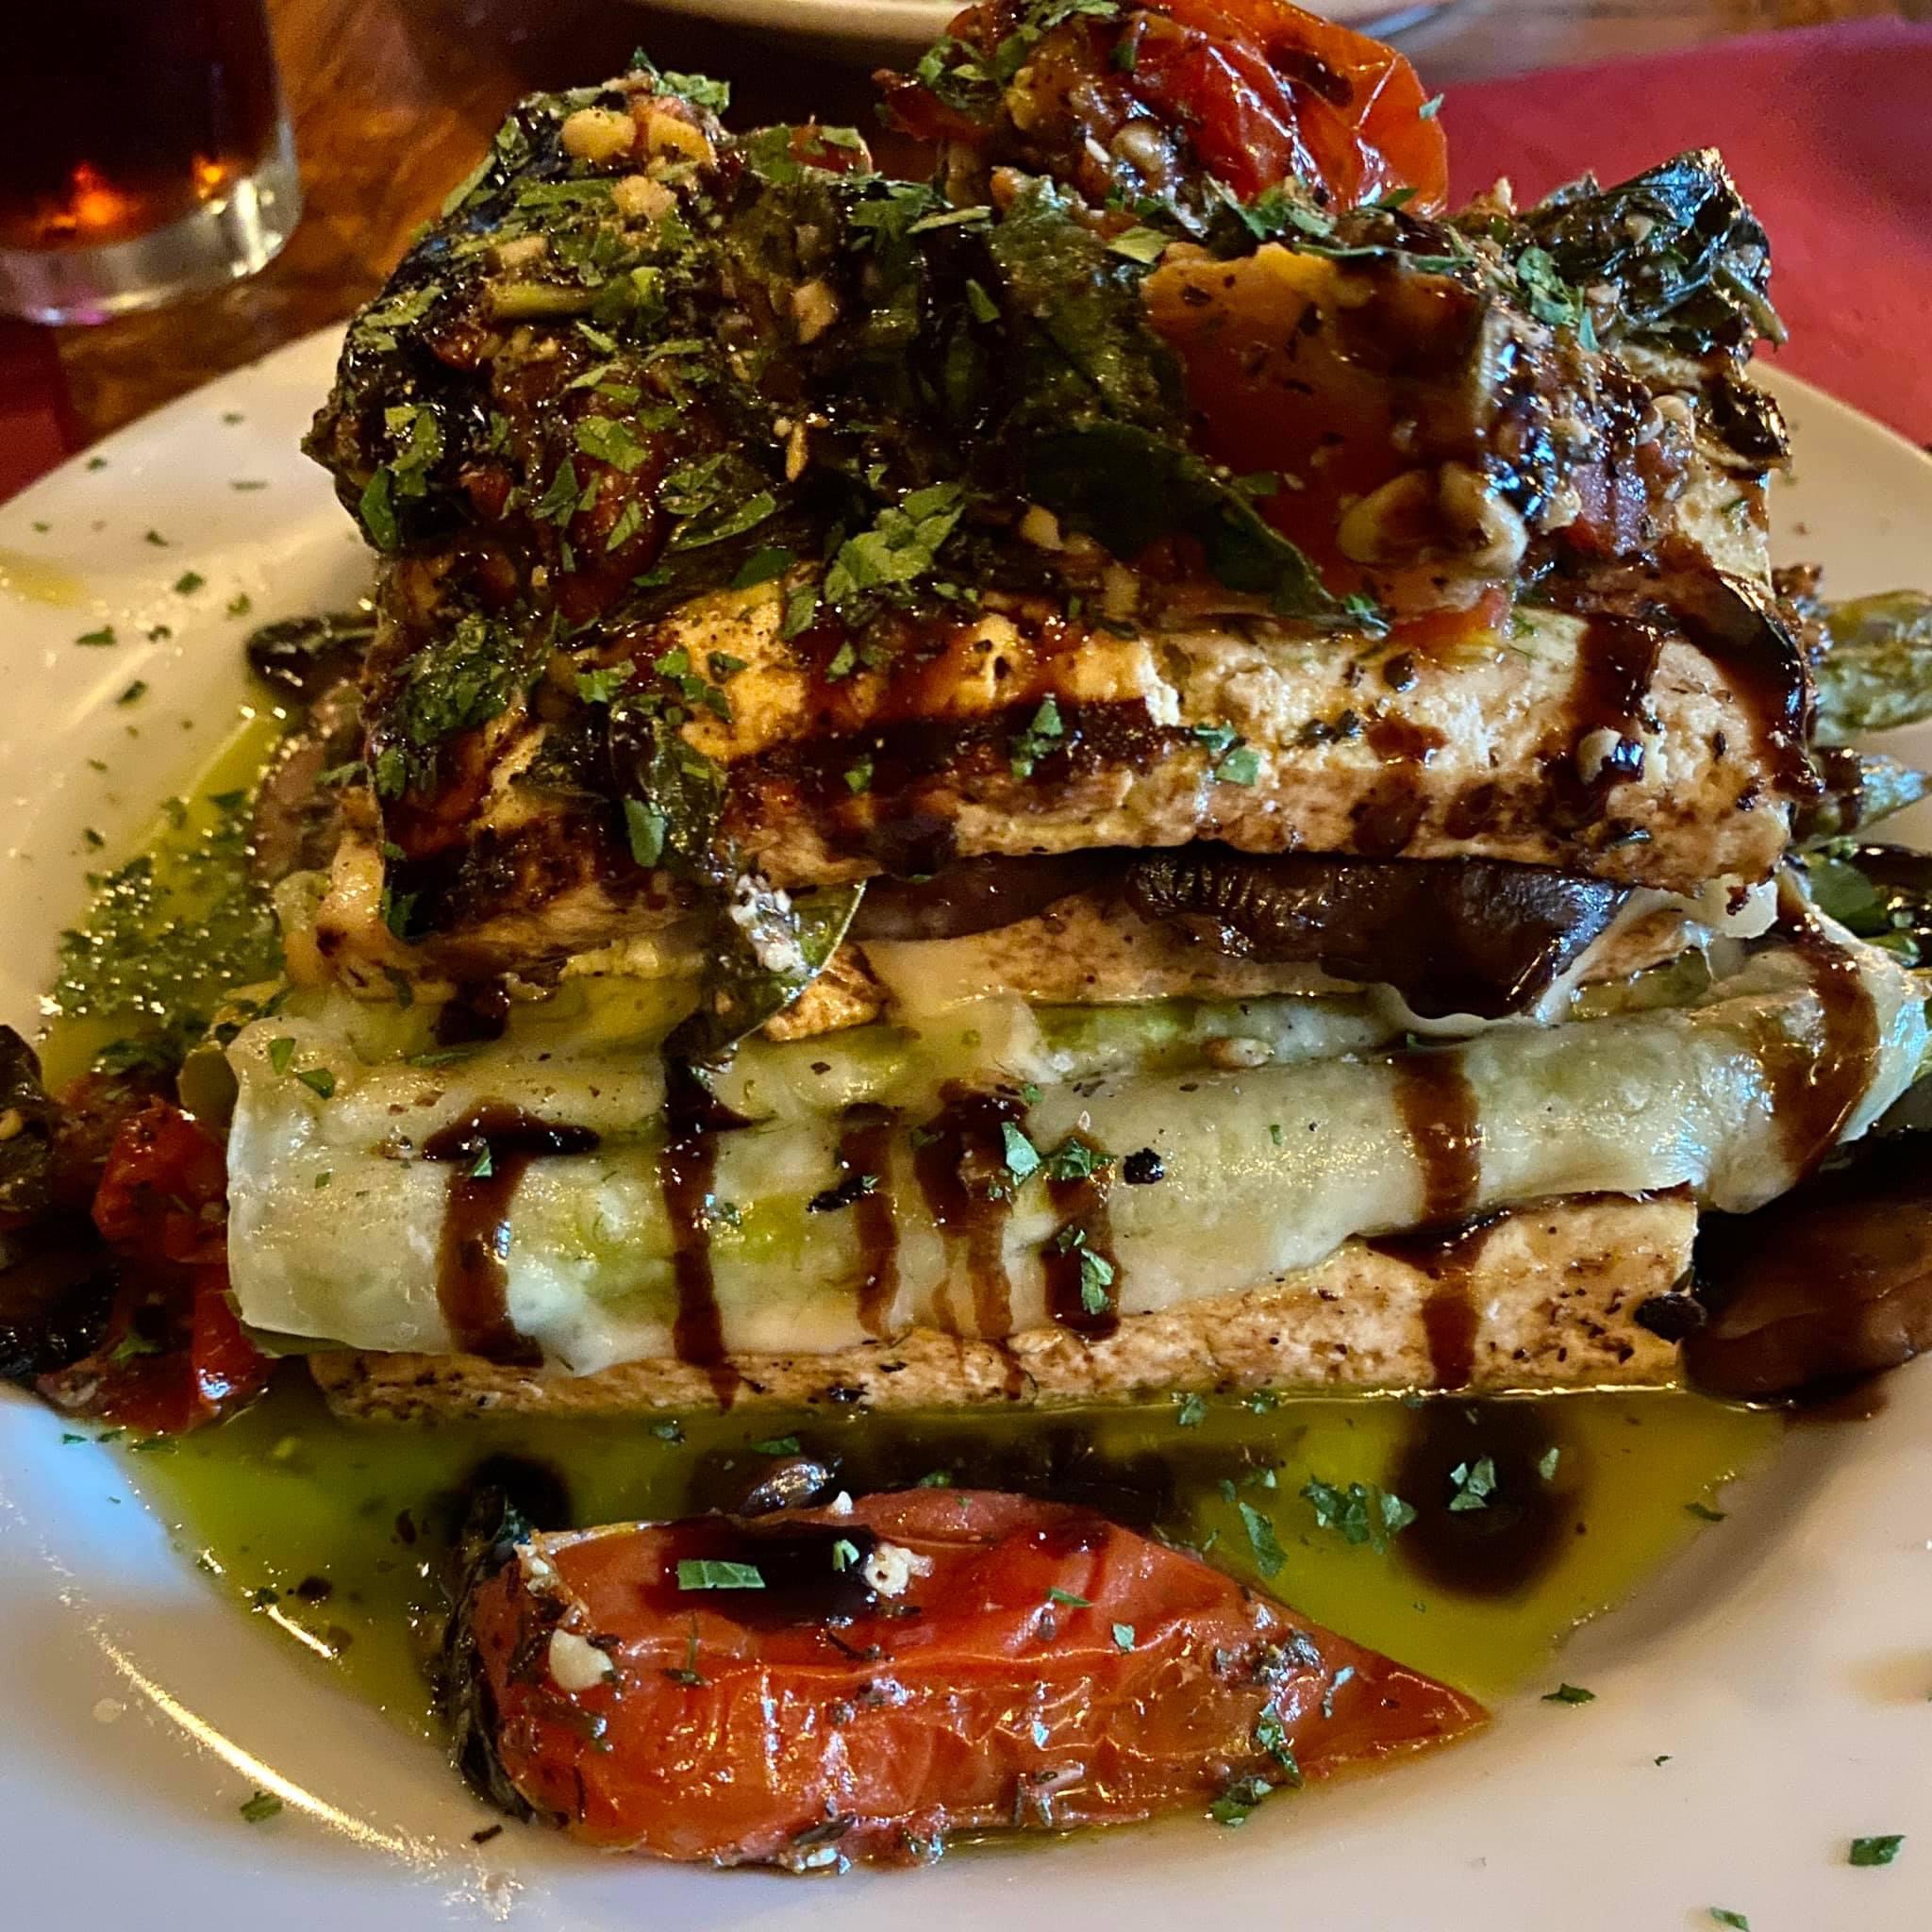
I’m a fan of blending savory and sweet notes in dishes. and when visiting restaurants I often select dishes based on the potential combination of textures and flavors. I came across this dish for a vegetarian Tofu Napoleon at Jimmy’s Hideaway in Provincetown, One of my favorite places to eat. The Jimmy’s version is a layered dish is gluten free with layers of marinated & grilled Asparagus, Crimini Mushrooms, Gruyere Cheese Topped with Roasted Tomato Basil Pesto. It’s a huge portion and tasted as good the next day!
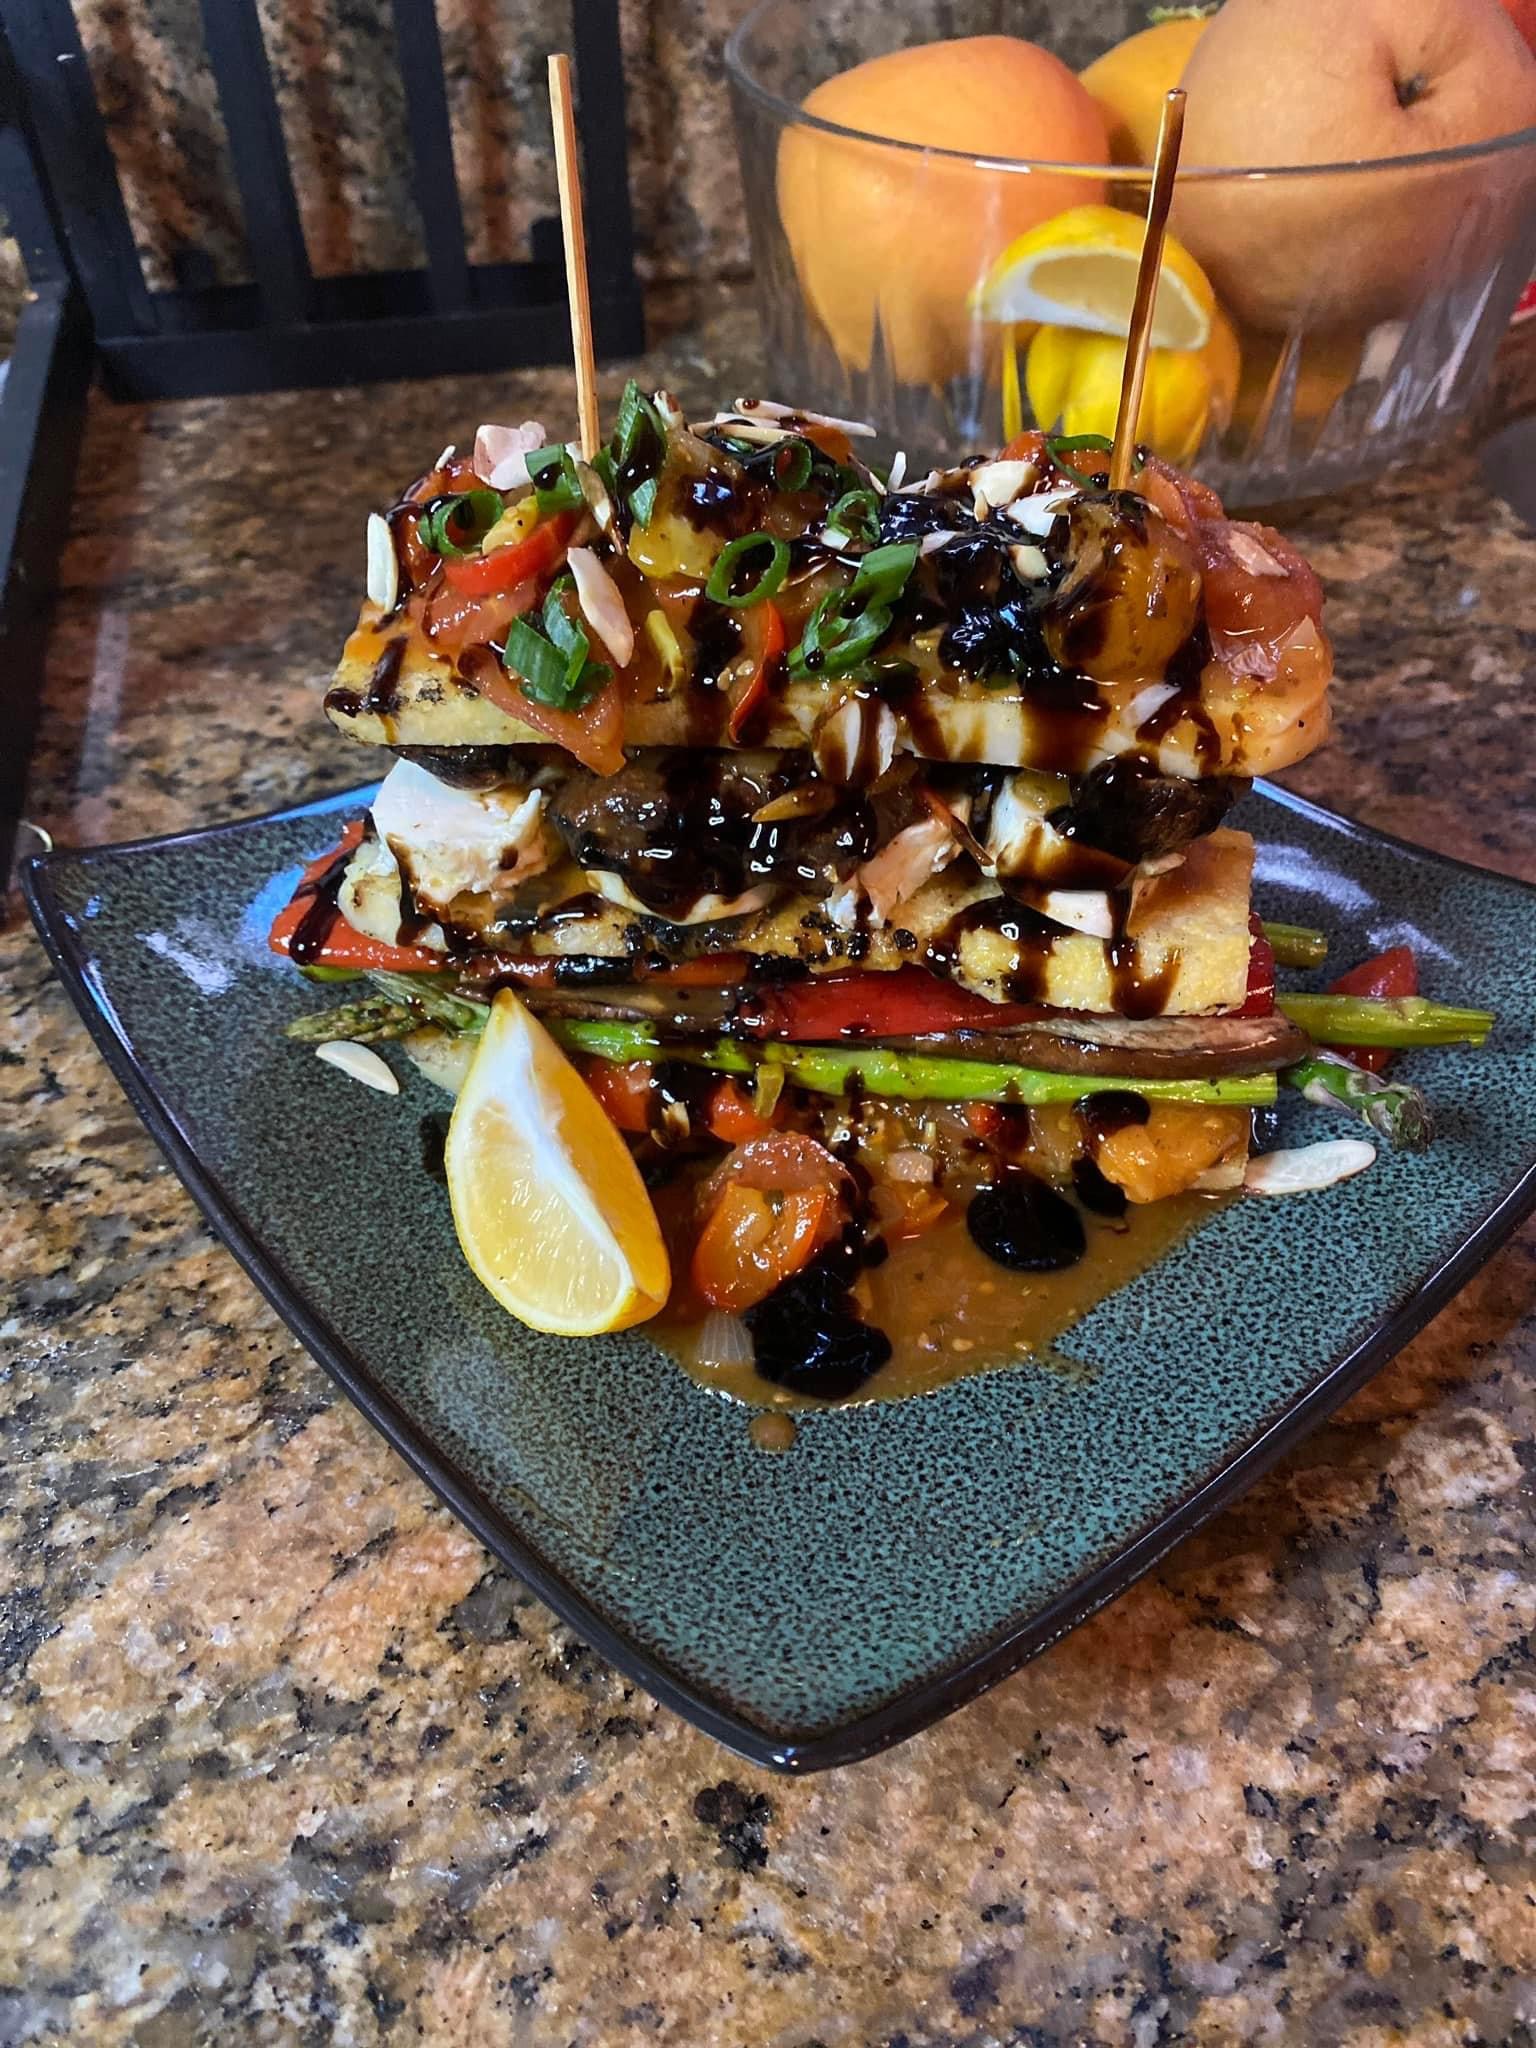
My version!
Now when I take a something and decide I want to recreate it – I will often amp it up a bit and in this case the idea of marrying it with some kind of compote or jam struck a chord. So I dug into my recipes and “re-lived” this version for Savory Sweet Cherry Tomato “Jam”. On my version I also swapped out the gruyere and added a layer of seared brie and polenta along with the grilled vegetables.
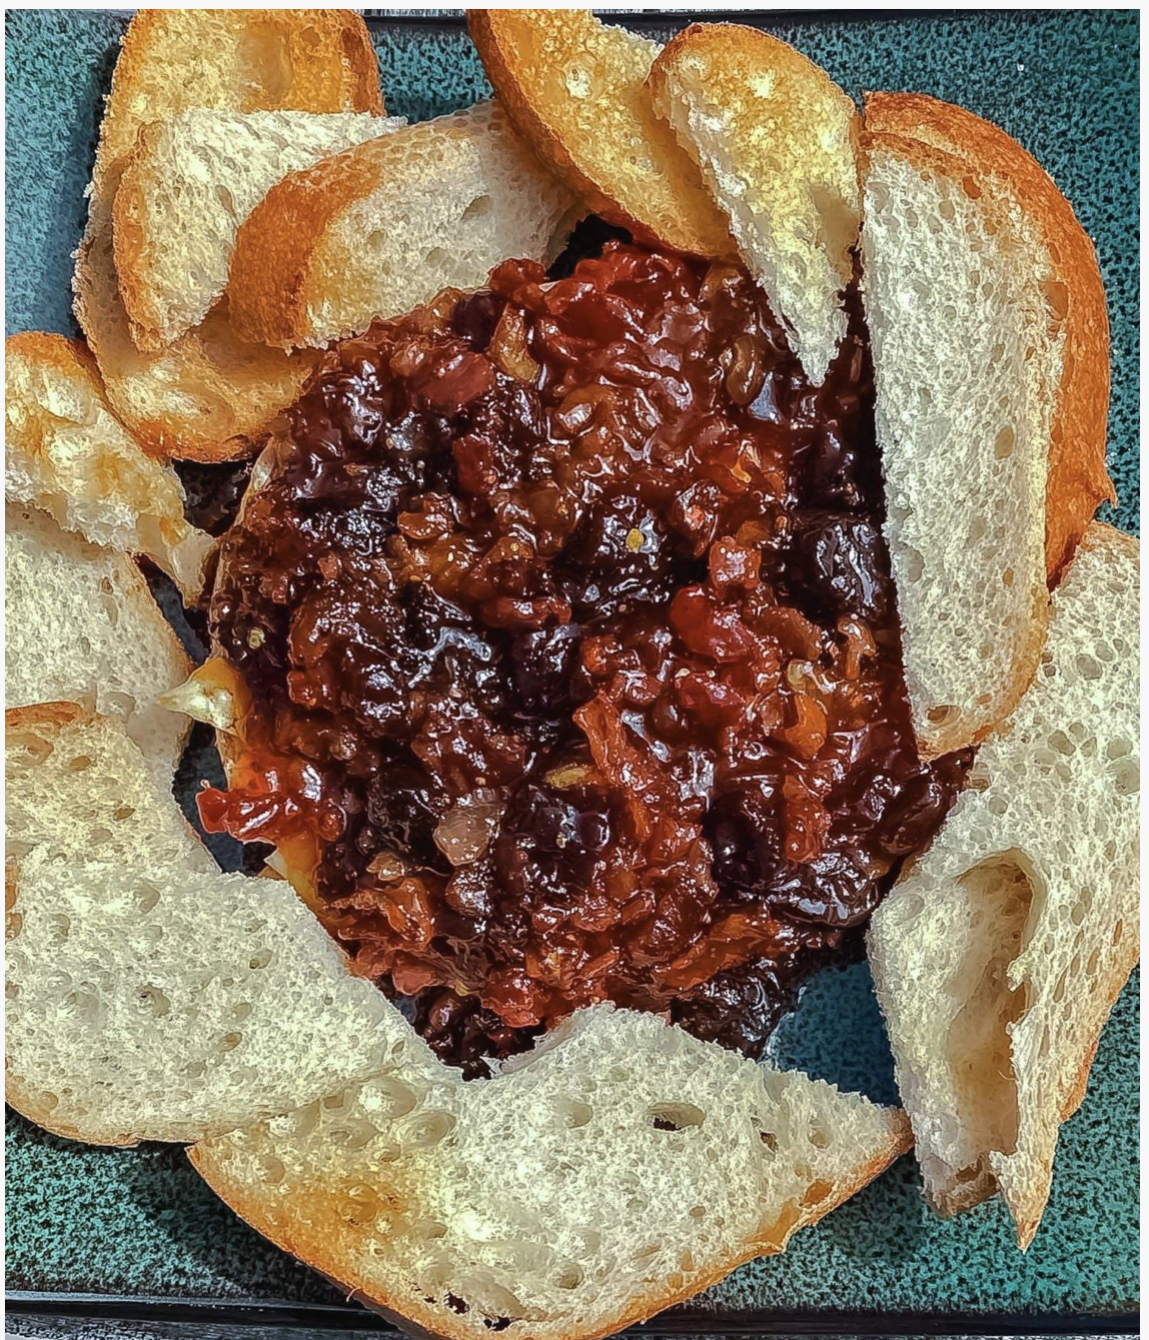
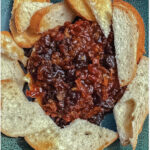 Savory Sweet Cherry Tomato “Jam”
Ingredients
- 1 ½ -2 pounds cherry tomatoes, quartered
- 1/2 medium thin sliced red onion
- 1/4 cup sugar (or sugar substitute)
- 3 tablespoons apple cider vinegar
- 1/4 cut diced dates or dried cherries (optional)
- 1/4 cup water
- 4 cloves garlic peeled and left whole
- 1 -2 tsp crushed red pepper flakes
- 1-2 teaspoons Herbs De Provence (you can substitute crushed rosemary or thyme)
- 1 teaspoon salt
- Black pepper
- Olive oil or Bacon fat
Instructions
- To a cold saucepan add some olive oil or bacon fat
- Add the red pepper flakes, sliced onions and turn on medium heat and saute 3 min
- Add the tomatoes, sugar, apple cider vinegar, water, garlic and herbs, salt and pepper ( if using the dried fruit add it here too).
- Bring to a simmer.
- Cover and reduce heat to low. The mixture will be very liquidy for about 10-15 minutes, but stir occasionally
- Continue simmering the jam, stirring every few minutes, until it has reduced down to a thick, slightly sticky, and sweet consistency. depending on your pan this could take 20 – 40 minutes
- Once it resembles a chunky loose jam. Remove the garlic. Taste.
- Add any more herbs, salt or pepper. You can also add some honey if you want it more sweet. (Remember as this cools the flavor will be more muted so you want to plan for this)
- Allow the mixture to cool before storing it in an airtight container in the fridge for up to 1 week.