Cherry Focaccia

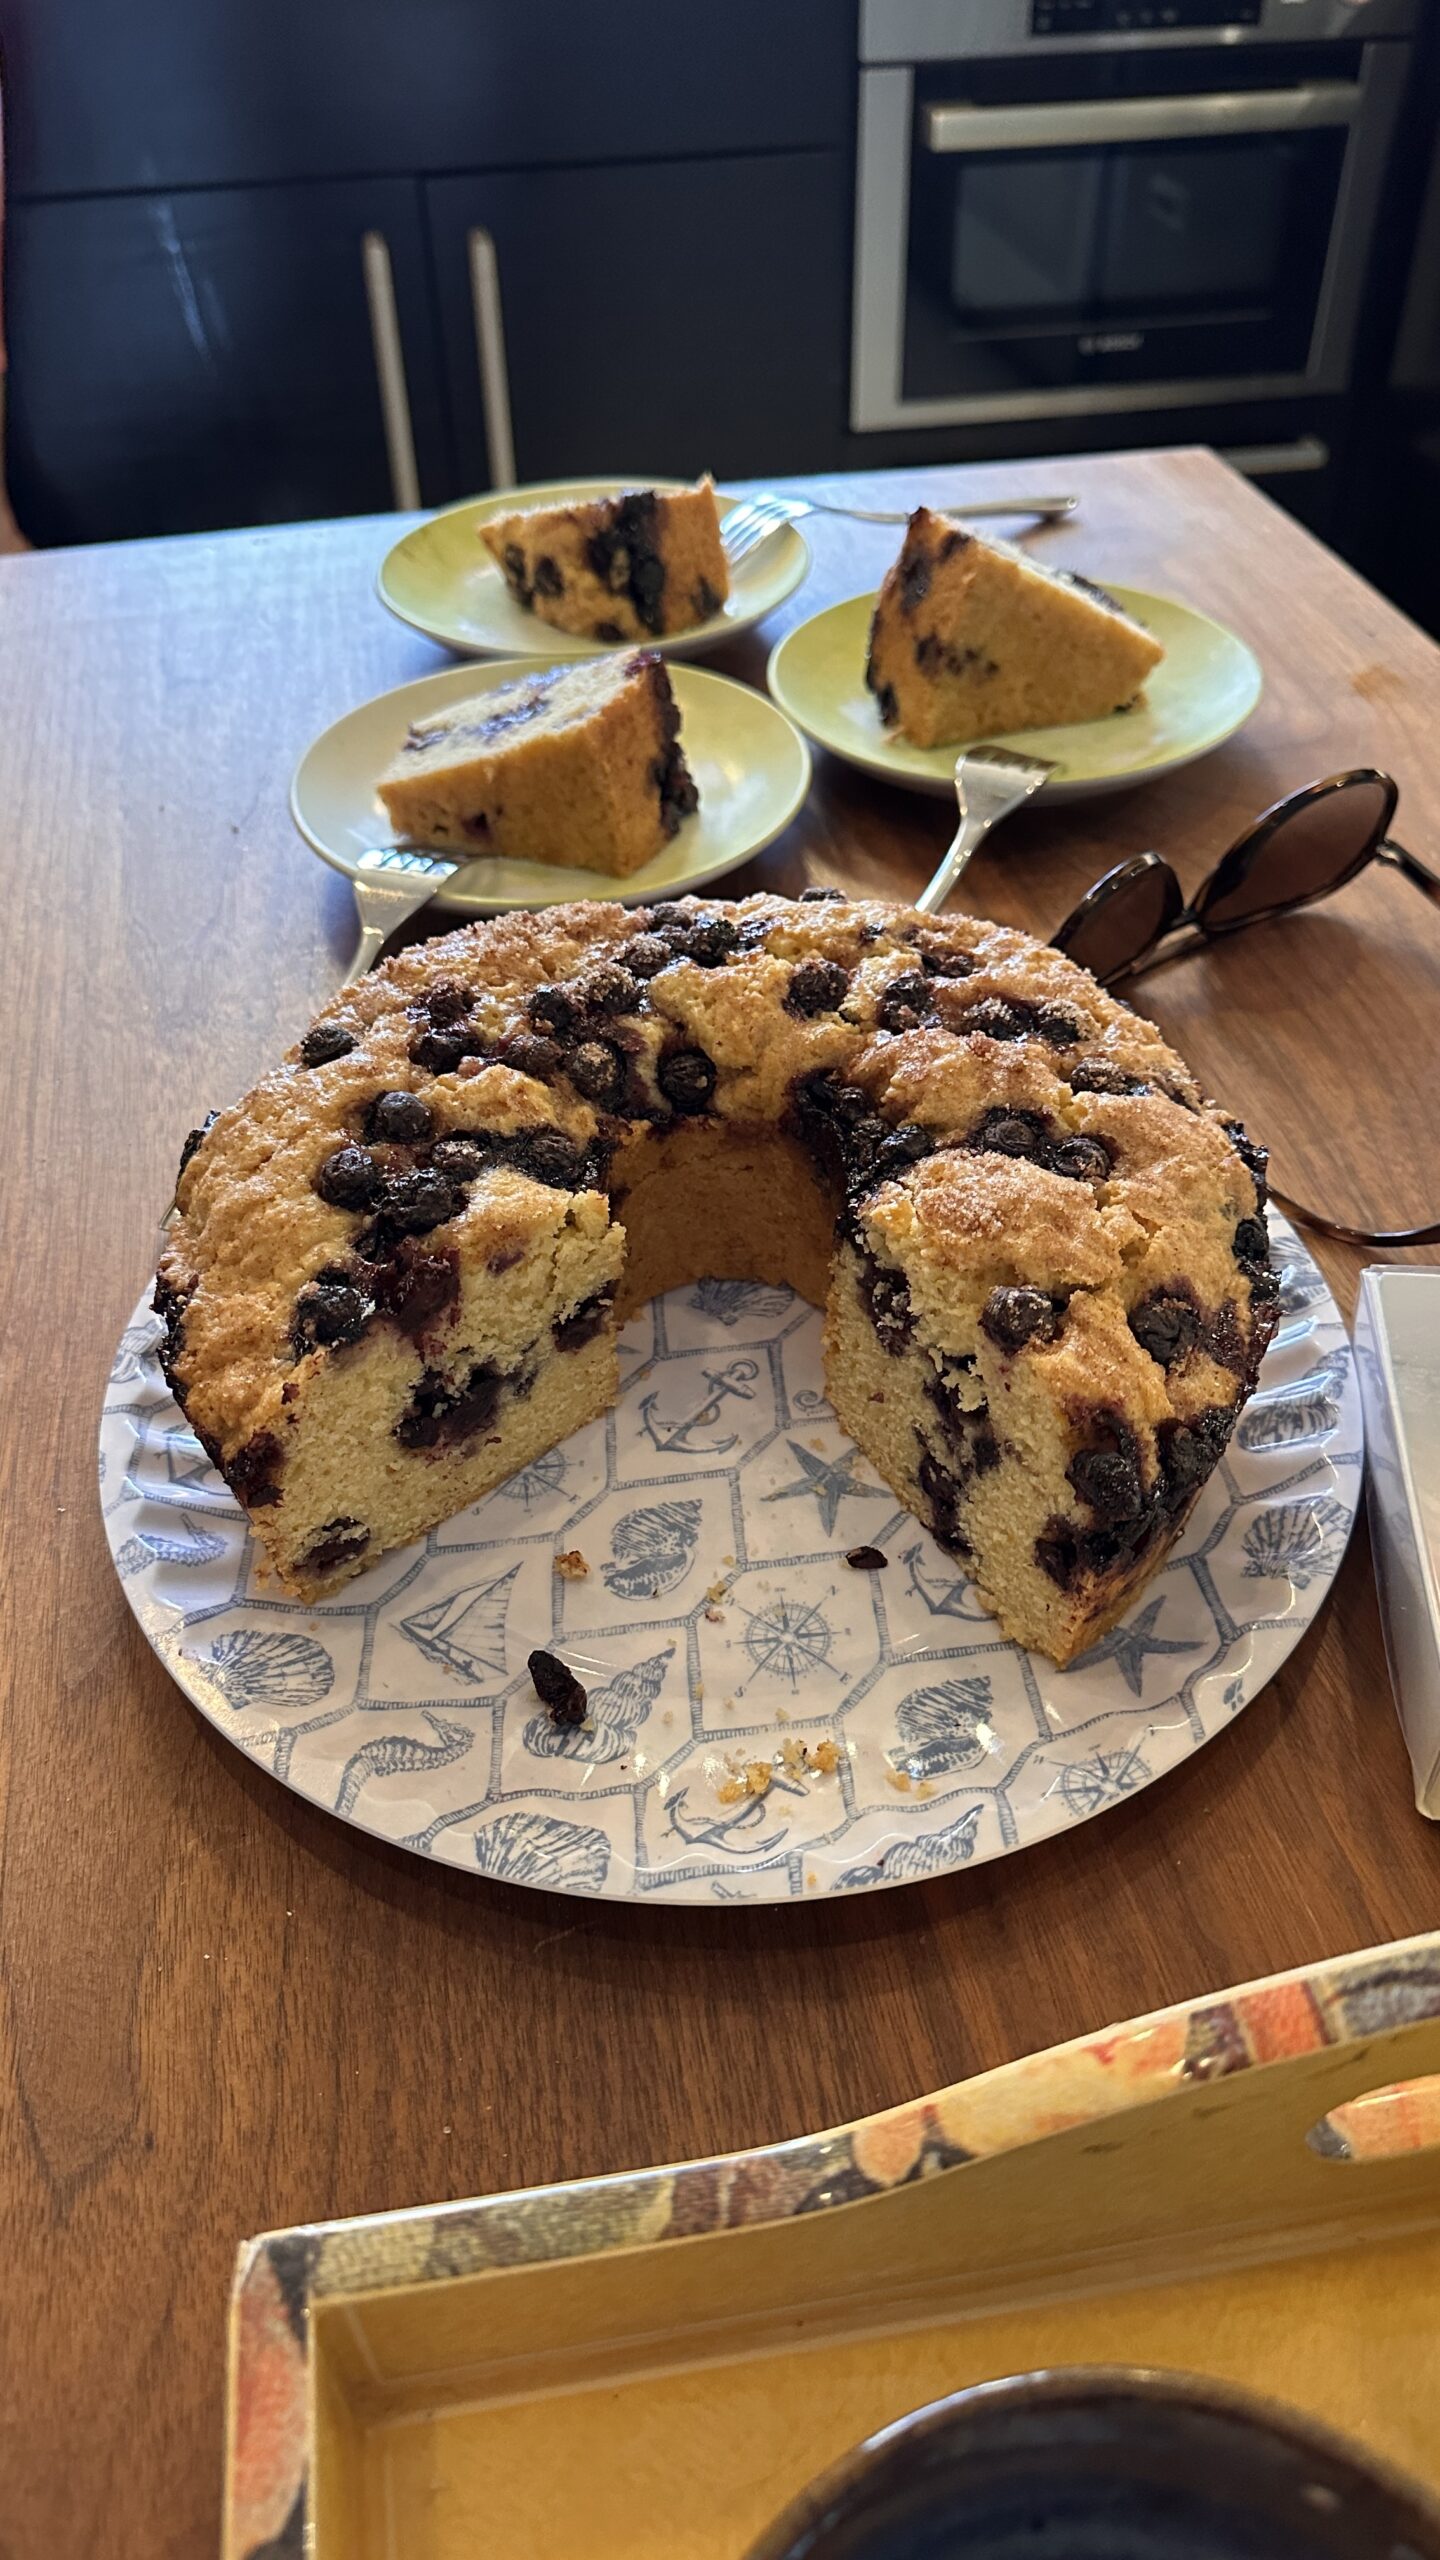
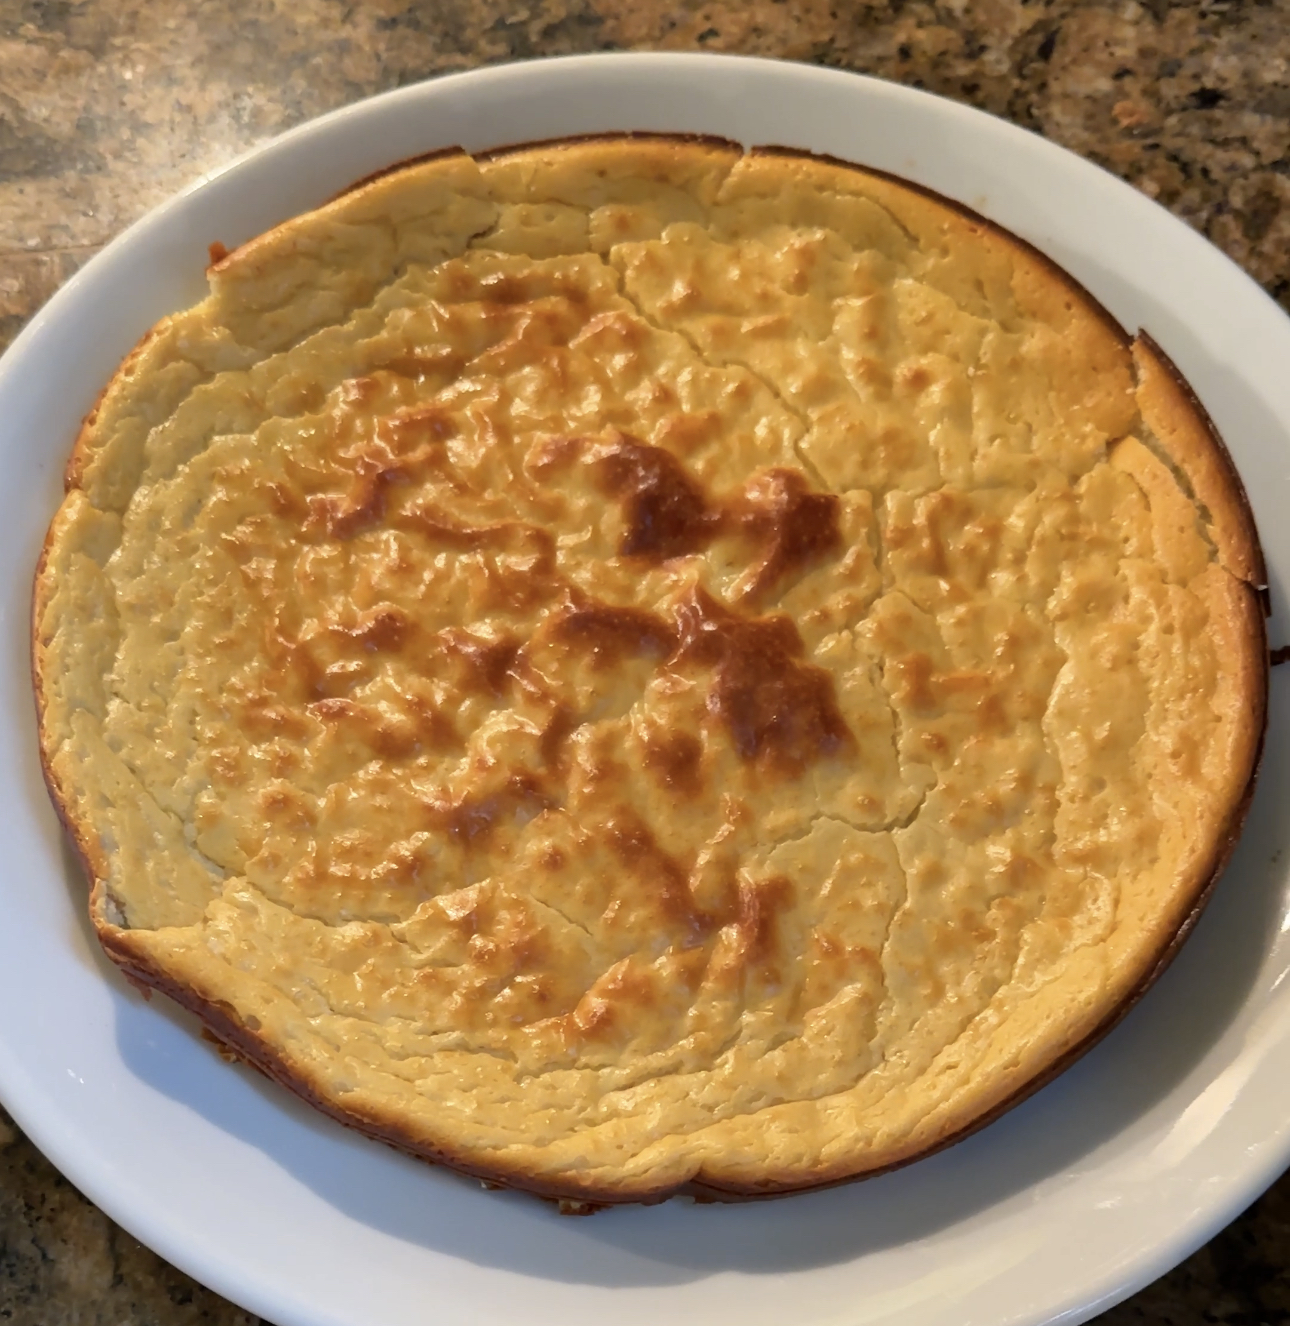
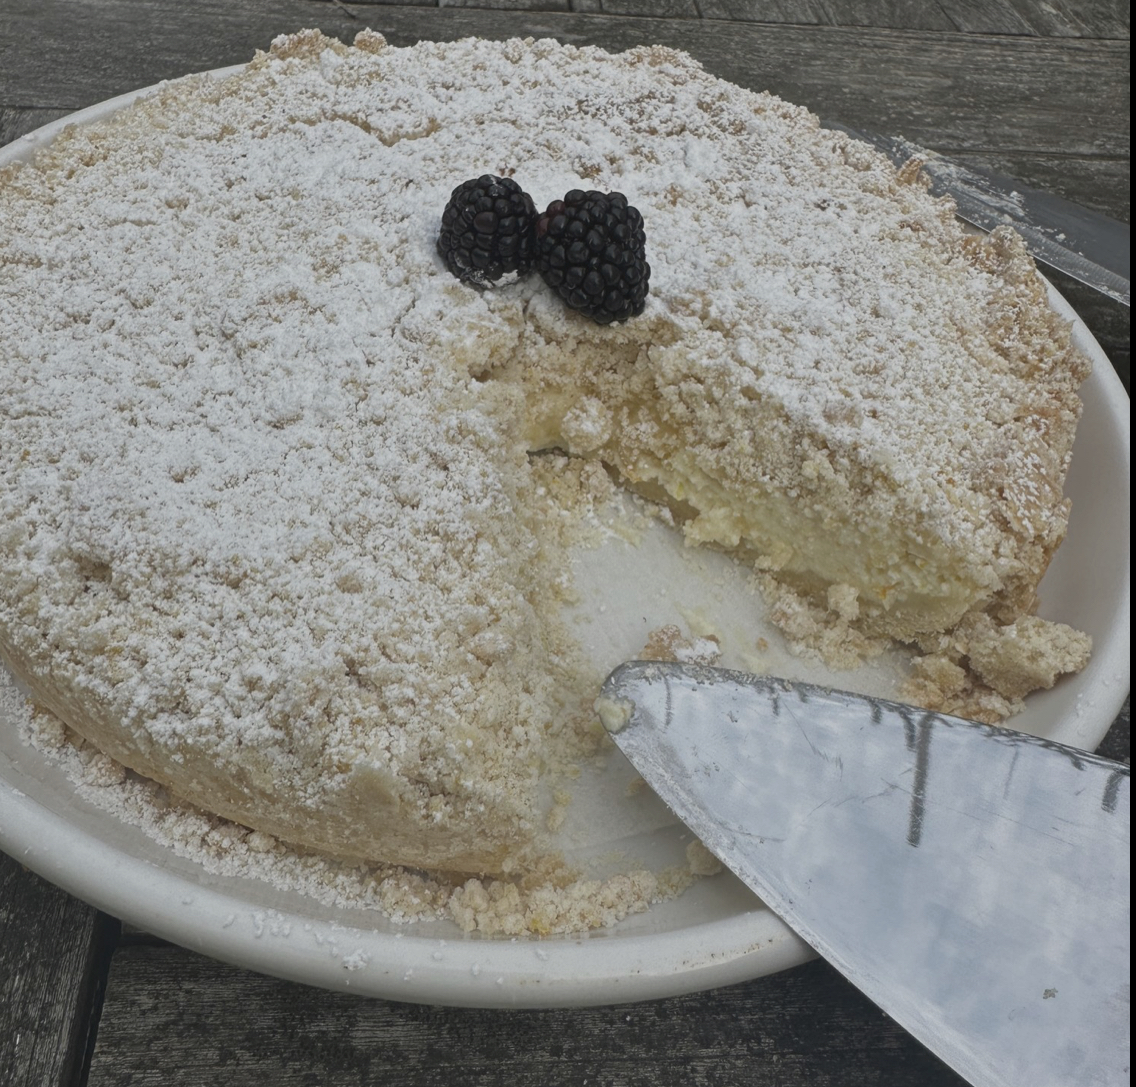
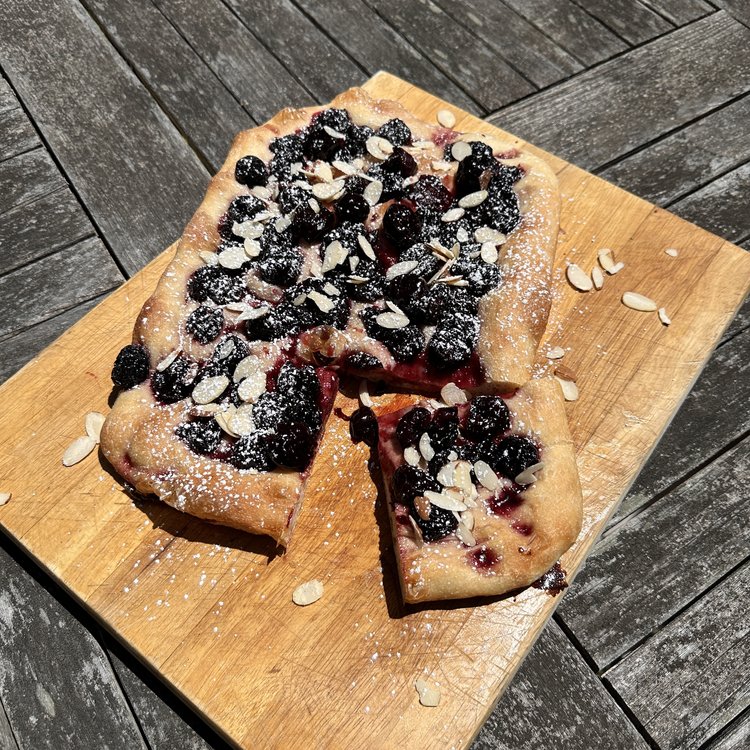
Last month as I wrapped up my time with Foodtoktv I did. bunch of vintage inspired recipes and one particularly was well received. the Cherry Focaccia is  surprising flavoring full fruit style dish that is great as a breakfast or dessert.

Ingredients

Step 1 For the cherry topping

  • 2 lbs pitted fresh or frozen cherries

  • 1 cup sugar

Step 2 For the dough

  • 1/2 cup warm milk

  • 1 tsp dry active yeast (used Caputo)

  • ½ cup warm water (110F)

  • 4 tbs unsalted butter, softened plus extra for greasing pan

  • 1 large egg

  • Zest one large orange

  • 2/3 cup sugar

  • 4 cups (approx) unbleached all-purpose flour

  • 1 1/2 tsp salt

  • 1/2 sliced almonds

  • 1/8 cup confectioner’s sugar

Directions

  1. Place pitted cherries in a large mixing bowl and add the sugar, lemon juice and zest.

  2. Mix well and let the cherries rest covered for several hours or, even better, overnight.

  3. The cherries should have given off quite a bit of the liquid.

  4. Place the cherries and their liquid in a large saucepan.

  5. Simmer, covered, for about 20-30 minutes, or until the cherries are quite soft and the liquid has thickened enough so that a wooden spoon will leave an open trail behind it when it is scraped it along the bottom of the saucepan.

    For the dough

  6. Pour the water into a large bowl and add the yeast; stir to dissolve then add the milk.

  7. In a smaller bowl, mix the butter with the egg, zest and sugar.

  8. Stir into the yeast mixture.

  9. Add the 3 cups of the flour and stir in or use your hands.

  10. Add the salt and up to another cup of flour to create a ball of dough.

  11. Transfer to a floured surface and knead into a smooth ball.

  12. Cover and allow to rise until doubled in size.

  13. Line a rimmed baking sheet with parchment paper and brush with butter. Set aside.
    Preheat oven to 375F

  14. When ready to bake: punch dough down with your hands and transfer it to the parchment lined baking sheet.

  15. Spread the dough out with your hands so that it an even thickness. The dough does not have to reach the edges of the pan.

  16. Do the “Focaccia Poke” then spread the cherry topping evenly over the surface of the dough.

  17. Cover and allow to rise for 20 minutes.

  18. Bake for 30-35 minutes or until the dough is golden brown on top and bottom.

  19. Transfer to a cooling rack.

  20. When cool, sprinkle the nuts over the top and dust liberally with confectioners sugar.

  21. Cut into squares to serve.

    From Maryann Esposito, This recipe was featured on Season 30 – Episode 3003. Of Ciao Italia

New England Style Blueberry Cake

This cake has been part of our family’s dessert menu for well over 50 years. Since it’s the start of Blueberry season here on the East Coast – I thought it was time to share.

Some context for the cake

It’s been my mom’s favorite cake to make to take to parties to make for breakfast and it’s the one she really doesn’t like to share the recipe for because it’s so good and so standard it’s sort of her “signature” bake.

It raises a bit of contention in the house because she would always make it when she knew I’m coming home for a visit which makes my sisters a little crazy.

History

I’ve also been researching the recipe and I found references to variations on this as old as the 30s. Many of the difference includes the type of pan it’s cooked in, and the length of cooking time; which has an effect on the crust of the outer cake. Some people like it more crunchy so they’re gonna cook it longer some like it more delicate so they cook it last. The other big distinction I am seeing is the type of eggs large or extra large and the number of eggs, as well as the types of sugar she used.

Below is my version I tend to make more these days. You can see the bake on my TikTok channel @KitchenBearSF

@kitchenbearsf My mom‘s been making this #recipe for me since I can barely remember. I researched variations of this. It is an incredibly popular New England #Blueberry #cake. I’ve gotten versions of it as early as the 1940s. This is my version. It’s easily adapted to fit your tastes. @Frank the KitchenBearSF @Frank_MentorSF ♬ original sound – Frank the KitchenBearSF


Blueberry Cake

For the Batter:

  • 3 cups of all-purpose flour
  • 2 cups of sugar ( white or a combination or white and lite brown sugar works)
  • 1 cup of olive oil or corn/vegetable oil (either works or a combination is totally up to you.)
  • 1/4 orange juice with pulp (or a mix of lemon and orange juice)
  • zest of one lemon (or orange, or both!)
  • 4-5 eggs Egg size of your choice.*
  • *if using a round-style Bundt pan or Angel food cake pan with a removable bottom, four eggs is usually fine if you wanna make this in a glass brownie pan five eggs works well.
  • 3 teaspoons of vanilla extract
  • 3 teaspoons of baking powder
  • pinch of salt

For the Berry Topping & Center

  • 5 tablespoons of sugar
  • 1 teaspoon ground cinnamon
  • 2 cups of rinsed and dried fresh blueberries (Frozen will work too)
  • pinch of salt

To make it:

  1. Preheat on the oven to 350°
  2. Into a large bowl add flour, the sugar, baking powder, lemon zest from the batter list above.
  3. Using a fork, mix well until combined.
  4. In a smaller bowl or 2 cup liquid measuring cup eggs, oil, vanilla extract, orange juice. Whisk well until you dont see any eggs. (I often use an immersion blender for this but a hand mixer works as does a vigerous hand wisking)
  5. In a smaller bowl; add the remaining 5 tblsp of sugar and tsp of cinnamon and pinch of salt. Then add the blueberry’s and mix to coat them well.
  6. Take your pan and spray coat it really well. Note: don’t do this first, wait until just before you’re adding the batter when useing spray grease. You can use butter especially when using a Bundt pan. It is your preference
  7. Add a little less than half of the batter into the pan, smooth out and top with about half of the blueberry sugar mix
  8. Add the remaining batter and top with the rest of the blueberry mix
  9. Bake in a preheated oven on the middle rack for 90 min. Checking for doneness at 74 minutes. A toothpick inserted, should come out clean. Same with the nice light brown crunchy top. That is personal preference.
  10. Once done remove from the oven let’s sit and cool.
    1. When I do this in the brownie pan I leave it alone and let it cool in the pan and I serve it that way, sometimes I pop on at some whip cream otherwise I just serve it that way.
    2. But if I’m using the angel food pan with removable bottom, I wait about 10-15 minutes then remove the sides so the sides of the cake stay crisp then remove the bottom once cool.
    3. The Bundt pan is always the one that gives me problems removing it in one piece, so wait until that suitably cool enough to flip it over and remove it from the pan.

The cake uncut is fine the next day so is great for a “make and take”. Once you cut it, keep it in a sealed container if you want to keep it moist. The leftover cake can be toasted or griddled with butter. But  I’ll be honest I think I’ve rarely had it last more than two days before it’s gone.

Random Hints

  1. Recipe works great in a Bundt pan, an angel food pan that has a removable bottom and glass brownie pans. The reason I say a glass brownie pan is because he gives you a really nice crispy edge on all sides
  2. The batter volume will also fill three foil loaf pans are are perfect for gifting or freezing once cooled
  3. The same recipe and substitute the fruit as you choose to
  4. Really doesn’t need any extra toppings but if you wanna go over the top this is great with crème fraîche or ice cream or even a berry or orange liquor drizzled over it

The Benefits of Starting on a Paleo Diet

The paleo diet, also known as the caveman diet, has gained a lot of popularity in recent years. This diet is based on the idea of eating only foods that were available to our ancestors during the Paleolithic era. By adopting this diet, you can reap many benefits that will positively impact your health.

Lower Your Cholesterol

The paleo diet has many advantages, chief among them being the ability to reduce cholesterol. Excess amounts of this waxy substance can boost your chances for developing heart disease and other health issues. Through a meal plan consisting of wholesome fruits and veggies, lean proteins, and nutrient-dense fats, you can substantially decrease your cholesterol levels over time. In fact, numerous studies have demonstrated that following a paleo diet for just several weeks leads to significantly lower cholesterol readings in individuals.

Ditch Processed Foods

Another benefit of the paleo diet is that it encourages you to ditch processed foods. Processed foods are loaded with sugar, unhealthy fats, and preservatives that can wreak havoc on your digestive system. By cutting out processed foods and replacing them with whole foods, you are giving your body the nutrients it needs to function properly. Most unprocessed foods, including meat and fish, don’t contain gluten, making the paleo diet a great option for those with gluten sensitivities.

Lose Weight

The paleo diet can also help you lose weight. Many people struggle with weight loss, and the paleo diet offers a natural and healthy solution. The diet is rich in protein, which helps keep you feeling full for longer periods, reducing the chances of overeating. The paleo diet eliminates processed foods, which are often high in calories yet low in nutrition. If you substitute them with nutrient-dense fruits and vegetables along with healthy fats, it can help you quickly lose any extra weight. Additionally, the paleo diet encourages eating whole foods that are free from added sugars and other preservatives. This combination of factors can help you reach your desired weight in no time!

Starting on a paleo diet can have many benefits that can positively impact your health. By adopting this diet, you can lower your cholesterol, ditch processed foods, and lose weight. The paleo diet emphasizes the importance of eating whole foods, which can provide your body with the nutrients it needs to function properly. If you’re looking to make a change in your diet and improve your overall health, then consider giving the paleo diet a try.

If you enjoyed this article you might also enjoy: Diet Changes You Can Make to Feel Better

Old School Ham and Pickle Salad

I took a walk down memory lane recently and remade a favorite Ham & Pickle sandwich. I grew up with this forgotten sibling to the ubiquitous tuna and egg salads and have some great memories of it. My Aunt would start making make this dish for me as soon as she got word I was coming back to CT for a visit and im not talking a little bowl.. Im talking quarts!

INGREDIENTS

  • 1 pound of cooked ham (you can use a baked, boiled, a ham steak or thick slices of ham from the deli)

  • 1 stalk (or 1/2 cup finely diced celery)

  • 1/2 half of white or red onion rough chop

  • 4-5 pickles (about a 1/2 cup dill pickles diced or use relish)

  • 2 tablespoons pickle brine

  • 1/2 cup mayonnaise

  • 1 tablespoon dijon mustard (more to taste)

  • Fresh black pepper to taste

  • 1/4 teaspoon cayenne pepper or red pepper flakes

  • 1/2 teaspoon garlic powder

  • 2 teaspoons Worcestershire sauce

INSTRUCTIONS

  1. In a food processor, blitz the ham into a small chop (3-4 times pulses).

  2. Add onions, pulse.

  3. Add the remaining ingredients to the processor with the ham and onion and pulse several seconds to your desired texture.

  4. Taste for seasonings and adjust if needed. I like balance salad that tastes like ham but with the mayo and mustard to balance sweet and sharp

  5. Remove from the food processor into a sealable bowl (I’m a huge LockNLock fan for this). Mix with a spatula

  6. Cover and refrigerate for 1 hour, then stir again , taste for salt, pepper etc. before serving.

Serving options; Spread on your preferred bread and make a sandwich or scoop some in bowl with a side of crackers, pita chips, celery sticks or core a tomato and fill.

Cottage Cheese Breakfast Cake

Cottage Cheese Breakfast Cake

My partner found the original version of this recipe on Tiktok and asked me to take a try at it. He is always looking for ways to increase his protein intake beyond eggs for breakfast. They original was ok, but needed a bit more flavor for us,  so I tinkered around with it some, and this was the latest result.

Unadorned its great, but go ahead and “gild the lily” and dress it up once cooled


Ingredients:

Serves 2:

  • 1 cup of cottage cheese
  • 1/4 cup of vanilla protein powder
  • 1/4 cup greek yoghurt
  • 4 tbsp almond flour (the original recipe used 1 tbsp coconut flour)
  • 1 egg
  • 1 tsp vanilla extract
  • 1 pinch of salt
  • lemon zest

Directions:

  1. Grease or spray the bottom and sides of a baking pan and cover the bottom with a parchment liner
  2. Preheat the over to 350 f
  3. Add all the ingredients to a food processor or blender.
  4. Blend until smooth.
  5. Pour into the prepared pan. Place on a cookie sheet and place in the oven.
  6. Bake at 350 F (180 C) for 35-40 minutes.

This will make a thin cake, enough for two servings from an 8” cake pan. For a thicker cake, double the recipe and bake an additional 15 -20 minutes.

Let the “cake” cool, plate and serve with stewed fresh berries or topped with warmed strawberry preserves with a splash of vanilla or almond extract, and slivered almonds or sprinkled with confectionary sugar or sugar replacement.

Refrigerate any leftovers.

Adapted from Tiktok’s @marinawrightwellness Cottage Cheesecake

Chicken with Mint Sauce

I came across several old references in Italian cookbooks of a grilled or sautéed chicken breast that was simply prepared with a fresh mint sauce. Now I’ve seen other variations, where people do lemon, dill or rosemary but this one caught my eye several times so I finally took it apart played with it. Below is my version that I am thrilled with. It’s the simplicity of simple ingriedeints that makes this shine, thigh the star being the brightness of the mint sauce.

I noticed many references say this may be a traditional Sicilian dish, but I also have seen variations in other parts of the country. Here in the US, I’ve seen it on menus but very rarely.

Ingredients

  • 3-4 large boned and skinned chicken breasts (totaling 1 to 1½ pounds), cut crosswise into ½-inch-wide strips
  • ¼ medium red onion, minced
  • 1 clove garlic, minced 
  • Generous pinch of sugar
  • 3 tablespoons red wine vinegar ( you could use white or even Apple cider vinegar)
  • 2 tablespoons extra-virgin olive oil
  • Salt and freshly ground black pepper
  • zest and juice of 1 medium lemon
  • ½ teaspoon dried oregano
  • ¼ tightly packed cup fresh mint leaves,
  • ½ teaspoon freshly ground black pepper finely chopped
  • Salt & Pepper to taste

Directions

Step 1:
  1. Slide the chicken breast crosswise into 1/2′ wide strip or medallions and place in a sealable container or silicone storage bag (a plastic one will also work)
  2. To the chicken add 1 tbsp of the oil, lemon zest, oregano, and pepper. Seal and toss well.
  3. Let marinate in the refrigerator 1 to 6 hours.
Step 2:
  1. About 30 minutes before cooking, make the sauce;
  2. Stir together the minced onion, garlic, sugar, vinegar, lemon juice, salt and pepper to taste in a small bowl.
  3. Let stand 20 minutes
  4. Then whisk in the remaining oil.
Step 3:
  1. About 15 minutes before serving, heat a heavy skillet, or a 12-inch sauté pan over medium-high heat or you grill on medium.
  2. Sauté or grill the chicken, sprinkling it with salt.
  3. Turn the pieces as they pick up color and immediately reduce the heat to medium-low.
  4. Continue cooking about 4 minutes, until the chicken is barely firm when pressed.
  5. Be sure there is, no sign of raw meat. An instant read thermometer should read 160 -1 65 degrees.
  6. Transfer it to a serving warm plate or a plate layered with lettuce or arugula
Serving
  1. Stir the 3 tablespoons of the fresh mint into the prepared sauce,  spoon over the chicken
  2. Sprinkle remaining mint over the chicken for garnish
  3. Suitable as simple summer lunch or as dinner along with  Broccolini with Peanut Sauce

Notes – I make double the sauce as everyone asks to add more!


Adapted from the Italian Country Table, by Lynn Rossetto Kasper, 1999

Sketchy’s Family Pasta Salad

My pal and @tiktok co-collaborator and fellow troublemaker, Tricia ( also known as @SketchyChef ) always comes up with recipes that just make a person’s mouth water, stomach growl and you know what ever she is making is going to feed a crowd.

This is one I asked that she let me share; it’s her families’ 20 year old recipe for a summer  or anytime gathering standard; Sketchy’s Pasta Salad. Never scoff at the basics. Your first bit of this is gonna take you back to one of you childhood memories  for sure.

Ingredients

  • 1 lb pasta of Choice , cooked as directed & drained

  • 1 cup shredded carrot

  • 1/2 bell pepper finely diced

  • 3/4 – 1 Cup Mayonnaise

  • S & P to taste

Preparation

  1. Mix all ingredients into cooked pasta , refrigerate & let chill  before eating.

So as Tricia likes to say “Keep it Sketchy & Enjoy”


Catch Tricia on TikTok as @SketchyChef and she’s also part of the collaborative group  @TheFoodieNetwork 

Ricotta Cheese Crumble

Ricotta cheese is one of those items that most conect it to the lushes filling between lasagna noodles. But for many cultures it also has a rich history as add-in or star to everything from pancakes , pasta to dips and even sweet endings. This dish resembles the marriage of a custardy like cheesecake sandwiched between layers of a simple crumble. 

Ricotta Cheese Crumble


Ricotta filling:

  • 2 cups ricotta cheese (drained)
  • 7 Tbsp sugar
  • 1 egg
  • 2 lemons, zested ( you can also substitute with oranges)

Crumb cover and base:

  • 2 ¼ cup all-purpose flour
  • 1 egg
  • 7 Tbsp sugar
  • 6 Tbsp vegetable oil
  • 2 tsp baking powder
  • 1 lemon, zested

Preparations

  1. Preheat the oven to 350F°/180C°.
  2. Line with parchment paper and butter a 9” springform pan
  3. To make the ricotta filling, place in a medium bowl the filling items and gently blend together with a fork.
  4. To make the crumb , place the remaining ingredients in a bowl and using your fingers, rub the egg and the oil into the flour, zest and sugar to make a crumb-like mixture
  5. Using about ⅔ of the crumbs, make the cake bottom and edges, lightly shape up the sides to make a ridge. You don’t need to compress it tight
  6. Pour the filling into the this crumble shell, then top with a sprinkle the crumble mixture
  7. Bake for 30-40  minutes until lightly golden.
  8. Let it cool at room temperature, and served dusted with icing sugar

Note: You can use any combination of citrus with this crumble. You can also add chopped pistachios to the top layer of the crumb for some extra crunch.