Harvest Squash Salad

Harvest Squash Salad

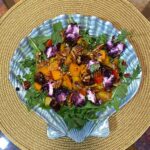
This delicious fall and winter squash salad takes two of my favorites; butternut and acorn, and pairs them with bacon, pomegranates, cranberry goat cheese, dates, pecans, arugula greens, basil and a spiced cumin-date dressing. Back in my days on the old format of Foodtoktv I went live to shared and older version.  Since then, I have made a few revisions to amp it up further.

It’s hearty enough to be a meal on its own over arugula but it’s also  a wonderful harvest side dish. You can easily adapt this and use your favorite squash, take it vegan or meat free as you prefer.

Ingredients

  • 1 small butternut squash, peeled, seeded, and cubed
  • 1 small butternut acorn, peeled, seeded, and cubed
  • ½ to 1 teaspoon extra-virgin olive oil
  • ¼ teaspoon freeze dried or fresh herbs
  • 4 slices of pre-cooked bacon (optional)
  • ¼ teaspoon ground cumin
  • ¼ teaspoon ground coriander
  • ¼ teaspoon cinnamon
  • ¼ teaspoon cayenne, less if sensitive to spice
  • 6 cups loose-packed spring mix greens (optional)
  • 1 diced sweet red or green pepper
  • 1/2 cup diced onion
  • 2 ounces goat cheese, torn into smaller pieces
  • 6 Medjool dates, pitted and diced (2 for the dressing and 4 to top the salad)
  • ¼ cup pomegranate seeds
  • ¼ cup pistachios or pecans, crushed and toasted
  • sea salt and freshly ground black pepper
  • Red pepper flakes
  • Fresh Basil

Cider Date Dressing (makes extra)

  • 5 tablespoons extra-virgin olive oil
  • 2 tablespoons apple cider vinegar
  • 1 tablespoon fresh lemon juice
  • 2 of the 6 Medjool dates, pitted
  • ½ garlic clove (optional-dried is fine)
  • ⅛ teaspoon ground cumin
  • sea salt
  • black pepper, to taste
  • 3 to 5 tablespoons water, as needed to blend

Instructions

  1. Preheat the oven to 425°F and line a large baking sheet with parchment paper.
  2. Place the squash cubes, chopped bacon, diced pepper and onions on the sheet and drizzle with olive oil and pinches of sea salt and pepper and red pepper flakes to taste.
  3. Toss to coat and spread evenly on the baking sheet.
  4. Roast for 30 to 35 minutes, or until tender and browned around the edges.
  5. In a small bowl, stir together the cumin, coriander, cinnamon, herbs and cayenne. Set aside.

Make the Cider Date Dressing:

  1. In a blender, combine olive oil, vinegar, lemon juice, 2 dates, garlic (optional- powder is fine), cumin, salt, pepper, and 3 tablespoons of water.
  2. Add 1 to 2 more tablespoons of water as needed to blend.
  3. Add more vinegar or lemon to taste
  4. You want this to be just thick enough to coat the warm veg.
  5. Remove the butternut squash from the oven, scrap and add to a bowl
  6. Add the remaining 4 chopped dates
  7. While warm, toss with the spice mixture.

Serving as a side dish:

  1. Drizzle 1/3-1/4 of the dressing and gently toss
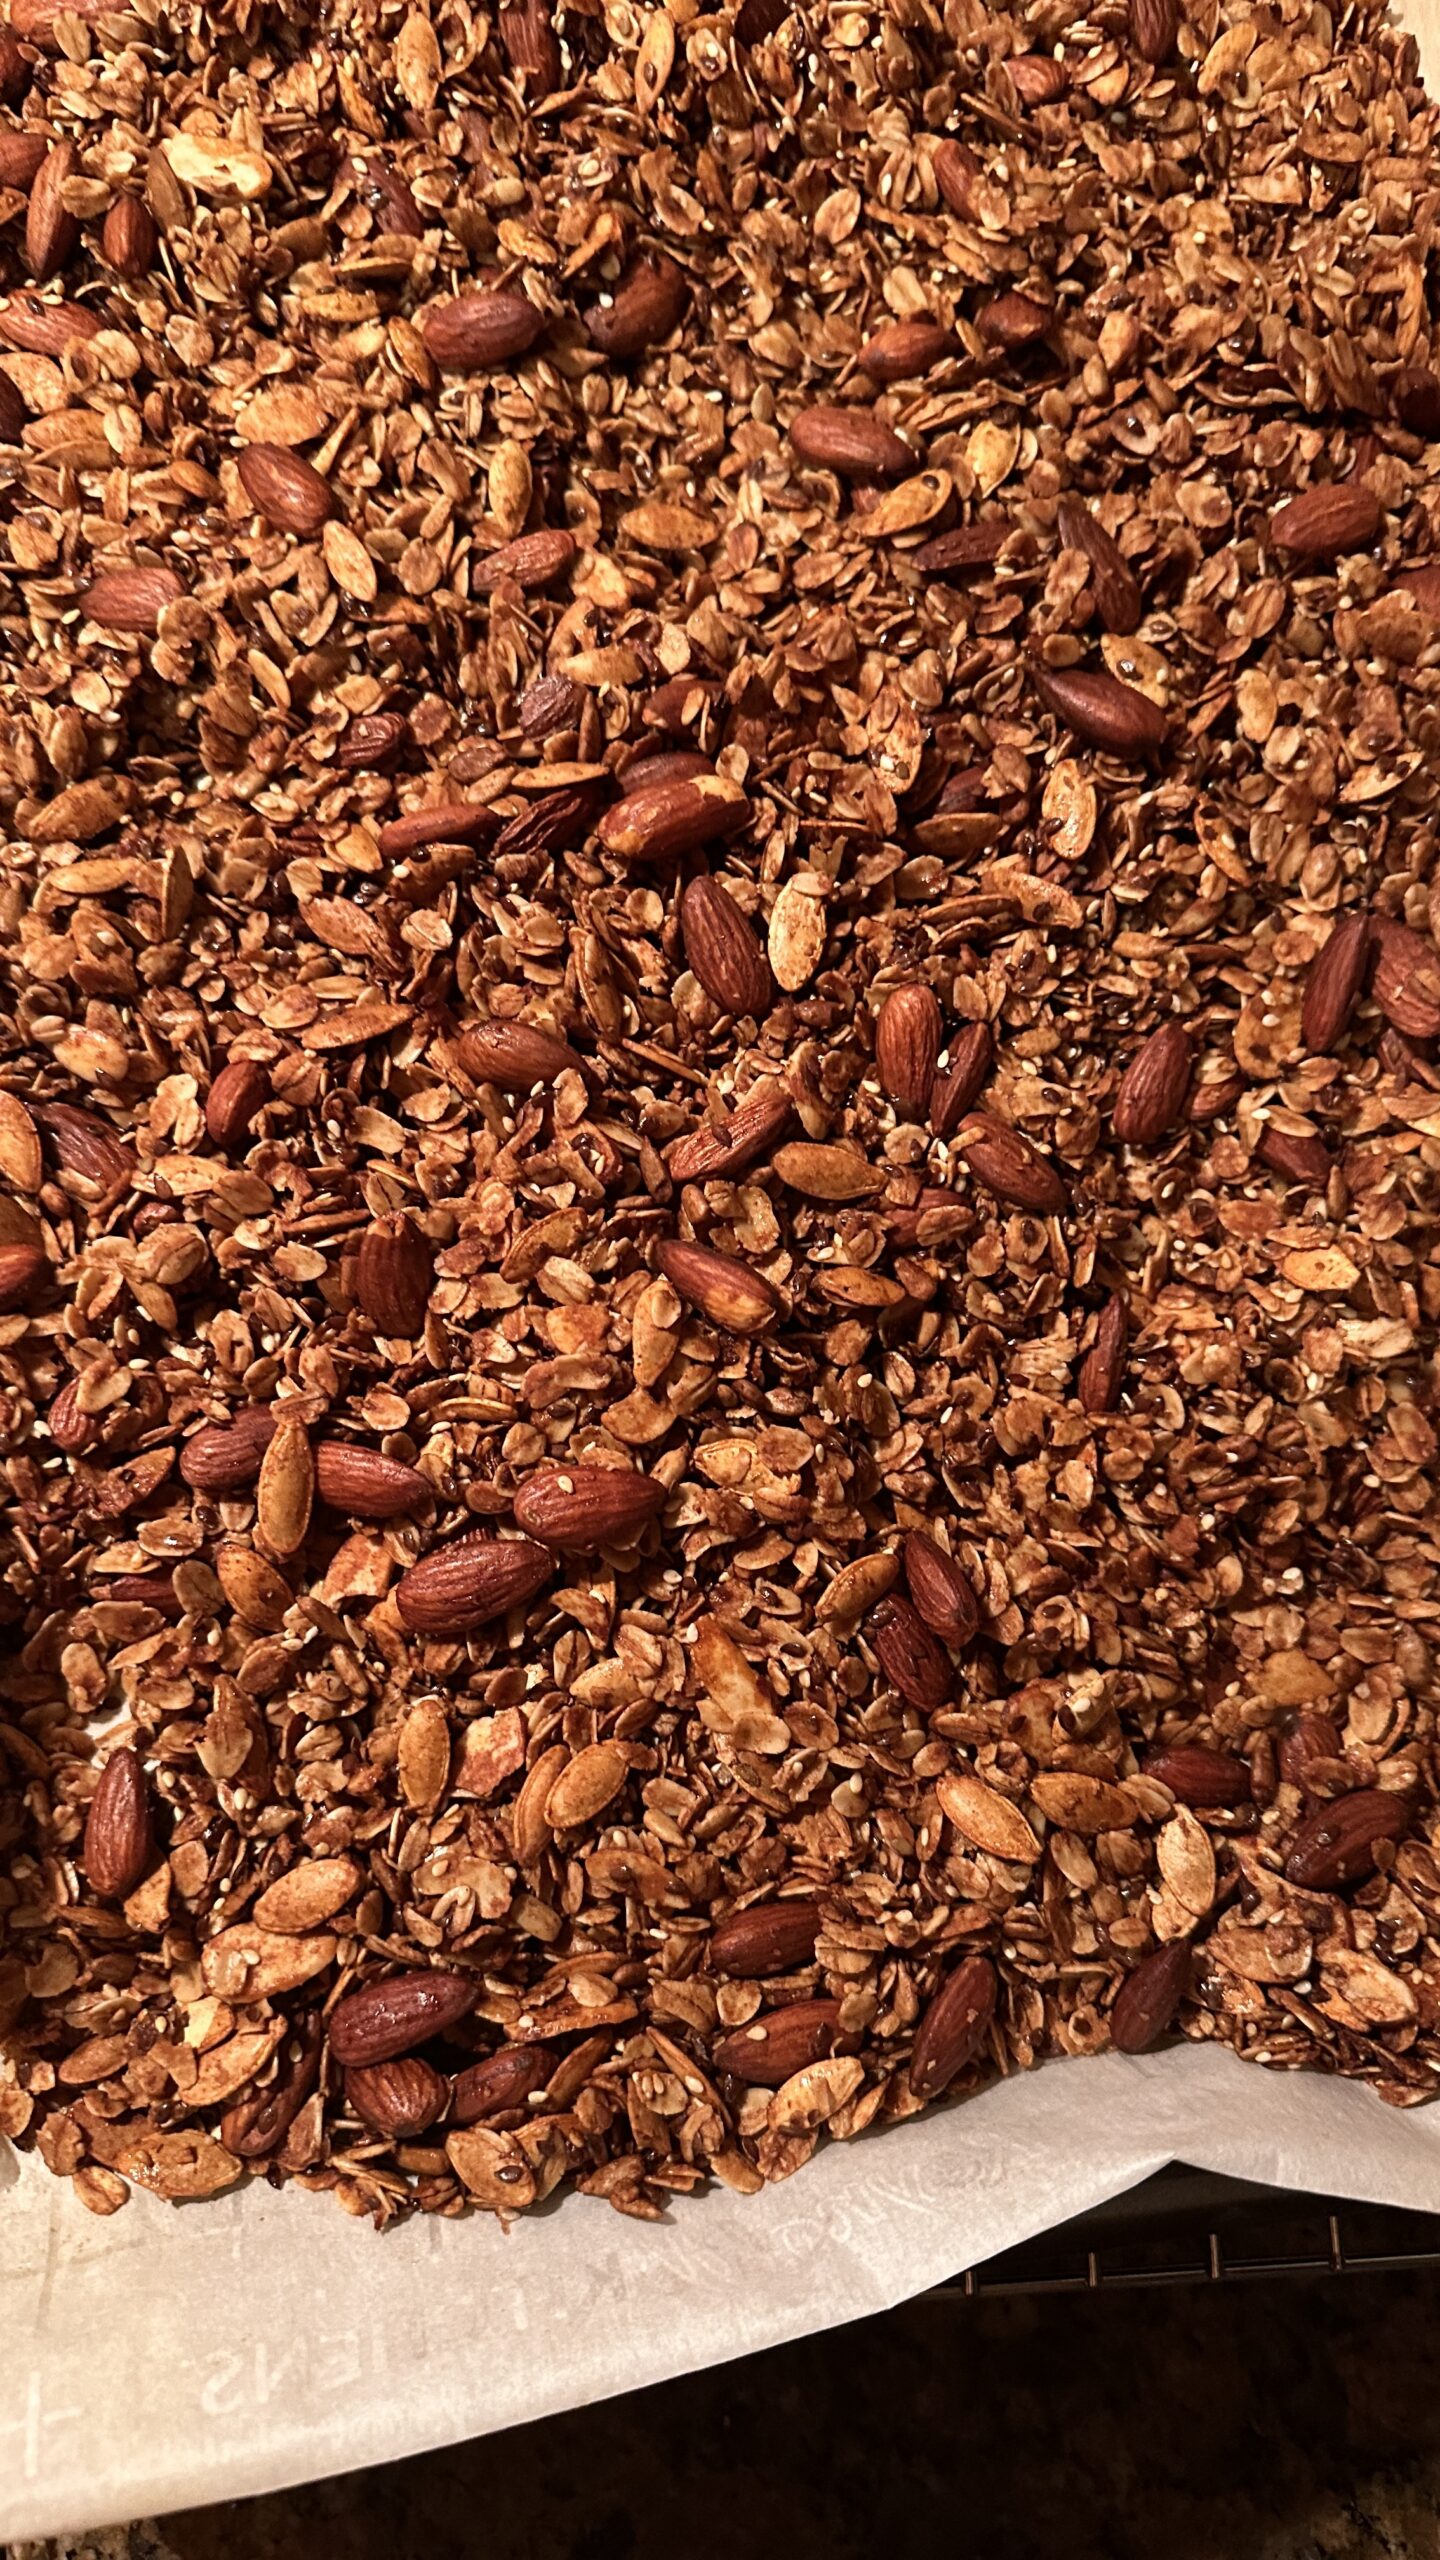
  2. Top with pomegranates, fresh basil, goat cheese and nuts. (Check out my gluten free and carb friendly recipe for homemade granola and use that as a crunchy spiced garnish)
  3. Add another drizzle of the dressing
  4. Serve warm to room temp.

Serving as a salad

  1. Layer the arugula on a platter or plate and top with some of the roasted squash.
  2. Drizzle with ⅓ of the dressing,
  3. add the goat cheese, dates, basil, pomegranates, and nuts.
  4. Drizzle with more dressing as desired and serve on the side.  Add a spritz of lemon
  5. Hint: warm the dressing up a bit.

Serve immediately.

Low carb, high fiber, oat and nut homemade granola

When Paul asked me to start shifting away from processed foods, and refined sugars and add more plant-based meals into our diet to help with his recently diagnosed sugar issues. I took to the challenge of trying new recipes and creating others that would appeal to me and him. This recipe for a homemade granola is one of them I found. Based on a version by Nigella Lawson, I amped up the flavors a bit for our tastes. My next version is to go for a savory version.

INGREDIENTS

Makes: enough to fill 6 cup jar or air-tight container. It should keep for a good few months if it lasts that long which it won’t. It’s oddly addictive.

  • 3 cups quick-cooking oats  (not instant)
  • 2-3 heaping teaspoons ground ginger
  • 3 heaping teaspoons ground cinnamon
  • 1 teaspoon kosher salt
  • ¾ cup natural skin-on almonds
  • ½ cup sunflower seeds
  • ½ cup pumpkin seeds
  • ⅓ cup brown flaxseed
  • ½ cup sliced almonds (optionally here you can add a different nut of your preference)
  • 3 tablespoons sesame seeds
  • 3 Tablespoons of chia seeds
  • ½ cup extra virgin olive oil (I also will use coconut or walnut oil)
  • ½ cup maple syrup. (I use keto syrup from Birch Benders brand)

You can use other nuts or spices as is your preference or what you have on hand as well (for instance clove, nutmeg, cardamon, pecans, walnuts, flaked coconut etc

Making it

You will need a large baking/cookie sheet pan with an edge. 

  1. Preheat the oven to 300 degrees and line your baking sheet with baking parchment.
  2. In a large bowl, toss together the oats, spices and salt.
  3. Add in the nuts and seeds, and mix well again.
  4. In a measuring cup, combine the oil and maple syrup, then pour the mixture into the oats, nuts and seeds and, with a fork, mix to combine. 
  5. Pour onto a parchment-lined baking sheet pan, and move it around so that it covers the tray evenly. You may want to split this into two pans depending on the size of yours.
  6. Place it in the oven, on the center rack, and bake for 30 minutes and then, stir the granola to mix and toast the underside as well. Place it back in the oven for another 30 minutes. 
  7. When done, remove from the oven and let the pan sit on a wire rack until the granola’s cold.
  8. Once cool you can add dried fruit (optional – you do not want to cook the dried fruit with the nuts and seeds as they will get too hard)

I even used this as a base for a dairy free, sugar-free oatmeal, sugar-free chocolate chip cookies the other days to rave reviews from Paul


What You Need to Know to Make Bone Broth at Home

What You Need to Know to Make Bone Broth at Home

In the realm of culinary trends, bone broth has carved a niche as a nutritious and flavorful elixir. Whether you’re a seasoned cook or an adventurous food enthusiast, mastering the art of making bone broth at home can be a rewarding endeavor. Here’s what you need.

Basic Ingredients Required

The foundation of a rich and flavorful bone broth lies in its basic ingredients. To get started, you’ll need a combination of bones, water, and aromatic vegetables. Beef bones, chicken carcasses, or even fish bones can serve as the base for your broth. Adding herbs and spices like bay leaves, peppercorns, and thyme can enhance the complexity of your broth. The quality of your ingredients plays a significant role in the final outcome, so opt for fresh and high-quality bones and vegetables. Once the basic ingredients are prepared, it’s time to start cooking. Place the pot on the stove and bring it to a boil. Then reduce the heat until the contents simmer gently, allowing the flavors to develop fully. Cooking times vary depending on your broth’s base. After cooking, you’ll be left with a fragrant and nutrient-packed broth that can be used to make soups or sauces or simply enjoyed on its own.

Tools You Need

While making bone broth is a straightforward process, having the right tools can make it more efficient and safe. Strong butcher knives are essential for cutting and preparing bones and vegetables. Using cut-resistant gloves can help prevent injuries if you mishandle sharp knives. A large stockpot or slow cooker is crucial for simmering the ingredients over an extended period. A fine-mesh strainer or cheesecloth will come in handy when you strain the broth to remove solids before serving. A long-handled spoon is ideal for stirring and tasting the broth. With these tools in your arsenal, you’ll be able to make delicious bone broth quickly and safely. These tools not only make the process smoother but also contribute to a safe and enjoyable cooking experience.

The Process

Making bone broth is a gradual and patient process that involves simmering the ingredients over an extended period. Start by roasting the bones in the oven to enhance their flavor and color. Transfer the roasted bones to a stockpot or slow cooker and cover them with water. Add the aromatic vegetables and herbs, and bring the mixture to a gentle simmer. Throughout the cooking process, regularly skim off any impurities that rise to the surface. After the simmering time, strain the broth to remove bones, vegetables, and solids. The resulting liquid is your homemade bone broth, rich in nutrients and flavor. You can enjoy the broth on its own, use it as a base for soups and stews, or even sip it as a warming beverage. For longer storage, consider vacuum sealing the broth in portioned bags. Vacuum-sealing food can help preserve its freshness and extend its shelf life, making it convenient to enjoy your homemade bone broth whenever you please.

Whether you’re sipping it on a cozy evening at home or incorporating it into your favorite recipes, your homemade bone broth is a testament to the rewarding journey of culinary exploration.

Did You Enjoy Reading This Article? Here’s More to Read: How to Get a Better Grasp of a Country’s Culture