Meat Buns Nebraska style

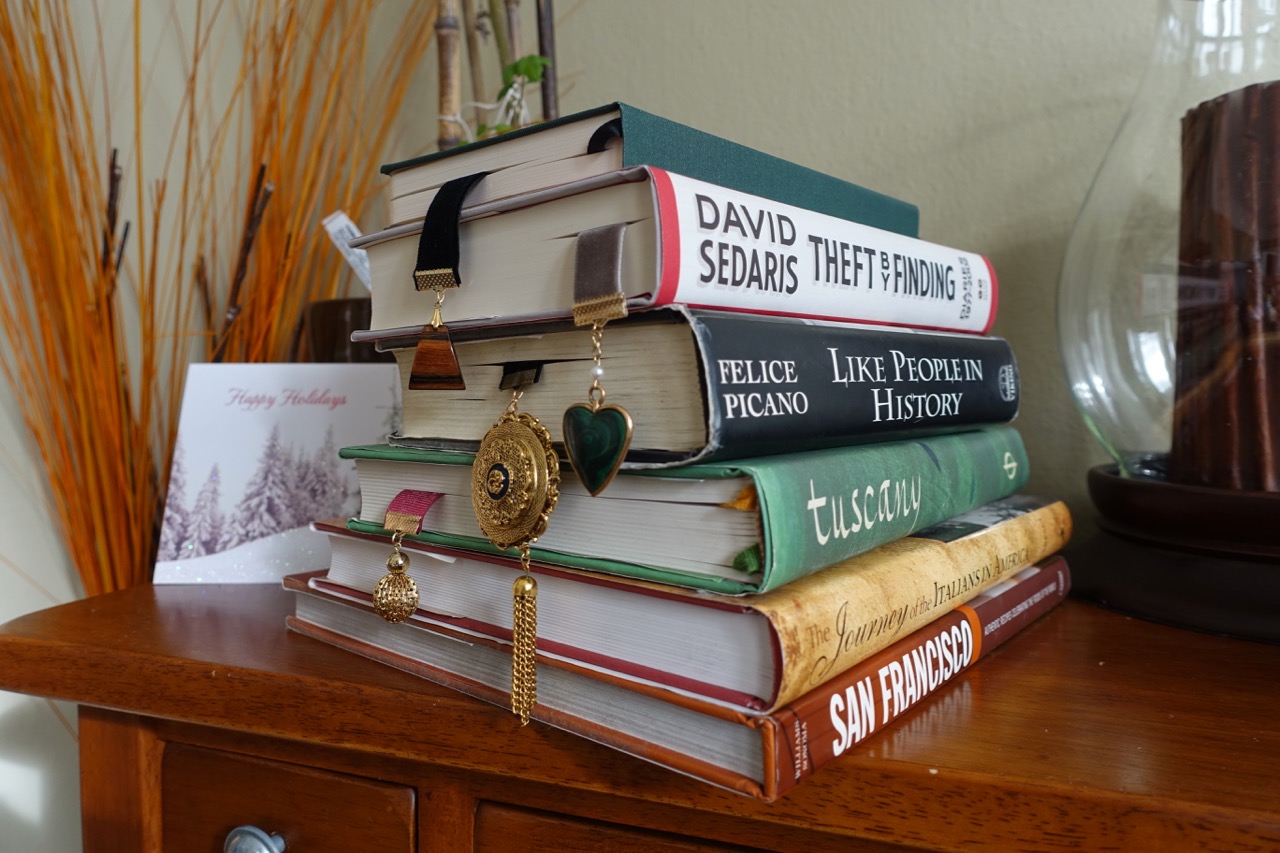
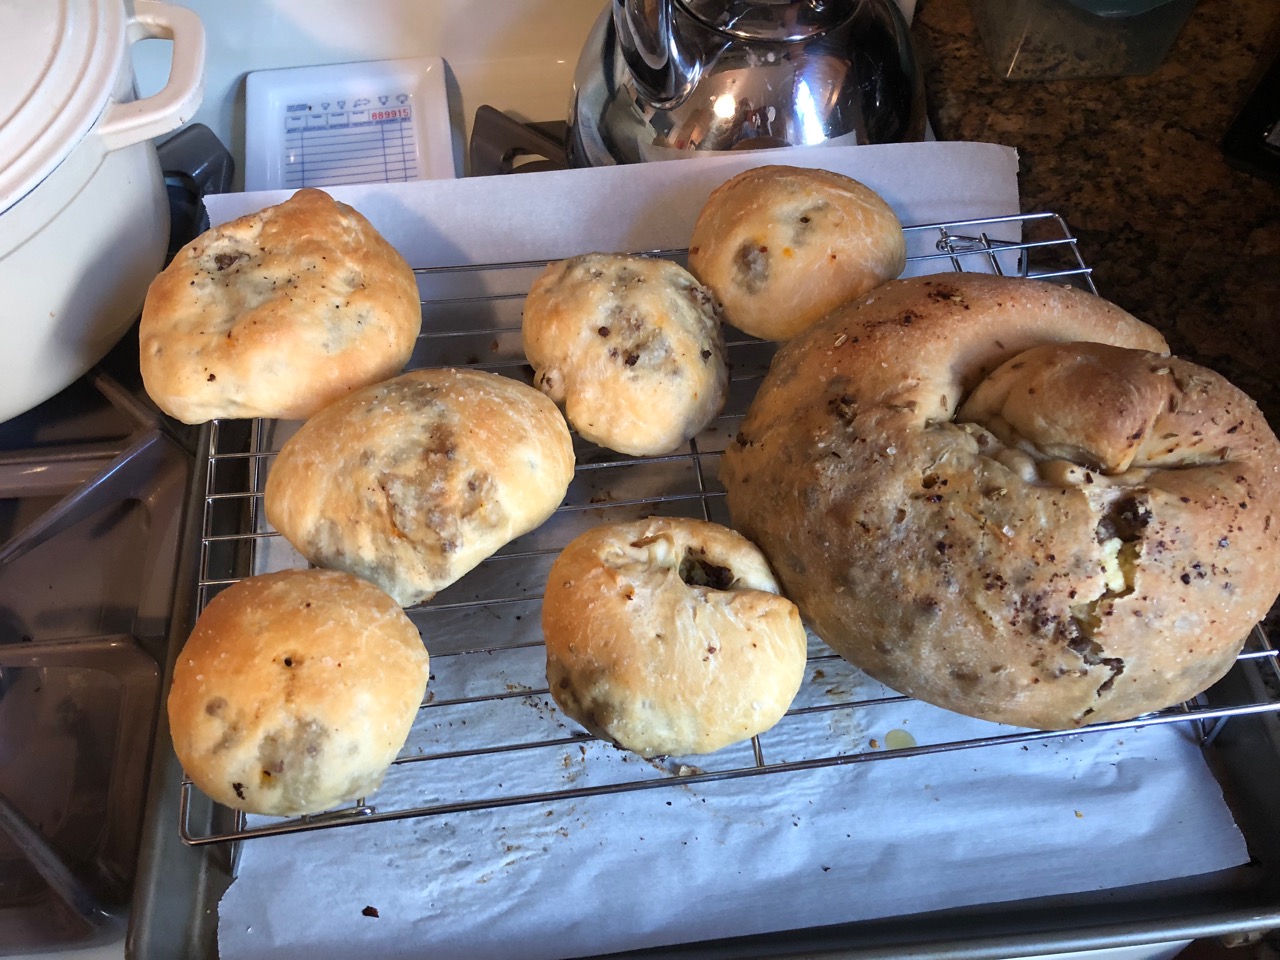
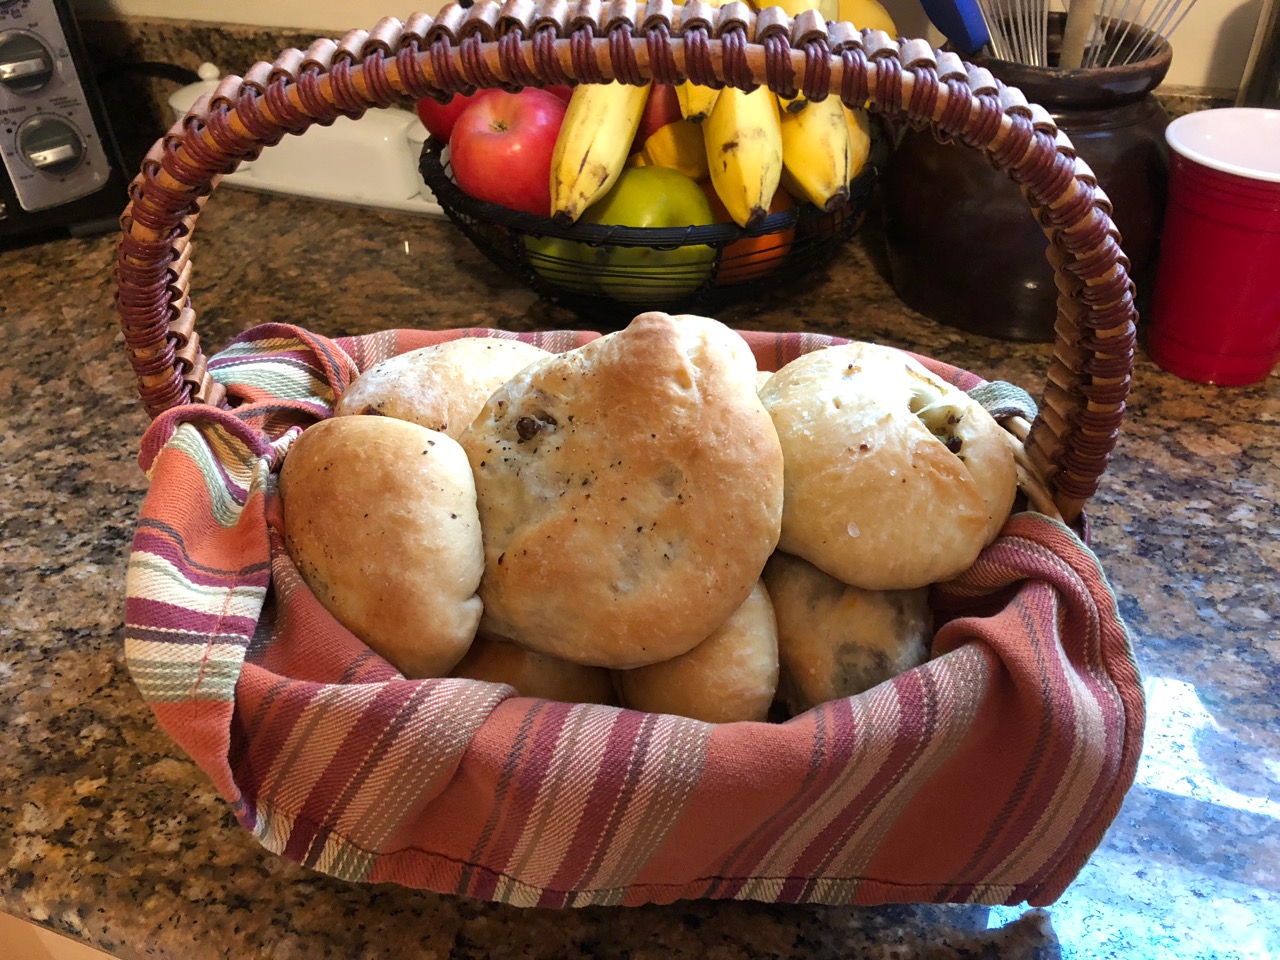
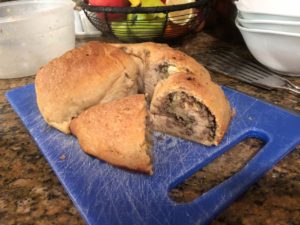
For last week’s Bookclub, I needed a recipe that would be connected to the theme from the book Oh Pioneers by Willa Cather.After searching around a bit – I found several versions of a local version Runza. Similar to other regional “hand-held meat buns”,  such as the spicey one I did in a previous Bookclub. This was version seems to be popular in the books region oNebraskaka with the addition of cabbage to the ground beef and onions. I had some time so I also made a rolled loaf version using pizza dough that mimicked the Cheese Bread recipe I posted about back in November.

Here is my version of the Runza recipe;

Runza

  • Frozen Bread Dough (I used the frozen bread dough loaves from Safeway which comes in a three pack. Each loaf, thawed allowed to raise will make 6-7 buns)
  • 2 pounds ground beef
  • 1 head of cabbage
  • 1 yellow onion
  • garlic salt/minced or whatever you like for garlic ( I use the Sage, Thyme & lemon seasoned salt I make)
  • 2 TBSP butter.

Instructions

Step 1

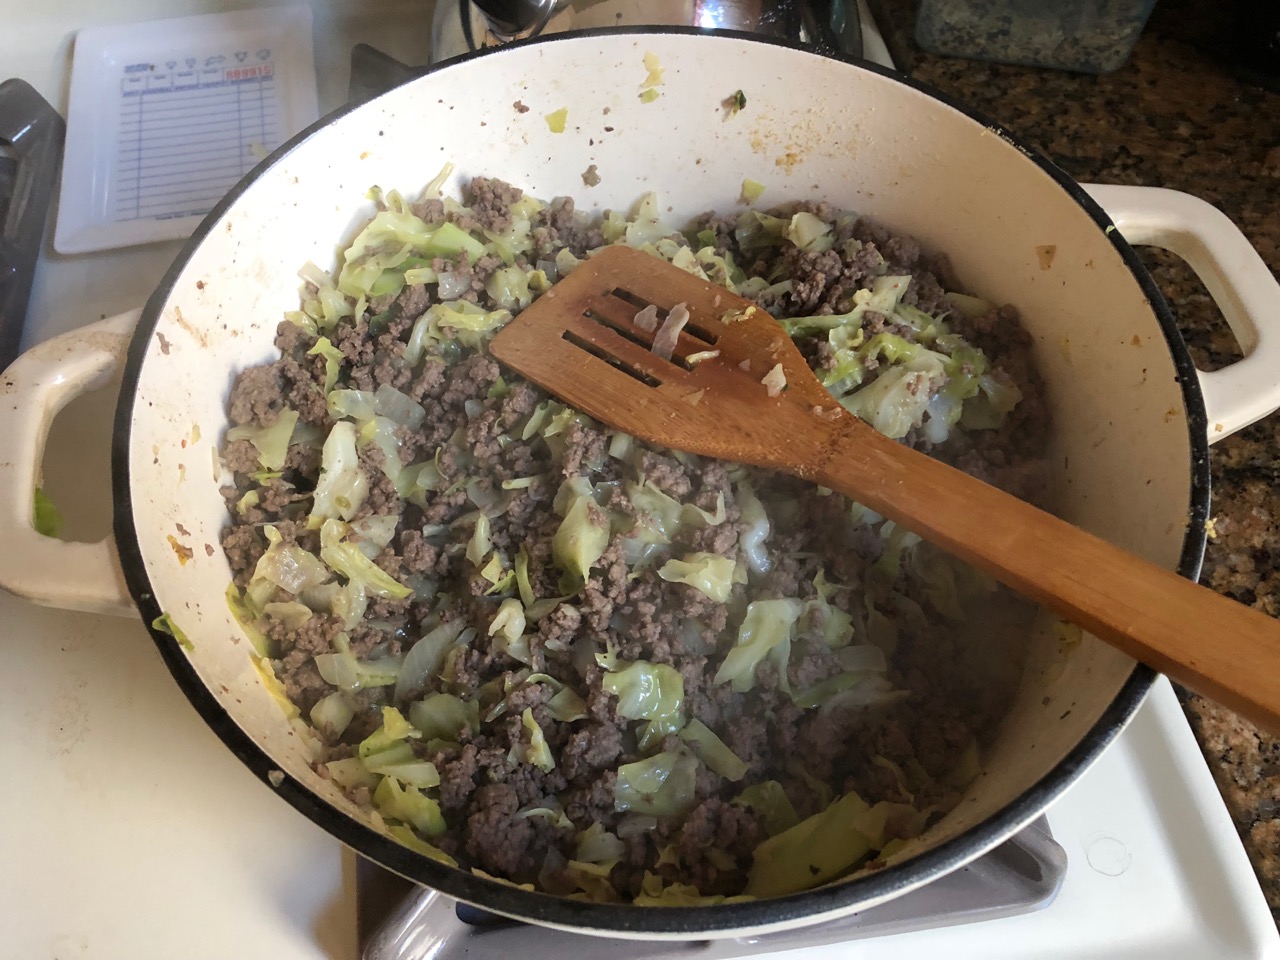
  • Brown ground beef and drain fat, season with salt and pepper ( you can do this in two pans if you like)
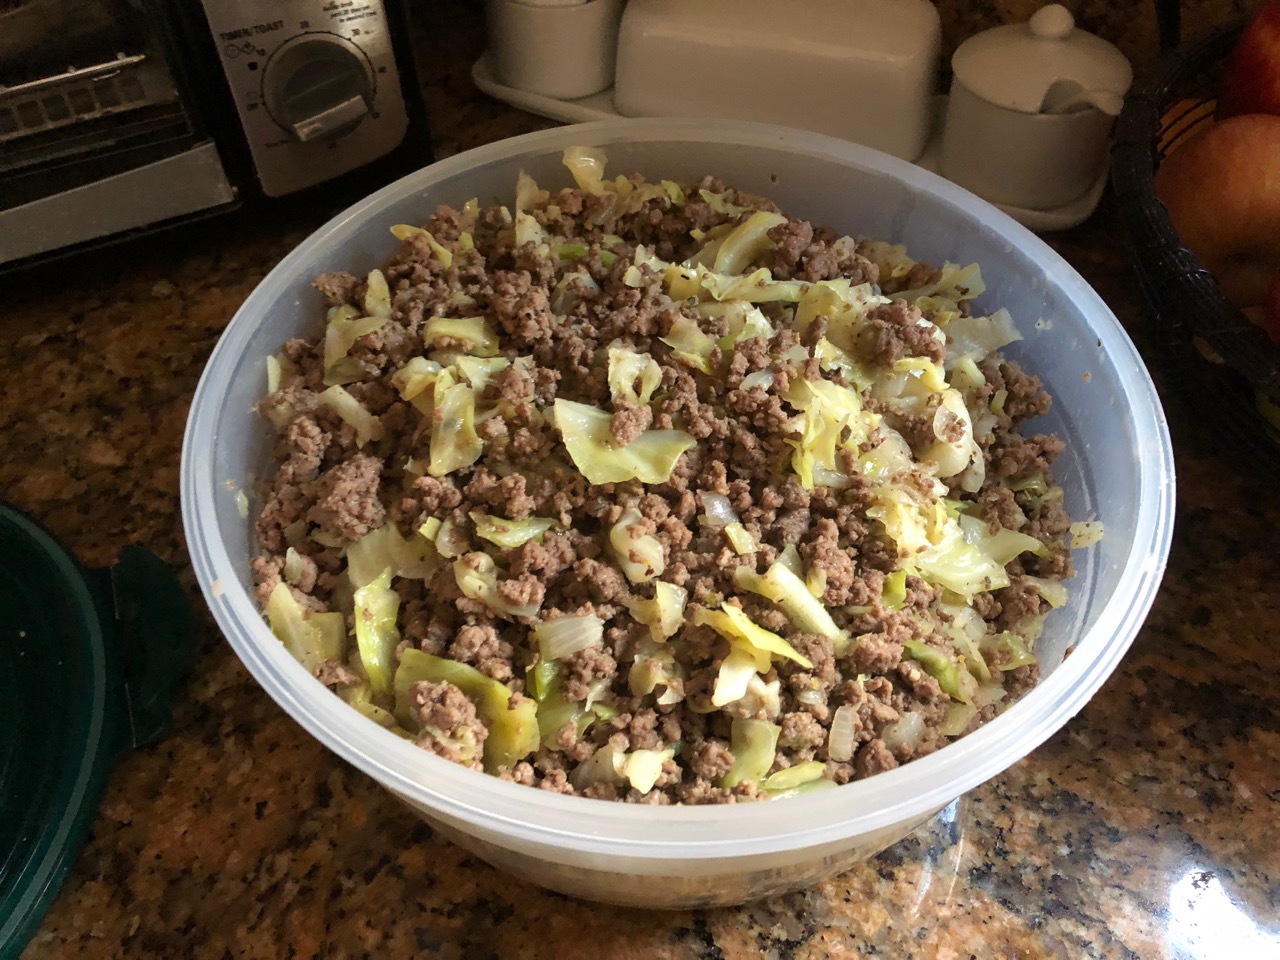
  • Add chopped onion, garlic, butter, and chopped cabbage. Cook until wilted (7-10 min) on med-high. Mix with meat if done separately and let cool.
  • Note: You can also brown meat, season, then set aside and in a second pan sauté cabbage, onion and garlic, season with salt and pepper at each step. Then toss together. 

Step 2

  • Follow package instructions for bread dough (or make your own); Let the dough thaw covered and raise for up to 5 hours or as directed on your dough.
  • Cut and Roll into small sections.
  • Preheat oven to 350

Step 3

When ready to make

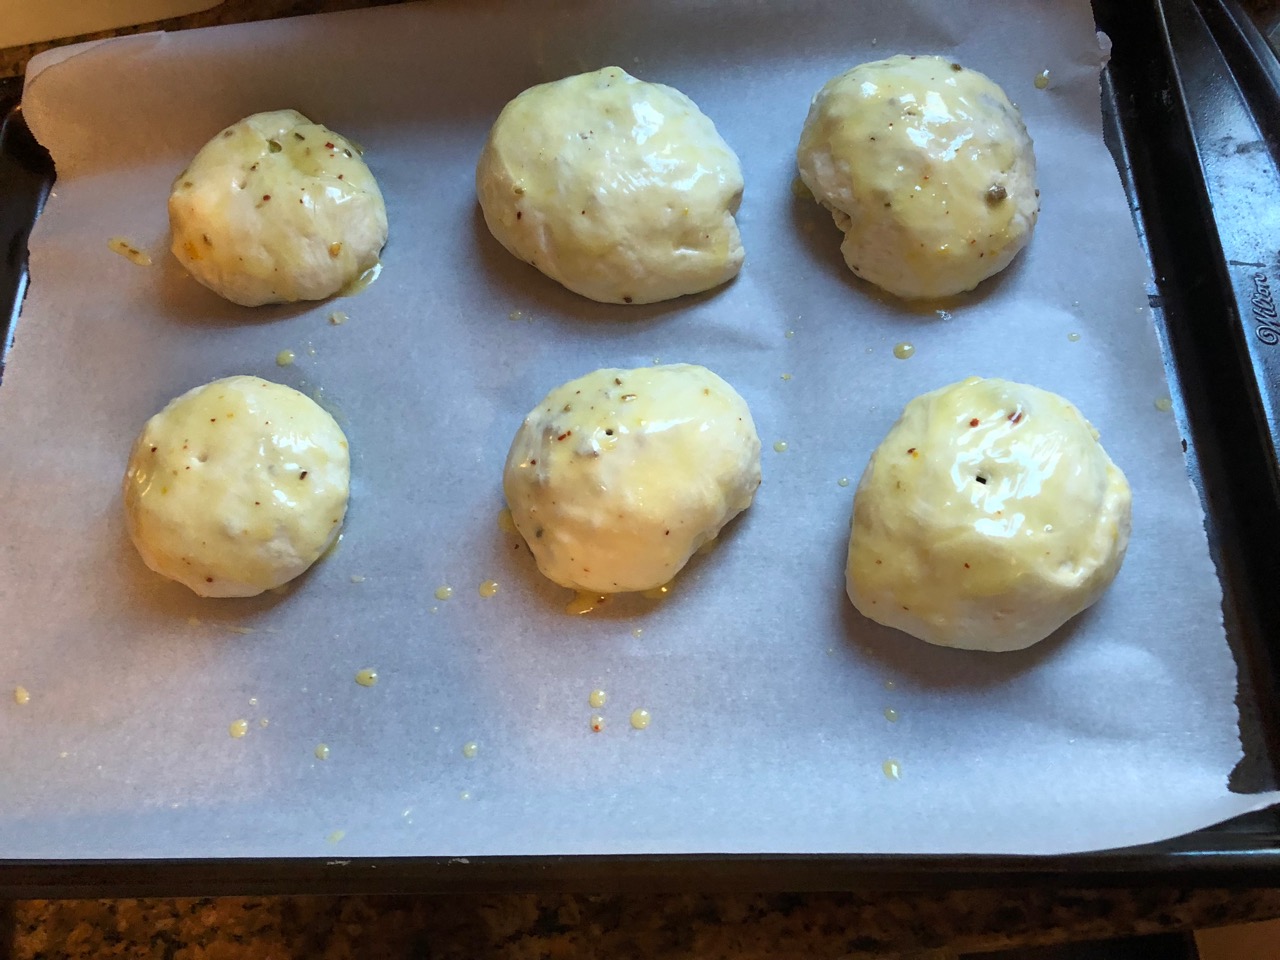
  • Flatten each section
  • Add ¼ to ½ cup of the cooled beef mixture to rolled out sections of dough. Fold and seal in half/wrap/shape how you wish but gently compress the air out of each bun.
  • Let sit covered with plastic wrap 20 min. (Or freeze them for later)
  • Prior to baking coat with melted, salted butter, oil or an egg wash. Omit butter topping if you want a crisper bun
  • Bake uncovered middle rack for 30-35 minutes at 350 degrees.

A few hints;

  • Pizza dough works well too.
  • Mix in small cubes of cheddar cheese in the cooled mix for a different variation.
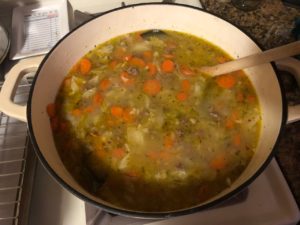
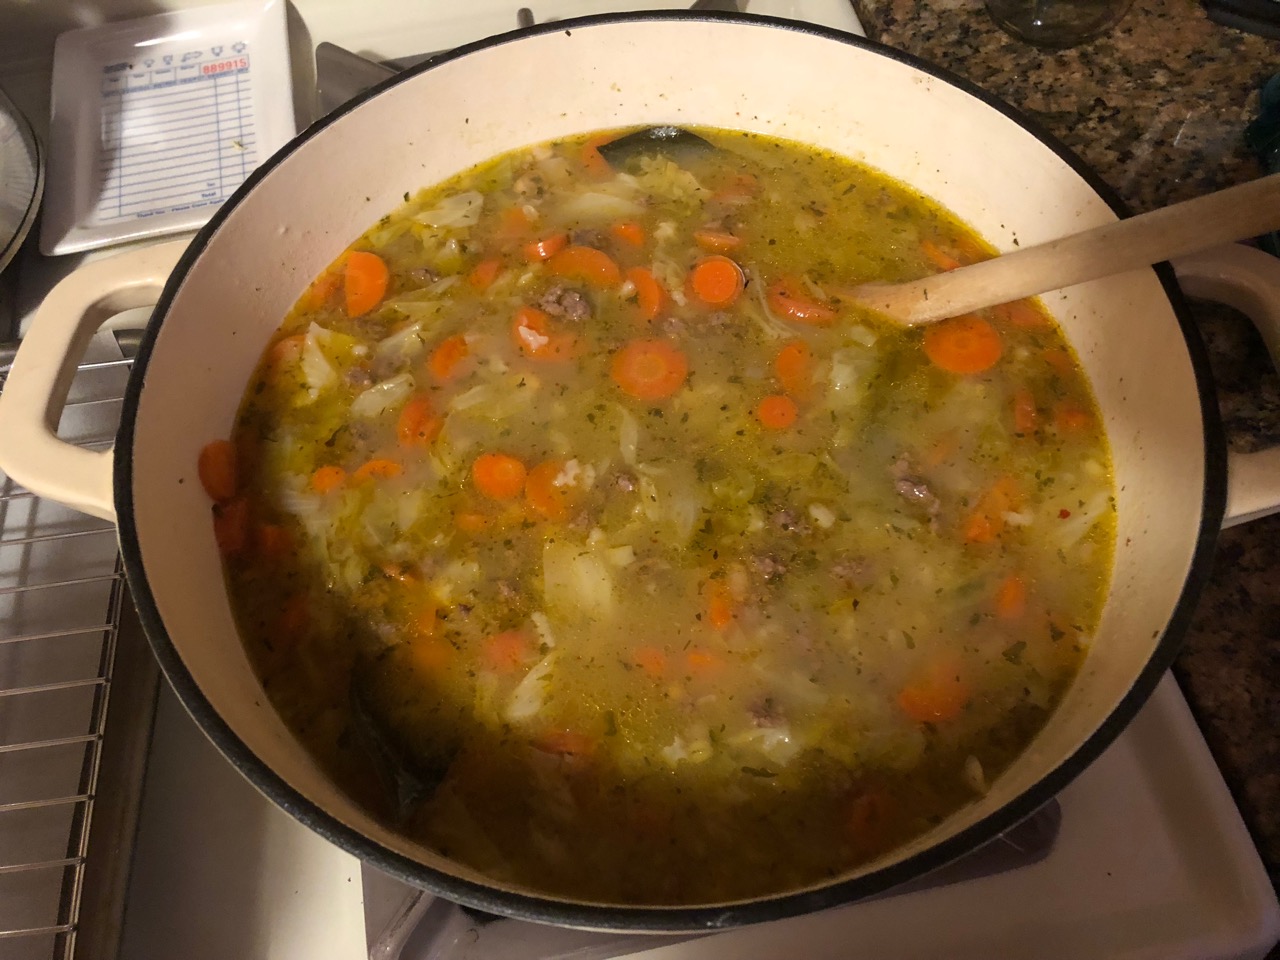
  • Update: if you have leftover stuffing it makes a great addition to a simple soup. Simmer carrots, veggie or chicken stock, a few bay leaves, parsley, a can or two of drained canned beans and pepper for 50 mins.
  • Then add the meat & cabbage stuffing, ( you can also toss in leftover rice or pasta) simmer on med for another 30 min more. Toss in some halved cherry tomatoes. Serve

SaveSave

Dressing up your coffee table books with book-bling

So with the Crown Mosaic done and wrapped… I realized I still have some pieces that needed to get a new life beyond finding themselves being sold. So I searched around for ideas and found one! I started making a series of “Book Jewelry” bookmarks.

Yup bookmarks, you know those things you used to use before e-readers came along. But these were designed to serve as a functional way to dress up books that often sit unadorned and naked on a coffee table or the bedside table and I supposed if you like a little pizzaz at church they might look good hanging out of the good book some Sunday services.

I first needed to organize myself and figured the best way was to store my cleaned and dried pieces in something better than an old shoebox. So I got myself one of these portable organizers, of course as luck would have it – they only had pink that day – but what the hell did I care I had a coupon and it was 50% off.  I got mine at Micheals, but Amazon has them as well; VonHaus Very Small Utility Tool Storage Box – Portable Arts Crafts Organizer Case with 4 Drawers & Adjustable Dividers (10.9 x 10.1 x 6.9 inches – Black/ Orange) about the same price.

Once I had the pieces cleaned and sorted the same was I did for the Crown Mosaic, I next begin the matching process. I also removed any old threads and looked for creative ways to “gather” them. Think of it as a mental game of visual balance. I didn’t want them all to be too “matchy-matchy” so I sorted and looked for other themes to balance them. I tied several types of ribbons and found I favored the velvet ones in black and grey. I went online and ordered a few kits of crimp ends (often used when making ribbon chokers) in different finishes. they aren’t very expensive and you can like them in local resources as well. In the end, I changed combinations as I went on, and sometimes when I had someone specific in mind. But the idea was to reuse them to catch someone’s eye.to give them as gifts I found some inexpensive slimline journals to “package” them in for mailing (except for the folks who we actually purchased books for.

Of course, I didn’t stop there – so the latest round is being adapted is for journalers and planner users, with a closed design that loops around the cover and pages. 

It kind of makes me happy to see these pieces getting a new life. .. and yea if you have some bits and pieces around your homes, or come across those boxes of them in the attic – send them my way!  several folks about my selling them. I hadn’t planned on it, but it is possible jsut drop me a message via the BitetheRoad Facebook page facebook.com/bitetheroad

SaveSave

SaveSave

SaveSave

SaveSave

SaveSave

SaveSave

SaveSave

SaveSave

What to do with old jewlery that needs a new home? Make a Crown of course!

Yup.. a Crown is what I said.

This was my season of “crafting” between making Meyer Lemon Marmalade, Seasoned Salts for gifts.
So a few people saw the end result of my “call for used and old jewelry” before the holidays. But a few of you asked to see the finished project. But let me step back a moment and explain what started this journey. For many years, each holiday season I would see this version in the window of an old “crim cram” shop each holiday season. If stuck with me and this fall I committed to making one for us. When I started it, it was to make something for us at the house, as luck would have it, a friend had an entire box of old jewelry collected back over several generations that she didn’t want and was glad to hand them over to me. So that began the process of making it real. But as I said, while this was supposed to be for us, it morphed into my deciding to make it as a gift for someone that would also have a timer lights and framed.

Getting started on the “Crown”

Designs

I knew I wanted a crown theme and that some crown pins would serve as the foundation pieces. So I went online and looked for stencils. When I found the one I wanted, I printed it to size and then used a sharp nail to outline it on the paper I intended to use as my background.

Cleaning:

After doing some checking online on how best to clean them and get rid of some of the “old smell” I opted for washing them in a bath of warm water, a drop of Dawn Dish Soap, Ultra Dishwashing Liquid, Original Scent, Blue, 21.6 Fl Oz (Pack of 2 ),a few drops of tea tree oil and a splash of hydrogen peroxide. I only let them soak for a few minutes, then rinse them in cool clear water and dried them in the sun. The next step took the most time – separating the pieces into three groups; 1) for the mosaic, 2) for other projects and 3) too nice to break apart – hold on too for now.

Logistics:

After selected a background, and once I started the laying out the signature pieces of the mosaic and I realized I needed to choose how I was going to secure the pieces. I opted for Devcon 18245 Weld-It Cement – 1 oz.. It dries clear and stayed tacky long enough for me to move and shift things. I also lucked out with the thin wire lights with a timer that I had around the house – but these would workBRIGHT ZEAL 33′ FT Cool White LED String Lights Battery Operated LED Lights (Silvery Wire, 6hr Timer) – Silver Wire Fairy Lights – LED Christmas Lights – Twinkle Star Firefly Lights LED Battery Lights. Just make sure to determine how many lights you want.

After that:

It was all about adding pieces and textures, stepping away, coming back and filling in spots. It helped to snap photos and look at them that way from time to time as well. Making sure the frame and mat fit and time for gift giving.
 

 And not worry.. check out this post which will explain what I did with all the leftover pieces!

SaveSave

SaveSave

SaveSave

SaveSave

SaveSave

SaveSave

Planning My 2018 Pleasure Read-Goals Today

Why a yearly Read-Goals list?

With so much to catch up with on posting; this weeks begin the end of the year holiday posts, and a detailing of some of the  recipes that won and failed, treats and projects that I worked on. But for today – to keep it simple. I worked on my 2018 read-goals list. This is the way I balance work, academic and news reading with pleasure stuff.

My Read-Goals for the year:

Frank’s 2018 Book List

books reading read-goals

A few more from the 2017 read-goals list

Working on my 2018 book list this morning while revising a copy of Bookmarks Magazine and decided that this would be the group I would use as my “intentional reads” over the next 12 months in addition to the others that come my way.  You might even notice a theme, in that not all of them are current trending titles since I decided part of the gaol was relooking at some of the older titles I missed when they initially rolled out.  I figure this batch coupled with the one from our book club should give me plenty for the year.

SaveSave

SaveSave