Keepers; one for the journal and planner users

Art? Bookmarks? Keepers?

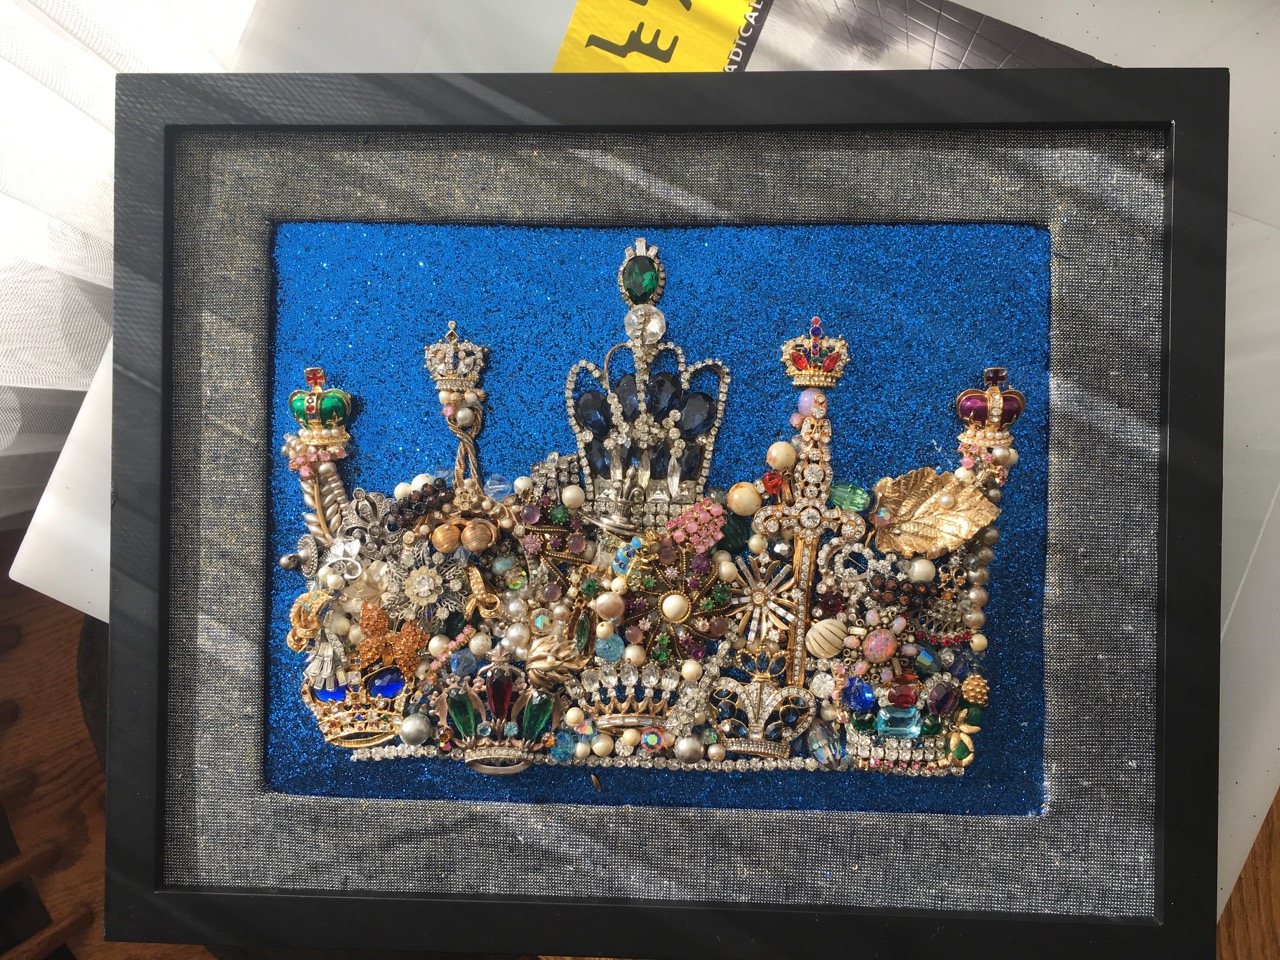
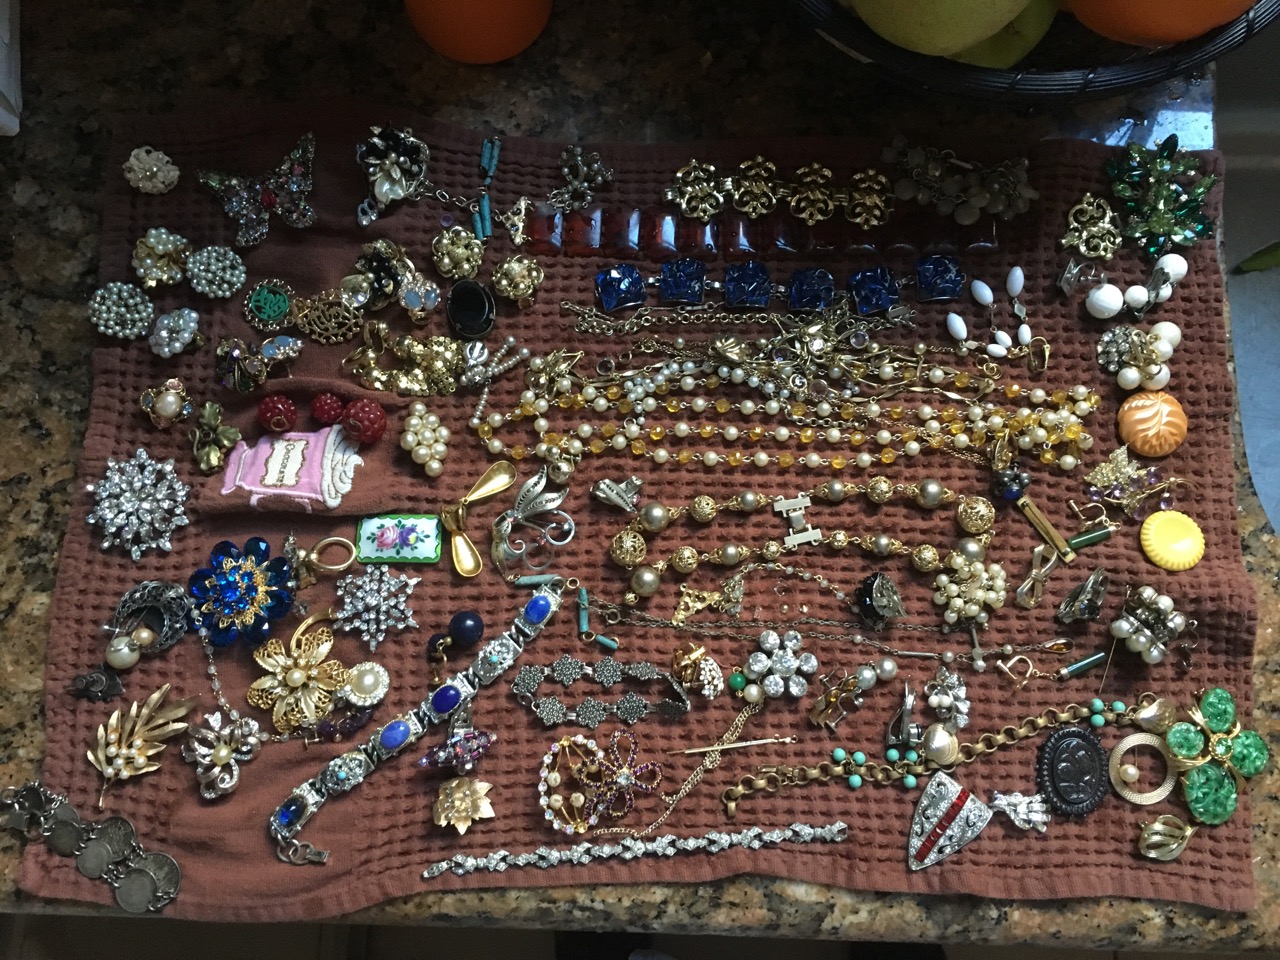
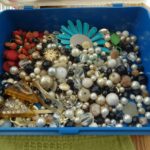
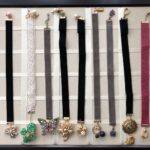
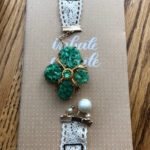
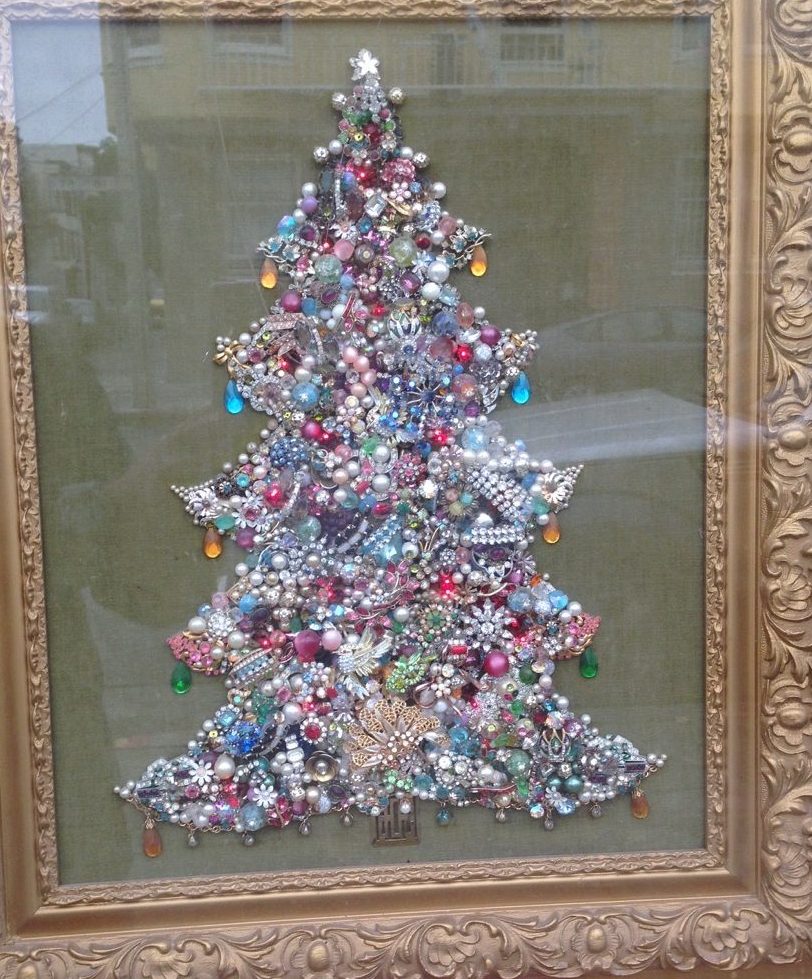
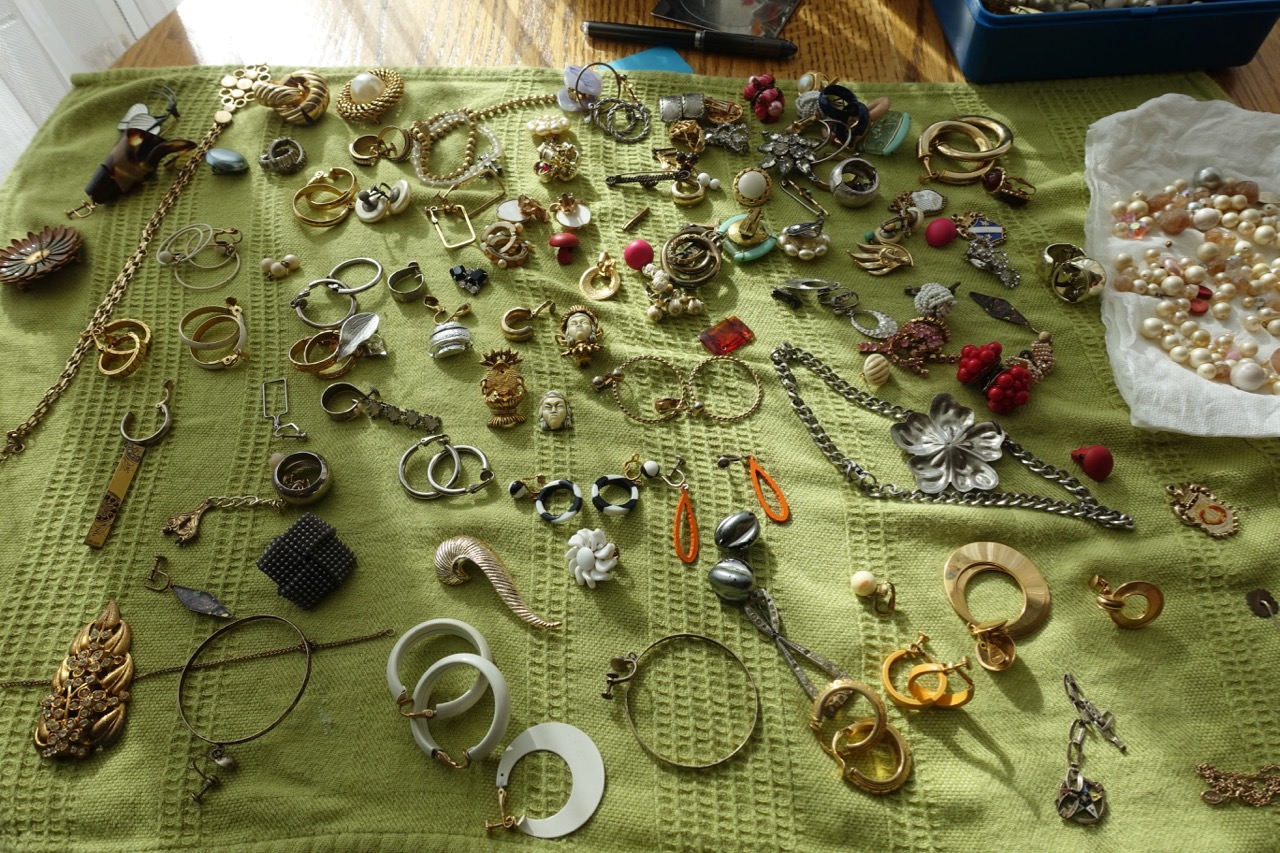
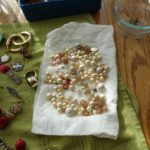
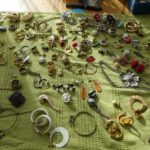
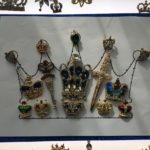
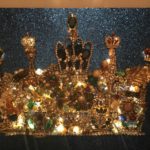
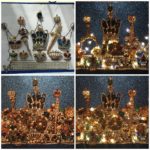
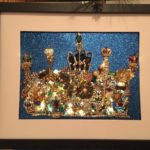
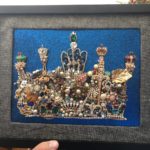
In December of 2017, I tackled a new art project involving recycling old broken jewelry as pieces of art.  I had seen a similar type of art years ago and it stuck with me – so once I have the image and the right person to give one too I gave it a try when I was gifted with a box of vintage jewelry from a friend.


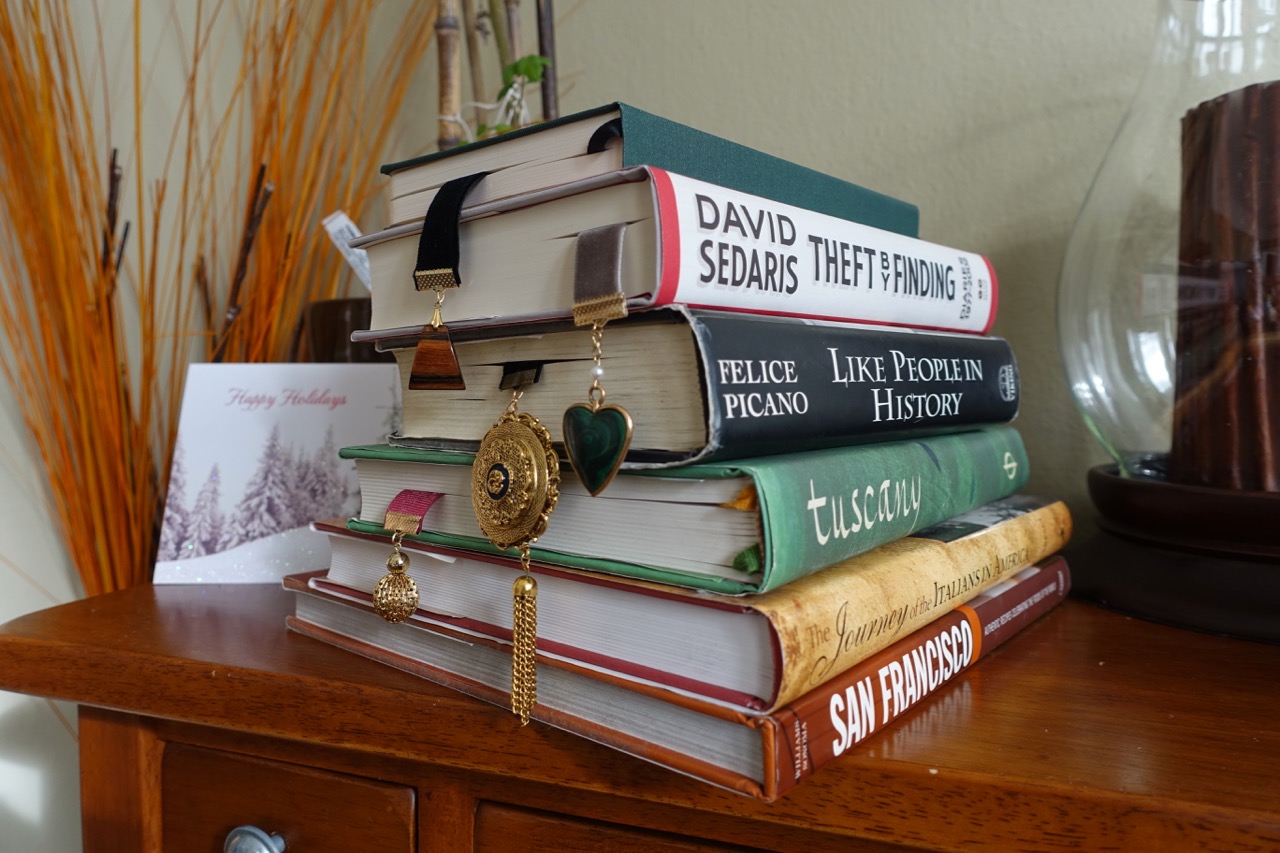
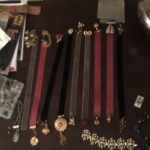
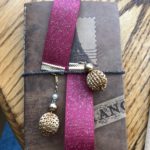
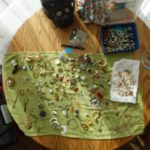
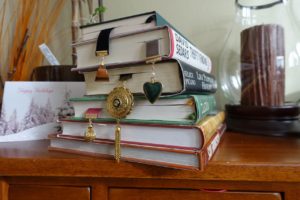
One of the unanticipated outcomes of the project was the amount of extra material left over, that I still wanted to work with. So with the thought of a furlough hanging over my head and knowing I needed something other than computer time to occupy my mind coupled with not wanting to see it all go to waste or sit in a box.  I looked around and decided to make Bookmark Jewelry for the people who needed a little bling ( and yes I still have some left). But with those in place. It didn’t end…


Now what??

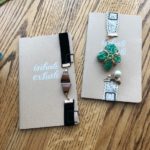
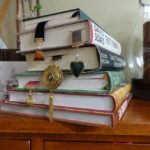
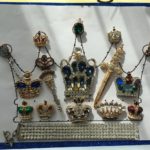
As folks shared the gifted ones, I got some requests for a variation for the journal and planner crowd. They wanted something with bling that would work on notebooks or even that would be suitable to put on tablet cases.

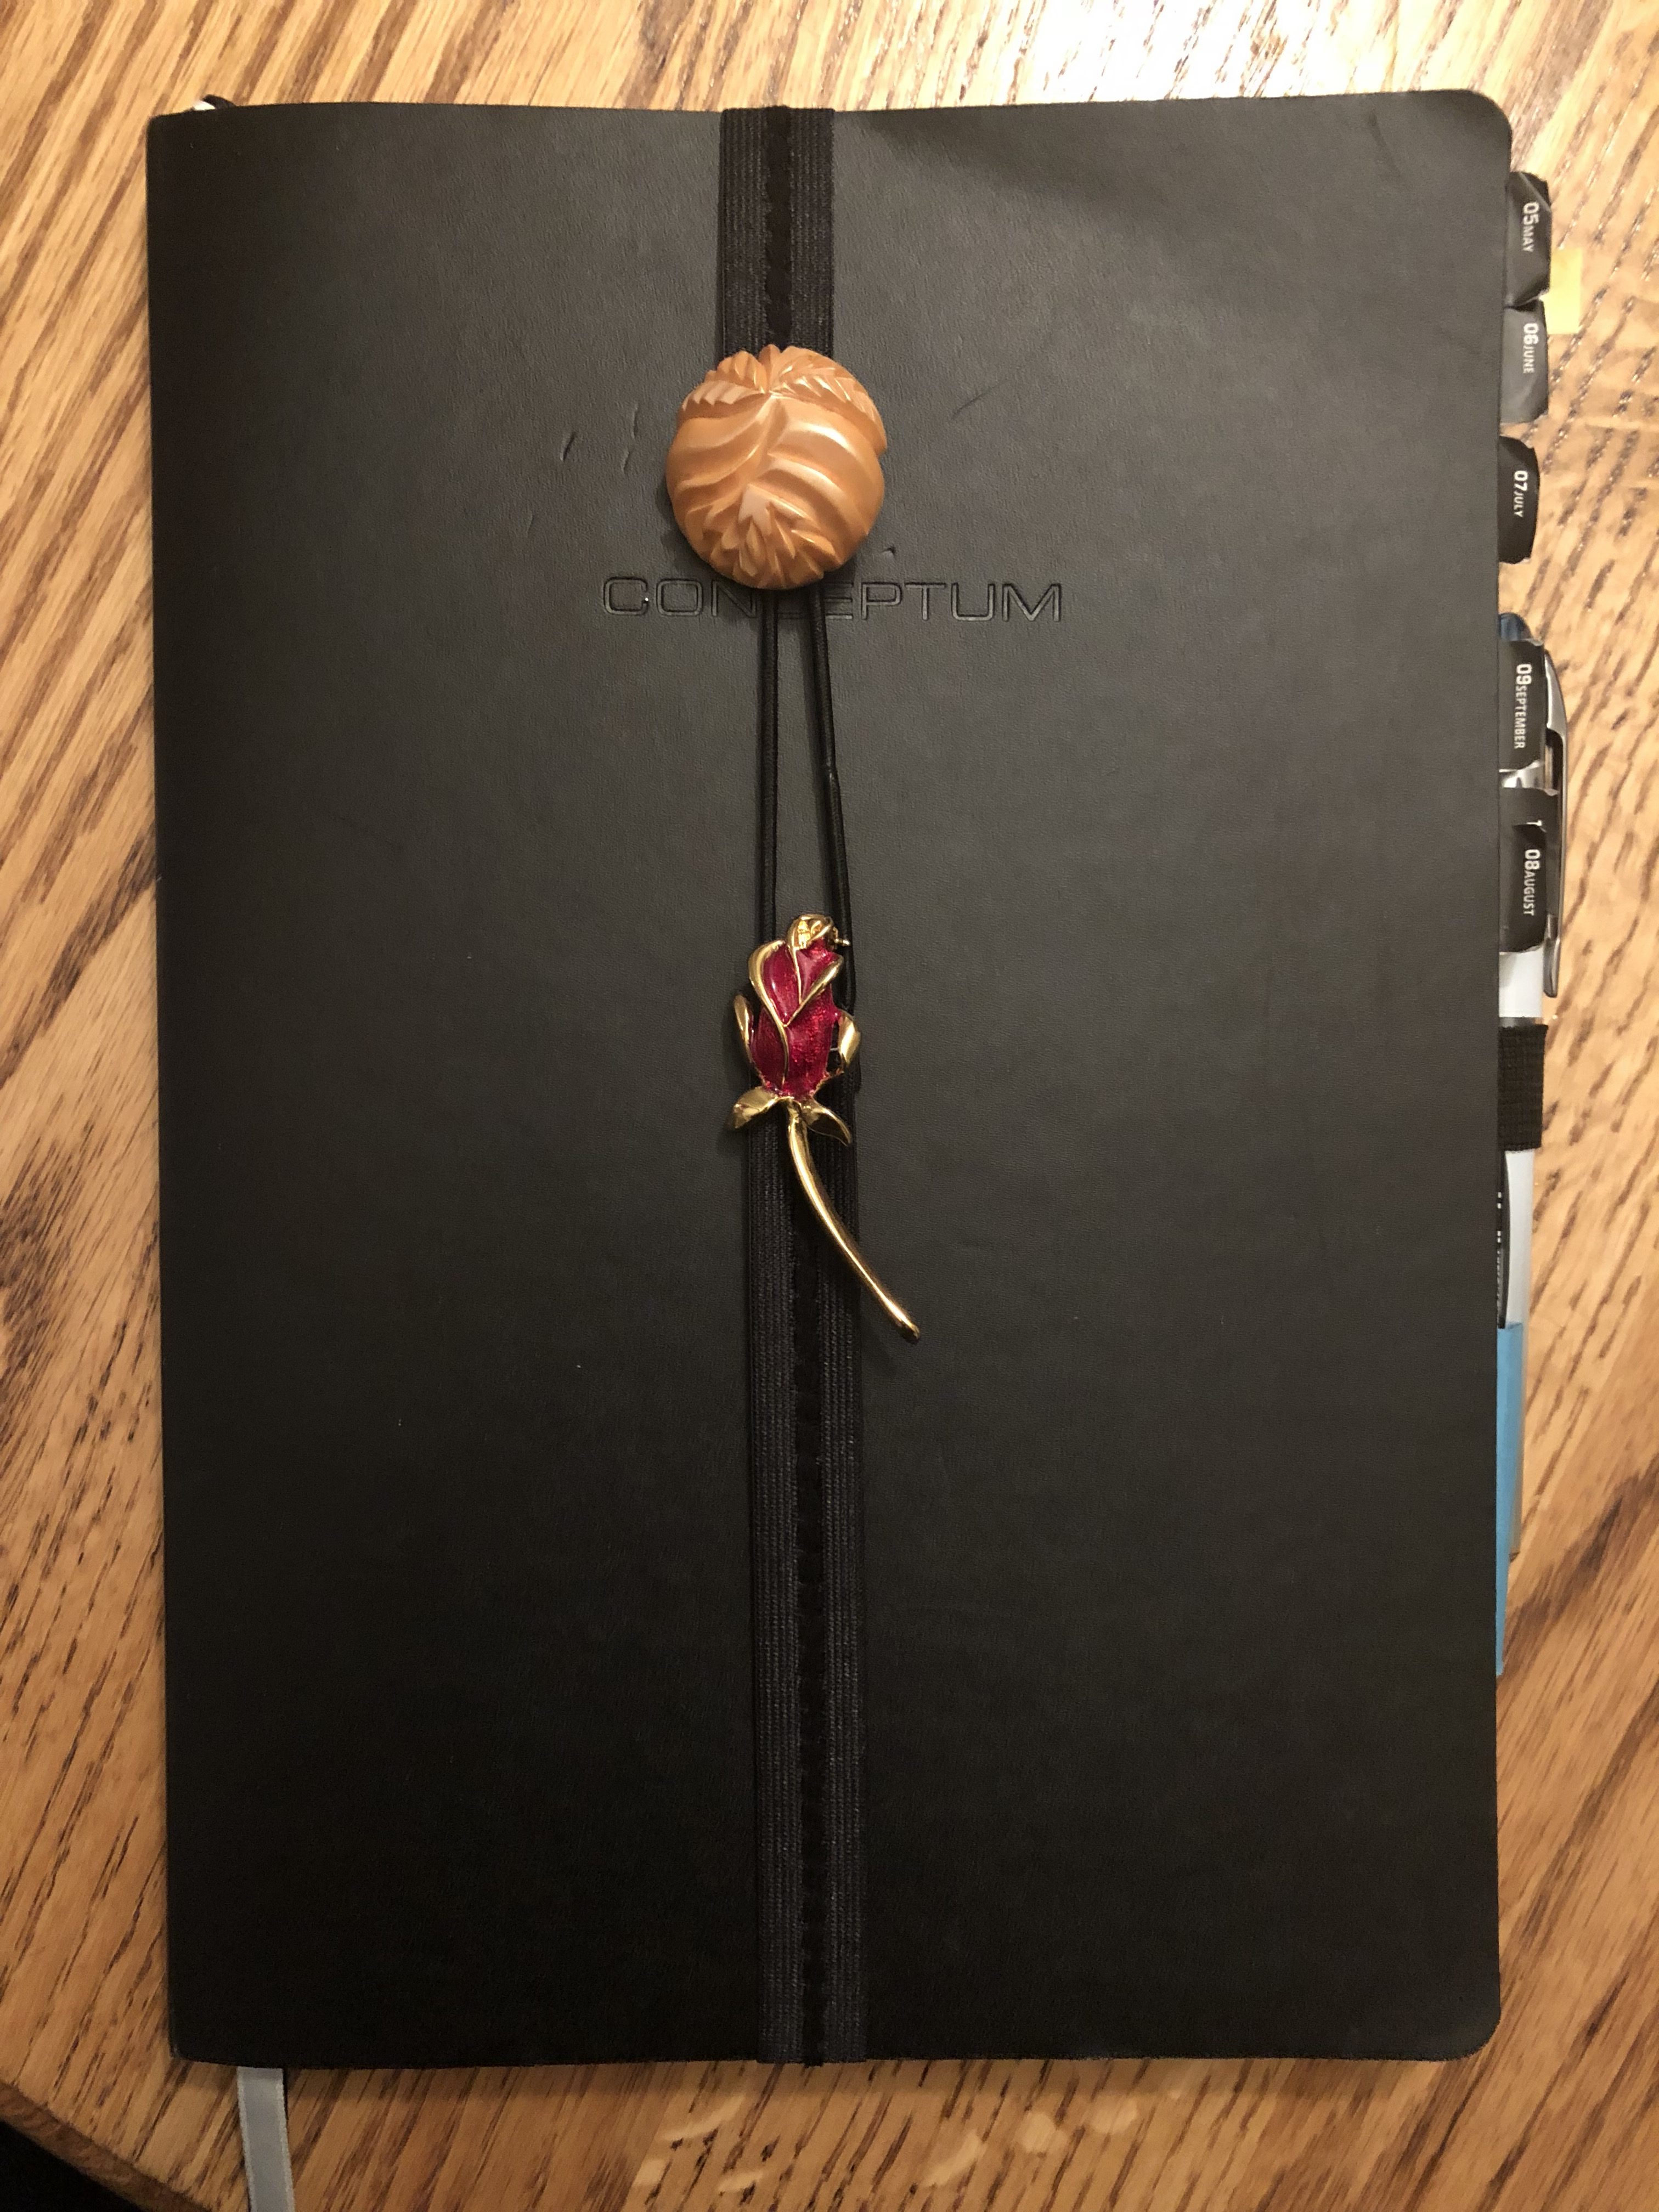
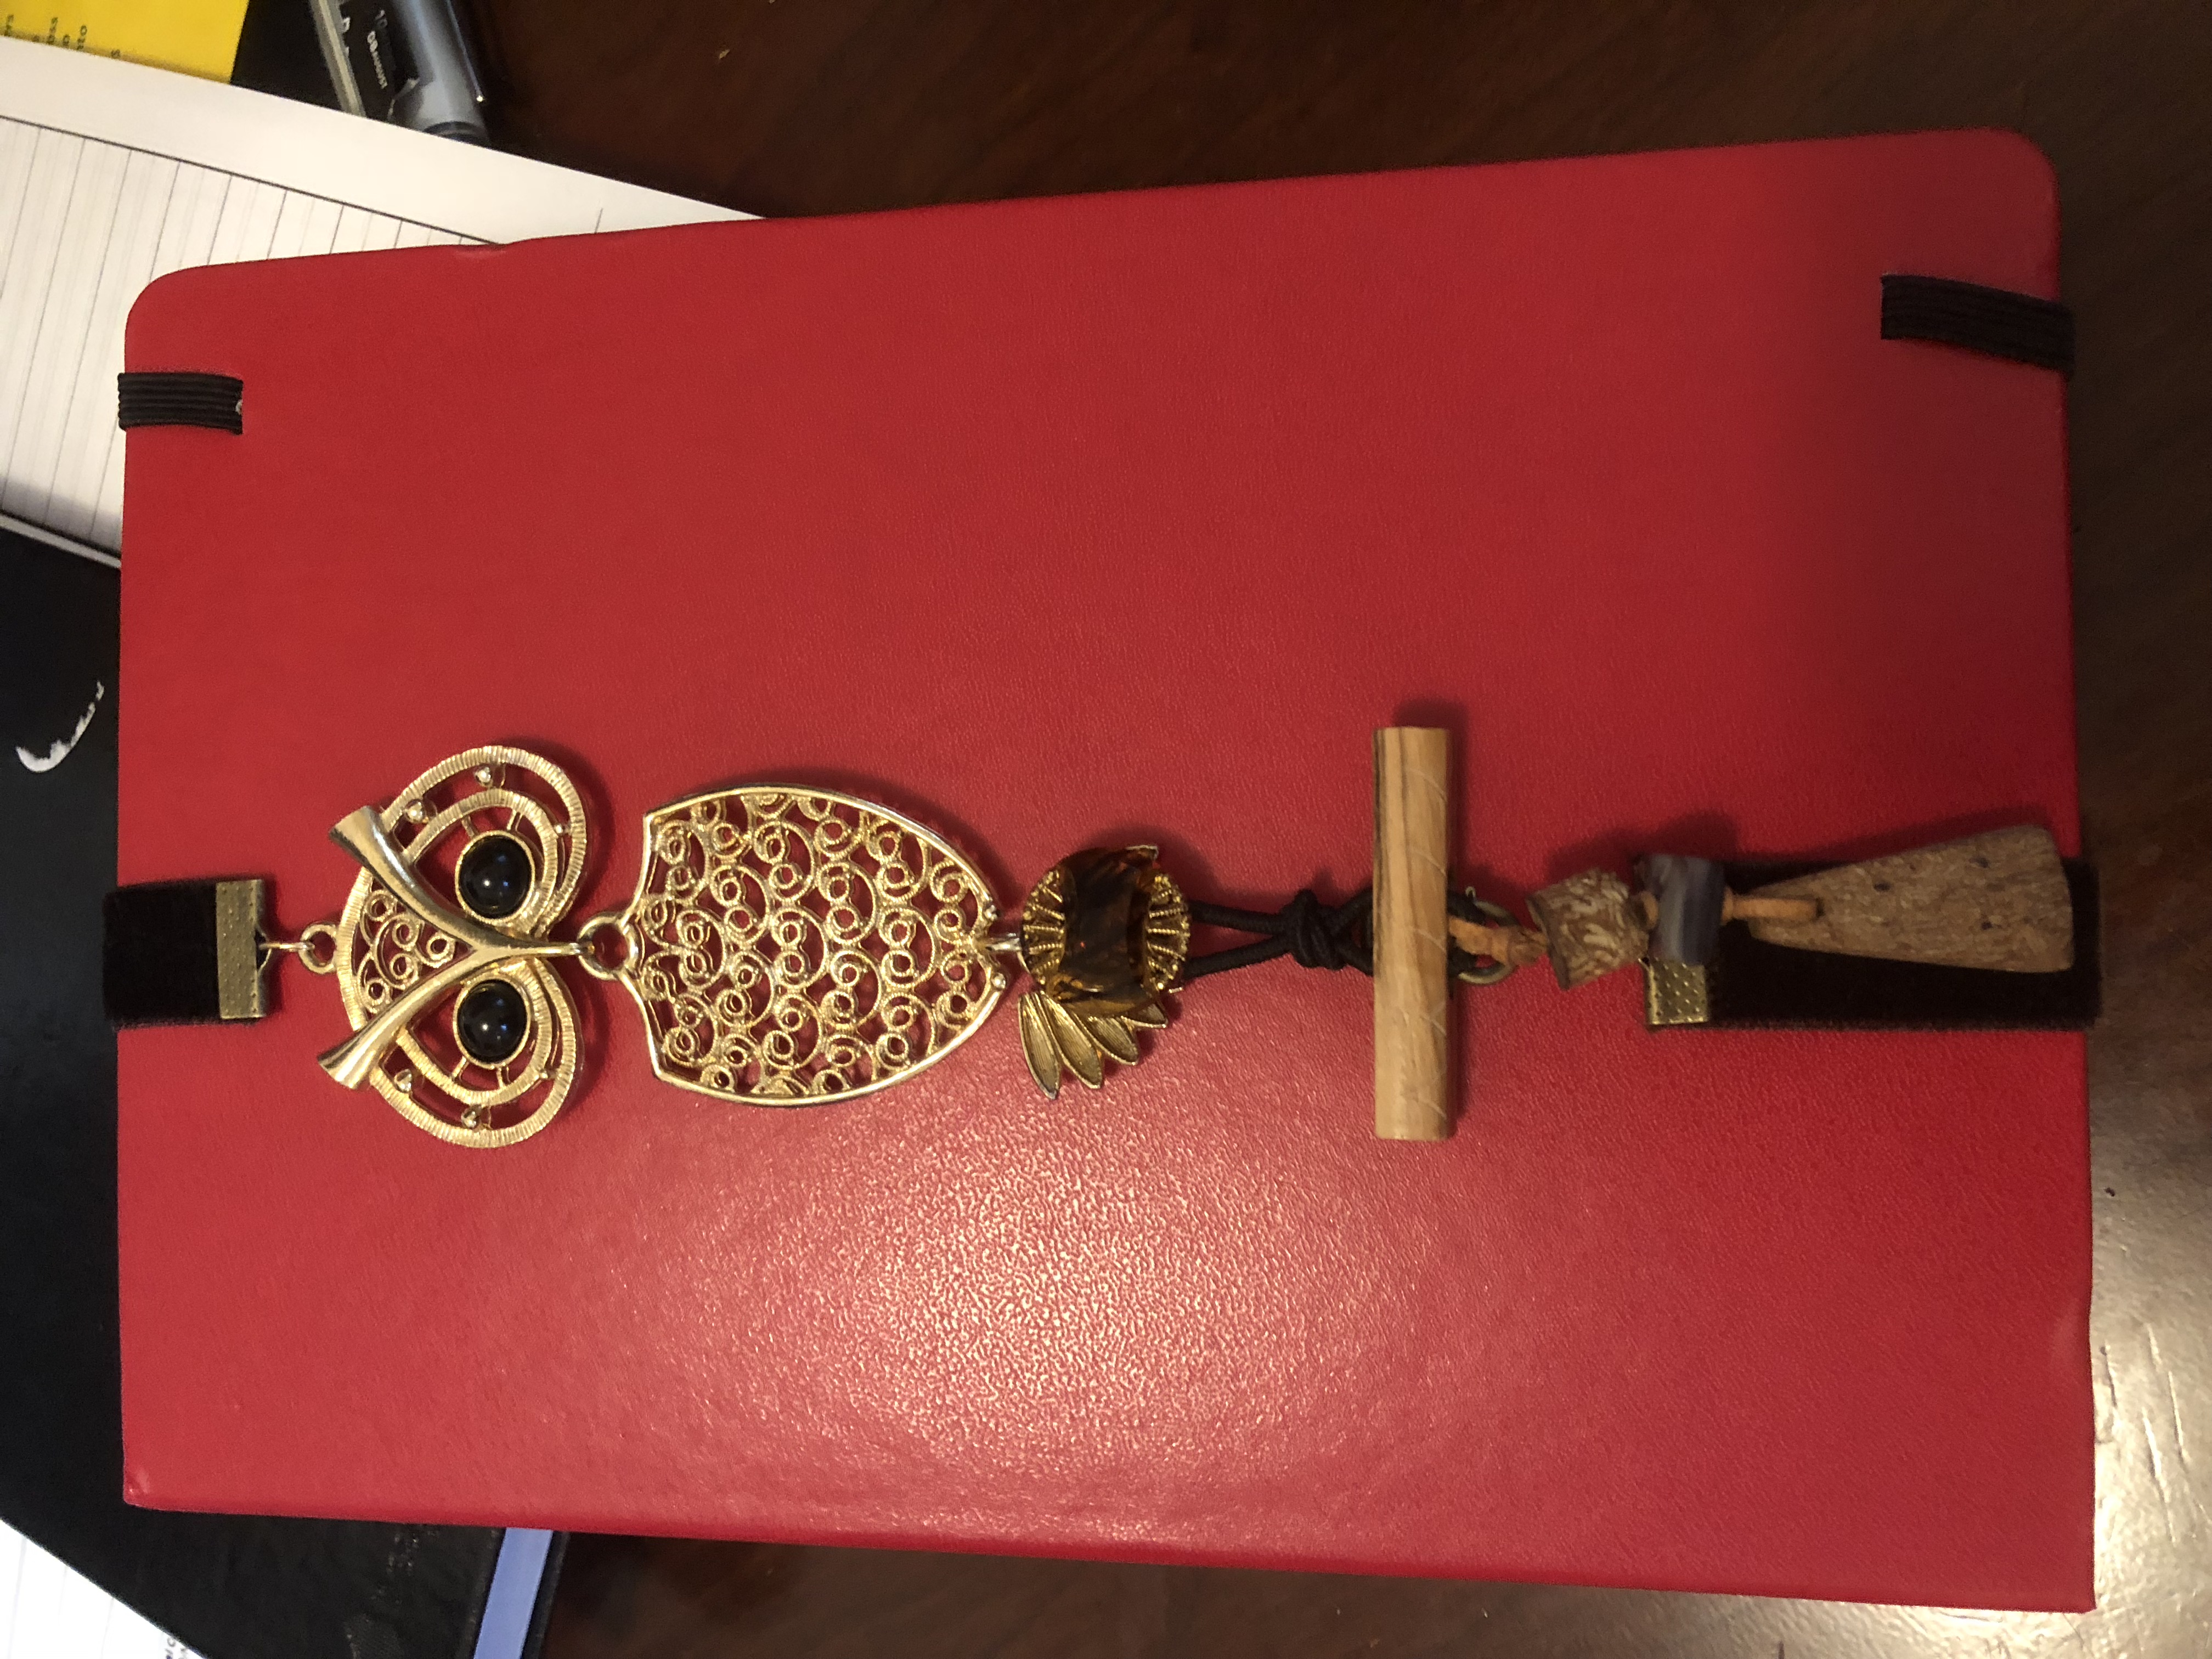
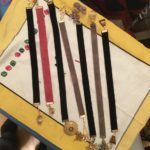
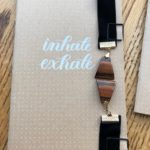
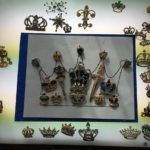
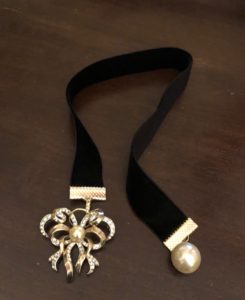
My initial prototype

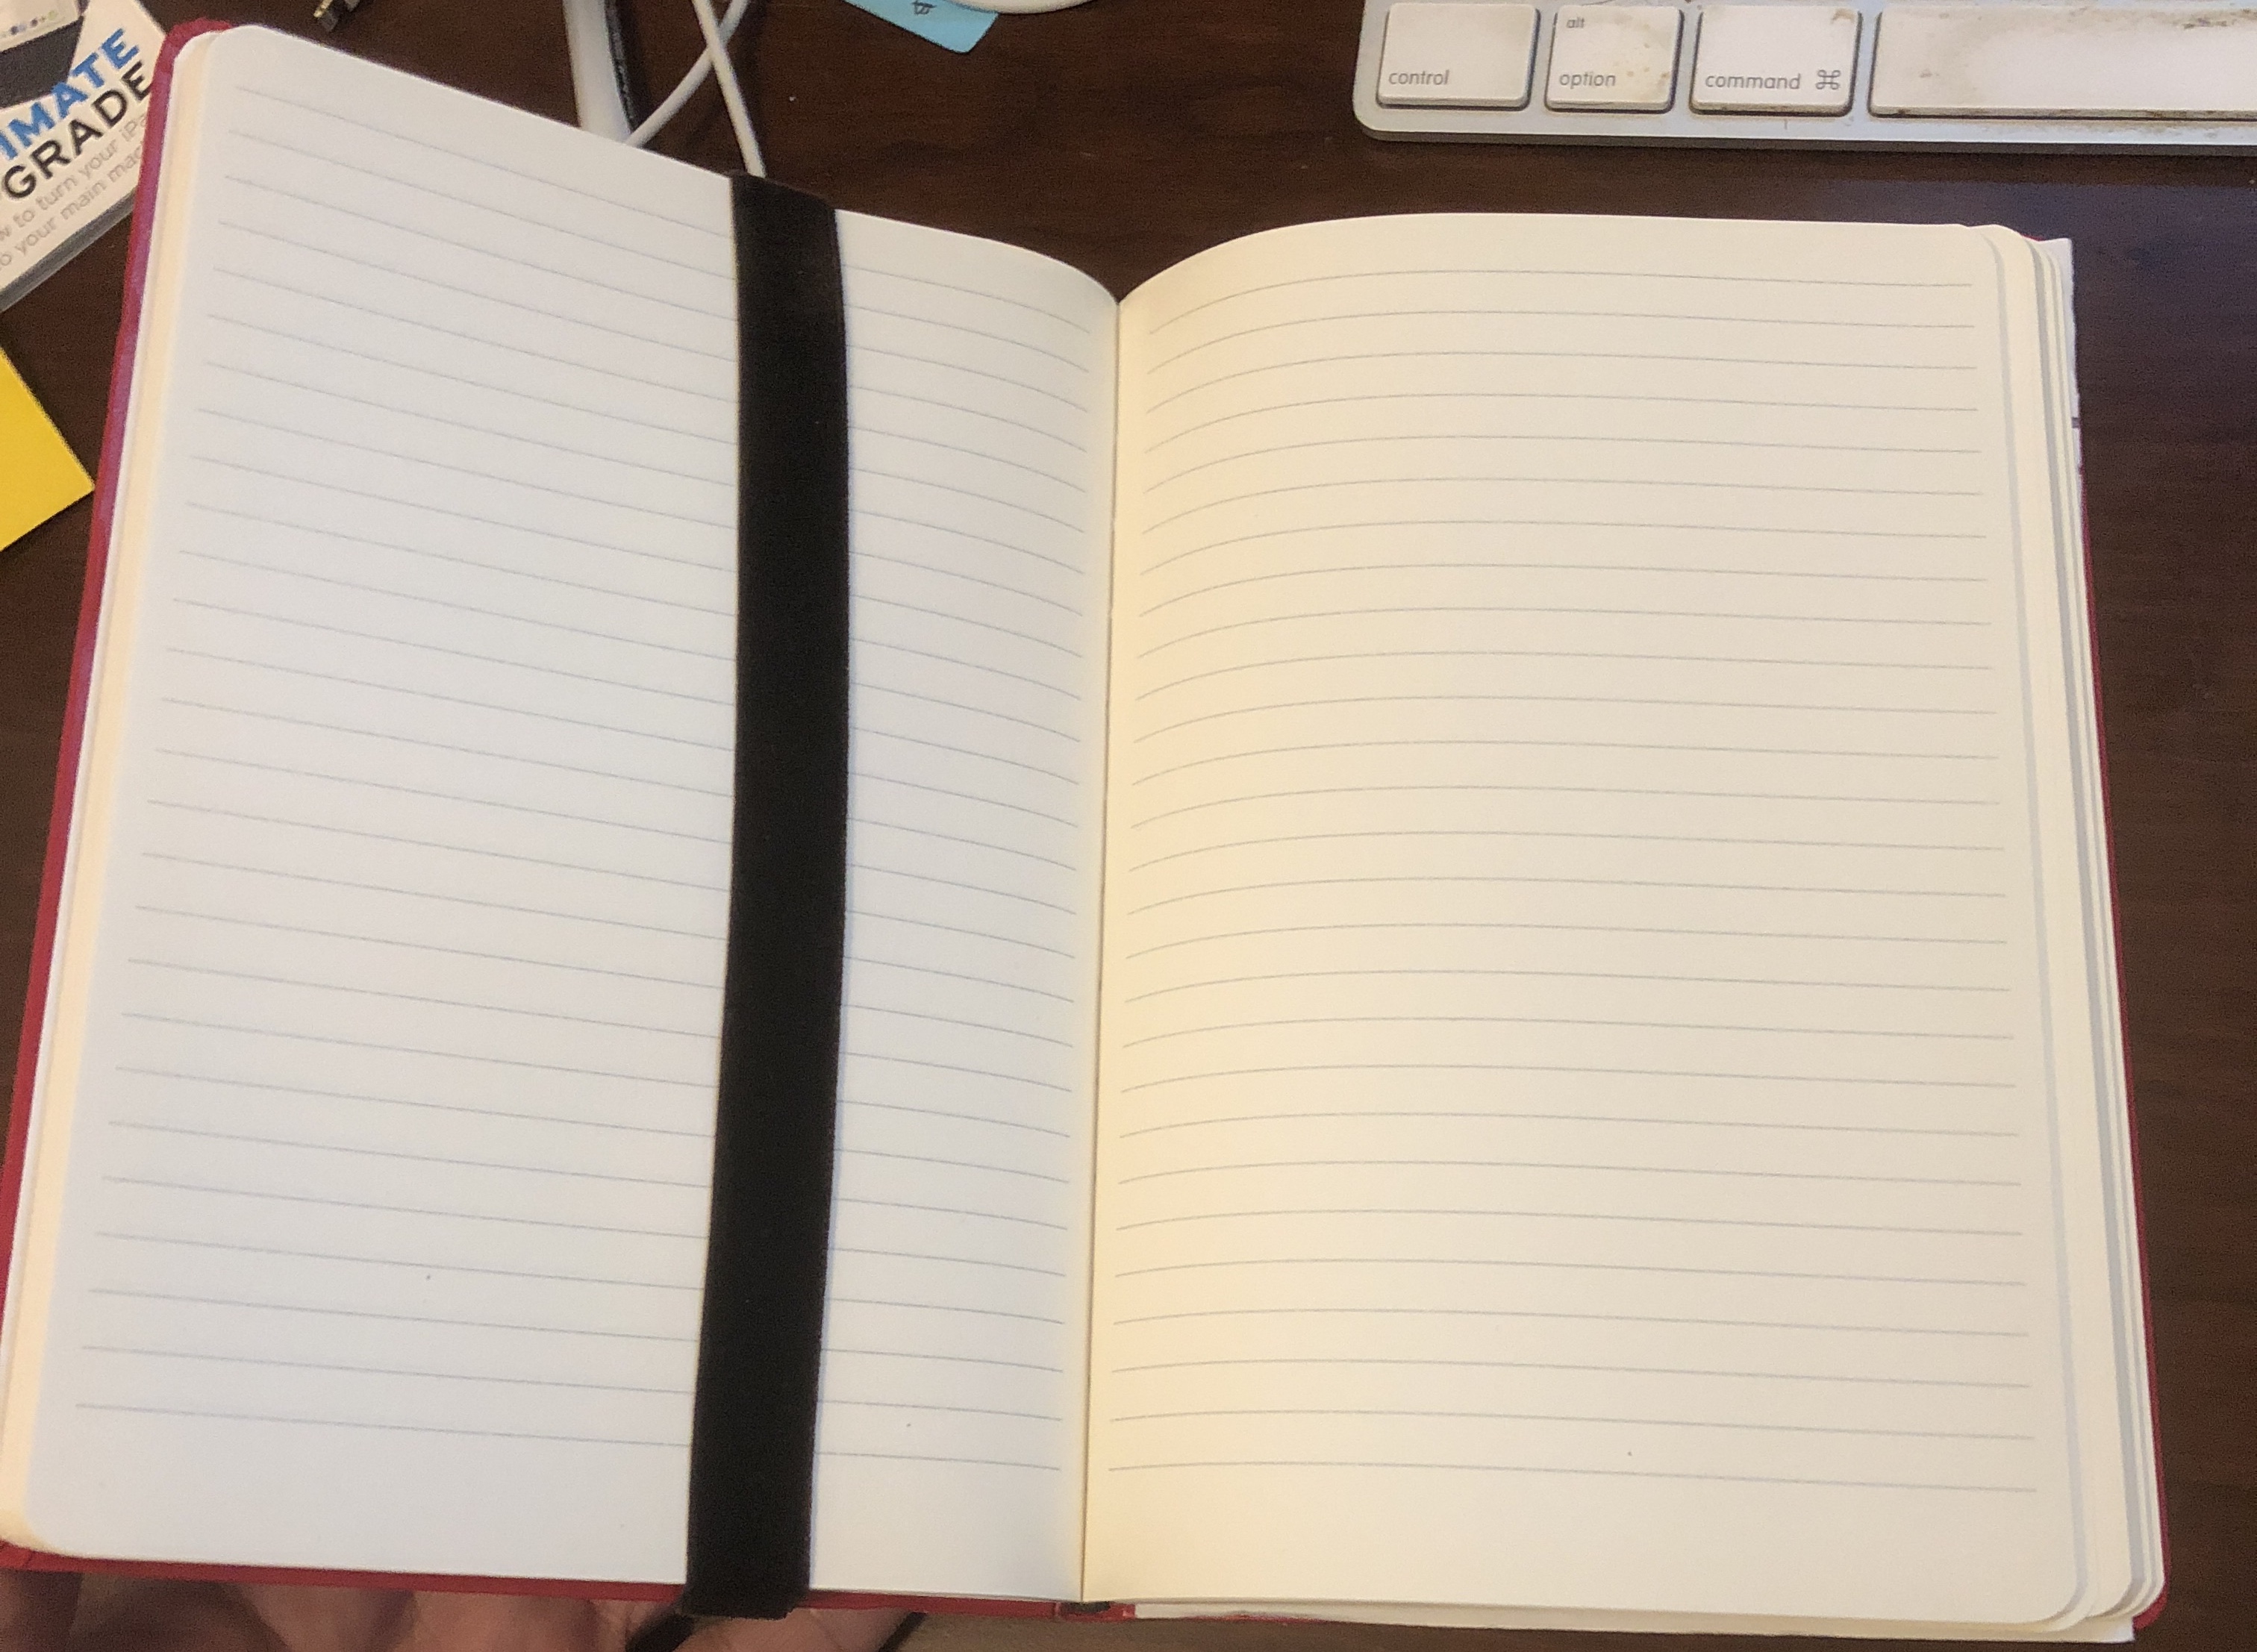
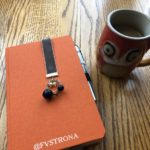
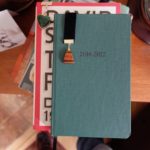
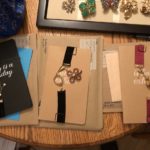
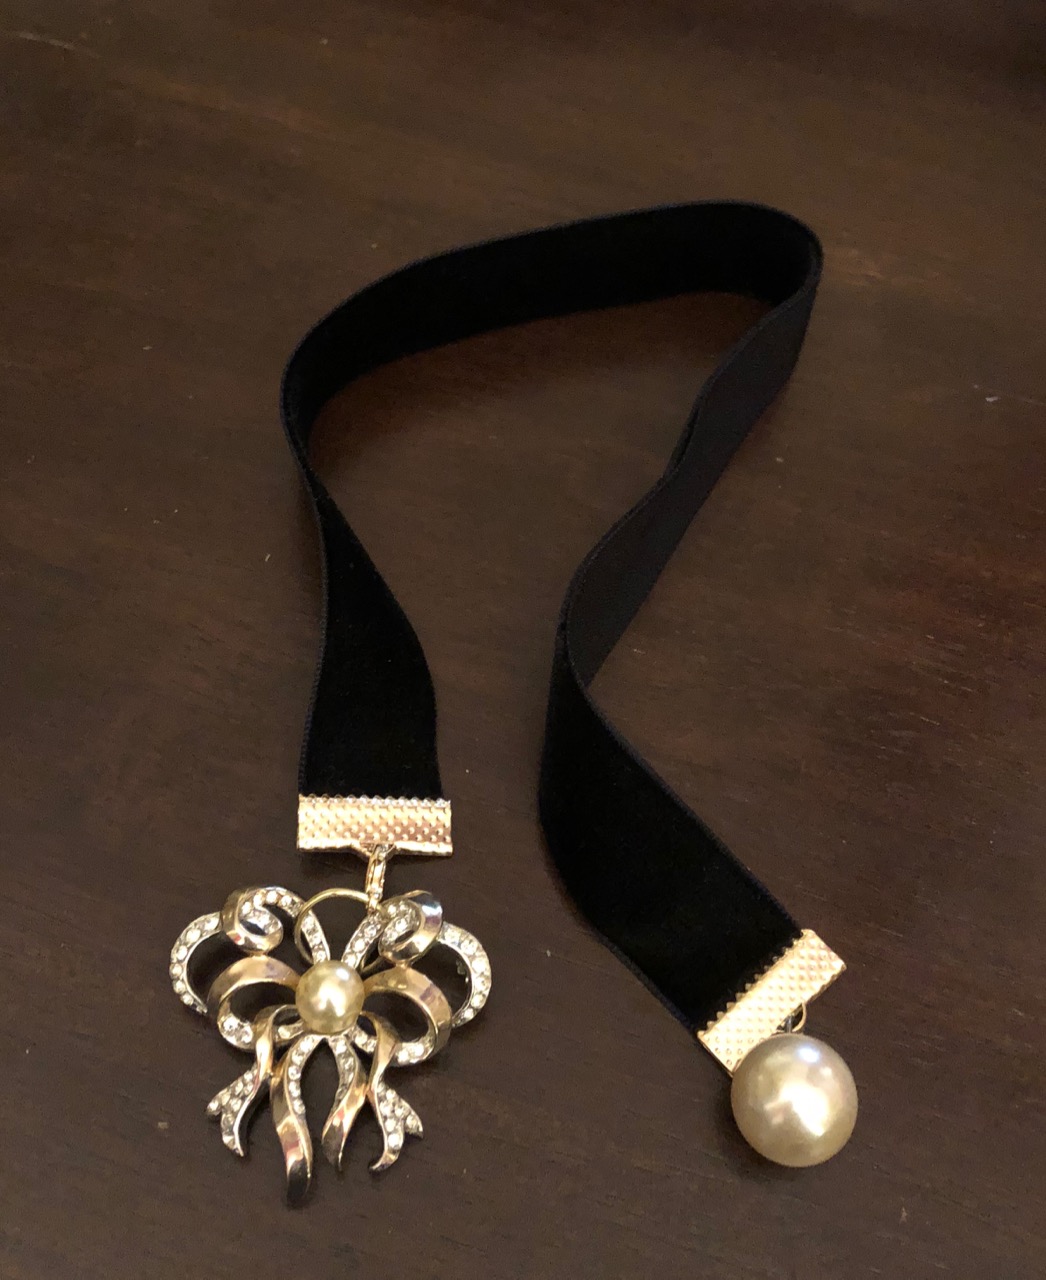
So I put together some Keepers.  They are designed to be flexible and adjust with a button/loop end so that as you move through the book,  the left side could adapt in tension to hold the pages – allowing you to always open to the current page.

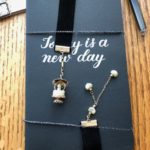
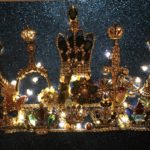
This is the first of the set of Keepers that was done by special request, as a gift. By the weekend I expect to have a bunch of them made for gifting.

It’s likely I will make them available for sale as a donation to some local charitable groups – so to more come on that phase. Who knows – with the tension at work – this might my new stress reduction activity.

SaveSave

SaveSave

SaveSave

SaveSave

SaveSave

SaveSave

SaveSave

Dressing up your coffee table books with book-bling

So with the Crown Mosaic done and wrapped… I realized I still have some pieces that needed to get a new life beyond finding themselves being sold. So I searched around for ideas and found one! I started making a series of “Book Jewelry” bookmarks.

Yup bookmarks, you know those things you used to use before e-readers came along. But these were designed to serve as a functional way to dress up books that often sit unadorned and naked on a coffee table or the bedside table and I supposed if you like a little pizzaz at church they might look good hanging out of the good book some Sunday services.

I first needed to organize myself and figured the best way was to store my cleaned and dried pieces in something better than an old shoebox. So I got myself one of these portable organizers, of course as luck would have it – they only had pink that day – but what the hell did I care I had a coupon and it was 50% off.  I got mine at Micheals, but Amazon has them as well; VonHaus Very Small Utility Tool Storage Box – Portable Arts Crafts Organizer Case with 4 Drawers & Adjustable Dividers (10.9 x 10.1 x 6.9 inches – Black/ Orange) about the same price.

Once I had the pieces cleaned and sorted the same was I did for the Crown Mosaic, I next begin the matching process. I also removed any old threads and looked for creative ways to “gather” them. Think of it as a mental game of visual balance. I didn’t want them all to be too “matchy-matchy” so I sorted and looked for other themes to balance them. I tied several types of ribbons and found I favored the velvet ones in black and grey. I went online and ordered a few kits of crimp ends (often used when making ribbon chokers) in different finishes. they aren’t very expensive and you can like them in local resources as well. In the end, I changed combinations as I went on, and sometimes when I had someone specific in mind. But the idea was to reuse them to catch someone’s eye.to give them as gifts I found some inexpensive slimline journals to “package” them in for mailing (except for the folks who we actually purchased books for.

Of course, I didn’t stop there – so the latest round is being adapted is for journalers and planner users, with a closed design that loops around the cover and pages. 

It kind of makes me happy to see these pieces getting a new life. .. and yea if you have some bits and pieces around your homes, or come across those boxes of them in the attic – send them my way!  several folks about my selling them. I hadn’t planned on it, but it is possible jsut drop me a message via the BitetheRoad Facebook page facebook.com/bitetheroad

SaveSave

SaveSave

SaveSave

SaveSave

SaveSave

SaveSave

SaveSave

SaveSave

What to do with old jewlery that needs a new home? Make a Crown of course!

Yup.. a Crown is what I said.

This was my season of “crafting” between making Meyer Lemon Marmalade, Seasoned Salts for gifts.
So a few people saw the end result of my “call for used and old jewelry” before the holidays. But a few of you asked to see the finished project. But let me step back a moment and explain what started this journey. For many years, each holiday season I would see this version in the window of an old “crim cram” shop each holiday season. If stuck with me and this fall I committed to making one for us. When I started it, it was to make something for us at the house, as luck would have it, a friend had an entire box of old jewelry collected back over several generations that she didn’t want and was glad to hand them over to me. So that began the process of making it real. But as I said, while this was supposed to be for us, it morphed into my deciding to make it as a gift for someone that would also have a timer lights and framed.

Getting started on the “Crown”

Designs

I knew I wanted a crown theme and that some crown pins would serve as the foundation pieces. So I went online and looked for stencils. When I found the one I wanted, I printed it to size and then used a sharp nail to outline it on the paper I intended to use as my background.

Cleaning:

After doing some checking online on how best to clean them and get rid of some of the “old smell” I opted for washing them in a bath of warm water, a drop of Dawn Dish Soap, Ultra Dishwashing Liquid, Original Scent, Blue, 21.6 Fl Oz (Pack of 2 ),a few drops of tea tree oil and a splash of hydrogen peroxide. I only let them soak for a few minutes, then rinse them in cool clear water and dried them in the sun. The next step took the most time – separating the pieces into three groups; 1) for the mosaic, 2) for other projects and 3) too nice to break apart – hold on too for now.

Logistics:

After selected a background, and once I started the laying out the signature pieces of the mosaic and I realized I needed to choose how I was going to secure the pieces. I opted for Devcon 18245 Weld-It Cement – 1 oz.. It dries clear and stayed tacky long enough for me to move and shift things. I also lucked out with the thin wire lights with a timer that I had around the house – but these would workBRIGHT ZEAL 33′ FT Cool White LED String Lights Battery Operated LED Lights (Silvery Wire, 6hr Timer) – Silver Wire Fairy Lights – LED Christmas Lights – Twinkle Star Firefly Lights LED Battery Lights. Just make sure to determine how many lights you want.

After that:

It was all about adding pieces and textures, stepping away, coming back and filling in spots. It helped to snap photos and look at them that way from time to time as well. Making sure the frame and mat fit and time for gift giving.
 

 And not worry.. check out this post which will explain what I did with all the leftover pieces!

SaveSave

SaveSave

SaveSave

SaveSave

SaveSave

SaveSave