Its time for Easter Ham Pie aka Pizza Gaina

This years first batch of Italian “ham” pie aka “Pizza Gaina”is cooling. It’s a family favorite dish I have only been making for a few years, starting when my Mom stopped mailing me hers each year!

But with way to much happening here at home, it was to much to do the big batch for now. I am thinking this will work for now and get us through the holidays and then I can make a few more later this week.

See last years post on the recipe here (https://bitetheroad.com/easter-ham-pie-aka-pizza-gaina/

Turmeric & Ginger Rice Porridge in the Slow-cooker

In the past, I had posted about making a slow-cooker version of rice porridge or a rough version of congee. So when a pal who also happens to be vegetarian mentioned he was sick I played around with a version that he might like. After making a few times, and with my housemate writing things down as I “added this and that”  I came up with this version of the recipe below. But this is mostly a recipe to taste. So start with conservative amounts and then you can add more halfway through to meet your pallet needs. the soup is done pretty much when it is thick and rich.

Ingredients

  • 1 cup of Arborio Rice (you can use other kinds of rice, this is one I like as I often have it on hand for other dishes)
  • 6 cups of hot water (from the tap is fine) or you can use vegetable or chicken stock for more flavor.
  • 3-inch piece of ginger peeled,  or (ground ginger about 2 teaspoons)
  • 1-2 Bay leaves (fresh or dried)
  • 1 2-inch strip of lemon peel ( or a 1/2 teaspoon of lemon zest)
  • 1/2 teaspoon (or up to as much as 2 teaspoons to taste)of Zaatar ( you can also use any other dried herbs such as Herbs De Province or even Oregano)
  • 1 teaspoon of onion flakes (you can use 1/2 cup of diced onions if you want more texture as well)
  • 1/8 teaspoon of garlic powder
  • Stat with a 1/2 teaspoon and then add to your taste to a total of 1 teaspoon of fresh ground black pepper (you can also use white pepper) but I like the flecks of black in the finished product
  • 1 4-5 inch sprig of Rosemary
  • 1/8 (or up to as much as 1/2 to  taste) of Ground Aleppo pepper
  • 3 heaping teaspoons of Tumeric
  • 1/4 teaspoon ok kosher salt (or more to taste)
  • 1 tablespoon of dried parsley (fresh is fine as well but add towards the end)
  • 1/4 teaspoon of Cayenne pepper
  • 2 Tablespoons of Agave syrup
  • 3 Tablespoons of Apple Cider Vinegar
  • 1/4 – 1/2 juice of one lemon

Optional – slow cooker liner bags. I started to sue these for some of the dishes I make that could get sticky. This is one of them that it works great with but totally optional.

Instructions

  • To your slow-cooker add rice and water. Turn on high.
    • Add the following now:
      • Bay leaves, garlic powder, onion flakes, lemon peel, 1/8 portion of the black pepper and the rosemary.
    • Cover and leave it alone for 4 hours. You can stir occasionally after the first hour.
  • After 2 hours
    • add the Aleppo pepper, Tumeric, Zatar, salt, dried parsley, Cayenne pepper, Agave, Apple Cider vinegar and lemon juice
    • Stir well and taste remembering you will taste it again in a few hours once the base flavors have melded some.
  • After another hour, stir and taste.
    • Make adjustments to any of the flavors. You may also want to add additional water (up to 2 cups) if you feel it is too thick for your taste)
  • After a total of 4 hours
    • Remove the bay leaves, rosemary, ginger root and lemon peel.
  • Serve warm.

Total cook time is 4 -4.5 hours

A few additions – you can through in some butter or stir in some coconut oil (about a heaping teaspoon) at the end to add some smoothness.


SaveSaveSaveSave

SaveSave

SaveSave

SaveSave

Oatcakes with a Protein Punch

Who would have thought adding protein to my snakes would be so good.

So life has had me in full out overload mode for a few weeks so I have been a little behind in my posting. Today I am hoping to catch up with a few over the week.

One of the fun finds I came across was a great recipe for a protein-based, oatmeal version of “pancakes” I wrote about them on my blog post on my Engage blog which had a theme that day about “How A Middle-Aged Workforce Can Keep Up With Millennial Coworkers“. I found this recipe in the  March Issue of  Men’s Health Magazine for Blueberry Oat Pancakes, the primary ingredient is plain oatmeal with added protein. While dense, when whipped up on a Sunday night, cooled and wrapped – they freeze well and I can grab them on my way out the door.

Cold or toasted, maybe with a bit of peanut butter on them, they are a lot better than skipping a meal or grabbing something on the road. I found a similar version here, but the March version as follows is updated more and better tasting.

Since then I have made it a few times and made some additional revisions:

I am sharing my adapted version of the March version below:

  • 3 cups old-fashioned oats (any will do I just happen to use this one)
  • 3 scoops of Vanilla whey protein powder (I use a few versions and mine tend to be lactose-free. I also found that those with “pea” base didn’t lend this a very good aftertaste. A little too “green for me”
  • 3/4 teaspoon baking powder
  • 1 pinch of salt
  • 3 bananas
  • 3 large eggs, plus 6 egg whites (I used the pre-made version from the store for this)
  • 3/4 teaspoon vanilla extract (I would use more at least a full teaspoon)
  • 1 teaspoon cinnamon
  • 1/4 teaspoon of Nutmeg (optional)
  • 1/4 teaspoon of All Spice (optional)
  • 1 cup fresh or frozen blueberries
  • 1 teaspoon coconut oil or butter for brushing the cooking surface

To Make: 

  • Using the blender or a Ninja machine; blend together everything but the blueberries and the oil/butter. It will be “batter” like texture.
  • Using a non-stip skillet, brush with coconut oil or butter and ladle about a 1/3 of a cup of batter (this will make about 12 cakes).
  • Cook 2-3 minutes per side.
  • Cool (or eat), package in zip bags and freeze or put them in refrigerator

Note: this is a simple example of how to snack or eat on the go – it’s a flexible batter – so change it up! So while recipe says a serving is 3, I found 1 -2 to be perfect.


SaveSave

Sometimes a recipe just doesn’t work the first time

Let’s face it we all have done it. We’ve made that recipe either from a book or from a friend of a friend or even one we created ourselves and it just doesn’t work out as planned.

Maybe it was because we lost our concentration, the environment, the products. Sometimes we just read it wrong (because you know sometimes, you just don’t put our glasses on) or the notes we have are hard to read.

No matter the reason – the reality is there are a few givens when trying new recipes:

  • Expect to have to make it several times
  • Never plan to use it for a party or unsuspecting guests unless you’ve pre-warned them
  • Take notes as you go, especially when it comes out of the oven and when you taste it. Don’t try to rely on memory
  • And ultimately, don’t take it so hard. For most of us this is just an opportunity for laxation or feeding the people we love their expect us to nail it right every time if we make it too hard on ourselves we lose the fun and passion in the process.

Tonight I had one of mine with an attempt at a chocolate chip version of Irish soda bread. It ended up under cooked, dense and tasting at flour still. A great reminder for me to use my thermometer even with breads again😛). Yeah trying to cover it up with cherry jam didn’t help.

But the outer sides were crunchy and sweet where I wanted it to be. So just means I keep retooling it.

The Power of Home Crafted Vanilla2.0

For You More Creative Types, Make Your Own Vanilla2.0

Yup – that’s right. Well, I goofed this week – I had intended to let had my guest post from Anna go live first, but some of you might have gotten a sneak preview of this one when the “now” feature got clicked. In either case, you can read Anna’s post  “Know Your Extracts: Sniffing out the Best Vanilla for Your Baking” once it goes live late this week, then perhaps you will be inspired to go on to the next step and try making your own version of Vanilla2.0

Vanilla is one of those elements in baking that you either love or don’t. Somewhat like using good quality Tumeric is in cooking. I got started on this road myself after watching some of the baking shows on TV that were using Vanilla Bean Paste which I hadn’t seen before. After visiting the blog Superfoodly.com which had posted a December piece “The Scandal Between Vanilla Bean Paste vs. Vanilla Extract” .and served as a good place to start (I didn’t necessarily agree with everything – they shared some great content on the post).  I started following links, speaking with other folks who do more baking and came across the whole movement of making your own Vanilla Extract.

Several great recipes are available online for making your own home inspired version of vanilla extract. But to make a good quality one, you need time and the right beans. It isn’t something you want to rush. In fact, if you get them started now. They will make great Holiday gifts this season.

Choosing which beans you want to use also takes some research. Areas to take note of include the grade of bean, the type of bean, the age of them and the source ( they can be expensive) and what liquid you intend to use to extract the flavor (a variety of options exist based on flavor or non-alcohol needs).

My next plan

I will be starting a batch in April in fact with ” Tahitian Grade B beans but I also like the Madagascar Bourbon Vanilla Beans (Vanilla Planifolia so may make some comparison batches. A few of the online sites that offer recipes for making your own, including purchasing recommendations include: 

Once you get ready to start making your own here are a few things you will need to have on hand.

If you are like me and tend to be more creative, plan early:

  • You will need the beans; that means deciding on the grade of the bean and the ration of beans to the liquid mix; I saw lots of variations on this from 1 whole vanilla bean for every 2 liquid ounces of alcohol. I think to keep it simple I may start with a 1:1 ratio as in 1 bean to each ounce of liquid (then depending on the jar size might top off)
  • Extracting liquid; lots of options for this the most common include Bourbon, Rum, Brandy, and Vodka. The key factor is the liquid has to be greater than 70% proof
  • Bottles/Jars; You will need to decide if you are making a large batch then decant into smaller ones or just go right to the smaller ones. I think I will be hitting the swap and flea markets for vintage and unusual decanters to use as gifts. One common theme I heard was to avoid clear jars (or keep stored in a dark place) and my preference to stay away from plastics. As a back up I found 4 ounce Amber jars on Amazon that I may order to have on hand for “extra” last minute needs.
  • Labels: start thinking what size you will need and how you plan to label them if you are gifting them

Note: this post has some affiliate links to Amazon

SaveSave

SaveSave

SaveSave

SaveSaveSaveSave

Know Your Extracts: Sniffing out the Best Vanilla for Your Baking

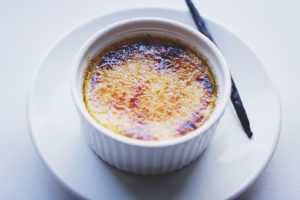
Vanilla extract; the first thing I check on my baking supply list.

So we have another great guest post this week on the power of vanilla from my pal Anna who also wrote the “5 Ways to Taste the Mediterranean Without Actually Going” post. I love sharing BiteTheRoad with folks who want to write and talk about the various passions they have so was grateful she was willing to do this one. Ok, and truth be told it’s one of my favorite flavoring tools! Thanks again Anna!


Know Your Extracts: Sniffing out the Best Vanilla for Your Baking

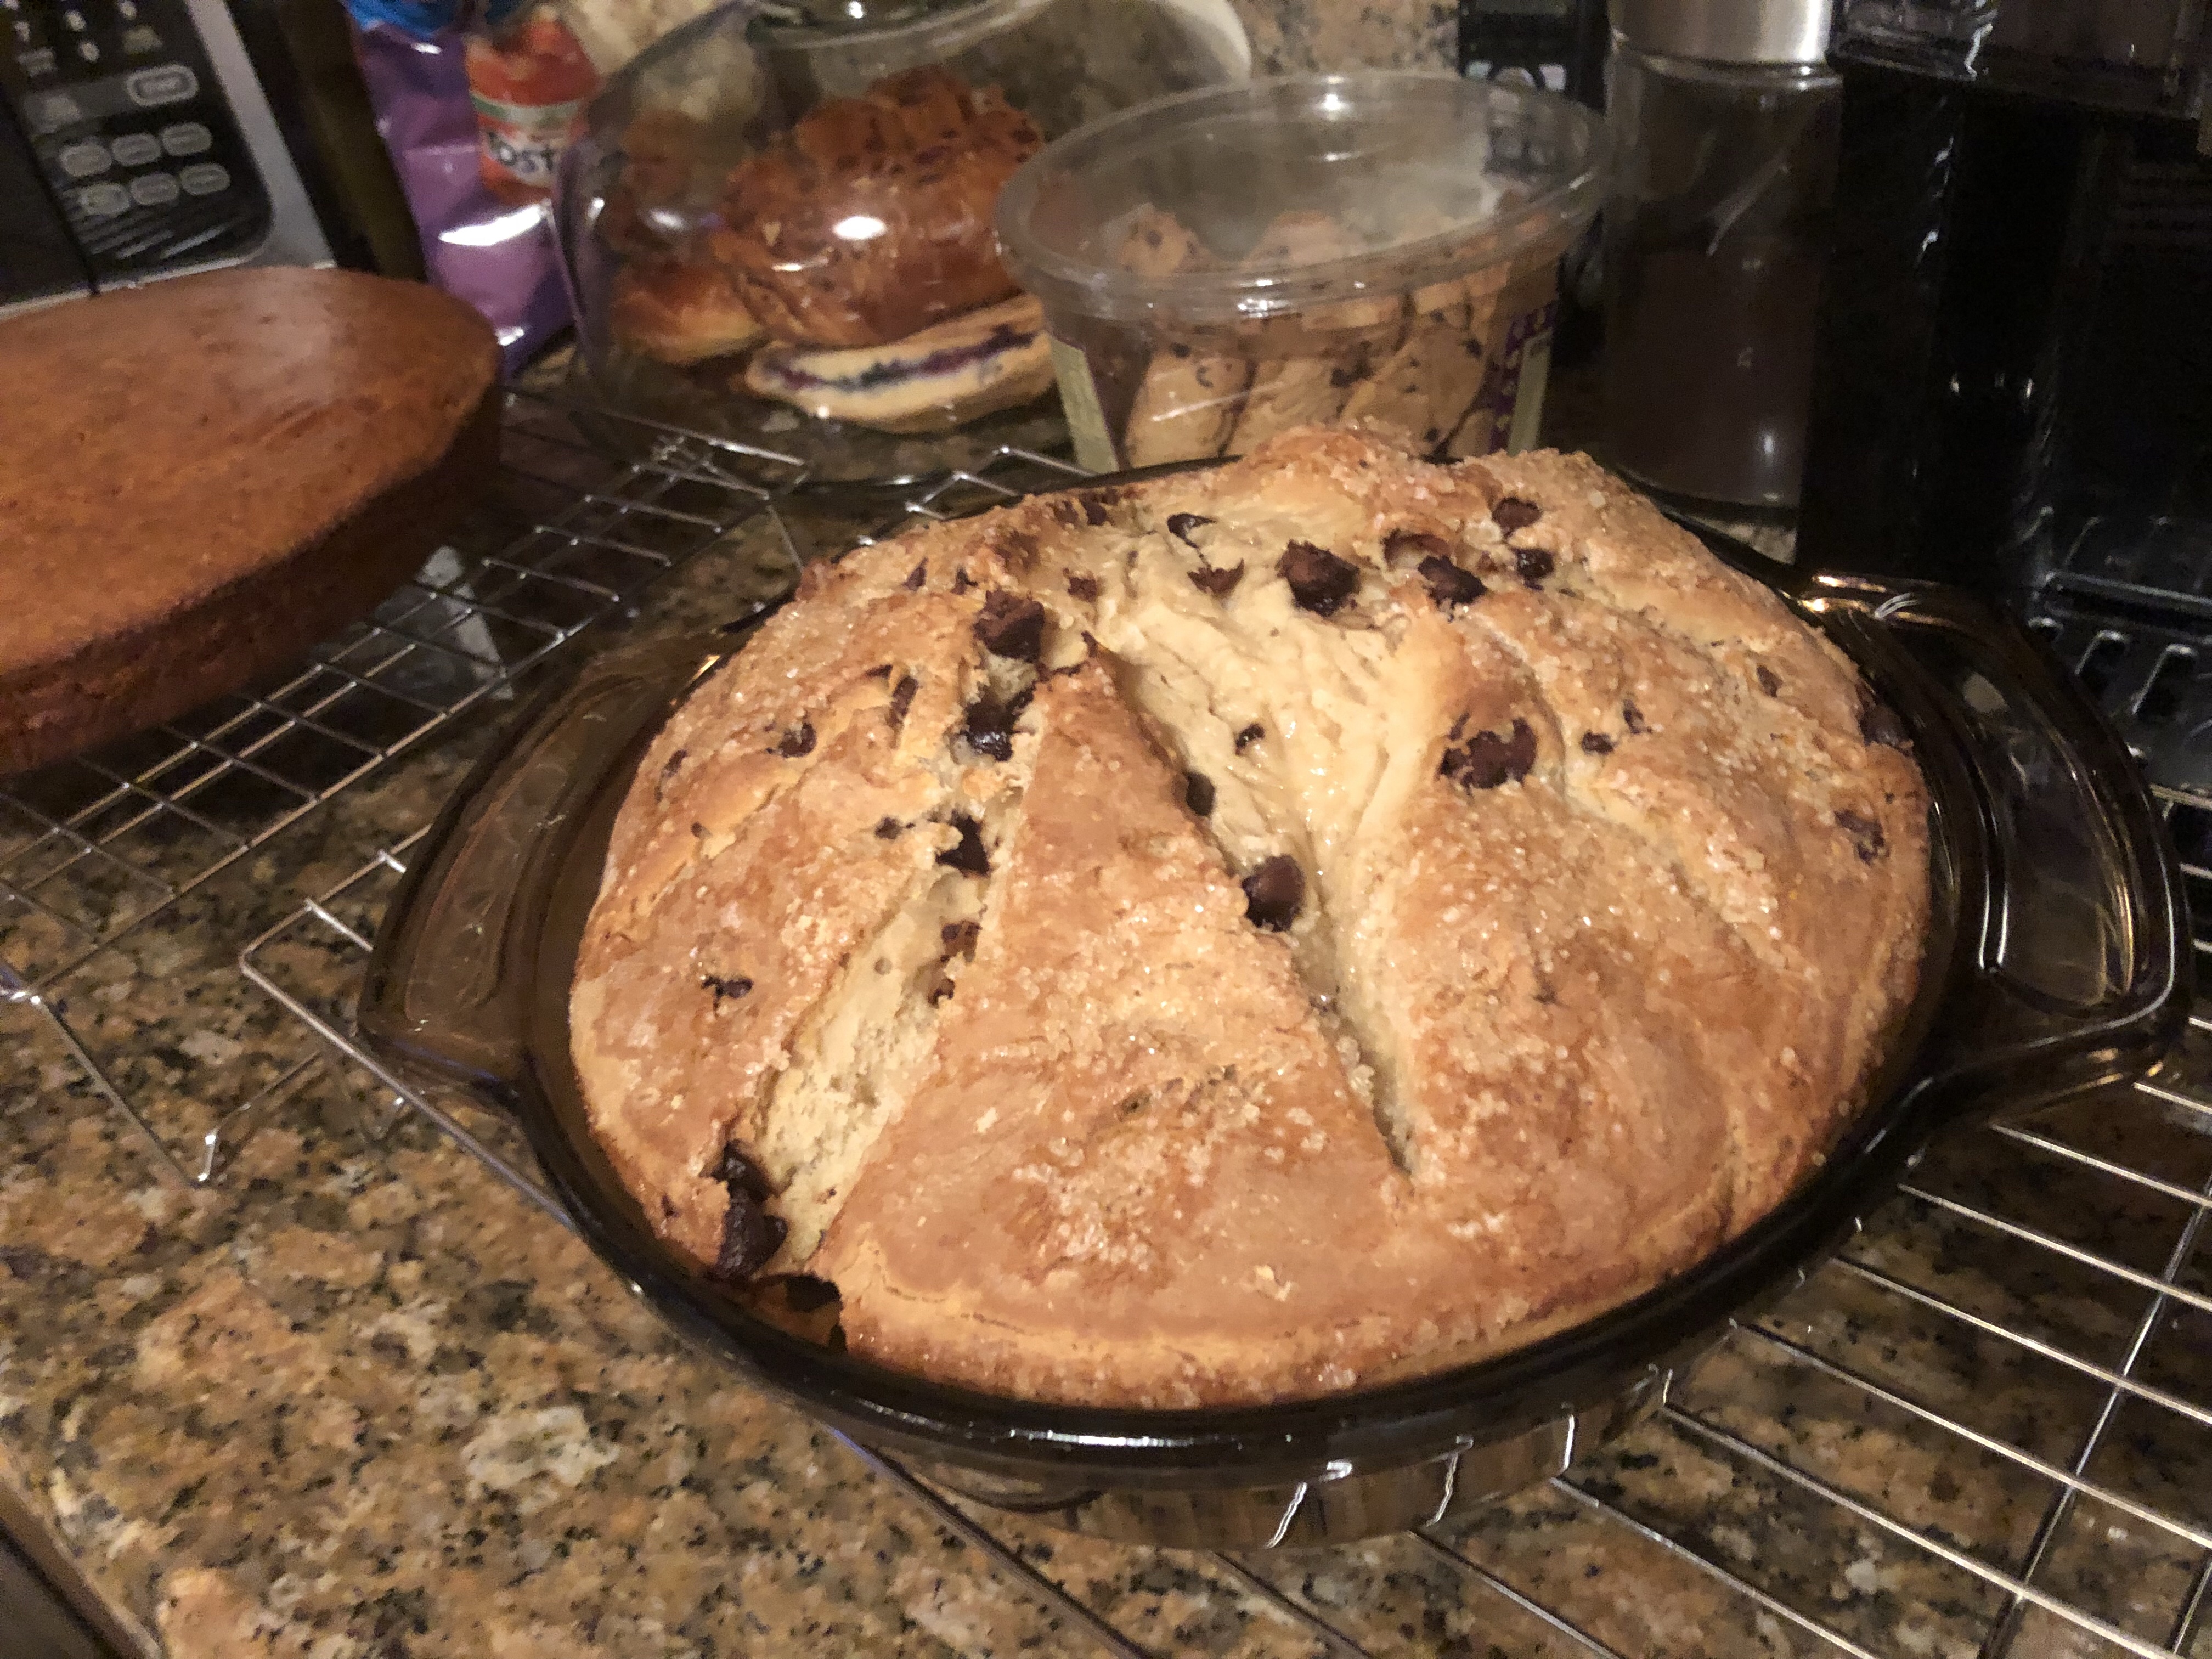
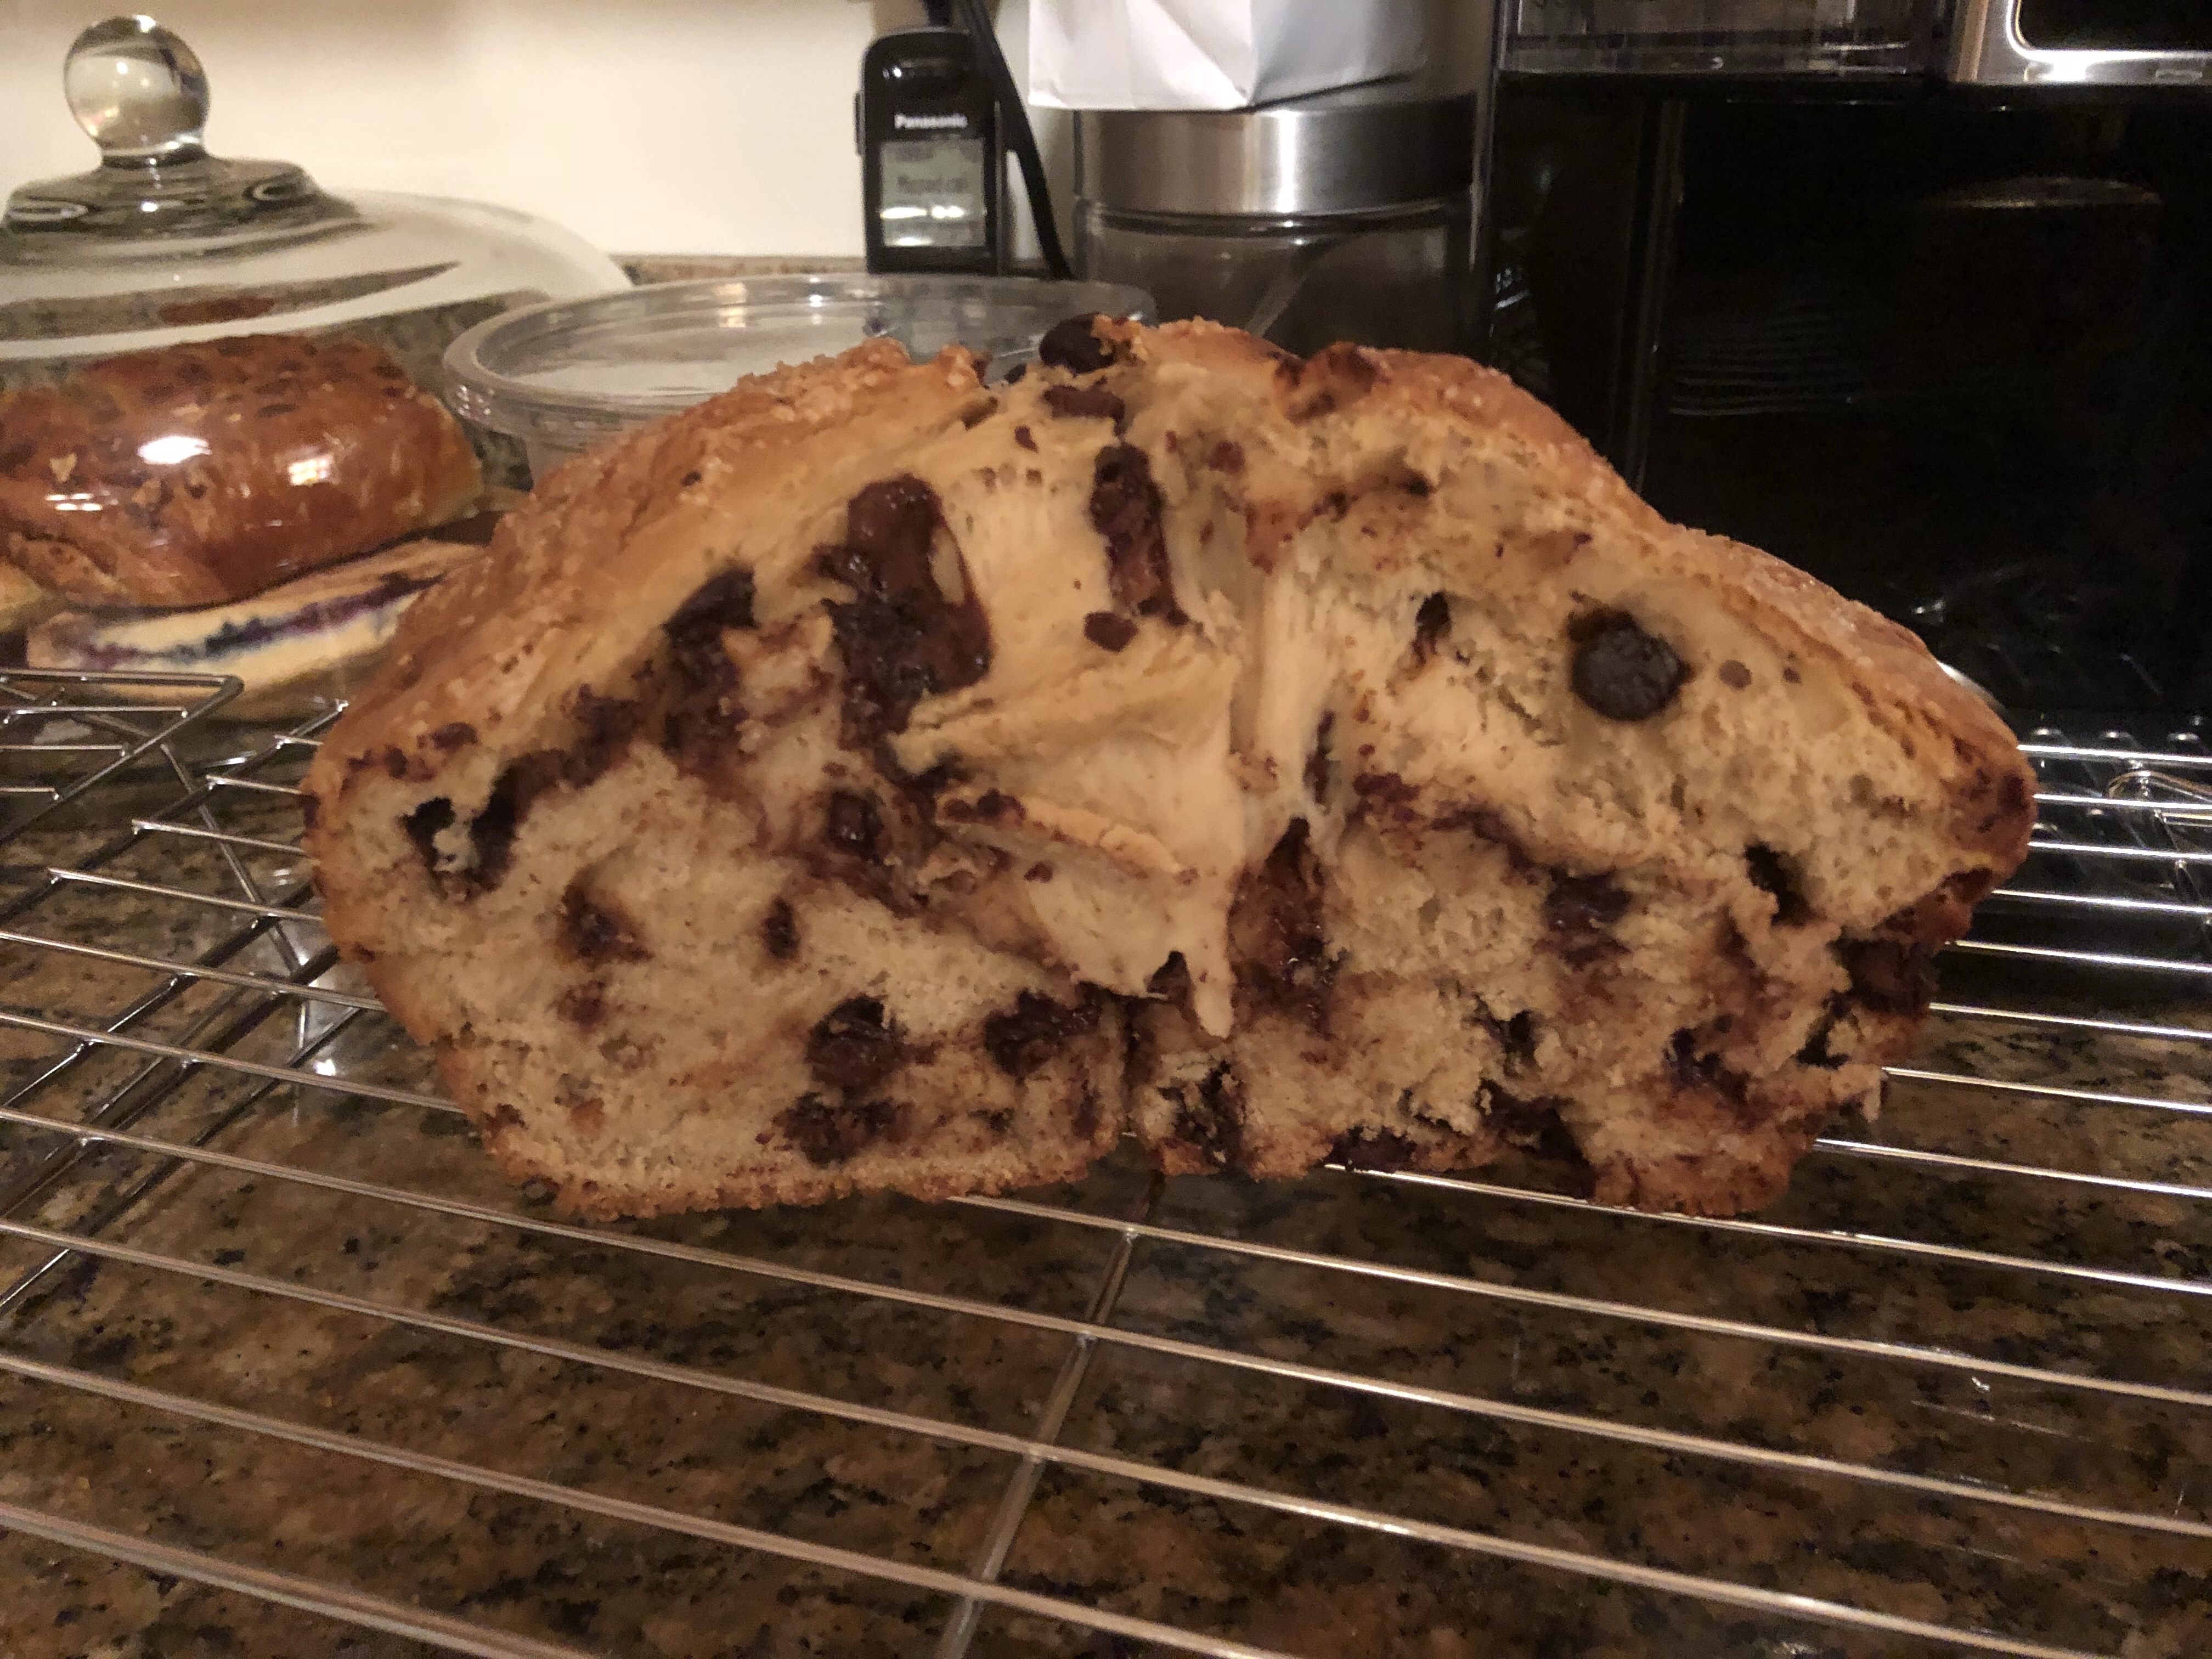
It’s a question that seems as old as baking itself — chocolate or vanilla?

These two are the most popular cake flavors out there, and making a good chocolate or vanilla cake is critical to any baker’s repertoire. But we’re not here to argue. Whether as a flavor enhancer or the star of the show, vanilla tastes good, smells good, and has been used in all kinds of sweets for hundreds of years.

But did you know that not all vanilla is created equal? While it’s likely not shocking to learn that there are different forms of vanilla you can buy, it might be more surprising to know that some are better than others for certain contexts. This, as well as the overall quality of what you use, can have dramatic effects on what comes out of your oven.

High Quality Vanilla vs Low Quality

Know Your Extracts: Sniffing out the Best Vanilla for Your Baking

In general, “high quality” and “low quality” designations for vanilla are related to the origin and purity of the flavor, as well as alcohol content.

Imitation vanilla, on the other hand, is often made using lab-created vanillin (the flavoring compound found in vanilla). Generally, this vanillin is made as a byproduct of other forms of manufacturing, such as while processing wood pulp. While that might sound concerning, it is still perfectly safe to consume, though typically has a slightly less pronounced vanilla flavor and less alcohol content.

Pure vanilla extract is exactly what it says on the label; pure vanilla extracted from vanilla pods and processed into a liquid by boiling it with ethanol and water. Additionally, it is required by law to contain at least 35% alcohol content and 100 grams of vanilla beans per liter.

Natural vanilla is taken directly from vanilla beans and has the least amount of alcohol at roughly 3% per bottle. It generally has the most pronounced and “pure” vanilla flavor of the three liquids.

Vanilla paste is a compromise between liquid vanilla and straight vanilla beans. It is made from vanilla extract, adding sugar and thickening agents for texture. Most brands also add small quantities of ground vanilla beans to achieve the desired speckling.

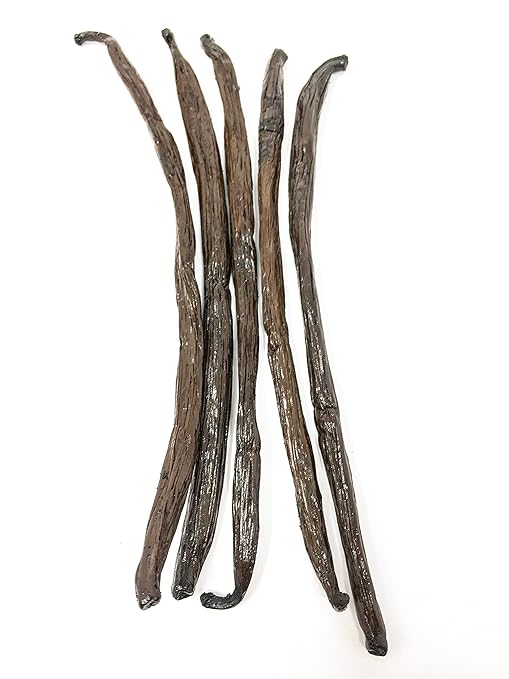
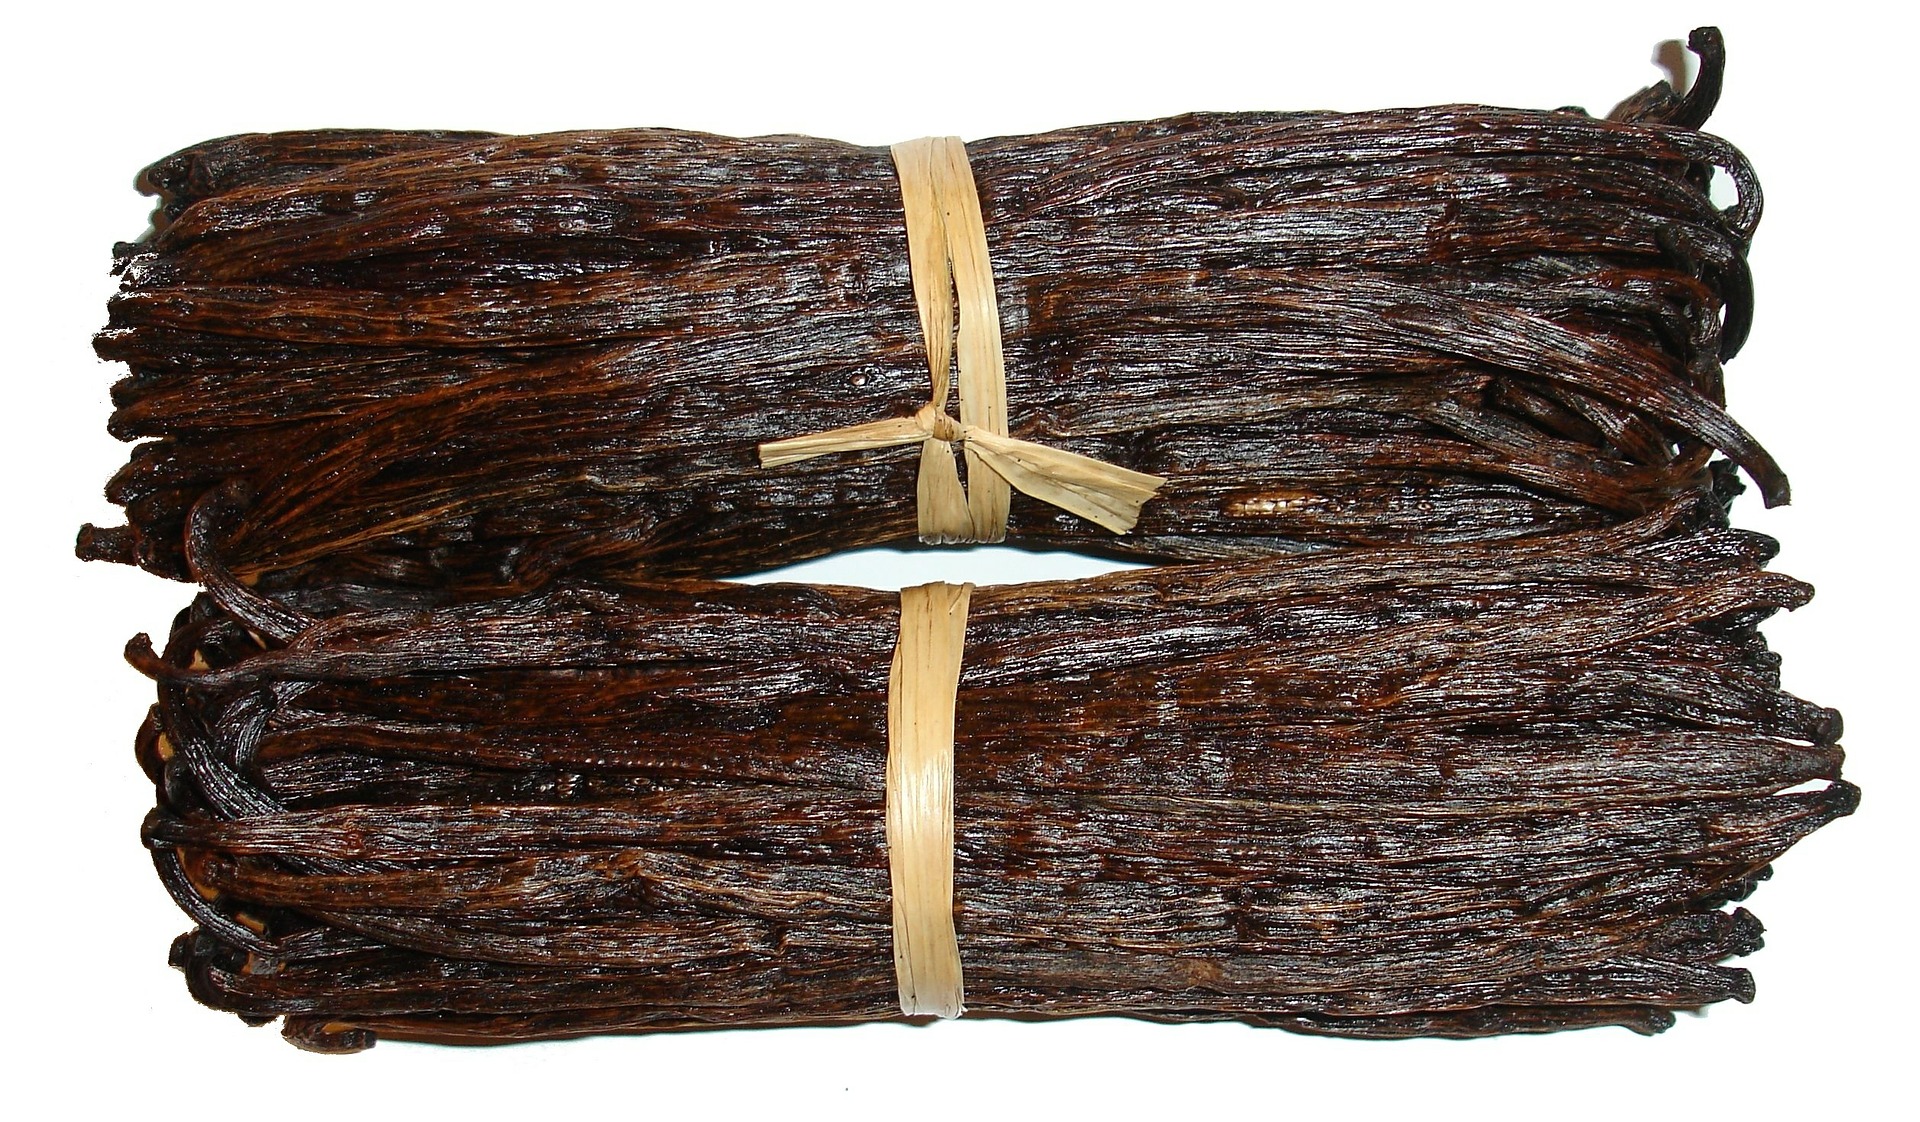
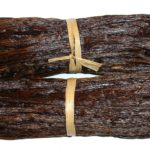
Vanilla beans are considered the ultimate for vanilla in flavoring and baked goods. These are the real deal, no alcohol or additives in sight. Just a long dark pod filled with tiny caviar-like “beans” ready to add to any recipe.

When to Use Each Kind of Vanilla

Know Your Extracts: Sniffing out the Best Vanilla for Your Baking

While instinct may say to use vanilla beans for everything, this would not actually be the best use of resources. Imitation is, of course, the cheapest and most affordable, but the more pure and better quality the vanilla, the more it costs:

(Prices based on Cook’s Bulk and Wholesale Vanilla)

  • Non-alcoholic vanilla — $12
  • Pure vanilla extract — $13
  • Vanilla bean paste — $25
  • Vanilla bean pods (3) — $15

Aside from price restrictions and personal preference (for example, imitation vanilla may have a less robust flavor/aroma than vanilla bean pods), any form of vanilla can be used for any type of baking.

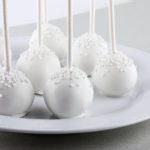
That being said, most bakers (and especially social media food personalities) prefer vanilla bean paste and pods for the telltale speckling that they leave in the finished product. This only works for light-colored, vanilla-centric baked goods, however. If you wish to use a high-quality vanilla in a darker product, save some money and use a good vanilla extract.

For bakers who object to using alcoholic vanilla in recipes that don’t involve heat (frostings, creams, sodas, etc.), non-alcoholic vanilla or vanilla bean pods are optimal.

Love vanilla? Try these vanil-licious recipes from Bite The Road:


Be sure to read the next BiteTheRoad.com post on other creative Vanilla ideas later this week


SaveSaveSaveSave

SaveSave

SaveSave

SaveSave

SaveSave

SaveSave

SaveSave

SaveSave