As some of you know I am on Tiktok these days on my original account @Frank_MentorSF, and my newly launched, more food focused @KithchenBearSF. While I work to get @KitchenBearSF up to its minimum followers to go live, I go live from my original one and weekly noon 12:00 noon PST on @foodtoktv collaborative account.
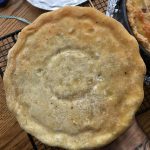
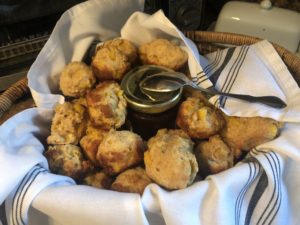
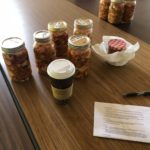
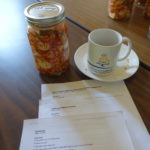
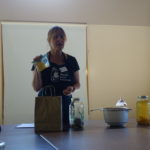
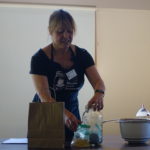
On Saturday I took a rare few hours and went live on my account to make my annual “Ham Pie” that I do most easter weeks. I have blogged about this in the past, but sharing below the latest version of the recipe. See this post for more step by step https://bitetheroad.com/easter-ham-pie-aka-pizza-gaina/ .
|
Full Recipe for the Filling- (enough for 4-6 pies depending on size) |
| 1/2 lb whole milk insalada (or Insalata) ricotta, aka Ricotta Salata (Firm salty ricotta cheese. – you can substitute any of your favorites or what you can find locally) |
|
◦ 1/2 lb Pepperoni (Use the traditional sticks or the larger slicing one.) |
|
◦ 1/2 lb Prosciutto (optional) |
|
◦ 1/2 lb HOT Capicola or Hot Soppressata, |
|
◦ 1/2 lb hard salami |
|
◦ 1/2 lb Genoa salami |
|
◦ 1/2 lb Procuittini (You can substitute this with any other pepper coated ham they have) |
|
◦ 1/2 lb Abbruzese |
|
◦ 1 lb Basket Cheese if available or use fresh Mozzarella cubed |
|
◦ 1/2 lb Provolone (Other recipes use ricotta Salato etc.) or both |
|
6 – 12 Large Eggs ((see notes for quantities)) |
|
For The Dough – 3 – 8” pies |
|
• 1 tsp Ground Pepper (or more to taste for dough) |
|
• 6 large Eggs |
|
• 3/4 cup (or 12 tbsp) Shortening |
|
• 4 1/2 cups All purpose flour |
|
• 1 tsp Salt |
|
• 1 tsp Grated cheese (Parmesan) (for dough) |
|
• 2 tbsp ice water (as needed) |


Read these Notes first
- Depending on where you live – some of these meats won’t be as available. Its totally fine to switch them out for your favorites or use more of one than the others.
- When buying your meats and cheese – you will save time by asking the deli to slice it in 1/4’ slices for you.
- The filling for the full recipe will make 1- 9 inch pie- (in a springform pan) and 1 foil or 3 – 8’ in foil round pans. depending on how much you fill them. I also like to use foil loaf pans.
- I often make the first batch of dough, knowing I will have leftover filling. Then a few days later make another batch for the freezer. When freezing, cool, wrap in plastic, then foil then place in a ziplock bag
- By volume, the foil pans take about 6-7 eggs worth of the whisked eggs and the springform will take up to 12 – 13 eggs depending on the size eggs you use. (Lessons Learned – have extra eggs handy just in case)
- If you use a springform pan – be sure and give it a foil “condom” around the bottoms and bake on a sheet pan in case it leaks
Pre-preparation
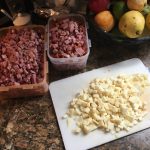
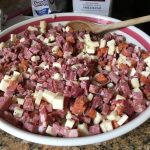
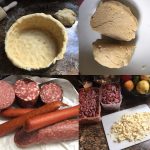
- Cut all the meats and cheeses into small cubes. 1/4 to a 1/2 inch mix. You can do this several days before in resealable bags or containers.
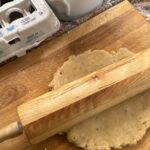
Making the Dough
-
- You can make the dough several ways.
- My usual method is in a large flat bowl (or on your counter if you have the room)- sift together flour and salt. Add eggs, ground pepper and grated cheese. This also works in a stand mixer with the dough attachment.
- If you use a food processor – its super fast and the dough will be softer. A few tips include dice up the shortening and don’t over mix. If you make the full version, you’ll likely have to finish mixing it by hand, but if you use the half batch, you will be able to process it right in the food processor
- Add in the shortening and work in quickly. Use a pastry cutter if you have one.
- Crack and break up the eggs. Add the eggs to the flour mixture and mix, adding up to 2 tablespoons of iced water as needed to bring the dough together.
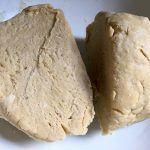
- Dump it on the counter and knead it until it comes together and form into a ball. DO NOT OVER WORK. Wrap in plastic or cover until ready to use.
- You have two options now:
- You can divide the dough in 4, shape into discs and wrap and chill for 30 min or overnight or
- Divide the dough and roll out and fit into your pans, pressing up the sides. Cut off at any extra to save as decoration on the top.
- You can make the dough several ways.
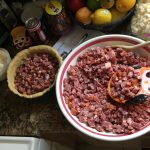
For the filling (wet mix first)
-
- Crack and whisk the remaining eggs
- Add pepper, grated cheese
- You can add 1-2 tablespoons of the Basket cheese (if using) and gentle loosen it into the batter. This will add some moisture when cooking.
Assembling the Pie
-
- Preheat your oven*
- Roll out the dough, large enough to extend beyond your pan several inches as you will want the sides to hang over. You want it thin enough to be flexible
- Using either a 9in spring form pan (or an 8 inch one will do – but use less of everything) or simple foil cake or loaf pans
- Lay the dough in the pan and gently press into place and make sure all the corners and sides and flattened smooth.
- Sprinkle some grated cheese ( about a tablespoon) on the dough at the bottom of the pan.
- Place 2 cups (for foil pans) or 3 1/2 – 4 cups (for spring form pan) of meat and cheese mix in each prepared pan and spread it out. It should be no more than 3/4 of the way up the sides.
- Pour the wet batter over the meat and cheese. Using the back of a wooden spoon gently mix in. Essentially you want to barely cover the meat mixture. (If you run short of eggs, whisk up a few more and top off)
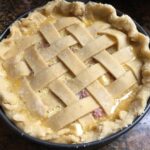
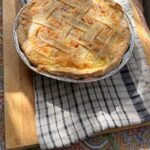
- Take the leftover dough and add any decorative topping you want (i.e. a cross hatch or cut out shapes), flute the edges.
- Brush with an egg or cream wash
- Sprinkle with more grated cheese
- Bake in a preheated oven* 350 degrees for 60 – 75 minutes
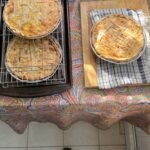
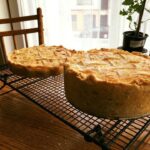
- When they are a golden brown and a toothpick comes out clean. Take them out of the over and let them cool on a rack, in the pan until cool to the touch
- Once cooled some, remove them from the pan and let finish cooling on the rack (remember they will still be hot inside)
- You can serve these warm, room temp or cold.
- Once fully cooked ns cool – wrap in plastic wrap, then foil to keep. They freeze great!
*Baking Temperature & Times
- My mom prefers to use 350 degrees for 60 – 75 minutes or until the toothpick comes out dry for the foil pans (my oven was dead on at 60 minutes. (For the larger springform – plan for another 20 min).
- My original version https://bitetheroad.com/easter-ham-pie-aka-pizza-gaina/
- Several other versions I have tried and liked include
- https://cookingwithmamalombardo.wordpress.com/2011/04/23/another-easter-classic-pizza-gaina/
- http://www.afamilyfeast.com/easter-pie/
- http://www.food.com/recipe/pizza-gain-aka-pizzagaina-pizza-rustica-italian-easter-ham-pie-293899#top


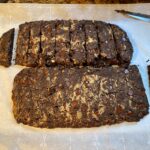
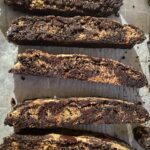

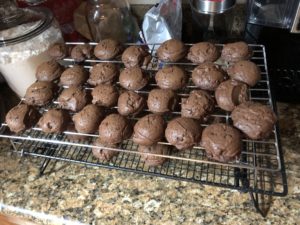 Black Pepper Chocolate Cookies
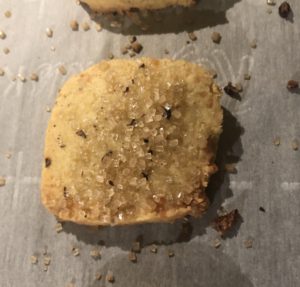 Polenta Parmesan Cookies
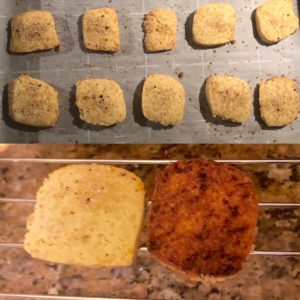 The recipe link is
 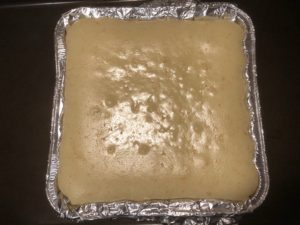 As promised;
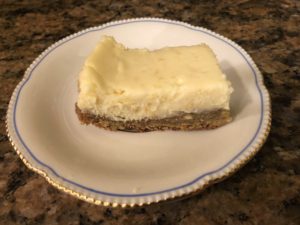

 So, of course, that meant a morning was spent first finishing up another batch of
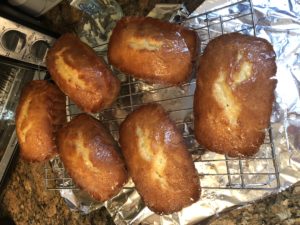
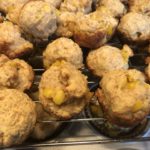
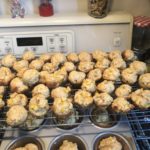
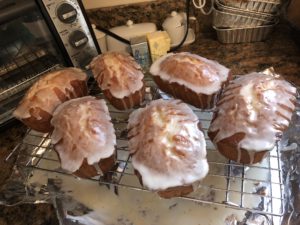 Was to knock out a few quick “gestures” for a few pals recovering from surgery; my fav lemon bundt cake converted to mini loaves drying. Many of you who read this, know I am a big fan of making a heartfelt and genuine gesture or appreciations. Be it a way of saying “thank you” or recognizing someone who went the extra mile or simply to cheer up a sick friend.
 So bright and early Saturday morning we drove down to the
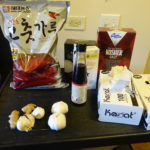

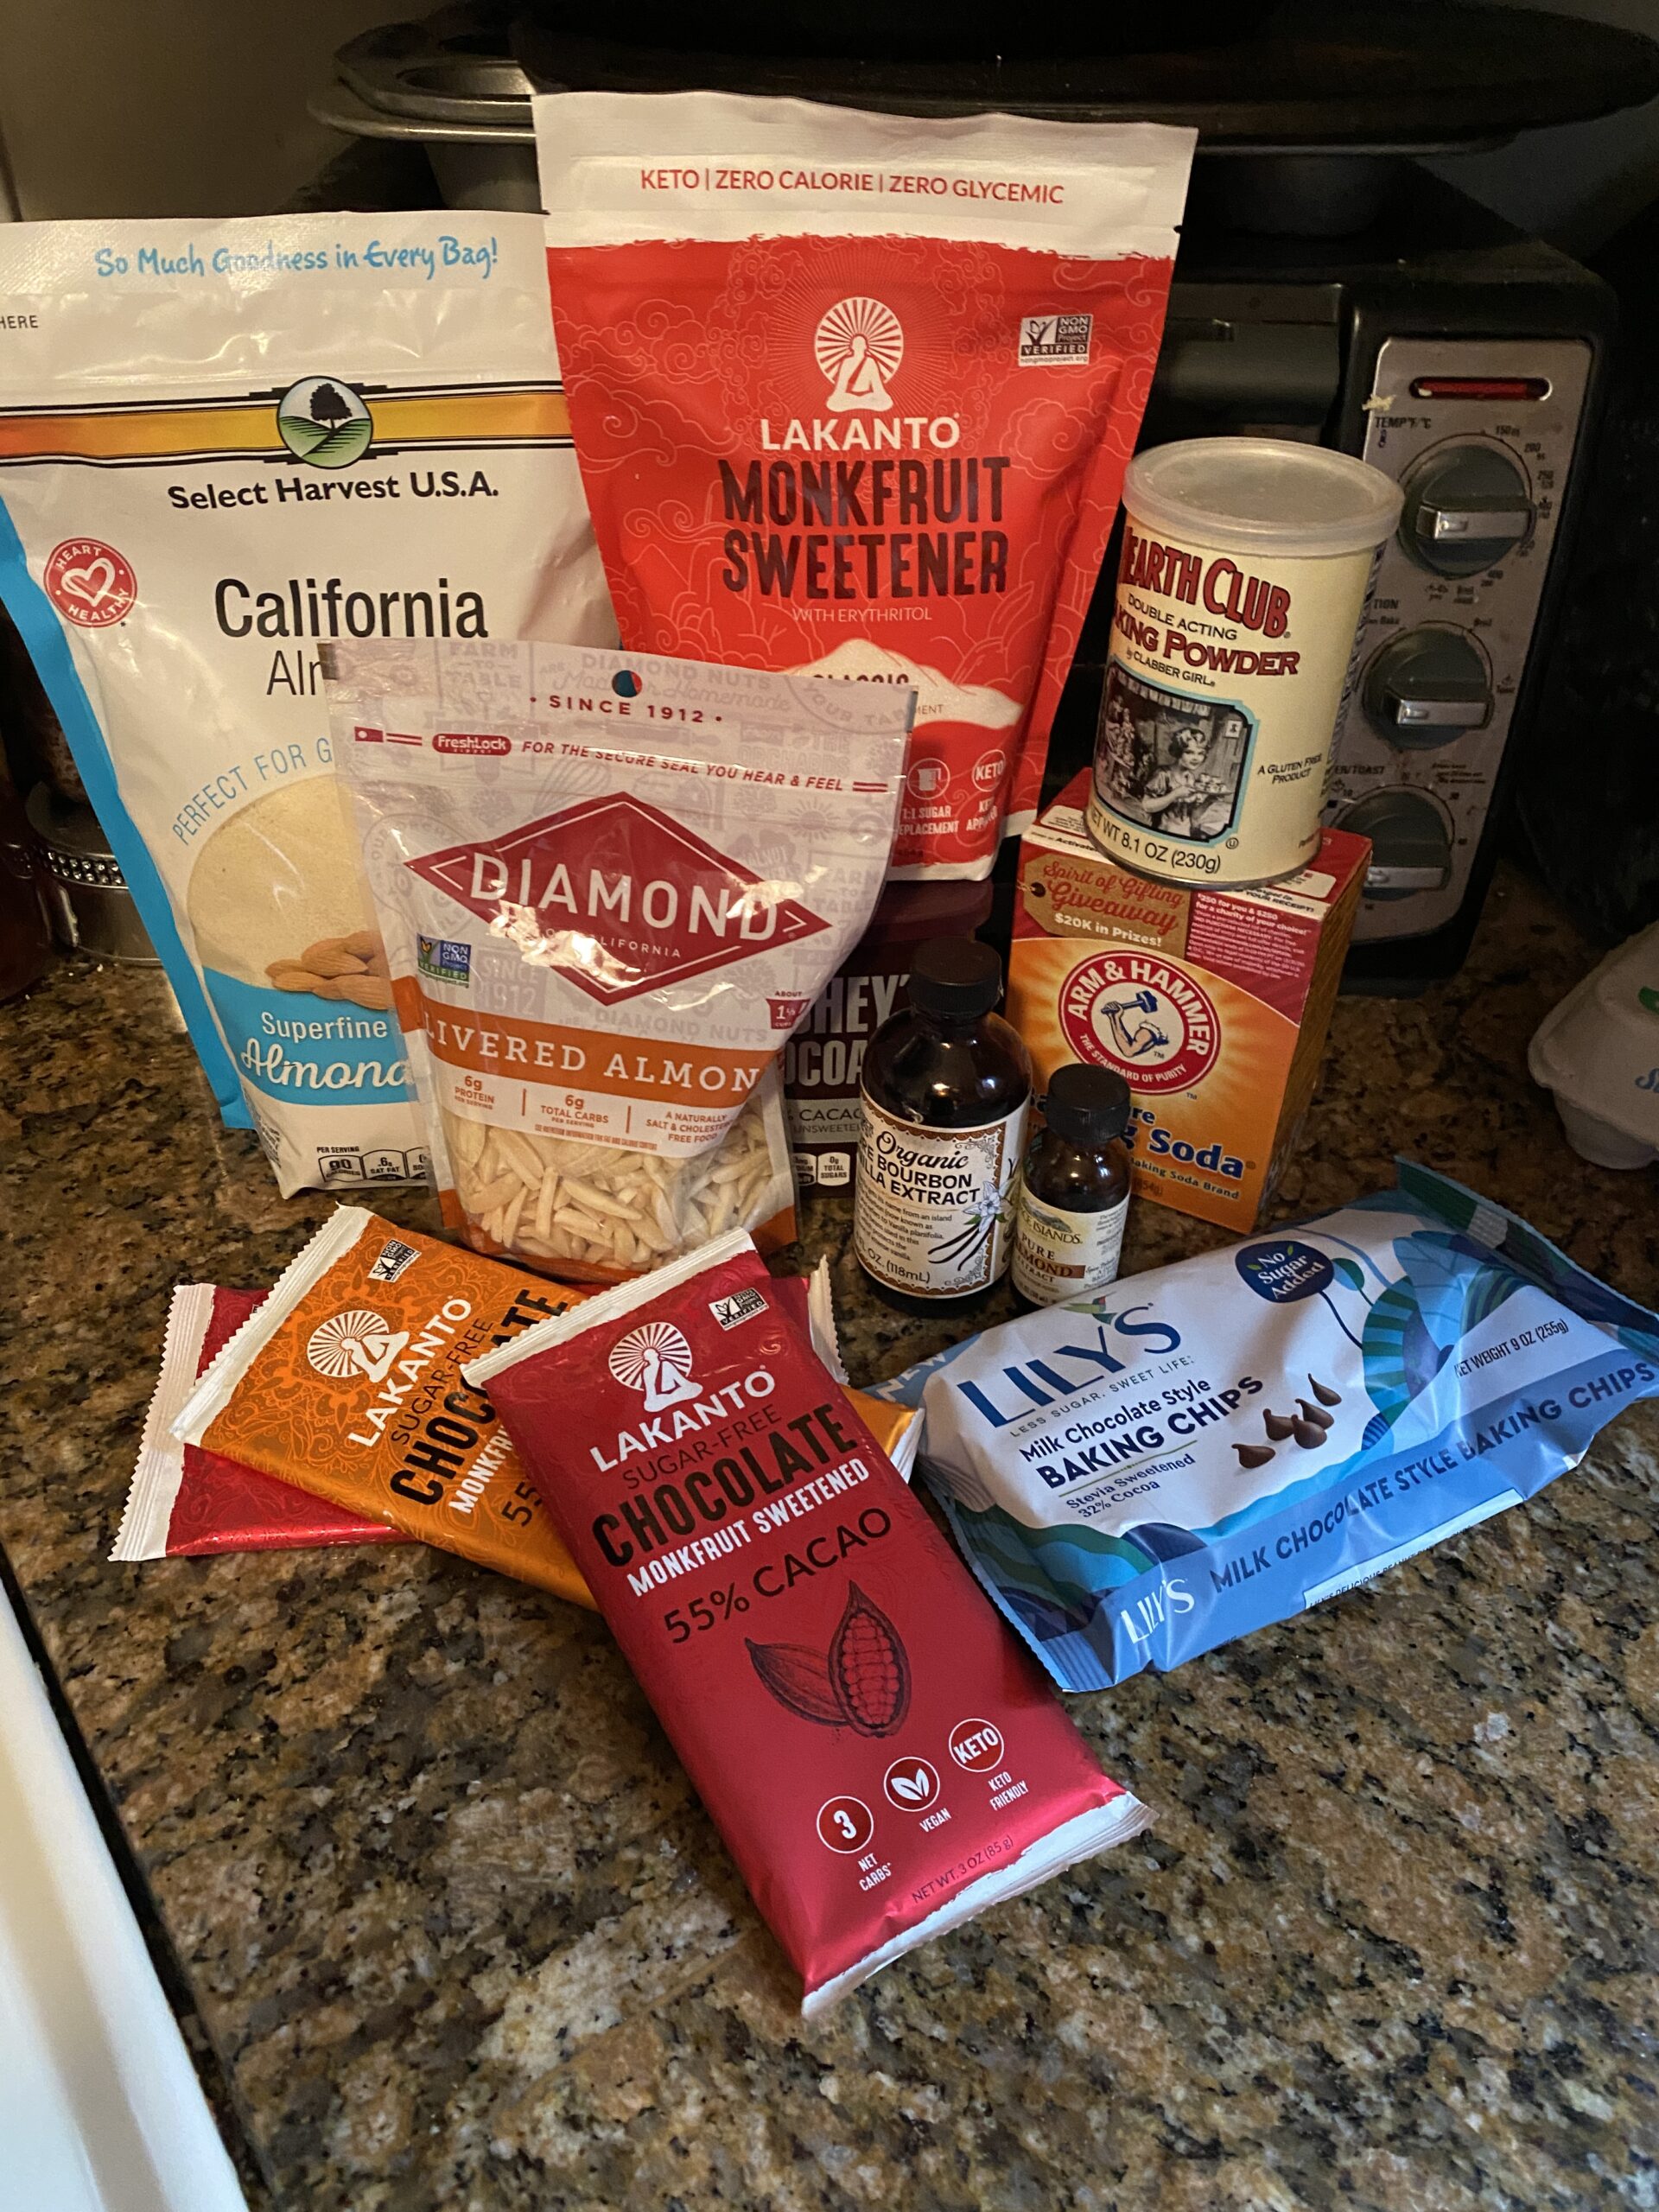
 Ingredients
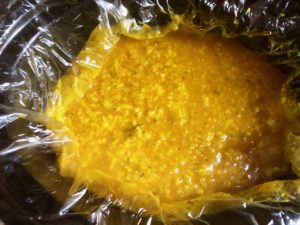 Optional – slow cooker liner bags. I started to sue these for some of the dishes I make that could get sticky. This is one of them that it works great with but totally optional.
 I am sharing my adapted version of the March version below: