My journey in resin art continues

Keeping Creative

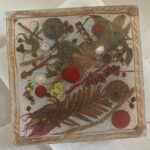
As a way to stay mentally challenged from the other side of my brain – I started to learn how to use epoxy-resin as resin-art.

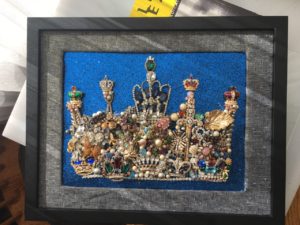
A lot of this was inspired as a new way for me to use more of the old jewelry pieces I used for the 2019 Holiday Trees and 2018’s Planner Keepers and Bookmarks when I was given a box of old jewelry to do something with. So since then I keep trying new ways to use up the “broken and unloved baubles & beads” as more people donate them to me to give them a new life as gifts for others.

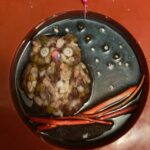
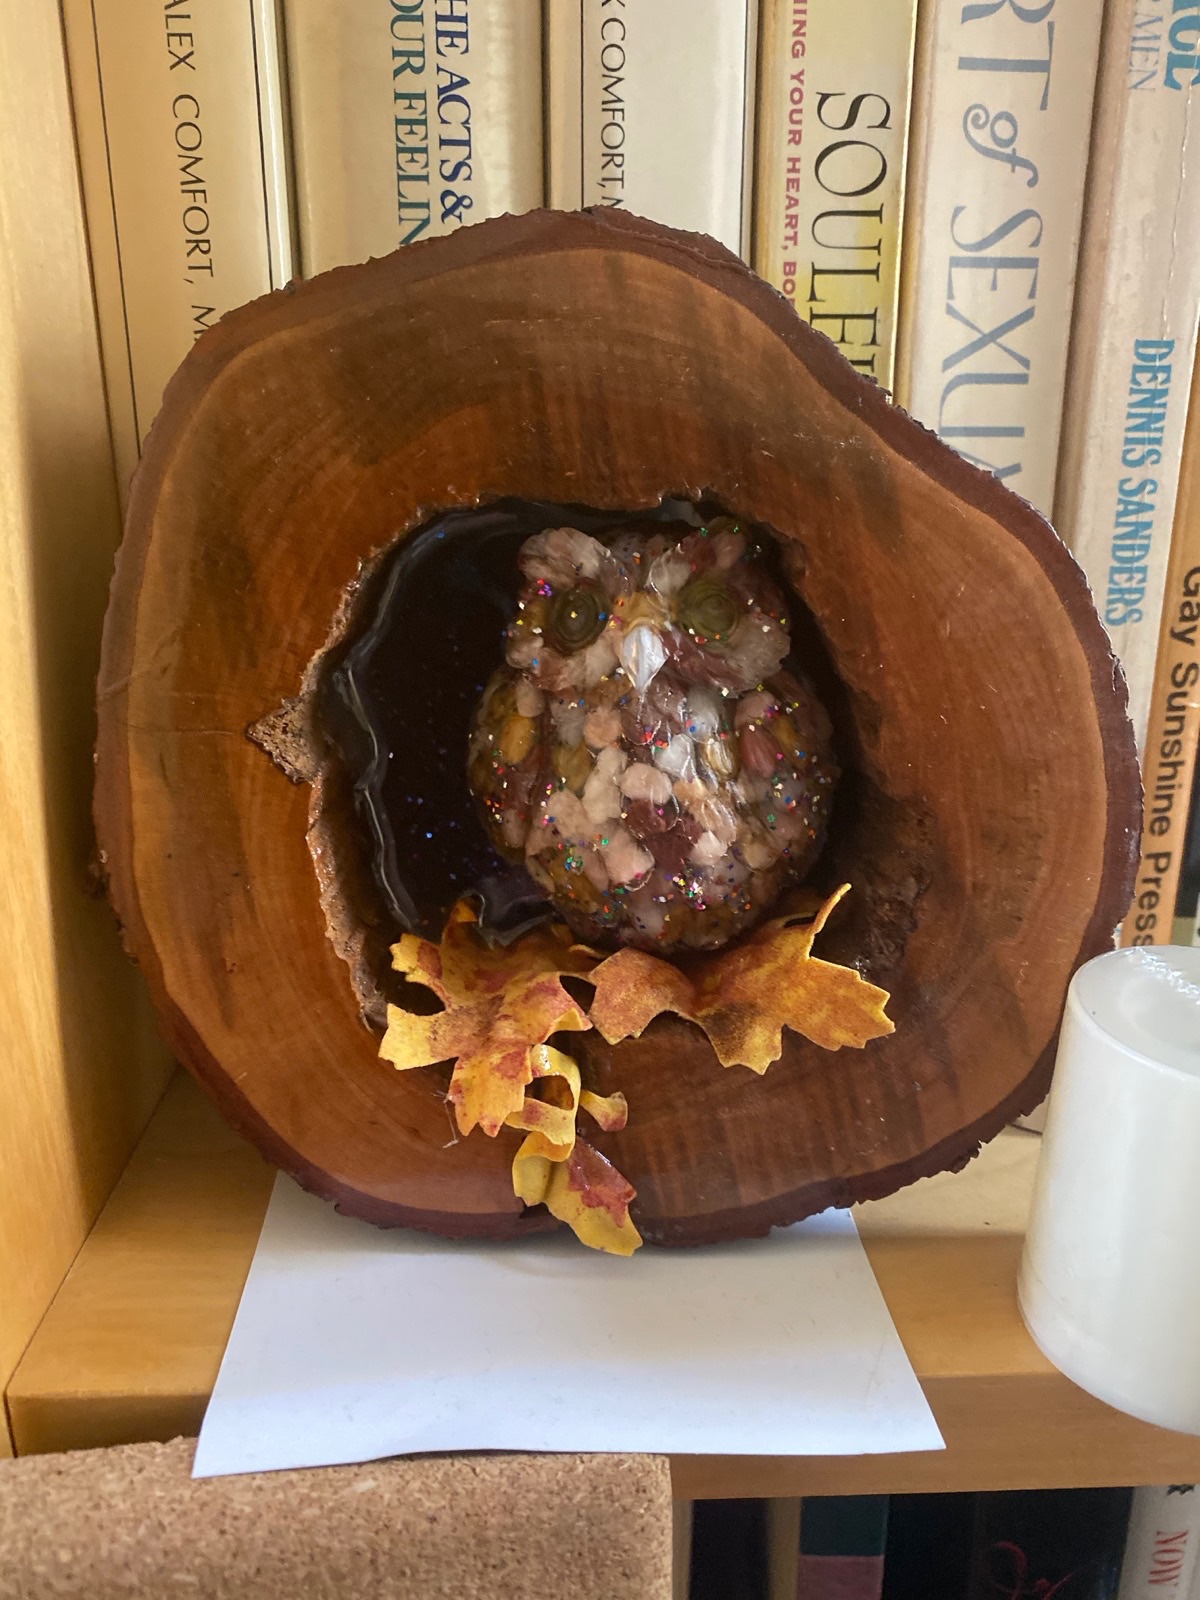
I first started with pouring and casting coasters to get a feel for the process (and yes they will most likely show up somewhere come December for gifts). It was an interesting process needing to pay attention to the temperature in the room and bubbles etc. from Coasters I branched out to more art-themed pieces with some multidimensional art with some practice pieces using an owl mold filled with pebbles for feathers.

This week I wanted to begin to use up some leftover resin before we close up and head back east in a few weeks at the end of the month.

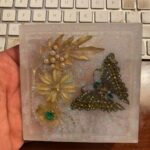
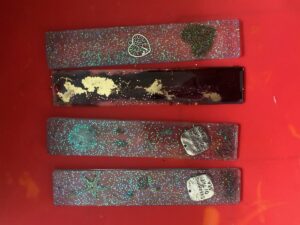
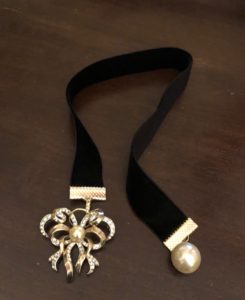
That means going back into the “gaudy baubles & beads” box for some finishing touches to a series of bookmarks for those that still read actual physical books.

For the background in how I reuse old previously loved, broken and vintage jewelry and the gaudy baubles box visit: https://bitetheroad.com/dec2019recap/

This is to me testing my creative side during COViD19.

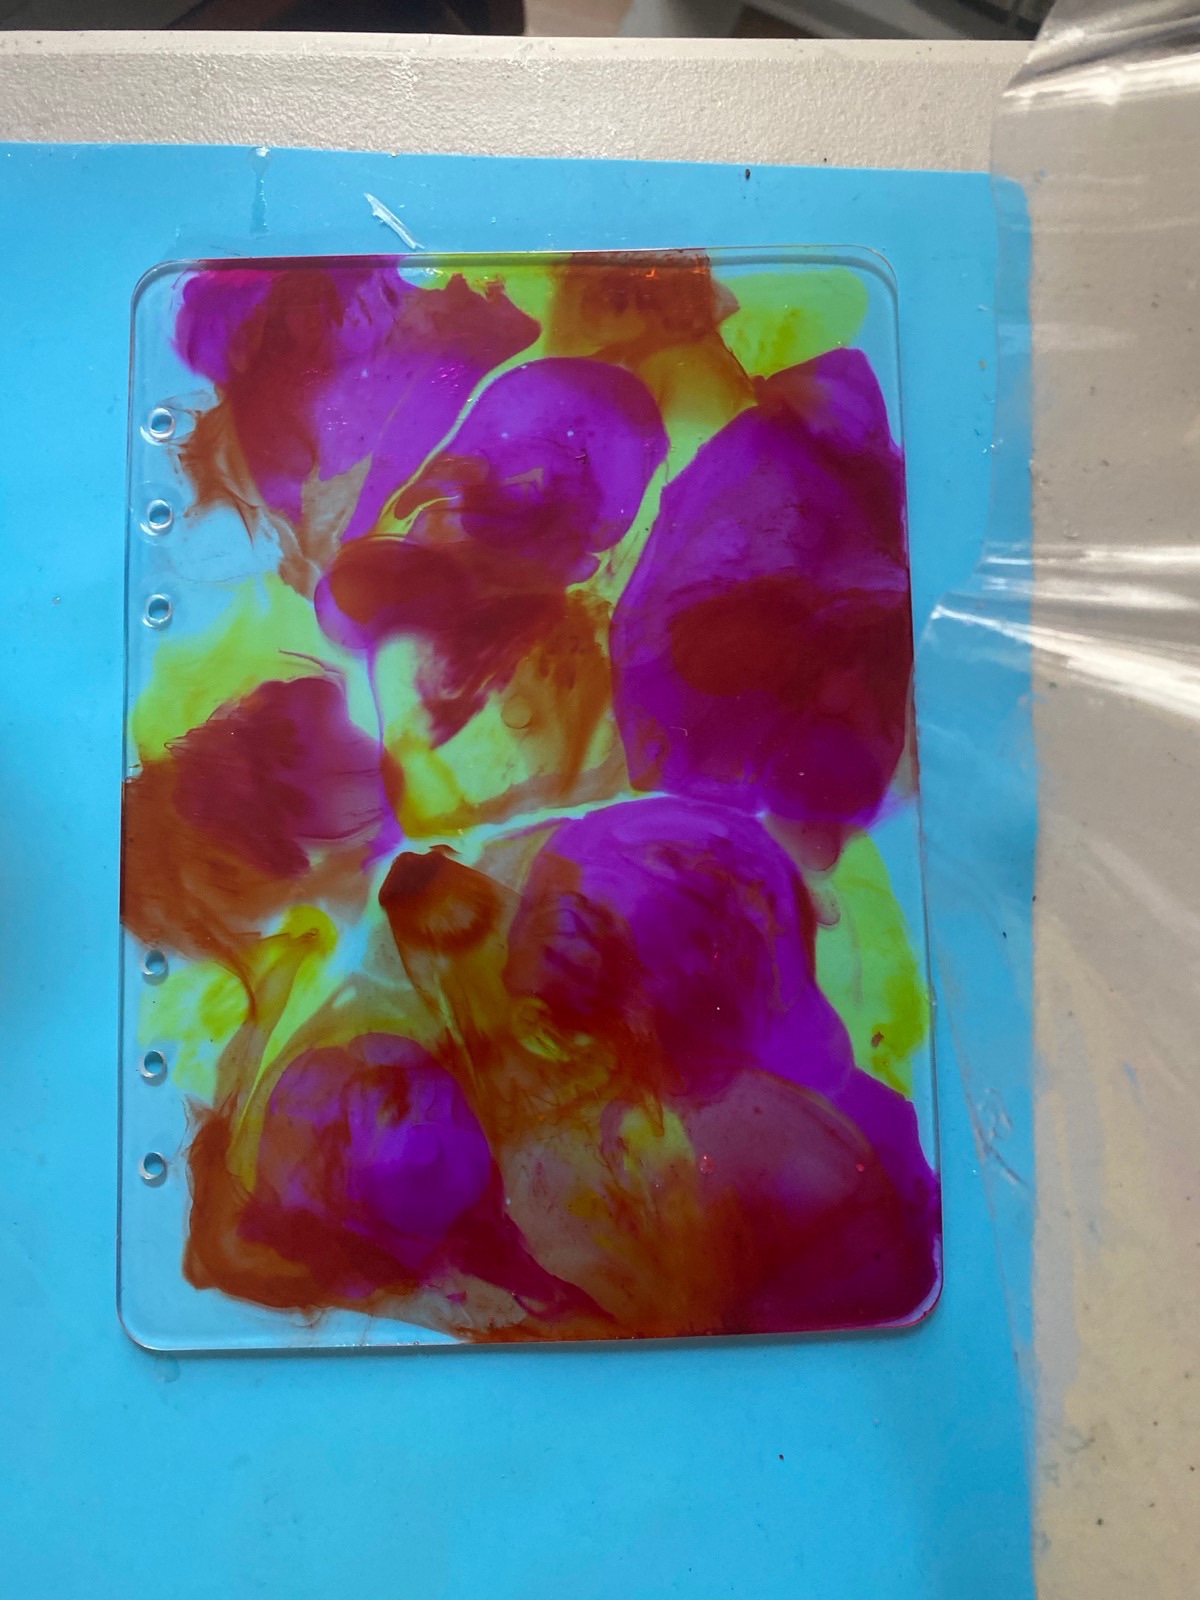
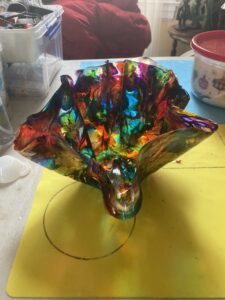
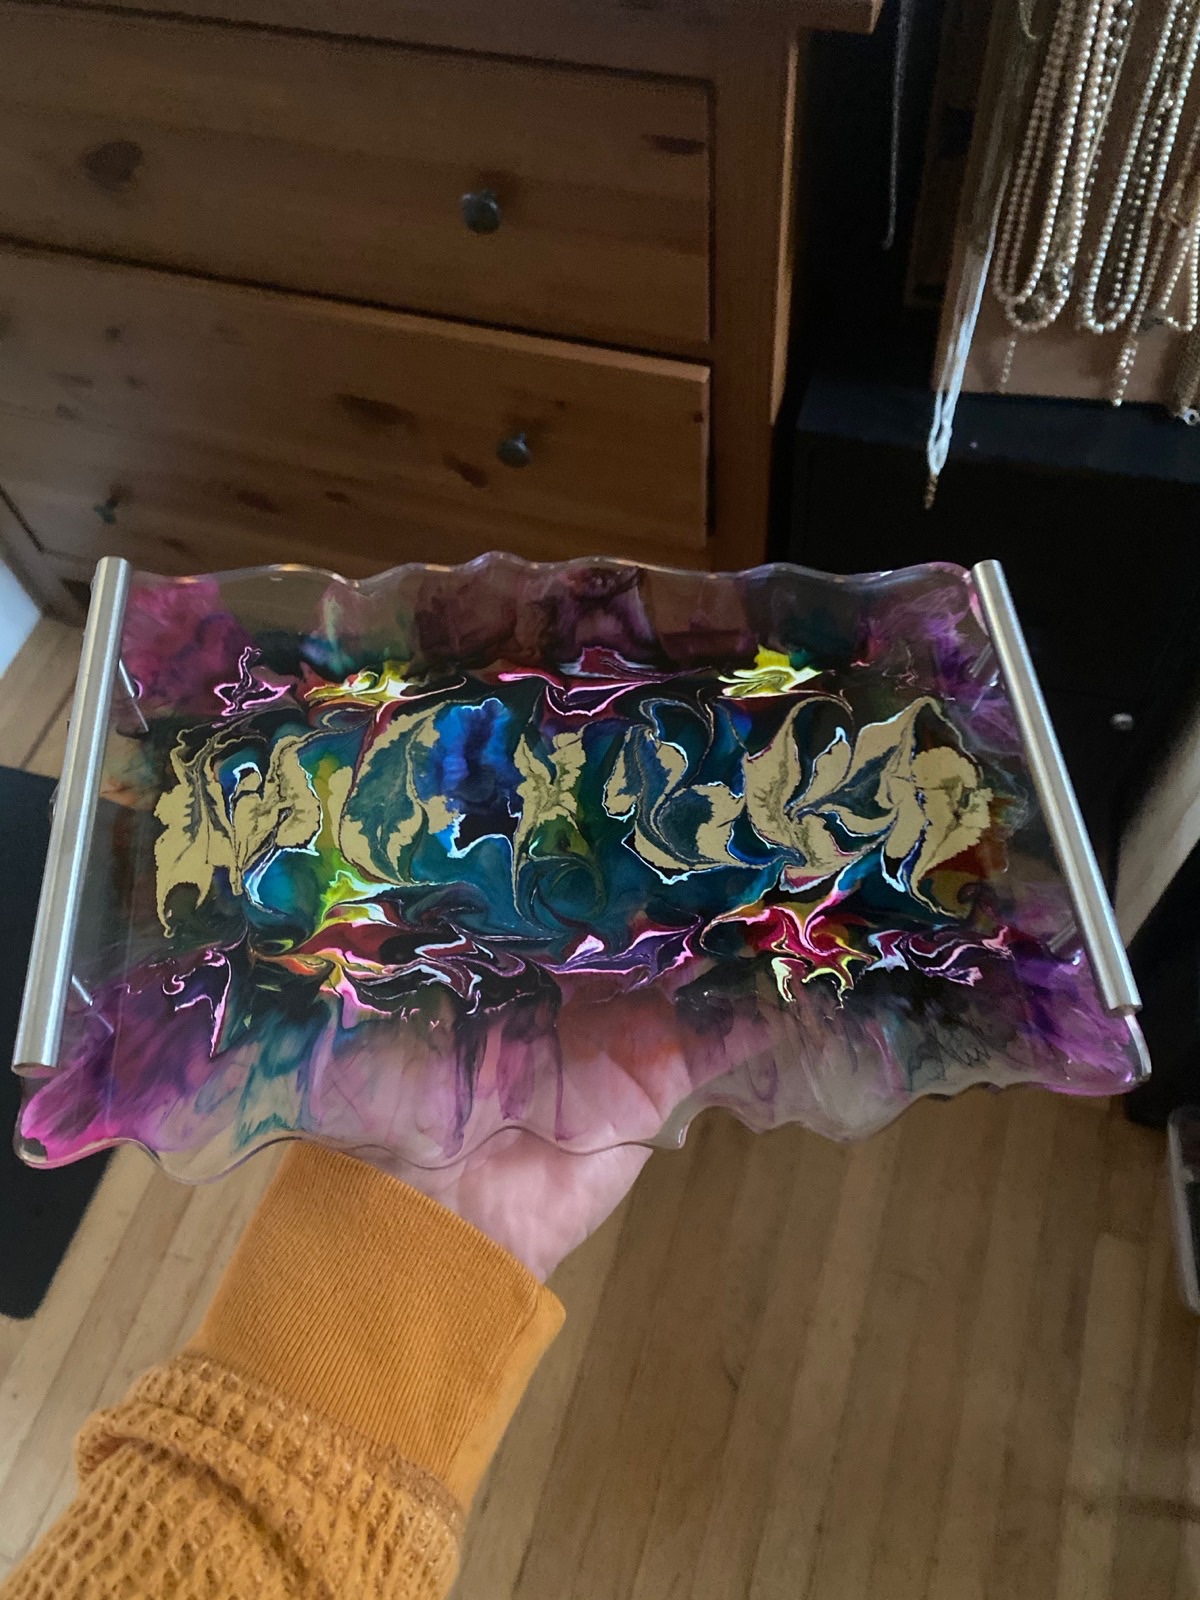
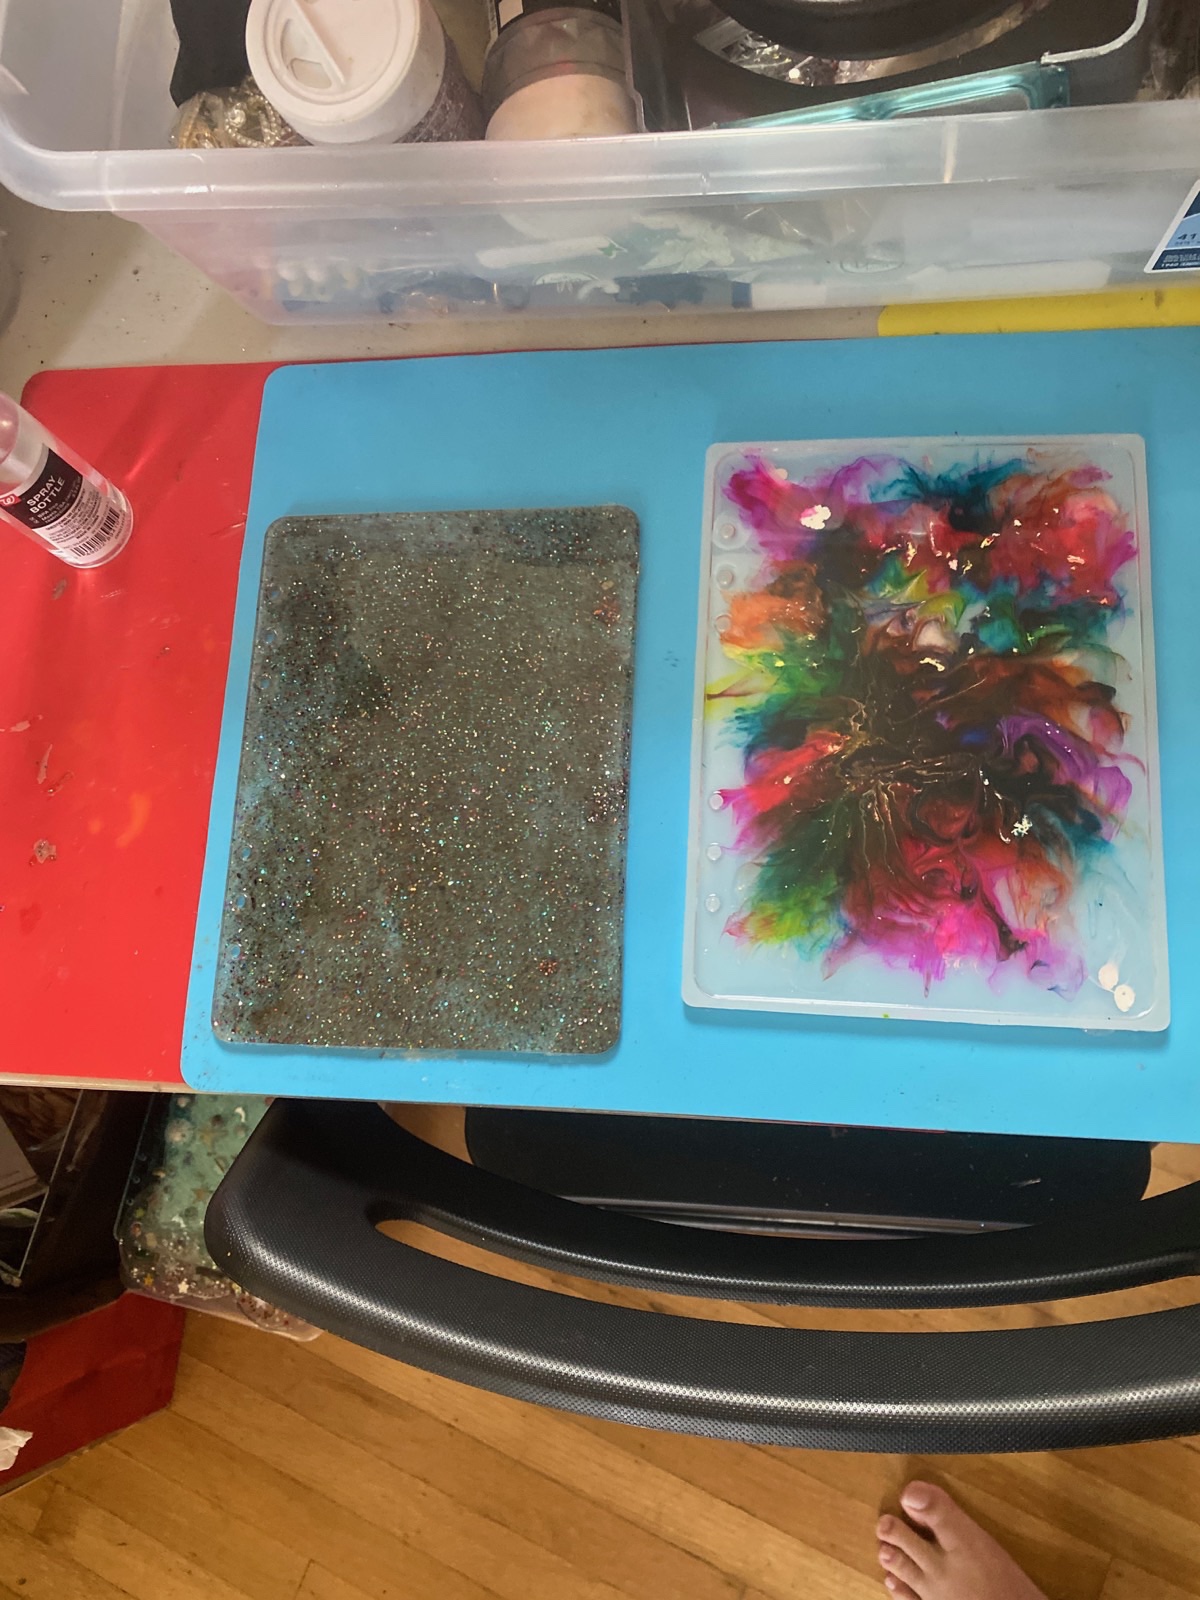
I decided to see how free form resin pours would come out with an eye towards making a vase/candy dish/trinket bowl type thingy. Definite lessons learned but for my first try, it’s not awful. The with the surplus resin I did a series of bookmarks

It Was A Fermentation Weekend

Fermentation you say?

Yup. I got a rare chance to take a class on it. This one was on Fermentation, but first.

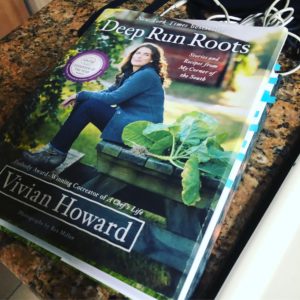
OK yes. I am “one of those” that when I get a new cookbook; I read it cover to cover. So there’s nothing better than getting a cookbook that actually has some storytelling in it. I finally got my copy of DeepRunRoots from A Chefs Life’s Chef and Author, Vivan Howard. All I have to say is it’s a good thing I had a full pack of post-it tabs! Oh and by the way- the cookbook is huge and very well done and worth every penny.

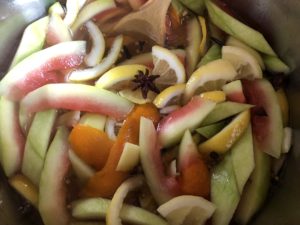
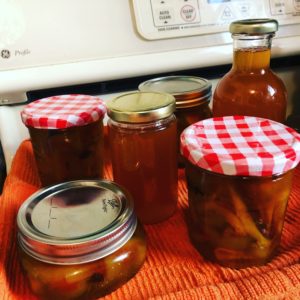
So, of course, that meant a morning was spent first finishing up another batch of DeepRunRoots version of watermelon rind pickles. My first batch did well, (which I Facebooked and Instagrammed but didn’t write here about but you can find via the hashtag #BiteTheRoad) but having used those bowling ball sized watermelons which will only make 4-5 jars. Those went pretty fast, and I also wanted some of that leftover liquid to simmer down further into a syrup for other uses this weekend.

Next on my “To Do’s” before I could get myself ready for Fermentation class

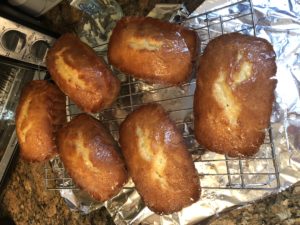
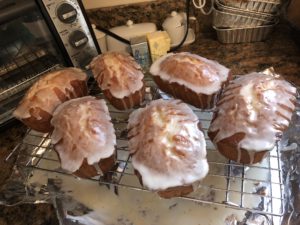
Was to knock out a few quick “gestures” for a few pals recovering from surgery; my fav lemon bundt cake converted to mini loaves drying. Many of you who read this, know I am a big fan of making a heartfelt and genuine gesture or appreciations. Be it a way of saying “thank you” or recognizing someone who went the extra mile or simply to cheer up a sick friend.

In this case, in addition to having someone home laid up post surgery, I have two other friends who also went under the knife (or laser as the case may be” and wanted to prepare a little something to send over. To be precise –  my philosophy is either drop it off and go or mail it. When making a gesture like this, it isn’t supposed to be a way for you to take up the persons time with social stuff. It’s your making the effort to drop something off and not be in the person’s way by making them entertain you.

Now I keep a few recipes for precisely this. That meant a trip to the “tree” to get some lemons and I adapted my favorite lemon bundt cake into mini loaves. Now, this isn’t my recipe – it’s one of those from the folks at King Authur flour called Lemon Bliss Cake. They do it so well I don’t really screw with it. The batch recipe makes a huge bundt, two loaves or 4 mini’s. (Check out the recipe’s comments as many shared include some great tips). One lucky person is even getting a jar of the pickles.

When all that was done – it was time for fermentation!

Why Fermentation?

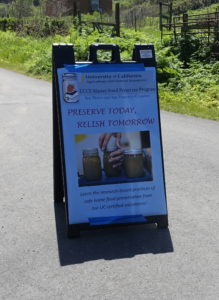
Well, why not? I grew up seeing my Mom occassionally can and jar fruits, pickled eggplant and such but never really learned how. Last year I started to explore more about canning and pickling and decided why not learn more. A pal who has taken classes from the UC Master Food Preserver Program mentioned they were doing one on fermentation. What I liked most was it was hands-on and you got to take stuff home and all materials and supplies were provided, you just had to bring an apron. You can read more and see whats coming up here or the more San Francisco/San Mateo centric list here.

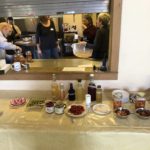
So bright and early Saturday morning we drove down to the Elkus Ranch Environmental Education Center for the class.

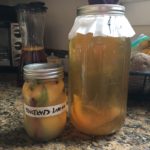
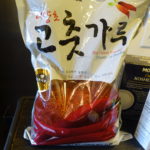
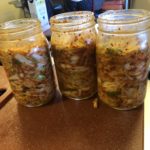
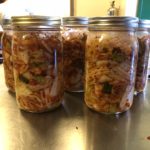
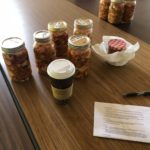
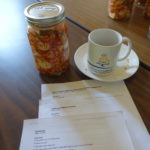
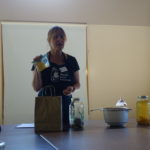
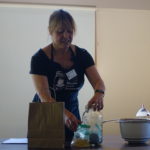
I have to say it was one of the best mornings I have had in a while.  With some great volunteers and trainers from the Master Foor Preserver program and a small group of learners, we got down to business with making a huge batch of Kimchi, a jar of preserved Lemons (which I had already tried and written about last year) and a starter kit for making home-brewed Kombucha.

Oh yeah  – if you are so inclined, the next Master Food Preserver Open House/Volunteer Recruitment is May 8th. I may be leaning towards doing the Master Food Preservers Introduction to Canning next myself. They can also be found on facebook: MFP Facebook

The Power of Home Crafted Vanilla2.0

For You More Creative Types, Make Your Own Vanilla2.0

Yup – that’s right. Well, I goofed this week – I had intended to let had my guest post from Anna go live first, but some of you might have gotten a sneak preview of this one when the “now” feature got clicked. In either case, you can read Anna’s post  “Know Your Extracts: Sniffing out the Best Vanilla for Your Baking” once it goes live late this week, then perhaps you will be inspired to go on to the next step and try making your own version of Vanilla2.0

Vanilla is one of those elements in baking that you either love or don’t. Somewhat like using good quality Tumeric is in cooking. I got started on this road myself after watching some of the baking shows on TV that were using Vanilla Bean Paste which I hadn’t seen before. After visiting the blog Superfoodly.com which had posted a December piece “The Scandal Between Vanilla Bean Paste vs. Vanilla Extract” .and served as a good place to start (I didn’t necessarily agree with everything – they shared some great content on the post).  I started following links, speaking with other folks who do more baking and came across the whole movement of making your own Vanilla Extract.

Several great recipes are available online for making your own home inspired version of vanilla extract. But to make a good quality one, you need time and the right beans. It isn’t something you want to rush. In fact, if you get them started now. They will make great Holiday gifts this season.

Choosing which beans you want to use also takes some research. Areas to take note of include the grade of bean, the type of bean, the age of them and the source ( they can be expensive) and what liquid you intend to use to extract the flavor (a variety of options exist based on flavor or non-alcohol needs).

My next plan

I will be starting a batch in April in fact with ” Tahitian Grade B beans but I also like the Madagascar Bourbon Vanilla Beans (Vanilla Planifolia so may make some comparison batches. A few of the online sites that offer recipes for making your own, including purchasing recommendations include: 

Once you get ready to start making your own here are a few things you will need to have on hand.

If you are like me and tend to be more creative, plan early:

  • You will need the beans; that means deciding on the grade of the bean and the ration of beans to the liquid mix; I saw lots of variations on this from 1 whole vanilla bean for every 2 liquid ounces of alcohol. I think to keep it simple I may start with a 1:1 ratio as in 1 bean to each ounce of liquid (then depending on the jar size might top off)
  • Extracting liquid; lots of options for this the most common include Bourbon, Rum, Brandy, and Vodka. The key factor is the liquid has to be greater than 70% proof
  • Bottles/Jars; You will need to decide if you are making a large batch then decant into smaller ones or just go right to the smaller ones. I think I will be hitting the swap and flea markets for vintage and unusual decanters to use as gifts. One common theme I heard was to avoid clear jars (or keep stored in a dark place) and my preference to stay away from plastics. As a back up I found 4 ounce Amber jars on Amazon that I may order to have on hand for “extra” last minute needs.
  • Labels: start thinking what size you will need and how you plan to label them if you are gifting them

Note: this post has some affiliate links to Amazon

SaveSave

SaveSave

SaveSave

SaveSaveSaveSave

Know Your Extracts: Sniffing out the Best Vanilla for Your Baking

Vanilla extract; the first thing I check on my baking supply list.

So we have another great guest post this week on the power of vanilla from my pal Anna who also wrote the “5 Ways to Taste the Mediterranean Without Actually Going” post. I love sharing BiteTheRoad with folks who want to write and talk about the various passions they have so was grateful she was willing to do this one. Ok, and truth be told it’s one of my favorite flavoring tools! Thanks again Anna!
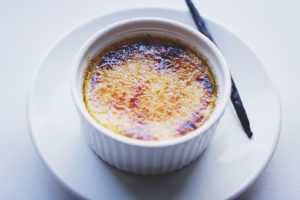
 

Know Your Extracts: Sniffing out the Best Vanilla for Your Baking

It’s a question that seems as old as baking itself — chocolate or vanilla?

These two are the most popular cake flavors out there, and making a good chocolate or vanilla cake is critical to any baker’s repertoire. But we’re not here to argue. Whether as a flavor enhancer or the star of the show, vanilla tastes good, smells good, and has been used in all kinds of sweets for hundreds of years.

But did you know that not all vanilla is created equal? While it’s likely not shocking to learn that there are different forms of vanilla you can buy, it might be more surprising to know that some are better than others for certain contexts. This, as well as the overall quality of what you use, can have dramatic effects on what comes out of your oven.

High Quality Vanilla vs Low Quality
Know Your Extracts: Sniffing out the Best Vanilla for Your Baking

In general, “high quality” and “low quality” designations for vanilla are related to the origin and purity of the flavor, as well as alcohol content.

Imitation vanilla, on the other hand, is often made using lab-created vanillin (the flavoring compound found in vanilla). Generally, this vanillin is made as a byproduct of other forms of manufacturing, such as while processing wood pulp. While that might sound concerning, it is still perfectly safe to consume, though typically has a slightly less pronounced vanilla flavor and less alcohol content.

Pure vanilla extract is exactly what it says on the label; pure vanilla extracted from vanilla pods and processed into a liquid by boiling it with ethanol and water. Additionally, it is required by law to contain at least 35% alcohol content and 100 grams of vanilla beans per liter.

Natural vanilla is taken directly from vanilla beans and has the least amount of alcohol at roughly 3% per bottle. It generally has the most pronounced and “pure” vanilla flavor of the three liquids.

Vanilla paste is a compromise between liquid vanilla and straight vanilla beans. It is made from vanilla extract, adding sugar and thickening agents for texture. Most brands also add small quantities of ground vanilla beans to achieve the desired speckling.

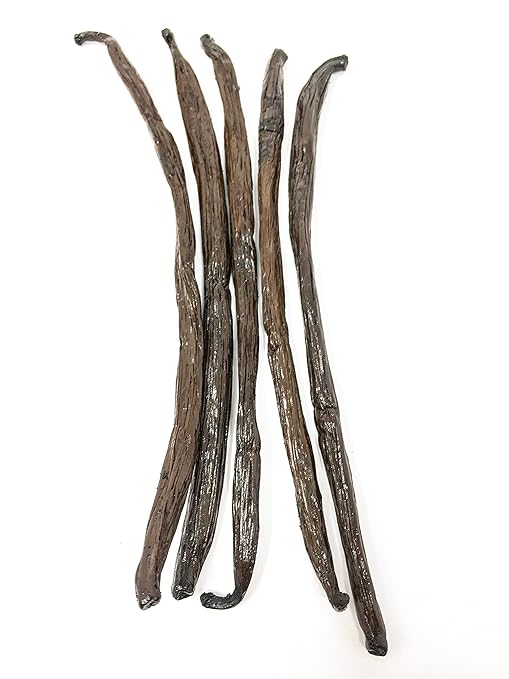
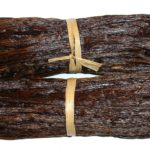
Vanilla beans are considered the ultimate for vanilla in flavoring and baked goods. These are the real deal, no alcohol or additives in sight. Just a long dark pod filled with tiny caviar-like “beans” ready to add to any recipe.

When to Use Each Kind of Vanilla
Know Your Extracts: Sniffing out the Best Vanilla for Your Baking

While instinct may say to use vanilla beans for everything, this would not actually be the best use of resources. Imitation is, of course, the cheapest and most affordable, but the more pure and better quality the vanilla, the more it costs:

(Prices based on Cook’s Bulk and Wholesale Vanilla)

  • Non-alcoholic vanilla — $12
  • Pure vanilla extract — $13
  • Vanilla bean paste — $25
  • Vanilla bean pods (3) — $15

Aside from price restrictions and personal preference (for example, imitation vanilla may have a less robust flavor/aroma than vanilla bean pods), any form of vanilla can be used for any type of baking.

That being said, most bakers (and especially social media food personalities) prefer vanilla bean paste and pods for the telltale speckling that they leave in the finished product. This only works for light-colored, vanilla-centric baked goods, however. If you wish to use a high-quality vanilla in a darker product, save some money and use a good vanilla extract.

For bakers who object to using alcoholic vanilla in recipes that don’t involve heat (frostings, creams, sodas, etc.), non-alcoholic vanilla or vanilla bean pods are optimal.

Love vanilla? Try these vanil-licious recipes from Bite The Road:


Be sure to read the next BiteTheRoad.com post on other creative Vanilla ideas later this week


SaveSaveSaveSave

SaveSave

SaveSave

SaveSave

SaveSave

SaveSave

SaveSave

SaveSave
Keepers; one for the journal and planner users

Art? Bookmarks? Keepers?

In December of 2017, I tackled a new art project involving recycling old broken jewelry as pieces of art.  I had seen a similar type of art years ago and it stuck with me – so once I have the image and the right person to give one too I gave it a try when I was gifted with a box of vintage jewelry from a friend.


One of the unanticipated outcomes of the project was the amount of extra material left over, that I still wanted to work with. So with the thought of a furlough hanging over my head and knowing I needed something other than computer time to occupy my mind coupled with not wanting to see it all go to waste or sit in a box.  I looked around and decided to make Bookmark Jewelry for the people who needed a little bling ( and yes I still have some left). But with those in place. It didn’t end…


Now what??

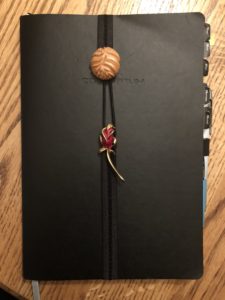
As folks shared the gifted ones, I got some requests for a variation for the journal and planner crowd. They wanted something with bling that would work on notebooks or even that would be suitable to put on tablet cases.

My initial prototype

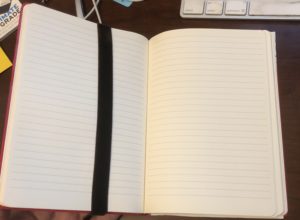
So I put together some Keepers.  They are designed to be flexible and adjust with a button/loop end so that as you move through the book,  the left side could adapt in tension to hold the pages – allowing you to always open to the current page.

This is the first of the set of Keepers that was done by special request, as a gift. By the weekend I expect to have a bunch of them made for gifting.

It’s likely I will make them available for sale as a donation to some local charitable groups – so to more come on that phase. Who knows – with the tension at work – this might my new stress reduction activity.

SaveSave

SaveSave

SaveSave

SaveSave

SaveSave
SaveSave
SaveSave