Spring Fling for OpenhouseSF still available

Hey Folks – still time to get your tickets and support Openhouse for it’s spring fundraiser for LGBT seniors. with over 400 folks already signed up – it will be another great event. I’ve room at my table if you want to join us. When you register, towards the end it will ask for table capt. Look for my name.  For those of you who can’t come – please consider making a donation or buying a ticket to allow a senior LGBT local to attend and enjoy. Msg me for details.

Getting this party on!

Now that the Openhouse is over, the place is cleaned up I have a few moments to answer some of the questions that folks asked.

1) How did I manage to get so much done while working?

There isn’t any answer that I can offer that doesn’t sound original. Ultimately I am just anal-retentive enough with project management balanced with it being a cultural norm for me. Growing up group meals were just part of life so some of the things I do to plan and prepare come naturally.

That being said here is my top 10 tips;

1) I make lots of lists.  From the concept to the menu to the items needed to the timeline. I am also a big believer in “crossing photo
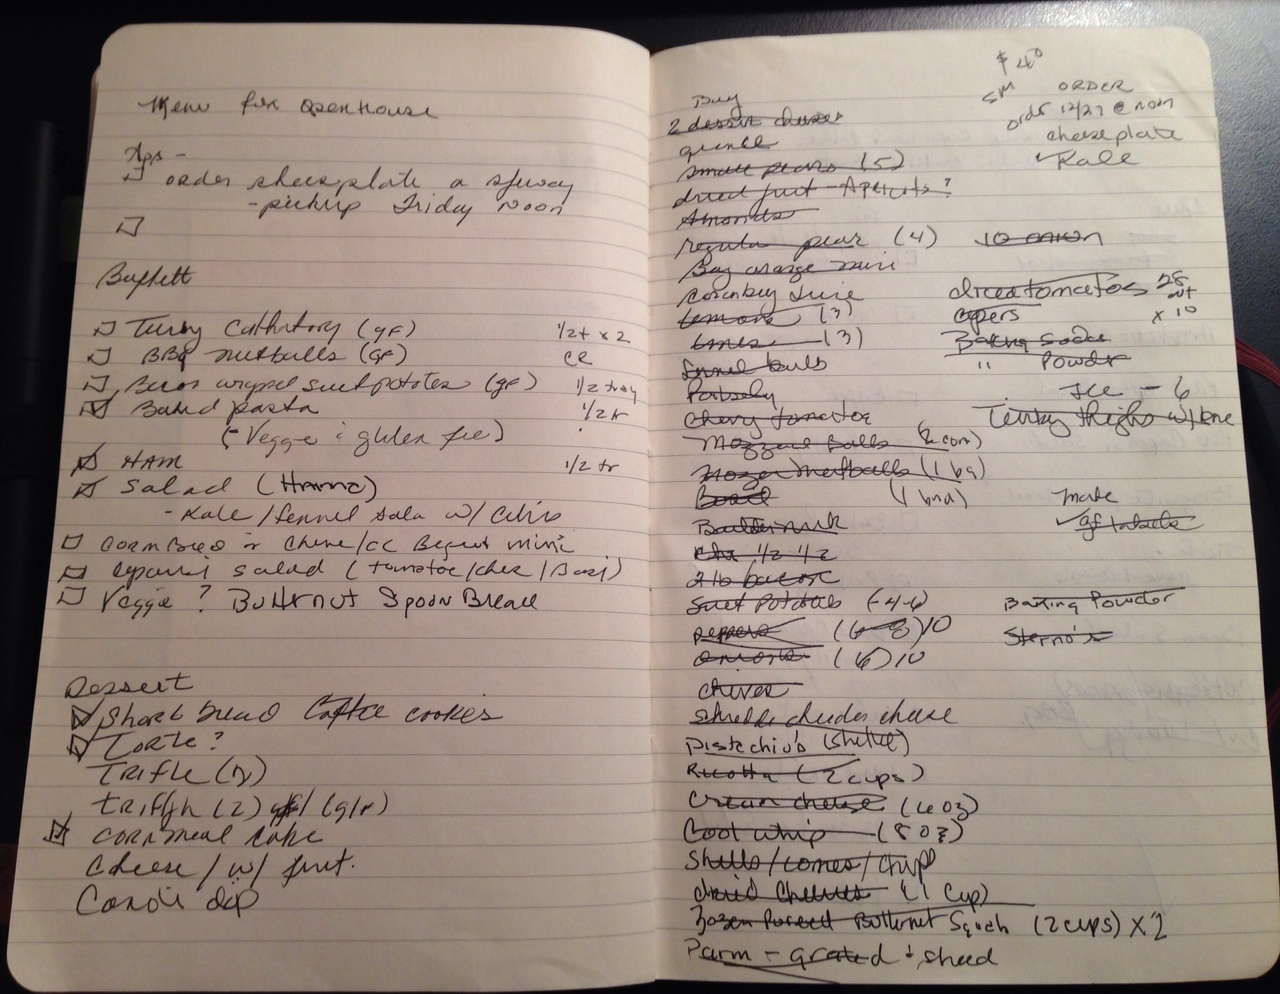
out” once an item is done. Even if its for the moment, say in the stage of purchase,  prep then cook, then adding it back on as an action item.

2) Have a menu that has no more than 2 new recipes. The dishes I can depend on means I am more willing to take a gamble with new ones. In this case that was the Crockpot bbq Meatballs and the Honey Baked Spiral Ham

3) Plan the shopping in several small trips over a few days, instead of a huge trip. I find it overwhelms me less to shop in the

IMG_9071

order that I prepare and then gives me “space” to think (or take advantage of the sales)

4) Invest in “post-it’s”! Actually I do love my post-it notes. They help to make the process clear. I essentially storyboard myparty.

IMG_9069

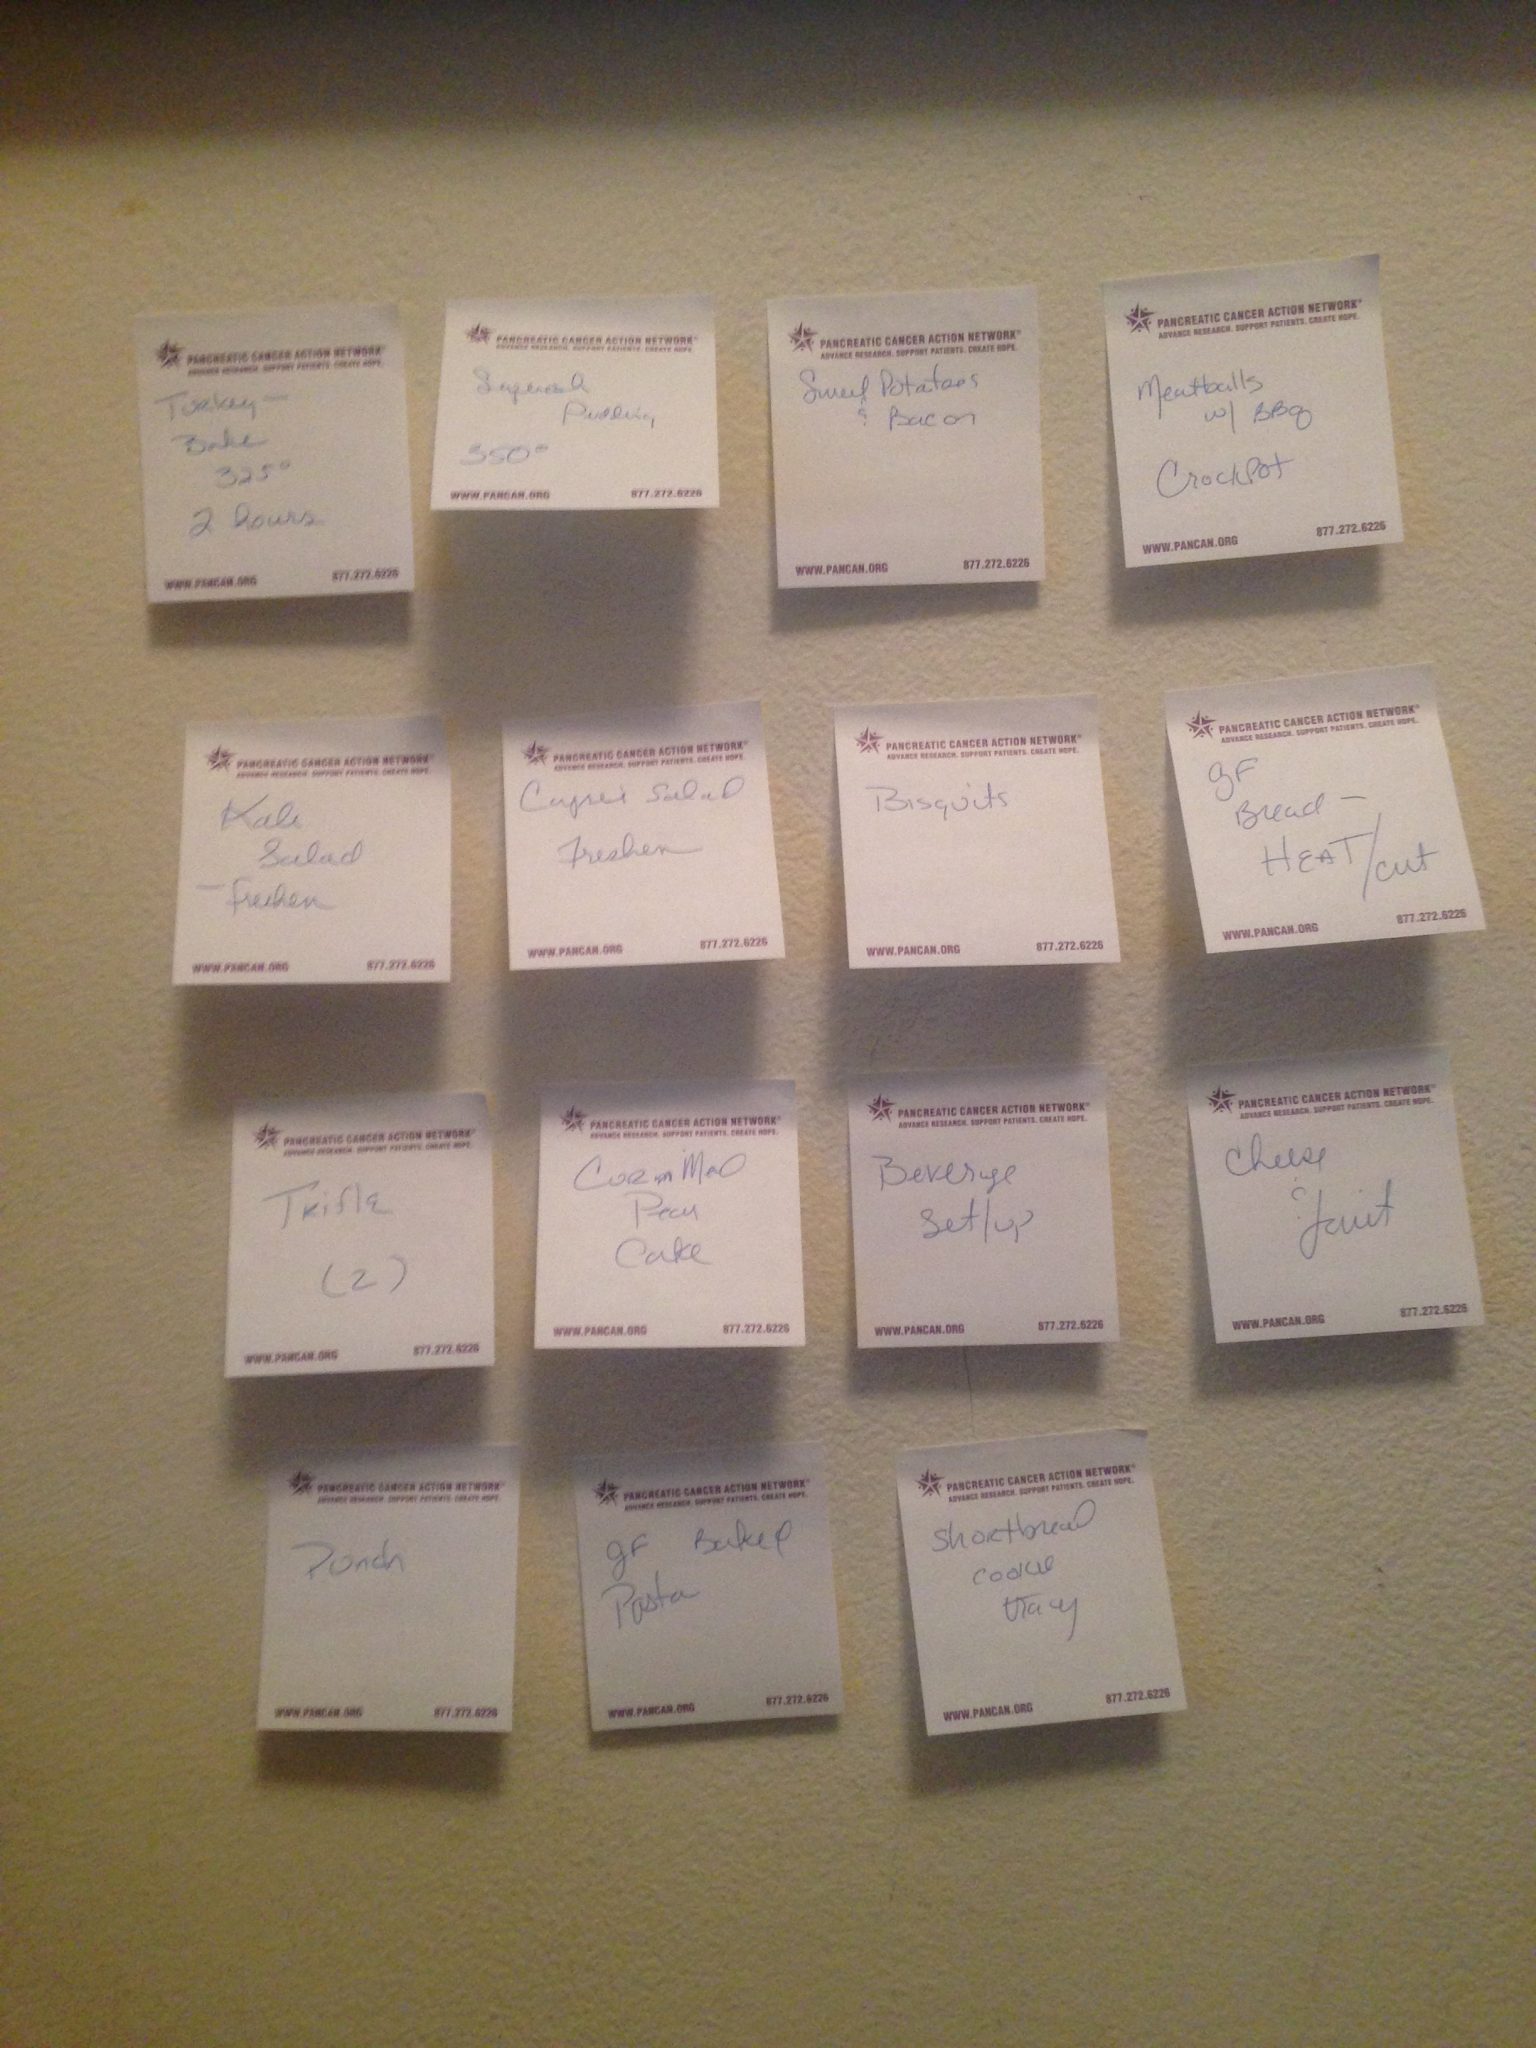
From the menu items  to the preparation steps, to the cooking order & times and lasting, and here is where my anal-retentive stuff comes in – I use post-its to indicate where I want the dishes to sit on the table.


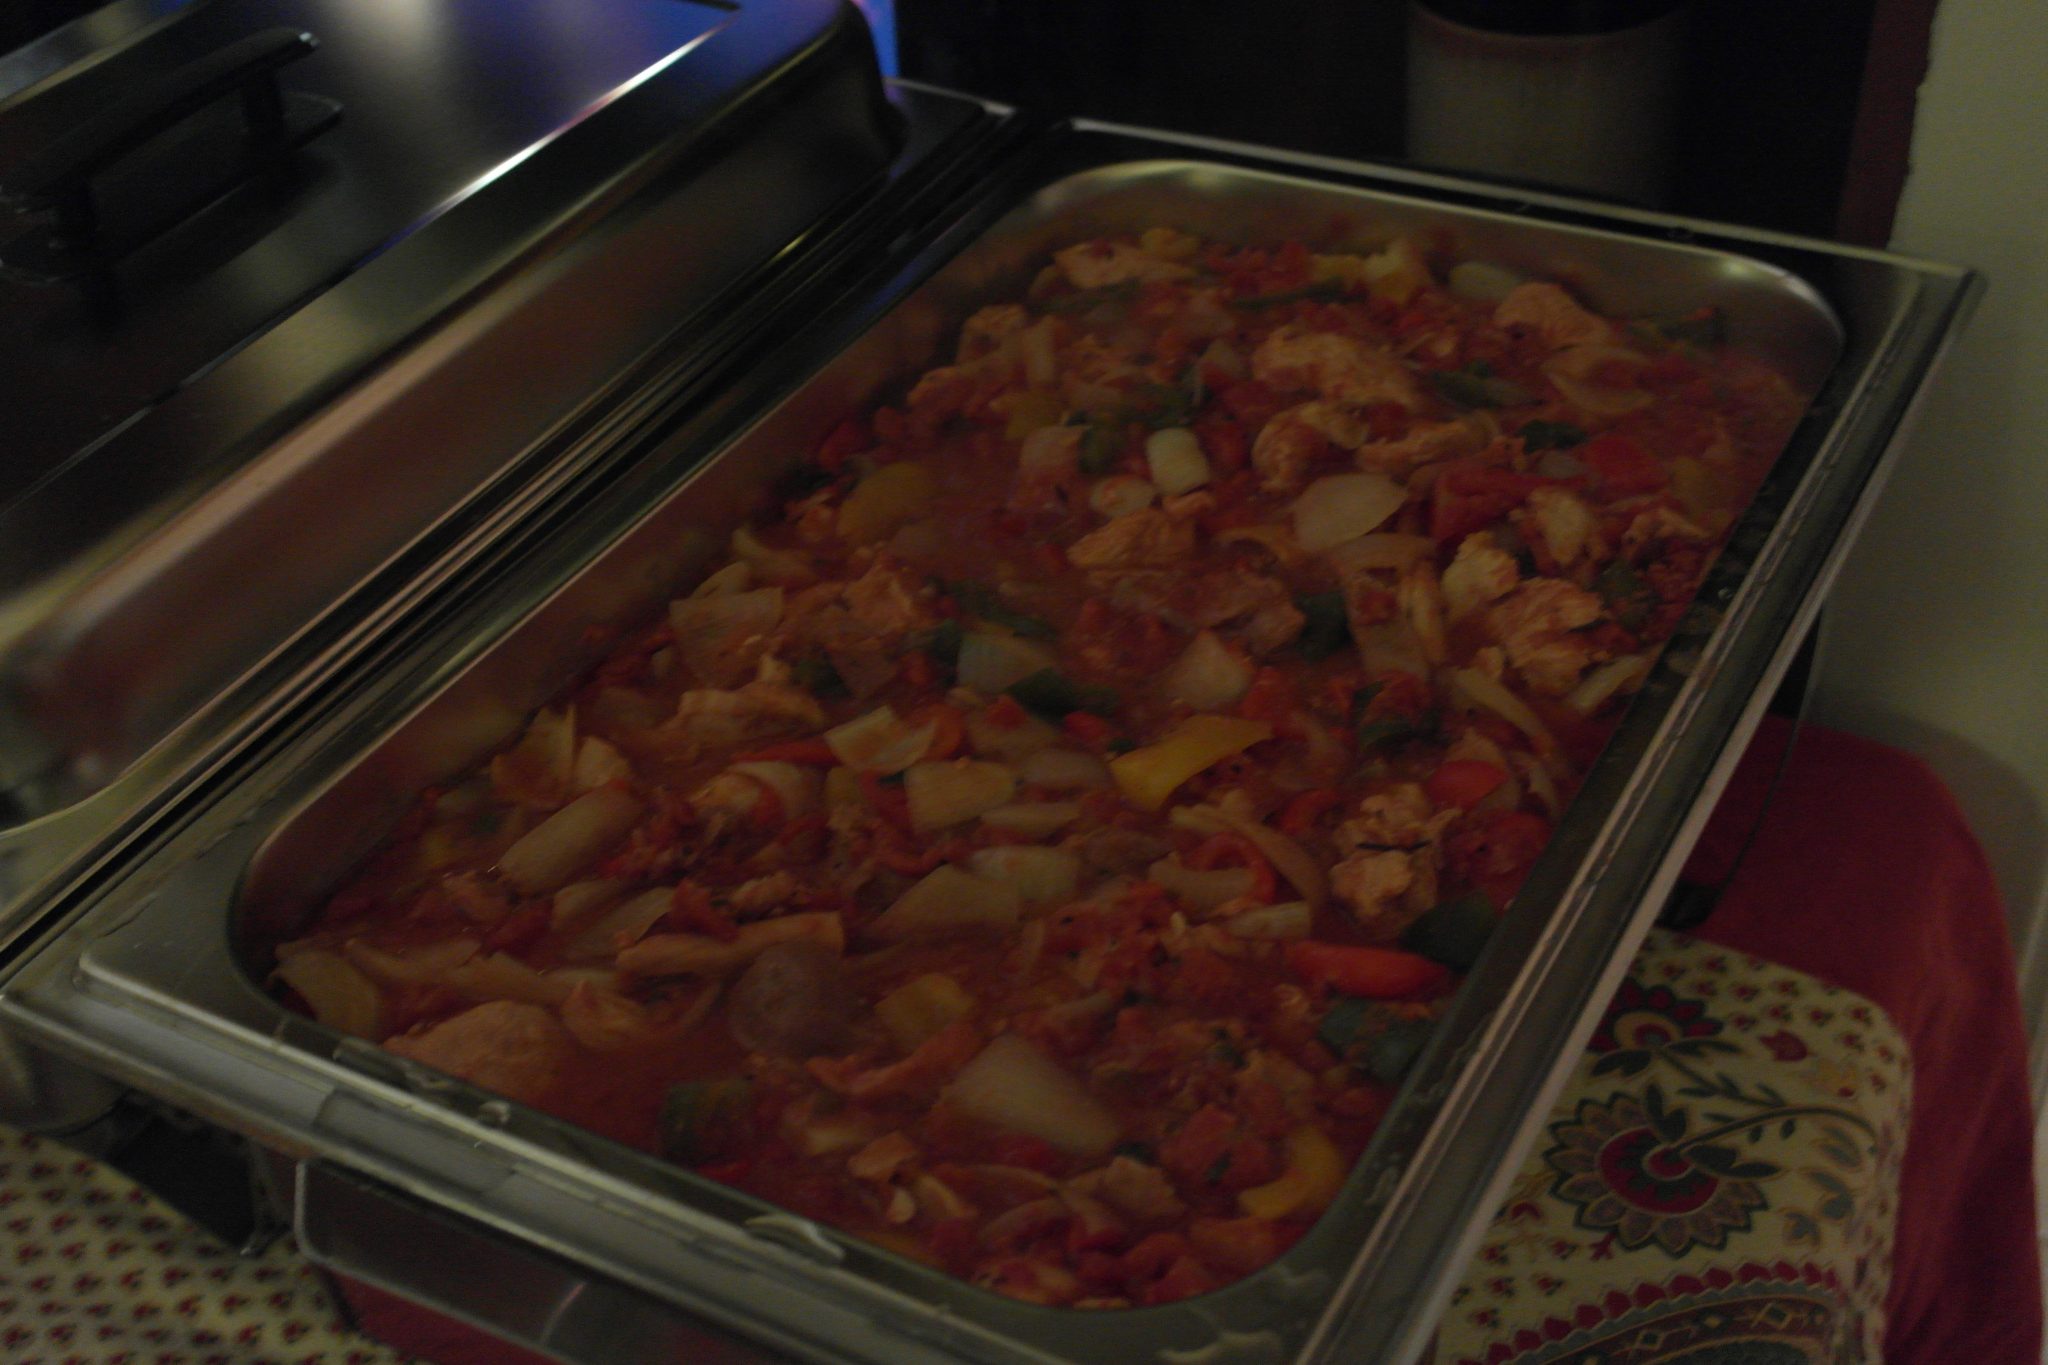
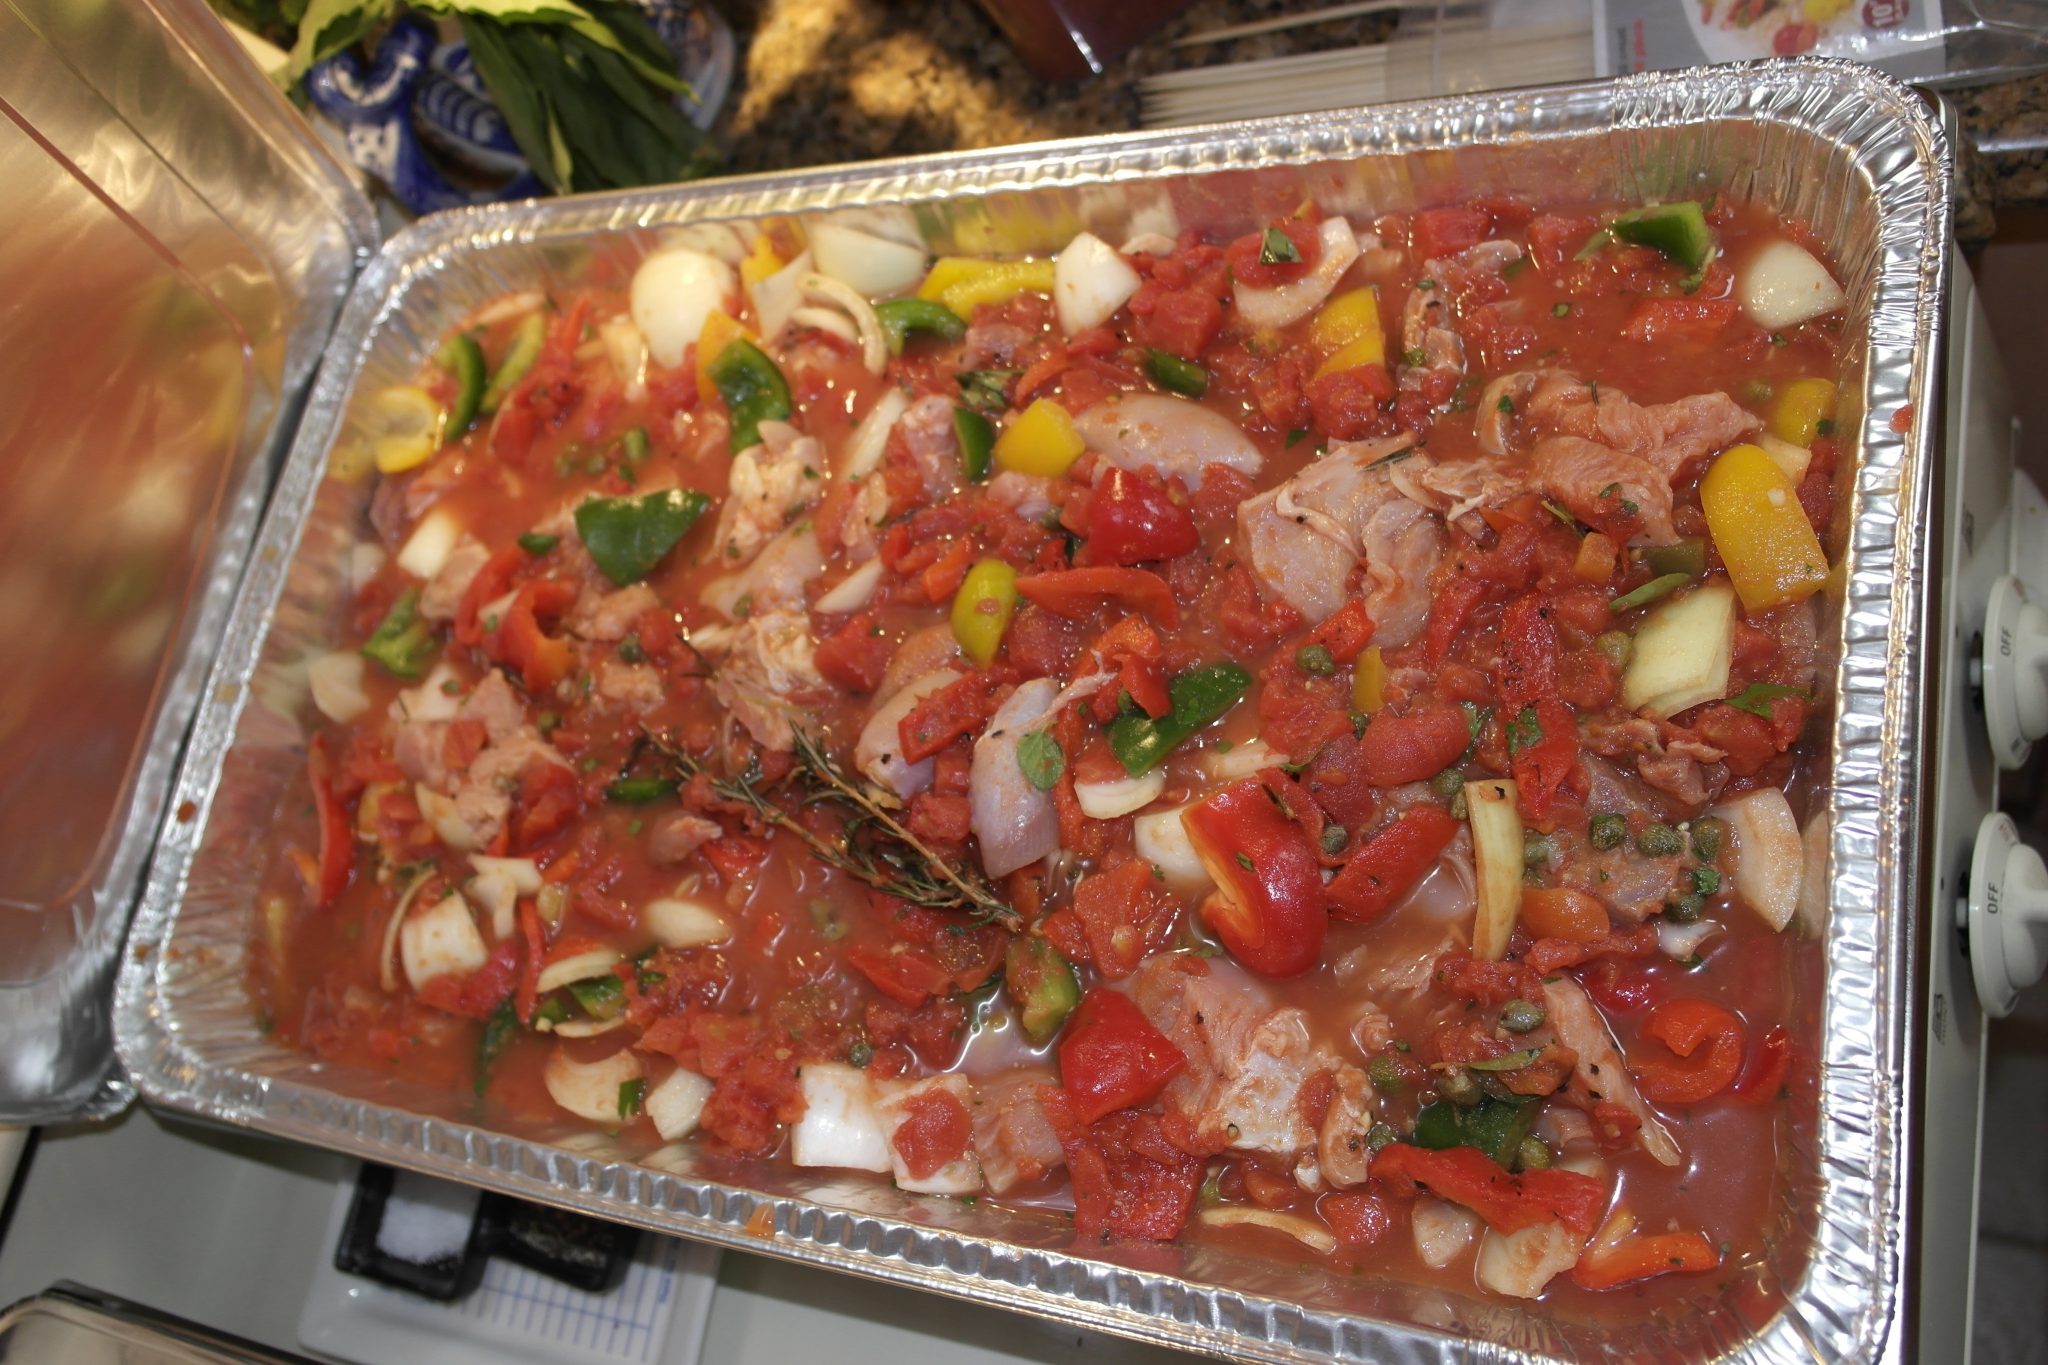
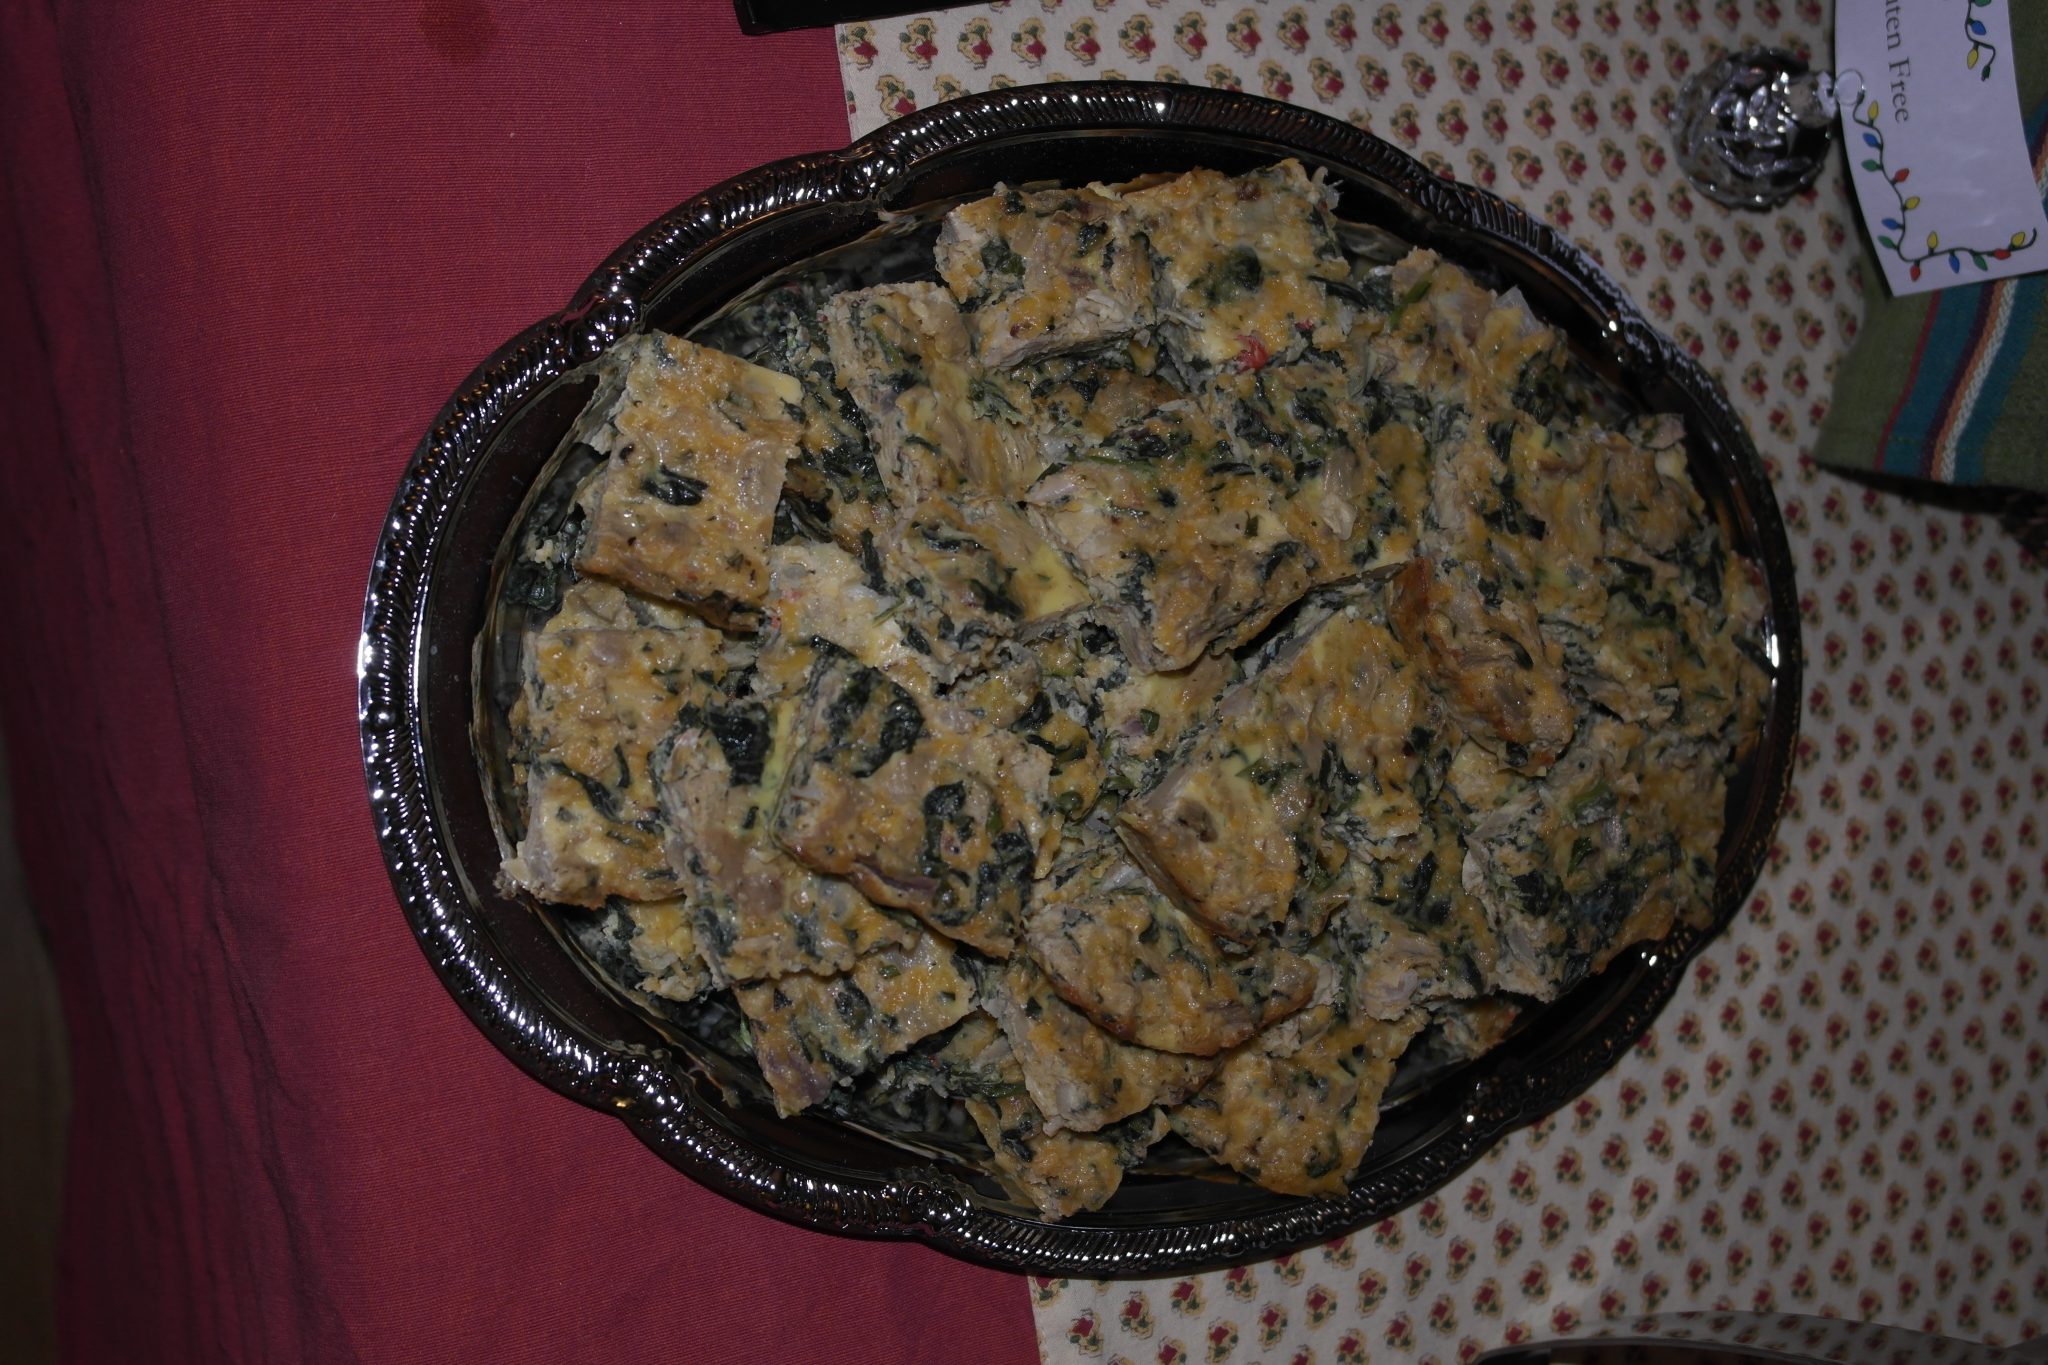
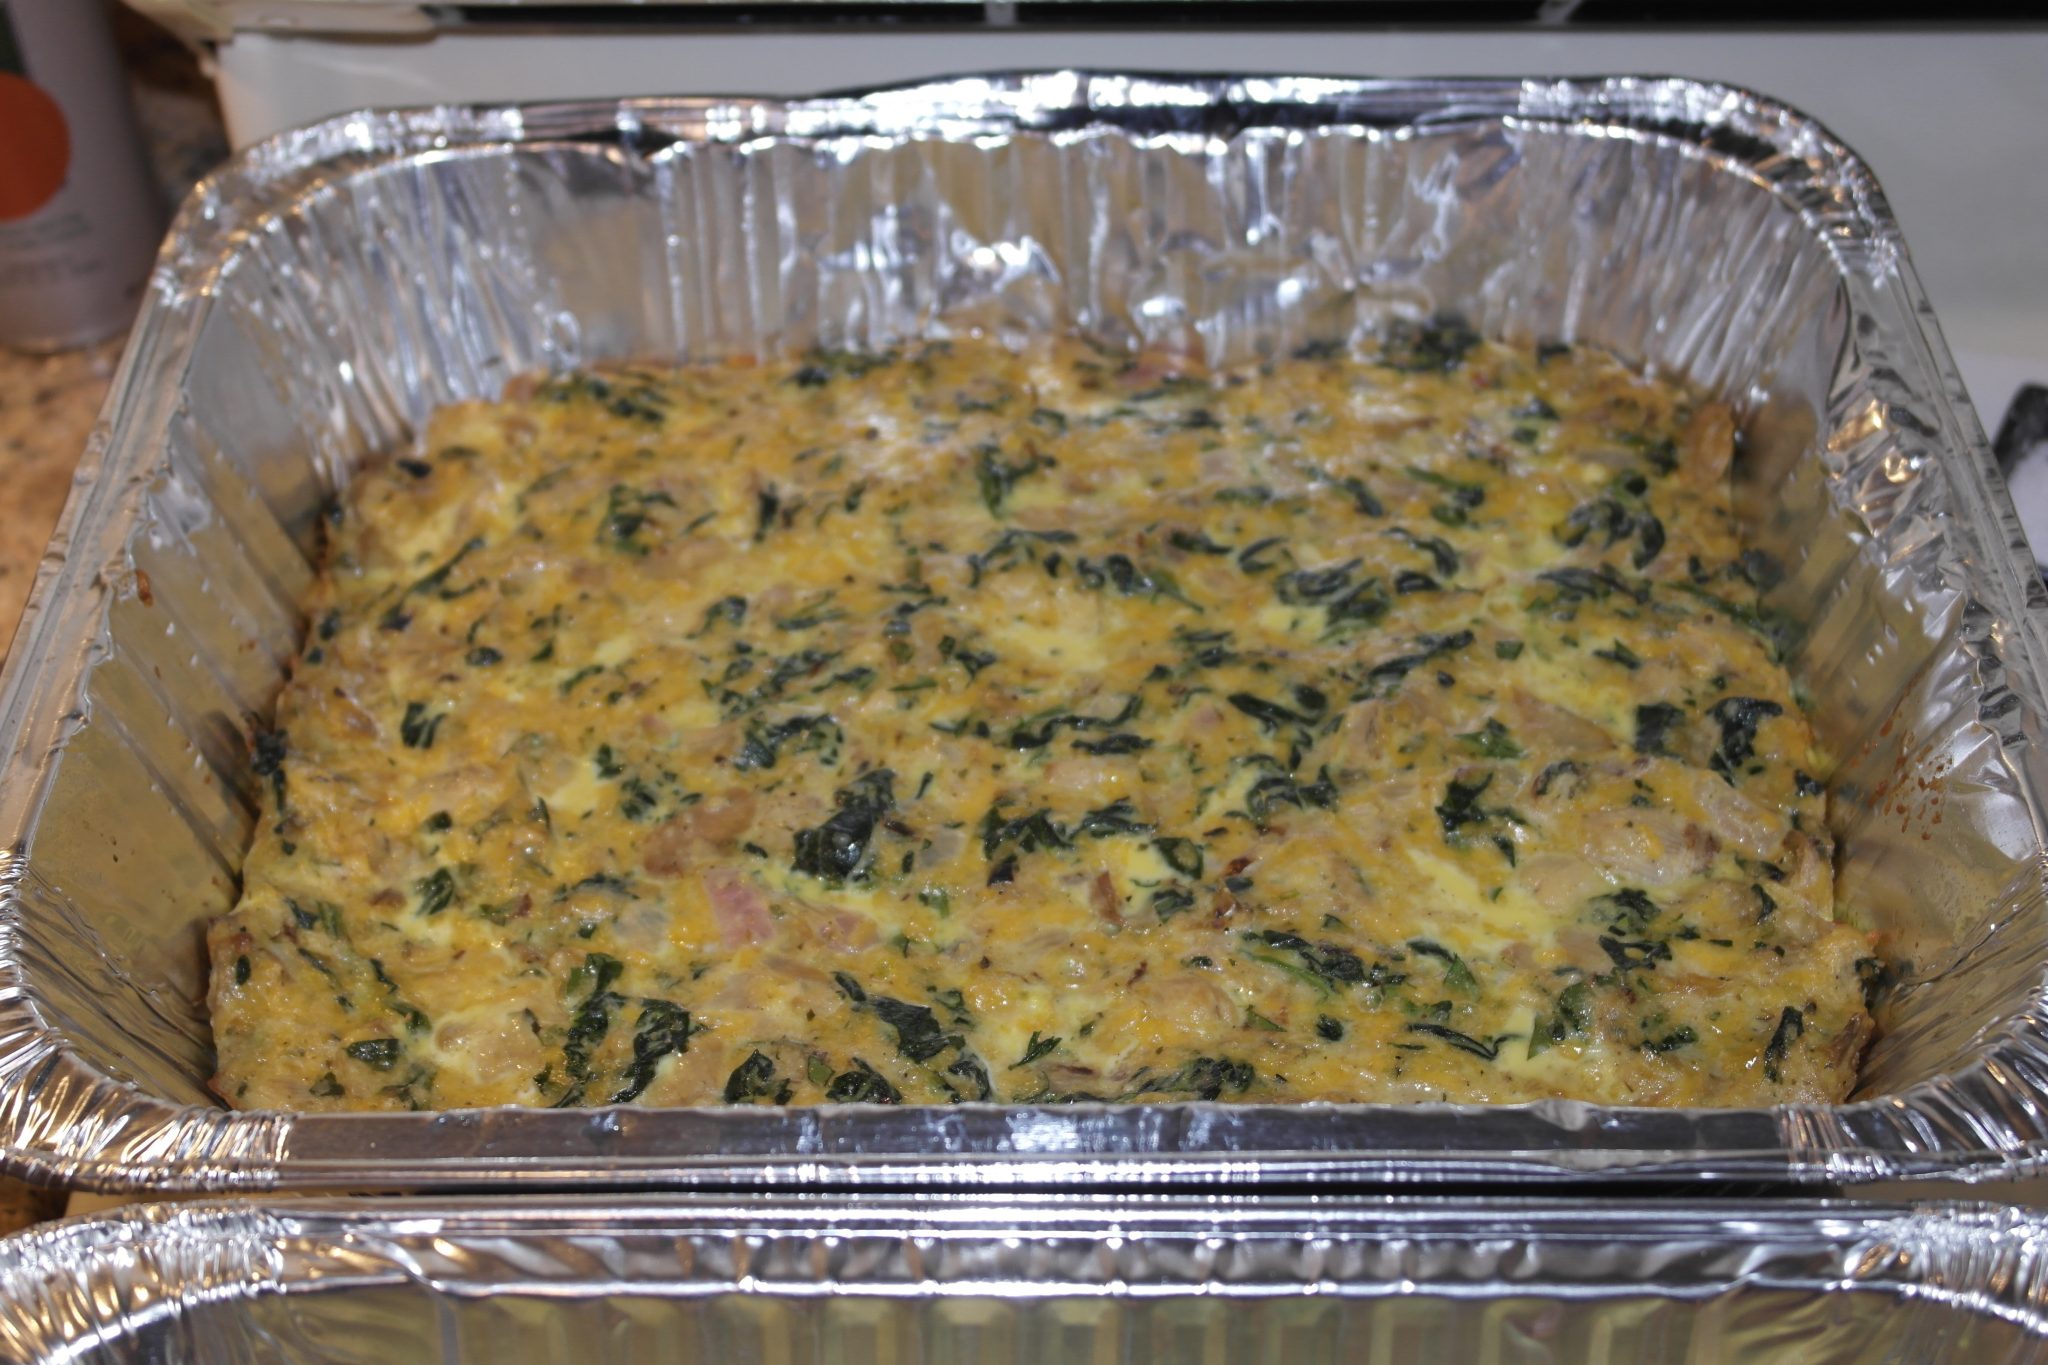
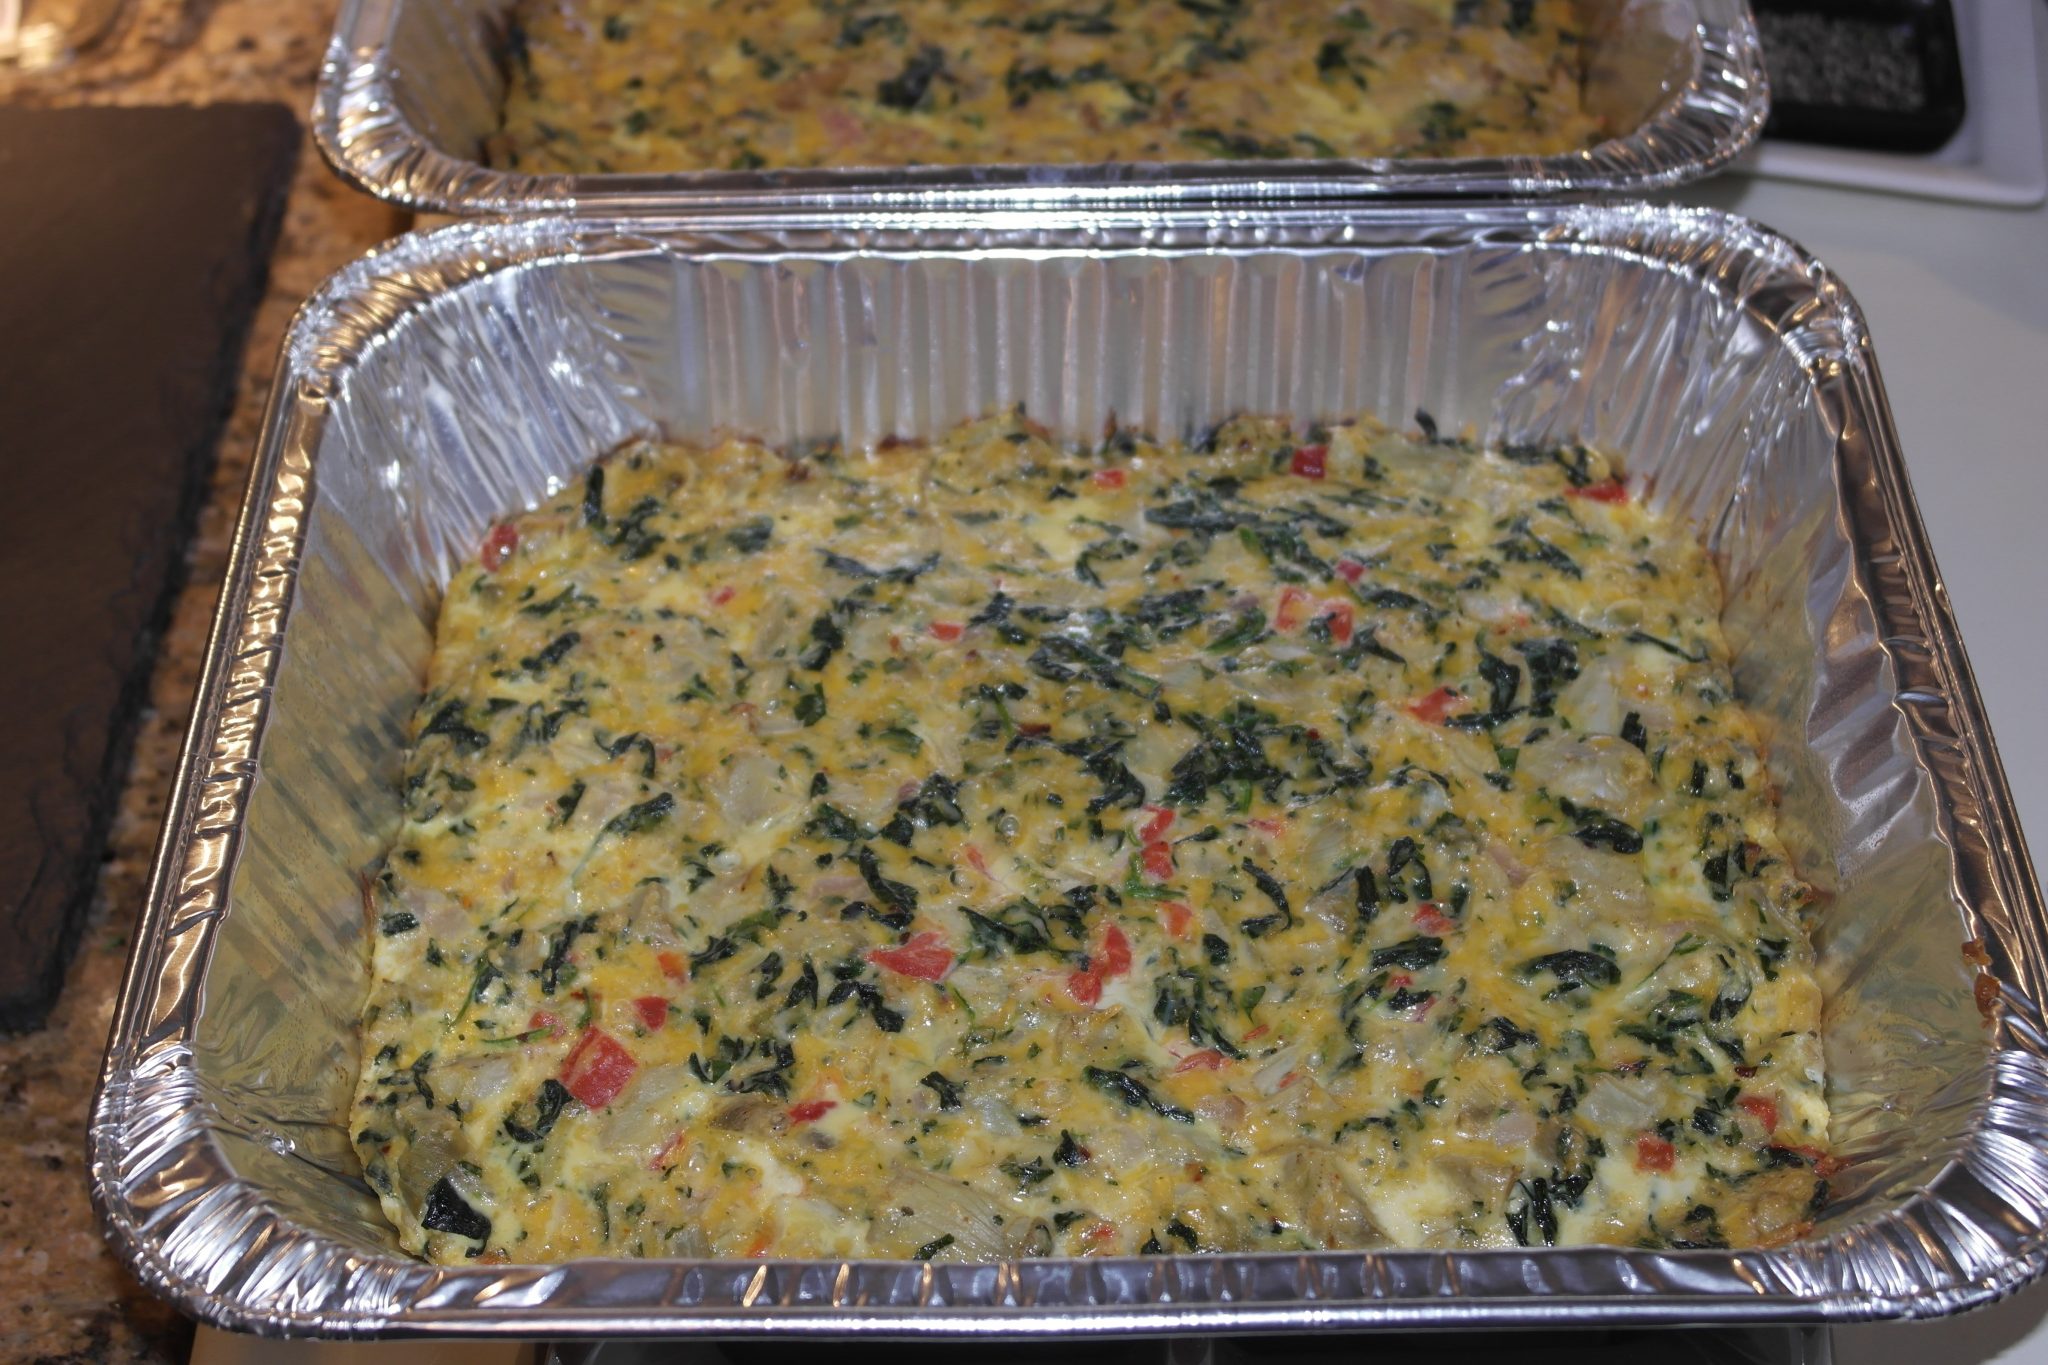
5) Revise the plan as needed. Never get so wedded to the timeline you can’t adjust, but know the constants. How long certain things need to cook, etc. Since I tend to start with the dishes that need to be prepared before cooking or can keep – I start that the day or two before. Then I make sure to mark them what they are and what then go into. This also makes cleaning up so much easier. For instance while prepping the peppers, onions and herbs for the Turkey (link), I also minced up the herbs, onions, tomatoes and peppers for the bean salad. Then simply package them in either containers or plastic baggie for storage until I am ready. I have done the same with baked products – if I know for instance I want to make a drop biscuit or muffin. I will pre-measure and combine all the dry ingredients earlier in the week, then label with what liquid needs to be added, and cook time and temp. This means less mess and measuring on the cooking time. I have been known to then place the baggie of mix on the intended serving platter on the space it will go on the table (if the table is up already) and use it as a 3d-visual timeline of activities. Works well as a way to get a quick status.

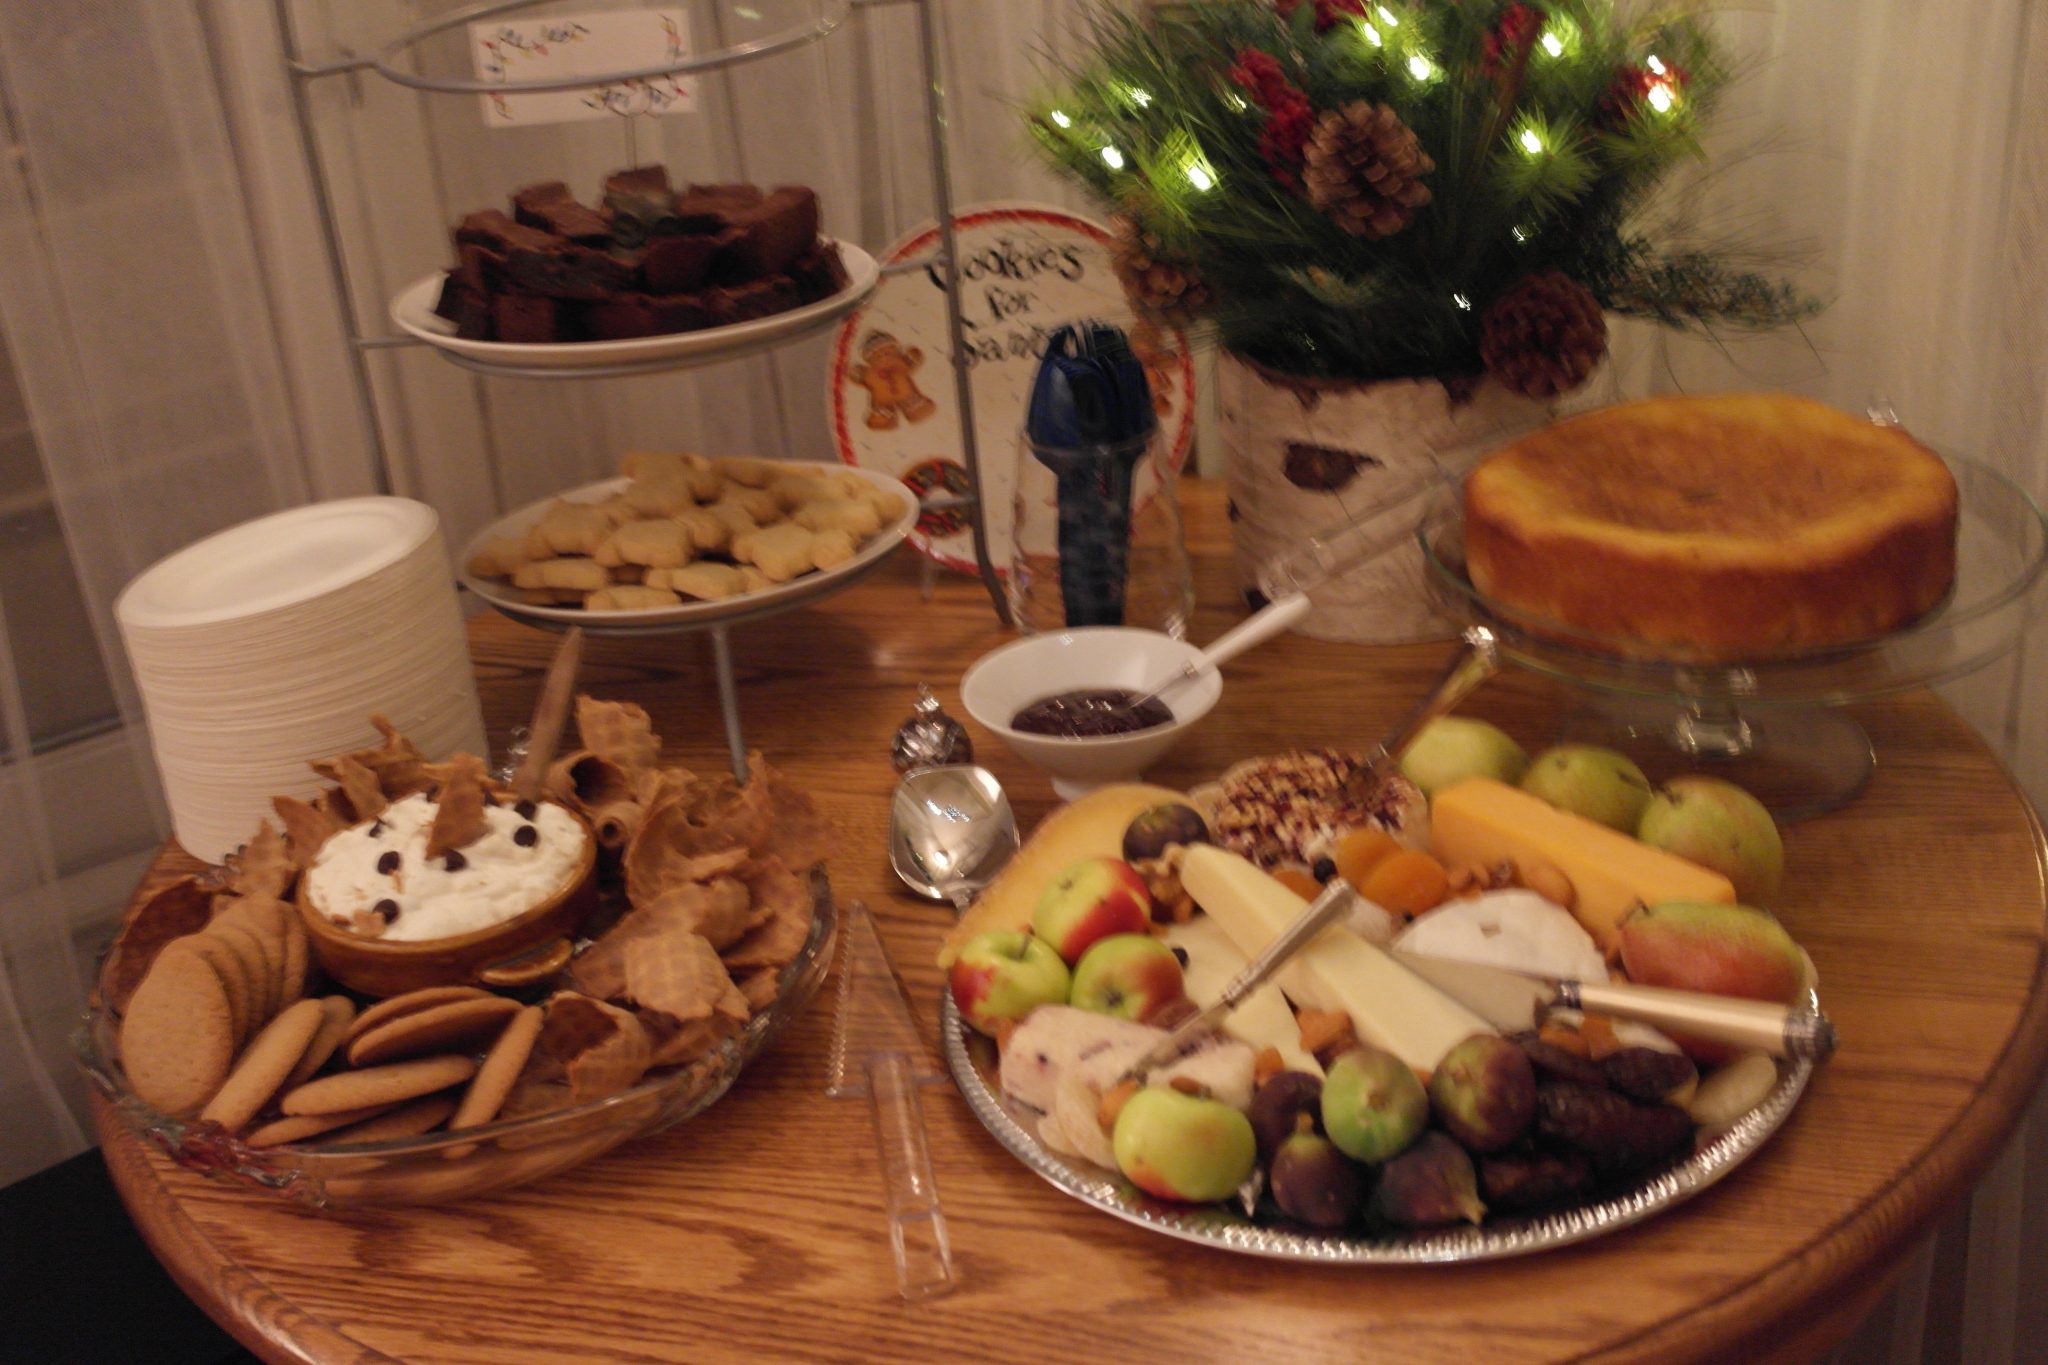
6) What Can I Bring? Now while I like casual and sit down meals, for a crowd the buffet works best. When guests ask when can they bring, I find that for me, its appreciated but stresses me out since I can’t control when they plan to attend etc.. If its an all day type thing and people have a start time – that’s one thing, but I have had more than one openhouse type event where folks came with a hot dish mid way through.

My a stock reply, when asked is  – “Thank you for asking! So far I have the main foods covered but you are welcome to bring whole fresh fruit, any favorite or preferred beverages or some kind of sweet treat to add to the line up”  In those cases when someone is insistent or in fact makes something I know would be perfect – when I do accept, I follow with asking when they will plan to arrive or will they want to drop it by before it starts.

7) Can I help? When I was younger, I tended to just want to do it all myself – but now I am eager to say “yes of course”. But I know I need to have specific activities in mind, and also know that once I turn it over, I must let go of it being “my way” and instead focus on the pleasure of the doing with someone. This is another reason of the lists – much easier to show folks what still has to be done and gets then engaged without feeling like they have to wait to be told. Sometimes I will label activities with folks names so everyone knows who is on what, and they can share if help is needed.

8. Don’t add anything! Try as I might – I will sometimes get an itch and decide to add something last minute. I find this is usually not worth it and in the end it’s not needed.

9. Have a “Plan B” – for instance when I do a SAMSUNG CSC
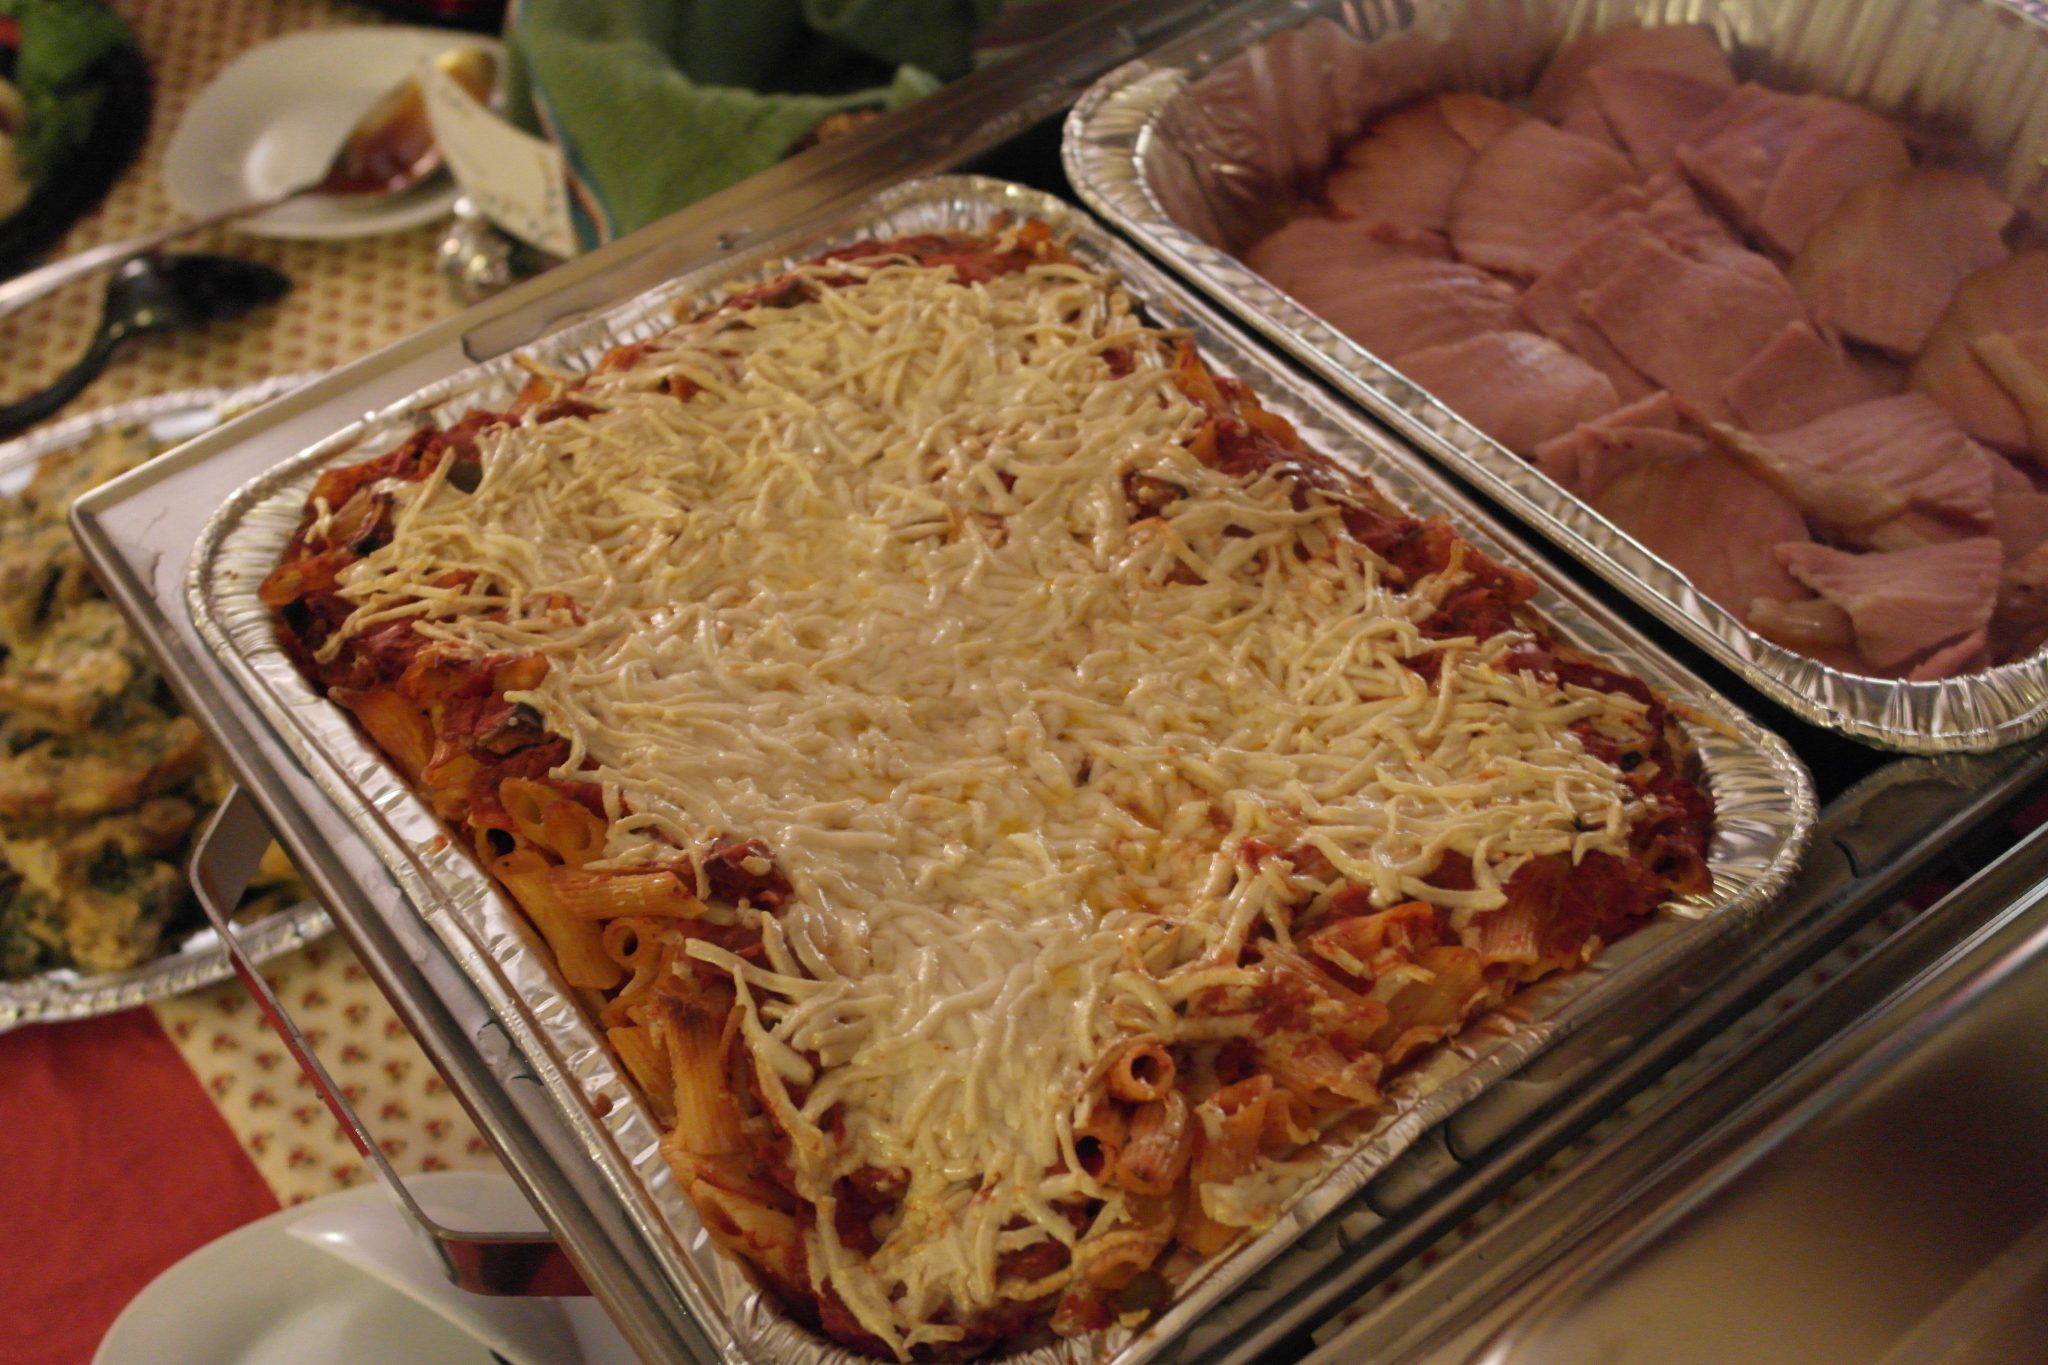
baked pasta type dish,  I double the amount of cooked pasta. Then I keep ½ in a large ziplock bag to have on hand if I need more. It’s easy to reheat and I can make it super quick by mixing the pasta with some microwave “back up sauce” and toss on grated cheese.  Now if it’s not needed, the next day I make up another baked pasta since I have all the ingredients, and freeze it for another time.

10. Enlist a clean up crew. I know for me – somewhere about an hour after the last guest leaves, I finally hit the wall. Experience tells me that – its been a great asset to have folks who are more than happy to help with the minimal clean up. Since most of everything is cleaned before the party starts  – the after clean up is really doable with a few folks. So if someone asks what they can help with – tell them!

Deconstructed Italian “Cannoli” Dip

Cannoli Dip

pending new photo – but to give you an idea

Seems one of the big adaptions bast east has been to redesign the Cannoli party but instead of filling individual pastry shells – its revised as a dip with the broken  tubes or  broken even waffle cones. The plus side means not soggy shells! Now I’m a huge fan of Cannoli’s and realized that many variations exist and differences regionally both here in the US and in Italy. This version comes from my Sister back in CT. The adaption I made to it – was I felt it needed a brightness to bring out the ricotta,  so I added the zest.  The Cool Whip thins it enough to “dip” into while lightening its taste some. As with most of my recipes – adapt them to your taste.

Ingredients
  • 2 Cups Ricotta
  • 1/2 cup powered Sugar
  • 6 oz of Cream Cheese, softened
  • 1/2 tsp Vanilla
  • Zest of 1/2 a Lemon and 1/2 a Lime (or variation to taste)
Mix all the ingredients above,  till smooth,  then fold in:
  • 8 oz of Cool Whip
  • 1/2 cup mini Chocolate Chips (or more to taste)
Note – this dip style needs a good 6 hours or overnight to set up – so plan to make the night before and refrigerate in a airtight container or use on of my favorite products; Lock & Lock brand containers found on QVC

Cannoli Dip

To serve, place in a chilled bowl, surround traditional cannoli shells, waffle cones, etc. Pick any flavors you like, break apart in dip style pieces. One hint was to use  graham cracker sticks or even GF style grahams/chips. Top the dip with a few extra chips and some shaved chocolate.

Urban Hunter’s Turkey Cacciatore

A fast, no fuss version of Turkey Cacciatore 

SAMSUNG CSC

This is an adapted recipe great for parties but skips sone if the tradtional  pre-browning steps usually done for this “Hunters Style” dish. If you have the time and desire – it will add an extra hearty, roasted flavor to the cooking. In either case – it uses the slow cook, braising method that makes it perfect for a party  – so this also adapts for slow cooker fans.

Hint: If I know I want to make this – I will sometime pre-brown the turkey on the outdoor grill grill the day before while making other meats to save a step and reduce clean up (but omit the flour step below).

Ingredients

Turkey!

You can use boned or boneless, or a combination. I find I like to have some of both for home cooking but for a party, I find that boneless is easier but a mix of white and dark meat is crucial to get the rich flavor.

SAMSUNG CSC

Note: You can always ask the local butcher to debone and skin a turkey for you. They provide you with the meat, skin and bones to use for stock. When I do this – I often toss in a few of the bones to cook with it then discard them before serving.

I tend to use 1lb of turkey to an equal amount of peppers & onions. (so 1lb t, 1 pepper, 1 onion) this version is based on that scale and serves 6-9 depending on how you serve it.

  • olive oil
  • 2 medium yellow onions (or 1 large),finely chopped
  • 4 cloves garlic, finely chopped
  • 1 yellow bell pepper, chopped (I honestly can’t tell the difference between these and green ones – other than they are more expensive.)
  • 2 -28-ounce cans diced tomatoes, drained
  • 1-2 cups tomato sauce. (The amount will depend on how much liquid you want it to cook in and if you plan to serve it on top of pasta, rice or noodles)
  • 2 cups white wine (optional – I have used cranberry or pomegranate juice for a nice affect as well) or chicken or turkey stock – essentially create a flavor broth to braise in…)
  • 1 tablespoon fresh chopped oregano leaves
  • 2 tablespoons capers, drained & rinsed
  • fresh basil leaves chopped, to garnish
  • all-purpose flour (for pre-cook  method or to thicken the sauce at the end. Corn starch works for this too)

Directions: 

  1. Using shears or a sharp knife, trim off any excess skin from the turkey. If you plan to sear the meat, you can leave some on to add to the flavor.  Cut into serving sized pieces.
  2. Now if you want to do the longer, pre-cook  method:
    1. Season each piece of turkey with salt and pepper, then dredge with flour in a large shallow bowl and set aside.
    2. Heat the 2 tablespoons of olive oil in a large, heavy skillet over medium heat, then brown the turkey pieces in batches until crisp and golden-brown on the outside. Set aside.
  3. For the other method
    1. Season the cut up meat pieces with salt and pepper
    2. Add 1/2 of a can from one of the drained diced tomatoes, 3 springs or rosemary and the garlic and let sit an hour or overnight. If making to eat sooner – go to step four and omit this part
  4. Preheat the oven to 325F.
  5. For both versions, heat olive oil in a large saucepan over medium-high heat, then sauté the onions, garlic and peppers for 10-12 minutes, stirring frequently, until completely softened. Season with salt and pepper.
  6. Add the tomatoes (or rest of them). The white wine (or substitute with cranberry or pomegranate juice or stock), the oregano ,  the capers, and the tomato sauce, bring to a boil, then reduce to a simmer and cook until the volume is reduced by half. Stir and taste for more seasoning.
  7. This is the time to add any other herbs that inspire you. Rosemary, oregano, sage, bay etc. Note: I tend not to use parsley in this since I don’t want it to taste like a turkey version of sausage & peppers.
  8. To finish the cooking, place in the preheated oven.
  9. Some recipes recommend a covered cooking approach (foil or dutch oven) other suggest uncovered. I tend to do 90 minutes covered, then uncover it for the last 30 min. Only covering it again if it needs more time.
    • For dutch oven folks – add the turkey pieces to the sauce, making sure everything is coated, then cover pot with a lid, transfer to the oven and cook turkey meat is falling off the bone.  (Slow-cookers & crock pot users should adjust for time)
    • For larger parties, you can use a ½ or full foil pan. Add the turkey & vegetables pieces to the pan, (I like to use my hands to mix them ) then pour over the sauce mixture, making sure everything is coated, then cover with foil, transfer to the oven and cook  until turkey meat is falling off the bone.
  10. FYI – This wont be a heavey gravey style sauce unless you want to adjust to make it that way. Rather it’s a lighter, richer liquid somewhere between a sauce and broth.
  11. Serve garnished with basil on a platter alongside pasta, potatoes or rice. This can also stay warm from a chafing pan or transferred to a warm crock pot for standing meals.

Notes:

  • I tend to not check the cooking process until after the first hour, stir if needed then recover.
  • Truth be told – I often omit steps 5 & 6 and  just put it all in raw when time is short and people like it just as well- this works well if I am using left over roasted vegetables so they add a extra depth.
  • If you find the sauce is too thin after cooking- you can use the “liquid and flour (cornstarch) method” used to make gravy or to thicken chills and after whisking flour into a small portion of the hot liquid, pouring it and siring it back into the pan. Stirring well does a nice job.
  • For dutch oven folks – add the turkey pieces to the sauce, making sure everything is coated, then cover pot with a lid, transfer to the oven and cook for two hours or until turkey meat is falling off the bone.  (Slow-cookers & crock pot users should adjust for time)
  • For larger parties, you can use a ½ or full foil pan. Add the turkey & vegetables pieces to the pan, (I like to use my hands to mix them ) then pour over the sauce mixture, making sure everything is coated, then cover with foil, transfer to the oven and cook for two hours or until turkey meat is falling off the bone.

Tomato, Bean & Cilantro Salad

This recipe came to me, by way of a pal of Pauls – I loved the fresh taste, the slight bite of the onion and the sharpness of the cilantro. The peppers can be swapped out for your preferences and to adjust for heat. Much of the amounts is eyeballed and approximate.SAMSUNG CSC

Ingredients

  • 3 cans of white beans, drained and rinsed*.
    • Note – pick your brand well – you want beans that stay firm. Bush’s works great, SW will also work.
  • 3 medium tomatoes
  • 1 medium red onion, minced
  • 2 Serano chili’s (pablano will also work) seeded and minced
  • 1 small batch of washed, chopped cilantro
  • 3 limes juiced
  • 1 tablespoon of Olive Oil
  • Salt to taste

*This dish originally used dried black-eye peas. They can be substituted and keep a great texture.

According to the person who shared it with us, while hand mincing with a sharp knife is the best – a food processor will also work.

Directions

  1. Mince the red onion and cilantro. Place in a large bowl
  2. Chop and seed the tomatoes. Add to the bowl.  (I cut the tomato to be about the same size as the beans.)
  3. Mince the peppers and seed (unless you want a lot of heat – then keep the seeds in) then add to the bowl
  4. Open and rinse the beans in cold water and strain. Add to the bowl.
  5. Stir the ingredients.
  6. Add 3 tablespoons of olive oil, the juice of the limes, then lightly salt and pepper  to taste.

This dish needs to sit for at least an hour or even better overnight. Seal in a airtight container.

Before serving, stir, then taste for salt & pepper , then garnish with lime and serve.

Bacon Wrapped Sweet Potato Bites

Bacon Wrapped Sweet Potato BitesSAMSUNG CSC

These were the “New Recipe” and how could it go wrong – bacon, butter, sweet potatoes, brown sugar, salt … oh and did I mention bacon? I found this recipe in Taste of Home magazine and the only adaption I did was the use of a
maple enhanced salt by the devilishly creative folks at Sinful Salts. They offer some “worth sinning over” salts direct online or currently offered for sale at the Castro’s Under One Roof  Store.

Ingredients

  • ¼  cup butter
  • 1/2 teaspoon salt (I used the  maple flavored salt)
  • 1/2 teaspoon cayenne pepper (or red repper flakes if you like the sweet, hot and salty)
  • 1/4 teaspoon ground cinnamon
  • 2 large sweet potatoes (about 1-3/4 pounds), peeled and cut into 1-inch cubes
  • 1/2 cup packed brown sugar (dark or light-  I found I prefer dark)
  • 1 pound of bacon strips, halved
  • Maple syrup, warmed

Note: the seasonings on this can be adjusted to your taste or menu. Red pepper flakes, chopped rosemary, nutmeg, seasoned salts, etc.

SAMSUNG CSC

Directions

  1. Preheat oven to 350°.
  2. Clean and peel, then cut potatoes into 1 inch cubes.
  3. In a large bowl or large sized resealable baggie, add in seasoning mixture (Salt, pepper, cinnamon), add butter and mix.
  4. Add potatoes and toss to coat.
  5. Place brown sugar in a shallow bowl, break apart so that it is easy to dip into. Since I used a flavored salt I also added it here as well (using less in the mix part above)
  6. Wrap one piece bacon around each sweet potato cube; secure with a toothpick.SAMSUNG CSC
  7.  Dip each side in brown sugar. (Optional: you can also do a quick dip into a mixture of warmed maple before hitting the sugar dip for extra impact – you might want to put these on a rack to drip before placing on parchment)
  8.  Place on a parchment paper-lined 15x10x1-in. baking pan. FYI – Parchment or silicone baking sheet is crucial – these get sticky and can burn
  9. Bake 40-45 minutes or until bacon is crisp and sweet potato is tender.

SAMSUNG CSC

Serve with maple syrup. Yield:about 2-1/2 dozenAdapted from Kelly Williams recipe shared in Taste of Home Magazine  http://www.tasteofhome.com/recipes/bacon-wrapped-sweet-potato-bites

Artichoke & Spinach Bites

SAMSUNG CSC

This adaption of an Artichoke  snack takes all the parts of that fav dip and turns it into a solid form. A great starter or stand-in base for a Sunday brunch or midweek “clean out the refrigerator” meal.  Tonights versions had roasted red peppers added into one. The use of the marinade from the artichoke then cooked off really set this apart from other recipes. This version is adapted from one found that was similar to one I have cooked since I was a kid.  

I have adapted this to add the spinach and other flavors items. When adapting this – keep in mind the balan

ce between wet and dry as that will affect the final outcome..

This years version came out tasty – but was a little loose – I would adjust it to either more egg to give it more body or serve it in a

rustic cutting board pre-cut instead of pile it “cookie plate” style.

  • 2 jars (6 ounce size) marinated artichoke hearts
  • 1/2 – 1 box frozen spinach thawed and squeezed (not squeeze again!!! Imean you want super dry)
  • 1-2 pinches of Nutmeg to taste
  • 1 small -medium yellow onion, peeled and finely chopped
  • 1 clove garlic, mincedSAMSUNG CSC
  • 4 eggs, lightly beaten
  • 1/4 cup fine dry bread crumbs
  • 1/4 teaspoon salt
  • 1/4 teaspoon black pepper
  • 1/8 teaspoon dried oregano, crumbled
  • 1/8 teaspoon hot red pepper sauce
  • 2 cups coarsely shredded sharp cheddar cheese
  • 2 tablespoons minced parsley or cilantro

Note: You can also add pre-cooked chicken, sausage, raw vegetables like squash and zucchini to this dish or use with left over roasted vegetables, marinated peppers. For every cup of “stuff” I add, plan to add 1 additional egg to the batter and additional bread crumbs.

Directions

Artichoke Bites

Preheat oven to 325 degrees F. Grease 8-by-8-by-2-inch baking pan; set aside.

Drain marinade from half the artichokes (one jar) into small skillet; discard marinade from second jar. Coarsely chop artichoke hearts and set aside.

Heat marinade in skillet. Add onion and garlic to skillet, set over moderate heat, and stir-fry until glassy, about 3 to 5 minutes. Cool 5 minutes. Transfer to large bowl.

Add eggs, bread crumbs, salt, pepper, oregano, hot pepper sauce, cheese, chopped artichokes and parsley, (the squeezed spinach if used and other items) and mix well.

Pour into foil pan (or glass brownie pan – the original recipe suggest a cast iron skillet would I think would be perfect as well) prepped with cooking spray and bake uncovered about 30 minutes, until set like custard. Should be slightly browned at the edges.

Cool slightly in the pan, cut into squares, and serve warm or at room temperature.

By adding the full box of spinach and doubling the eggs and bread crumbs you can make a larger version of this. If you put it all into the ½ size deep foil pans – it will raise – making it good for a meal – but not as workable for a party unless you serve it as “spoon bread” type dish. Ultimately it’s a preference thing.

This is a favorite type of recipe – as it isn’t a set one –  explore it.

Note:  I will share the version I grew up with, which is similar to this one and uses sausage and  zucchini  and like this one, is meant to be eaten as a “brownie”  or if doubled as a brunch or egg entrée.

Original Recipe Source: Sunset All-Time Favorite Recipes, Adapted FVStrona 2013 

2013 Openhouse Menu

Sweets!This year’s menu includes – as I post each one I will reset the link here as well.

Pear Cornmeal Cake w  Rosemary Syrup (repost)

Cornmeal & Pear CakeThis is a great recipe to fiddle with. Try adding more pears or other succulent fruits. The sweetness is adjustable some may find that an extra ¼ in the batter works well. A light difference in texture will result with the use of xl eggs in place of large egg but no taste difference. Note: If you do not have the Buttermilk on hand, use whole milk with a tablespoon of white vinegar. At the end of the this post is the link to the original as well.

Ingredients

  • 8 tablespoons (1 stick) unsalted butter, melted, plus more for the pan
  • 1 1/4 cups all-purpose flour, spooned and leveled
  • 1/2 cup yellow cornmeal
  • 2 teaspoons baking powder
  • 1/4 teaspoons baking soda
  • 1/2 teaspoon fine salt
  • 1 1/4 cups sugar
  • 1/2 cup buttermilk
  • 2 large eggs, whisked ( I actually used 2 xl eggs and think I liked the texture better – but either seem to work)
  • 2 ripe pears, cut into 8 wedges each (I tend to use 3 pears, that I also lightly coat in a bit of gf cake flour first  before folding in)
  • 6 large sprigs rosemary
  • freshly whipped cream, for serving (optional)

Directions

  1. Heat oven to 350° F. Butter a 9-inch springform pan.
  2. Whisk together the flour, cornmeal, baking powder, baking soda, salt, and 1 cup of the sugar in a large bowl. Whisk together the buttermilk, eggs, and melted butter in a medium bowl. Add the wet ingredients to the dry ingredients and whisk to combine. Fold in the pears.
  3. Transfer the batter to the prepared pan. Bake until a toothpick inserted in the center comes out clean, 45 to 55 minutes. Cool in the pan for 15 minutes; transfer to a wire rack.
  4. Meanwhile, heat the rosemary, the remaining ¼ cup of sugar, and ¼ cup water in a small pot over medium heat. Cook, stirring, until the sugar is melted. Remove from heat, cover, and let sit, stirring occasionally, for 30 minutes and up to 4 hours. Discard the rosemary sprigs.
  5. While the cake is still warm, brush the top and side with the rosemary syrup.
  6. Serve warm or at room temperature with whipped cream, if desired.

By Charlyne Mattox , November, 2013 Courtesy of  Real Simple Magazine http://www.realsimple.com/food-recipes/browse-all-recipes/pear-cornmeal-cake-00100000110429/index.html

My Annual Orphans Holiday Openhouse (AOHO)

Looking forward as the sun sets

Looking forward as the sun sets

Every year I host my Annual Orphans Holiday Openhouse (AOHO) ( For the origin and history about the Orphans Openhouse, visit my post here ). This year marks my 20th one and we (Paul and I ) opted for hosting it after Christmas but before New Years eve given the way the holidays fell and many of us were working that week.

When I set up planning for the AOHO I often give myself several challenges or themes and a goal that I mostly keep to myself.  This helps me keep the fun aspect in perspective and avoid hearing old voices in my head from holidays past as a kid where I would regularly hear such loving shouts like “Merry F’ing Christmas”, “I try an make it a nice event and all I ask is that you help…” etc. phrases usually partnered with the obligatory tears and emotional blackmail.

996737_10202629941527292_960219748_nSo for 2013 – the challenges included;

1. Create multiple menu items that would adapt to folks with gluten sensitivity, dairy allergies and food for those non-meat eating folks

2. The menu had to fit a working persons life. That menus I couldn’t take more than one day (the day of) off. So some items had to be “make or prep” ahead capable.

3. Plan well enough so that once served up – I could enjoy the party and not have to worry about being at the control cooking.

4. Try at least one new dish

The Goal for this year – was to invite new people to the mix to create some new dialogues exchanges between new people.

Ok – so enough serious stuff – on to food!

This year’s menu included

  • Assorted Fruit & Cheese plate
  • Bacon wrapped Sweet Potatoes with Brown Sugar and Maple Sale Crust
  • Kale & Fennel Slaw with Citrus-honey dressing
  • Tossed Up Caprese Salad with mozzarella balls, cherry tomatoes and basil.
  •  Tomato, Bean and Cilantro Salad
  • Gluten Free Bread from Miraposa Bakery
  • Sticky Honey-BBQ’s Crockpot Meatballs
  • Artichoke & Spinach Bites
  •  Dairy Free “cheesy” vegetable baked Gluten Free Pasta
  • “Working Stiffs” Turkey Cacciatore
  • and lastly the obligatory Honey Baked Spiral Baked Ham as “Papa’s Backup” dish
  • For the sweet side of things, Paul makes his “special” Trifle  – this year we did both a chocolate and a GF Butterscotch version
  • Brownies
  • Cornmeal and Pear Cake with Rosemary Syrup (GF)
  • Deconstructed” Italian style Cannoli dip with waffle cone chips

Timeline: 12/27/2013,  6:00pm

…and now on with the show! I will be posting the recipes and images over the next few days! As always – if you don’t see a recipe I’ve made – email me and Ill share it. Food is meant to be shared.. not held on a pedestal ike the holy grail and only sharing parts of it to keep your version special.