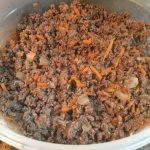
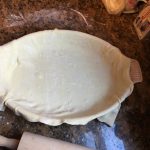
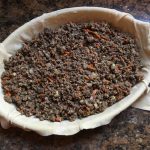
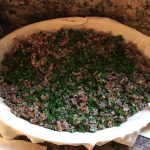
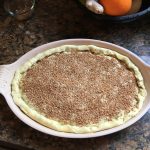
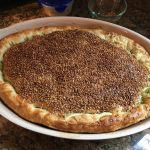
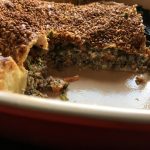
The traditional Easter ham pie is something of a must have in our house growing up and was left to me to chop for many years. It goes by several names aka “Pizza gaina” (or pizza ghan, puzza rustica, pizza china) and seems that the variations on the name is as abundant as the variations on the dough type; from crisp, flaky, savory pie to doughy pizza style.
Author Archives: FV Strona
Another Bookclub Saturday; The Angel: The Egyptian Spy Who Saved Israel with a side of Meat Pie!

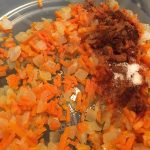
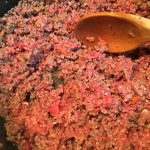
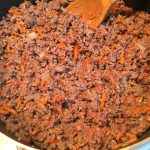
That aside – it provided a great day for a food theme. I opted to bring an Isreali Meat Pie recipe I found on the NYT Cooking site. Which is in itself an adaption.
For my version, I omitted the dill (a few folks around here don’t like it) and added more cinnamon but thats to taste I think. This version was super simple and can be prepped the night before or over the course of an afternoon. Depending on your time. My edits to this variation are in red. Now having made and eaten it – it was a win – great taste, simple and clean flavor. I definitely could serve as a base for adapting; by adding ginger, garlic, cheese etc. It traveled well – but seems to taste best while still warm and crisp.
According to NYT’s Melissa Clark ; this was featured in: In ‘Zahav,’ Michael Solomonov Explores Israeli Food.
Full Recipe Here
Coke didn’t change, people’s intolerance has
Something I thought worth a share. Back from 2014 but seems even more true now. Reacting to conservative complaints about Coca-Cola’s Super Bowl ad, Brenda Wood from WXIA in Atlanta destroys conservative myths about multiculturalism in America.
Some old-school “Coddled” eggs for Sunday
Last week, the conversation came up about eggs. Now I happen to live with someone who is a be “egg-ceptional” when it comes to those protein bombs of goodness. He can eat them at ant time of the day. breakfast or dinner. But on Sundays, I generally make them for breakfast, but even for me – I can only make so many frittata’s, omelettes and scrambles before I am over it. During a dinner parted the topic of “coddled” eggs came up and at the same time I happen to see a few recipes for these simple “steamed” style eggs on tv.
So today I thought I would give them a try. Essentially preparing coddled eggs is just a fancy way describe gently or lightly cooked eggs. In the past – they eve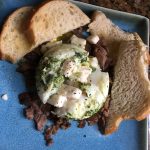 n had a bunch of really lovely glassware called “coddlers” to use to cook and serve them in. Some ways of preparing them include cooking them in the eggs shells themselves, or cooking & serving them in the coddlers or ramekins or the coddlers serving as a cooking mold and they are up-ended out onto the plate. Chefs and cooking host from Martha Stewart to Jacque Pepin have plenty of recipes for them. In fact it was the Heart & Soul recipe series from Pepin that prompted this breakfast. You can find a bunch of those versions here. Cooking them doesn’t need any fancy equipment; you can use regular style 4 or 6 ounce shuffle ramekins or the ones I tend to use; the 6 ounce pyrex custard cups. You can even find specialty ramekins or “coddlers” as they are known at antique stores or Amazon.
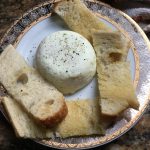
After reviewing several recipes; I decided to try two ways.
The first was a straight forward, no frills version topped with simple sea salt and pepper with toast.
The second was an parsley version layered over warm roast beef slices and cheese.
Over all they were simple to make, once you get the timing down.
Simple & Straight Forward Coddled Eggs
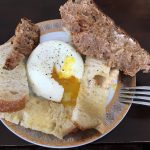
This simple steamed egg dish is a perfect, quick and easy way to make eggs. This is to prepare two eggs. But keep in mind if you use smaller eggs; double up!
- 2 XL Eggs (Room temp, the fresher the better. I tend to suggest XL or Jumbo lied. But Large will work too.)
- Salt & Pepper (To taste)
- 2 tbsp Chopped Parsley or other herb (optional; to coat the sides of the ramekin)
- 2 4 – 6 ounce Ramekins or Coddlers
- 2 tbsp Cheese, sauces or heated veggies etc for toppings
- Remove the eggs and allow to come to room temperature
-
In a skillet or other pan that has a snug fitting lid, bring enough water to soft boil. The water should come up half way up the sides of the ramekins
-
While waiting for the water to heat, prepare your glassware. You can use regular style 4 or 6 ounce shuffle ramekins or the ones I tend to use; the 6 ounce pyrex custard cups. You can even find specialty ramekins or “coddlers” as they are known.
Butter the sides and bottom of the ramekins; both for flavor and to make up-ending them out on a plate easier. If you are choosing to use chopped herbs, coats the bottom and sides of the buttered ramekin.

-
Place the ramekins in the water bath, medium-high heat, and cover for 7- 8 minutes. This is too taste – the longer they steam, the more firm they become.
-
Toast & butter some bread, or heat up some meat etc. What ever you choose to eat with them
-
Remove from the bath, and dry the ramekin with a towel. Slide a small knife around the edges too loosen. If you plan to up-end them on a plate and serve on bread, potatoes etc. You might need to use the tip of the knife to get air inside under the bottom to get them to slide out.

-
You can top with cheese, salt and pepper. Drizzle with warmed tomato sauce -pretty much what ever is handy and dunk-worthy. Serve warm

-
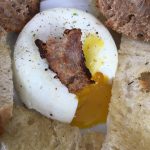
Note – Coddled eggs are definitely aimed at lovers of poached eggs and those that love the deep yellow yolk, runny and warm. Its all about the dipping of the bread!
Black Pepper, Vanilla & Orange peel Biscotti
I wrote about on “the battle rages on” which is actually yet its own adapted recipe from Valerie Bertinelli’s Helen’s Black Pepper Biscotti . Th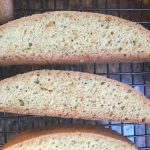 e original recipe uses walnuts, which isn’t on of my favorite nuts – so often omit it.
Easy Mexican Inspired Chicken Soup
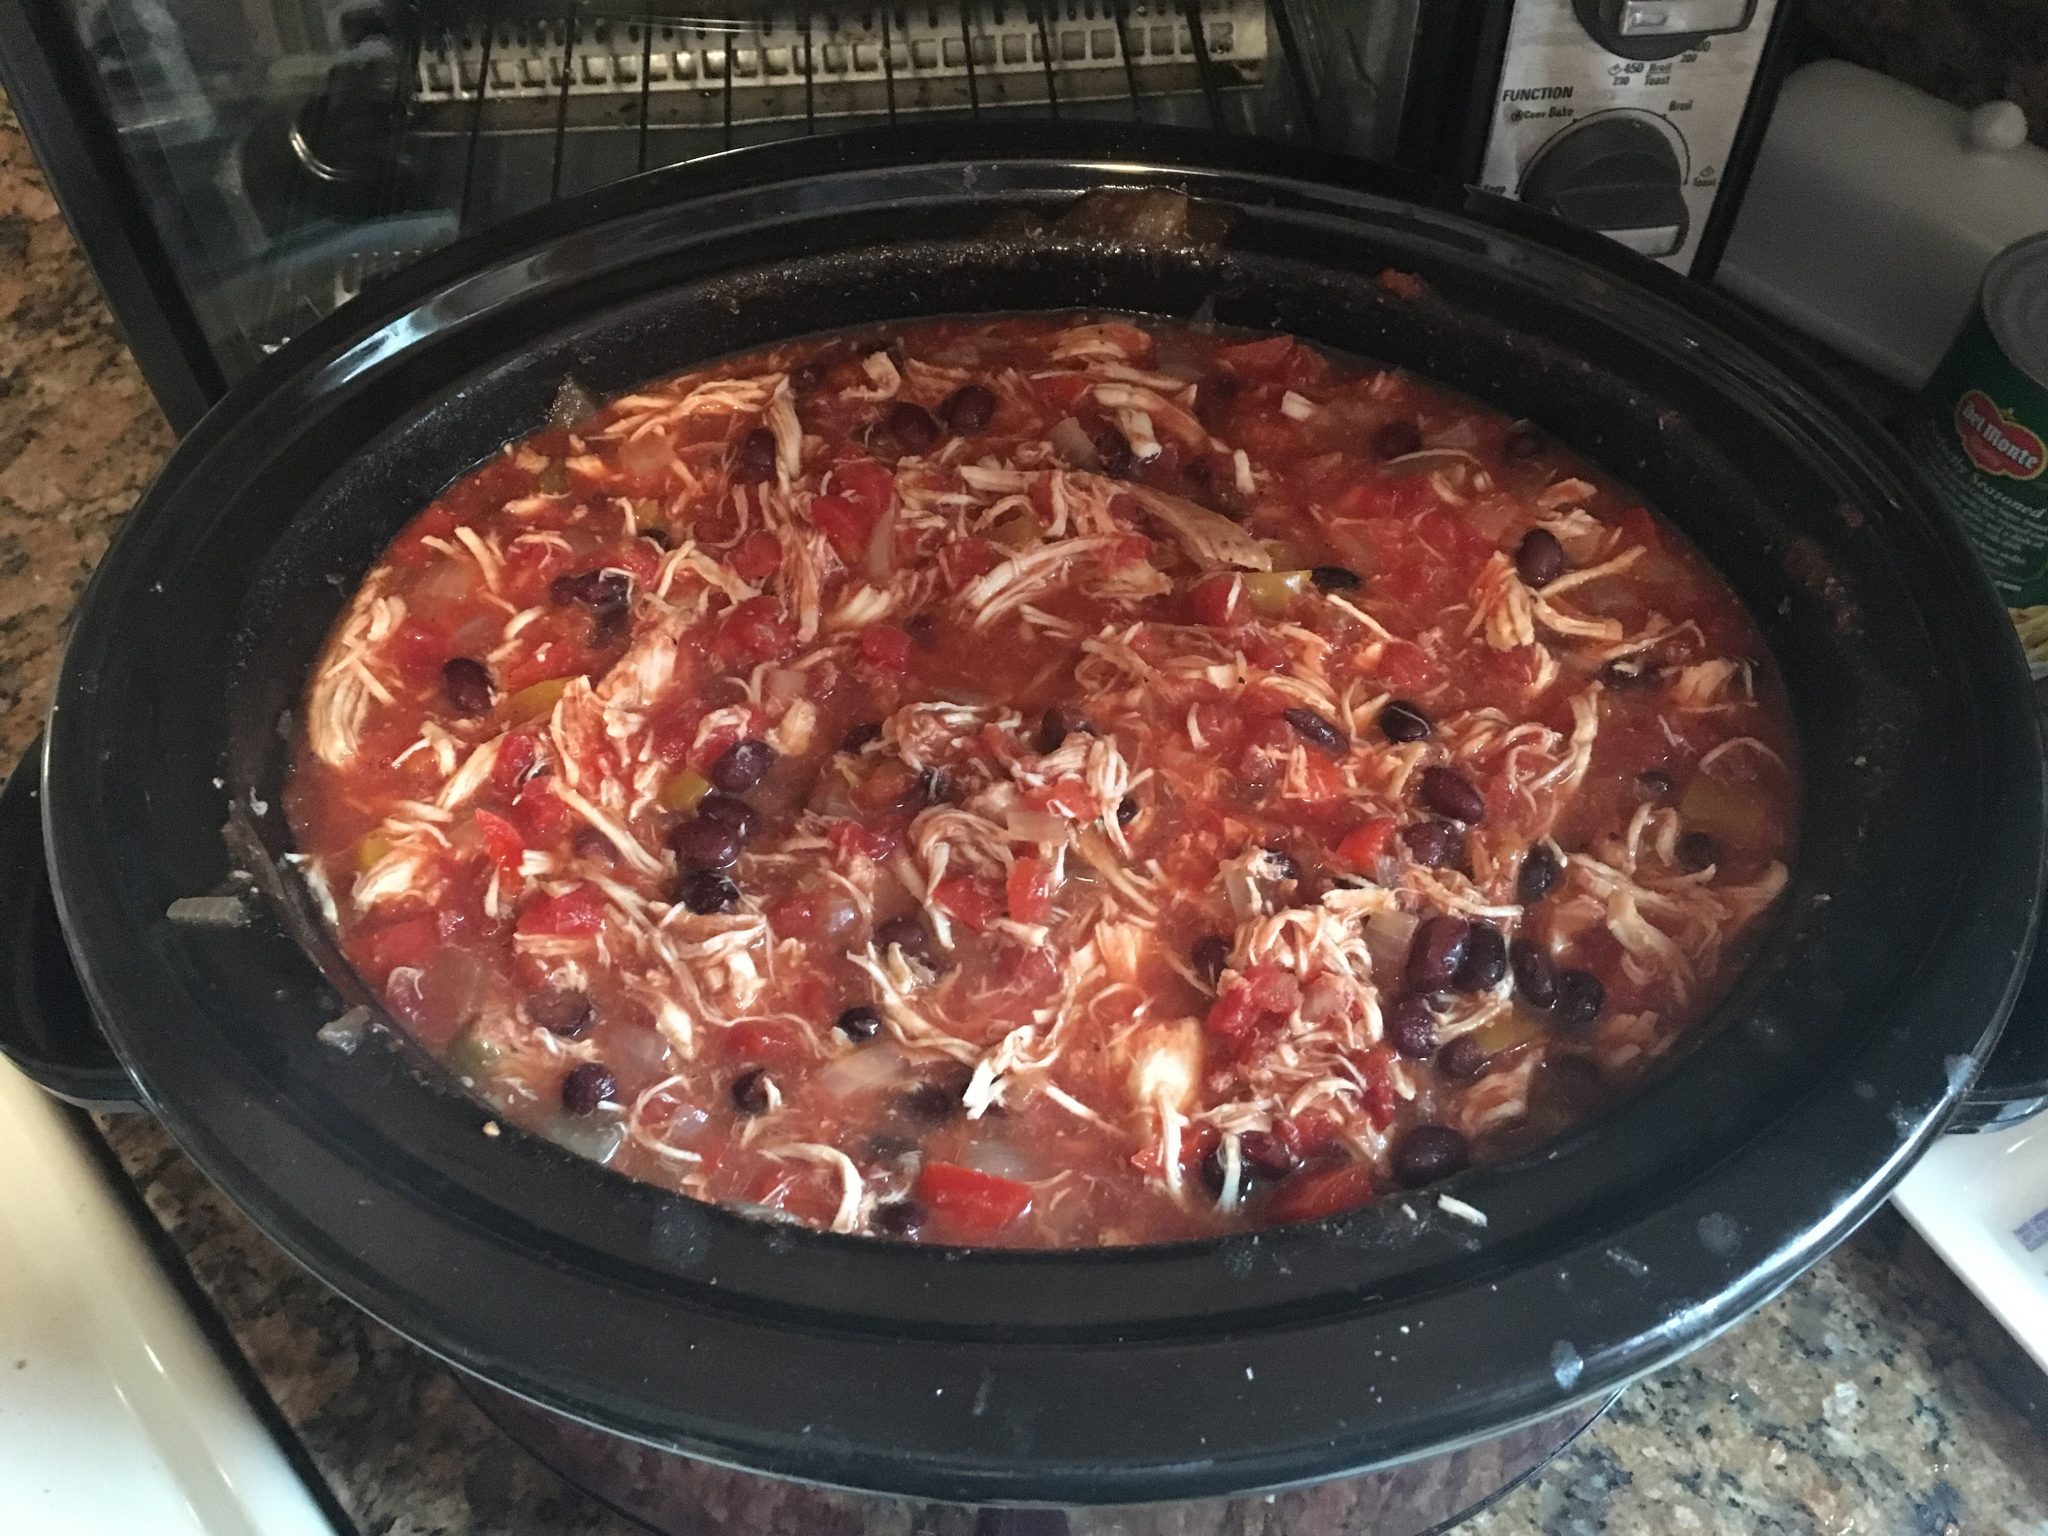
I first came across this on Ree Drummond’s Food Network show the Pioneer Woman but she also did a version on her blog back in 2015 here. I made a first batch a few weeks ago and was surprised at how good and easy it was. I have made some adaptions for our tastes below.
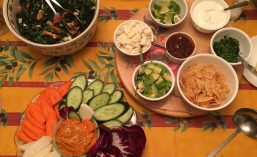
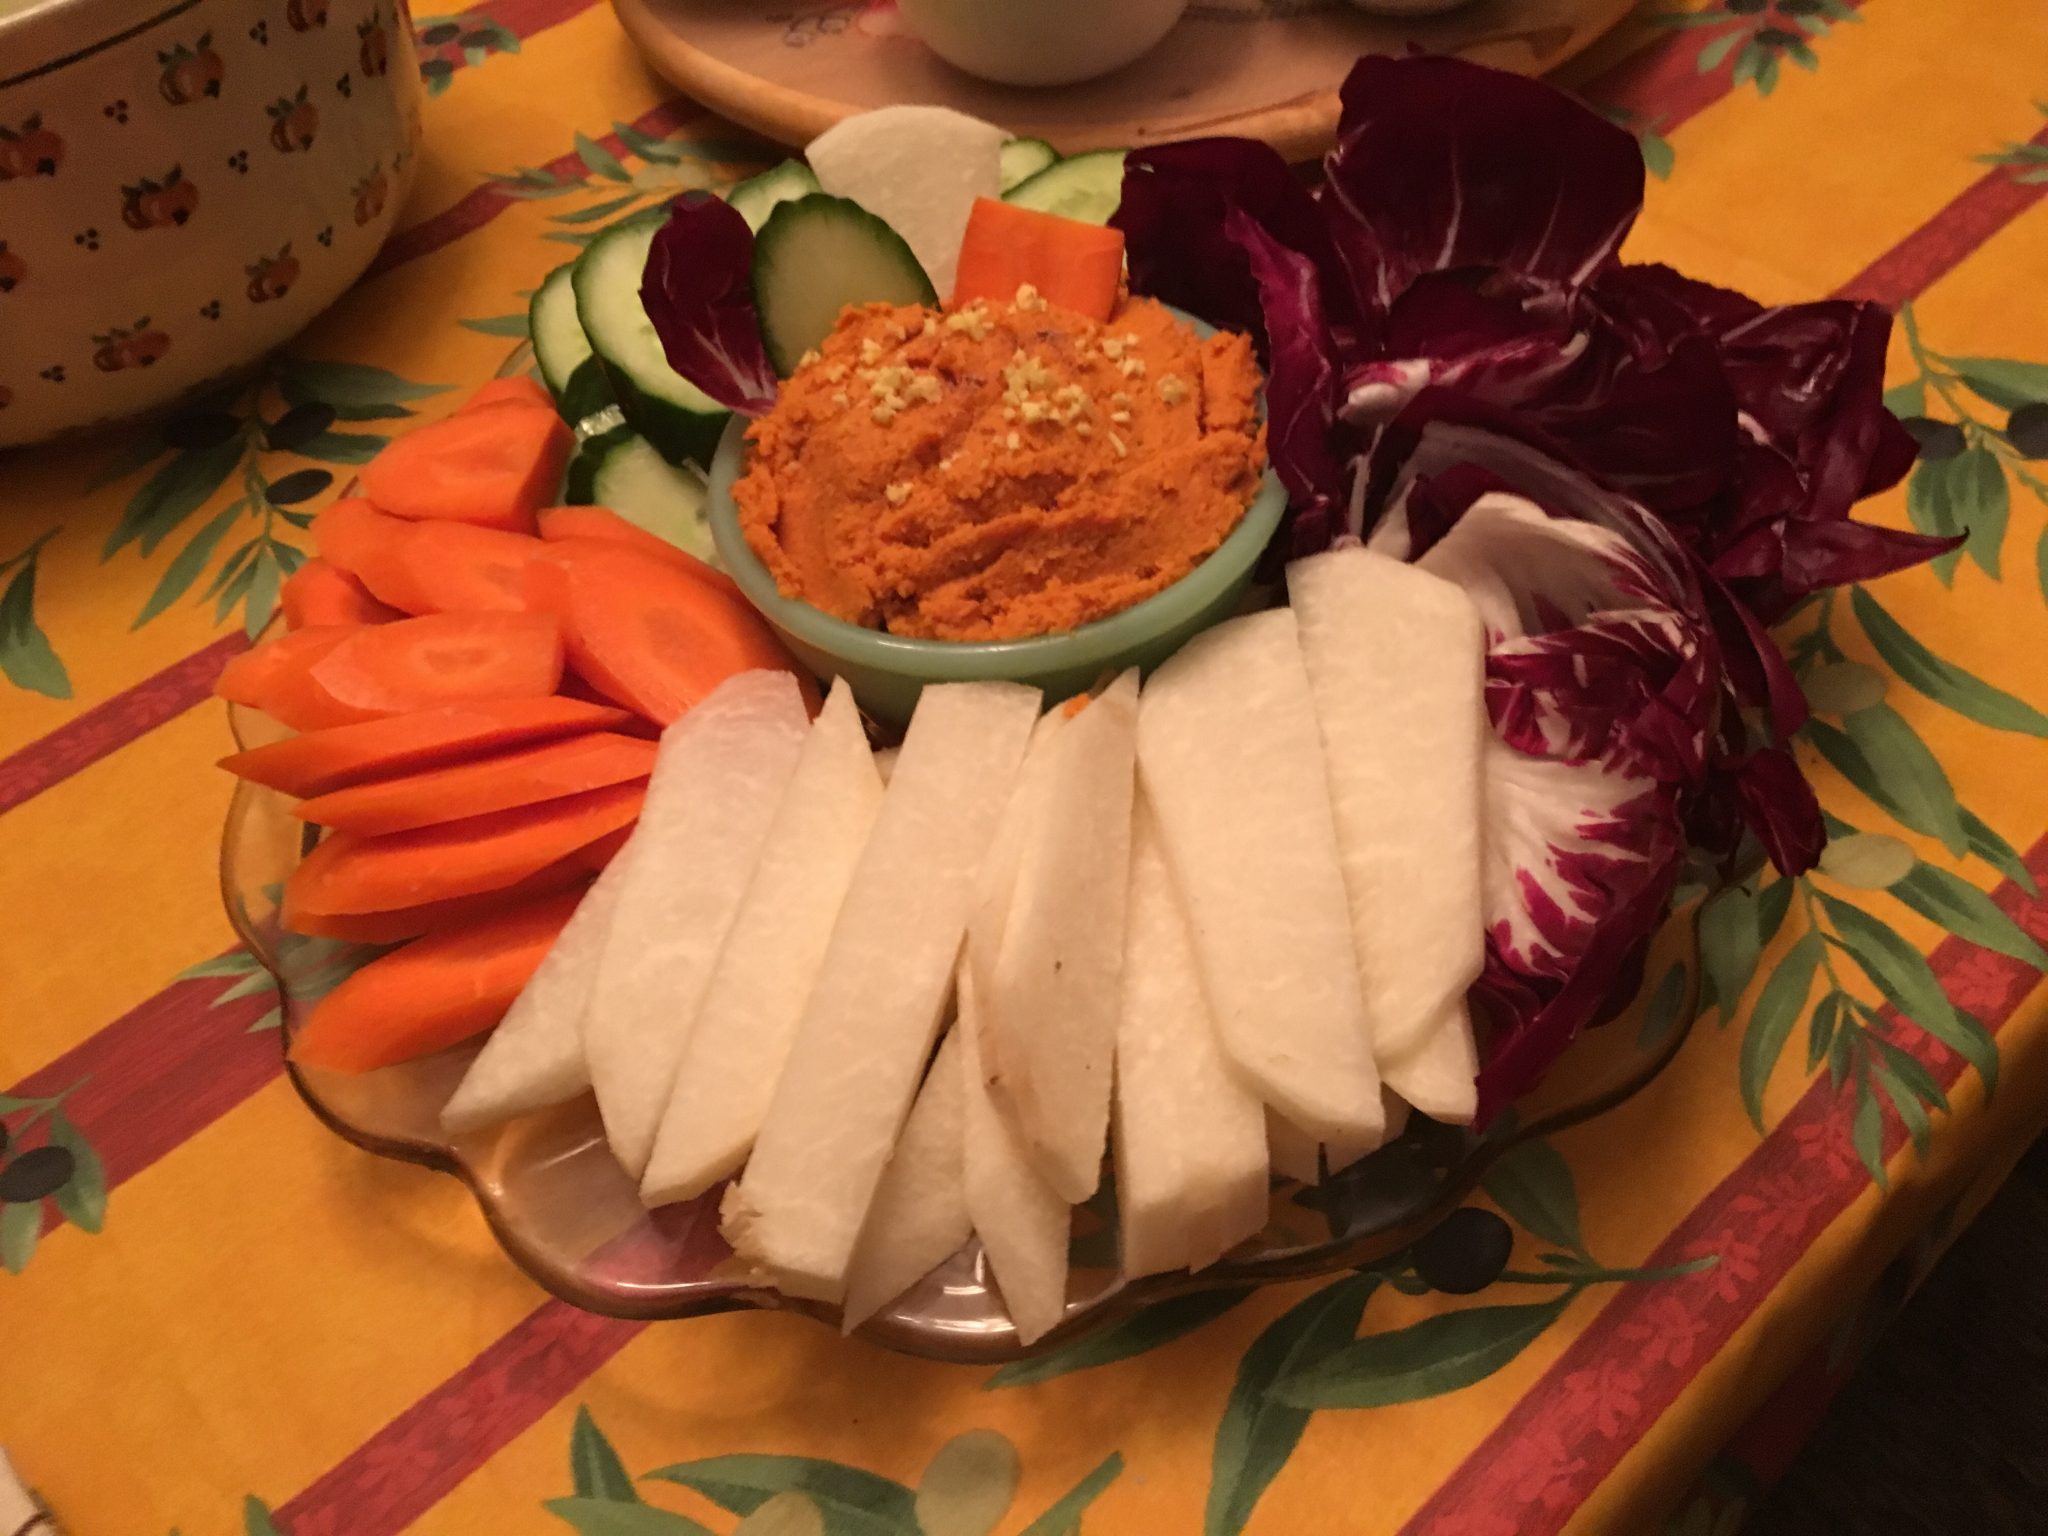
Carrot “Hummus” Recipe with raw veggies
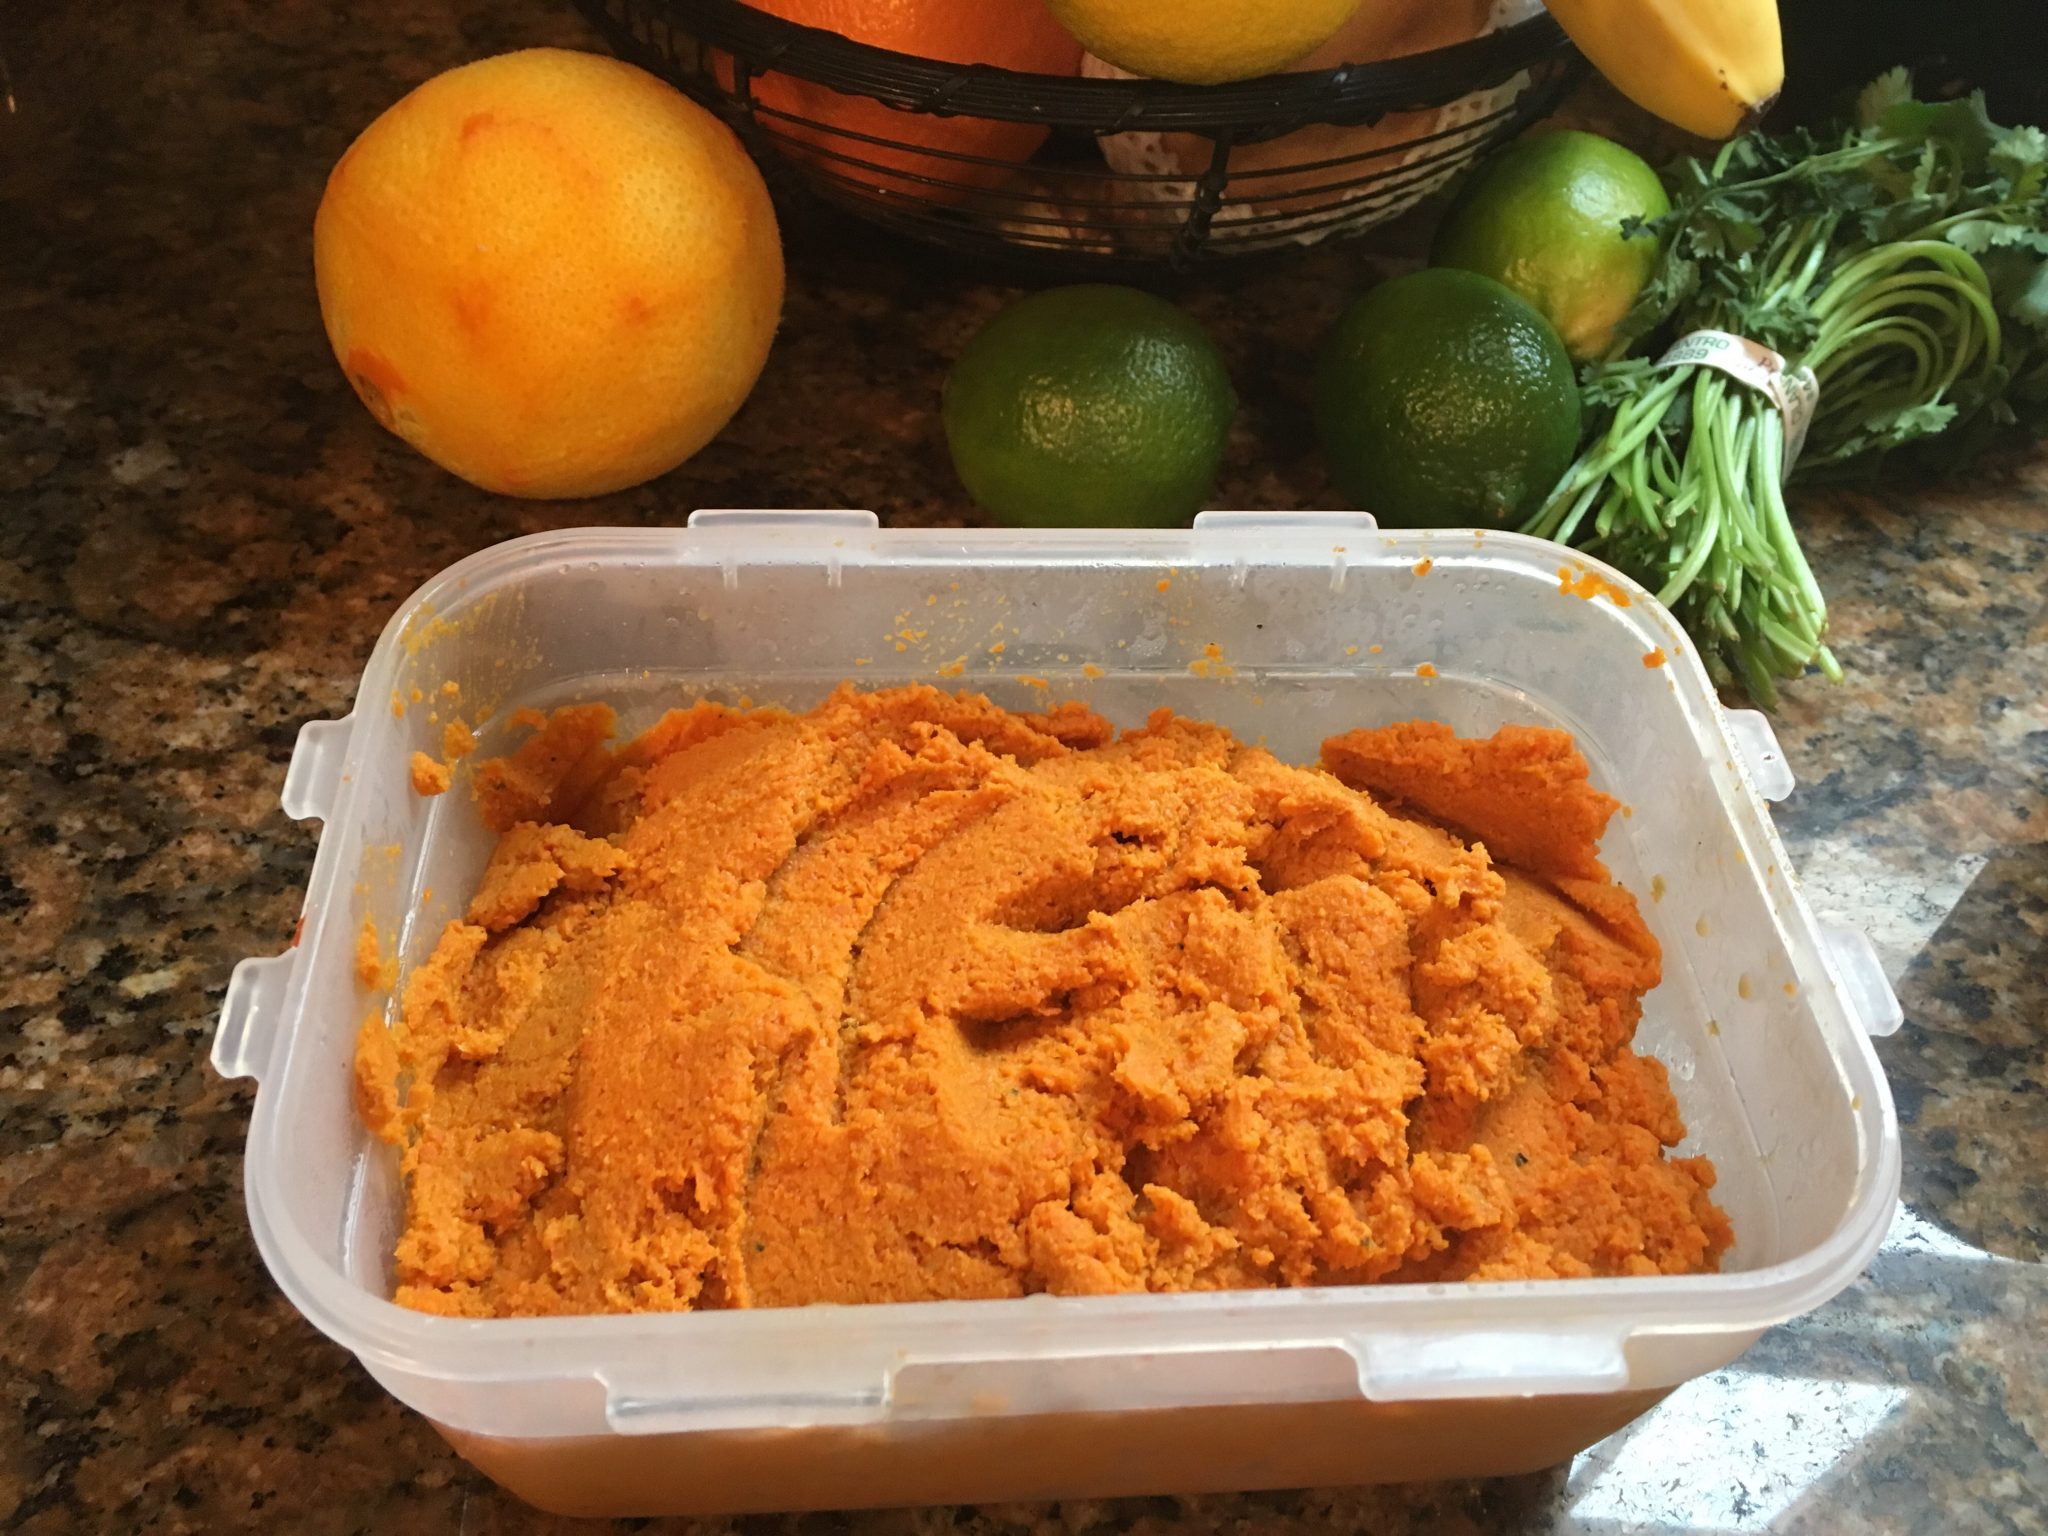
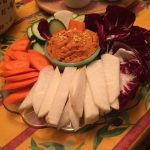 This dish can be made vegan or not; just depends on you time and needs. I have made several variations on this recently for a small rainy night dinner in 2017 and in 2016 Carrot Hummus at Easter and posted about it here. I found the recipe initially on the Joanne Weir website for CreateTV and adapted it some for my taste. Continue reading
Woohoo. Another win last night at dinner on the road.
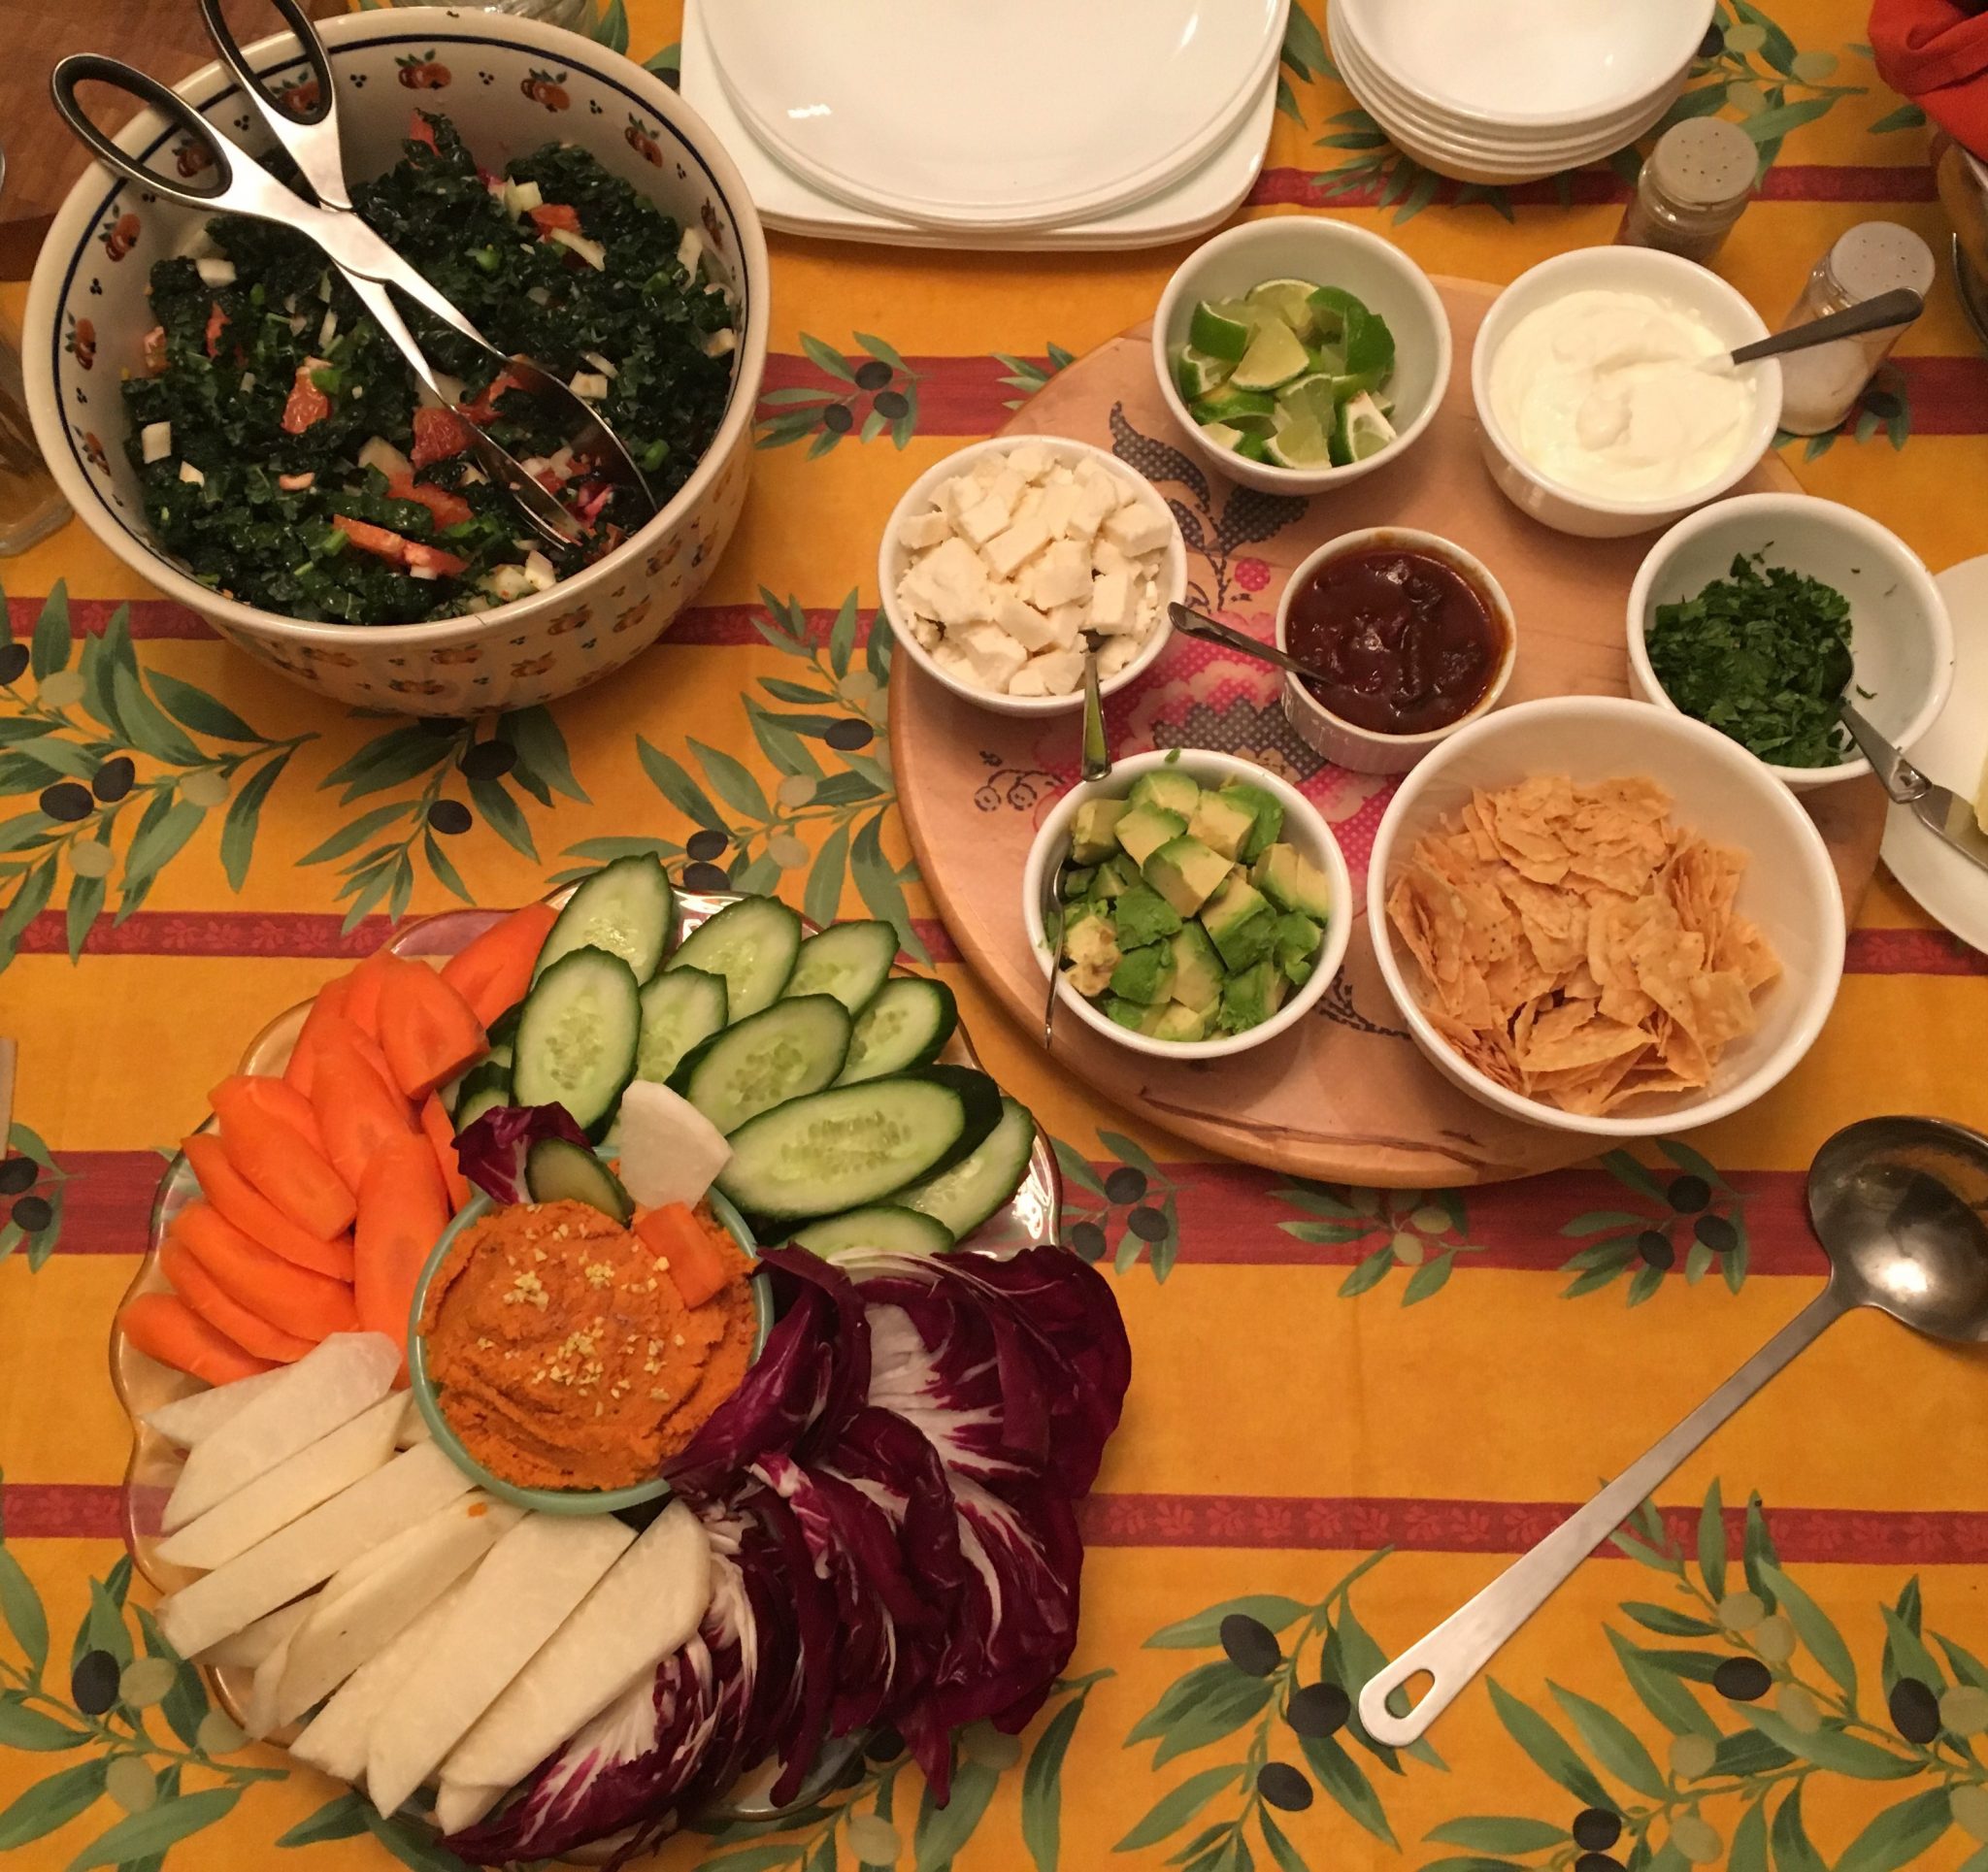
Vegan adapted Carrot “Hummus” rocked it last night. Perfect starter to the Mexican inspired chix soup with all the toppings & a citrus, fennal & kale salad.
Starting this week you can also find all my “official” recipes here as I convert them from the blog posts for easier searching.
Adding in some great rustic sourdough bread, a homemade spelt loaf, some cheese and good talk made for a full night. Check for the full recipes here.
Paul’s work dinner party tonight, time to get cracken with some old fav’s to warm up the night
My partner, Paul and his colleague M, wanted to have a dinner party with some folks from work; so I was volunteered to help pull the dinner party off – I wonder if I can pull this look off?
Since were going to hold it at her house, my thoughts were to go simple with good standards fitting the weather; so that means;
- A vegan Carrot “Hummus” with raw veggies as the chips
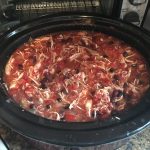
- For the main course; since the Mexican chicken soup was such a hit two weeks ago at home and is slow cooker friendly – it’s up again. Topped with all the fixings after a long slow cook and shredding the chicken – its a perfect rainy friday night dish.
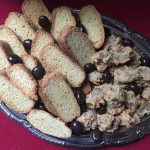
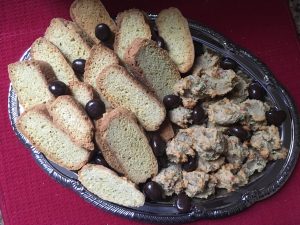
- For after supper, my favorite adaption of a black pepper biscotti and a new version of the old school italian “Ugly But Good” almond paste cookie should set the table for a great social tonight.
- Others will bring salad, cheese and crackers, and we’ve got a fresh loaf of baked bread to round it all off.
Recipes:
I first made the Carrot Hummus at Easter and posted about it here. I found the recipe initially on the Joanne Weir website for CreateTV and adapted it some for my taste. For this version I adapted it as a fully vegan version with out oil.
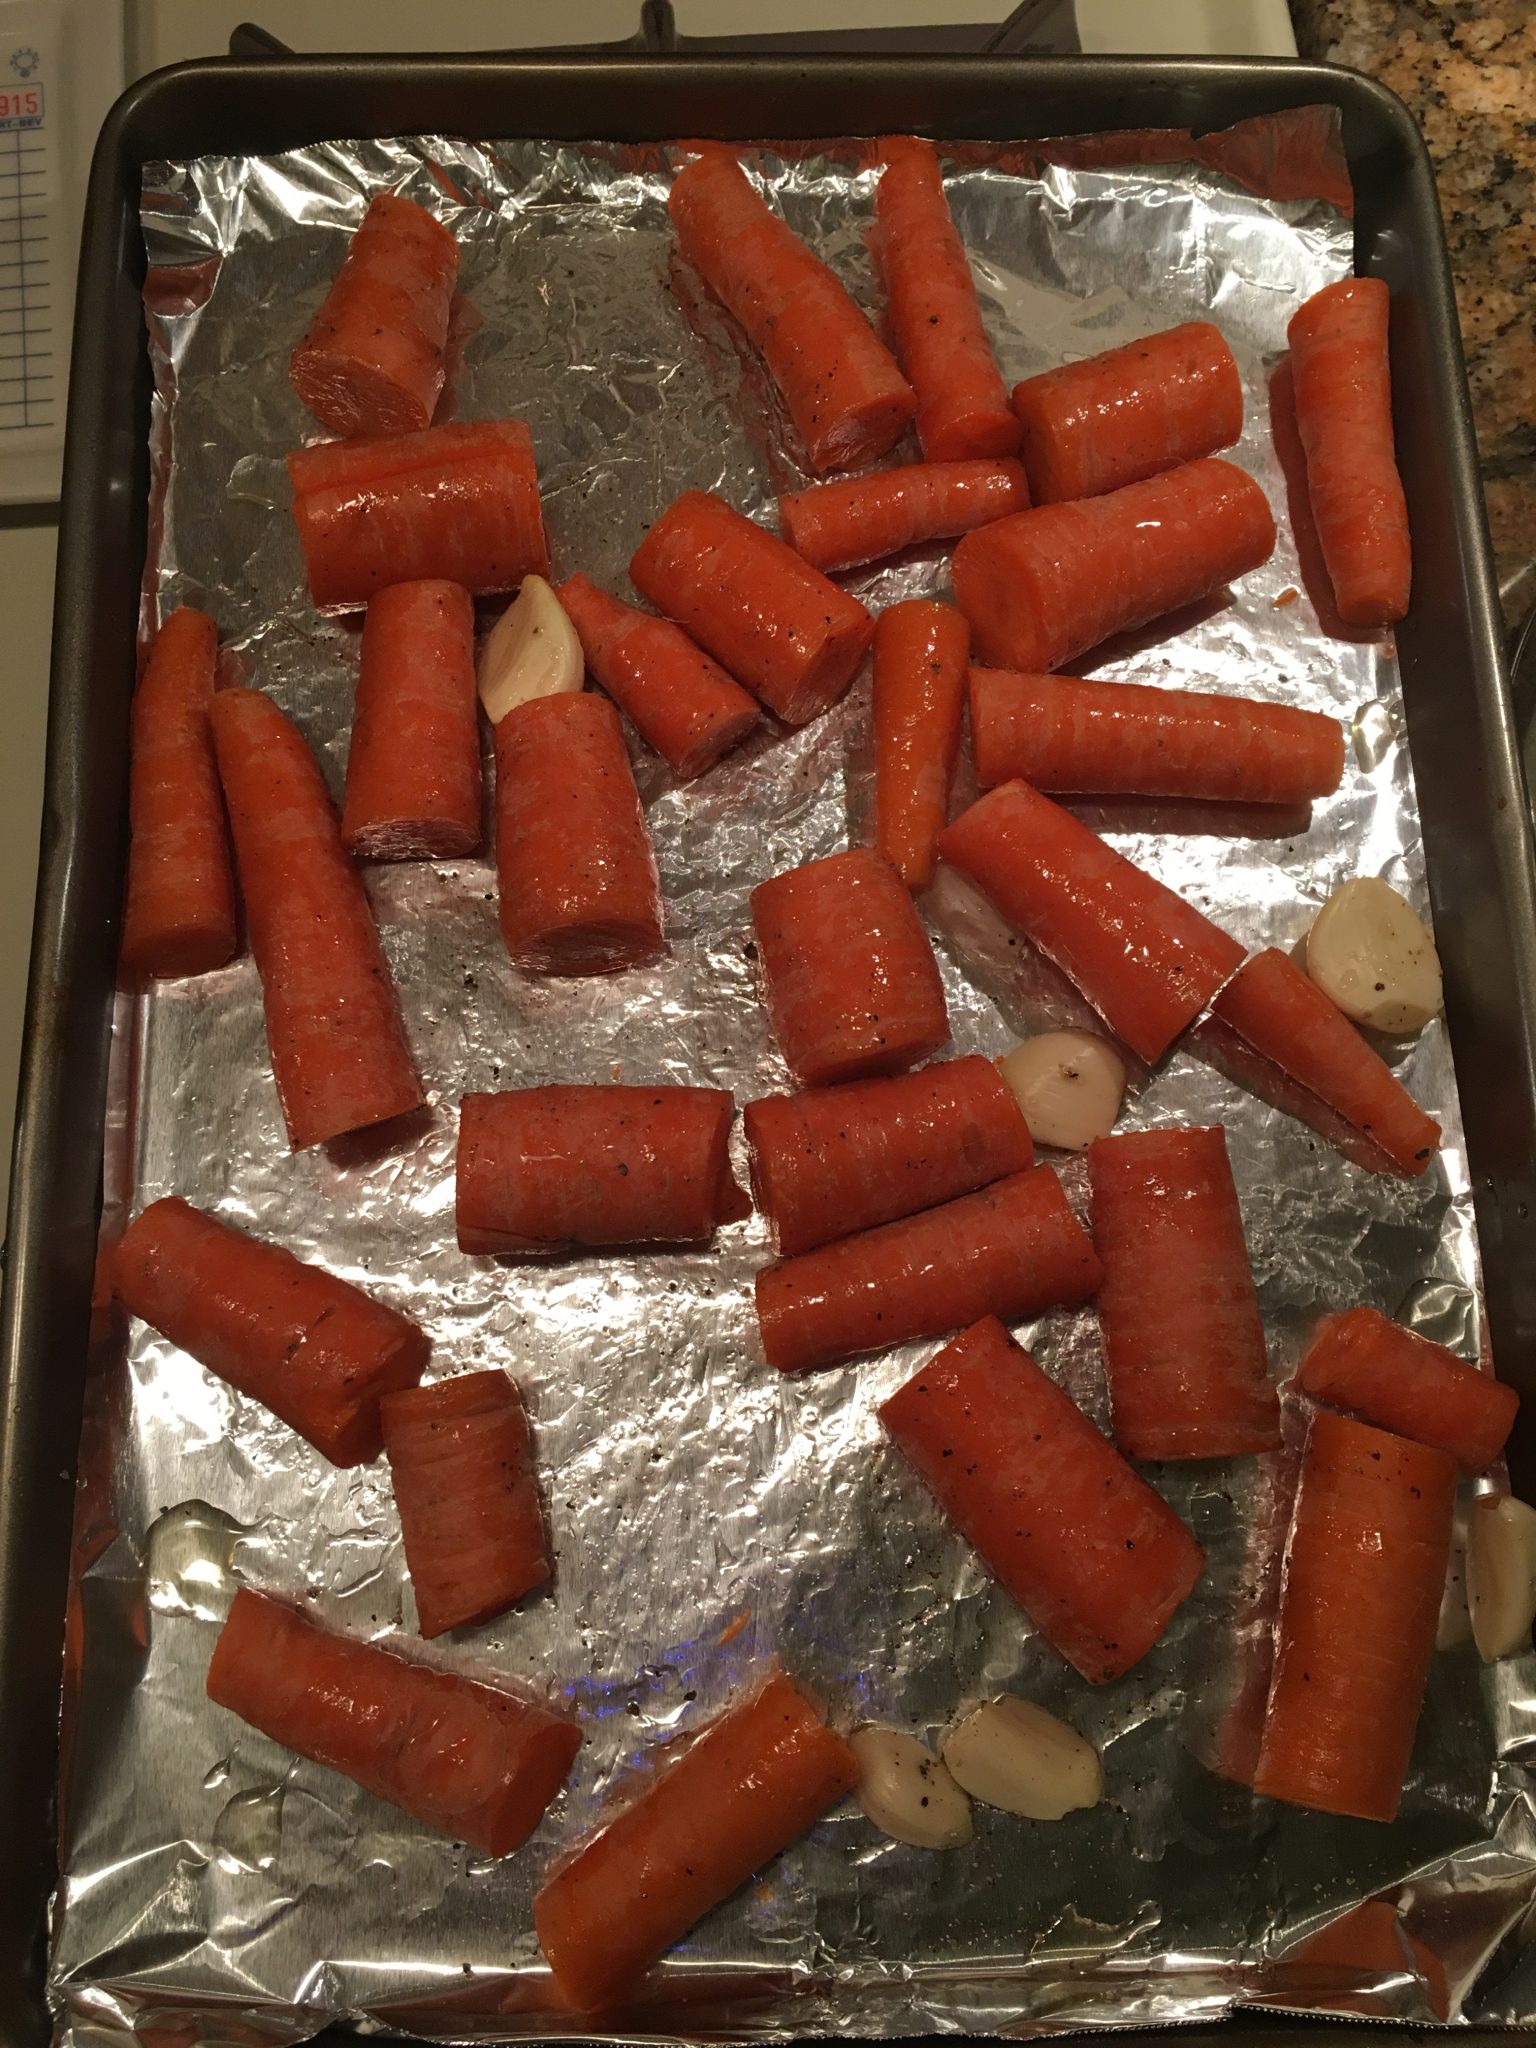
- 2 1/2 lbs large carrots, roughly cut into 1-inch pieces
- 4 pieces of pealed garlic whole
- Kosher salt
- 1 1/2 tablespoons Agave Nectar
- 2 tablespoons tahini (sesame paste in a pinch peanut butter or almond butter will work too I bet), well stirred (I might use up to 2 teaspoons more next time)
- 2 Tablespoons of sesame seeds, roasted and ground
- 1 teaspoon light brown sugar
- 1/2 teaspoon ground cumin
- 1/2 teaspoon toasted and ground cardamom
- Pinch crushed red chili pepper, or cayenne (or to taste)
- Juice and peel of one lemon
- Fresh squeezed lemon juice to taste
- Place the carrots, salt, and agave on a large piece of foil or parchment paper. Toss together. (I wanted a bit of a char on them so didn’t cover them, but it you wrap them up and seal the edges so the steam doesn’t escape. you will get a more mellow taste)
- Bake in the oven until tender, 20 minutes. Stir and continue to roast for 20 minutes.
- Remove from the oven and cool completely.
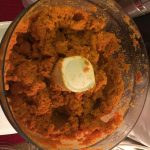
- Pour the entire packet of carrots and oil into to the food processor with the remaining ingredients (except for the water and lemon juice).
- Process until smooth, scraping down the sides of the bowl.
- Add water if needed to make a thick dip the consistency of hummus.
- Season with salt and lemon juice to taste. This is also when you can add more honey, spices etc.
For the Soup
I first came across this on Ree Drummond’s Food Network show the Pioneer Woman but she also did a version on her blog back in 2015 here. I made a first batch a few weeks ago and was surprised at how good and easy it was. I have made some adaptions for our tastes below.
- 5 boneless, skinless whole chicken breasts (The original recipe called for 3 – but I needed family stye for men)
- 1 teaspoon chili powder
- 1 teaspoon ground cumin
- Kosher salt and freshly ground black pepper
- One 28-ounce can whole or diced tomatoes, with juice
- 32 ounce low-sodium chicken broth (you can add less initially if you want it thicker)
- 2 15-ounce can black beans, drained and rinsed
- One 10-ounce can diced tomatoes with green chiles, such as Ro*tel
- 1 small can of tomato paste
- 1 medium onion, chopped
- 1 red bell pepper, seeded and chopped
- 1 yellow bell pepper, seeded and chopped
- 2 small or 1 large pepper chopped and 1 teaspoon of the adobo sauce from a canned chipotle pepper in adobo (you may add more peppers if you like but it has some heat – I will leave the rest as a garnish)
- Juice of 1/2 to 1 lime, (to taste – you could end up using the whole lime or serve some as garnish)
- 1 can of roasted corn (or fresh roasted off the grill if you have it)
Salt, Pepper and Cumin one side of the chicken and lay flat in the bottom of slow cooker. add more pepper salt, cumin and the chili powder.
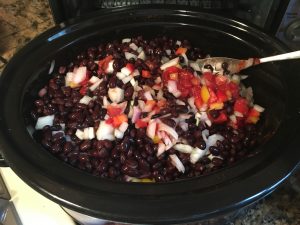 In layers, add the tomatoes, black beans, tomatoes with chiles, tomato paste, onion, chipotle pepper and red and yellow peppers, chicken broth. Stir, place the lid on the slow cooker and cook for 5 hours on high or 8 hours on low.
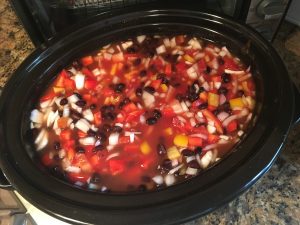
Add in the corn (with out it’s liquid). Stir in the lime juice. Remove the chicken to a plate and use 2 forks to break it into chunks (or shred it finely). Return the chicken to the pot, taste and add more seasoning if necessary.
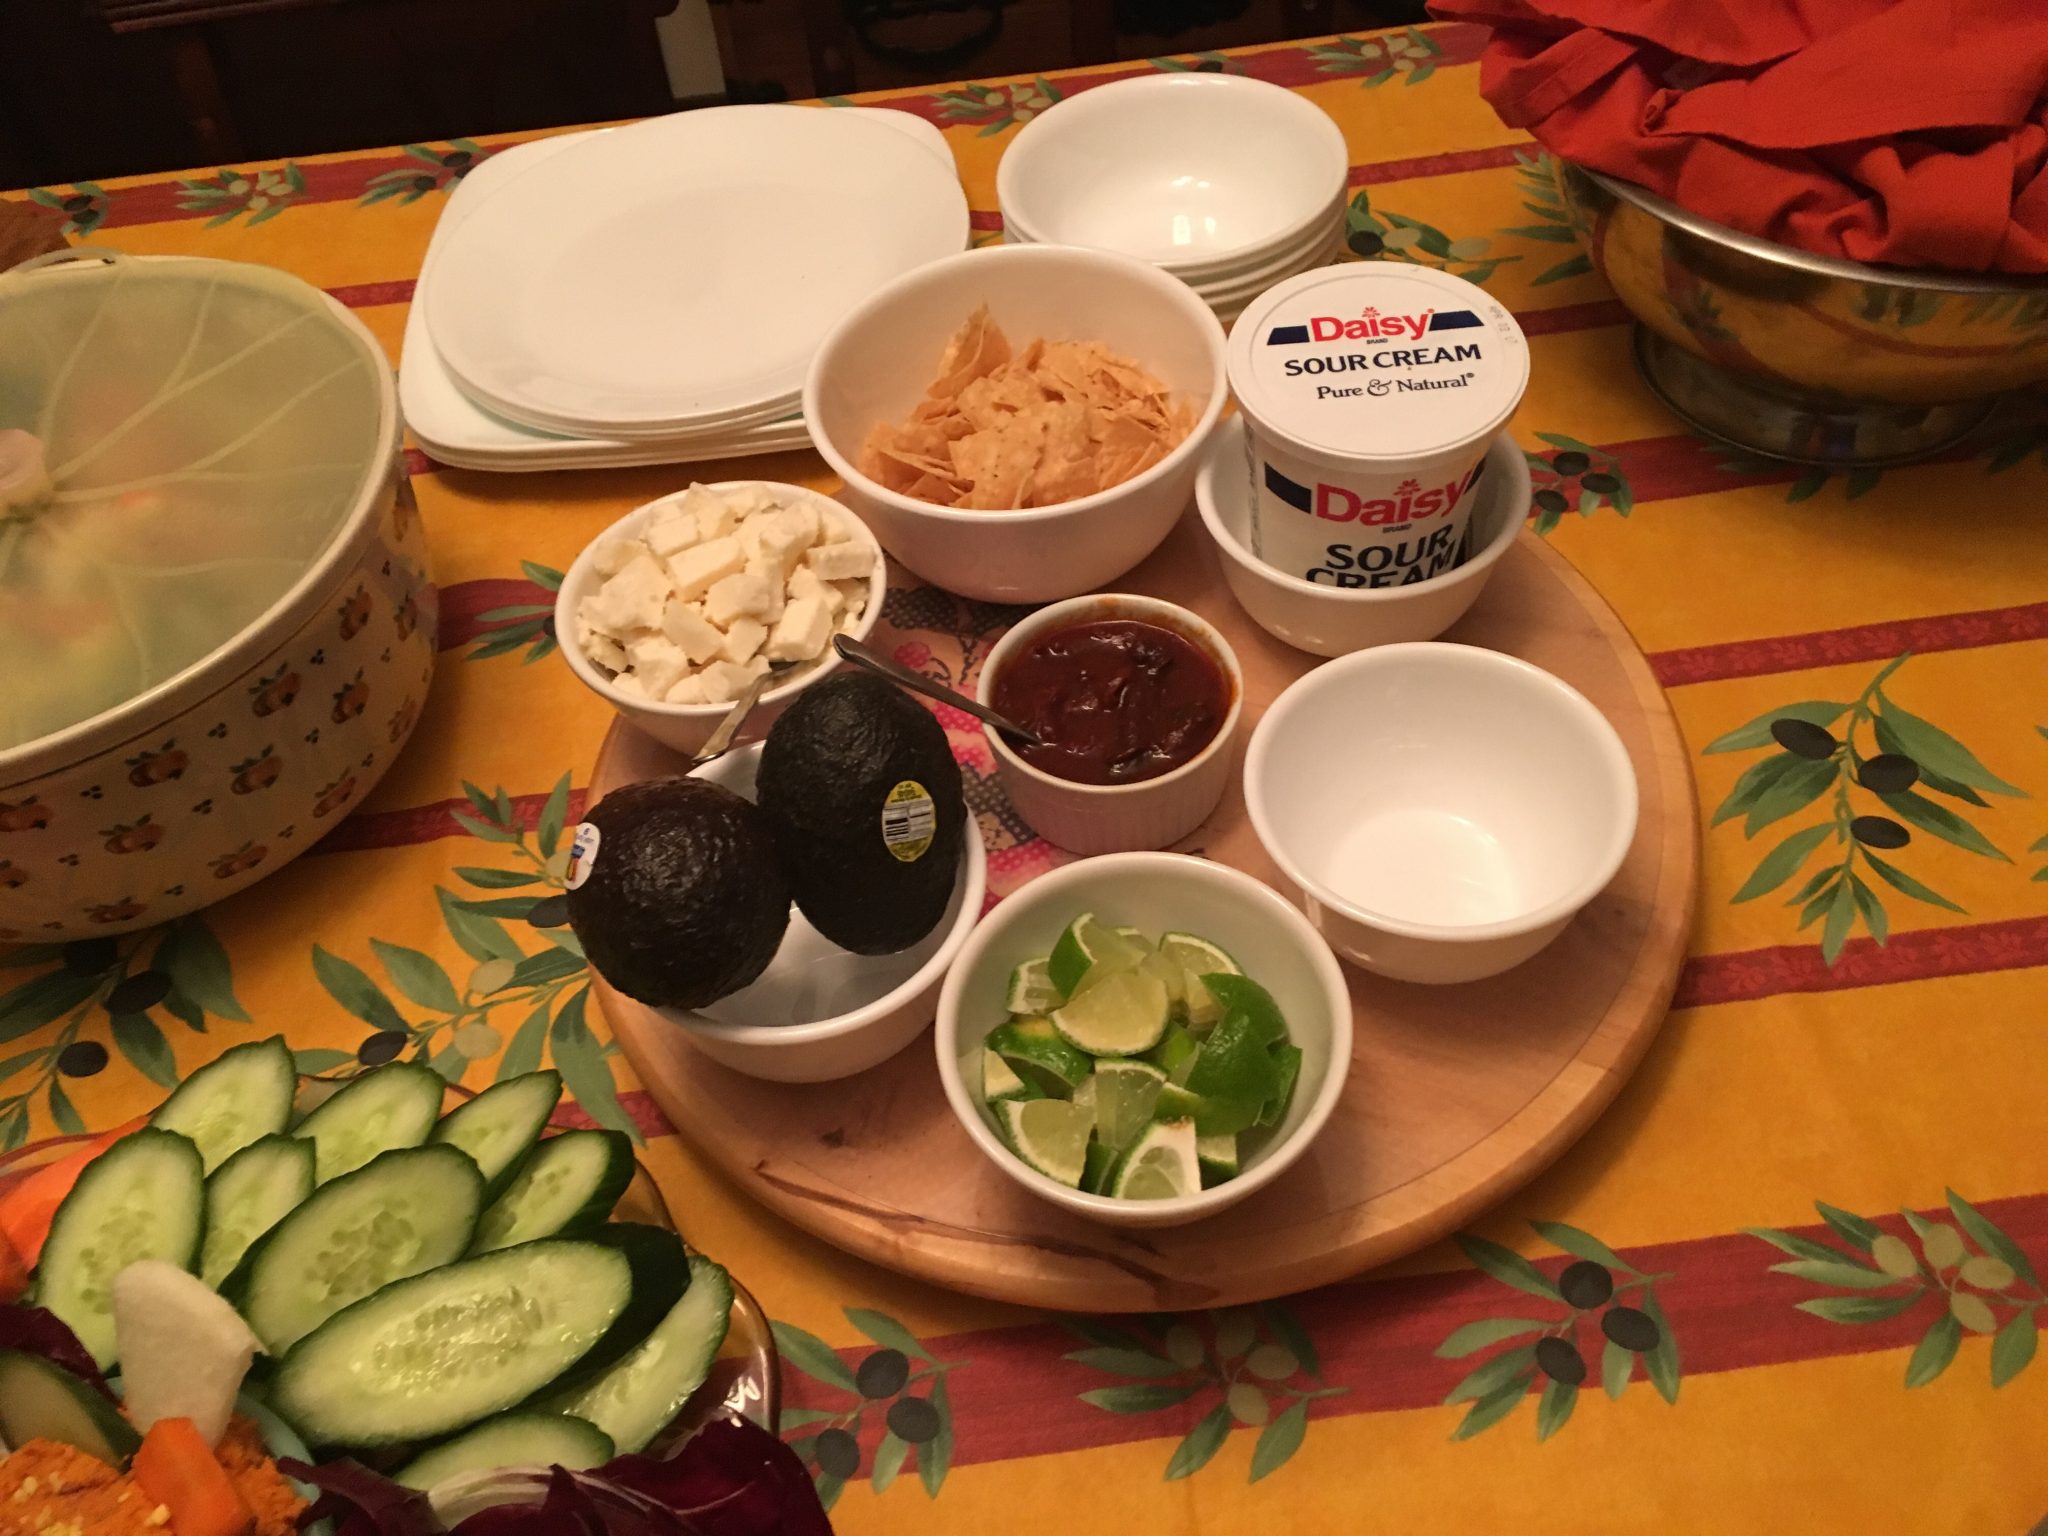
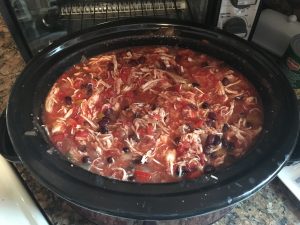 Serve piping hot in a bowl with avocado, sour cream, grated cheese, crushed tortilla chips and cilantro leaves on top!
Don’t forget to serve it with the fixings – it makes the whole dish: avocado, sour cream, crumbled cheese, crushed tortilla chips and fresh cilantro leaves
And of course the Cookies
Black Pepper, Vanilla & Orange peel I wrote about on “the battle rages on” which is actually yet its own adapted recipe Valerie Bertinelli’s Helen’s Black Pepper Biscotti is one I know Paul’s boss loves. So this was a remake for her.
Ingredients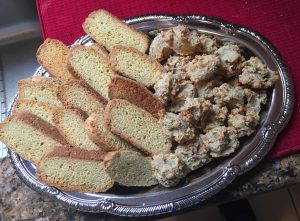
- 2 3/4 cups all-purpose flour
- 1/2 teaspoon baking soda*
- 1/2 teaspoon baking powder*
- 1 tablespoon freshly ground black pepper ( I use a mix of fine ground and course grind for taste and texture.)**
- Pinch kosher salt
- 1/2 cup (1 stick) unsalted butter, softened
- 1 cup sugar
- 3 large eggs, at room temperature
- 2 teaspoons grated orange zest (I tend to get the organic ones or ones I pick from my pals garden- depending on size of orange this may be 1 -oranges )
- The zest of one lemon
- 1 1/2 teaspoons vanilla extract
- 1/4 teaspoon almond extract
Sift together the flour, baking soda and baking powder in a medium bowl. Stir in the pepper and salt. Set aside.
With the mixer on low, slowly pour in the flour mixture, and then the walnuts. Mix a few minutes till the dough texture is formed a sticky mess 😉 .
(You can also do this by hand and fold them in then work the dough by hand till smooth).
Pour the dough out on to a lightly floured plastic wrap covered surface or clean counter top. Gently knead the dough to shape with your hands to form a thick round ball shape. The dough is super easy to handle at this piont. Cover the dough with plastic wrap and refrigerate for 30 minutes. (For this batch I omitted nuts). 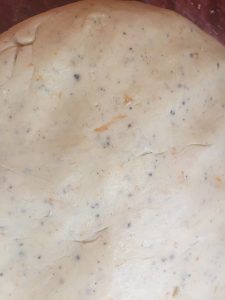
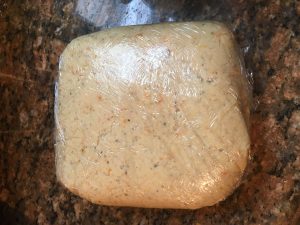
Preheat the oven to 350 degrees F. Line 2 baking sheets with parchment paper ( nonstick silicone liners also work).
Remove from the refrigerator, unwrap and divide the dough in half, and shape each piece into a 12-inch log, about 2 inches across and 1 inch tall. (note you can make these as wide or thick as you like – I find because of the texture and taste of these, I tend to like a finished bake that is about 3 inch long and 1.5 inch high you may have to play with it a few times). But they don’t need to be preferfect. In fact any uniform shape will work.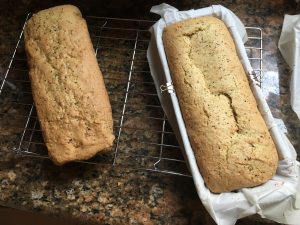
Because I wanted to use less space – I actually cooked this in old-school metal ice trays lined with parchment paper. Bake until the logs are cooked through and lightly browned on the bottom, about between 30 – 35 minutes, depending on your oven and pans. 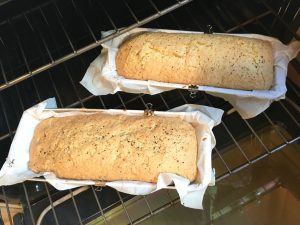 Watch them the last 5- 10 minutes as this could differ based on your pan and stove temp.
Let the logs cool for about 5-7 minutes on the baking sheets (leave the oven on), then transfer them carefully to racks (remove the parchment paper) to cool 10-15 minutes more.
Using a serrated knife, slice each log either on the diagonal (to give you a fancy shape) or straight across into 3/4-inch-thick slices. 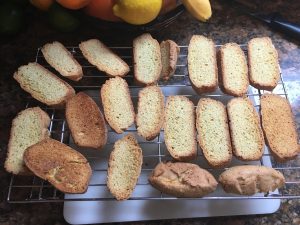 Arrange the slices cut-side down on the baking sheets and return to the oven until well toasted, 10 to 15 minutes more. I general flip mine over about half way to get even color.
Note: These biscotti have a great golden color to them which will darker to as you “second bake”. If you want to keep them less brown; adjust time or instead of laying them on the cut sides, leave the standing cooked side down.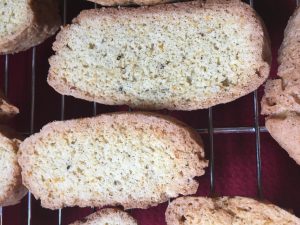
Transfer the biscotti to cooling racks to cool completely. The longer they bake the harder they become. Note: they will continue to harden as they cool. Store in tins or air tight containers (QVC favorite Lock & Lock rock for this). They will keep, tightly covered, up to 1 week.
This Cook’s Note came from the recipe website and I thought worth sharing: To toast the walnuts or most nuts on the stove top, put them in a dry skillet over medium heat and cook, stirring, until golden and fragrant. To toast them in the oven, spread in a single layer on a baking sheet and roast at 350 degrees F until golden and fragrant. In either case- the minute you smell them – get them off the heat.
Ugly But Good Cookies (aka Brutti Ma Buoni)
These quick and simple almond cookie are a old-school cookie that adapts well. I have made version chocolate covered cherries, candied ginger, gluten free etc. they are pretty forgiving. Pack a lot of flavor and is a nice “host” gift if you are going to someones for dinner.
Ingredients
- 1/2 lb of Almond Paste
- 1 Egg White – I use large eggs for this
- 3 tablespoons of flour (Almond flour works great too, This is one of my favorite brands)
- 1/2 cup of chopped assorted dried fruit (or do like I do and buy the “Fruit Cake Chopped Candied Fruit“)
- 1 teaspoon of orange zest
- 1 Tablespoon Vanilla Extract (get a good one)
- 1 Tablespoon of Amaretto (or use Amaretto flavored Syrup or even Almond Extract
Preheat the over to 300 degrees.
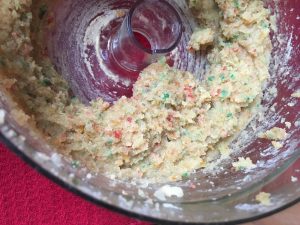
In a food processor; blend almond paste and egg white until smooth, add rest of the ingredients until just mixed.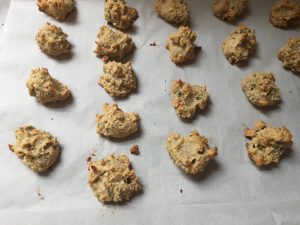
On a parchment paper covered pan, drop teaspoon sized scoops of the mix. Don’t bother trying to make them pretty – they will grow and cook organically which is what is why they named it that way.

If you are using chocolate or cherries, you could top with a one on the top it try and dress it up.
Bake for 25 minutes till golden. Cool and serve. they should keep about a week in an air tight container.
Simple & Straight Forward Coddled Eggs
This simple steamed egg dish is a perfect, quick and easy way to make eggs. This is to prepare two eggs. But keep in mind if you use smaller eggs; double up!
Essentially preparing coddled eggs is just a fancy way describe gently or lightly cooked eggs. In the past – they eve n had a bunch of really lovely glassware called “coddlers” to use to cook and serve them in. Some ways of preparing them include cooking them in the eggs shells themselves, or cooking & serving them in the coddlers or ramekins or the coddlers serving as a cooking mold and they are up-ended out onto the plate. Chefs and cooking host from Martha Stewart to Jacque Pepin have plenty of recipes for them. In fact it was the Heart & Soul recipe series from Pepin that prompted this breakfast. You can find a bunch of those versions here. Cooking them doesn’t need any fancy equipment; you can use regular style 4 or 6 ounce shuffle ramekins or the ones I tend to use; the 6 ounce pyrex custard cups. You can even find specialty ramekins or “coddlers” as they are known at antique stores or Amazon.
