Rainy night dinner in; Chicken Pot Pie with Cheddar Herb Biscuit Topping

This weekend was definitely one of those – lets stay in and cook ones. Between the rain and the miserable drivers; it just was worth it to me to head out on Saturday night. So while figuring out what to make, Paul suggested I do Chicken Pot Pie.

Seemed like a good idea and one that would be able to handle a casual night at home. The is the adapted recipe I use.

img_0201
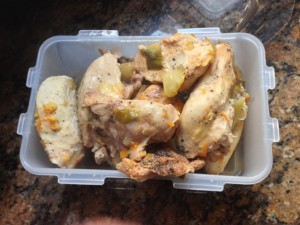
Note: For this version I worked with what was already “almost, almost” home made. That meant I used a boxed biscuit mix (2 of them), Cooked and shredded chicken; our local grocery store roasts them and started selling the shredded meat. To make this even easier – use the pre-chopped veggies. the other important thing to remember about this recipe is that the amounts are suggestion – customize it to what you have handy.

What to have handy:

  • 1-2 tablespoon of canola or corn oil (coconut or olive oil will work too I am thinking)
  • 1 clove of garlic (or 1-2 teaspoons of pureed Garlic from the tube)
  • 1/2 – 1 cup flour
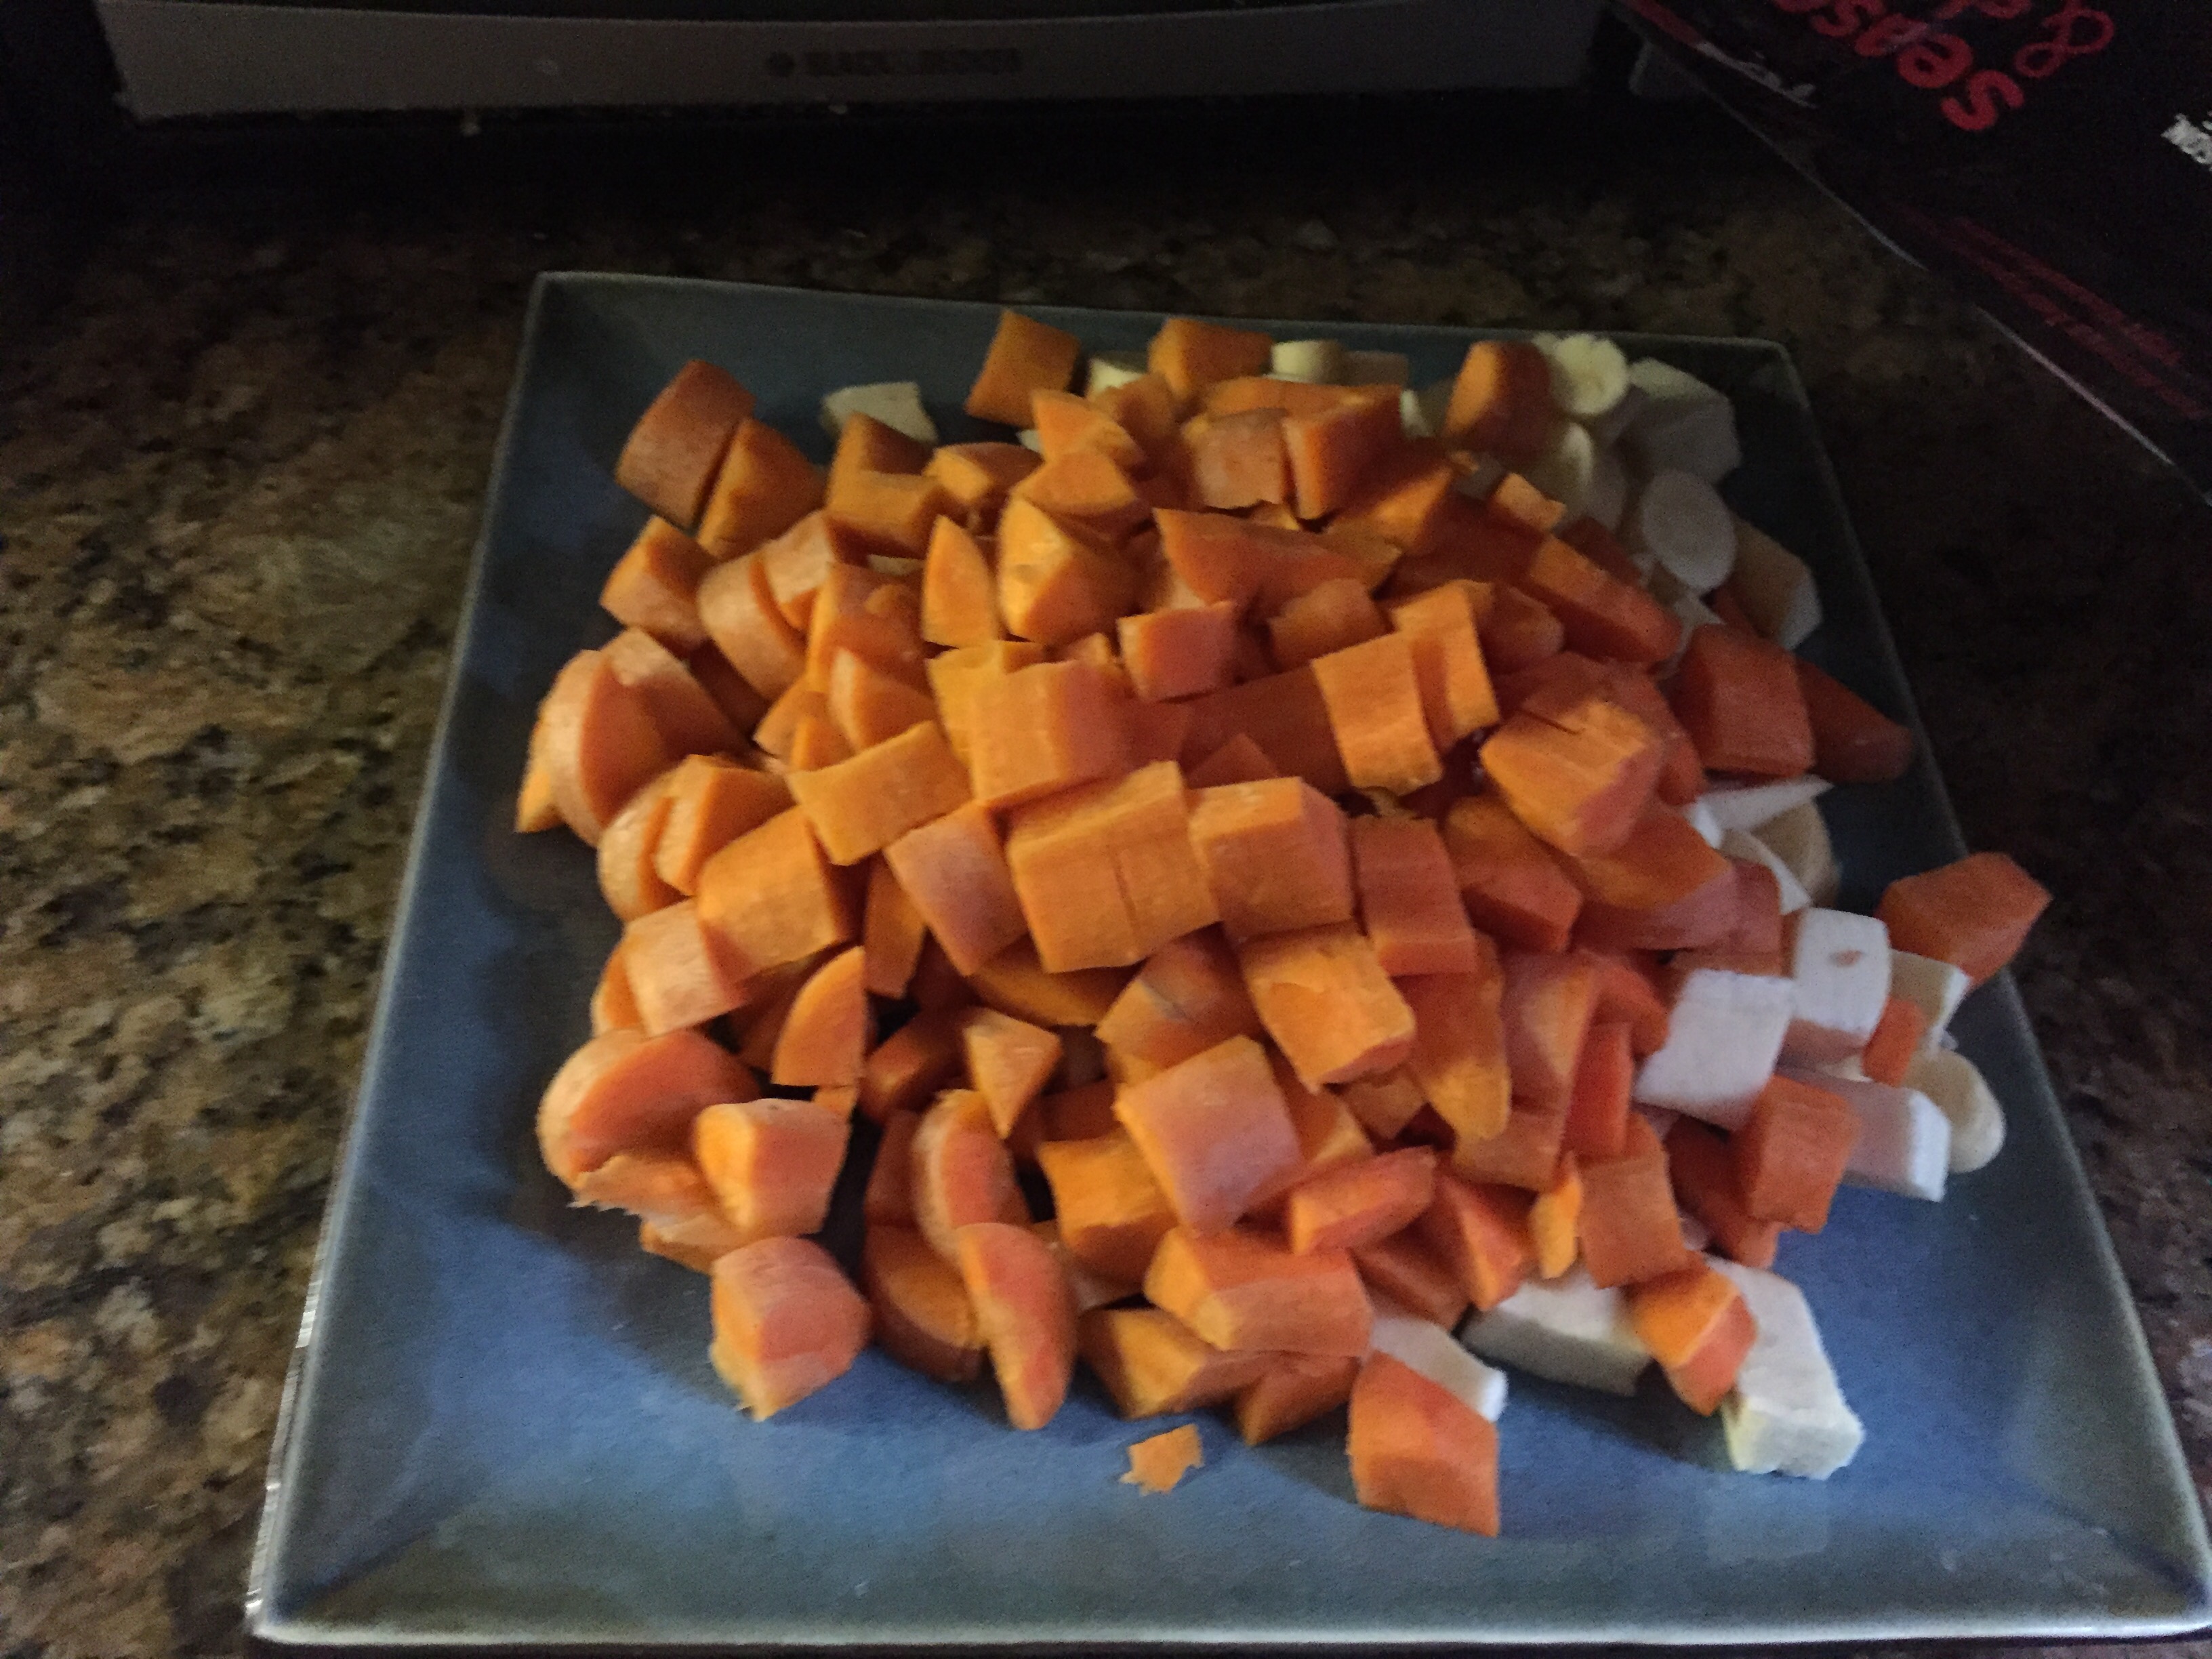
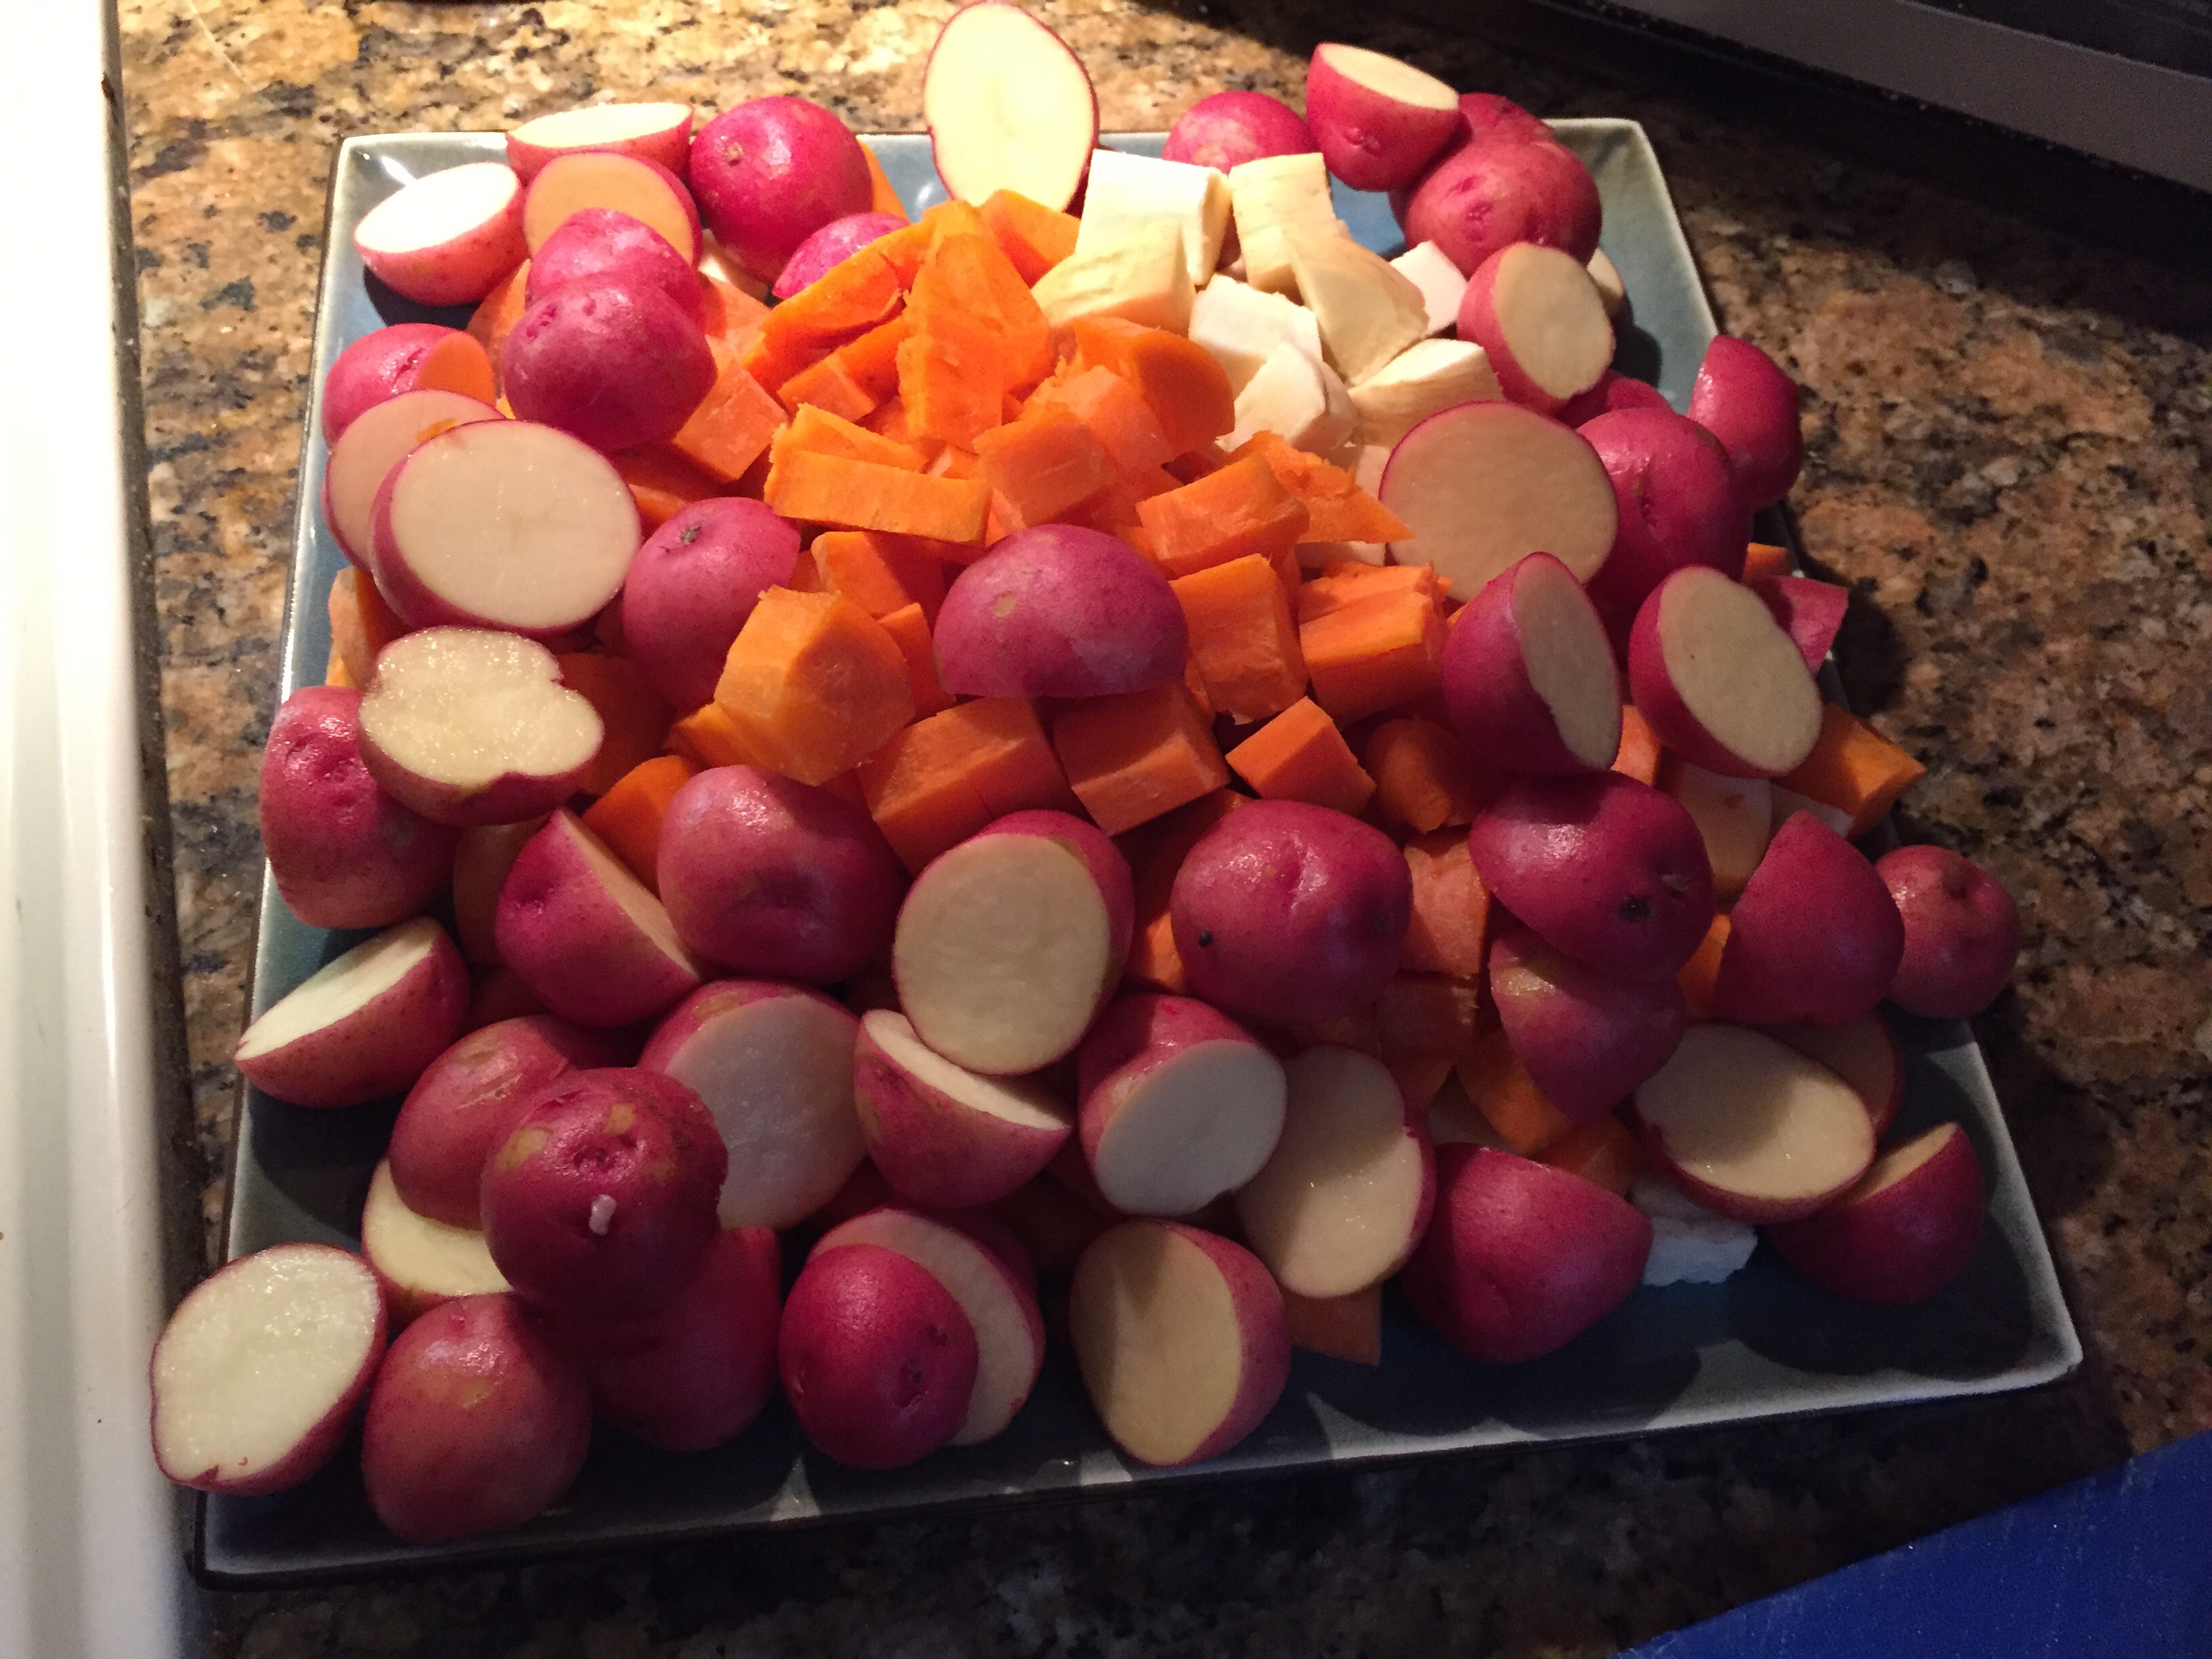
  • 2 cups chopped Carrots
  • 2 cups cubed Yams
  • 1 cup chopped Celery
  • 1 med Onions chopped
  • 1 bag frozen Peas
  • 2 packages of cooked touch shred chicken (between 3-4 cups)
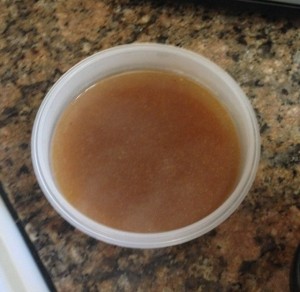
  • 7 cups of Chicken Stock (low sodium)
  • 1/4 – 1/2 teaspoon Salt
  • 1/4 – 1/2 teaspoonPepper
  • Chopped Parsley
  • Poultry spice mix (or any combination your prefer)

Preheat the oven to 425 degrees

In a heavy skillet; over medium-high heat (for cast iron pan, you may want to used medium heat and gauge the heat level once hot):

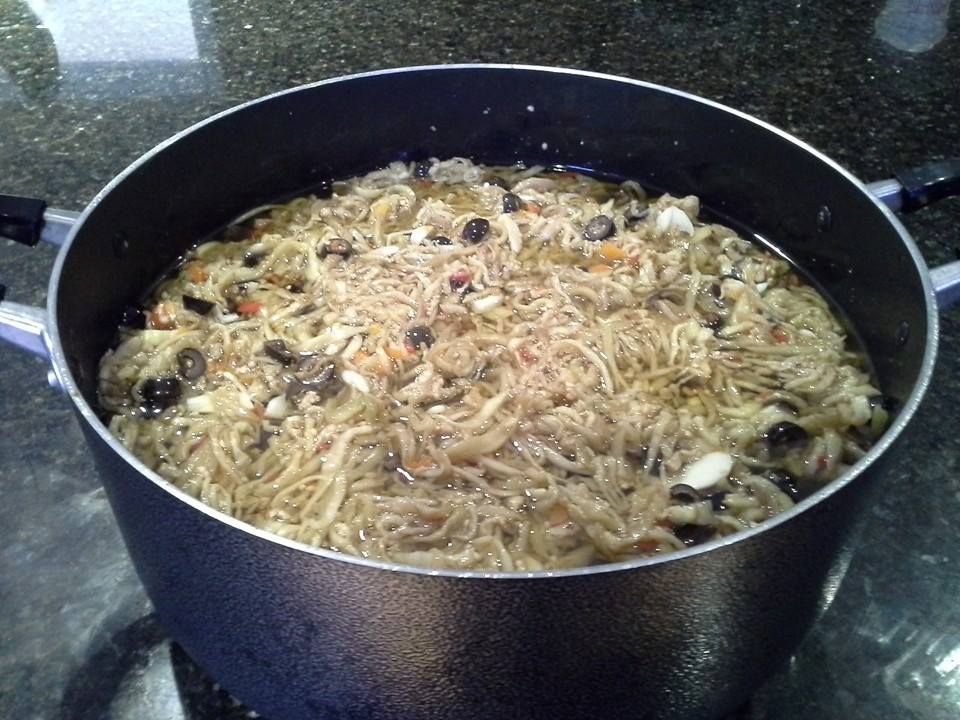
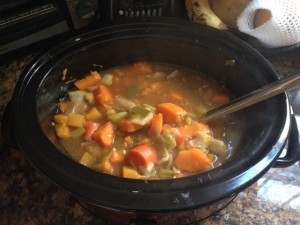
Toss in the oil, carrots and yams, stir to coat with oil for 2-3 minutes, then add celery, onions. Stir and cook another 3 minutes, add garlic, salt, pepper and 1 teaspoon of the poultry spice mix. Stir and continue to cook until veggies are cooked through but not browned.

 Add 1/2 cup of flour (or a gluten free alternative) on top of the veggies and stir, cooking for a few minutes more.

Add 6 cups of chicken stock, holding back 1 cup for later if needed.

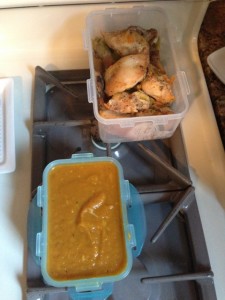
Now – if by now you realize your skillet isn’t large enough (which happened to me),  take out 1/2 of the mixture and add it to your casserole dish. If you are using a 1/2 recipe you can actually back the whole dish in the skillet.

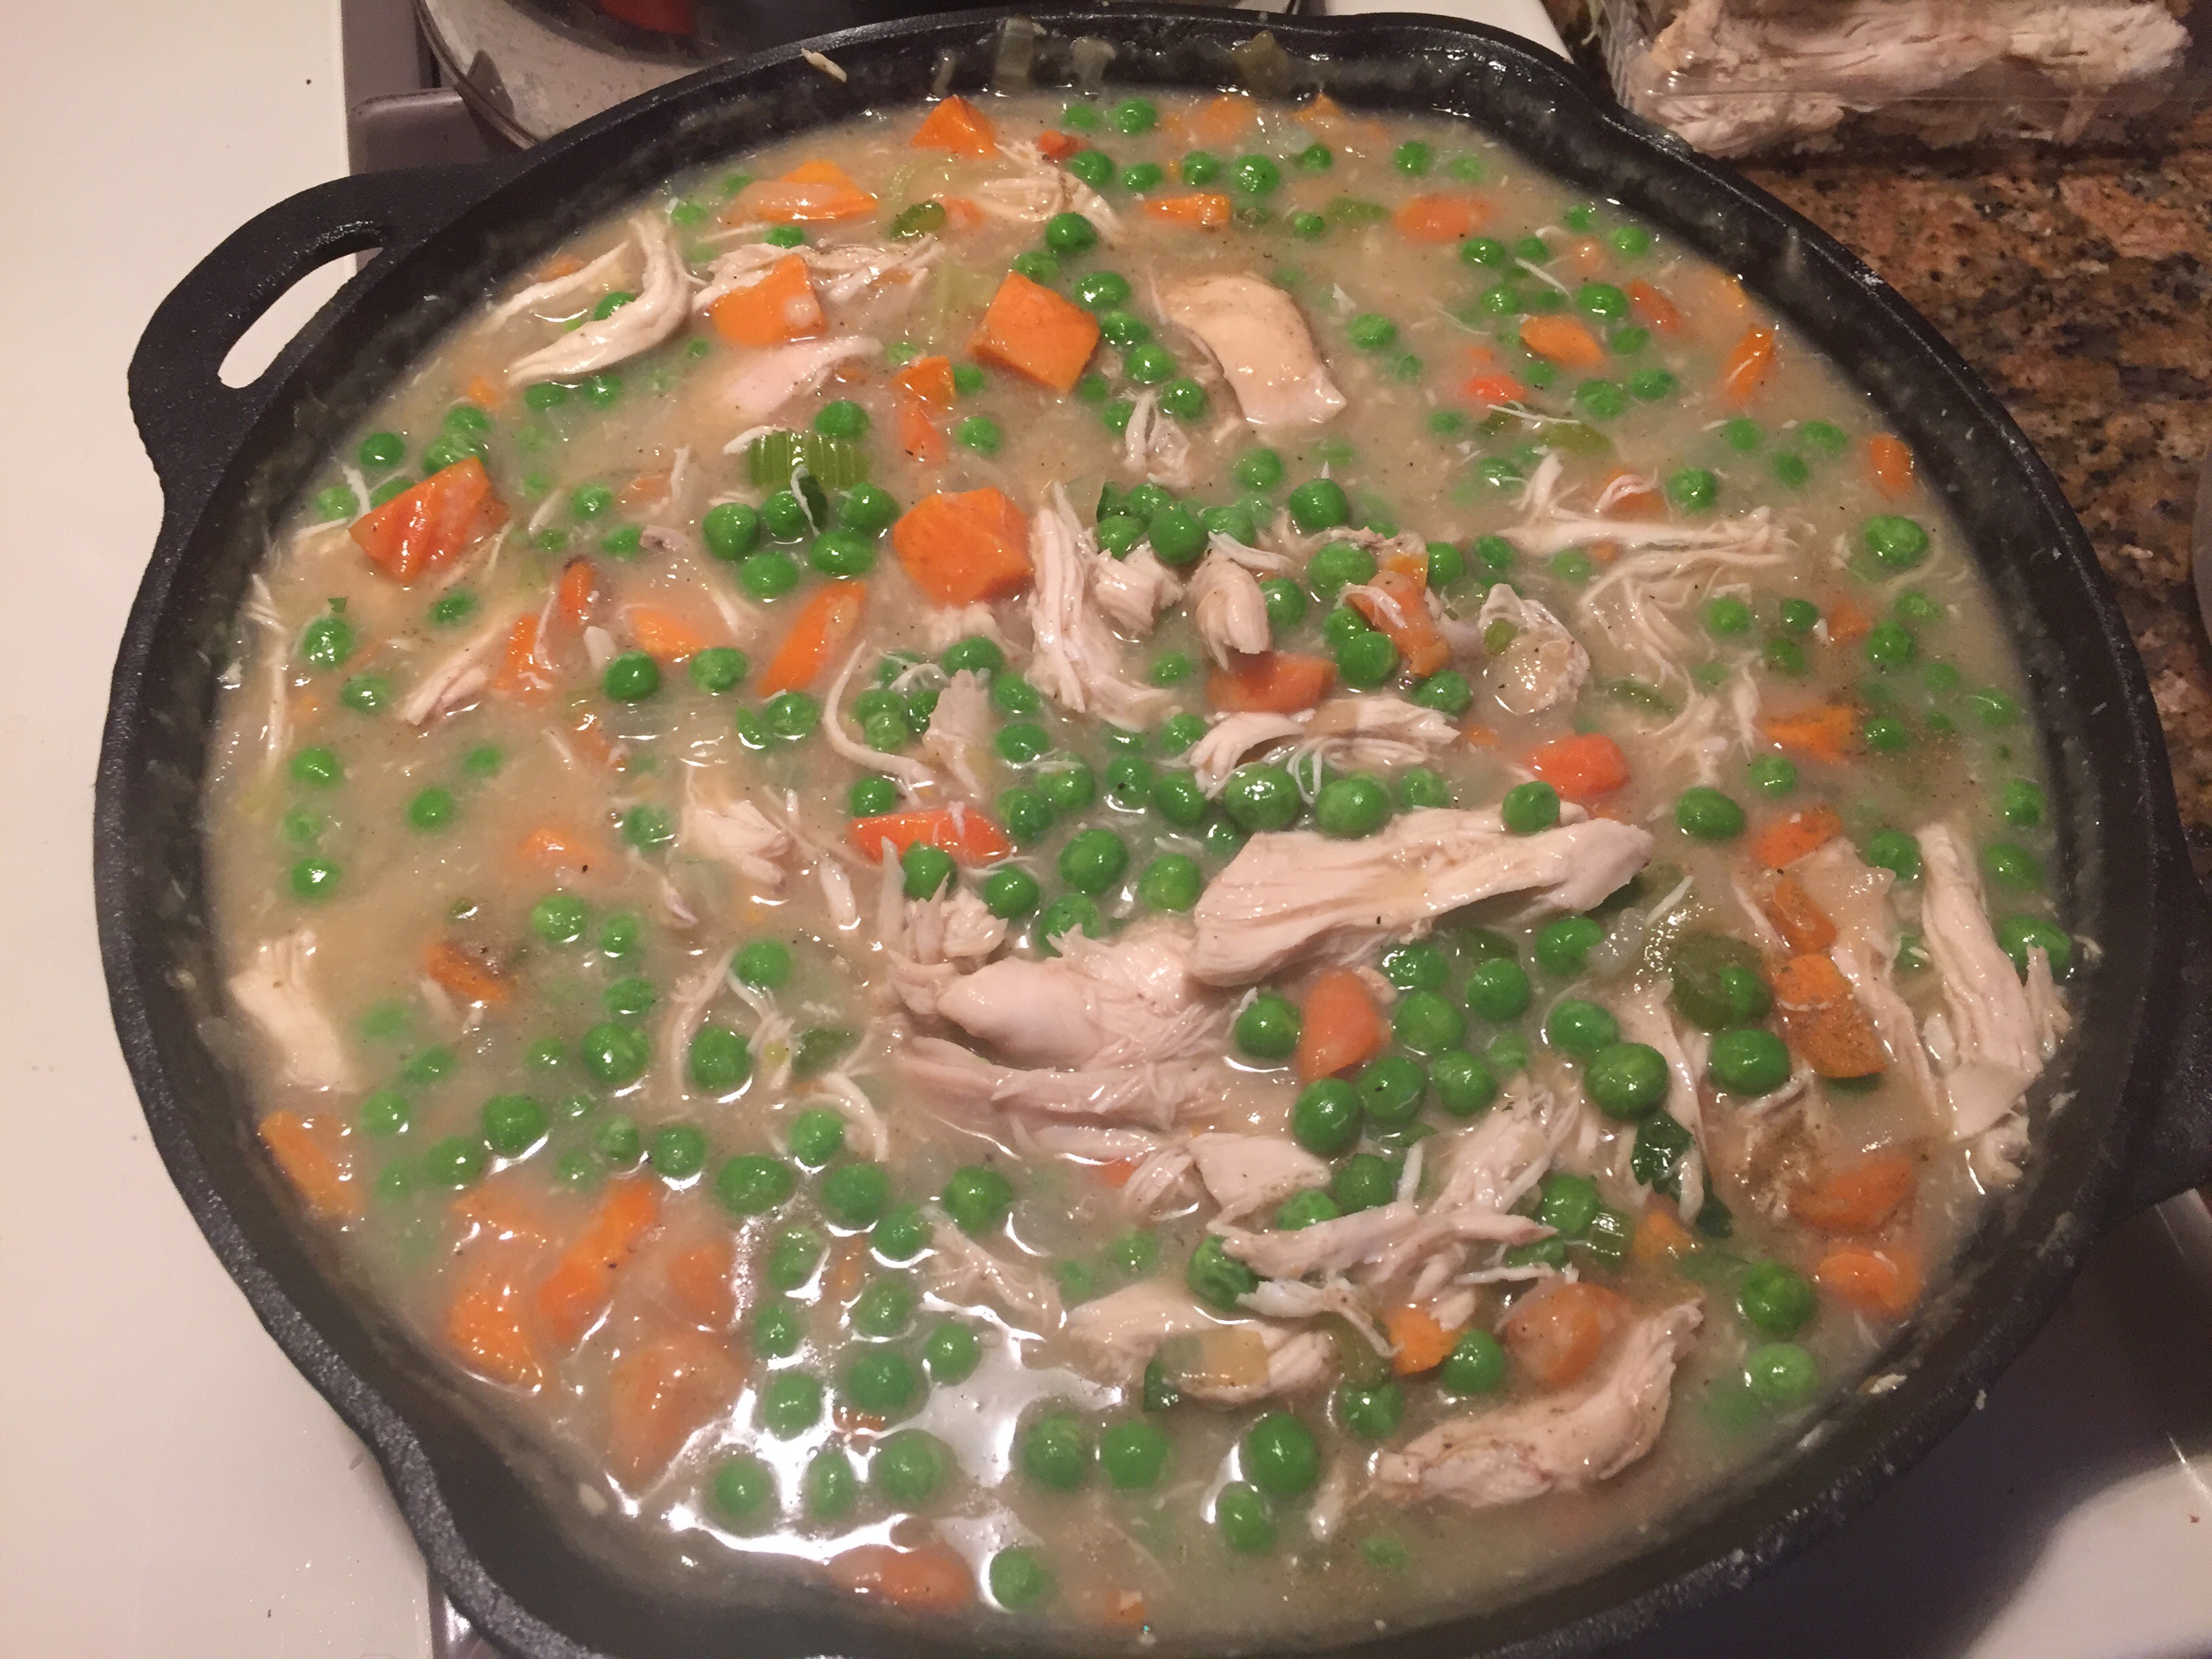
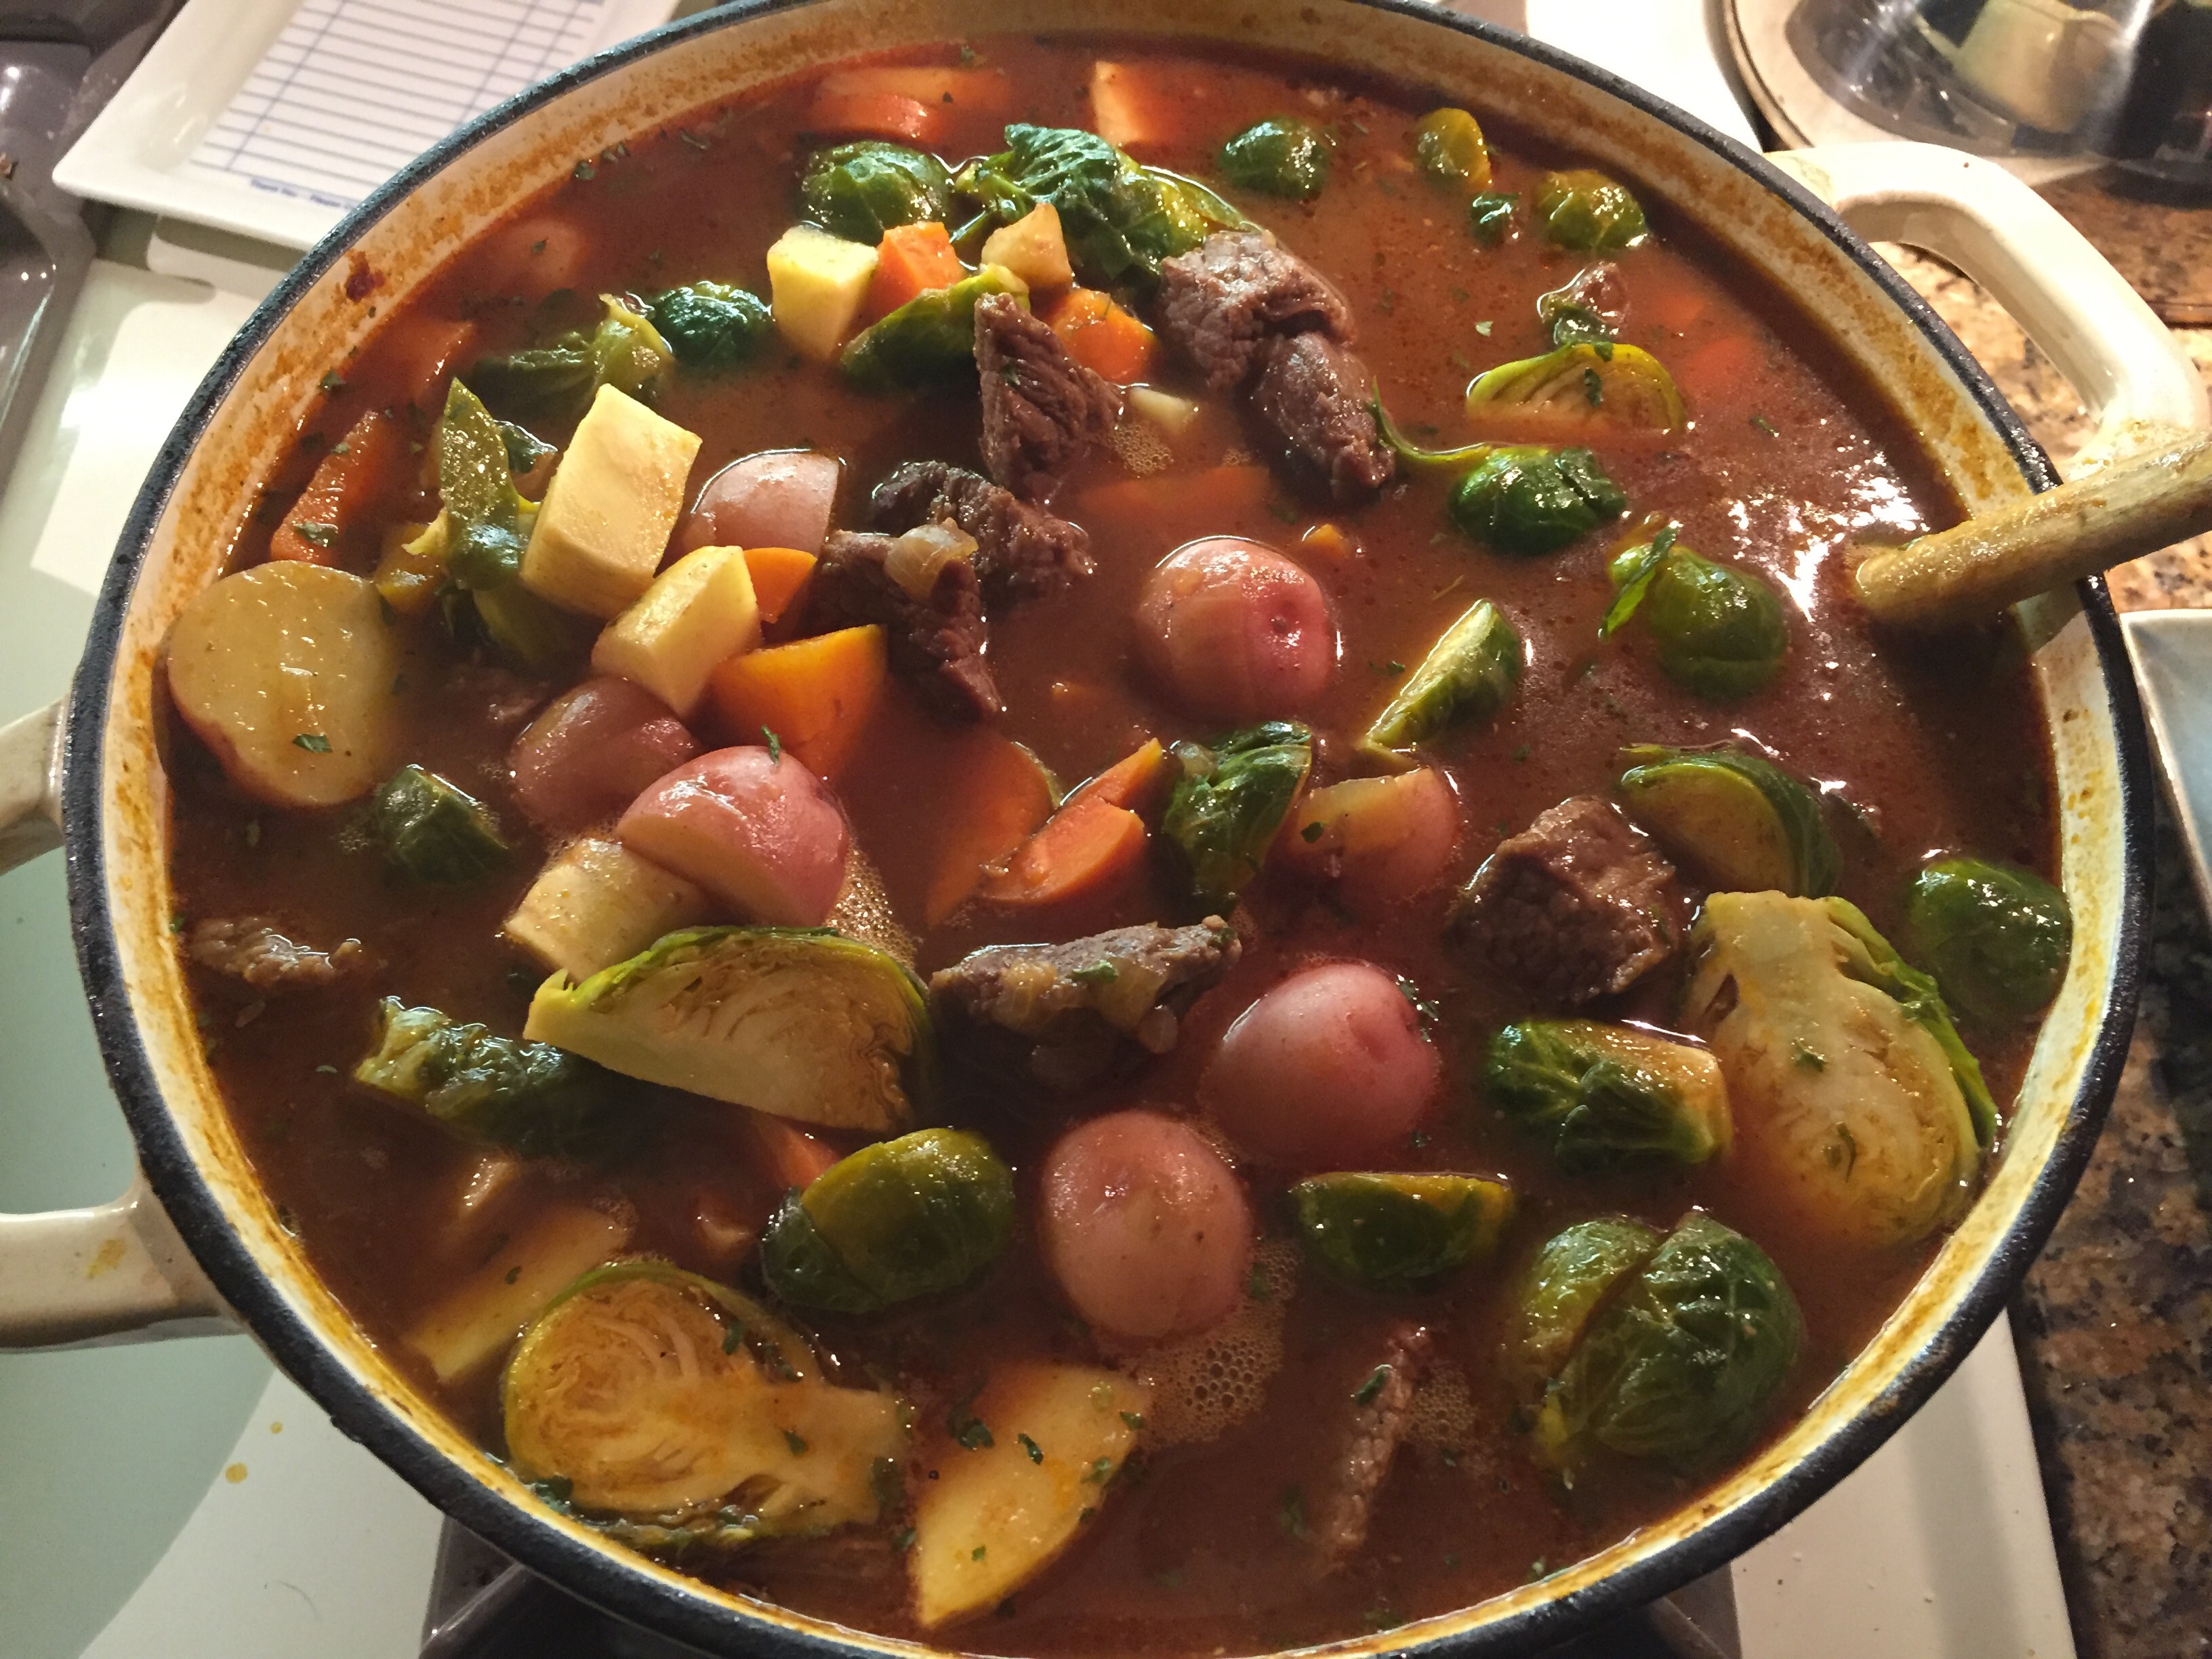
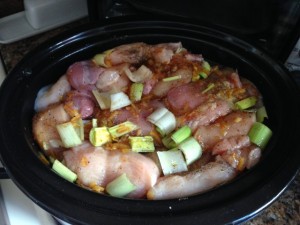
Add the chicken, carefully stir the mixture slowly until it boils, them lower the heat and simmer 8-10 minutes. TASTE IT!  Does it need more salt, pepper, etc.

(It should thicken some – it you find it isn’t thick enough, add some of the remaining flour to 1/2 cup of the remaining stock, whisk and add to the mixture, stirring until you get the consistency you want)

Remove from the heat.

Add chopped parsley (or other fresh herbs to your taste), stir and pour into your casserole pan (or leave in the skillet if is over safe).

For the topping;

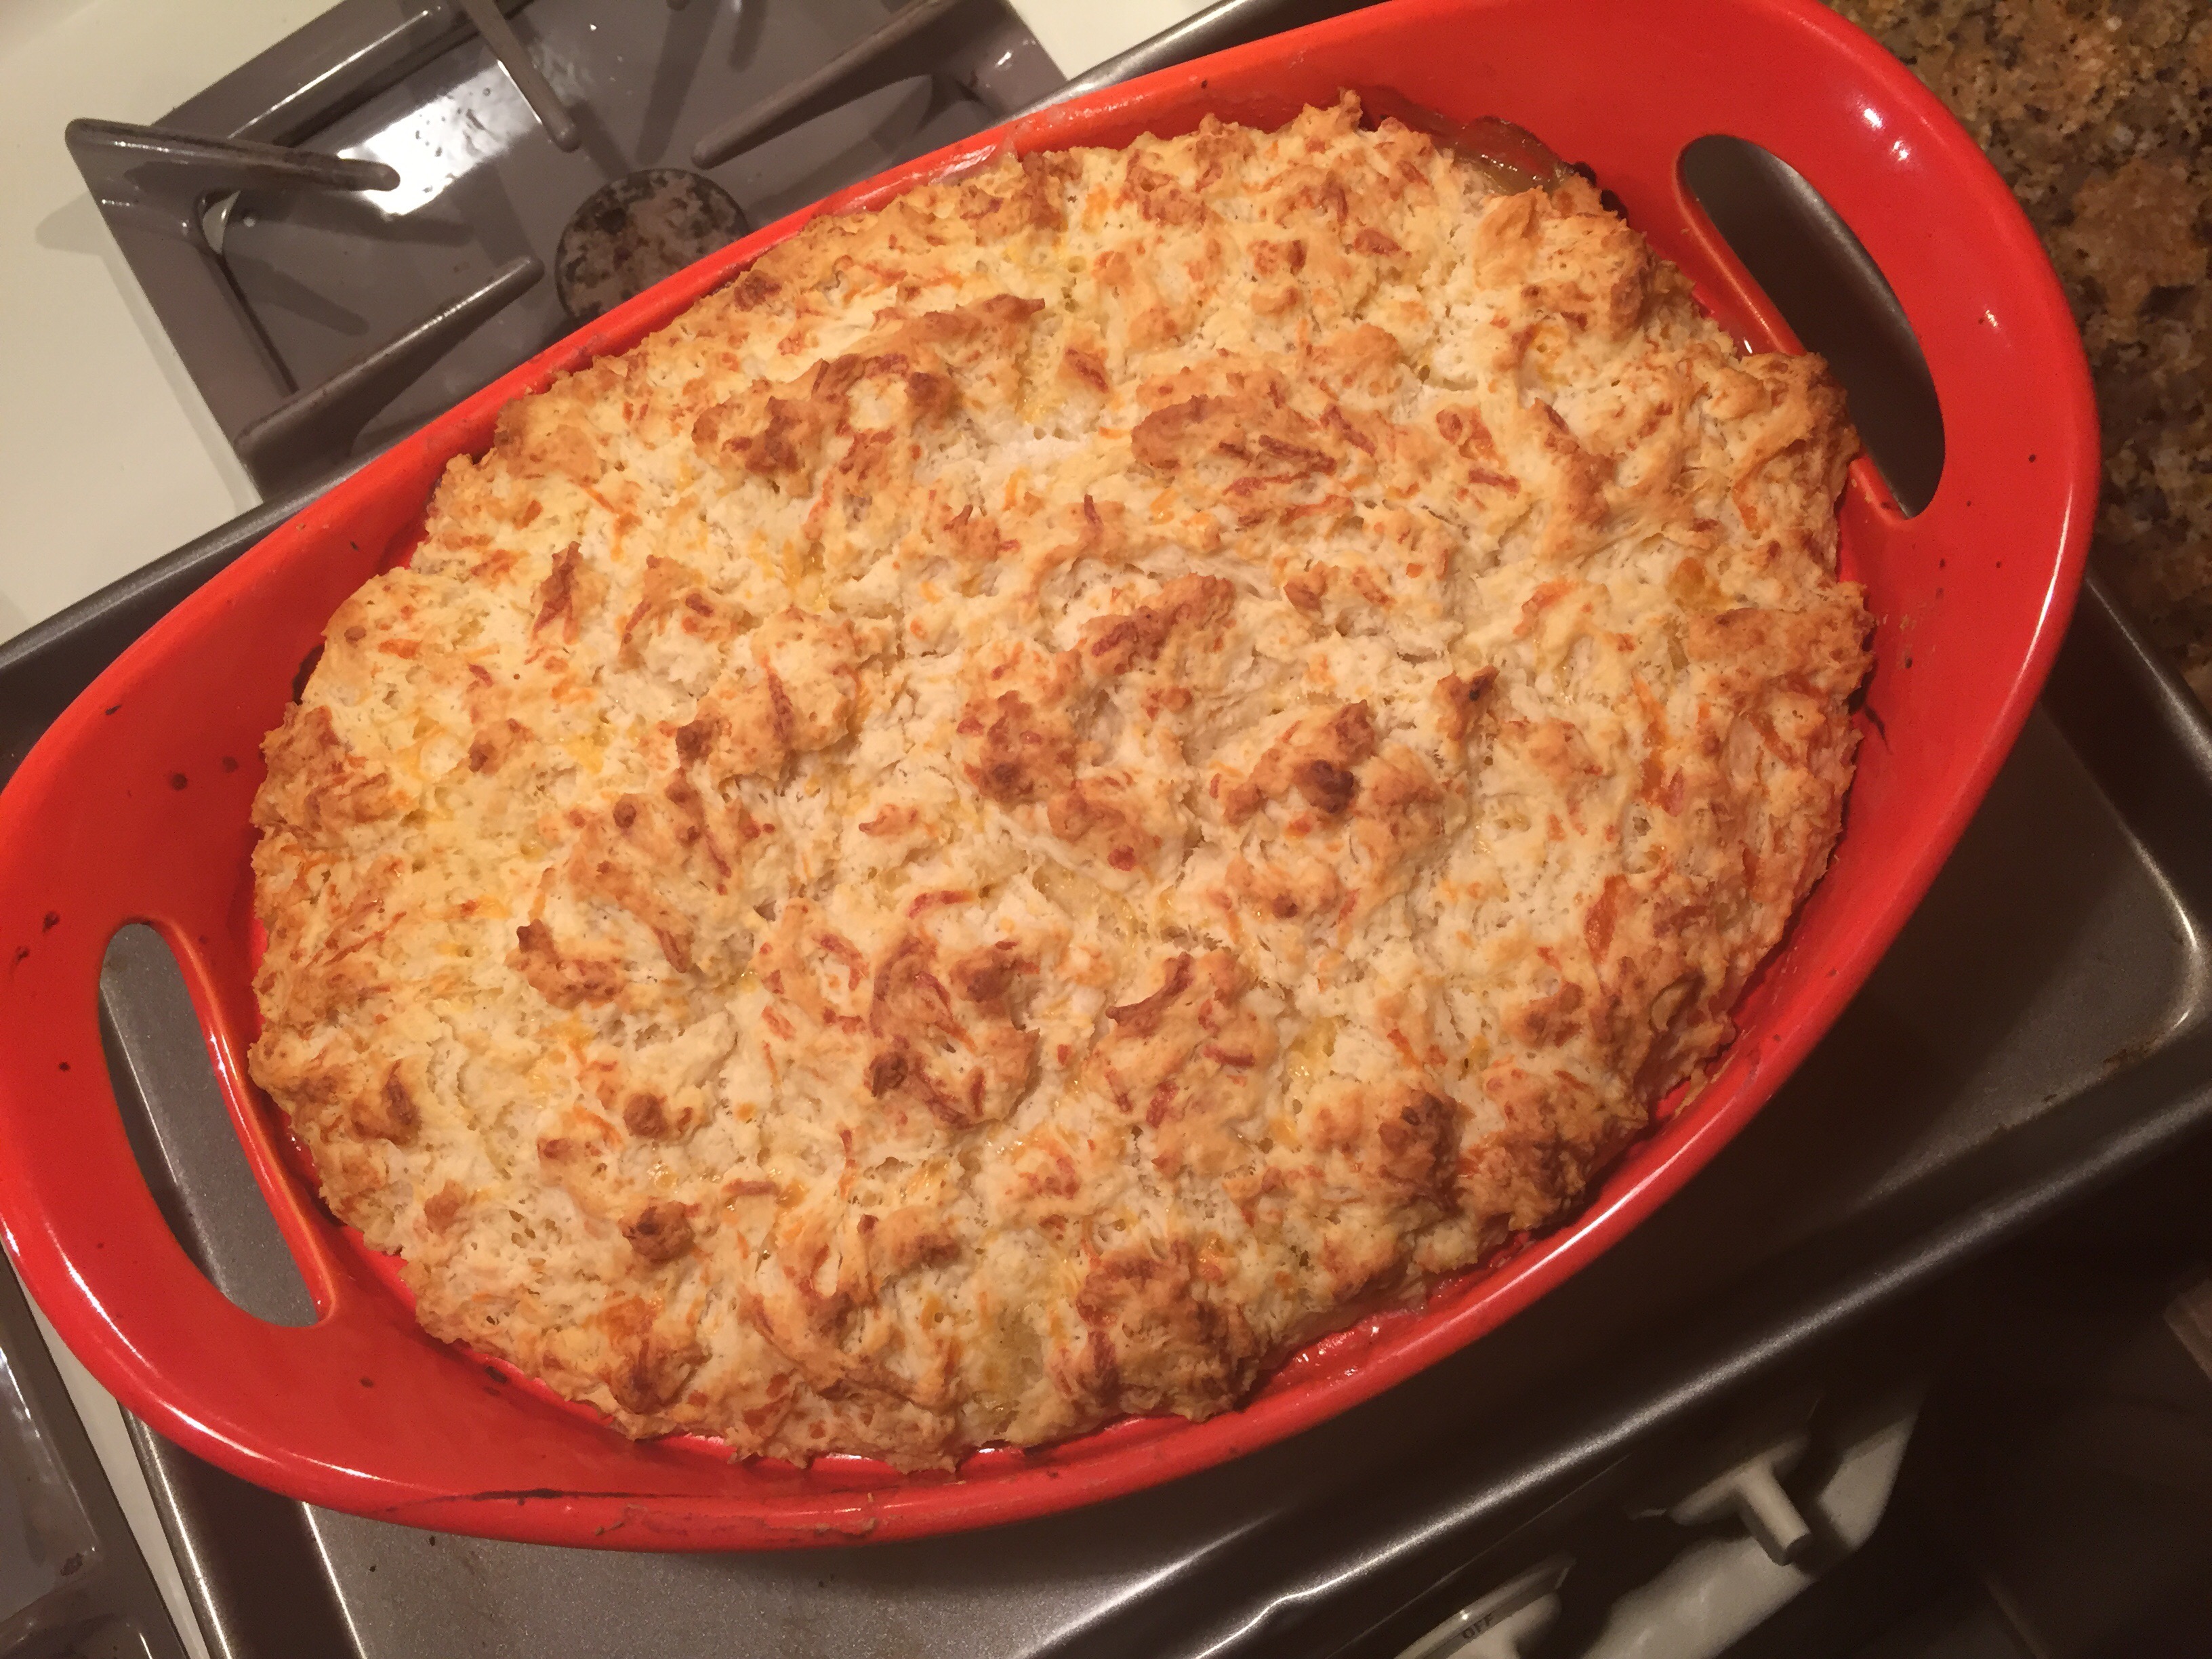
Mix up a prepared biscuit mix as instructed. I used Red Lobster Cheddar Herb Biscuit mix but any will do or you can make your own.
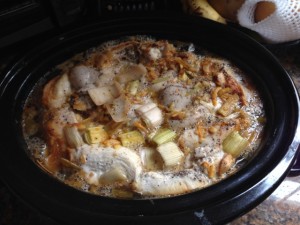
Spoon (or use your hands its a pretty sticky dough) to cover the “pie”. This creates the top “crust”. Try not to layer it on thicker than an inch or so – if you do – you may need to let it cook longer. to make sure the under side of the biscuits cook.

Bake

Place casserole on a cookie sheet, and place in the oven. Bake at 425 degrees for  35 – 45 minutes.

 Around 30 minutes check the biscuit topping; if the top is browning too much – loosly place foil over the top for the rest of the cooking time.

Optional:

While baking- melt butter and mix with herbs ( I used 1/2 packet of the herb packet from the biscuits – but any will do).

img_0201When you remove from the oven, brush the melted herb butter over the top of the biscuit topping.

Rainy day beef stew tonight

Been wanting to try this recipe for a while. So tonight seemed as good as any. 


Adapted version of Beer-Braised Beef Stew Recipe courtesy of Nancy Fuller; Food Network host. 

  • 5 pounds boneless beef chuck, cut into 1 1/2-inch cubes
  • Kosher salt and freshly ground black pepper
  • 3 tablespoons vegetable oil
  • One 6-ounce can tomato paste
  • 2 onions, chopped
  • 3 cups beef broth
  • Two 12-ounce bottles ale
  • 3 tablespoons soy sauce
  • 1 bay leaf
  • 1 pound small beets, peeled and halved, optional
  • 1 pound Brussels sprouts, halved lengthwise
  • 1 pound carrots, chopped
  • 1 pound parsnips, chopped
  • 1 pound small red potatoes, halved
  • Dried parsely

Directions

Season the beef with some salt and pepper. I prefer a more “gravey like” stew so I dusted the beef with seasoned flour before browning; the original recipe omits flour. 

Heat the oil in a large Dutch oven over medium-high heat. Add the beef and cook until well-browned on all sides. Stir in the tomato paste and cook for 1 minute.

Stir in the onions and cook, stirring occasionally, until softened and browned. 

Add the beef broth, ale, soy sauce and bay leaf. I added 1 tablespoon of worschester sauce as I felt the original lacked depth with just soy. But if you used a darker Ale that may actually help give you a different flavor;  

   
Bring the stew to a simmer, then reduce the heat to medium-low, cover, and cook, stirring occasionally, until the meat is starting to get tender and the liquid is slightly reduced, about 1 1/2 hours.

Add the beets, ( I omitted these)  Brussels sprouts, carrots, parsnips and red potatoes, and cook, covered, stirring occasionally, until the meat and vegetables are tender, about 1 more hour. 

   
 Remove the bay leaf before serving.

Note: other additions that I added to this version was a tablespoon of dried parsley about 20 minutes before serving. I also found I needed to add a little bit more salt and pepper throughout the cooking process. I also added a slurry of water and flour to thicken. 

Original Recipe courtesy of Nancy Fuller
Show: Farmhouse Rules
Episode: Hoppy and Happy

Dinner at Devon’s

Devon’s

We stopped by Devon’s for dinner recently when wanting dinner before we took in one of Ryan Landry’s & the Gold Dust Orphan Sunday show Snow White and the 7 Bottoms.

While we had an early seating – from the moment we entered we were made to feel welcome without any fussiness. Devon himself was on deck that night pitching in on the floor, which added its own special energy to the place.

With a nicely diverse menu, we opted for starters of organic Chicken Liver Pate ($13), the Mizuna Lettuce with Shaved Fennel, Radish and Carrots, Shallot -Thyme Vinaigrette salad ($10) and the house special soup being offered that night, which was a melon based puree with candied cashews. The starters had that perfect blend of savory, sweet, and crunch that opens up a meal.IMG_1757 IMG_1758

For entrees, two of us went with the fresh halibut with roasted corn relish, cherry tomatoes on a bed a pepperonchini mashed potatoes.

IMG_1760

I’m a huge fan of monk fish (aka poor mans lobster when I was a kid) so went with the Pan Seared Monkfish Medallions, Mojo Isleno Sauce, Creamy Polenta –($27) – an earthy, rustic dish that took the monk fish and paired it with a salty, spicy caper, olive and roasted pepper stew reminiscent of a puttanesca style, but with such a nice balance that it took on its own complex dimension that clearly made it its own dish. They serve is on creamy grits with the “stew” ladled around the mountain of grits like a castle surrounded by its moat.

IMG_1759

All the dishes that night rocked our praises. Nicely portioned and with clear intentions that Devon’s and his chief is enjoys an understanding that comes from the love of blending clean fresh flavors with rustic and hearty delivery. Well worth the walk to the East End for those West Enders that never seem to get much past the Boastslip. They offer both and indoor and outdoor seating option. Heat lamps are available as well as offering a rain covers on its outside deck for those adventures souls who want to eat outside during some of Ptowns occasional showers.


Devon’s:

401 1/2  Commercial Street

Provincetown, Ma., 02657

Call for dinner reservations

Devon’s: 508-487-4773

You can also follow them on Facebook; https://www.facebook.com/devonsrestaurant

When the classmates stopped over this weekend

Had a chance to visit with some of the folks who are (were) in my Phd Program who graduated last weekend. Since many of them were from out of town – instead of  meeting at a resturant I offered up my place.. Opted to put out lots of pick foods. Here is a quick sample of what we noshed on while dishing the process… Recipes to follow this week once grades are in, but much of it was “almost homemade” style.

Pickled Eggplant

Our family had a version that is a favorite – and I hear via FB that my sisters are at it today. One of the difference to my mom’s recipe is that they has the eggplants cut in shoestring pieces – not just in sliced. (Sort of the same way we do fried celery at the holidays.)

I’ve asked my sister Gina  to share the recipe  – but in the mean time – this is via her mobile post

1016984_817322781615073_810402515_n

Sometimes you just have to tinker with a recipe; 2-Meal Maple Sweet Potato, Carrot, Butternut Squash, Leek & Chicken

This recipe is one I found several years ago and has become a regular standard. I make it a bit different every time and find that its a forgiving recipe and can be adapted based on whats around and to your own tastes. I also love it because its a 2-meal deal for me.

Dinner 1

I make it once and eat the chicken for the first meal  (usually with another  vegetable I roasted  or  a simple salad. Then with a quick process with my hand blender, and some finishing touches  – its becomes a rich and hearty soup for lunch or dinner the next day. In fact I will often toss in any left over chicken (cubed or shredded) the next night to add more portien to the soup.

Dinner 2

In the fall I tend to go heavier with the maple, nutmeg and spices to give it a more autumnal taste – while other parts of the year I tend to like it sweeter to add more of the juices and hoisin sauce.

The link below will get you to the original. What I an sharing is my version.


The Original version: Maple-Orange Chicken with Acorn Squash and Sweet Potatoes was one I saw on the Food Network – and when I looked at the posted comments – also mentioned some challenges about meat being dry and that the chicken itself is good but not pretty and that the vegetables were unappealing visually to serve. But since I liked all the elements I figured I could work with this to make it work for me.

Note: While I use a combination of chicken breasts and thighs,  its great for chicken thigh lovers which also makes it more cost saving

Ingredients

  • 18 oz of cubed butternut squash
  • 1 small  acorn squash, peeled, seeded, and cut
  • 1 sweet potato, peeled and cut
  • 2 – 3 leeks, rinsed and chopped
  • 2-3 large carrots, chopped

Note – try to chop all the veggies in similar sizes so they cook as a similar rate.

  • 3  skinless chicken breast  halved (without bone) and 2 chicken thighs ( you can omit the thighs but I find they give the soap a nicer flavor)
  • Salt and cracked black pepper to taste
  • 1 cup orange marmalade ( I tend to use more like 9 oz)
  • 1 cup reduced-sodium chicken broth (you can add up more  broth – if you are using a 14 oz can, and don’t have another use for it, I use the whole thing and I find it didn’t change the taste much)
  • 1/2 cup orange juice (lime and lemon works great – I am thinking so would pineapple)
  • 2 tablespoon hoisin sauce
  • 2 tablespoon maple syrup ( The real stuff)
  • 1/2 teaspoon of ground cinnamon
  • 1/8 (or to taste ) of ground nutmeg

Seasonally I have also added sprigs of Thyme, Rosemary, and other herbs – Its up to your taste really – but remember it cooks for 4 – 6 hours

Directions

Pack it tight

  1. Layer the squash(s), carrots and sweet potatoes and 1/2 leeks in the bottom of the slow cooker.
  2. Season chicken all over with salt and black pepper and place on top of vegetables, then cover with the remaining leeks. It will be a full pot.
  3. In a container (one that can be shaken or whisked in) mix the orange marmalade, maple syrup, hoisin sauce, spices, herbs, orange juice and 1/2 the chicken broth.
  4. Now taste it! Adjust the flavors and then add the rest of the broth.
  5. Mix well and pour 3/4 down the inside, side of the crock pot first, then slowly poor the rest over the chicken and vegetables. I find that this is where I adjust some – I like the liquid to cover the chicken – but it doesn’t have to.
  6. Cover and cook on LOW for 6 to 8 hours or on HIGH for 3 to 4 hours (Note if you have a newer machine – use the shorter times and then check the chicken. Mine is a  new one and on hight Im in good shape by 3.5 hrs but over 4 on high dries out the meat. The Low and slow is my preferred method and I find it can be ready in 6.5 – 7 hrs.Cooking

Once the chicken is ready – I remove it from the pot, and place in a warm bowl.

Ladle out some of the cooking broth;  cover the chicken with some and put some aside to save or freeze for re-use later (it will be a great stock). You can also make a great gravy if you are inspired using the broth as drippings.  Toss a salad or some other vegetables that haven’t been simmered all day  and dinner is served!

Chicken

I have been asked by I remove some of the broth? Because I will be turning the veggies into a blended soup – I don’t want too much of the liquid to thin it out too

fast. Its easier to remove some now then add it back  while doing the Meal 2 steps as ne

eded.

Now – for Meal 2 -What to do with those veggies!

broth

Make soup of course.   I am accused of making this dish purely for the soup part (which isn’t far from the truth on some occasion).

  1. Using a hand immersion blender start to puree the warm veggies.
  2. I do it right in the pot but remember to unplug the pot.
  3. Once I get a thickness, I add Mocha Mix

( YES – I SAID MOCHA MIX! – remember I am lactose intolerant so tend  save my dairy for times when I really want it) but those of you who want you can definitely add cream or milk.

Finshed veg

  1. Add it slowly as you blend until you get the smooth, silky consistency you prefer.
  2. Adjust for taste at this point – do you want more spice or herbs, honey or maple syrup etc.
  3. Cool and refrigerate (or eat!) This soups reheats great and also freezes well.

IMG_9795

Adapted Blender Cornmeal Maple Cake

This adaption is based on a recipe from the following website   http://southamericanfood.about.com/od/breads/r/Bola-De-Fuba-Brazilian-Cornmeal-Cake.htm SAMSUNG CSC

According to the website “Brazil is known for its wonderful cakes, and bolo de fubá is one of the most loved. A slice of this light, sweet cornmeal cake goes perfectly with your morning or afternoon coffee”.

What I liked was that I could make it all in a blender.. and use up some of the cornmeal I had laying around. This version I made was supper moist and sticky – but I think it could have used either a syrup or maple glaze on the top.

Note – the suggest you use the most finely ground cornmeal you can find, so that the cake will have a delicate, light texture. In this case you don’t want the more grainy and crumbly texture the regular stuff

Prep Time: 10 minutes, Cook Time: 45 minutes


Ingredients:

  • 2 cups finely ground cornmeal (corn flour)
  • 1 cup all purpose flour
  • 1 1/2 cups sugar
  • 1 tablespoon baking powder
  • 1/2 cup corn oil
  • 1/2 cup olive oil
  • 1/2 cup Mocha Mix non dairy creamer
  • 1 cup Almond Milk with 1 tb  white vinegar ( original recipe called for Buttermilk – but I had none around)
  • 3 eggs
  • 1 teaspoon salt
  • 1 teaspoon of  vanilla extract
  • 2 tablespoons real maple syrup
  • Powdered (confectioners) sugar for decoration

Preparation:

  1. Preheat the oven to 350 degrees. Grease a Bundt pan or angel food cake pan lightly with butter or vegetable oil.
  2. Place all of the wet ingredients in the blender.  Blend until well mixed.
  3. Slowly add the sugar, salt, baking powder, then the flour and cornmeal. (You may want to consider doing this in two batches)
  4. If it look alike it isn’t moving – stop, unplug the blender and scrape down with a spoon. Then blend more until well mixed
  5. Let sit for 10 min at room temperature.
  6. Pour mixture into prepared pan.
  7. Place cake pan in the oven and bake for 45 minutes, or until cake has risen and the middle of the cake springs back to the touch.
  8. Remove cake from oven and let cool in the pan for the full 10 minutes. Loosen cake from the sides of the pan with a knife, then invert the cake onto a plate.
  9. Place the cake right side up.
  10. Once it is cool or barely warm – dust with powdered sugar before serving or add your glaze.

I am thinking the Rosemary syrup from the gluten free pear cornmeal cake would also work with this. Store cake in the refrigerator for four to five days, wrapped well with plastic wrap.

Comments from friends said that it was great dry toasted in a skillet (its crumbly so the toaster may be a problem) with butter added. Others said the heated it up in the microwave to good results. Since I like the texture – I just went with warm or cool toppings of various types.

“Castro” Meat Pie

This recipe is adapted from a recipe in a cookbook from the 80’s that my mom sent me for christmas Brazillian Meat pie2from her collected volumes. The original recipe was called Brazilian Meat Pies and can be found in the Cook’s Color Treasury, by Norma McMillian (This cookbook is still around –I found some other copies on amazon.)

Brazillian Meat pie24The original recipe looked good and tasted ok  – but it needed to be updated with more robust flavors and rounded out for my tastes. It’s easily adapted to your tastes – the key reminder is not to let it the filling get too wet or greasy.


Brazillian Meat pie31

For the “Pie”

  • ½ lb – 1lb Frozen puff pastry, Philo dough or even store bought pizza dough.
  • 1 raw egg
  • Parchment paper

For the Mixture:

  • 1 diced Onion (white or red – or 5 green onions whites and greens parts)
  • 1 diced green, red or yellow pepper (for the version pictures, I used a combination – since I have leftovers already chopped)
  • ½ lb bacon slices ( or pancetta will work if you like it less smoky)
  • 2-3 tbsp Butter
  • 1 lb ground beef (or other meat combination– meatloaf mix will work fine too)
  • 4 xl Hard boiled eggs
  • 8 oz Diced Mushrooms
  • 2 tbsp dried parsley or a handful of fresh chopped parsley (or Cilantro)
  • The original recipe use pitted chopped green olives and raisins – but since not everyone in my house likes them – I omitted the olives, swapped in dried apricots and added the mushrooms.

For the seasoning

  • 8 dried Apricots (more if you prefer)
  • Salt & Pepper to taste
  • ¼ tsp ground or powdered garlic
  • ½ tbsp. Paprika
  • 2 pinches of fresh ground clove ( pre-ground is fine if you have it)

FYI:

  • This recipe will take 50 – 60 minutes – depending if you take the time to do each of the steps or have some prepped already because of left overs. If using frozen puff pastry or dough – it will need to be thawed. Before starting, remove to thaw. If using dough – you will want it room temperature to work with.
  • Because the end result of this mixture is a meant as a filling – you will want to prep all the ingredients by chopping in a small dice/chop. Feel free to add more or less as you go along.

Make the filling – Part 1Brazillian Meat pie01

  • In large skillet or heavy bottom pan, add 2 tbsp of the butter, the diced bacon, peppers and onion.
  • Cook on medium – medium/high heat until bacon renders and the Brazillian Meat pie04onionsbegin to get soften. Stir frequently and add more butter if needed.Brazillian Meat pie13
  • Add ground meat tir frequently to evenly cook the meat off.Brazillian Meat pie18
  • Add dried parsley, (if using fresh – add it later with thespices), stir
  • Once the mixture is well cooked, browned and the bacon has become mini crispy nuggets.
  • Remove from the heat and stain, reserving 1 tbsp of the dripping in the pan. Once drained – add to a large bowl.Brazillian Meat pie20

While this is happening – put eggs on to boil.

Make the filling – Part 2

  • Put the reserved drippings into the skillet.
  • Add the chopped mushrooms to the skillet and cook over medium/high heat .Brazillian Meat pie10
  • Note: do not over crowd or cover the pan – you want the mushrooms the cook and brown not steam. Do in two batches is needed.
  • Once the mushrooms have cooked down, remove from the heat and strain.
  • Add the mushrooms to the bowl with the meat mixture.

To the completed mixture:

  • Cool and peal the eggs and do a rough chop and fold into the mixture.
  • Add spices, herbs, salt and pepper to taste (put the parsley or cilantro in here if using fresh.)
  • Taste the mixture. What’s missing to you? Spice? Salt? Bite? Some quick fixes here can include adding more seasonings or even a dash or two of Worcester sauce, hot sauce or even honey or maple syrup.

Lay out the pastry (or roll out your dough)  – place the mixture in the center of the dough or pastry and using the lightly beaten raw egg as “glue”, seal the edges.

Brazillian Meat pie26

Note: Since I used puff pastry – I did a double flip roll. Putting the mixture in the center, cover one side, some egg wash and then flipped the other side on it.

Gently move the completed “pie” to the parchment covered sheet pan.

Brazillian Meat pie28

Note: For a crisper finish if you are using dough – use a pre-heated pizza stone.

Brush the top with the egg wash. Top with a sprinkle of paprika

Bake 25 – 35 minutes until golden brown.

01072014

Deconstructed Italian “Cannoli” Dip

Cannoli Dip

pending new photo – but to give you an idea

Seems one of the big adaptions bast east has been to redesign the Cannoli party but instead of filling individual pastry shells – its revised as a dip with the broken  tubes or  broken even waffle cones. The plus side means not soggy shells! Now I’m a huge fan of Cannoli’s and realized that many variations exist and differences regionally both here in the US and in Italy. This version comes from my Sister back in CT. The adaption I made to it – was I felt it needed a brightness to bring out the ricotta,  so I added the zest.  The Cool Whip thins it enough to “dip” into while lightening its taste some. As with most of my recipes – adapt them to your taste.

Ingredients
  • 2 Cups Ricotta
  • 1/2 cup powered Sugar
  • 6 oz of Cream Cheese, softened
  • 1/2 tsp Vanilla
  • Zest of 1/2 a Lemon and 1/2 a Lime (or variation to taste)
Mix all the ingredients above,  till smooth,  then fold in:
  • 8 oz of Cool Whip
  • 1/2 cup mini Chocolate Chips (or more to taste)
Note – this dip style needs a good 6 hours or overnight to set up – so plan to make the night before and refrigerate in a airtight container or use on of my favorite products; Lock & Lock brand containers found on QVC

Cannoli Dip

To serve, place in a chilled bowl, surround traditional cannoli shells, waffle cones, etc. Pick any flavors you like, break apart in dip style pieces. One hint was to use  graham cracker sticks or even GF style grahams/chips. Top the dip with a few extra chips and some shaved chocolate.

Urban Hunter’s Turkey Cacciatore

A fast, no fuss version of Turkey Cacciatore 

SAMSUNG CSC

This is an adapted recipe great for parties but skips sone if the tradtional  pre-browning steps usually done for this “Hunters Style” dish. If you have the time and desire – it will add an extra hearty, roasted flavor to the cooking. In either case – it uses the slow cook, braising method that makes it perfect for a party  – so this also adapts for slow cooker fans.

Hint: If I know I want to make this – I will sometime pre-brown the turkey on the outdoor grill grill the day before while making other meats to save a step and reduce clean up (but omit the flour step below).

Ingredients

Turkey!

You can use boned or boneless, or a combination. I find I like to have some of both for home cooking but for a party, I find that boneless is easier but a mix of white and dark meat is crucial to get the rich flavor.

SAMSUNG CSC

Note: You can always ask the local butcher to debone and skin a turkey for you. They provide you with the meat, skin and bones to use for stock. When I do this – I often toss in a few of the bones to cook with it then discard them before serving.

I tend to use 1lb of turkey to an equal amount of peppers & onions. (so 1lb t, 1 pepper, 1 onion) this version is based on that scale and serves 6-9 depending on how you serve it.

  • olive oil
  • 2 medium yellow onions (or 1 large),finely chopped
  • 4 cloves garlic, finely chopped
  • 1 yellow bell pepper, chopped (I honestly can’t tell the difference between these and green ones – other than they are more expensive.)
  • 2 -28-ounce cans diced tomatoes, drained
  • 1-2 cups tomato sauce. (The amount will depend on how much liquid you want it to cook in and if you plan to serve it on top of pasta, rice or noodles)
  • 2 cups white wine (optional – I have used cranberry or pomegranate juice for a nice affect as well) or chicken or turkey stock – essentially create a flavor broth to braise in…)
  • 1 tablespoon fresh chopped oregano leaves
  • 2 tablespoons capers, drained & rinsed
  • fresh basil leaves chopped, to garnish
  • all-purpose flour (for pre-cook  method or to thicken the sauce at the end. Corn starch works for this too)

Directions: 

  1. Using shears or a sharp knife, trim off any excess skin from the turkey. If you plan to sear the meat, you can leave some on to add to the flavor.  Cut into serving sized pieces.
  2. Now if you want to do the longer, pre-cook  method:
    1. Season each piece of turkey with salt and pepper, then dredge with flour in a large shallow bowl and set aside.
    2. Heat the 2 tablespoons of olive oil in a large, heavy skillet over medium heat, then brown the turkey pieces in batches until crisp and golden-brown on the outside. Set aside.
  3. For the other method
    1. Season the cut up meat pieces with salt and pepper
    2. Add 1/2 of a can from one of the drained diced tomatoes, 3 springs or rosemary and the garlic and let sit an hour or overnight. If making to eat sooner – go to step four and omit this part
  4. Preheat the oven to 325F.
  5. For both versions, heat olive oil in a large saucepan over medium-high heat, then sauté the onions, garlic and peppers for 10-12 minutes, stirring frequently, until completely softened. Season with salt and pepper.
  6. Add the tomatoes (or rest of them). The white wine (or substitute with cranberry or pomegranate juice or stock), the oregano ,  the capers, and the tomato sauce, bring to a boil, then reduce to a simmer and cook until the volume is reduced by half. Stir and taste for more seasoning.
  7. This is the time to add any other herbs that inspire you. Rosemary, oregano, sage, bay etc. Note: I tend not to use parsley in this since I don’t want it to taste like a turkey version of sausage & peppers.
  8. To finish the cooking, place in the preheated oven.
  9. Some recipes recommend a covered cooking approach (foil or dutch oven) other suggest uncovered. I tend to do 90 minutes covered, then uncover it for the last 30 min. Only covering it again if it needs more time.
    • For dutch oven folks – add the turkey pieces to the sauce, making sure everything is coated, then cover pot with a lid, transfer to the oven and cook turkey meat is falling off the bone.  (Slow-cookers & crock pot users should adjust for time)
    • For larger parties, you can use a ½ or full foil pan. Add the turkey & vegetables pieces to the pan, (I like to use my hands to mix them ) then pour over the sauce mixture, making sure everything is coated, then cover with foil, transfer to the oven and cook  until turkey meat is falling off the bone.
  10. FYI – This wont be a heavey gravey style sauce unless you want to adjust to make it that way. Rather it’s a lighter, richer liquid somewhere between a sauce and broth.
  11. Serve garnished with basil on a platter alongside pasta, potatoes or rice. This can also stay warm from a chafing pan or transferred to a warm crock pot for standing meals.

Notes:

  • I tend to not check the cooking process until after the first hour, stir if needed then recover.
  • Truth be told – I often omit steps 5 & 6 and  just put it all in raw when time is short and people like it just as well- this works well if I am using left over roasted vegetables so they add a extra depth.
  • If you find the sauce is too thin after cooking- you can use the “liquid and flour (cornstarch) method” used to make gravy or to thicken chills and after whisking flour into a small portion of the hot liquid, pouring it and siring it back into the pan. Stirring well does a nice job.
  • For dutch oven folks – add the turkey pieces to the sauce, making sure everything is coated, then cover pot with a lid, transfer to the oven and cook for two hours or until turkey meat is falling off the bone.  (Slow-cookers & crock pot users should adjust for time)
  • For larger parties, you can use a ½ or full foil pan. Add the turkey & vegetables pieces to the pan, (I like to use my hands to mix them ) then pour over the sauce mixture, making sure everything is coated, then cover with foil, transfer to the oven and cook for two hours or until turkey meat is falling off the bone.