When Turkey & Fixen’s isn’t about Thanksgiving

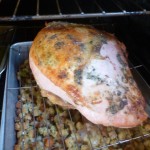
A few weeks ago, we got a hankering for a full out turkey dinner.. but I really didn’t want to fuss with a full turkey, brine, etc. Decided to play around with an old recipe that uses the 1/2 turkey breasts with bone in. Since my household isn’t much a dark meat one – this is perfect for when I don’t plan on making any stock or soup.

Cooking the turkey this way is quick and  pretty low maintenance. After taking the breasts our of the package, I rinse and pat well to dry.

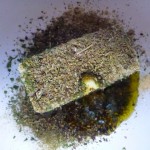
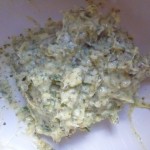
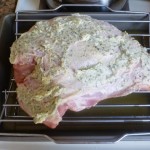
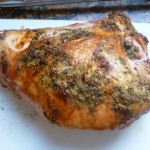
The in a small bowl I mix a stick of butter, 1-2 tablespoons of olive oil and fresh and dried hers. Mix well – it should have a consistency like mayonnaise. Gently raise the skin off the breast and coat, then do the same on the skin side. Give its a generous covering.

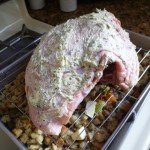
To cook – I happen to like stuffing that has the turkey drippings in it – but the breast will dry out if you check on it too often – so I put a small rack over the stuffing while it cooks – this allows the stuffing to cook and have a nice crunch top with all the drippings to blend in it too.

Cooking time will very and I find that its as easy to make two at one once (one on the stuffing and one in a second pan) the one in the second pan actually is what I use for drippings for the gravy. I usually cook mine uncovered at 375 degrees for 15 min, open the oven , remove them and baste, then lower temp to 350 or 325 for another 90 min. checking by thermometer for doneness. Thermometer should be around 165 degrees that gives you time to remove, cover and let sit while you make the gravy.

Toss on the grill some baby carrots, broccoli sprayed with olive oil cooking spray to get slight char on, maybe some baked mac & cheese you got from Tower Market and doctored up some with more cheese and a bread crumb strusssel and dinner is served in less than 2 hours.

You will have plenty for lunches !


Pickled Eggplant

Our family had a version that is a favorite – and I hear via FB that my sisters are at it today. One of the difference to my mom’s recipe is that they has the eggplants cut in shoestring pieces – not just in sliced. (Sort of the same way we do fried celery at the holidays.)

I’ve asked my sister Gina  to share the recipe  – but in the mean time – this is via her mobile post

1016984_817322781615073_810402515_n

Sometimes you just have to tinker with a recipe; 2-Meal Maple Sweet Potato, Carrot, Butternut Squash, Leek & Chicken

This recipe is one I found several years ago and has become a regular standard. I make it a bit different every time and find that its a forgiving recipe and can be adapted based on whats around and to your own tastes. I also love it because its a 2-meal deal for me.

Dinner 1

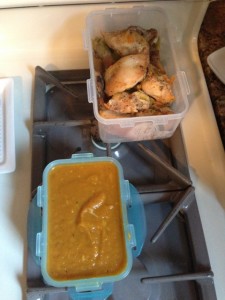
I make it once and eat the chicken for the first meal  (usually with another  vegetable I roasted  or  a simple salad. Then with a quick process with my hand blender, and some finishing touches  – its becomes a rich and hearty soup for lunch or dinner the next day. In fact I will often toss in any left over chicken (cubed or shredded) the next night to add more portien to the soup.

Dinner 2

In the fall I tend to go heavier with the maple, nutmeg and spices to give it a more autumnal taste – while other parts of the year I tend to like it sweeter to add more of the juices and hoisin sauce.

The link below will get you to the original. What I an sharing is my version.


The Original version: Maple-Orange Chicken with Acorn Squash and Sweet Potatoes was one I saw on the Food Network – and when I looked at the posted comments – also mentioned some challenges about meat being dry and that the chicken itself is good but not pretty and that the vegetables were unappealing visually to serve. But since I liked all the elements I figured I could work with this to make it work for me.

Note: While I use a combination of chicken breasts and thighs,  its great for chicken thigh lovers which also makes it more cost saving

Ingredients

  • 18 oz of cubed butternut squash
  • 1 small  acorn squash, peeled, seeded, and cut
  • 1 sweet potato, peeled and cut
  • 2 – 3 leeks, rinsed and chopped
  • 2-3 large carrots, chopped

Note – try to chop all the veggies in similar sizes so they cook as a similar rate.

  • 3  skinless chicken breast  halved (without bone) and 2 chicken thighs ( you can omit the thighs but I find they give the soap a nicer flavor)
  • Salt and cracked black pepper to taste
  • 1 cup orange marmalade ( I tend to use more like 9 oz)
  • 1 cup reduced-sodium chicken broth (you can add up more  broth – if you are using a 14 oz can, and don’t have another use for it, I use the whole thing and I find it didn’t change the taste much)
  • 1/2 cup orange juice (lime and lemon works great – I am thinking so would pineapple)
  • 2 tablespoon hoisin sauce
  • 2 tablespoon maple syrup ( The real stuff)
  • 1/2 teaspoon of ground cinnamon
  • 1/8 (or to taste ) of ground nutmeg

Seasonally I have also added sprigs of Thyme, Rosemary, and other herbs – Its up to your taste really – but remember it cooks for 4 – 6 hours

Directions

Pack it tight

  1. Layer the squash(s), carrots and sweet potatoes and 1/2 leeks in the bottom of the slow cooker.
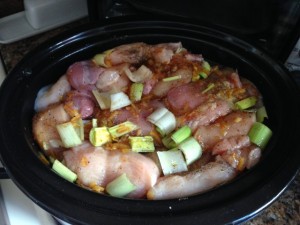
  2. Season chicken all over with salt and black pepper and place on top of vegetables, then cover with the remaining leeks. It will be a full pot.
  3. In a container (one that can be shaken or whisked in) mix the orange marmalade, maple syrup, hoisin sauce, spices, herbs, orange juice and 1/2 the chicken broth.
  4. Now taste it! Adjust the flavors and then add the rest of the broth.
  5. Mix well and pour 3/4 down the inside, side of the crock pot first, then slowly poor the rest over the chicken and vegetables. I find that this is where I adjust some – I like the liquid to cover the chicken – but it doesn’t have to.
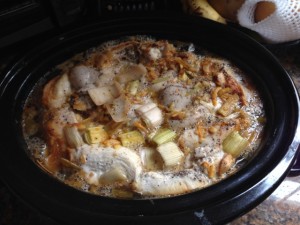
  6. Cover and cook on LOW for 6 to 8 hours or on HIGH for 3 to 4 hours (Note if you have a newer machine – use the shorter times and then check the chicken. Mine is a  new one and on hight Im in good shape by 3.5 hrs but over 4 on high dries out the meat. The Low and slow is my preferred method and I find it can be ready in 6.5 – 7 hrs.Cooking

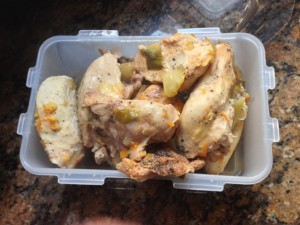
Once the chicken is ready – I remove it from the pot, and place in a warm bowl.

Ladle out some of the cooking broth;  cover the chicken with some and put some aside to save or freeze for re-use later (it will be a great stock). You can also make a great gravy if you are inspired using the broth as drippings.  Toss a salad or some other vegetables that haven’t been simmered all day  and dinner is served!

Chicken

I have been asked by I remove some of the broth? Because I will be turning the veggies into a blended soup – I don’t want too much of the liquid to thin it out too

fast. Its easier to remove some now then add it back  while doing the Meal 2 steps as ne

eded.

Now – for Meal 2 -What to do with those veggies!

broth

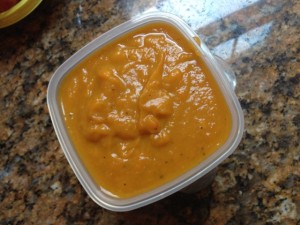
Make soup of course.   I am accused of making this dish purely for the soup part (which isn’t far from the truth on some occasion).

  1. Using a hand immersion blender start to puree the warm veggies.
  2. I do it right in the pot but remember to unplug the pot.
  3. Once I get a thickness, I add Mocha Mix

( YES – I SAID MOCHA MIX! – remember I am lactose intolerant so tend  save my dairy for times when I really want it) but those of you who want you can definitely add cream or milk.

Finshed veg

  1. Add it slowly as you blend until you get the smooth, silky consistency you prefer.
  2. Adjust for taste at this point – do you want more spice or herbs, honey or maple syrup etc.
  3. Cool and refrigerate (or eat!) This soups reheats great and also freezes well.

IMG_9795

Any one can knock out a lava cake these days.

My Pal Jacque found an organic mix for Molten Lava Cake by Wildtree that allows you the ability to toss some of these babies together in

less than 15 min. The recipes is easy and as is comes out good. I altered the recipe a bit and added vanilla and a splash of espresso to make the chocolate taste more chocolaty.. The package comes sized for 6 small ramekins – so you may need to purchase them as well. Bake time says 12 – 15 min. I suggest you check them at 10 min, then take them out by 12 min to really get the gooey center. Otherwise you will end up with a pretty nice brownie cake. The cost of the premix box is around $9 makes 6.

IMG_9663

IMG_9664

IMG_9666

Meatloaf -its all in the mix!

It’s a “meatloaf” themed day it seems – with all the ways to make or ruin one trending! Maybe because for some of us – Meatloaf  is the perfect “feel good, home” meal It always gets a reaction from people. Of course the biggest complete is overworked meat – leaving the results crumbly.  I saw years ago an italian chef who swears that to not over mix it is the secrete- you mix it with your hand (and only one hand) shaped like a claw no more than 10 times. So it tends to allow for larger mix motions similar to folding.

My other fav tricks; include not adding salt and using grated parm reggiano cheese instead. It adds cheese and salt flavor but more subtle. I also have been using an adapted recipe from Rachel Ray that converts the meatloaf to “meat loaf muffins” cooking them in muffin pans. Cooks them in 20 -25 min at a high heat. Allows you to pull them out of any fat so it doesn’t have to sit in it and also portions them out better. For you folks who live and cook from your mini toaster overs – this works in them too

One of my fav ways is to adapt this version from Rachel Ray – because they are cooked as “muffins” takes a lot less time! Works great with gourd chicken and ground turkey. You can even prep them the night before and then pop them in the oven right after work. Hint – when removing form the oven – after a few minute – pop the “muffins” out and put on a warm rack to stay warm and out of the grease
http://www.foodnetwork.com/recipes/rachael-ray/meatloaf-muffins-with-barbecue-sauce-recipe.html 

But my local pal who hosts Bob’s Cooking on his Facebook page; shared an even better looking version that I may have to explore! 

http://bobscooking.com/2011/11/tired-of-taking-that-same-old-thang-to-holiday-potlucks-try-taking-meatloaf-cupcakes/

Adapted Blender Cornmeal Maple Cake

This adaption is based on a recipe from the following website   http://southamericanfood.about.com/od/breads/r/Bola-De-Fuba-Brazilian-Cornmeal-Cake.htm SAMSUNG CSC

According to the website “Brazil is known for its wonderful cakes, and bolo de fubá is one of the most loved. A slice of this light, sweet cornmeal cake goes perfectly with your morning or afternoon coffee”.

What I liked was that I could make it all in a blender.. and use up some of the cornmeal I had laying around. This version I made was supper moist and sticky – but I think it could have used either a syrup or maple glaze on the top.

Note – the suggest you use the most finely ground cornmeal you can find, so that the cake will have a delicate, light texture. In this case you don’t want the more grainy and crumbly texture the regular stuff

Prep Time: 10 minutes, Cook Time: 45 minutes


Ingredients:

  • 2 cups finely ground cornmeal (corn flour)
  • 1 cup all purpose flour
  • 1 1/2 cups sugar
  • 1 tablespoon baking powder
  • 1/2 cup corn oil
  • 1/2 cup olive oil
  • 1/2 cup Mocha Mix non dairy creamer
  • 1 cup Almond Milk with 1 tb  white vinegar ( original recipe called for Buttermilk – but I had none around)
  • 3 eggs
  • 1 teaspoon salt
  • 1 teaspoon of  vanilla extract
  • 2 tablespoons real maple syrup
  • Powdered (confectioners) sugar for decoration

Preparation:

  1. Preheat the oven to 350 degrees. Grease a Bundt pan or angel food cake pan lightly with butter or vegetable oil.
  2. Place all of the wet ingredients in the blender.  Blend until well mixed.
  3. Slowly add the sugar, salt, baking powder, then the flour and cornmeal. (You may want to consider doing this in two batches)
  4. If it look alike it isn’t moving – stop, unplug the blender and scrape down with a spoon. Then blend more until well mixed
  5. Let sit for 10 min at room temperature.
  6. Pour mixture into prepared pan.
  7. Place cake pan in the oven and bake for 45 minutes, or until cake has risen and the middle of the cake springs back to the touch.
  8. Remove cake from oven and let cool in the pan for the full 10 minutes. Loosen cake from the sides of the pan with a knife, then invert the cake onto a plate.
  9. Place the cake right side up.
  10. Once it is cool or barely warm – dust with powdered sugar before serving or add your glaze.

I am thinking the Rosemary syrup from the gluten free pear cornmeal cake would also work with this. Store cake in the refrigerator for four to five days, wrapped well with plastic wrap.

Comments from friends said that it was great dry toasted in a skillet (its crumbly so the toaster may be a problem) with butter added. Others said the heated it up in the microwave to good results. Since I like the texture – I just went with warm or cool toppings of various types.

Getting this party on!

Now that the Openhouse is over, the place is cleaned up I have a few moments to answer some of the questions that folks asked.

1) How did I manage to get so much done while working?

There isn’t any answer that I can offer that doesn’t sound original. Ultimately I am just anal-retentive enough with project management balanced with it being a cultural norm for me. Growing up group meals were just part of life so some of the things I do to plan and prepare come naturally.

That being said here is my top 10 tips;

1) I make lots of lists.  From the concept to the menu to the items needed to the timeline. I am also a big believer in “crossing photoout” once an item is done. Even if its for the moment, say in the stage of purchase,  prep then cook, then adding it back on as an action item.
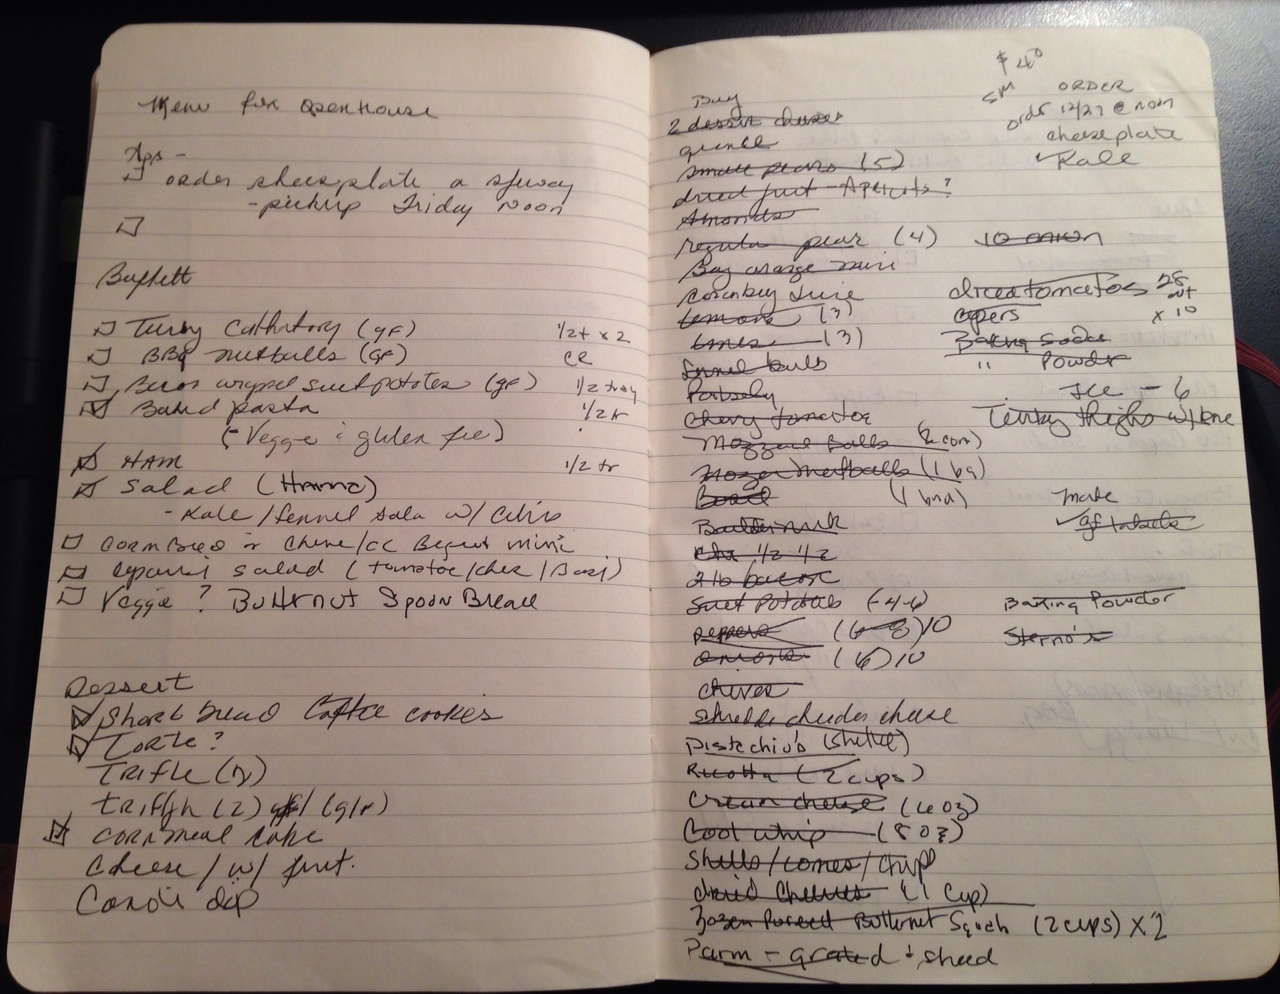
2) Have a menu that has no more than 2 new recipes. The dishes I can depend on means I am more willing to take a gamble with new ones. In this case that was the Crockpot bbq Meatballs and the Honey Baked Spiral Ham

3) Plan the shopping in several small trips over a few days, instead of a huge trip. I find it overwhelms me less to shop in the

IMG_9071

order that I prepare and then gives me “space” to think (or take advantage of the sales)

4) Invest in “post-it’s”! Actually I do love my post-it notes. They help to make the process clear. I essentially storyboard myparty.

IMG_9069

From the menu items  to the preparation steps, to the cooking order & times and lasting, and here is where my anal-retentive stuff comes in – I use post-its to indicate where I want the dishes to sit on the table.


5) Revise the plan as needed. Never get so wedded to the timeline you can’t adjust, but know the constants. How long certain things need to cook, etc. Since I tend to start with the dishes that need to be prepared before cooking or can keep – I start that the day or two before. Then I make sure to mark them what they are and what then go into. This also makes cleaning up so much easier. For instance while prepping the peppers, onions and herbs for the Turkey (link), I also minced up the herbs, onions, tomatoes and peppers for the bean salad. Then simply package them in either containers or plastic baggie for storage until I am ready. I have done the same with baked products – if I know for instance I want to make a drop biscuit or muffin. I will pre-measure and combine all the dry ingredients earlier in the week, then label with what liquid needs to be added, and cook time and temp. This means less mess and measuring on the cooking time. I have been known to then place the baggie of mix on the intended serving platter on the space it will go on the table (if the table is up already) and use it as a 3d-visual timeline of activities. Works well as a way to get a quick status.

6) What Can I Bring? Now while I like casual and sit down meals, for a crowd the buffet works best. When guests ask when can they bring, I find that for me, its appreciated but stresses me out since I can’t control when they plan to attend etc.. If its an all day type thing and people have a start time – that’s one thing, but I have had more than one openhouse type event where folks came with a hot dish mid way through.

My a stock reply, when asked is  – “Thank you for asking! So far I have the main foods covered but you are welcome to bring whole fresh fruit, any favorite or preferred beverages or some kind of sweet treat to add to the line up”  In those cases when someone is insistent or in fact makes something I know would be perfect – when I do accept, I follow with asking when they will plan to arrive or will they want to drop it by before it starts.

7) Can I help? When I was younger, I tended to just want to do it all myself – but now I am eager to say “yes of course”. But I know I need to have specific activities in mind, and also know that once I turn it over, I must let go of it being “my way” and instead focus on the pleasure of the doing with someone. This is another reason of the lists – much easier to show folks what still has to be done and gets then engaged without feeling like they have to wait to be told. Sometimes I will label activities with folks names so everyone knows who is on what, and they can share if help is needed.

8. Don’t add anything! Try as I might – I will sometimes get an itch and decide to add something last minute. I find this is usually not worth it and in the end it’s not needed.

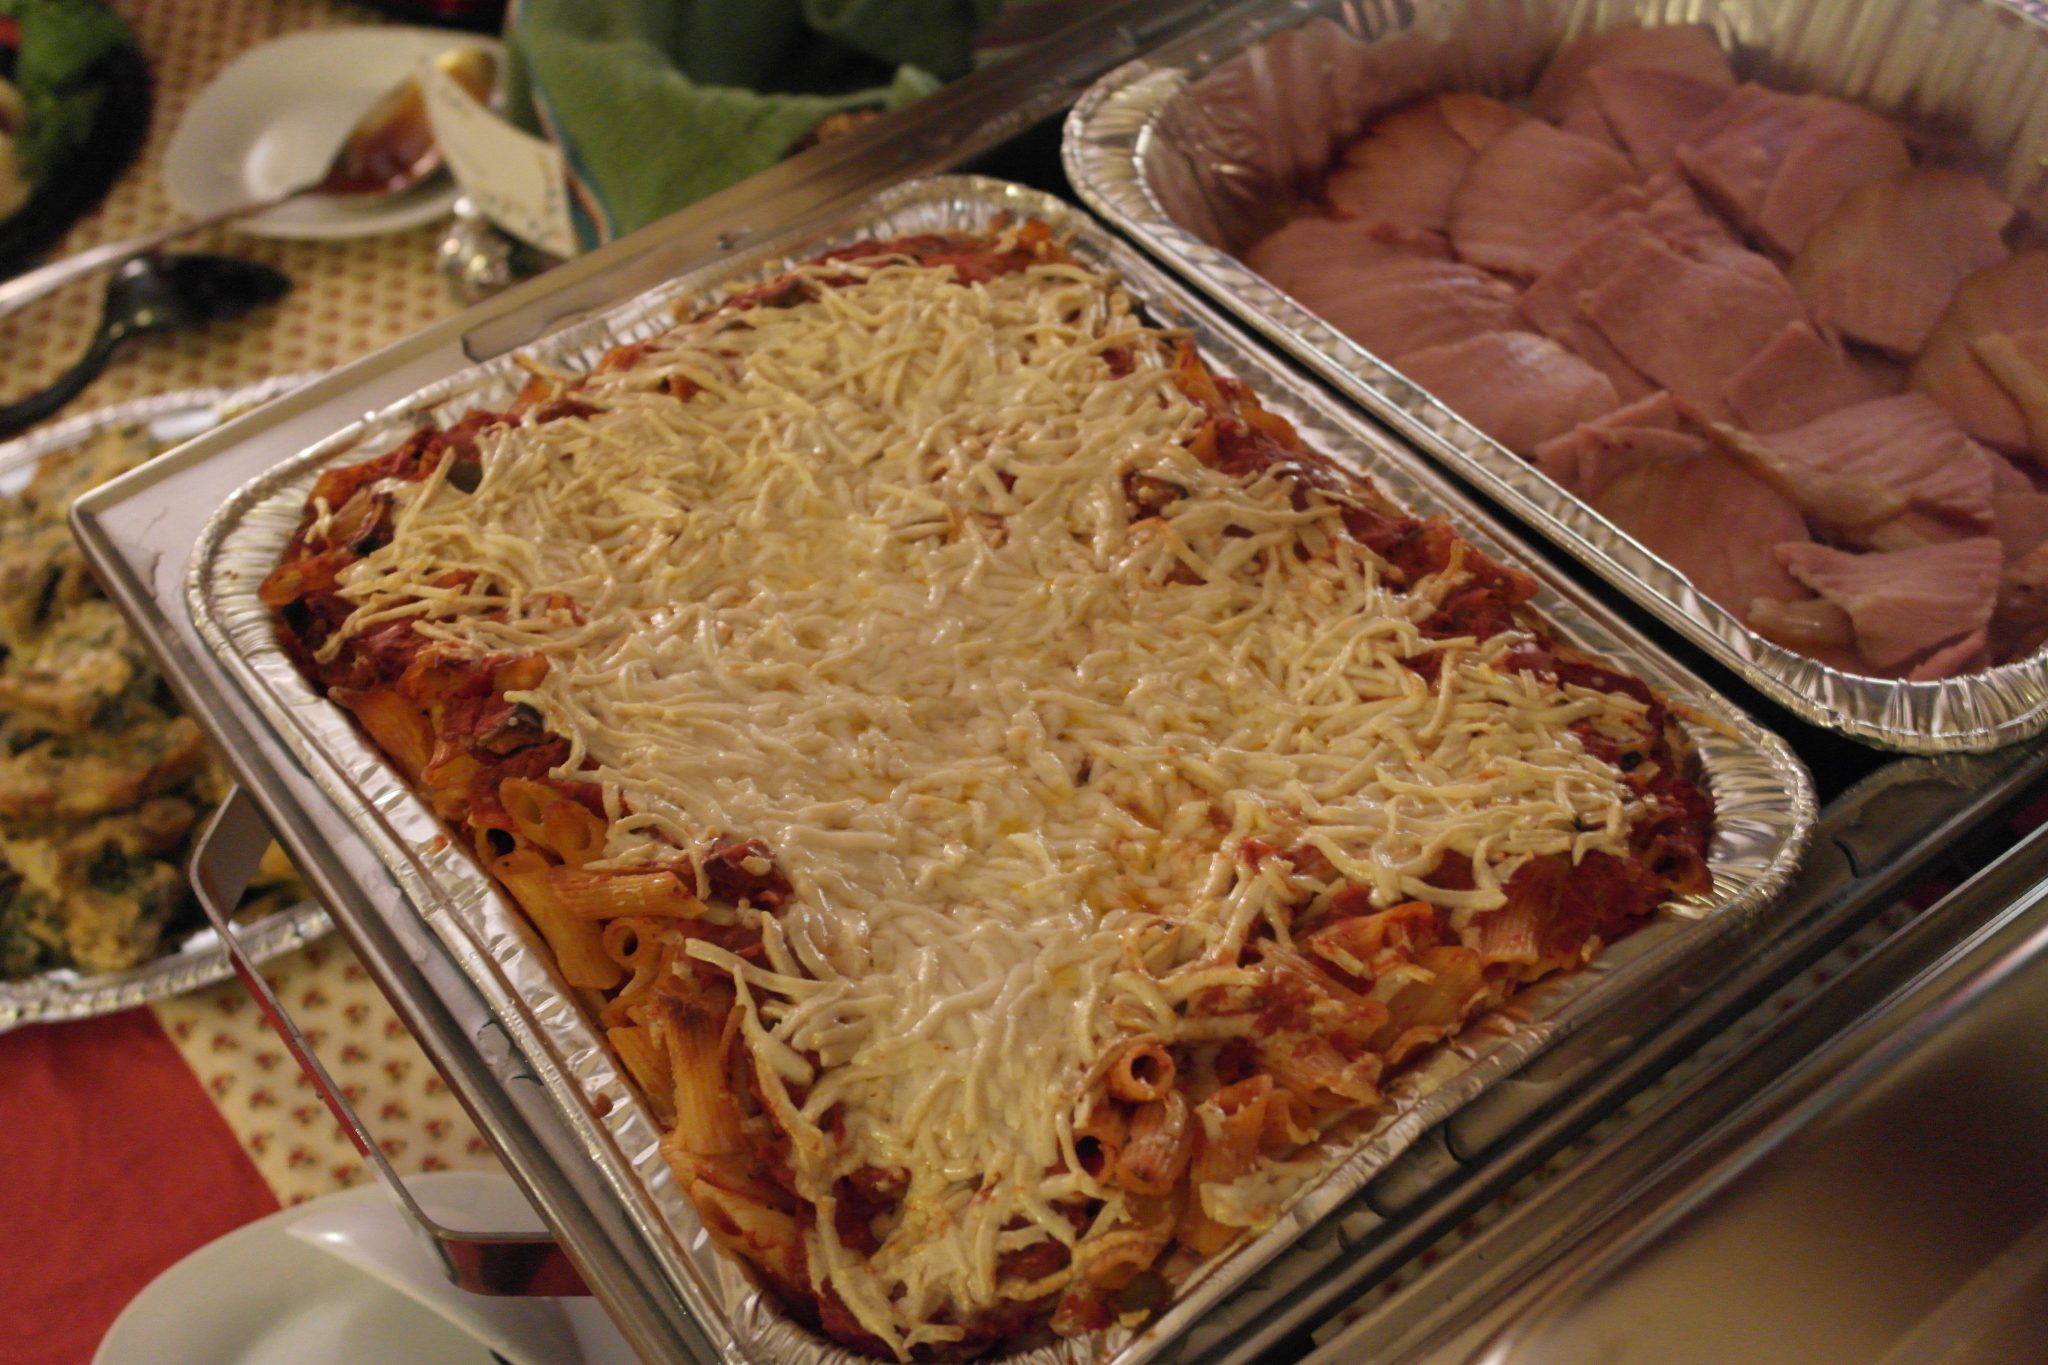
9. Have a “Plan B” – for instance when I do a SAMSUNG CSCbaked pasta type dish,  I double the amount of cooked pasta. Then I keep ½ in a large ziplock bag to have on hand if I need more. It’s easy to reheat and I can make it super quick by mixing the pasta with some microwave “back up sauce” and toss on grated cheese.  Now if it’s not needed, the next day I make up another baked pasta since I have all the ingredients, and freeze it for another time.
10. Enlist a clean up crew. I know for me – somewhere about an hour after the last guest leaves, I finally hit the wall. Experience tells me that – its been a great asset to have folks who are more than happy to help with the minimal clean up. Since most of everything is cleaned before the party starts  – the after clean up is really doable with a few folks. So if someone asks what they can help with – tell them!
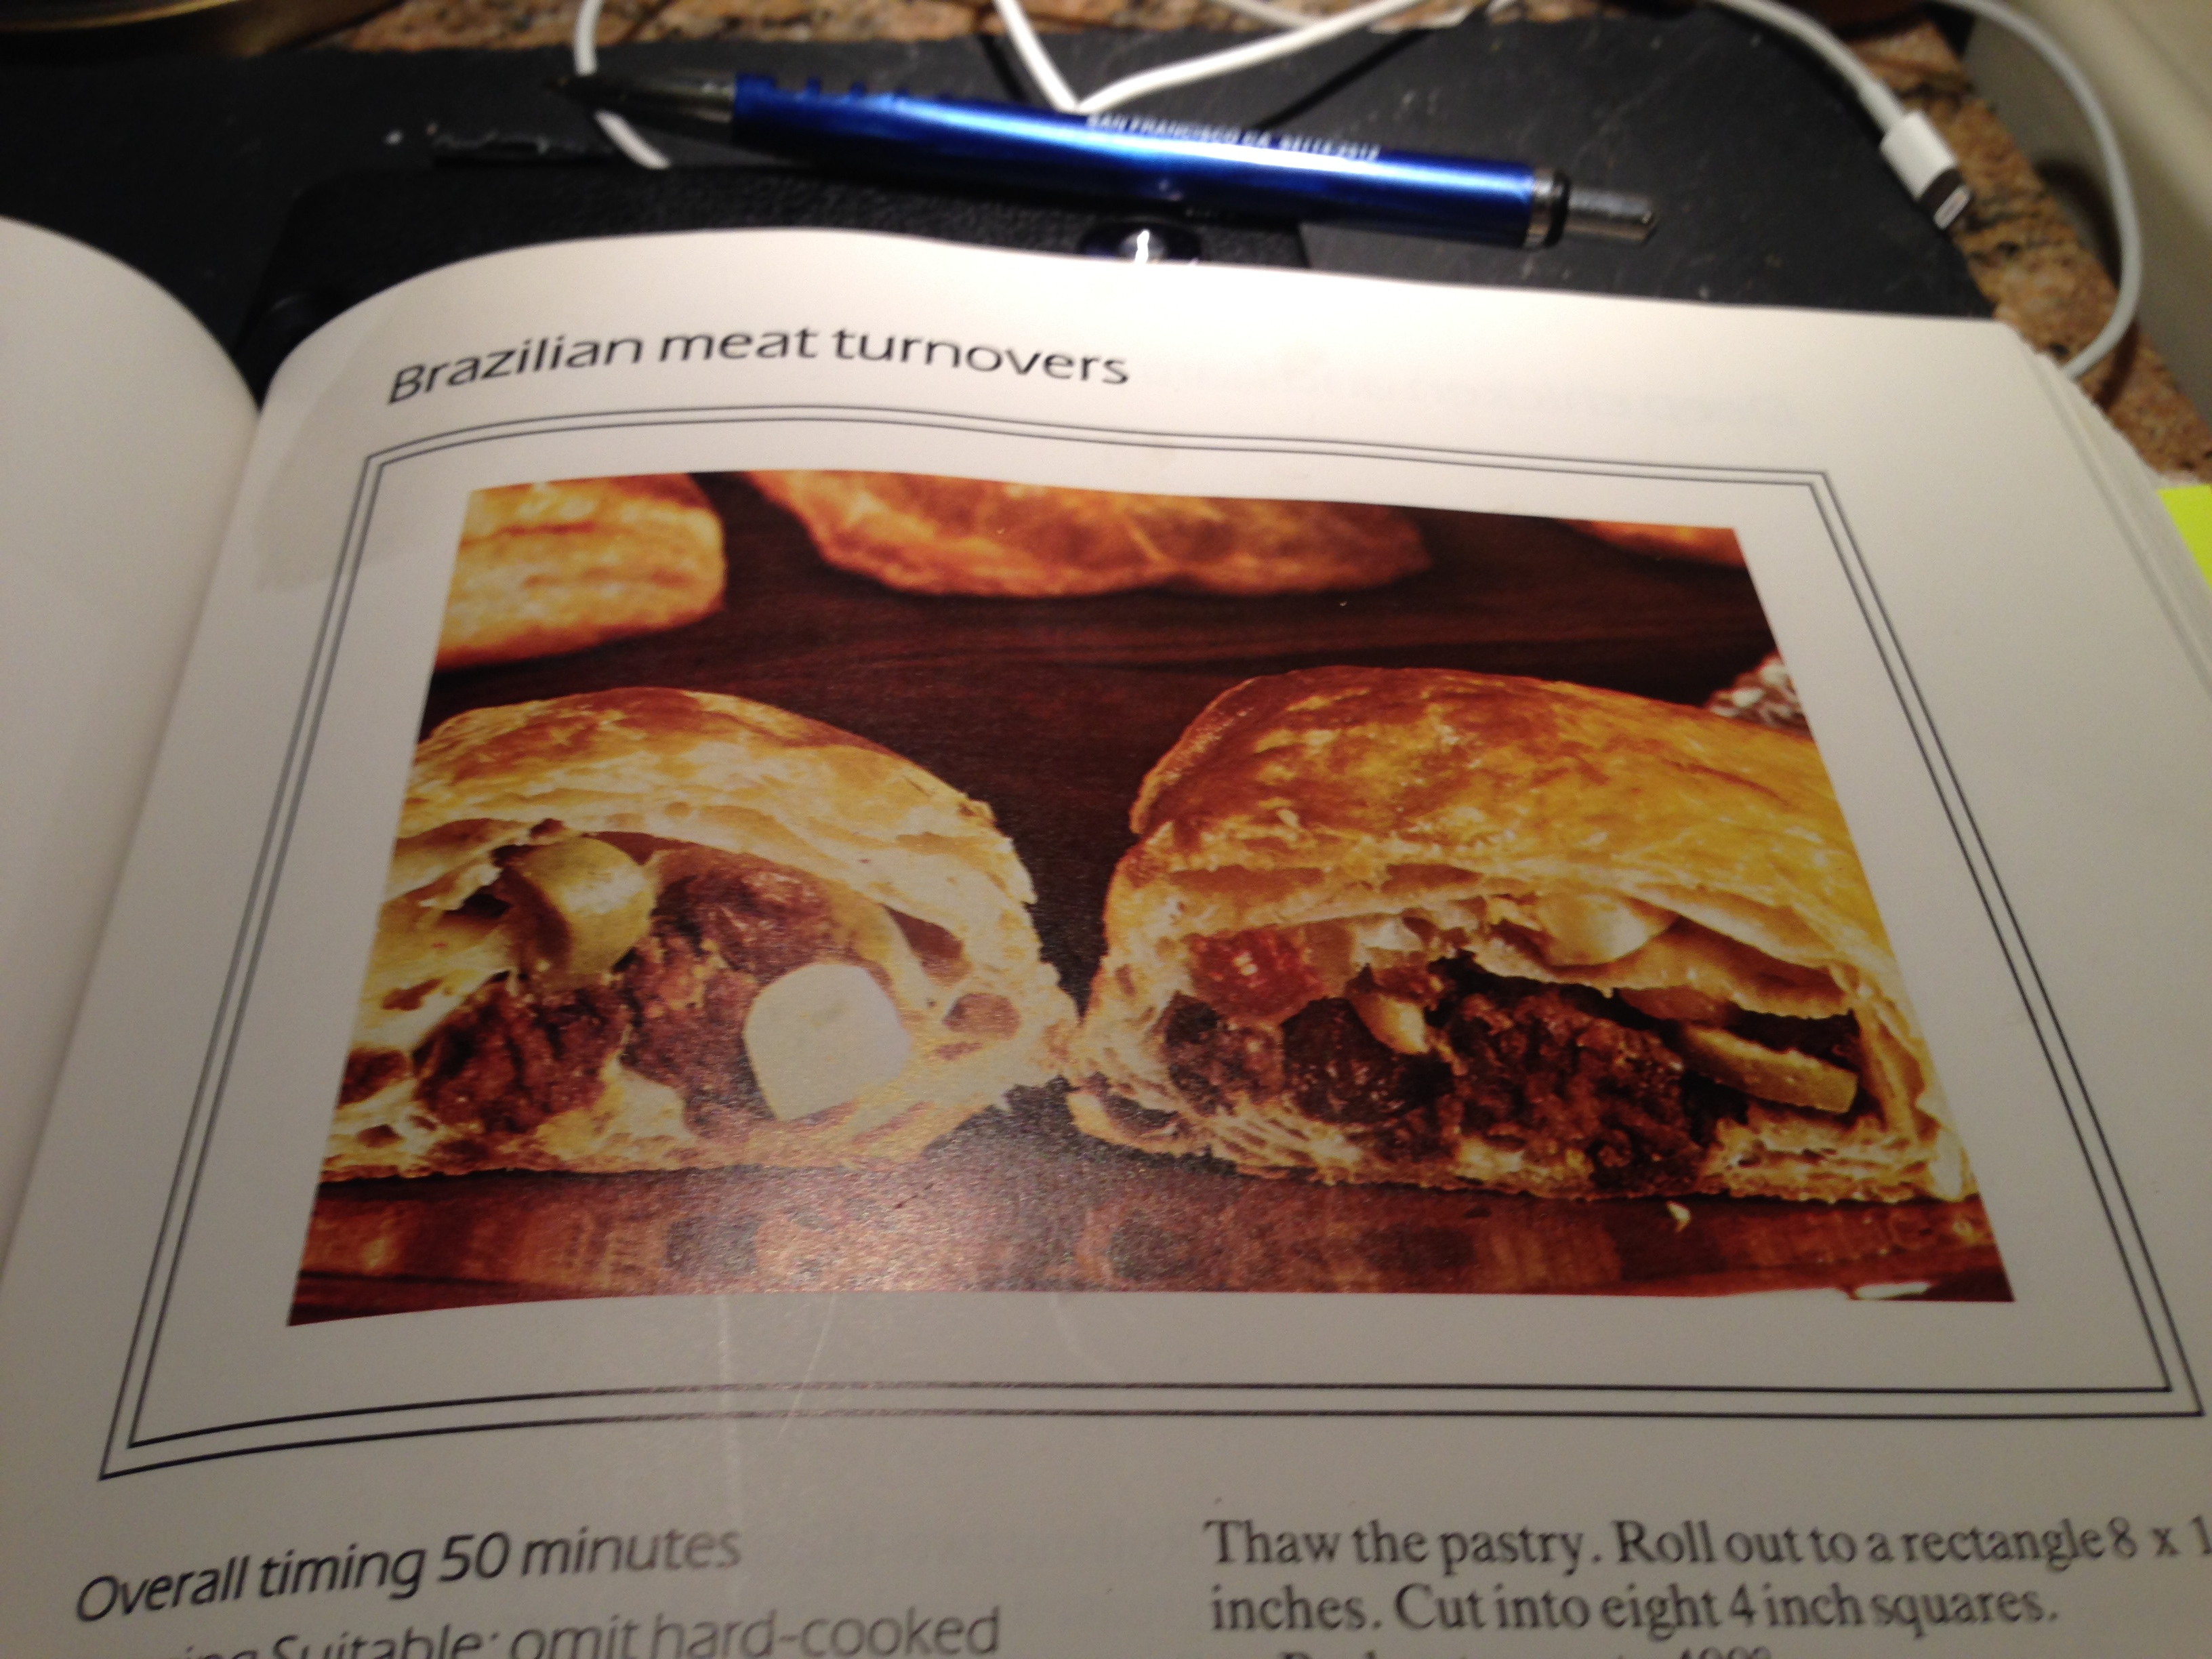
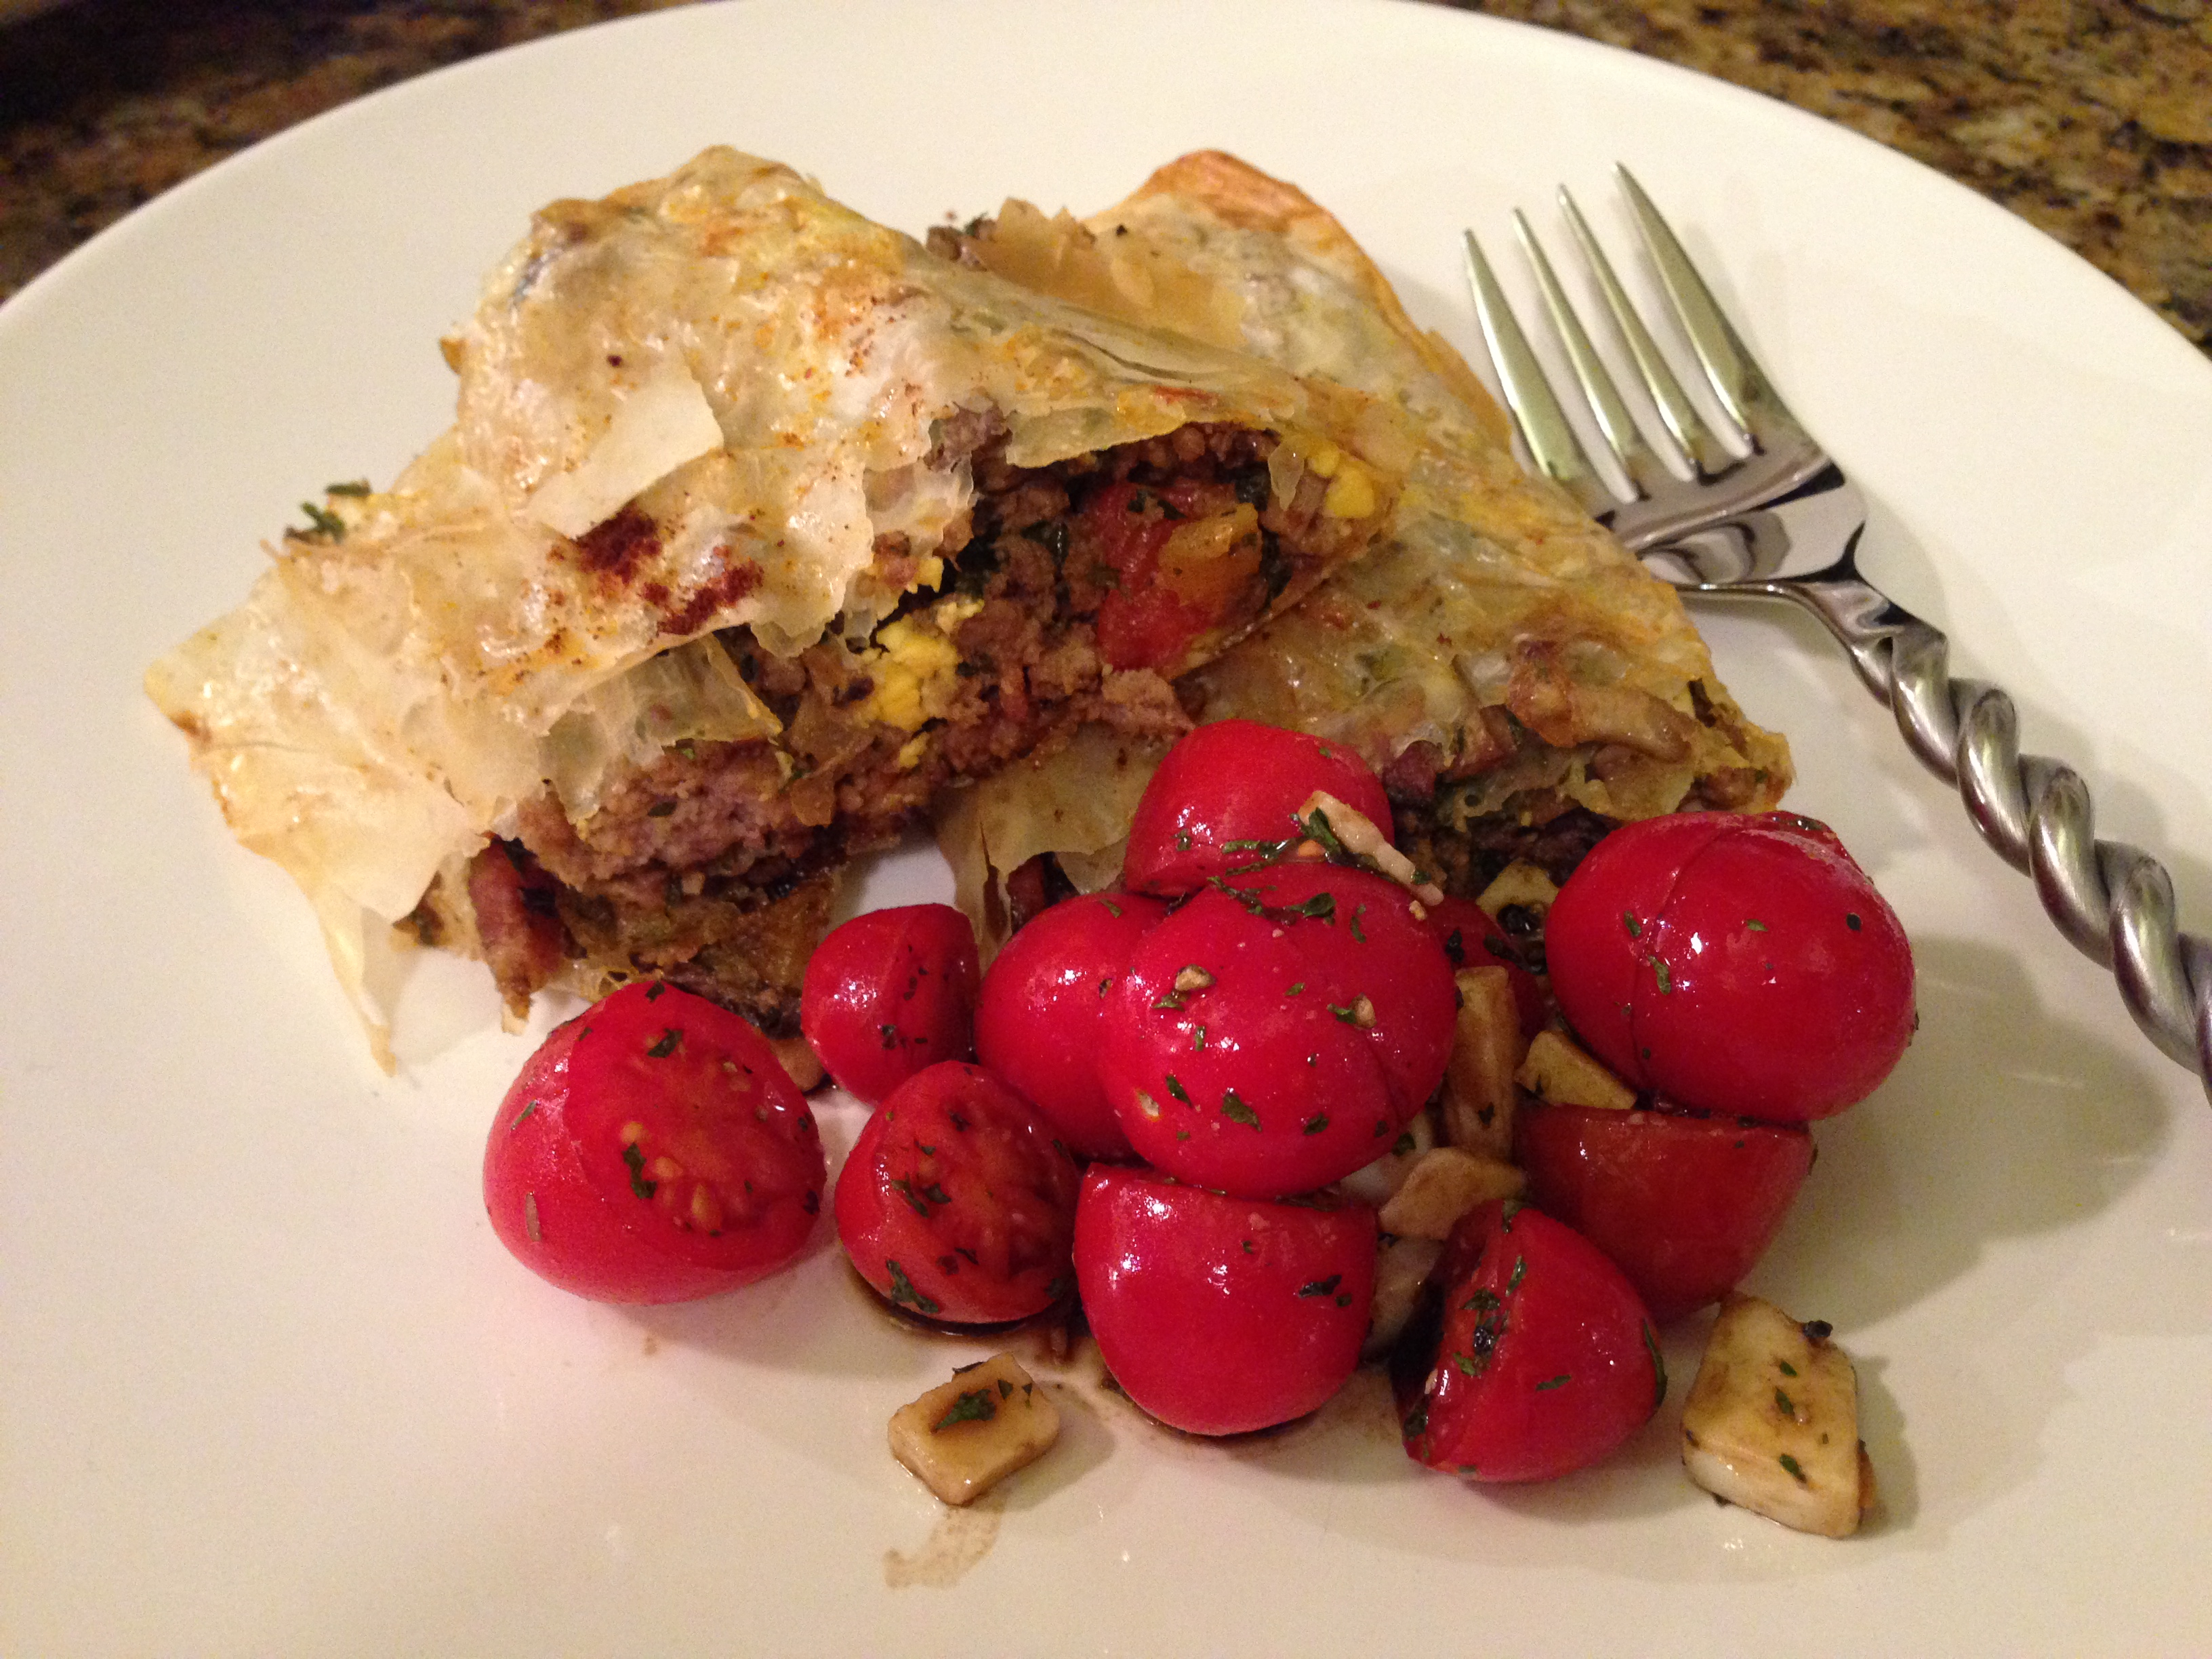
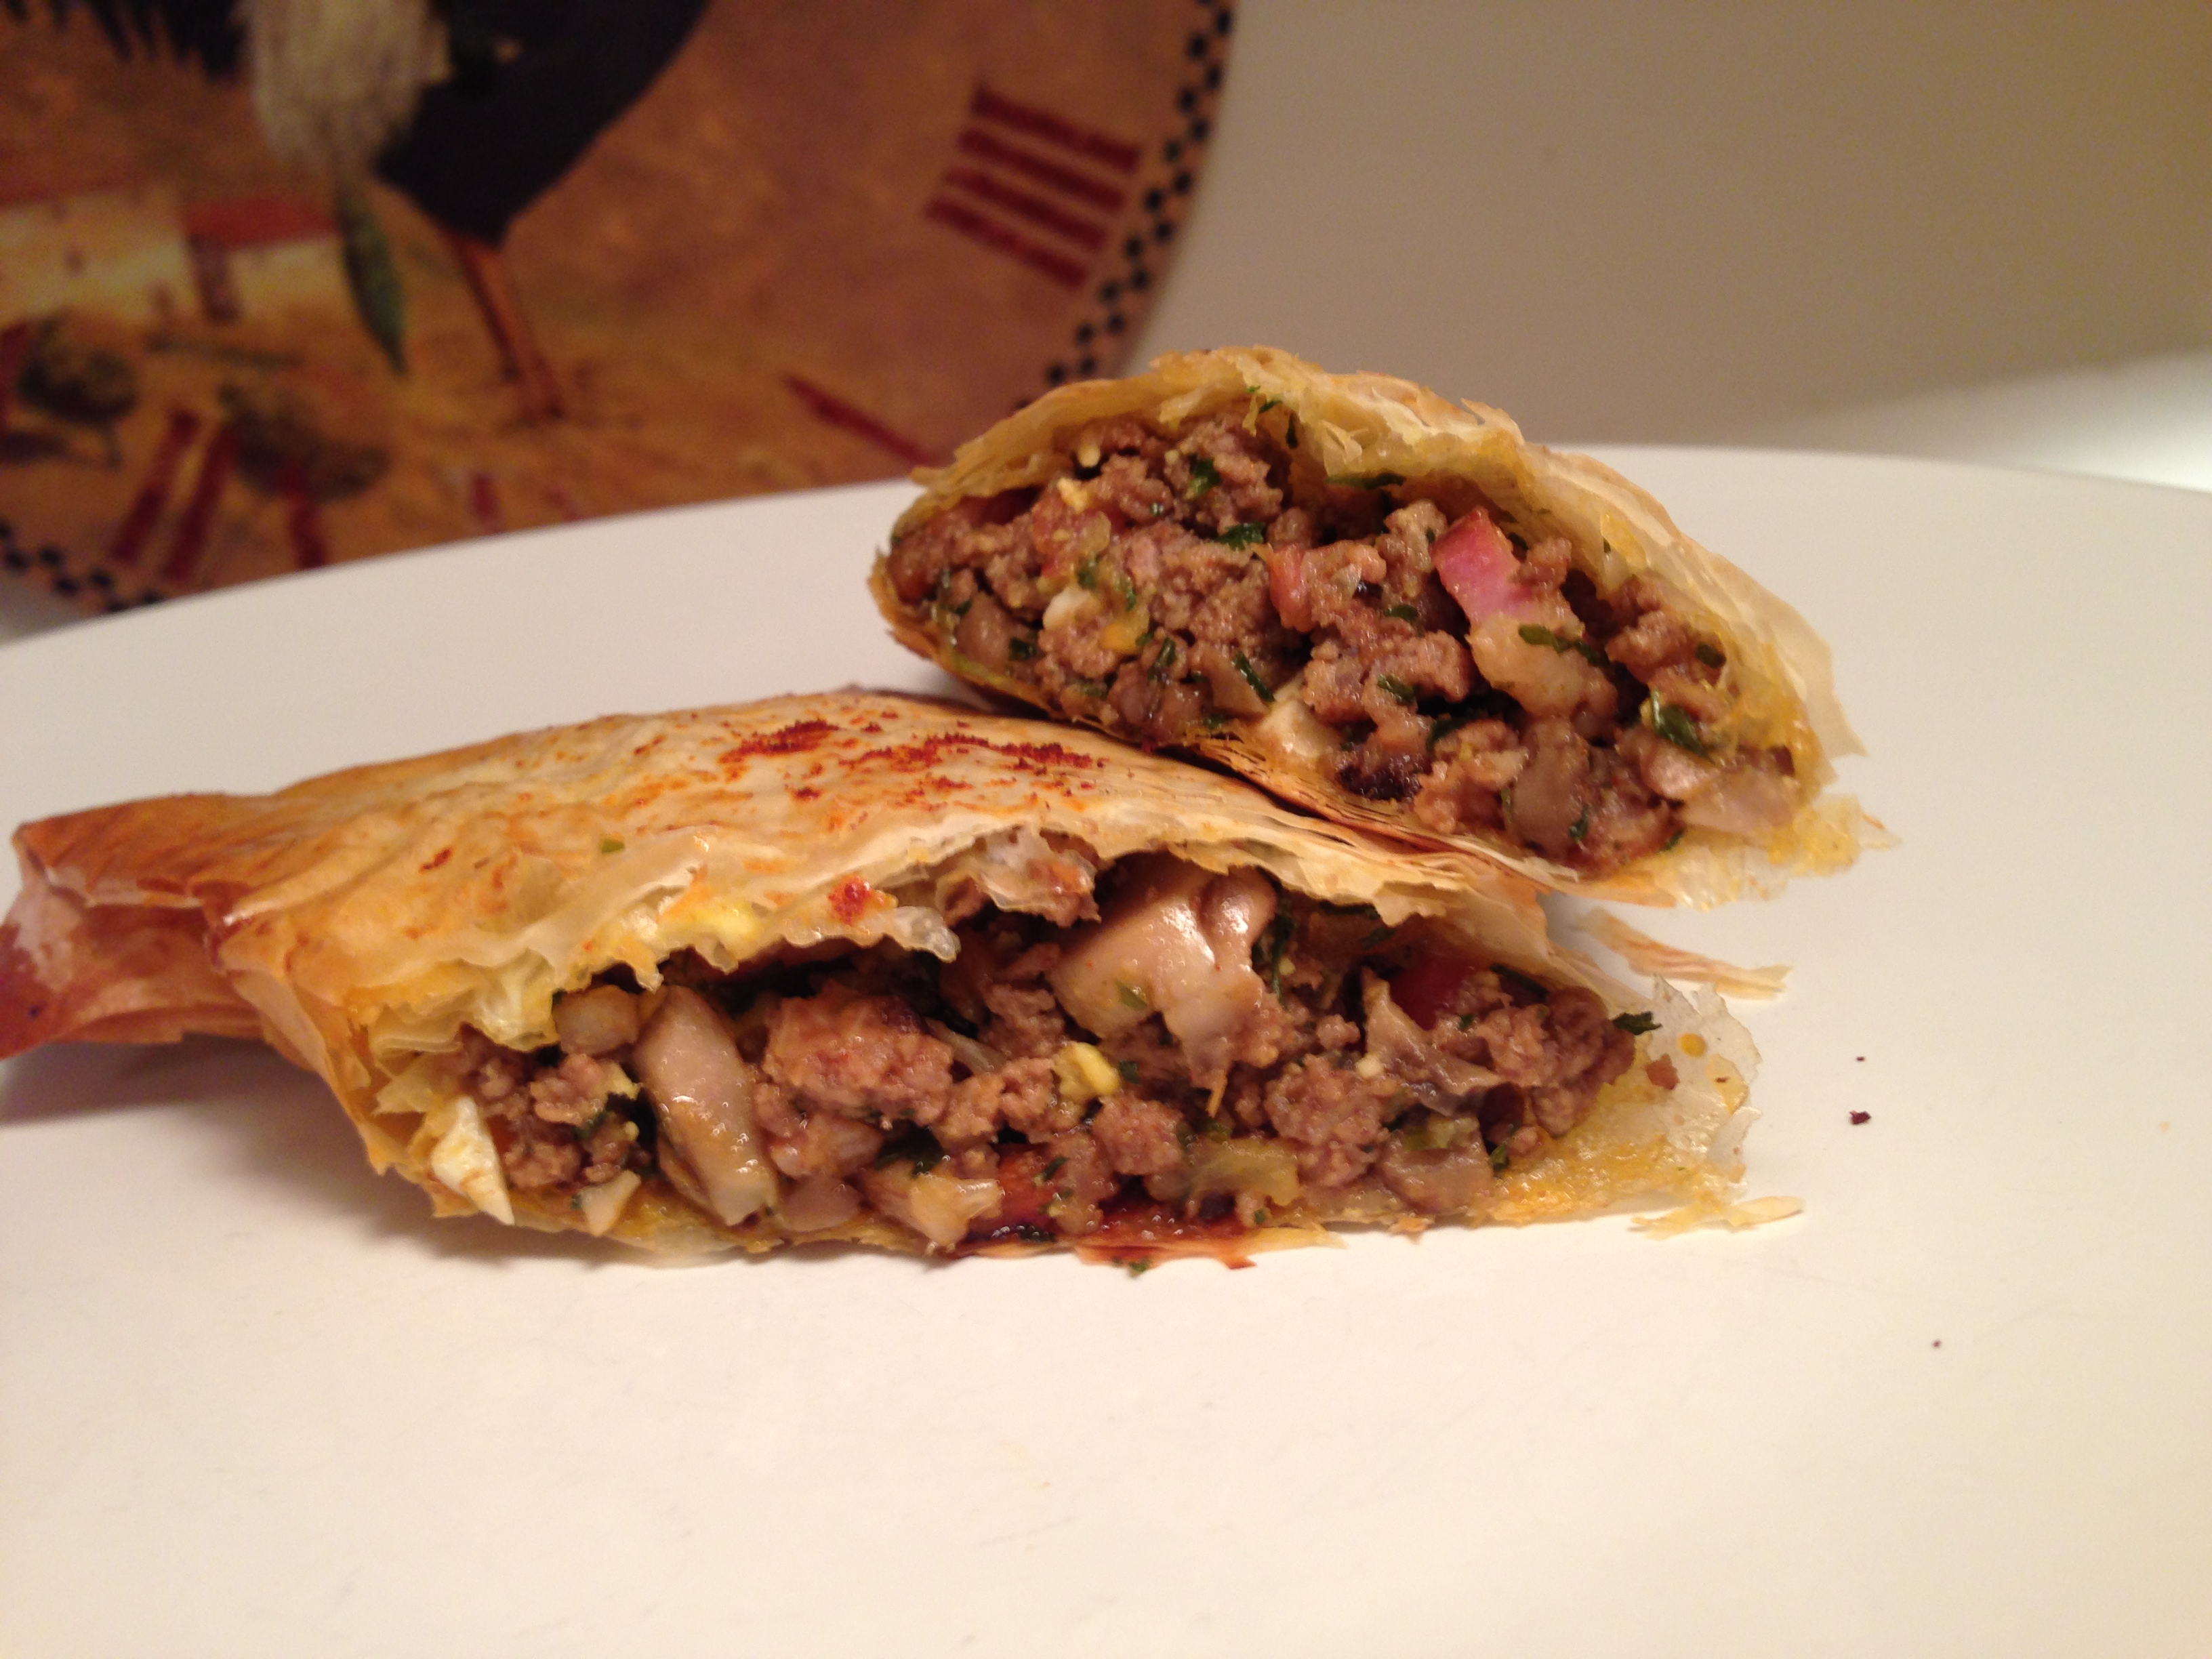
“Castro” Meat Pie

This recipe is adapted from a recipe in a cookbook from the 80’s that my mom sent me for christmas Brazillian Meat pie2from her collected volumes. The original recipe was called Brazilian Meat Pies and can be found in the Cook’s Color Treasury, by Norma McMillian (This cookbook is still around –I found some other copies on amazon.)

Brazillian Meat pie24The original recipe looked good and tasted ok  – but it needed to be updated with more robust flavors and rounded out for my tastes. It’s easily adapted to your tastes – the key reminder is not to let it the filling get too wet or greasy.


Brazillian Meat pie31

For the “Pie”

  • ½ lb – 1lb Frozen puff pastry, Philo dough or even store bought pizza dough.
  • 1 raw egg
  • Parchment paper

For the Mixture:

  • 1 diced Onion (white or red – or 5 green onions whites and greens parts)
  • 1 diced green, red or yellow pepper (for the version pictures, I used a combination – since I have leftovers already chopped)
  • ½ lb bacon slices ( or pancetta will work if you like it less smoky)
  • 2-3 tbsp Butter
  • 1 lb ground beef (or other meat combination– meatloaf mix will work fine too)
  • 4 xl Hard boiled eggs
  • 8 oz Diced Mushrooms
  • 2 tbsp dried parsley or a handful of fresh chopped parsley (or Cilantro)
  • The original recipe use pitted chopped green olives and raisins – but since not everyone in my house likes them – I omitted the olives, swapped in dried apricots and added the mushrooms.

For the seasoning

  • 8 dried Apricots (more if you prefer)
  • Salt & Pepper to taste
  • ¼ tsp ground or powdered garlic
  • ½ tbsp. Paprika
  • 2 pinches of fresh ground clove ( pre-ground is fine if you have it)

FYI:

  • This recipe will take 50 – 60 minutes – depending if you take the time to do each of the steps or have some prepped already because of left overs. If using frozen puff pastry or dough – it will need to be thawed. Before starting, remove to thaw. If using dough – you will want it room temperature to work with.
  • Because the end result of this mixture is a meant as a filling – you will want to prep all the ingredients by chopping in a small dice/chop. Feel free to add more or less as you go along.

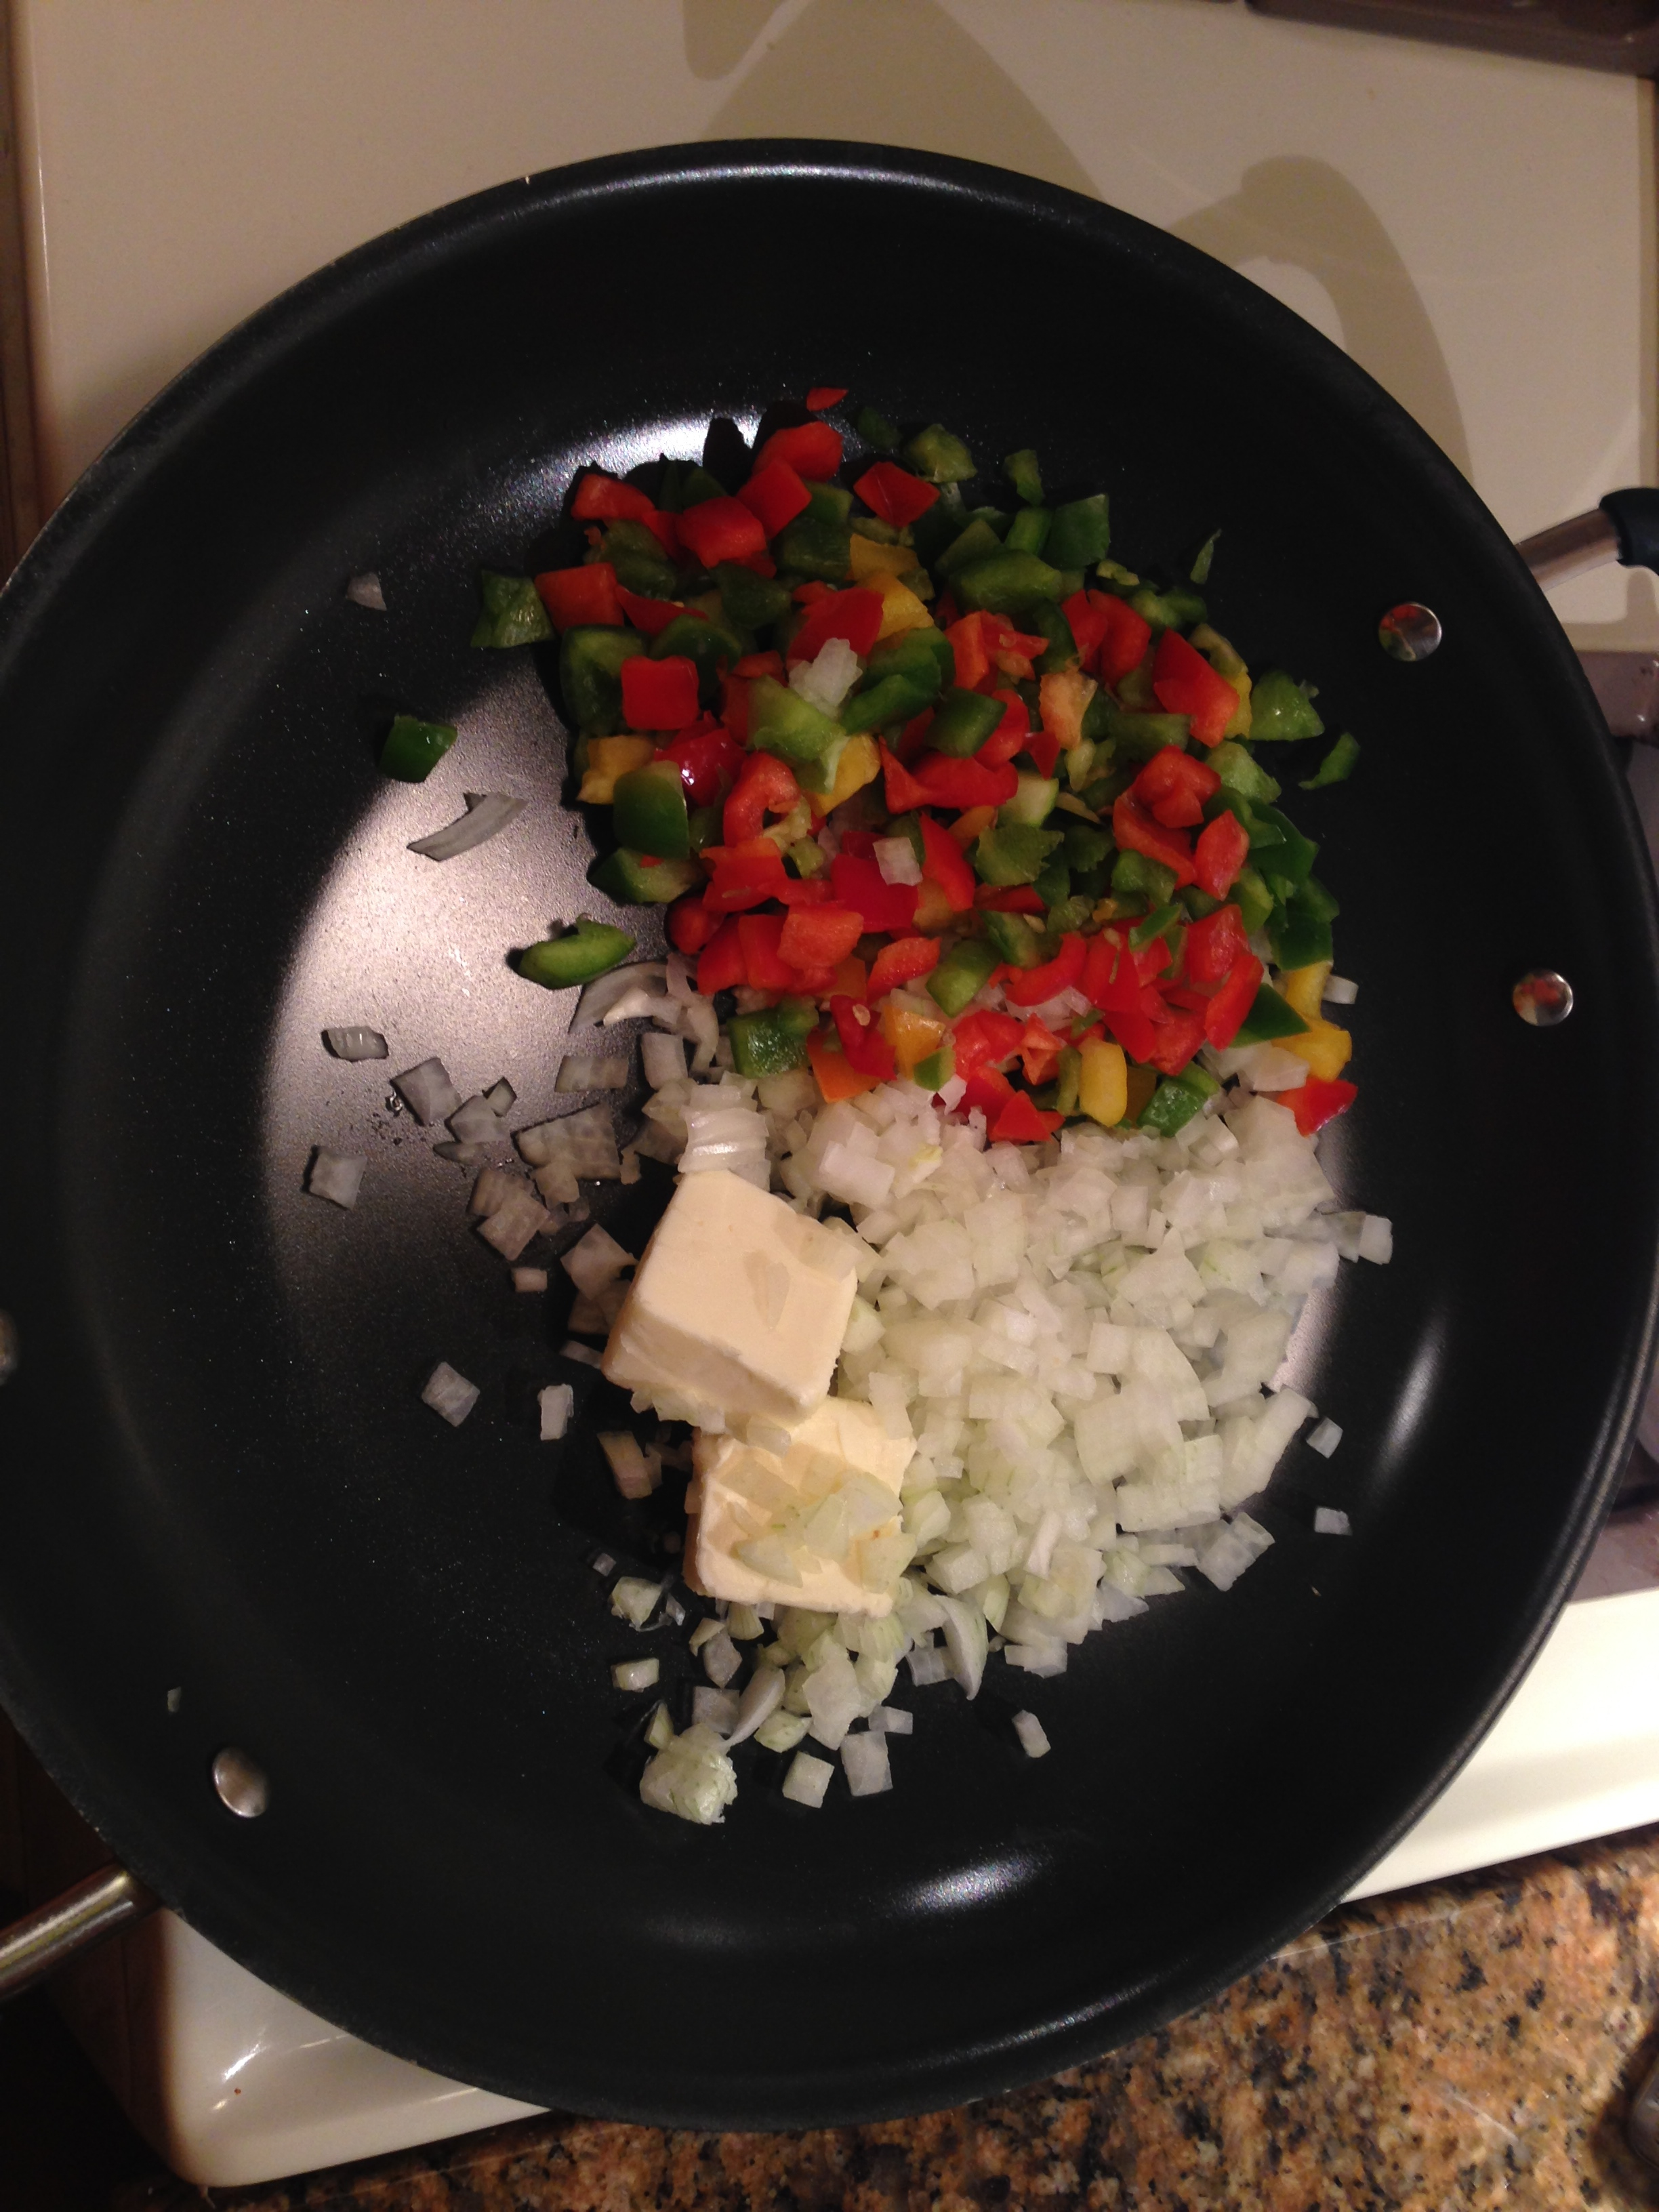
Make the filling – Part 1Brazillian Meat pie01

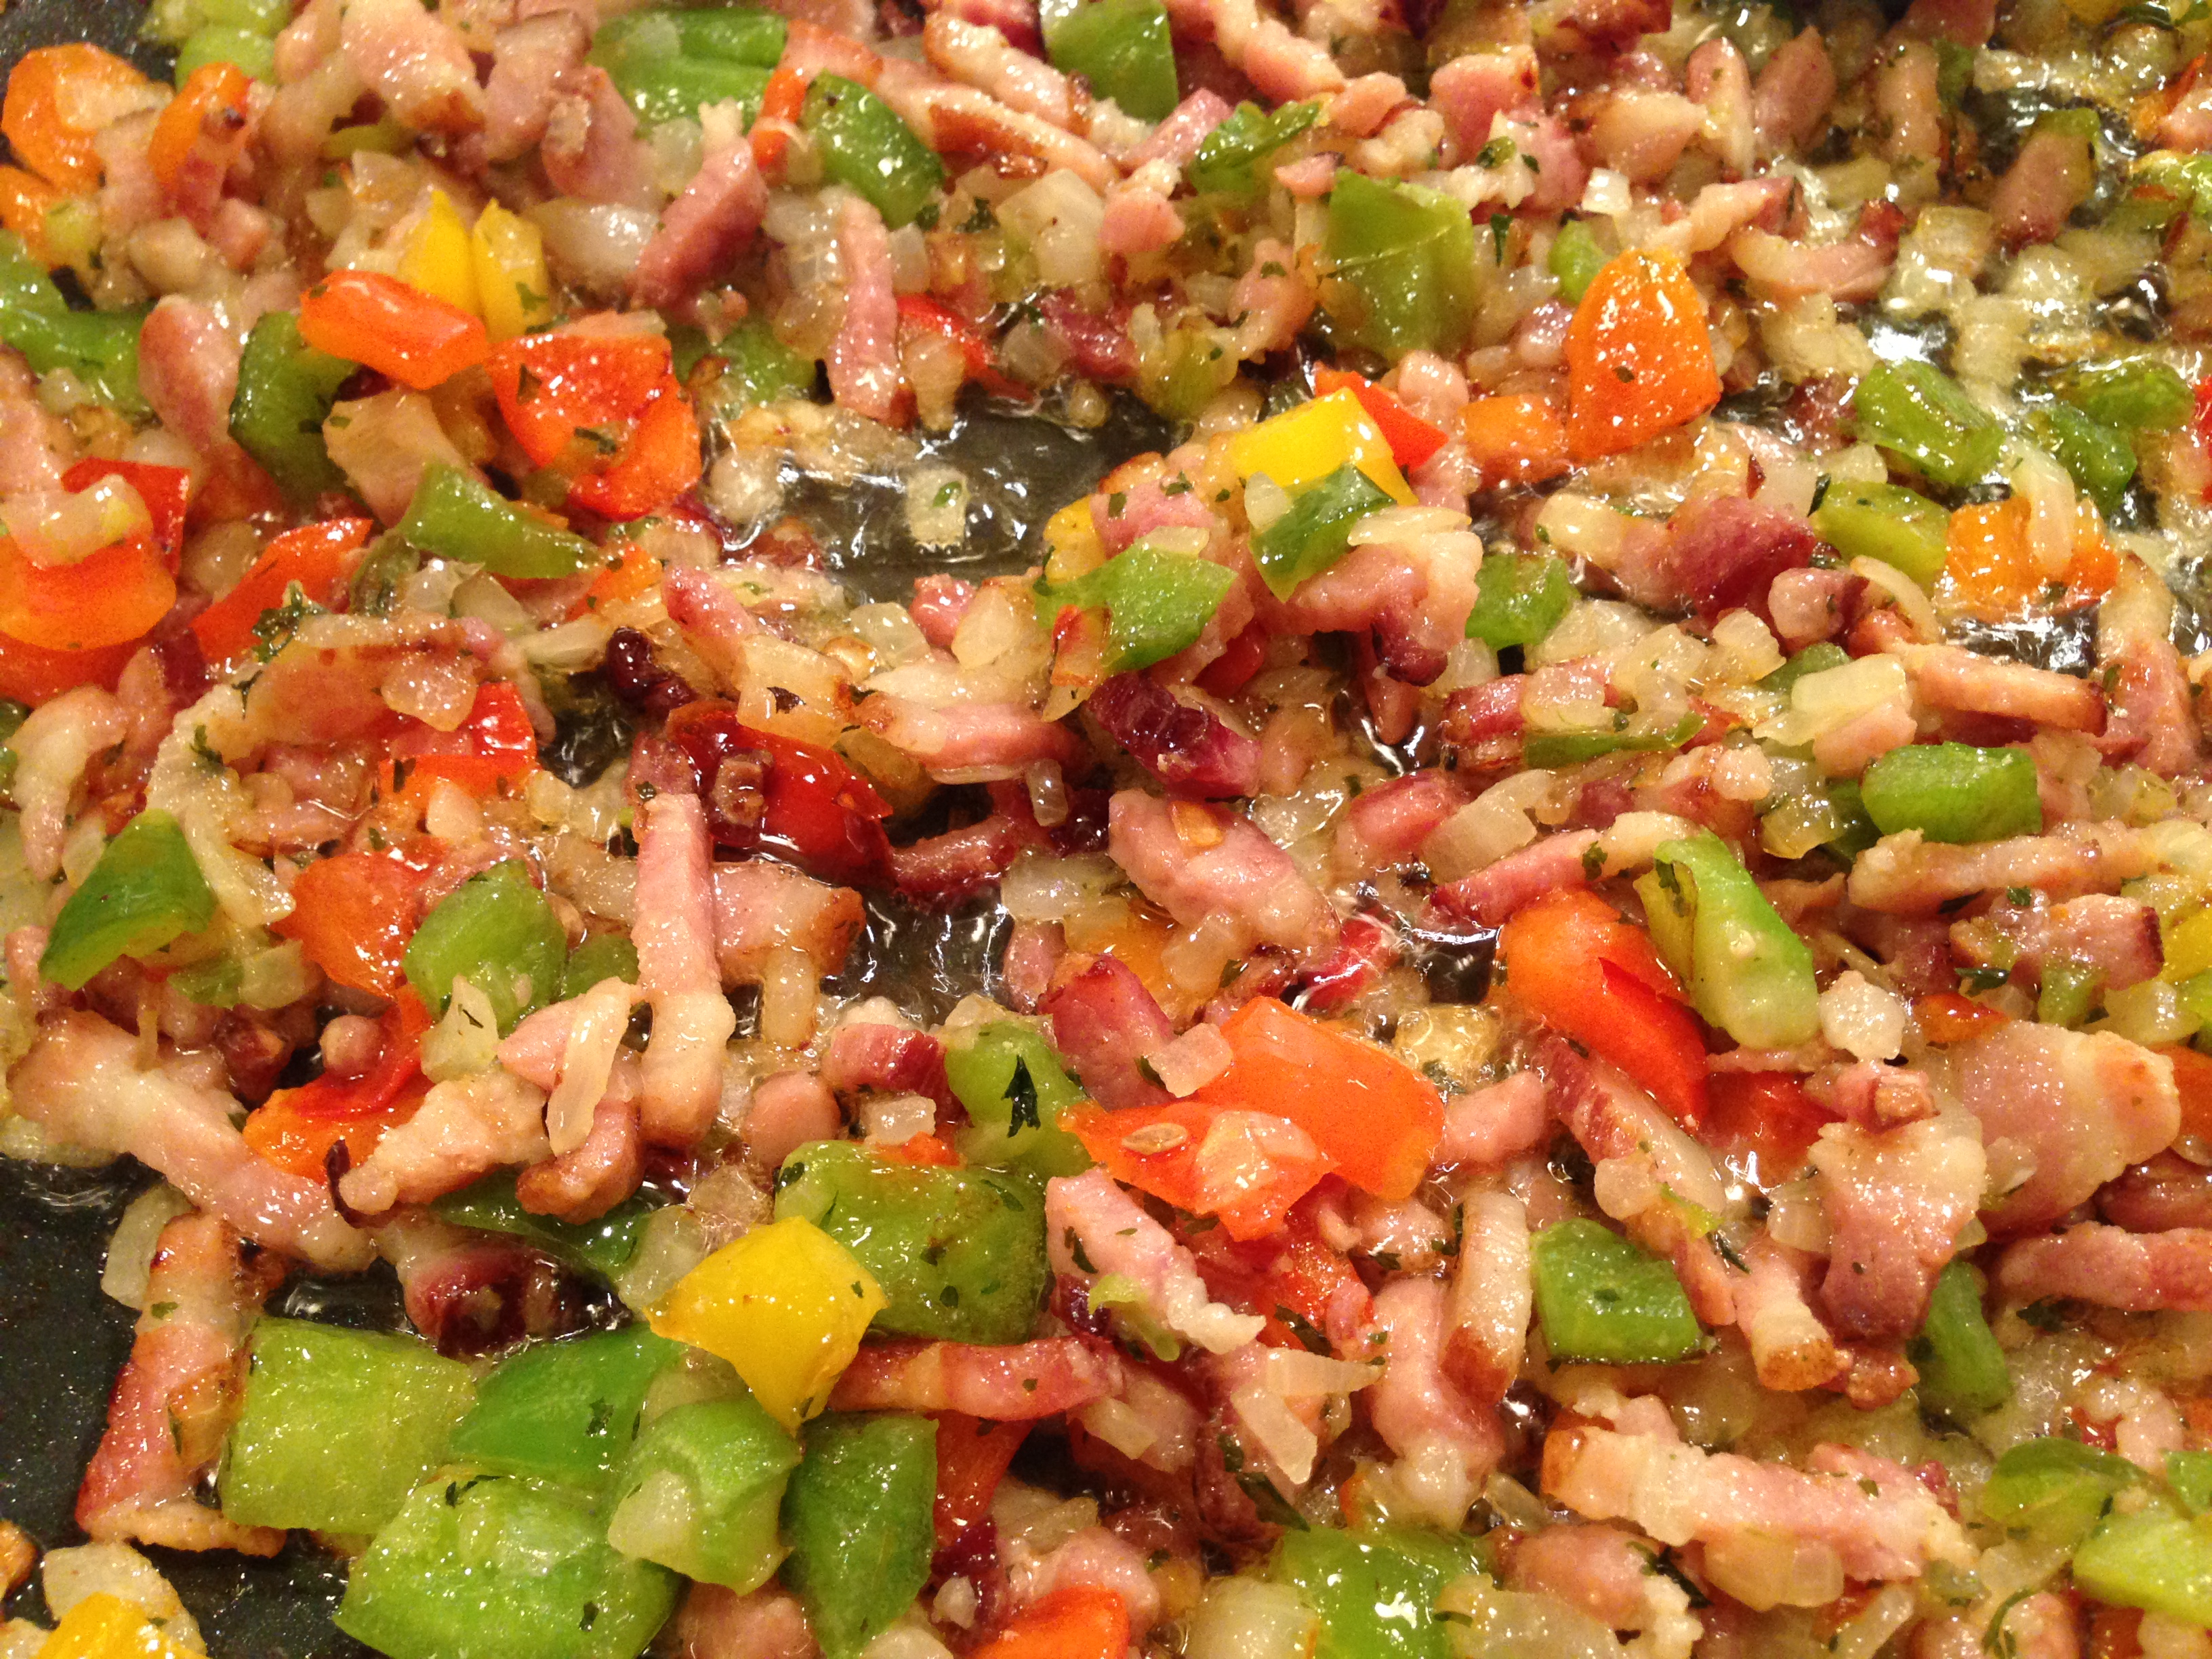
  • In large skillet or heavy bottom pan, add 2 tbsp of the butter, the diced bacon, peppers and onion.
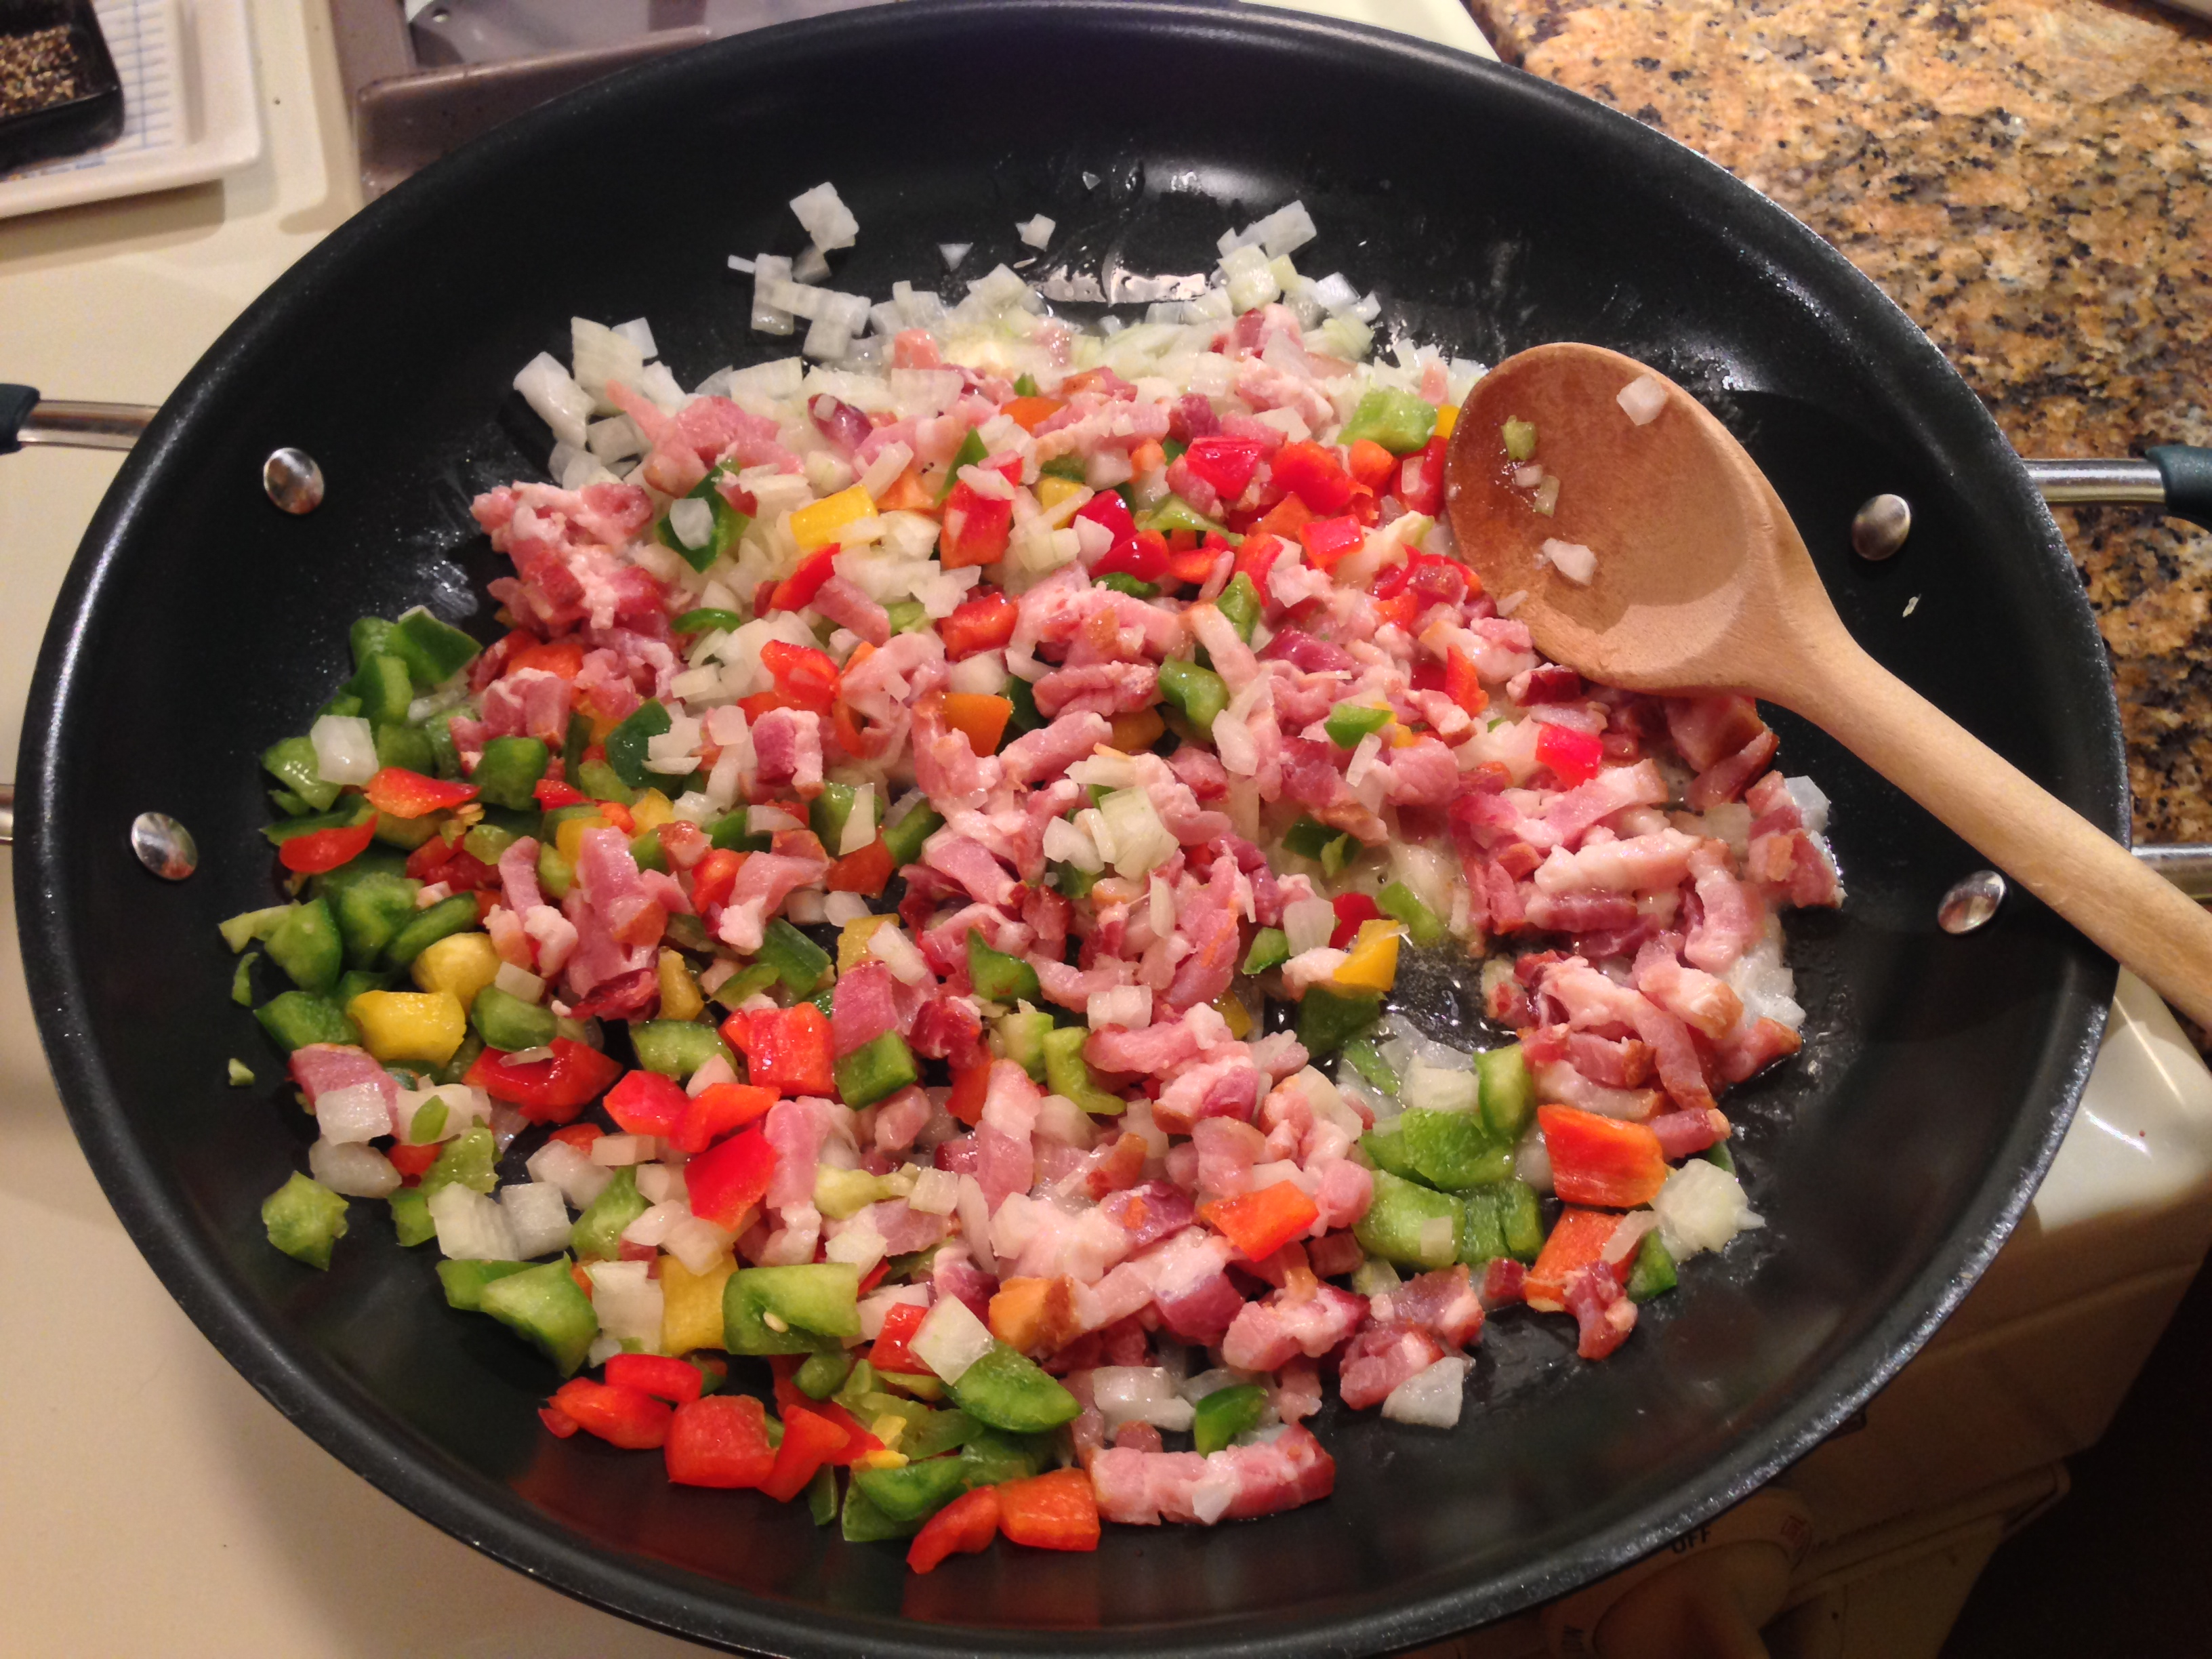
  • Cook on medium – medium/high heat until bacon renders and the Brazillian Meat pie04onionsbegin to get soften. Stir frequently and add more butter if needed.Brazillian Meat pie13
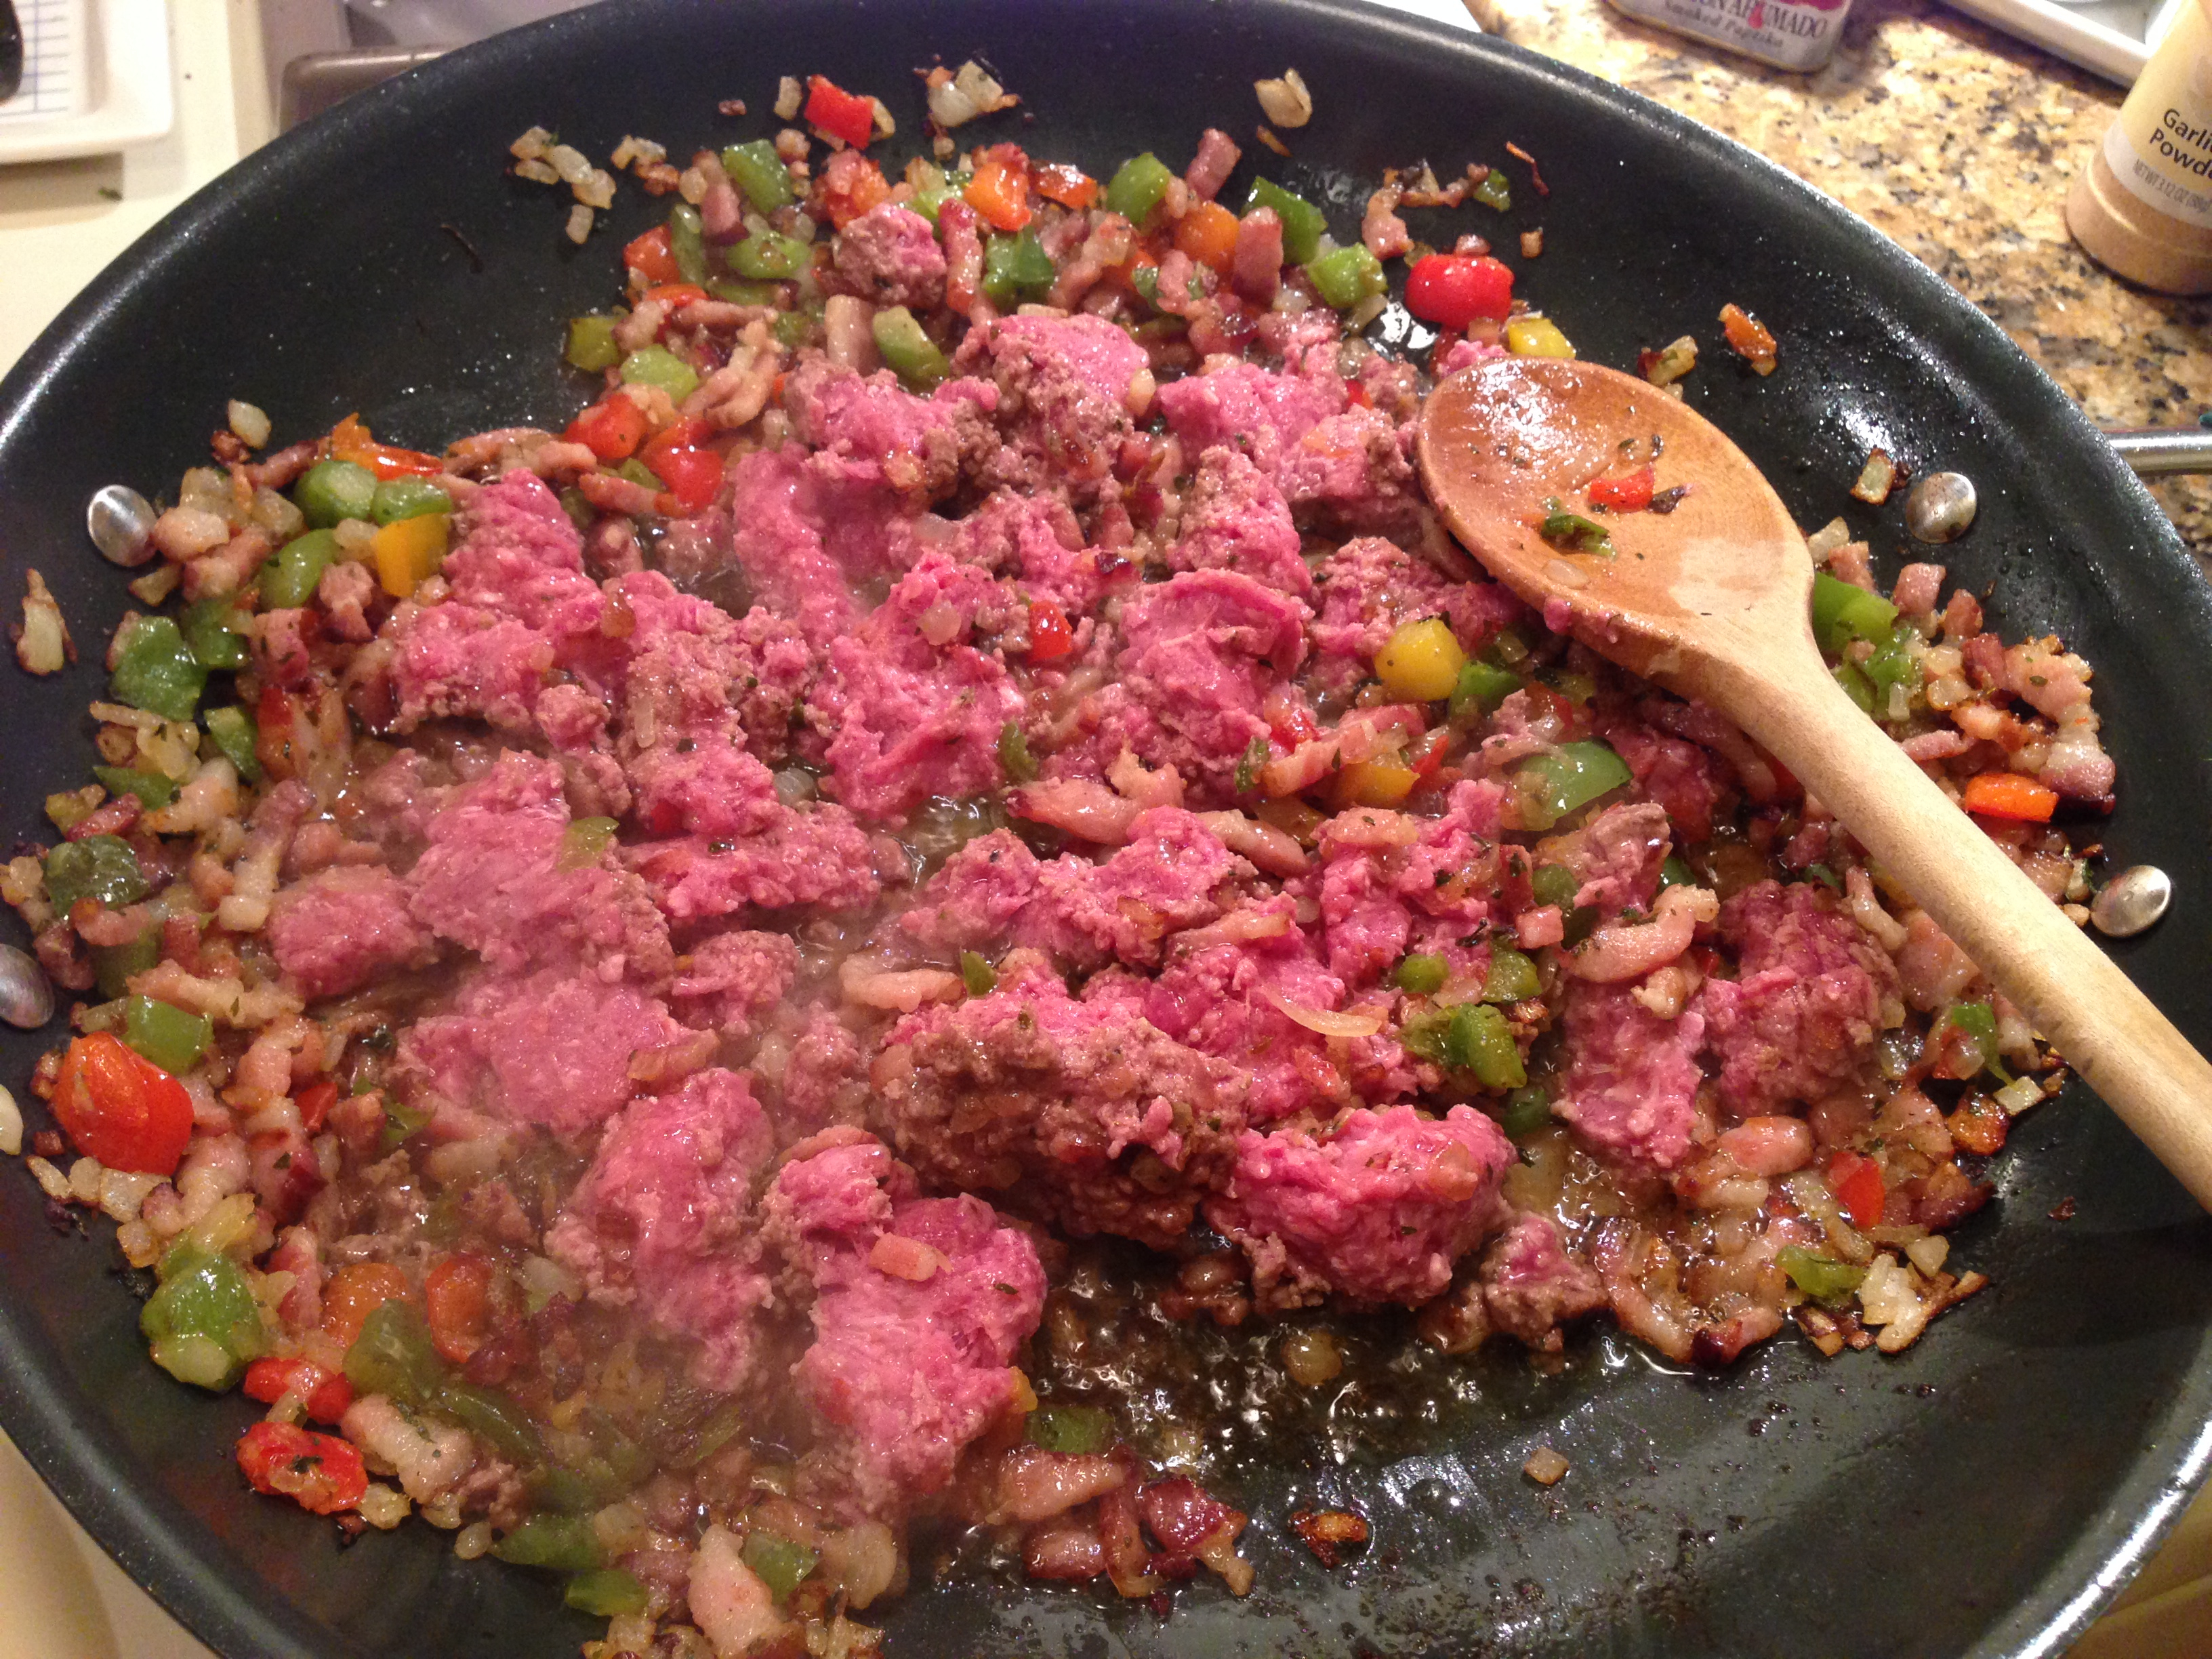
  • Add ground meat tir frequently to evenly cook the meat off.Brazillian Meat pie18
  • Add dried parsley, (if using fresh – add it later with thespices), stir
  • Once the mixture is well cooked, browned and the bacon has become mini crispy nuggets.
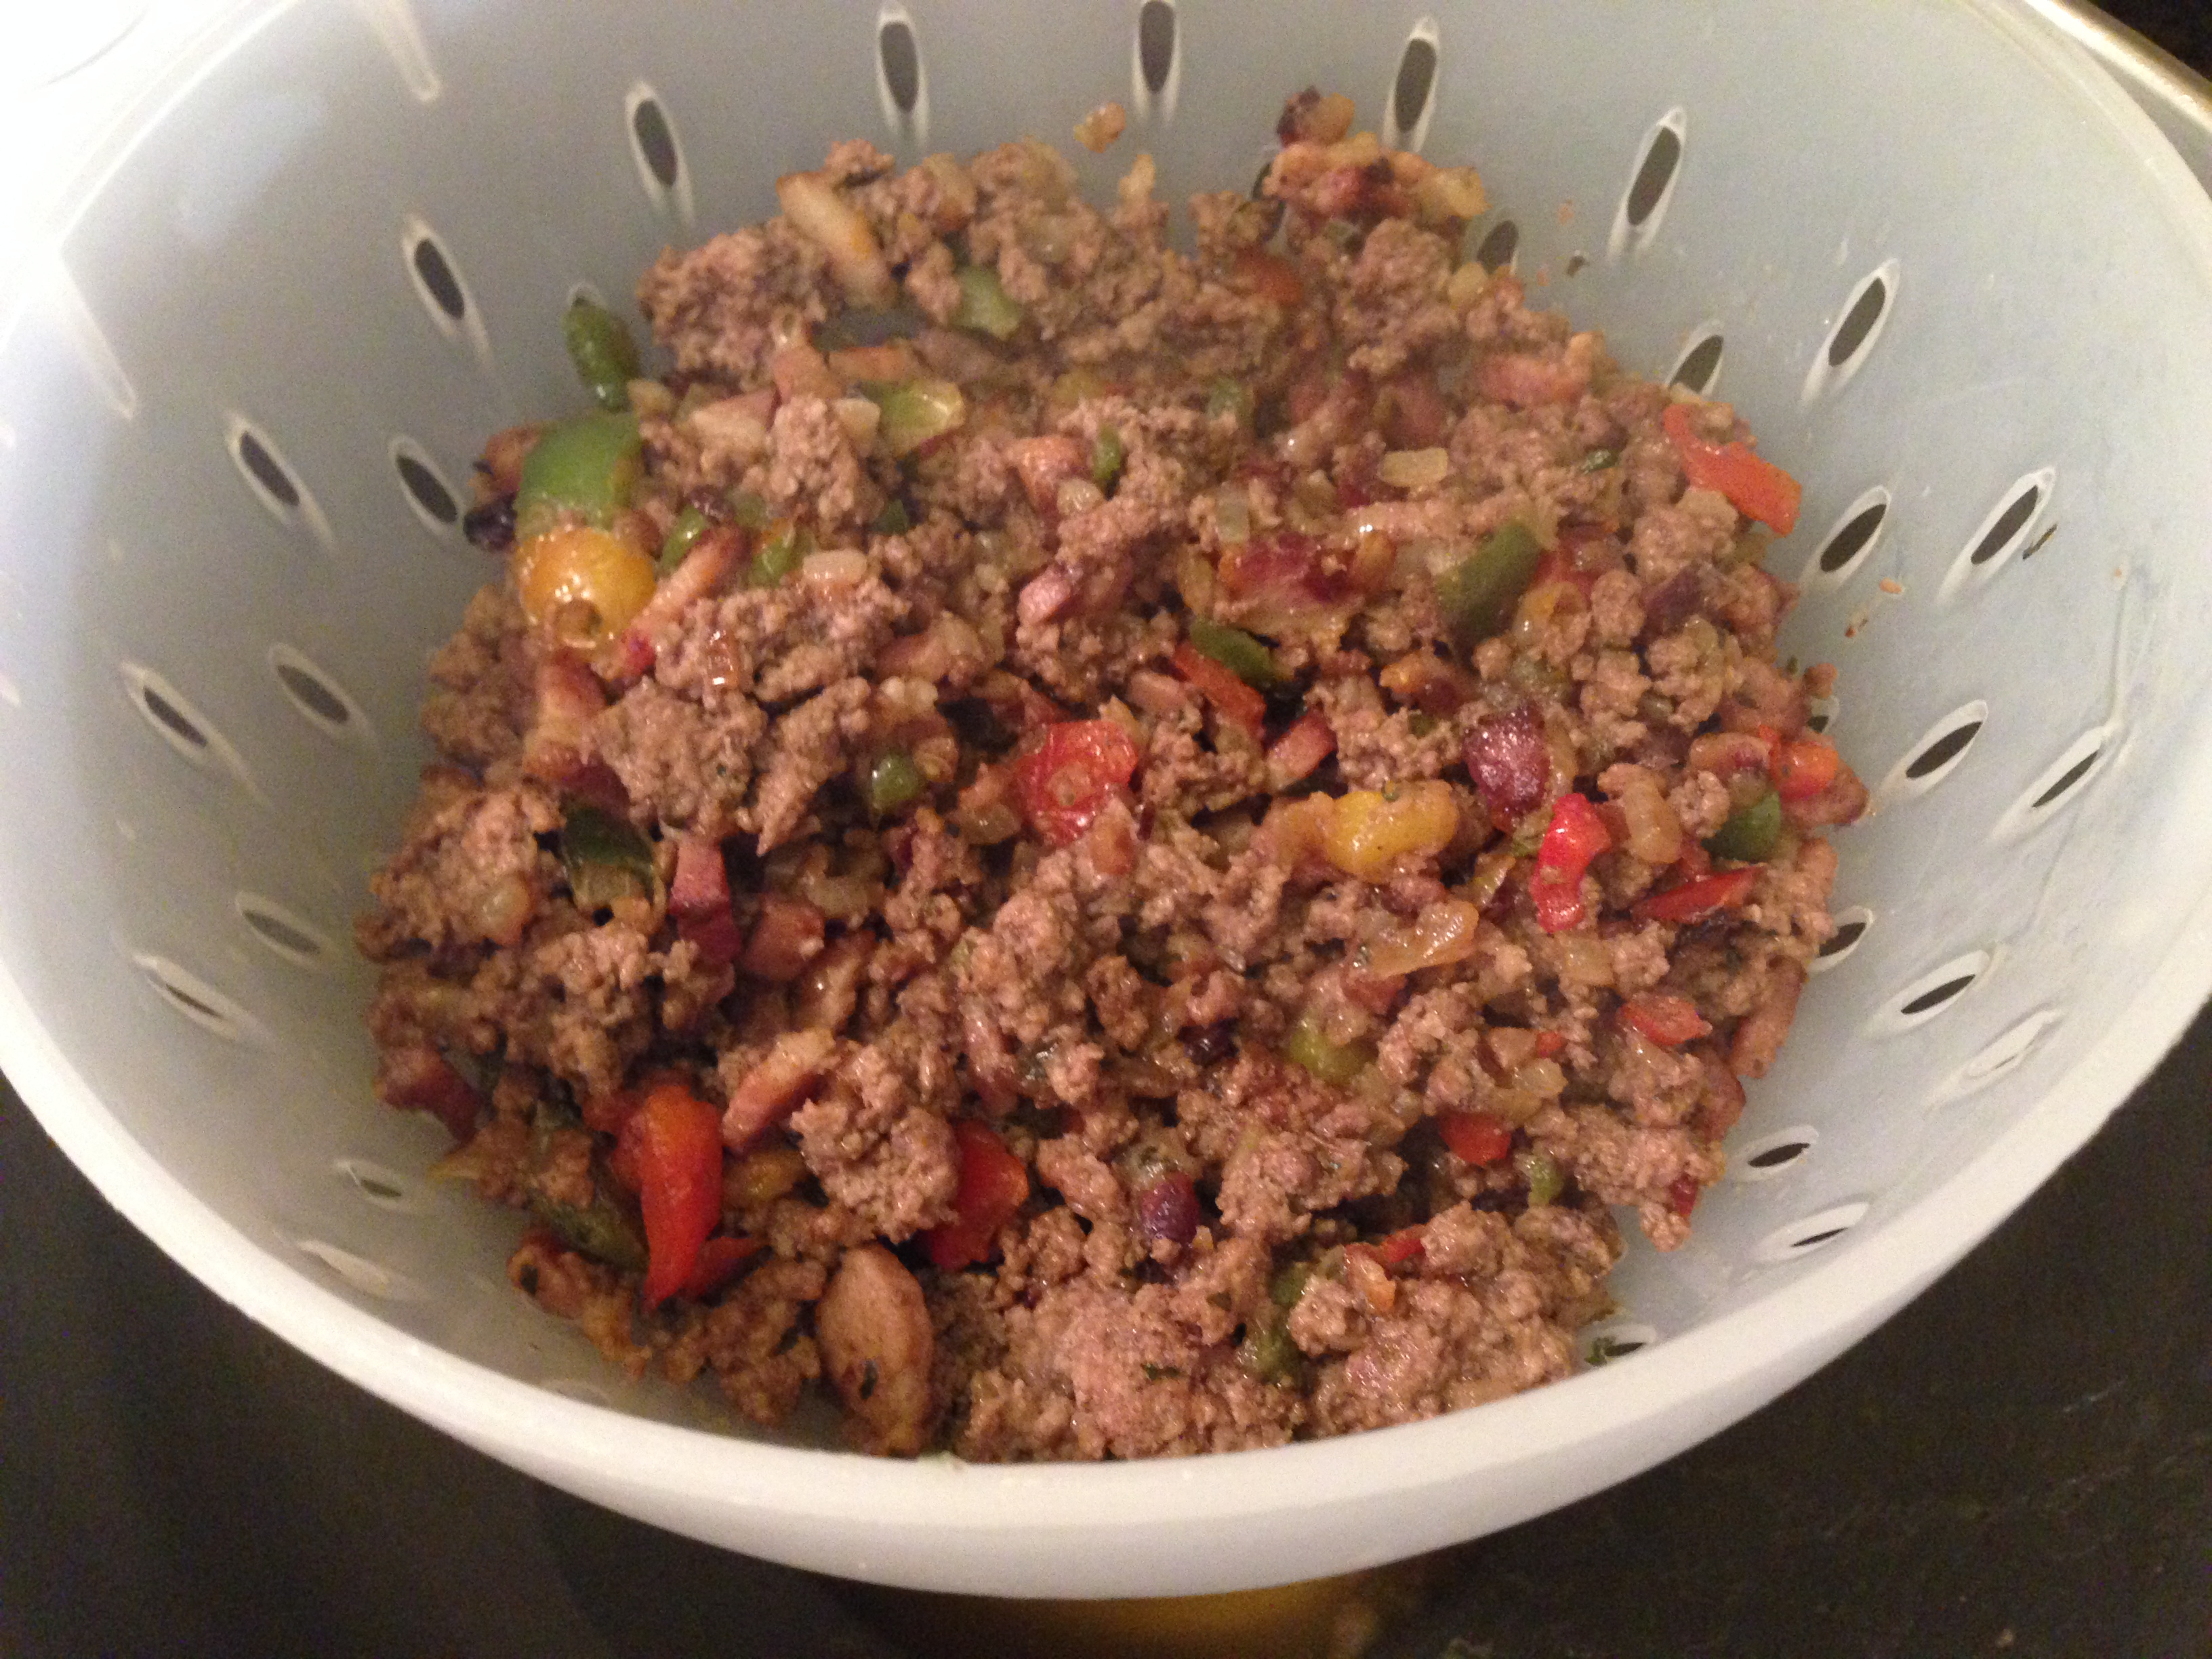
  • Remove from the heat and stain, reserving 1 tbsp of the dripping in the pan. Once drained – add to a large bowl.Brazillian Meat pie20

While this is happening – put eggs on to boil.

Make the filling – Part 2

  • Put the reserved drippings into the skillet.
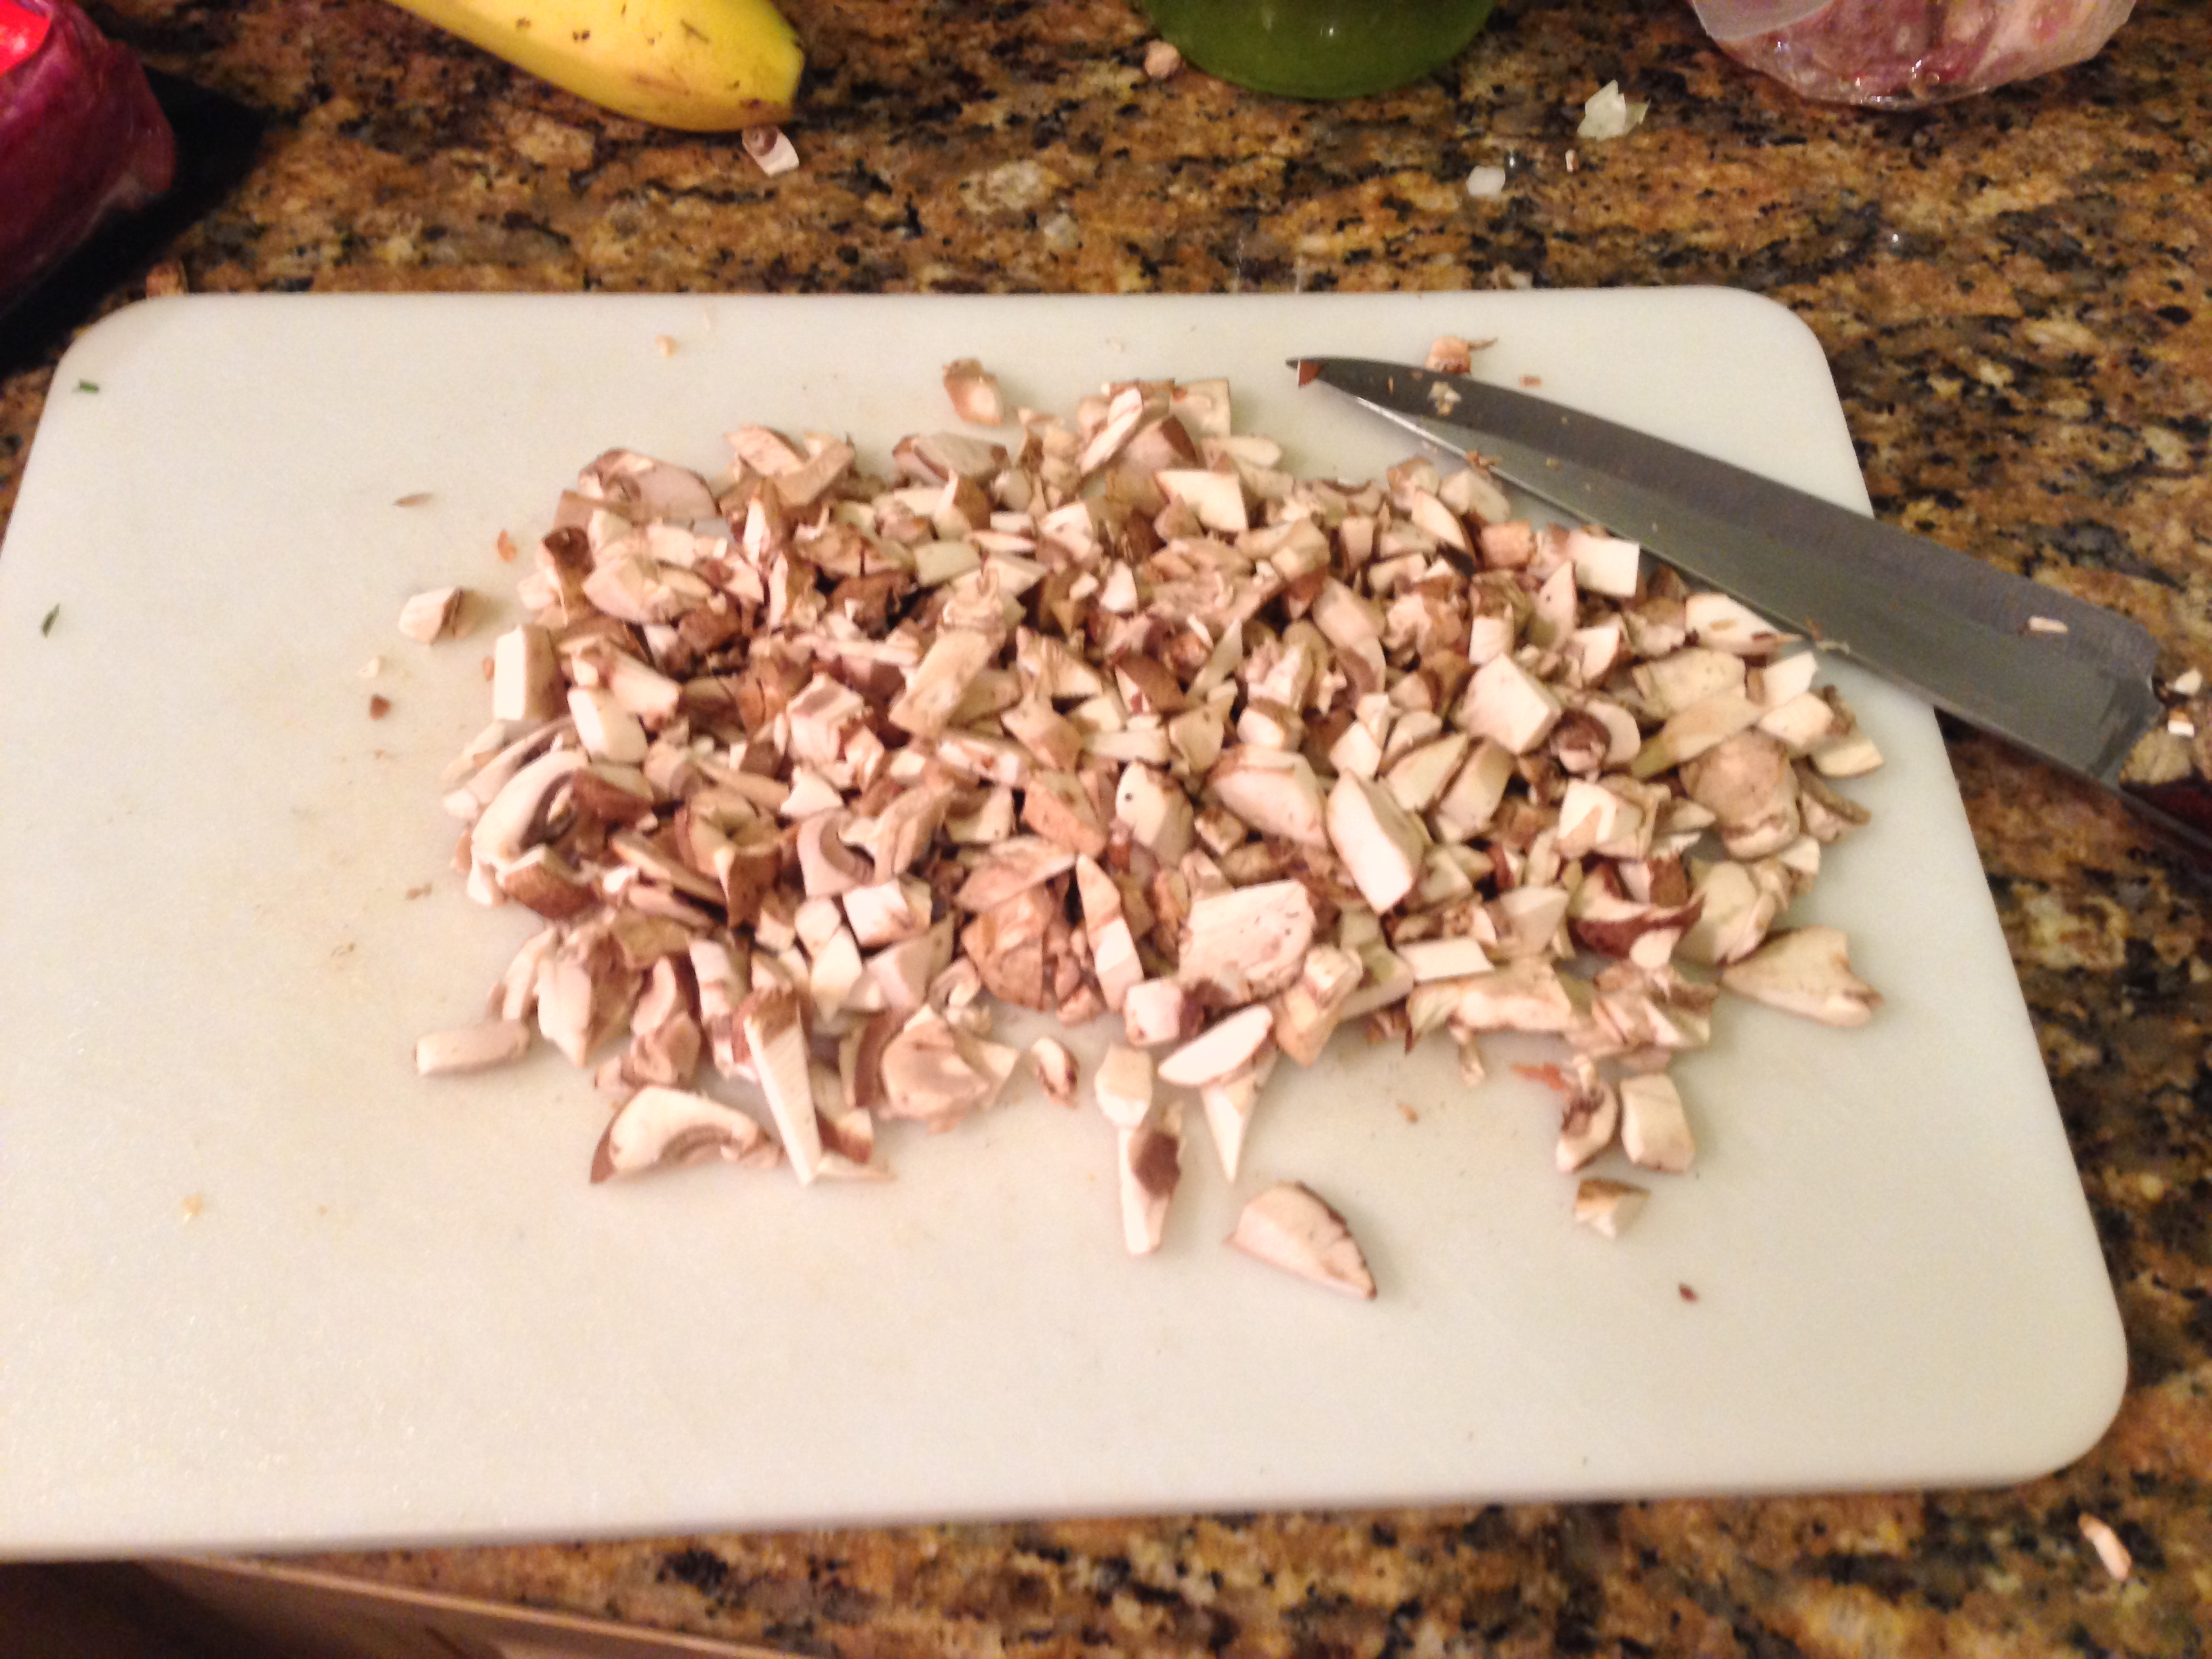
  • Add the chopped mushrooms to the skillet and cook over medium/high heat .Brazillian Meat pie10
  • Note: do not over crowd or cover the pan – you want the mushrooms the cook and brown not steam. Do in two batches is needed.
  • Once the mushrooms have cooked down, remove from the heat and strain.
  • Add the mushrooms to the bowl with the meat mixture.

To the completed mixture:

  • Cool and peal the eggs and do a rough chop and fold into the mixture.
  • Add spices, herbs, salt and pepper to taste (put the parsley or cilantro in here if using fresh.)
  • Taste the mixture. What’s missing to you? Spice? Salt? Bite? Some quick fixes here can include adding more seasonings or even a dash or two of Worcester sauce, hot sauce or even honey or maple syrup.

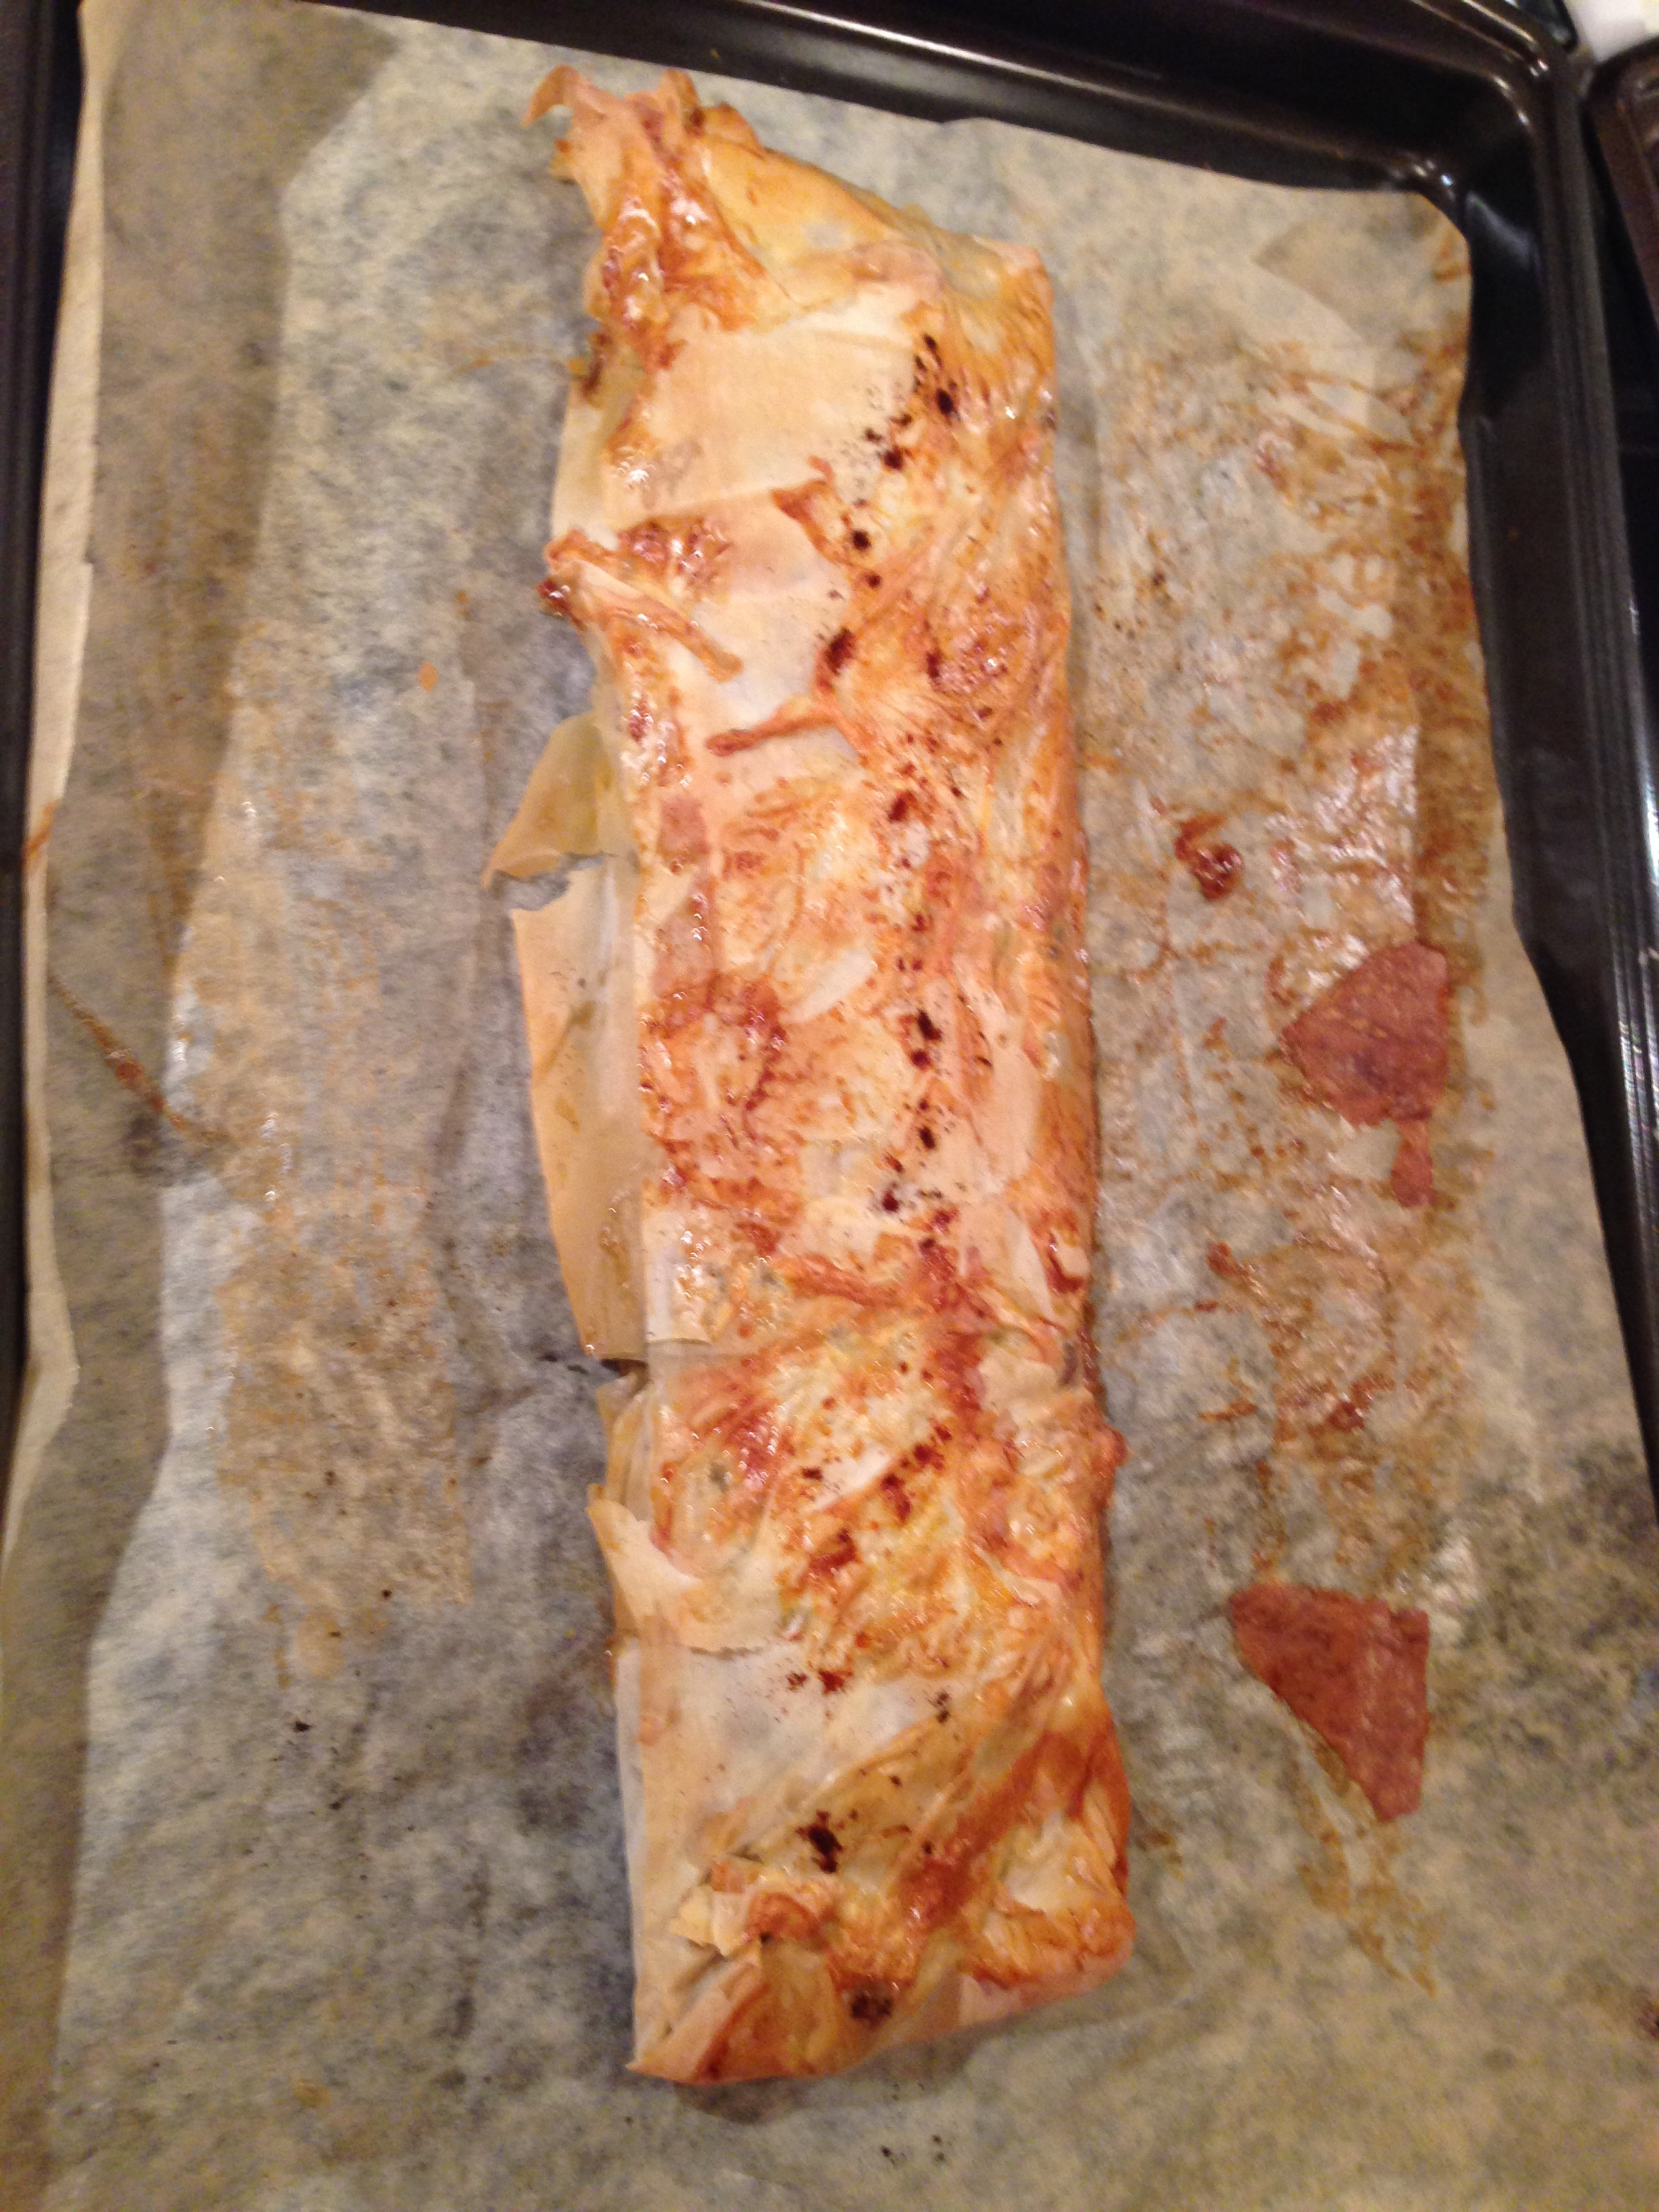
Lay out the pastry (or roll out your dough)  – place the mixture in the center of the dough or pastry and using the lightly beaten raw egg as “glue”, seal the edges.

Brazillian Meat pie26

Note: Since I used puff pastry – I did a double flip roll. Putting the mixture in the center, cover one side, some egg wash and then flipped the other side on it.

Gently move the completed “pie” to the parchment covered sheet pan.

Brazillian Meat pie28

Note: For a crisper finish if you are using dough – use a pre-heated pizza stone.

Brush the top with the egg wash. Top with a sprinkle of paprika

Bake 25 – 35 minutes until golden brown.

01072014

Food Cousins!

I’m lucky to have many folks who love to share food and cooking tips. One of my favorite is long time pal, Bob D is a writer, thinking and food enthusiast who has his own food blog at http://bobscooking.com . He kicks it up a notch with his great quality and video clips. He gets the balance of taste and nutrition and often adapts recipes for taste and while looking at the health aspect of the dish. You can also ask to join his Facebook Page for Bob’s cooking here

I’m hoping to have Bob share and post here too! If I’m lucky we can get some time to collaborate too.

SafariScreenSnapz004