The Easter Bread Saga will not be rebroadcasted this year!

Yes – I am afraid it is true.. this year no ester bread.. and for some of you wanting to know why? Let me refresh your memories:

First is the making of the damn thing and all the time for the dough to rise, etc and then it’s the baking. So its a lot of work for a seasonal treat. But You can read about last years “saga” on my post “Easter Bread; the Saga of the Risen” and see the result and recipe on “The long awaited Easter Bread Recipe ( My Mom’s Version)“.


For those of you more adventurous types, the recipe can be found listed in the Recipe Index or below


Mom's Easter Bread

Note: This is a large batch dough and can be both messy and sticky while making. You can use a mixer or processor as well as mix and knead by hand ( just plan to get “close & personal” to your dough if you do).

Also – this uses an over-night rise for the first one – so you are looking at 8 – 10 hours of prep on this before actual baking.

  • 12 xl eggs (room temp.)
  • 2 1/2 cups sugar (you can add up to 3 cups – mostly to your taste)
  • 1 tbsp sugar (this for the Yeast to proof)
  • Grated rind of 2 lemons and 1 orange (or two if they are small)
  • Juice of 2 Lemons and 2 Oranges
  • 1/4 lb of Bakers Yeast or 6 packets of Active Dry Yeast (active live yeast, not rapid rise)
  • 1/2 cup of Olive Oil
  • 12 cups of flour (more or less)
  • 1/2 stick of butter (melted)
  • 1 cup warmed milk (118 to 115 degrees)
  • Parchment paper
  • 2 -3 Sheet try pans unless you plan to do them in batches.
  • Big Bowl!
  • clean towel and blanket (yes a blanket)
  1. Preheat the oven to 350 degrees. I noted my oven runs hot so I used 325 for the second batch and let it cook an extra 5 minutes.

  2. Melt yeast in warm milk with the tablespoon of sugar, stir and set aside

  3. Beat eggs w/remaining sugar till well incorporated

  4. Add butter, yeast, lemon juice and grated lemon & orange peels mix together well.

  5. Add the Flour

    If you have a large surface area you can mix old school style and pour flour on the table, form a mound, make a hole in the center and add liquid mixture gradually as you work by hand.

    or

    Use a bowl or mixer and add flour 2 cups at a time to liquid mixture.

    The dough will go from liquid to sticky mess so you will want to be prepared.

    Around the time you hit the 10th cup of flour, you will want to start to work the dough with your hands as you add the remaining flour*.

  6. Coat your hands from the 1/2 of Olive Oil to keep it from sticking (Don’t use flour on your hands) and knead dough.

    When you can shape a soft dough round that isn’t so sticky and stays together – you are done.

  7. *Depending go the egg size – you may need less or more flour so take your time.

  8. Oil the inside of a large bowl ( those old fashioned tupperware ones are great by the way). Place the dough in the bowl. Cover and “burp” if using tupperware or cover with plastic wrap. Drape a towel over the top and then fold the bowl into a blanket and set out of a breeze,overnight or 6 -7 hours.

  9. Unwrap and punch it down for the first time, rewrap and let rise again for 2-3 hours

  10. After the second rise

  11. Role each portion of dough out into a 12- 14 inch role, then either braid or circle around itself ( or any other shape you like). Place on parchment paper lined trays.  

  12. Let rise uncovered for up to 1 hour more. See the notes for more ideas and hints

  13. Coat with a simple egg wash

  14. Bake for 30 minutes or until a nice golden brown.

  15. Cool on a rack and eat! Even better the best day as “French Toast” or in bread pudding.

Note:
Now the timeline we use is:
10:00 pm make dough, wrap like a bundle (and in my Mom’s case – say a prayer – yes really)
7:00 am unwrap and punch it down for the first time, rewrap and let rise again for 2-3 hours,
9:30 – 10:00 am shape into individual loaves and let rise uncovered for up to 1 hour more.
11:00 am Bake
Hints:
Shapes:
If you portion out the dough into 1/2 lb portions you can get  5- 6 loaves.
If you want to do a large braid, use about 1-1/2 lbs (1/2 per lb), But its up to you. I think 1/4 ld loaves would be nice gifts too.
 
You can also place a raw egg (especially pretty with colored eggs) in the center while they cook.
Topping with an egg wash and sprinkles also add some fun as would adding friend fruit to the batter.

Bistro SF Grill

While I understand it’s a new location, the “vibe” was disorganized at best. It felt like the system (if it had one) was broken tonight. When asked about the soup of the day (at 7:30 at night), the waiter stepped away and after checking came back saying is was being made now and it will be a “white chowder”- they never went on to explain what kind. Another menu item that was asked about, we were told was initially out, but then had “just came in”. 

While it has potential to be a fun, casual spot- it felt somewhat contrived to be too established “hipster-chic”. 

A few less then stellar notices;

1-they dont have plain Iced tea, and dont let you known when ordering thats its a “flavored one”. (They also don’t have non-sugar sweetner). 

2 -while we got seated quick, our waiter mid-order, stepped away to check menu options, ended up seating three parties and then finally returned to take the rest of the order. 

3- the volume is on the high side and add in the piano (which is a nice touch) you and your guests can expect a lot of “what? what?. Personally I don’t think they need a amp on the piano in that size please. 

4- on the food quality; mostly good. The grilled sardines were tasty but would have benefitted if served with a wedge of lemon. The beet & carrot salad was “meh”. Somewhat lacking in seasoning or sharpness but a nice sized portion. The grilled sausage w/ sauerkraut and mash were great. Tasty and crisp but the mash itself was barely warm (in fact the mini tomato garnish was wamer). The wiener 
schnitzel was good and a nice presentation and had a well seasoned taste. 

So overall, a mixed bag worth a second try. 

1305 Castro St, San Francisco, CA 94114

https://bistrosfgrill.com/

It’s the last of the Cioppino nights @RoccosCafeSanFrancisco for the season soon

Heads up folks!

Some of you know that Rocco’s Cafe San Francisco is one of my “go to” fav places.

Top dishes on the menu include the seasonal Corned Beef & Cabbage we had last week during our annual St. Paddy’s Day Night out. 

But the other seasonal “must have” is the Chippino.

Just got word that the last time of the season for Cioppino is at the end of the month.. see the message below and use the link for reservations.

“The secret is out, so you better make your reservations now because it’s going to get a little crazy in here.LAST CIOPPINO of this season is Fri 3.31 & Sat 4.1, and this is no April fool’s joke!”

Rocco’s Cafe

1131 Folsom StSan Francisco, CA 94103-3931(between 7th & 8th Sts.)

Reservations Accepted: https://www.yelpreservations.com/r/roccos-cafe/

Paul’s work dinner party tonight, time to get cracken with some old fav’s to warm up the night

My partner, Paul and his colleague M, wanted to have a dinner party with some folks from work; so I was volunteered to help pull the dinner party off – I wonder if I can pull this look off?

Since were going to hold it at her house, my thoughts were to go simple with good standards fitting the weather; so that means;

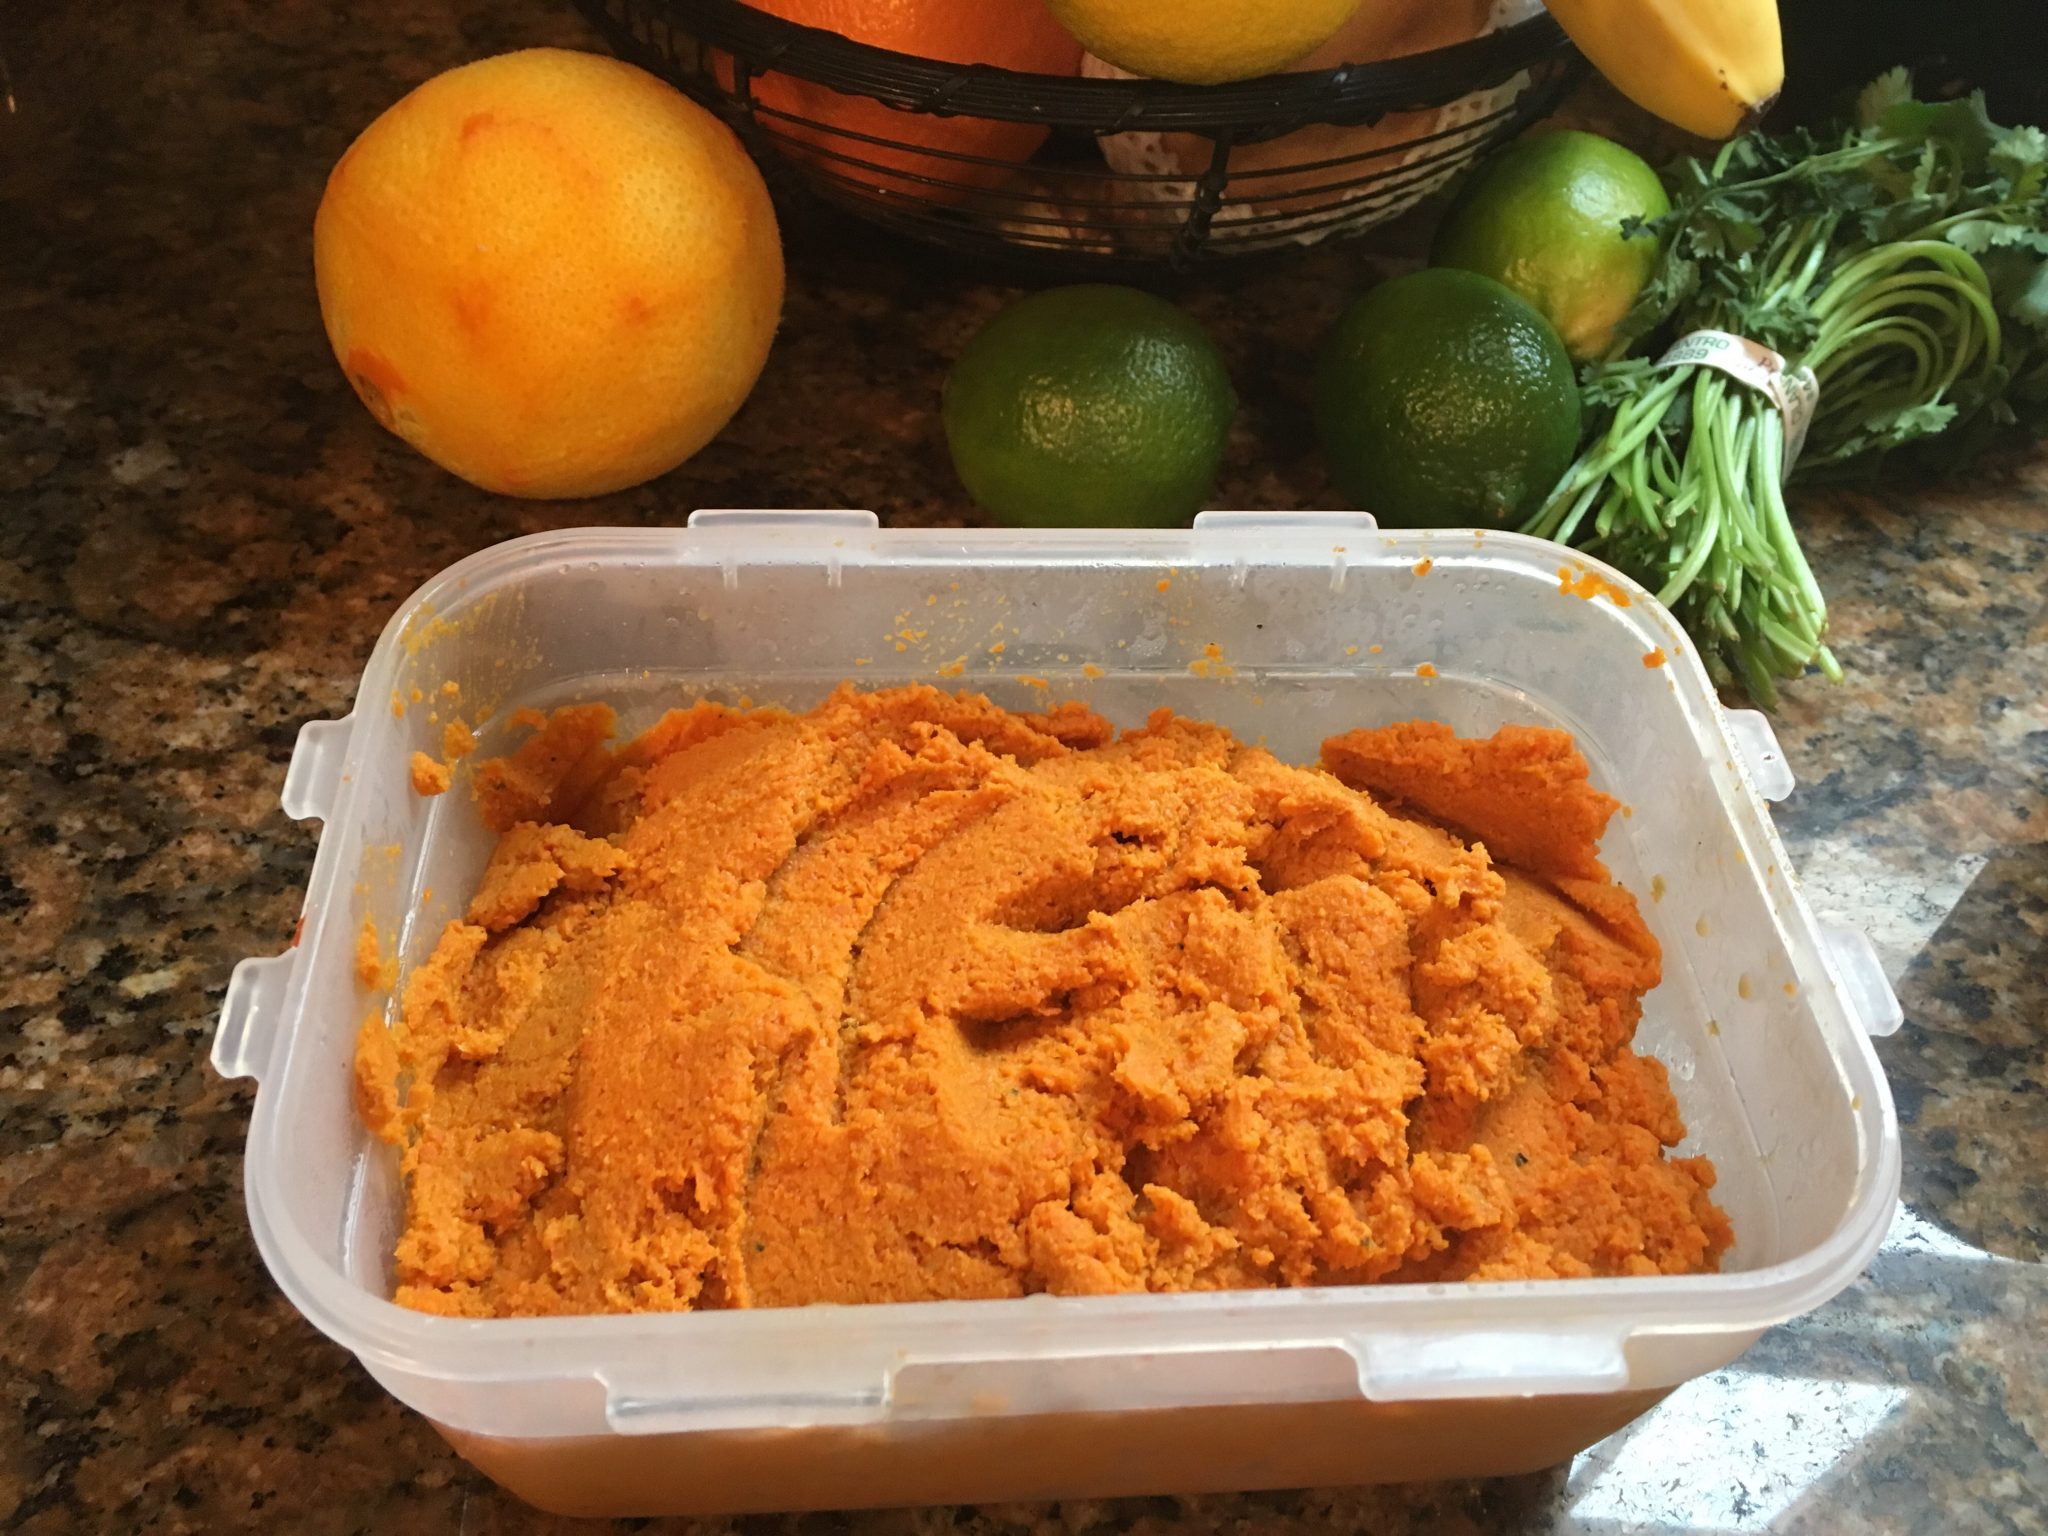
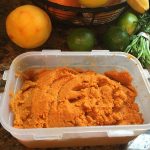
  • A vegan Carrot “Hummus” with raw veggies as the chips
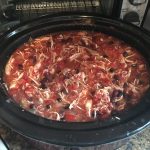
  • For the main course; since the Mexican chicken soup was such a hit two weeks ago at home and is slow cooker friendly –  it’s up again. Topped with all the fixings after a long slow cook and shredding the chicken – its a perfect rainy friday night dish.
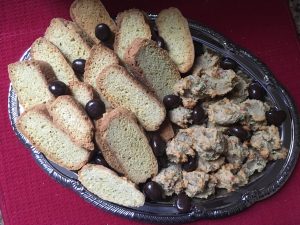
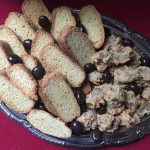
  • For after supper, my favorite adaption of a black pepper biscotti and a new version of the old school italian “Ugly But Good” almond paste cookie should set the table for a great social tonight.
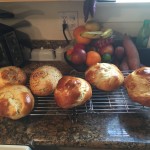
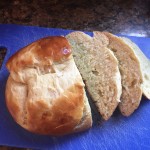
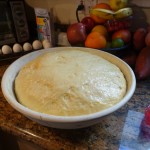
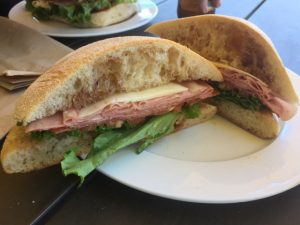
  • Others will bring salad, cheese and crackers, and we’ve got a fresh loaf of baked bread to round it all off.


Recipes:

I first made the Carrot Hummus at Easter and posted about it here. I found the recipe initially on the Joanne Weir website for CreateTV and adapted it some for my taste. For this version I adapted it as a fully vegan version with out oil.


Ingredients
  • 2 1/2 lbs  large carrots, roughly cut into 1-inch pieces
  • 4 pieces of pealed garlic whole
  • Kosher salt
  • 1 1/2 tablespoons Agave Nectar
  • 2 tablespoons tahini (sesame paste in a pinch peanut butter or almond butter will work too I bet), well stirred (I might use up to 2 teaspoons more next time)
  • 2 Tablespoons of sesame seeds, roasted and ground
  • 1 teaspoon light brown sugar
  • 1/2 teaspoon ground cumin
  • 1/2 teaspoon toasted and ground cardamom
  • Pinch crushed red chili pepper, or cayenne  (or to taste)
  • Juice and peel of one lemon
  • Fresh squeezed lemon juice to taste
Note: for the next time I plan to try these with grilled carrots, garlic and ginger then puree.
Instructions
 
Heat up the oven to 375°F.
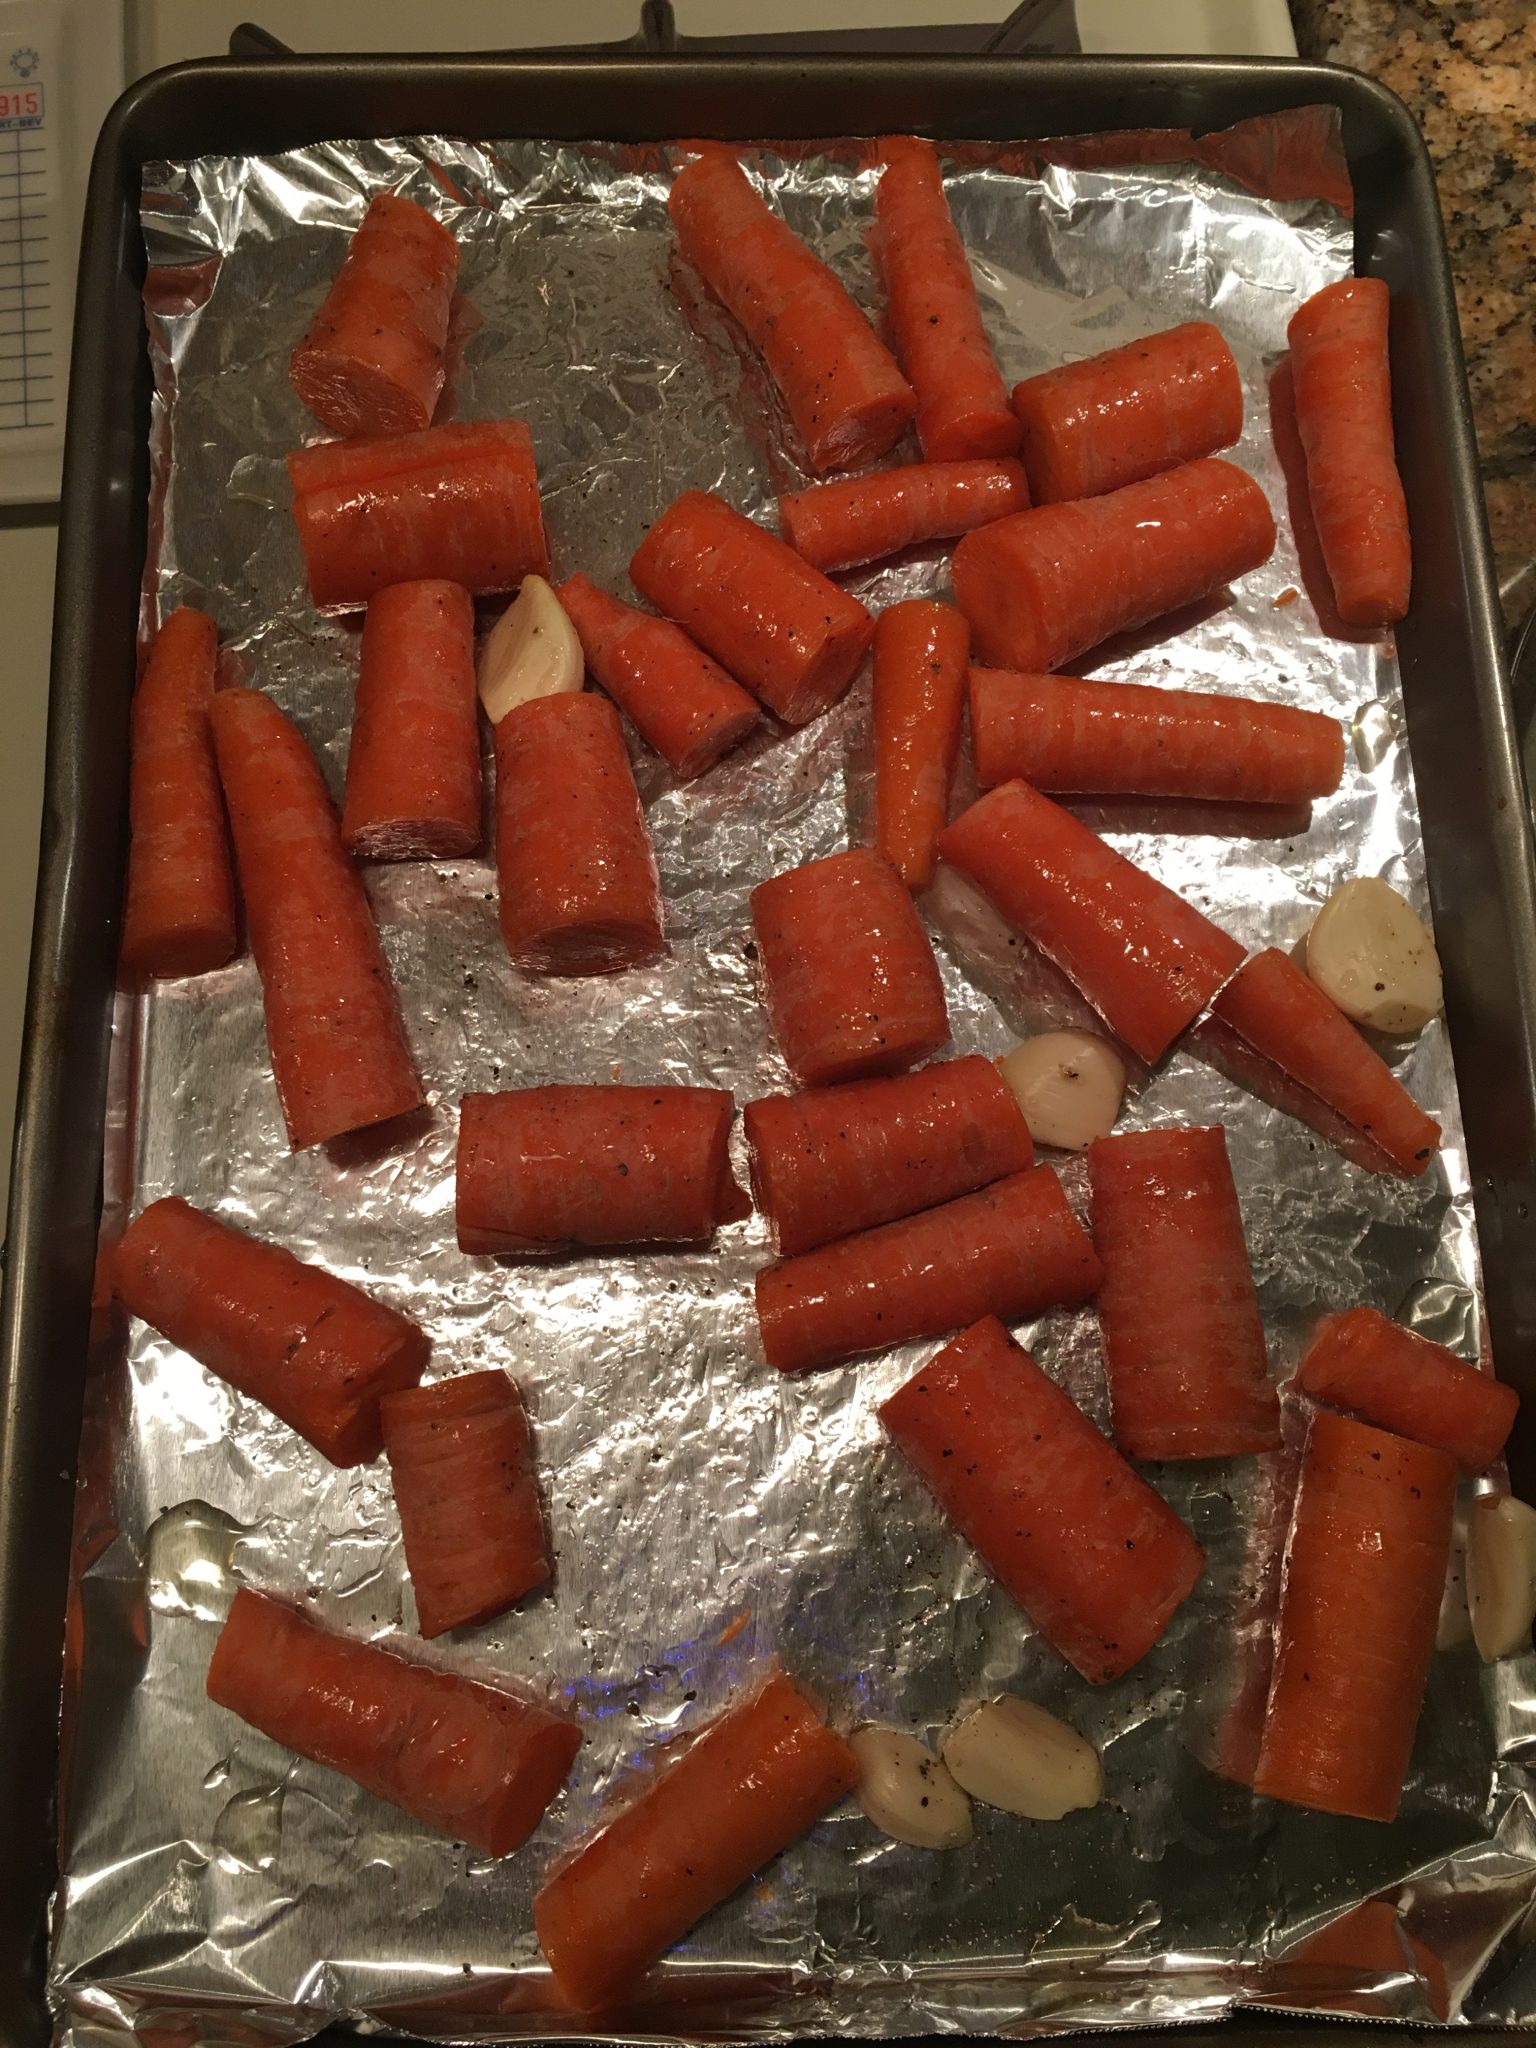
  • Place the carrots, salt, and agave on a large piece of foil or parchment paper. Toss together.  (I wanted a bit of a char on them so didn’t cover them, but it you wrap them up and seal the edges so the steam doesn’t escape. you will get a more mellow taste)
  • Bake in the oven until tender, 20 minutes. Stir and continue to roast for 20 minutes.
  • Remove from the oven and cool completely.
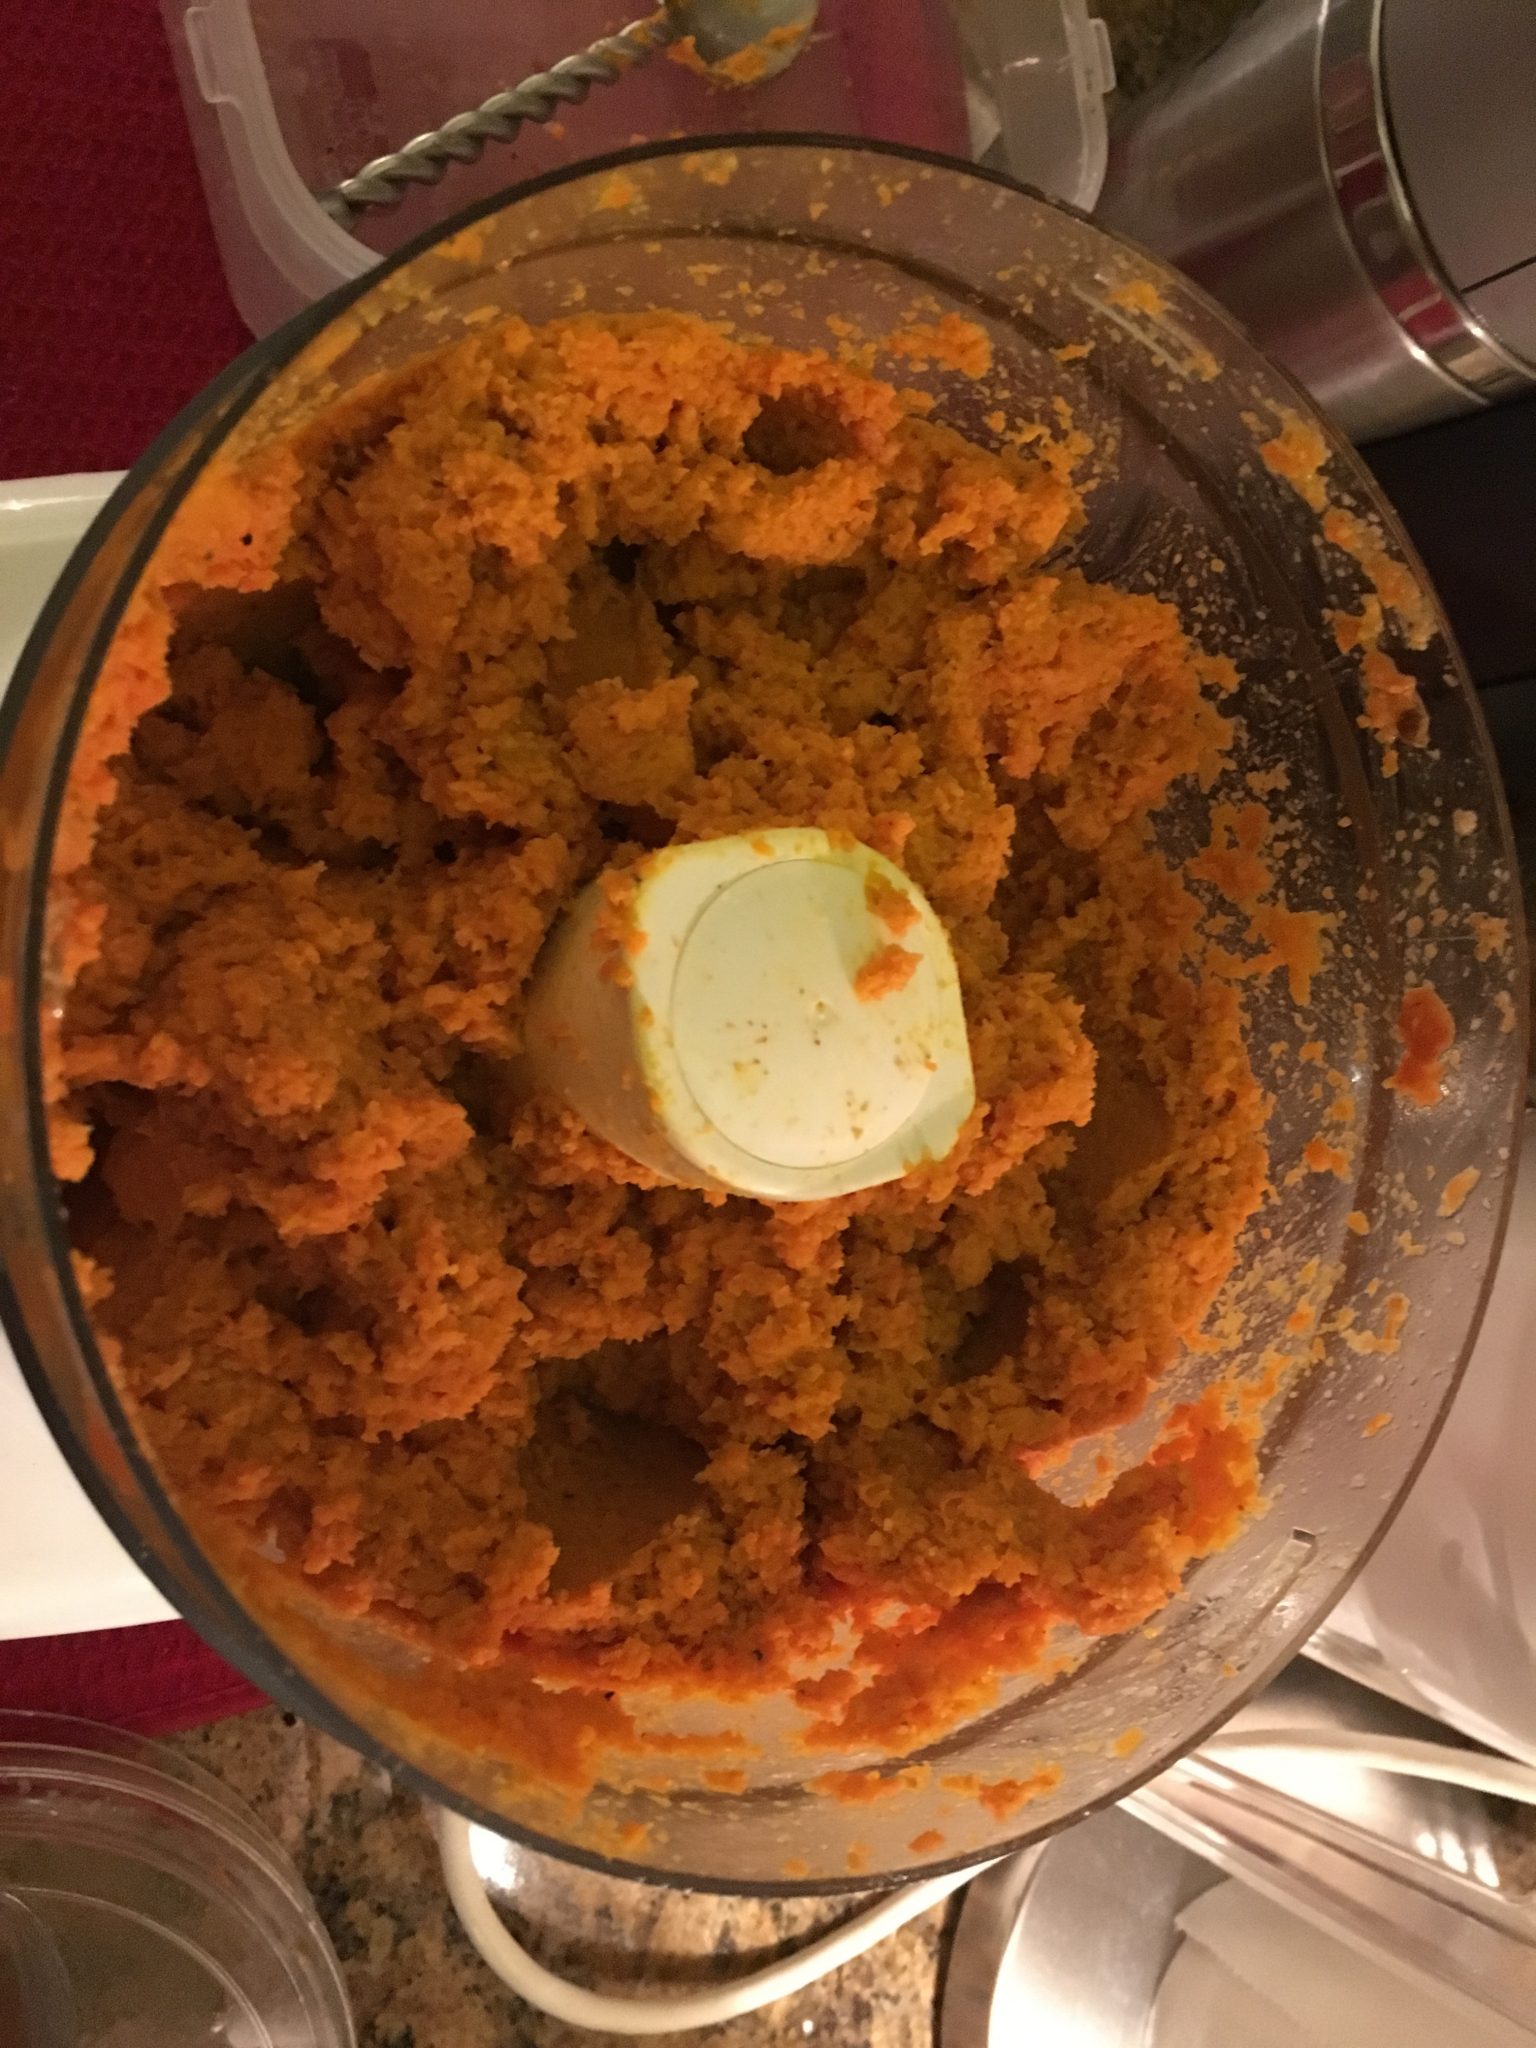
  • Pour the entire packet of carrots and oil into to the food processor with the remaining ingredients (except for the water and lemon juice).
  • Process until smooth, scraping down the sides of the bowl.
  • Add water if needed to make a thick dip the consistency of hummus.
  • Season with salt and lemon juice to taste. This is also when you can add more honey, spices etc.
Joanne Weir’s recipes calls for serving the dip with thin sliced root vegetable “chips” but few are going with fresh veggies.  To check out the original inspiration for this version, visit Joanne Weir’s recipe here
This will keep in the refrigerator for a few days but I take it out about 20 min before serving.


For the Soup

I first came across this on  Ree Drummond’s  Food Network show the Pioneer Woman but she also did a version on her blog back in 2015 here. I made a first batch a few weeks ago and was surprised at how good and easy it was. I have made some adaptions for our tastes below.

  • 5 boneless, skinless whole chicken breasts (The original recipe called for 3 – but I needed family stye for men)
  • 1 teaspoon chili powder
  • 1 teaspoon ground cumin
  • Kosher salt and freshly ground black pepper
  • One 28-ounce can whole or diced tomatoes, with juice
  • 32 ounce low-sodium chicken broth (you can add less initially if you want it thicker)
  • 2  15-ounce can black beans, drained and rinsed
  • One 10-ounce can diced tomatoes with green chiles, such as Ro*tel
  • 1 small can of tomato paste
  • 1 medium onion, chopped
  • 1 red bell pepper, seeded and chopped
  • 1 yellow bell pepper, seeded and chopped
  • 2 small or 1 large pepper chopped and  1 teaspoon of the adobo sauce from a canned chipotle pepper in adobo (you may add more peppers if you like but it has some heat – I will leave the rest as a garnish)
  • Juice of  1/2 to 1 lime, (to taste – you could end up using the whole lime or serve some as garnish)
  • 1 can of roasted corn (or fresh roasted off the grill if you have it)

Salt, Pepper and Cumin one side of the chicken and lay flat in the bottom of slow cooker. add more pepper salt, cumin and the chili powder.

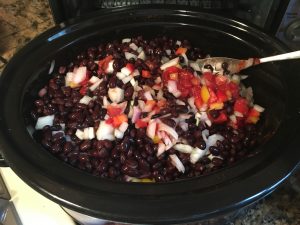
In layers, add the tomatoes, black beans, tomatoes with chiles, tomato paste, onion, chipotle pepper and red and yellow peppers, chicken broth. Stir, place the lid on the slow cooker and cook for 5 hours on high or 8 hours on low.

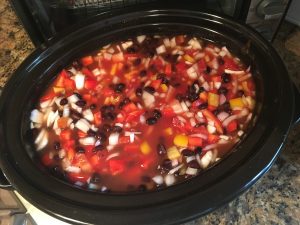
Add in the corn (with out it’s liquid). Stir in the lime juice. Remove the chicken to a plate and use 2 forks to break it into chunks (or shred it finely). Return the chicken to the pot, taste and add more seasoning if necessary.
Serve piping hot in a bowl with avocado, sour cream, grated cheese, crushed tortilla chips and cilantro leaves on top!

Don’t forget to serve it with the fixings – it makes the whole dish: avocado, sour cream, crumbled cheese, crushed tortilla chips and fresh cilantro leaves

And of course the Cookies

Black Pepper, Vanilla & Orange peel  I wrote about on “the battle rages on” which is actually yet its own adapted recipe  Valerie Bertinelli’s Helen’s Black Pepper Biscotti is one I know Paul’s boss loves. So this was a remake for her.

Ingredients
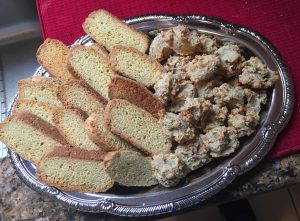
  •  2 3/4 cups all-purpose flour
  •  1/2 teaspoon baking soda*
  •  1/2 teaspoon baking powder*
  •  1 tablespoon freshly ground black pepper ( I use a mix of fine ground and course grind for taste and texture.)**
  •  Pinch kosher salt
  •  1/2 cup (1 stick) unsalted butter, softened
  •  1 cup sugar
  •  3 large eggs, at room temperature
  •  2 teaspoons grated orange zest (I tend to get the organic ones or ones I pick from my pals garden- depending on size of orange this may be 1 -oranges )
  • The zest of one lemon
  •  1 1/2 teaspoons vanilla extract
  •  1/4 teaspoon almond extract
** To give these a visual pop – you can ground peppercorns that are other colors over the traditional black)

Sift together the flour, baking soda and baking powder in a medium bowl. Stir in the pepper and salt. Set aside.

In the bowl of a stand mixer fitted with the paddle attachment, beat the butter on high speed until pale and light, have the patience to let it do it’s work – it could take several minutes. Add the sugar and beat until light and fluffy, about 7 minutes. Reduce the speed to low and add the eggs one at a time, beating well after each addition. Add the orange zest and vanilla and almond extract .

With the mixer on low, slowly pour in the flour mixture, and then the walnuts. Mix a few minutes till the dough texture is formed a sticky mess 😉 .

(You can also do this by hand and fold them in then work the dough by hand till smooth).

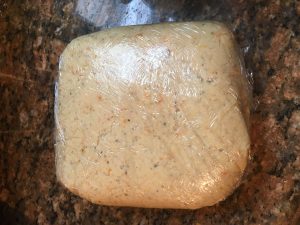
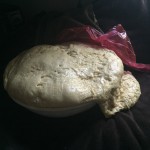
Pour the dough out on to a lightly floured plastic wrap covered surface or clean counter top. Gently knead the dough to shape with your hands to form a thick round ball shape. The dough is super easy to handle at this piont. Cover the dough with plastic wrap and refrigerate for 30 minutes. (For this batch I omitted nuts).

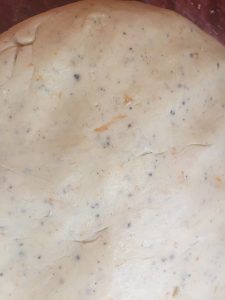
Preheat the oven to 350 degrees F. Line 2 baking sheets with parchment paper ( nonstick silicone liners also work).

Remove from the refrigerator, unwrap and divide the dough in half,  and shape each piece into a 12-inch log, about 2 inches across and 1 inch tall. (note you can make these as wide or thick as you like – I find because of the texture and taste of these, I tend to like a finished bake that is about 3 inch long and 1.5 inch high you may have to play with it a few times). But they don’t need to be preferfect. In fact any uniform shape will work.

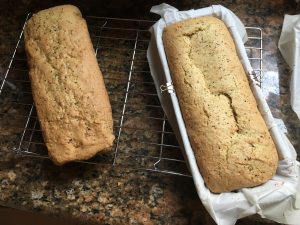
Because I wanted to use less space – I actually cooked this in old-school metal ice trays lined with parchment paper. Bake until the logs are cooked through and lightly browned on the bottom, about between 30 – 35 minutes, depending on your oven and pans.  
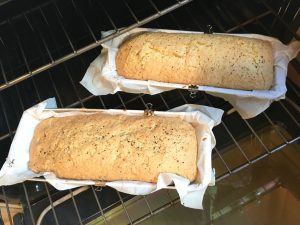
Watch them the last 5- 10 minutes as this could differ based on your pan and stove temp.

Let the logs cool for about 5-7 minutes on the baking sheets (leave the oven on), then transfer them carefully to racks (remove the parchment paper) to cool 10-15 minutes more.

Using a serrated knife, slice each log either on the diagonal (to give you a fancy shape) or straight across into 3/4-inch-thick slices. 
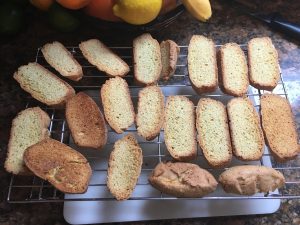
Arrange the slices cut-side down on the baking sheets and return to the oven until well toasted, 10 to 15 minutes more. I general flip mine over about half way to get even color.

Note: These biscotti have a great golden color to them which will darker to as you “second bake”. If you want to keep them less brown; adjust time or instead of laying them on the cut sides, leave the standing cooked side down.

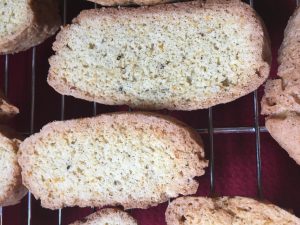
Transfer the biscotti to cooling racks to cool completely. The longer they bake the harder they become. Note: they will continue to harden as they cool. Store in tins or air tight containers (QVC favorite Lock & Lock rock for this). They will keep, tightly covered, up to 1 week.

This Cook’s Note came from the recipe website and I thought worth sharing: To toast the walnuts  or most nuts on the stove top, put them in a dry skillet over medium heat and cook, stirring, until golden and fragrant. To toast them in the oven, spread in a single layer on a baking sheet and roast at 350 degrees F until golden and fragrant. In either case- the minute you smell them – get them off the heat.

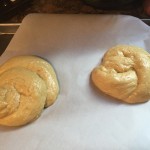
Ugly But Good Cookies (aka Brutti Ma Buoni)

These quick and simple almond cookie are a old-school cookie that adapts well. I have made version chocolate covered cherries, candied ginger, gluten free etc. they are pretty forgiving. Pack a lot of flavor and is a nice “host” gift if you are going to someones for dinner.

Ingredients

Preheat the over to 300 degrees.

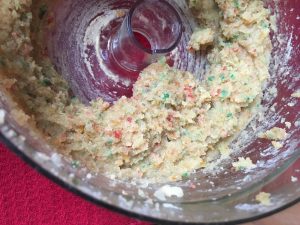
In a food processor; blend almond paste and egg white until smooth, add rest of the ingredients until just mixed.

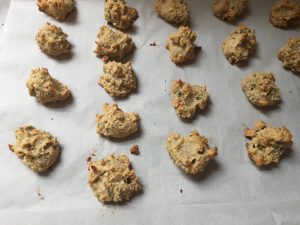
On a parchment paper covered pan, drop  teaspoon sized scoops of the mix. Don’t bother trying to make them pretty – they will grow and cook organically which is what is why they named it that way.

If you are using chocolate or cherries, you could top with a one on the top it try and dress it up.

Bake for 25 minutes till golden. Cool and serve. they should keep about a week in an air tight container.
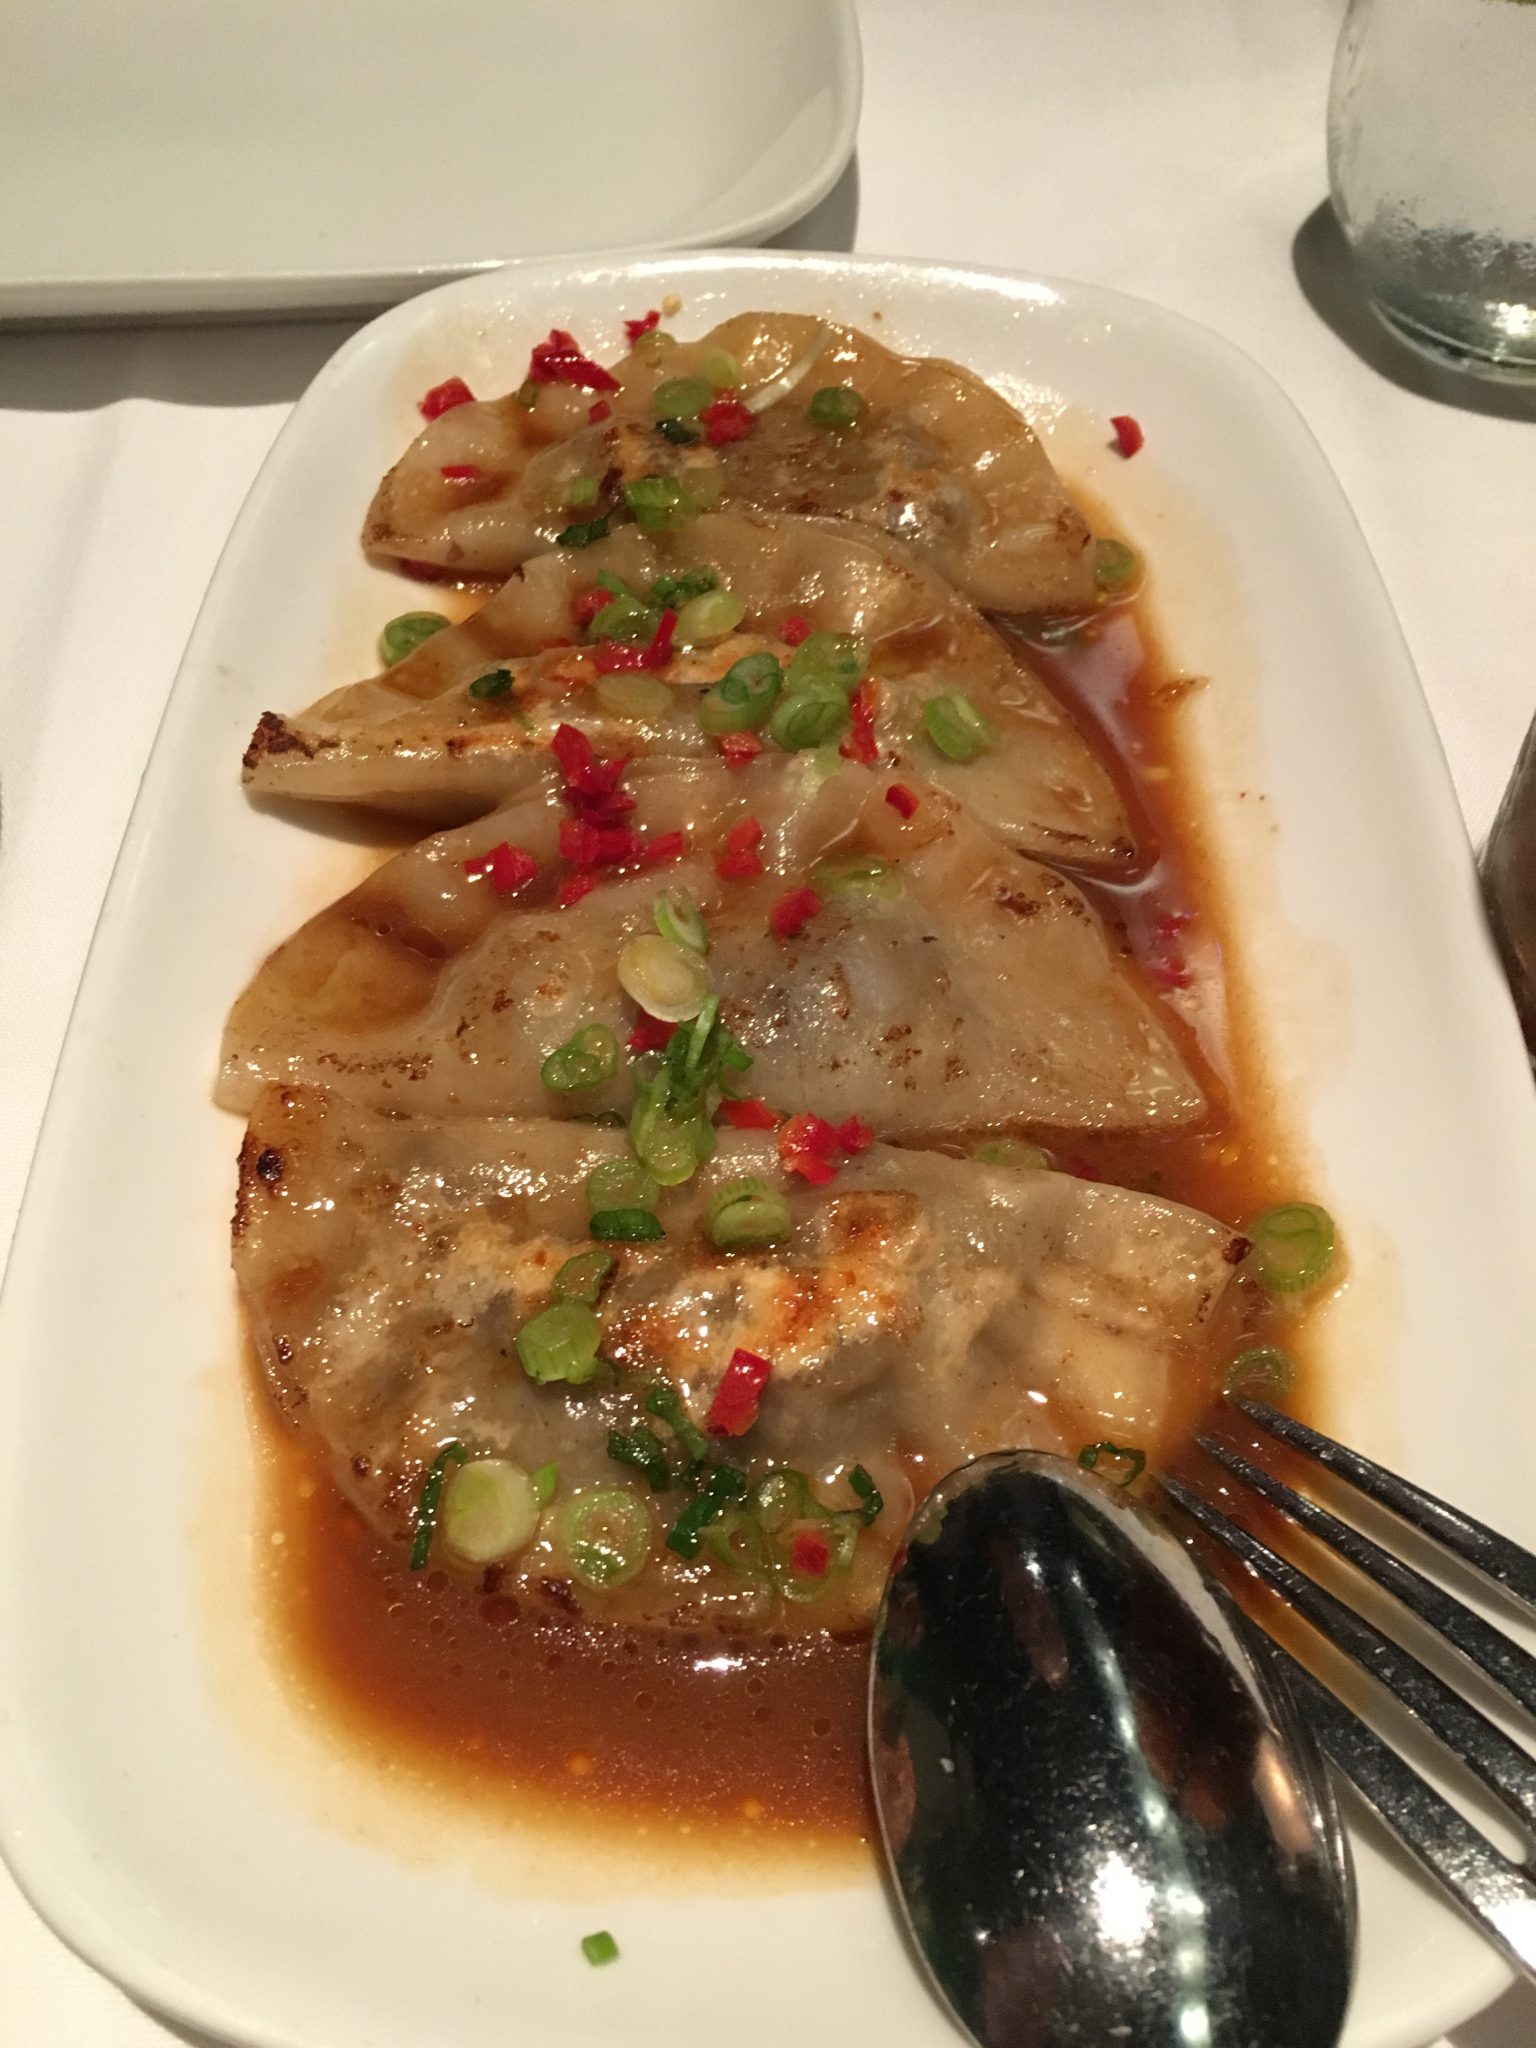
Bringing Back Date Night

‪Perfect rainy night meal @OssoSteakhouse last night. 

As expected it was all about the meat. Several cuts offered, but the bone in filet mignon is what takes it home. It’s monster huge portion size. 

They offer several app and sides to choose from. But that cheese bread captured my heart! Hot, gooey with just some spice from the chirizo- almost worth ordering two. 


So to balance that we went with the crispy potatoes & veggies which were spot on‬. Simple, clean taste with a balance of herbs and butter.  


We tried the italian pot-stickers as well, they were good but not “omg”. I would opt for one of  the seafood skillets next time. 


Reservations suggested. They have these great “command center” seats for couples, but if you are both tall; ask for the booth. 


Not a cheap night; but well worth it when celebrating or just a night out. 

1177 California St, San Francisco, CA 94108

Http://ossosteakhouse.com

Best part is that we had enough leftovers for sunday brunch!

South at Southpaw

Super great dinner tonight at Southwall barbecue in the mission. All the food past everyone’s taste buds from the smoke brisket to the ribs to the pulled pork. Another shine on the menu are the sides; from salty to sweet – a selection for everyone’s taste from the traditional grits, to a “grits cake”, fried pickles, baked macaroni and cheese and even vegetables. 

If it’s cold out, the restaurant itself can be chilly so dress in layers, other than that it’s a must-see. Reservations recommended. They cater too. 

Southpaw BBQ http://www.southpawbbqsf.com/

PHONE:

(415) 934-9300

ADDRESS:

2170 Mission St.

San Francisco, CA 94110

HOURS:

Mon 5–10:30p

Tues Closed

Wed 5–10:30p

Thur 5–10:30p

Fri 5–11:30p

Sat 3–11:30p

Sun 3–10:30p

The Real Italian Deli in Palm Springs

On our way to the airport on Friday, after a lovely week in Palm Springs at the always special and relaxing Triangle Inn, where hosts Micheal and Steven make our stay bright and sunny, no matter the weather, we grabbed sandwiches at The Real Italian Deli. What a treat, I am a big sandwich fan and when I can find good italian style meat and toppings I can generally be made happy. I think it brings me back to my growing up in New Haven when we would stop at a few of our favorites for sandwiches back then. This re-imaged deli, has all the right “nods” toward its italian culture with our being stuck in a faux theme. The food is great from its line of sandwiches to the prepared meals, they offer a big selection of imported treats for those living in PS and missing theme. Its definitely going on the “not to miss” list from here on. then to top it off; they carry Brioschi (see here for take on it).

The Real Italian Deli – 

100 South Sunrise Way. Suite B, Palm Springs. Ca. 92262, 760-325-3800

44795 San Pablo – Palm Desert, CA 92260 – Tel: (760) 836-1493

and on Facebook at: https://www.facebook.com/therealitaliandeli

img_4768 img_4769 img_4770 img_4774 img_4775


Thanksgiving at Trio Resturant Palm Springs

After cooking an early thanksgiving dinner for ourselves, knowing we were planing to travel on Thanksgiving itself – we opted to make reservation for dinner that night. Trio Resturant Palm Springs came up on our lists to try and they had a seating so we went for it. The holiday prix fixe menu was your standard Thanksgiving theme with the option of soup or salad, beef or turkey and assorted sides and choice of apple or pumpkin pie.

While the place was pretty crowded, I was first of all impressed that it didn’t have that “frenzied” feel some resturant get when they run a holiday menu. The volume was manageable without being stuffy. Of course the orange theme running through it didn’t hurt me visually as its a signature color I love.

We were seated quick and our waiter, Terrence couldn’t have been more welcoming. He bridged that perfect place between friendly and genuine with calm efficiency. If fact towards the end of our meal – he checked in and we enjoyed talking with him more. This is the kind of service that brings the human touch to travelers and generally often what keeps me coming back to a resturant.img_4649-2

The meal it self was good. I had the butternut squash soup with fried sage leaves. It was nice, not as rich as they tend to be (which I happen to lean towards) but fit nicely for a big meal. We also added in the Charcuterie & Artisan Cheese Plate which was a win. Since we had been eating turkey and leftovers for several days – we opted for the beef. Both cuts, my “end cut” and his regular cut were perfect to order medium, hot and tender. fullsizerender-2
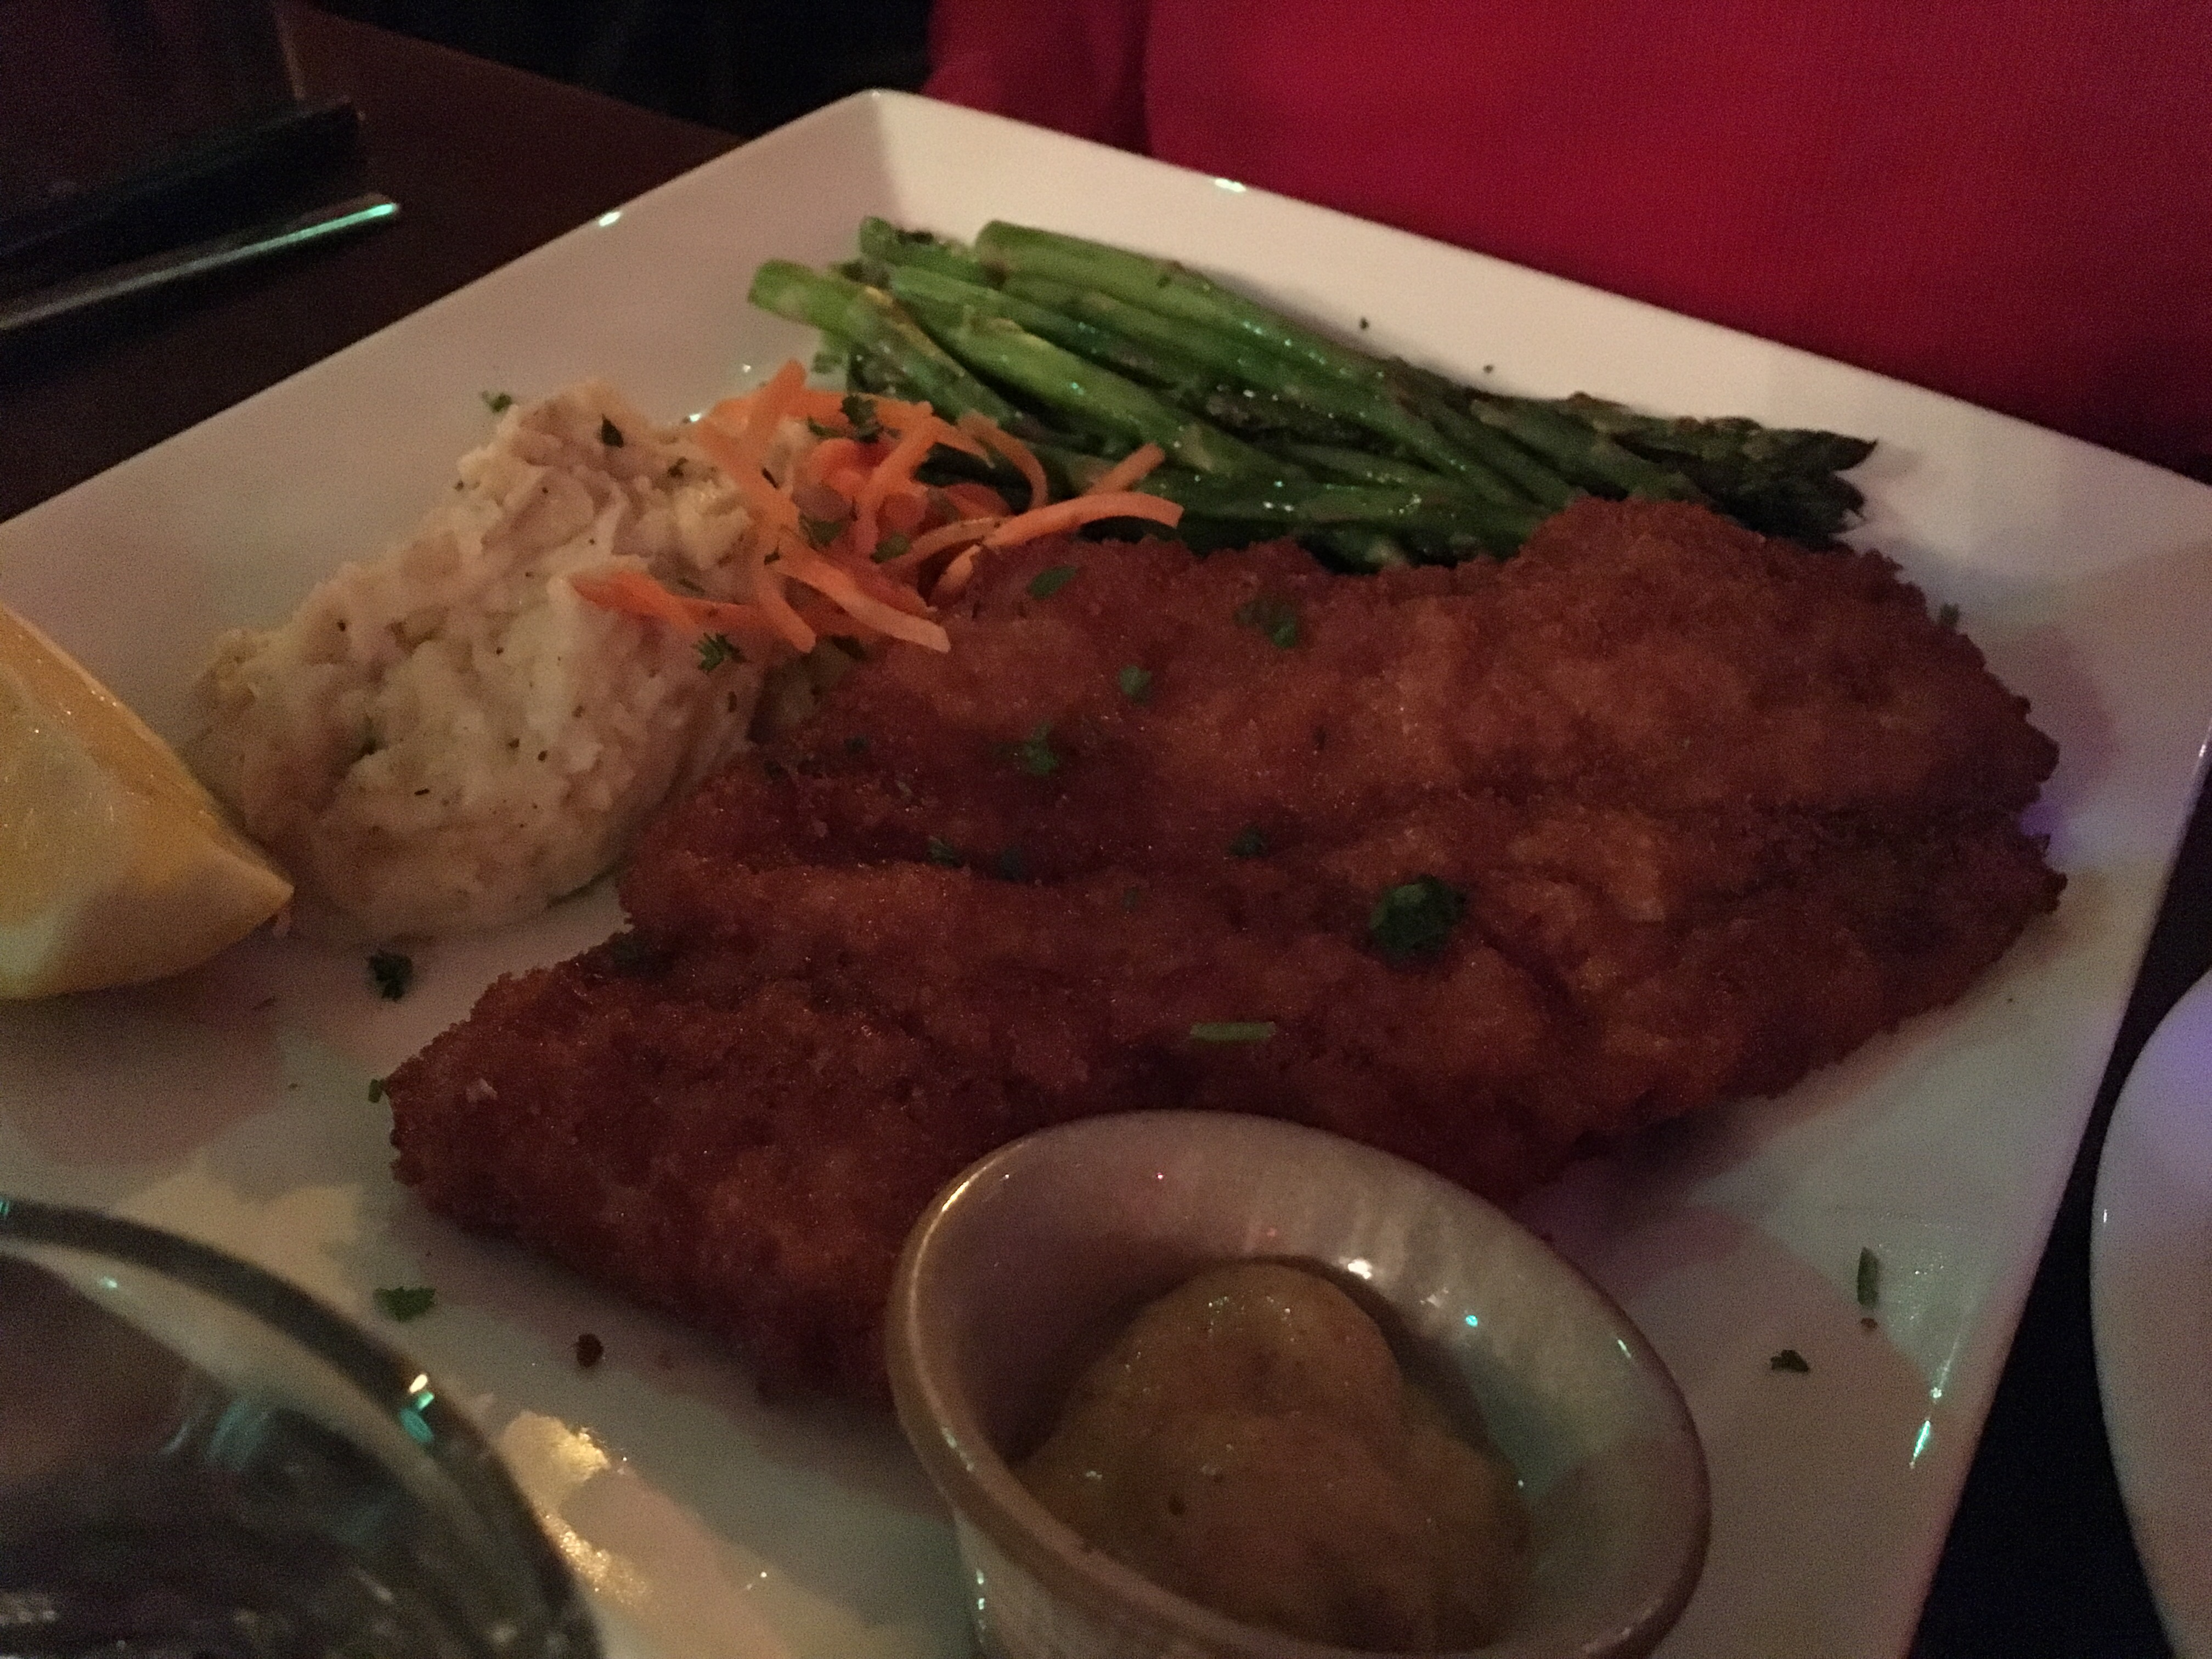
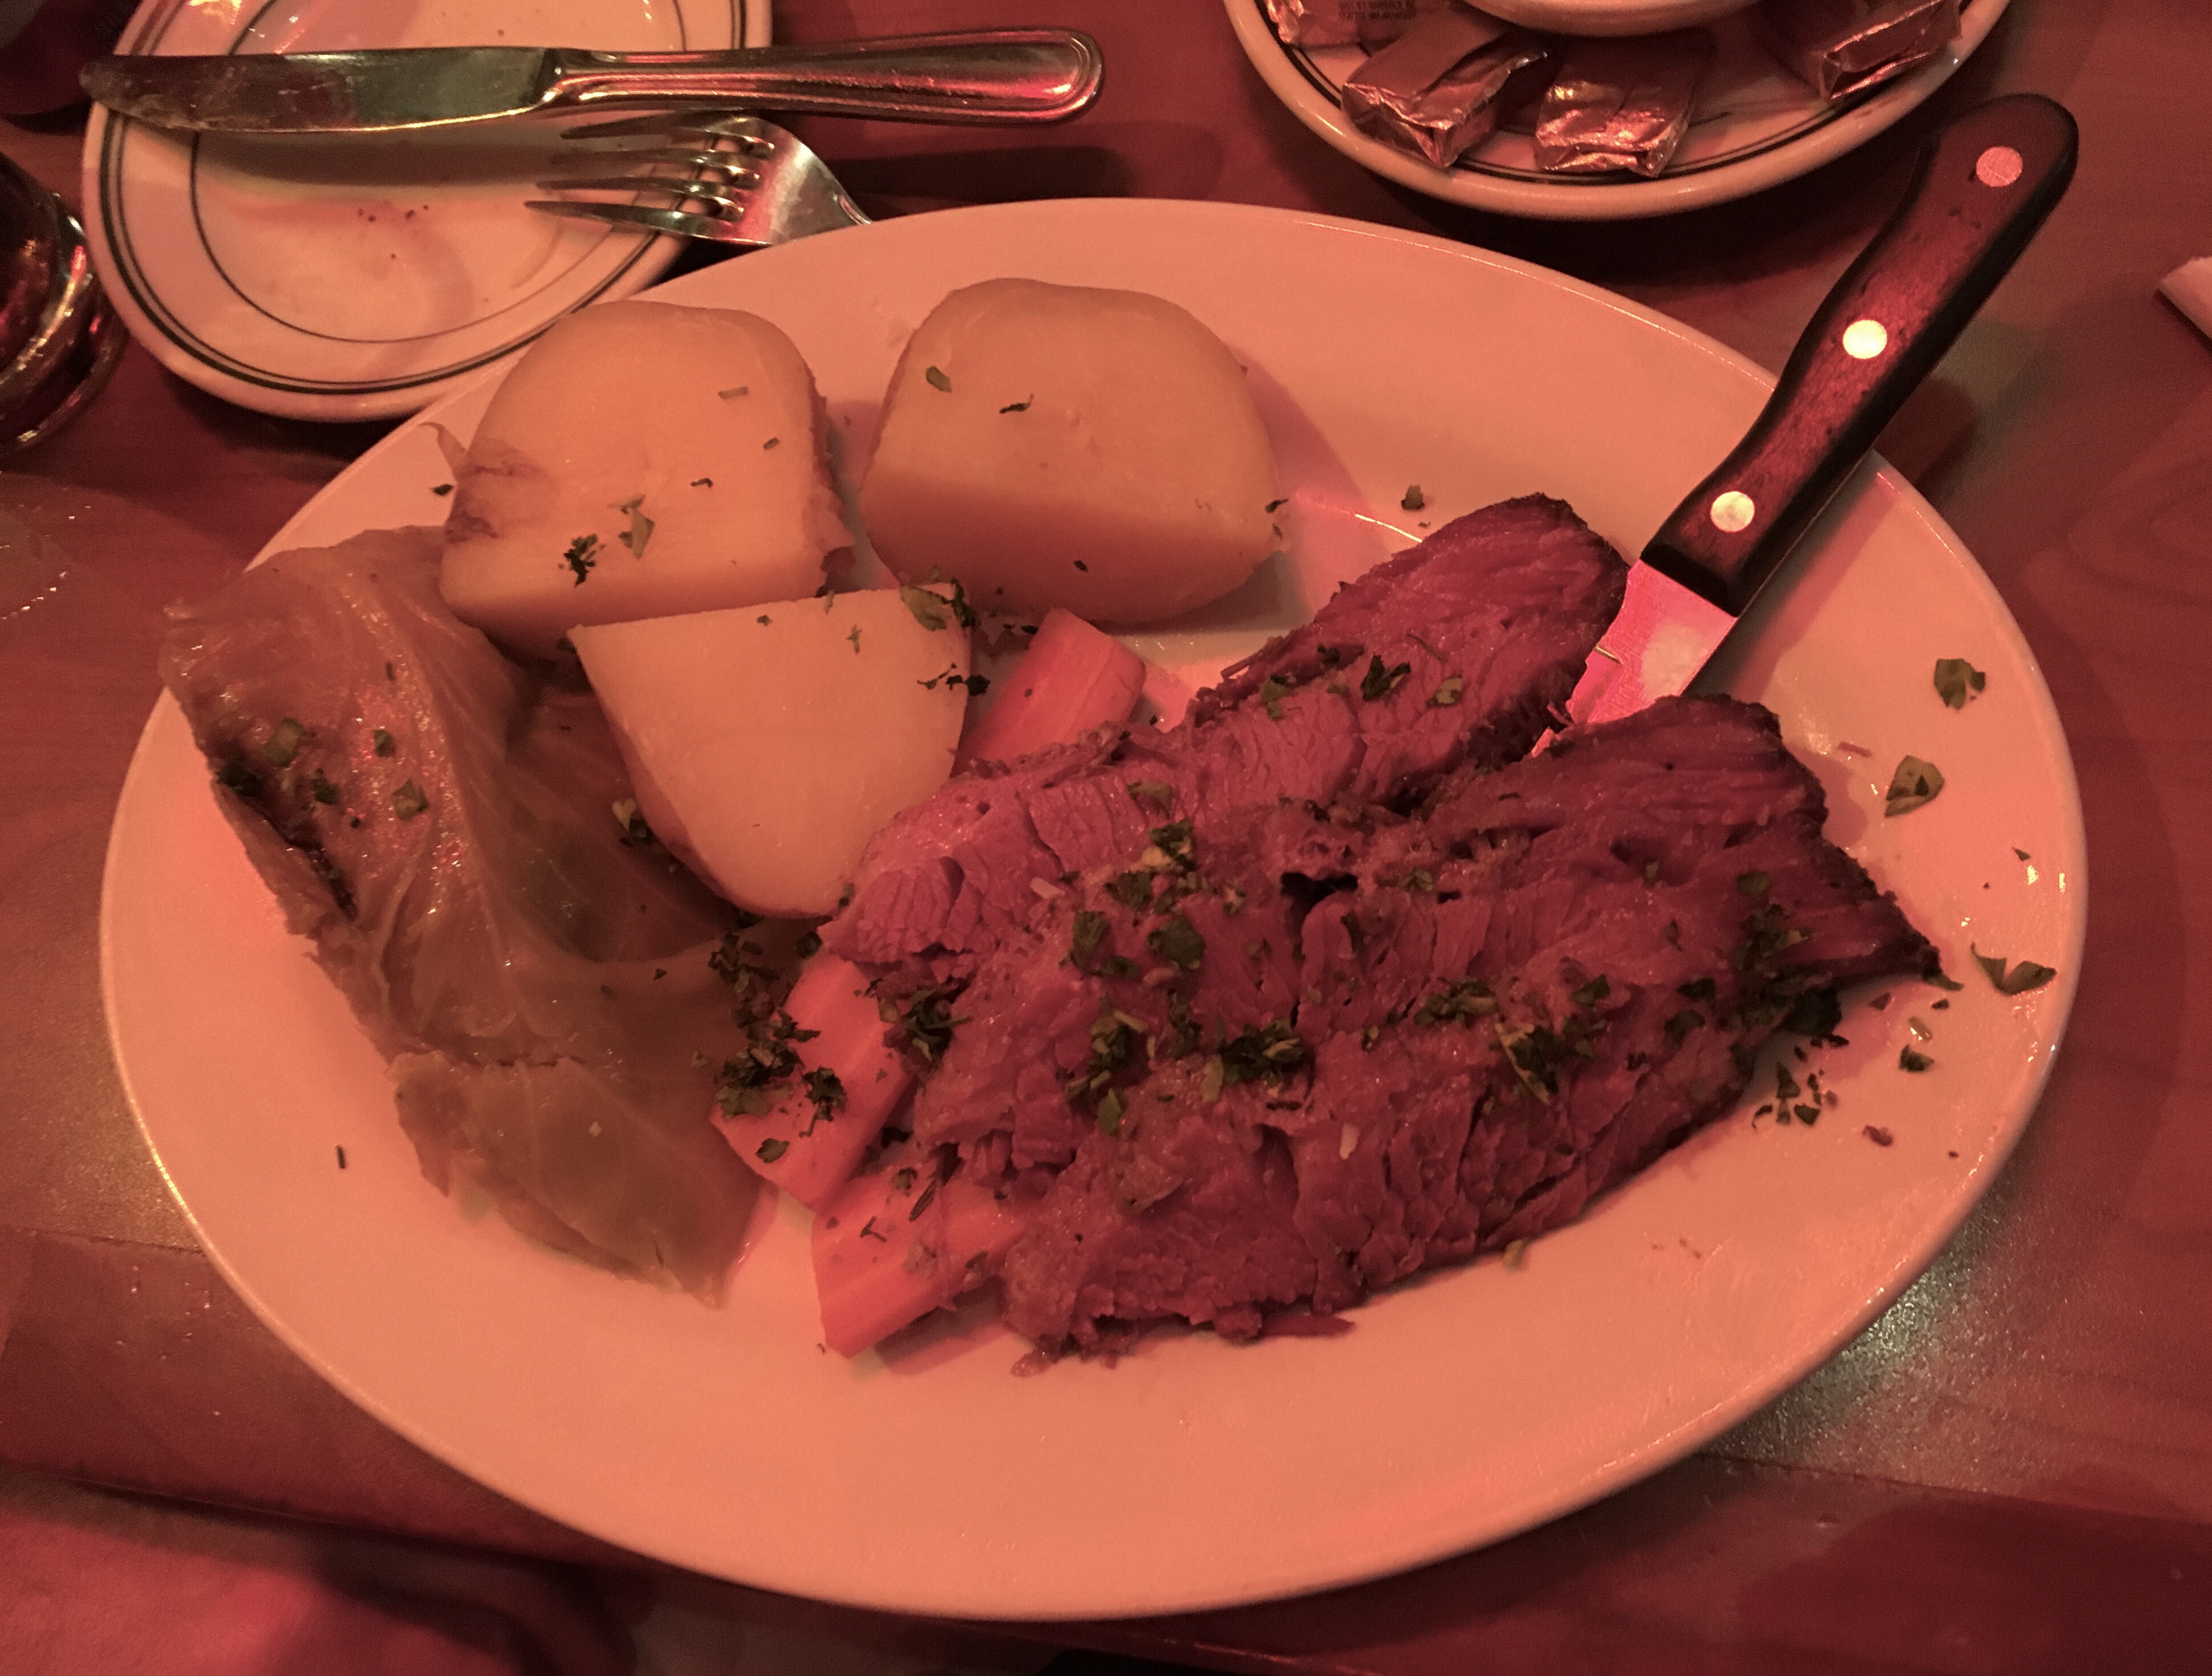
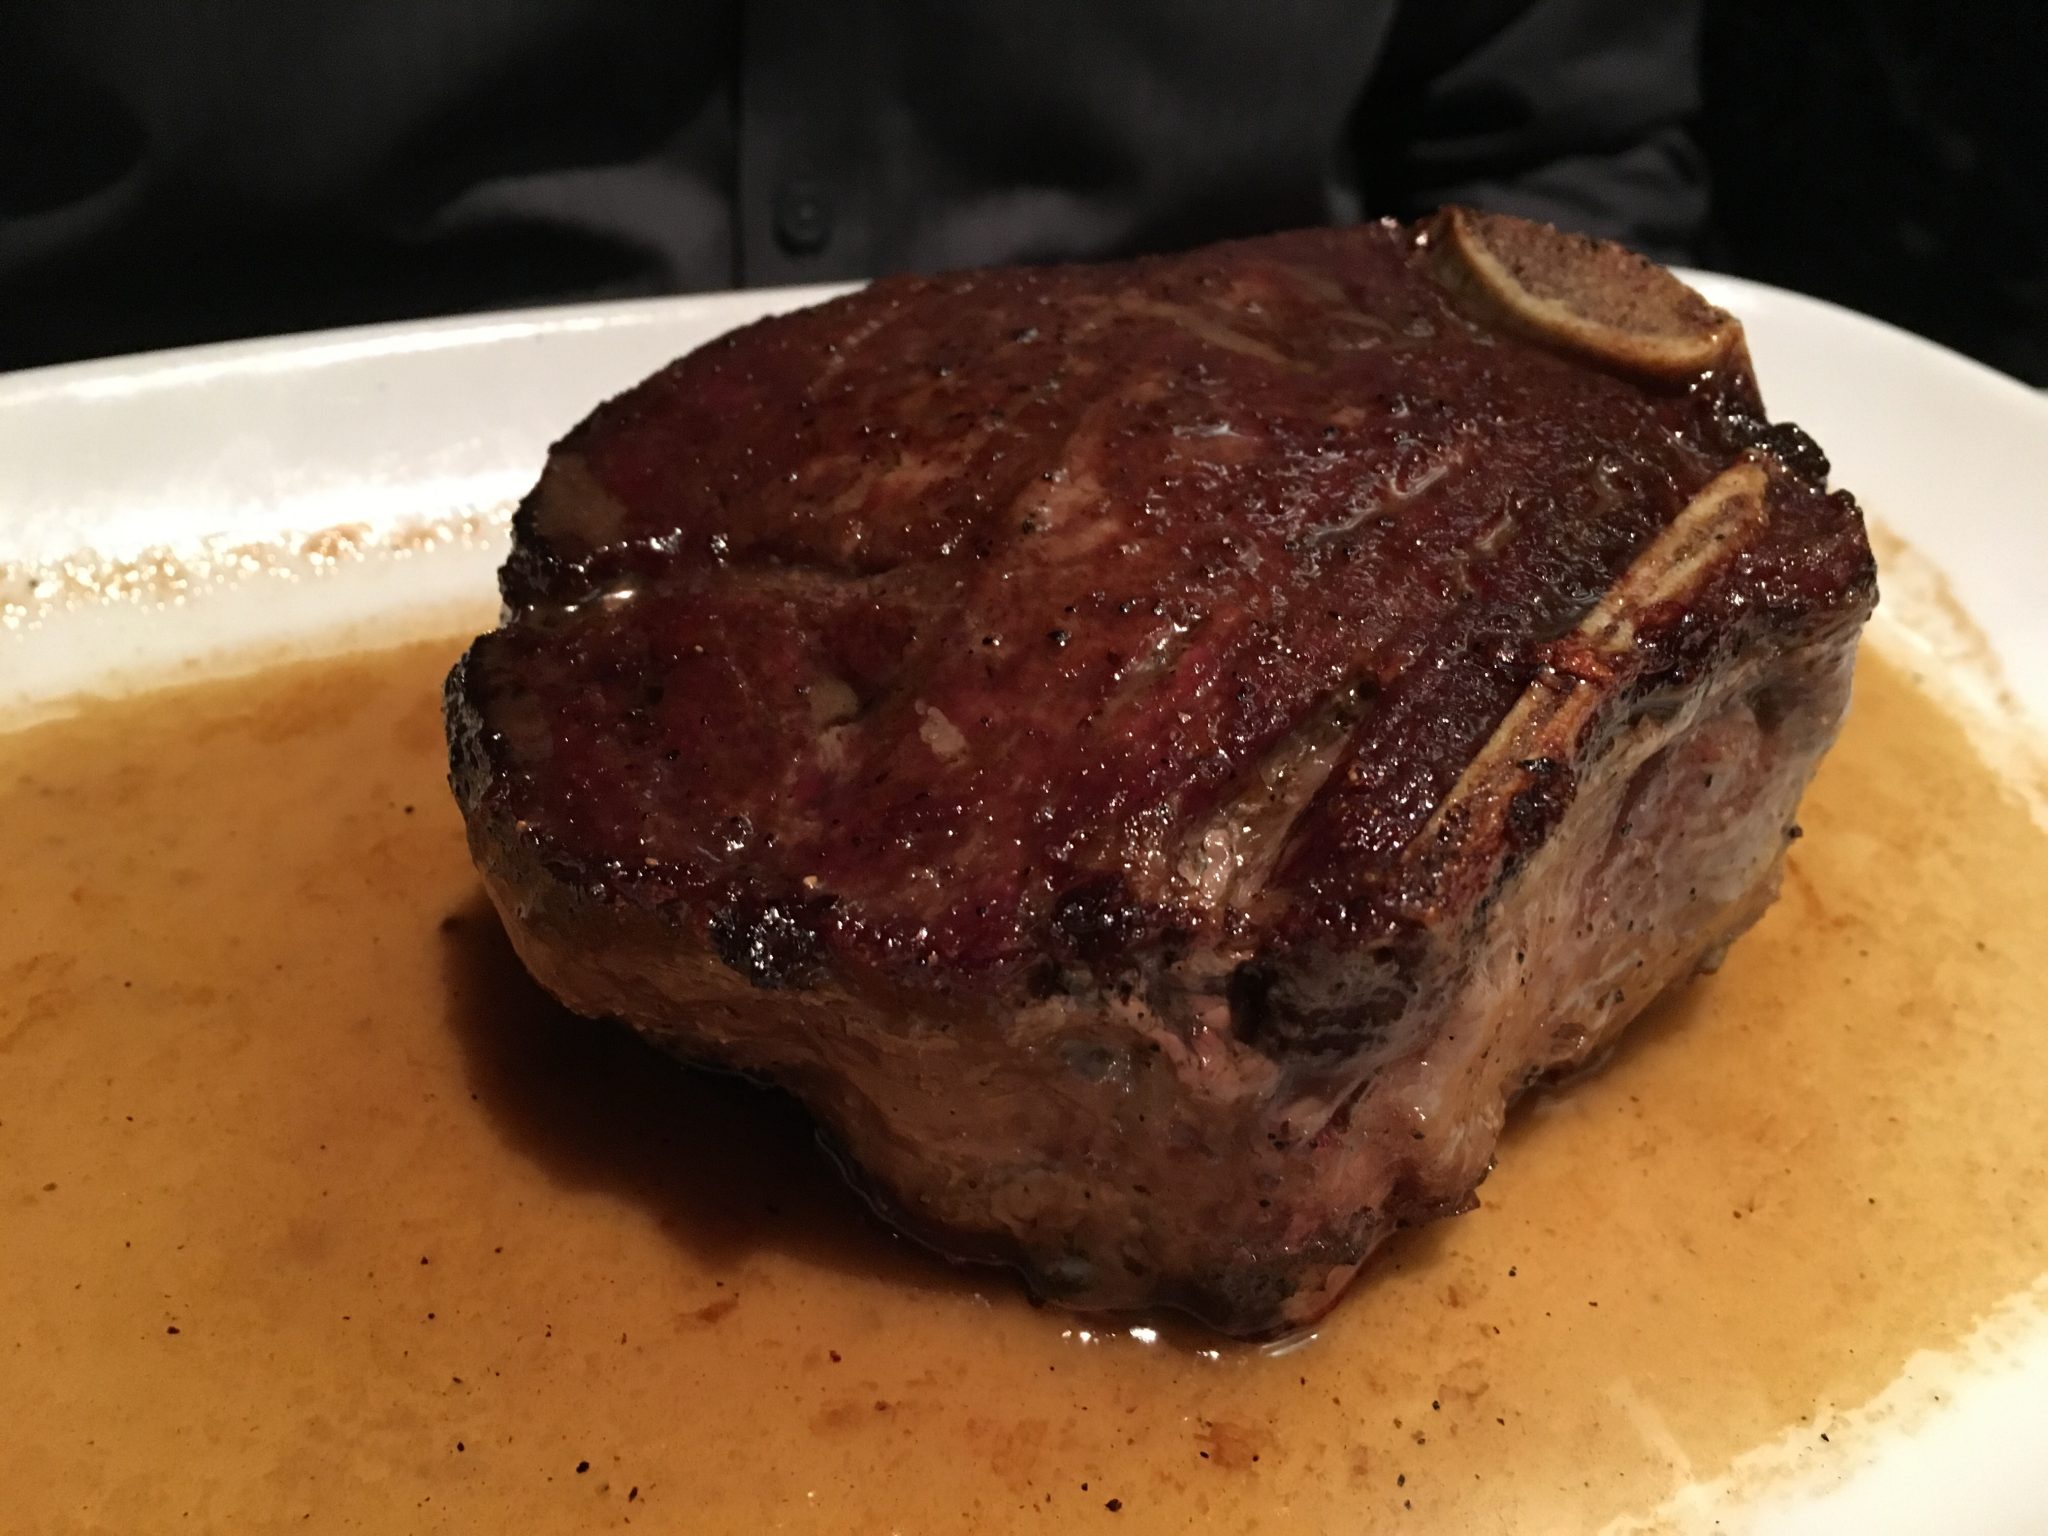
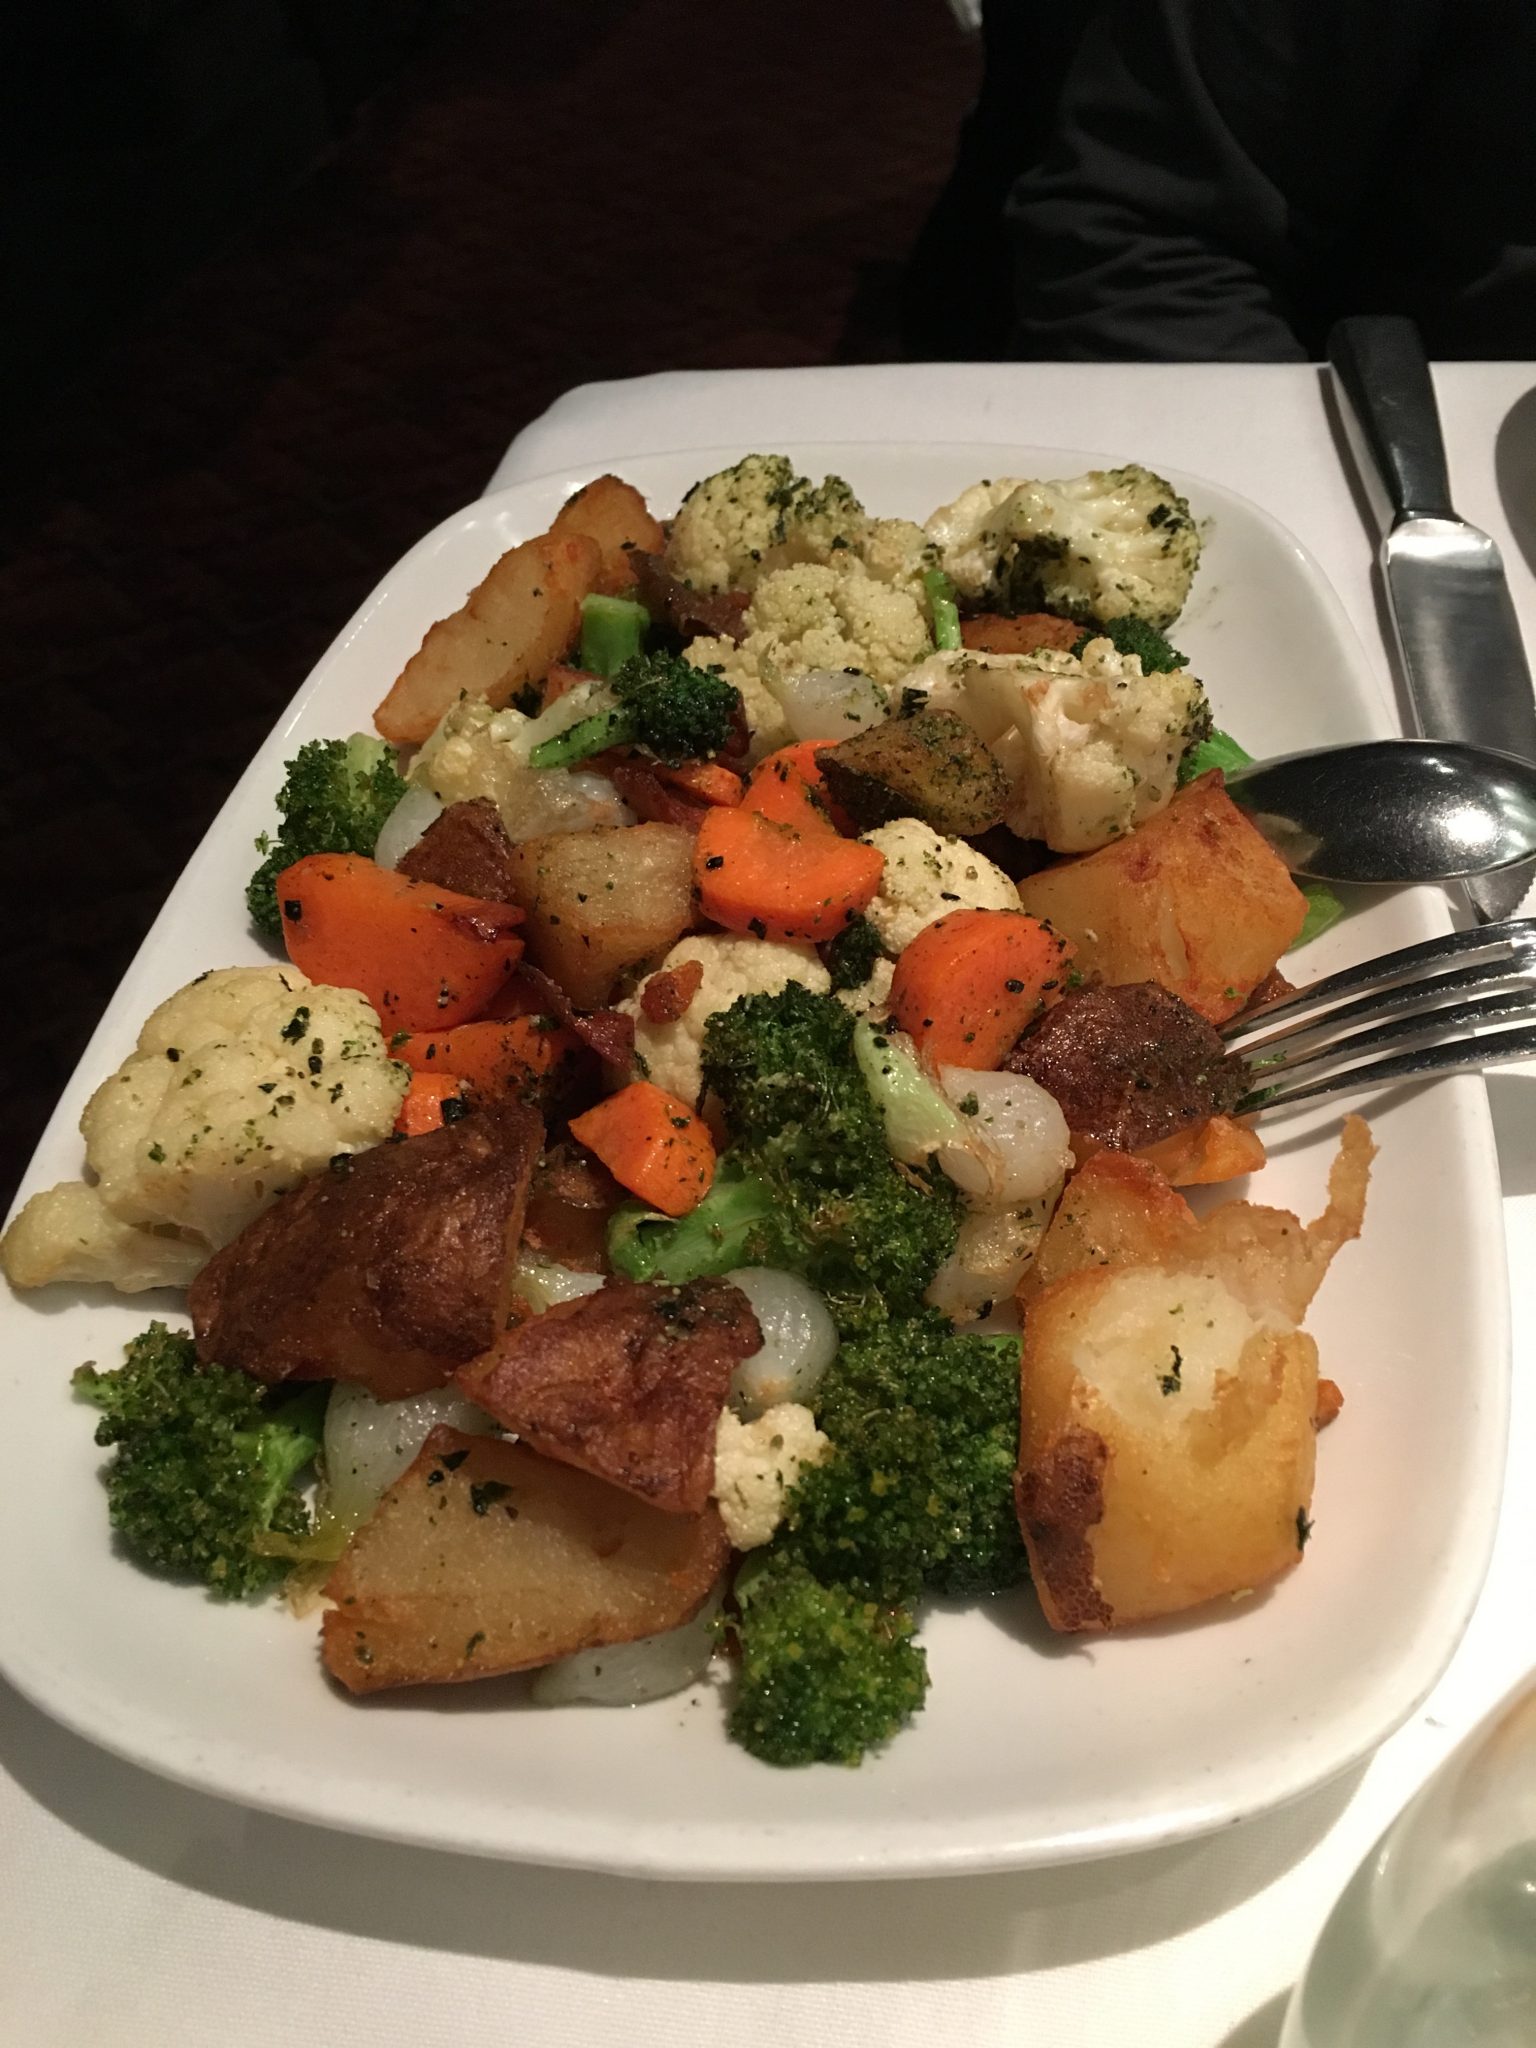
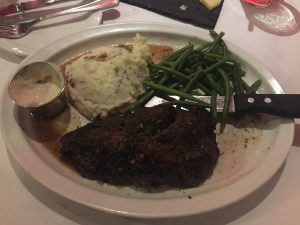
Not sure I could have cooked it any better myself. The sides of mashed potato and string beans were good, nicely prepared with out trying to be more than they are supposed to be. The only minor disappointment was the dessert. Both pies were somewhat lackluster. The under-crust on the pies were soft and had that “undercooked” taste that sometimes come with pre-made pies and the fillings were not especially well flavored. Over all – a good solid meal and a place I will go back too for a regular dinner or lunch.

From a geek perspective – I love the interactive way they have embraced social media and the dining experience. They put it out there for people to share and I post. Something I greatly appreciate! They even gave it front and center attention;

img_4651


TRIO Restaurant
707 N Palm Canyon Dr
Palm Springs, CA 92262
t: 760.864.8746
e: [email protected]

OPENING HOURS
Monday – Thursday 11am – 10pm
Friday 11am – 11pm
Saturday 10am – 11pm
Sunday 10am – 10pm

$19.95 3-Course Prix Fixe Menu 11am – 6pm, Daily
Happy Hour 11am – 7pm, Daily
Brunch a Go-Go from 10am, Sat & Sun

Bookclub weekend; so worked out a new recipe for Pickled Shrimp

Since our bookclub was reading the Elementals and I wanted somethings with a water-based, southern flair, I remembered that I had a copy of  Hoppin’ John’s Lowcountry Cooking,  which a friend had given me last xmas. So while reviewing it, I saw the Pickled Shrimp one and thought perfect! You can his actual recipe here

For my version – I followed it pretty true with a few adaptions

Ingredients

  • 1 tablespoon salt (I used kosher salt)
  • 1/2 cup extra-virgin olive oil
  • 1/4 cup of good quality infused oil
  • 1/4 cup of good quality infused lemon oil
  • 1/2 cup fresh lemon juice (his recipe used less.. but I wanted the bite)
  • 2 teaspoons white vinegar
  • 1 teaspoon mustard seeds
  • 1 teaspoon coriander seeds
  • 1 teaspoon whole black peppercorns
  • 1 teaspoon of celery salt
  • 2 garlic cloves, minced
  • 2 pounds shrimp (Since this was a small group – I went with the medium-large pre-cooked which yielded about 40 ( his recipe recommends small to medium (45 to 50 per pound), cooked and peeled). I purchased mine cooked, but you could get fresh, boil then peel. But leave the tails on.
  • 1 medium onion, thinly sliced (about ½ cup)img_4436
  • 25 to 30 bay leaves (fresh not dried)

Had I a few more days to think about it – I would have addd some fresh fennel tips  to it as well.

  • img_4442Making it
    Cut the online into thin slices
  • Mix the wet ingredients, add the seeds and powdered ones, then the garlic, whisk in a small bowl
  • Essentially – its pretty easy to assemble, most recipes use a glass jar – which looks great and perfect as a gift, ju
    st make sure it is sterilized if you plan to keep it for more than a few days. Otherwise my trusty lock-n-lock did the job just fine.   Layer the shrimp, bay leaves and thin sliced onions, then repeat until you have it all in. Then cover with the mixture and refrigerate for 18-24 hours (but I checked mine at 12 hours and they were pretty good too). They should keep for several days and just get more pickled.  As long as they are covered oil, they should keep for week over a week. img_4440

To fancy up the serving of it; I used some shells I picked up in Provincetown and to carry over the “sand” theme from the book; I used plain old Progresso bread crumbs.

Healdsburg’s hidden gems

I have written about the Northern CA region in the past and Healdsburg has its mix of higher end food and beverage, but plenty of less costly options as well. Also the trip up and back often allows for discovering all sorts of hidden finds.

A few weeks back a pal took me up to DaVero Farm & Winery, which can I say took my by surprise. Not only is the variation and stories on the wines great – the people that work there are pretty special as well. Check out the website for more details  on its preference for italian wines, the eco-friendly approach and recipes ! Check out the farm and see the pigs and chickens too

FYI – the wines run $30-  $70 but well worth the price and I know I picked up several for gifts. They also have a line of jams and vinegars. Club members get extra social time on the lovely grounds.

On that same trip; I got a chance to eat at the Parish Cafe

Parish is a great date place- but even more it’s a great place to go with friends. The staff is friendly and have a sense of humor that they often need based on the crowds and lines. But it was well worth the wait. From some killer french toast, to hash and eggs to even a good solid cup of coffee.. so those of you who dream of New Orleans; Parish does beignets that will make you start the planning for that trip.