Keepers; one for the journal and planner users

Art? Bookmarks? Keepers?

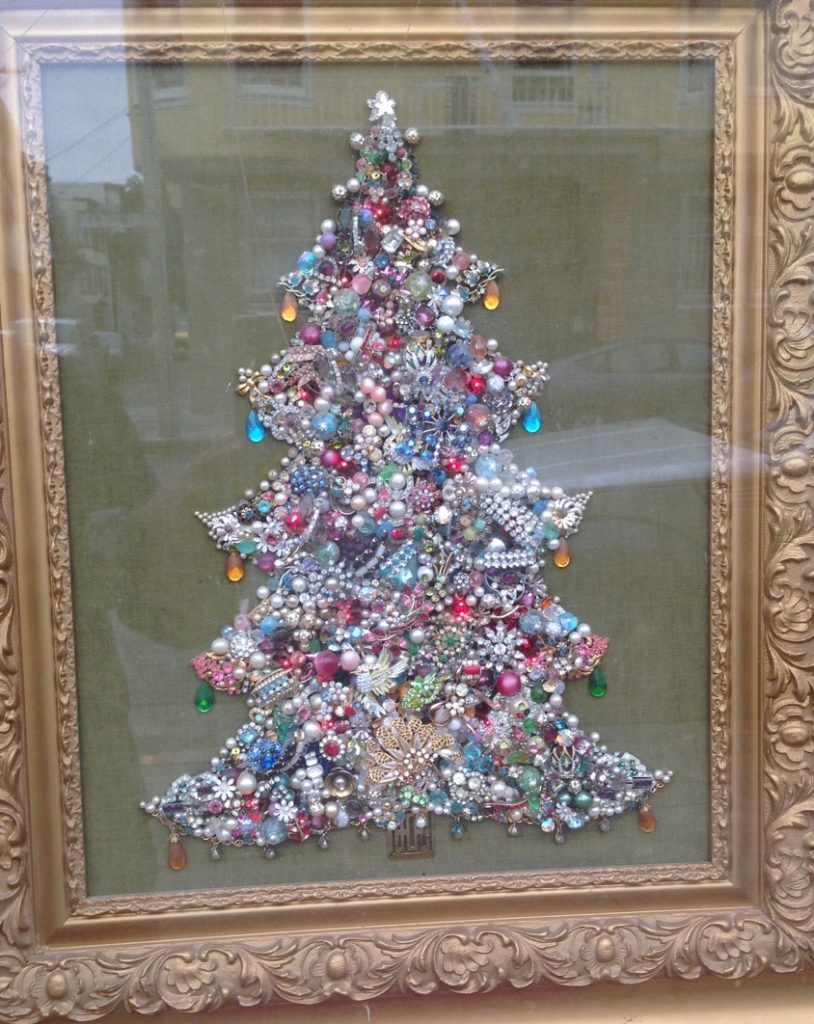
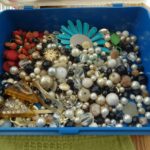
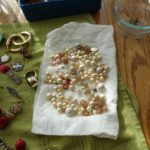
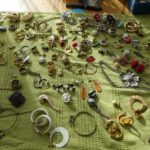
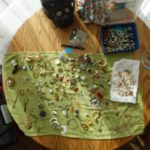
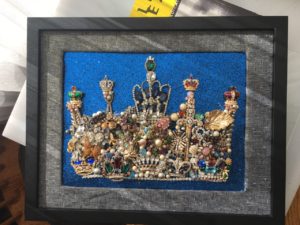
In December of 2017, I tackled a new art project involving recycling old broken jewelry as pieces of art.  I had seen a similar type of art years ago and it stuck with me – so once I have the image and the right person to give one too I gave it a try when I was gifted with a box of vintage jewelry from a friend.


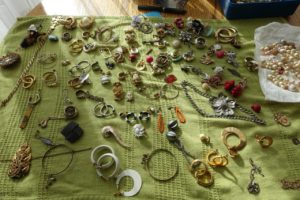
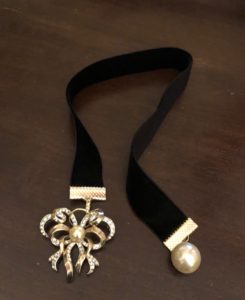
One of the unanticipated outcomes of the project was the amount of extra material left over, that I still wanted to work with. So with the thought of a furlough hanging over my head and knowing I needed something other than computer time to occupy my mind coupled with not wanting to see it all go to waste or sit in a box.  I looked around and decided to make Bookmark Jewelry for the people who needed a little bling ( and yes I still have some left). But with those in place. It didn’t end…

Now what??

As folks shared the gifted ones, I got some requests for a variation for the journal and planner crowd. They wanted something with bling that would work on notebooks or even that would be suitable to put on tablet cases.

My initial prototype

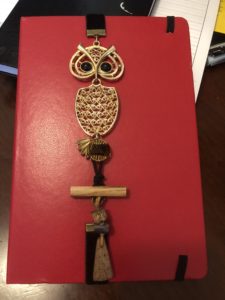
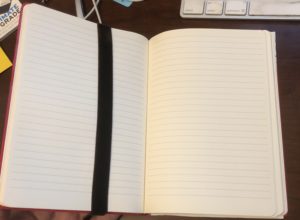
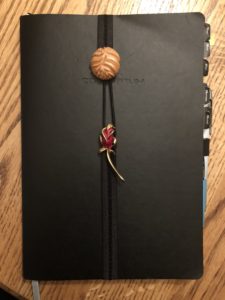
So I put together some Keepers.  They are designed to be flexible and adjust with a button/loop end so that as you move through the book,  the left side could adapt in tension to hold the pages – allowing you to always open to the current page.

This is the first of the set of Keepers that was done by special request, as a gift. By the weekend I expect to have a bunch of them made for gifting.

It’s likely I will make them available for sale as a donation to some local charitable groups – so to more come on that phase. Who knows – with the tension at work – this might my new stress reduction activity.

SaveSave

SaveSave

SaveSave

SaveSave

SaveSave

SaveSave

SaveSave

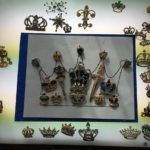
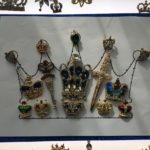
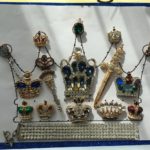
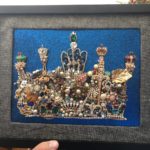
What to do with old jewlery that needs a new home? Make a Crown of course!

Yup.. a Crown is what I said.

This was my season of “crafting” between making Meyer Lemon Marmalade, Seasoned Salts for gifts.
So a few people saw the end result of my “call for used and old jewelry” before the holidays. But a few of you asked to see the finished project. But let me step back a moment and explain what started this journey. For many years, each holiday season I would see this version in the window of an old “crim cram” shop each holiday season. If stuck with me and this fall I committed to making one for us. When I started it, it was to make something for us at the house, as luck would have it, a friend had an entire box of old jewelry collected back over several generations that she didn’t want and was glad to hand them over to me. So that began the process of making it real. But as I said, while this was supposed to be for us, it morphed into my deciding to make it as a gift for someone that would also have a timer lights and framed.

Getting started on the “Crown”

Designs

I knew I wanted a crown theme and that some crown pins would serve as the foundation pieces. So I went online and looked for stencils. When I found the one I wanted, I printed it to size and then used a sharp nail to outline it on the paper I intended to use as my background.

Cleaning:

After doing some checking online on how best to clean them and get rid of some of the “old smell” I opted for washing them in a bath of warm water, a drop of Dawn Dish Soap, Ultra Dishwashing Liquid, Original Scent, Blue, 21.6 Fl Oz (Pack of 2 ),a few drops of tea tree oil and a splash of hydrogen peroxide. I only let them soak for a few minutes, then rinse them in cool clear water and dried them in the sun. The next step took the most time – separating the pieces into three groups; 1) for the mosaic, 2) for other projects and 3) too nice to break apart – hold on too for now.

Logistics:

After selected a background, and once I started the laying out the signature pieces of the mosaic and I realized I needed to choose how I was going to secure the pieces. I opted for Devcon 18245 Weld-It Cement – 1 oz.. It dries clear and stayed tacky long enough for me to move and shift things. I also lucked out with the thin wire lights with a timer that I had around the house – but these would workBRIGHT ZEAL 33′ FT Cool White LED String Lights Battery Operated LED Lights (Silvery Wire, 6hr Timer) – Silver Wire Fairy Lights – LED Christmas Lights – Twinkle Star Firefly Lights LED Battery Lights. Just make sure to determine how many lights you want.

After that:

It was all about adding pieces and textures, stepping away, coming back and filling in spots. It helped to snap photos and look at them that way from time to time as well. Making sure the frame and mat fit and time for gift giving.
 

 And not worry.. check out this post which will explain what I did with all the leftover pieces!

SaveSave

SaveSave

SaveSave

SaveSave

SaveSave

SaveSave