Oven baked cheese & broccoli egg-cups on crescent dough

Quick prep breakfast and brunch idea, with plenty of leftovers for the work week.
Oven baked cheese & broccoli egg-cups on crescent doughFile_001
 
This quick version used store bought crescent roll pastry dough (I used pillsbury but any will do) but can also be made with the rolled biscuit or even pizza doughs.

Preheat the oven to 400 degrees or 375 degrees if your muffin pan is lighter color.

Spray or lightly butter the muffin pan.

Crack 8 large eggs, whisk with a splash of milk till blended.

Add salt and pepper to taste, a dash or two of tabasco, 1/4 cup of greater cheese, stir well. Add fresh or dried herbs to taste.
img_0213-1

Unwrap the dough and cut into rough squares. Don’t worry about making a full “cup” as long as the bottom is covered and you have at least 1/2 inch up each side- press into the bottom of each cup
and press up the sides as far as each will go. I found that 2 rolls of crescent will do a 12 muffin cup pan.img_0209

Add chopped broccoli florets, ham or turkey, shredded cheddar cheese.
Hint: this is a great way to use leftovers from dinners.
Pour the egg mixture into each cup. They will raise a bit so leave some room. Sprinkle with cheese it wanted.
Place on muffin pan on a cookie sheet and back for 15 or until set and brown. Remove and serves with salsa

Rainy night dinner in; Chicken Pot Pie with Cheddar Herb Biscuit Topping

This weekend was definitely one of those – lets stay in and cook ones. Between the rain and the miserable drivers; it just was worth it to me to head out on Saturday night. So while figuring out what to make, Paul suggested I do Chicken Pot Pie.
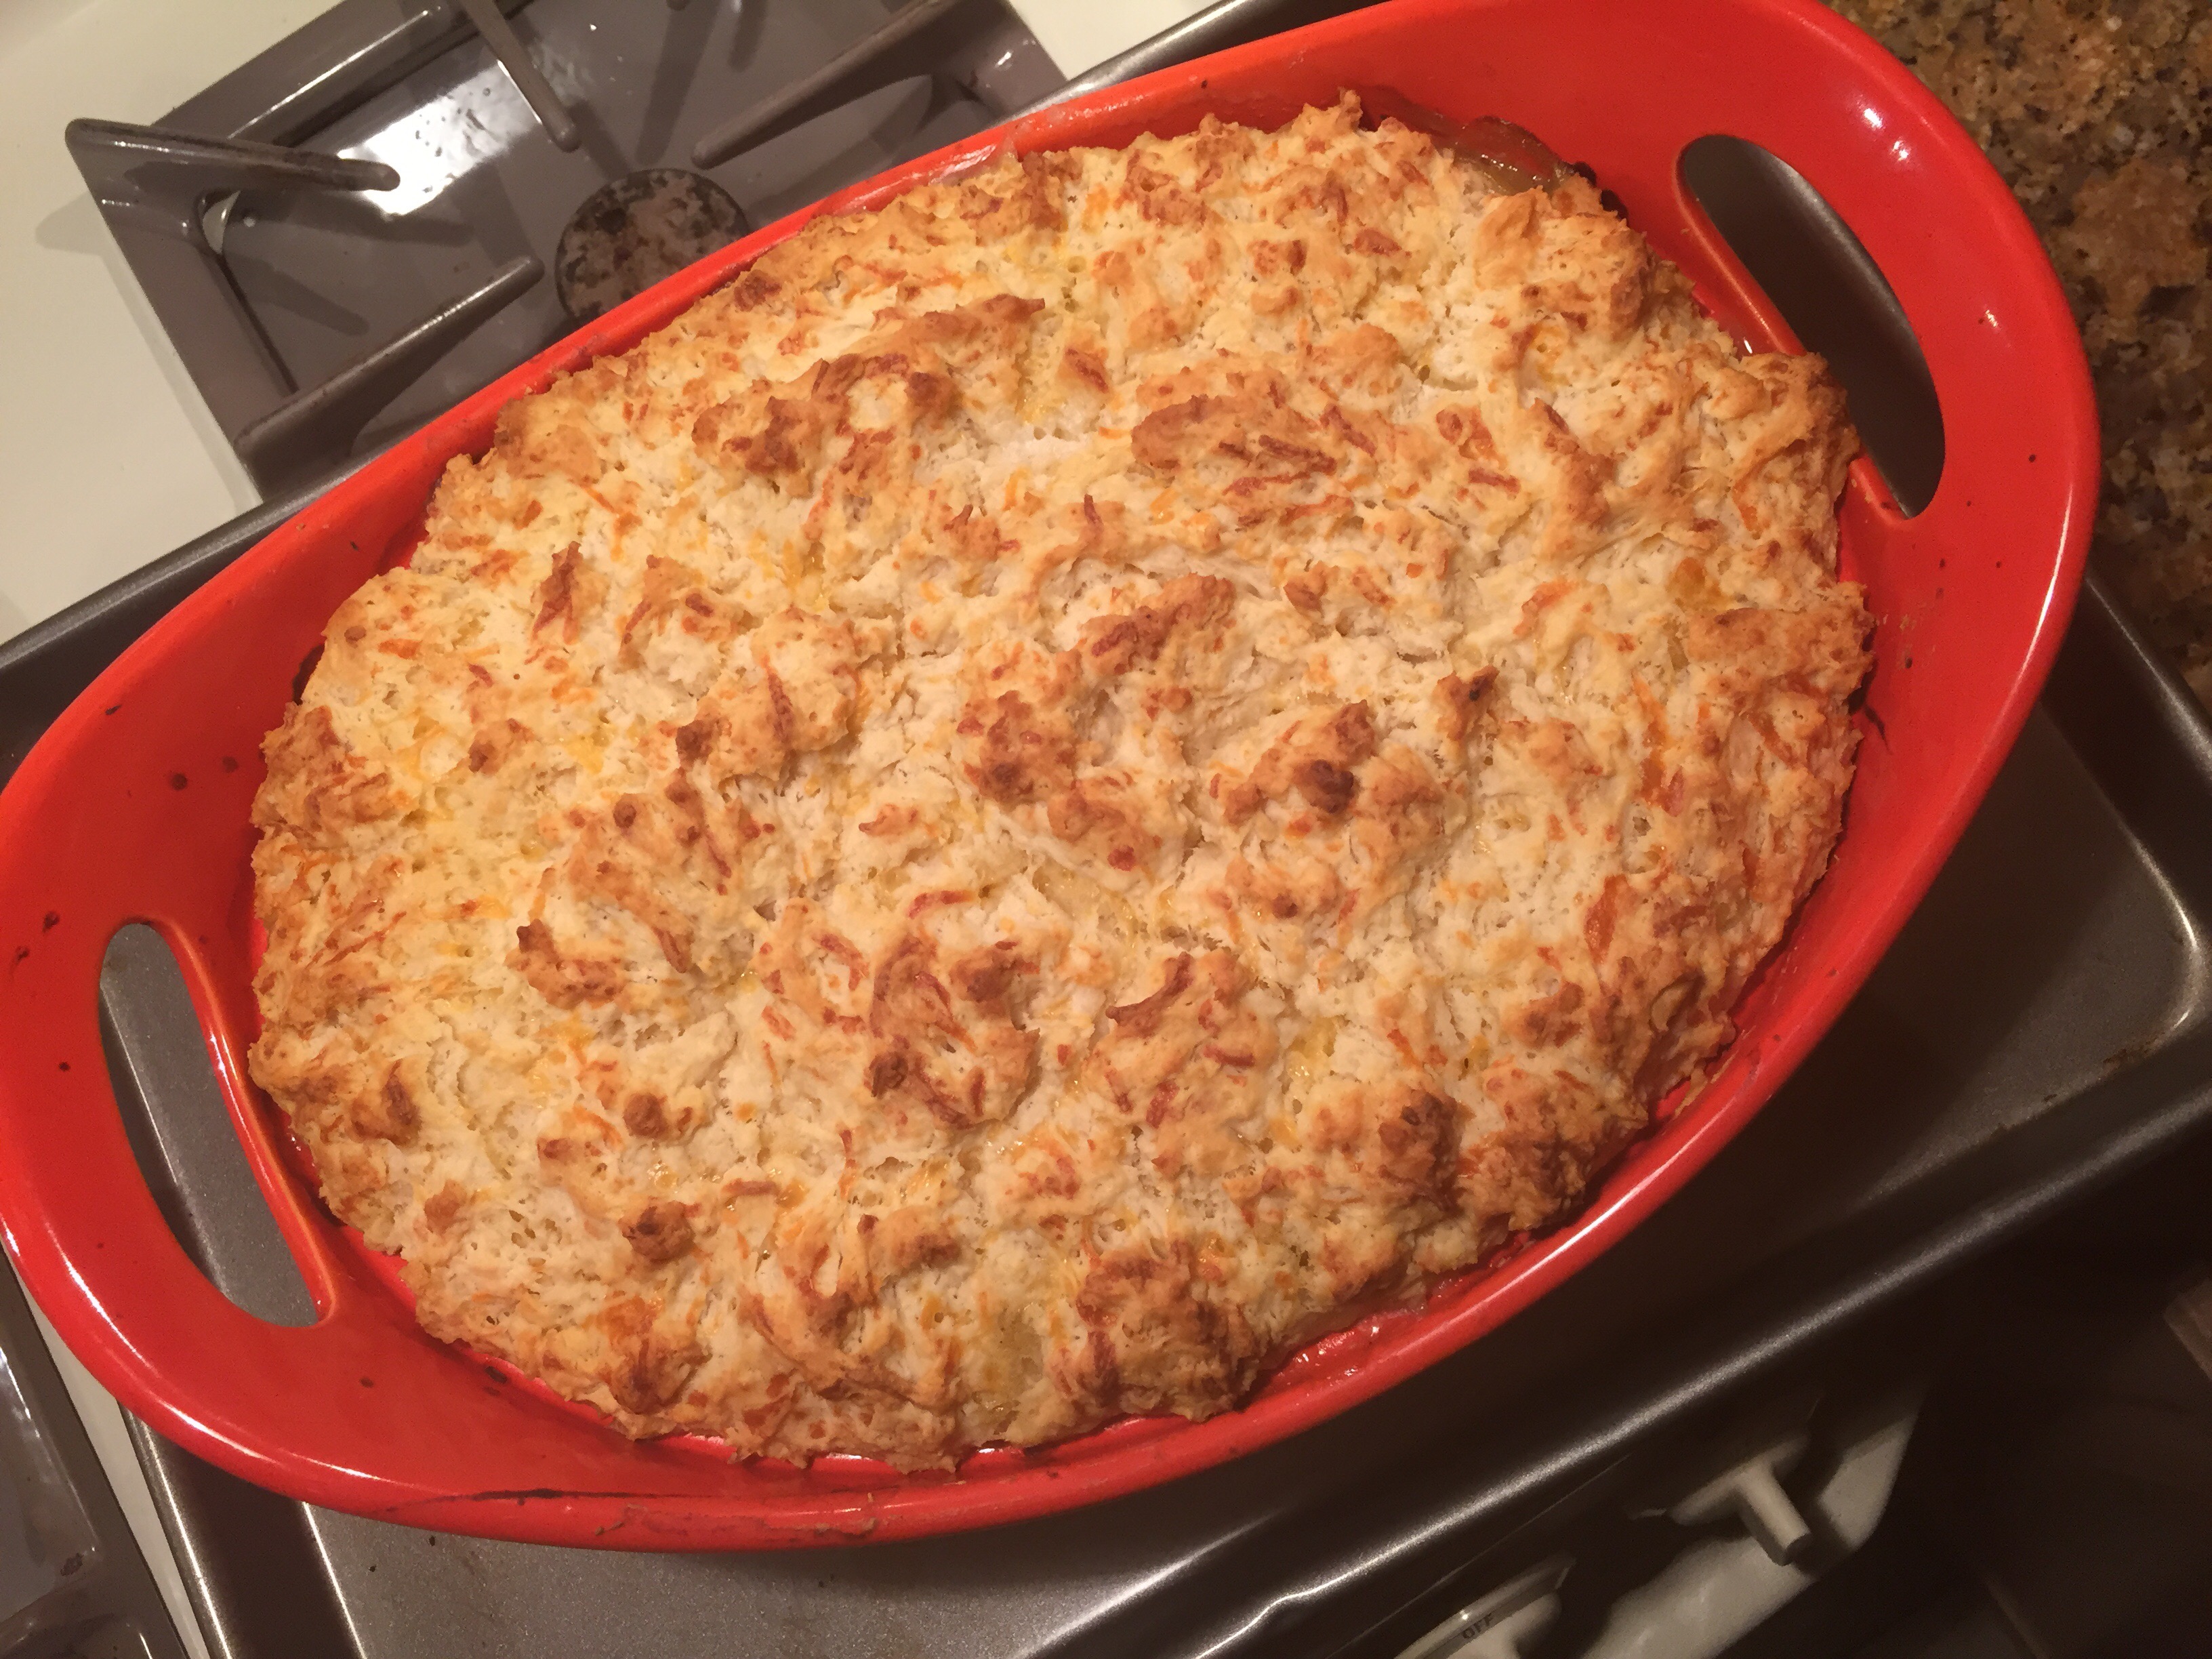
Seemed like a good idea and one that would be able to handle a casual night at home. The is the adapted recipe I use.

img_0201Note: For this version I worked with what was already “almost, almost” home made. That meant I used a boxed biscuit mix (2 of them), Cooked and shredded chicken; our local grocery store roasts them and started selling the shredded meat. To make this even easier – use the pre-chopped veggies. the other important thing to remember about this recipe is that the amounts are suggestion – customize it to what you have handy.

What to have handy:

  • 1-2 tablespoon of canola or corn oil (coconut or olive oil will work too I am thinking)
  • 1 clove of garlic (or 1-2 teaspoons of pureed Garlic from the tube)
  • 1/2 – 1 cup flour
  • 2 cups chopped Carrots
  • 2 cups cubed Yams
  • 1 cup chopped Celery
  • 1 med Onions chopped
  • 1 bag frozen Peas
  • 2 packages of cooked touch shred chicken (between 3-4 cups)
  • 7 cups of Chicken Stock (low sodium)
  • 1/4 – 1/2 teaspoon Salt
  • 1/4 – 1/2 teaspoonPepper
  • Chopped Parsley
  • Poultry spice mix (or any combination your prefer)

Preheat the oven to 425 degrees

In a heavy skillet; over medium-high heat (for cast iron pan, you may want to used medium heat and gauge the heat level once hot):

Toss in the oil, carrots and yams, stir to coat with oil for 2-3 minutes, then add celery, onions. Stir and cook another 3 minutes, add garlic, salt, pepper and 1 teaspoon of the poultry spice mix. Stir and continue to cook until veggies are cooked through but not browned.
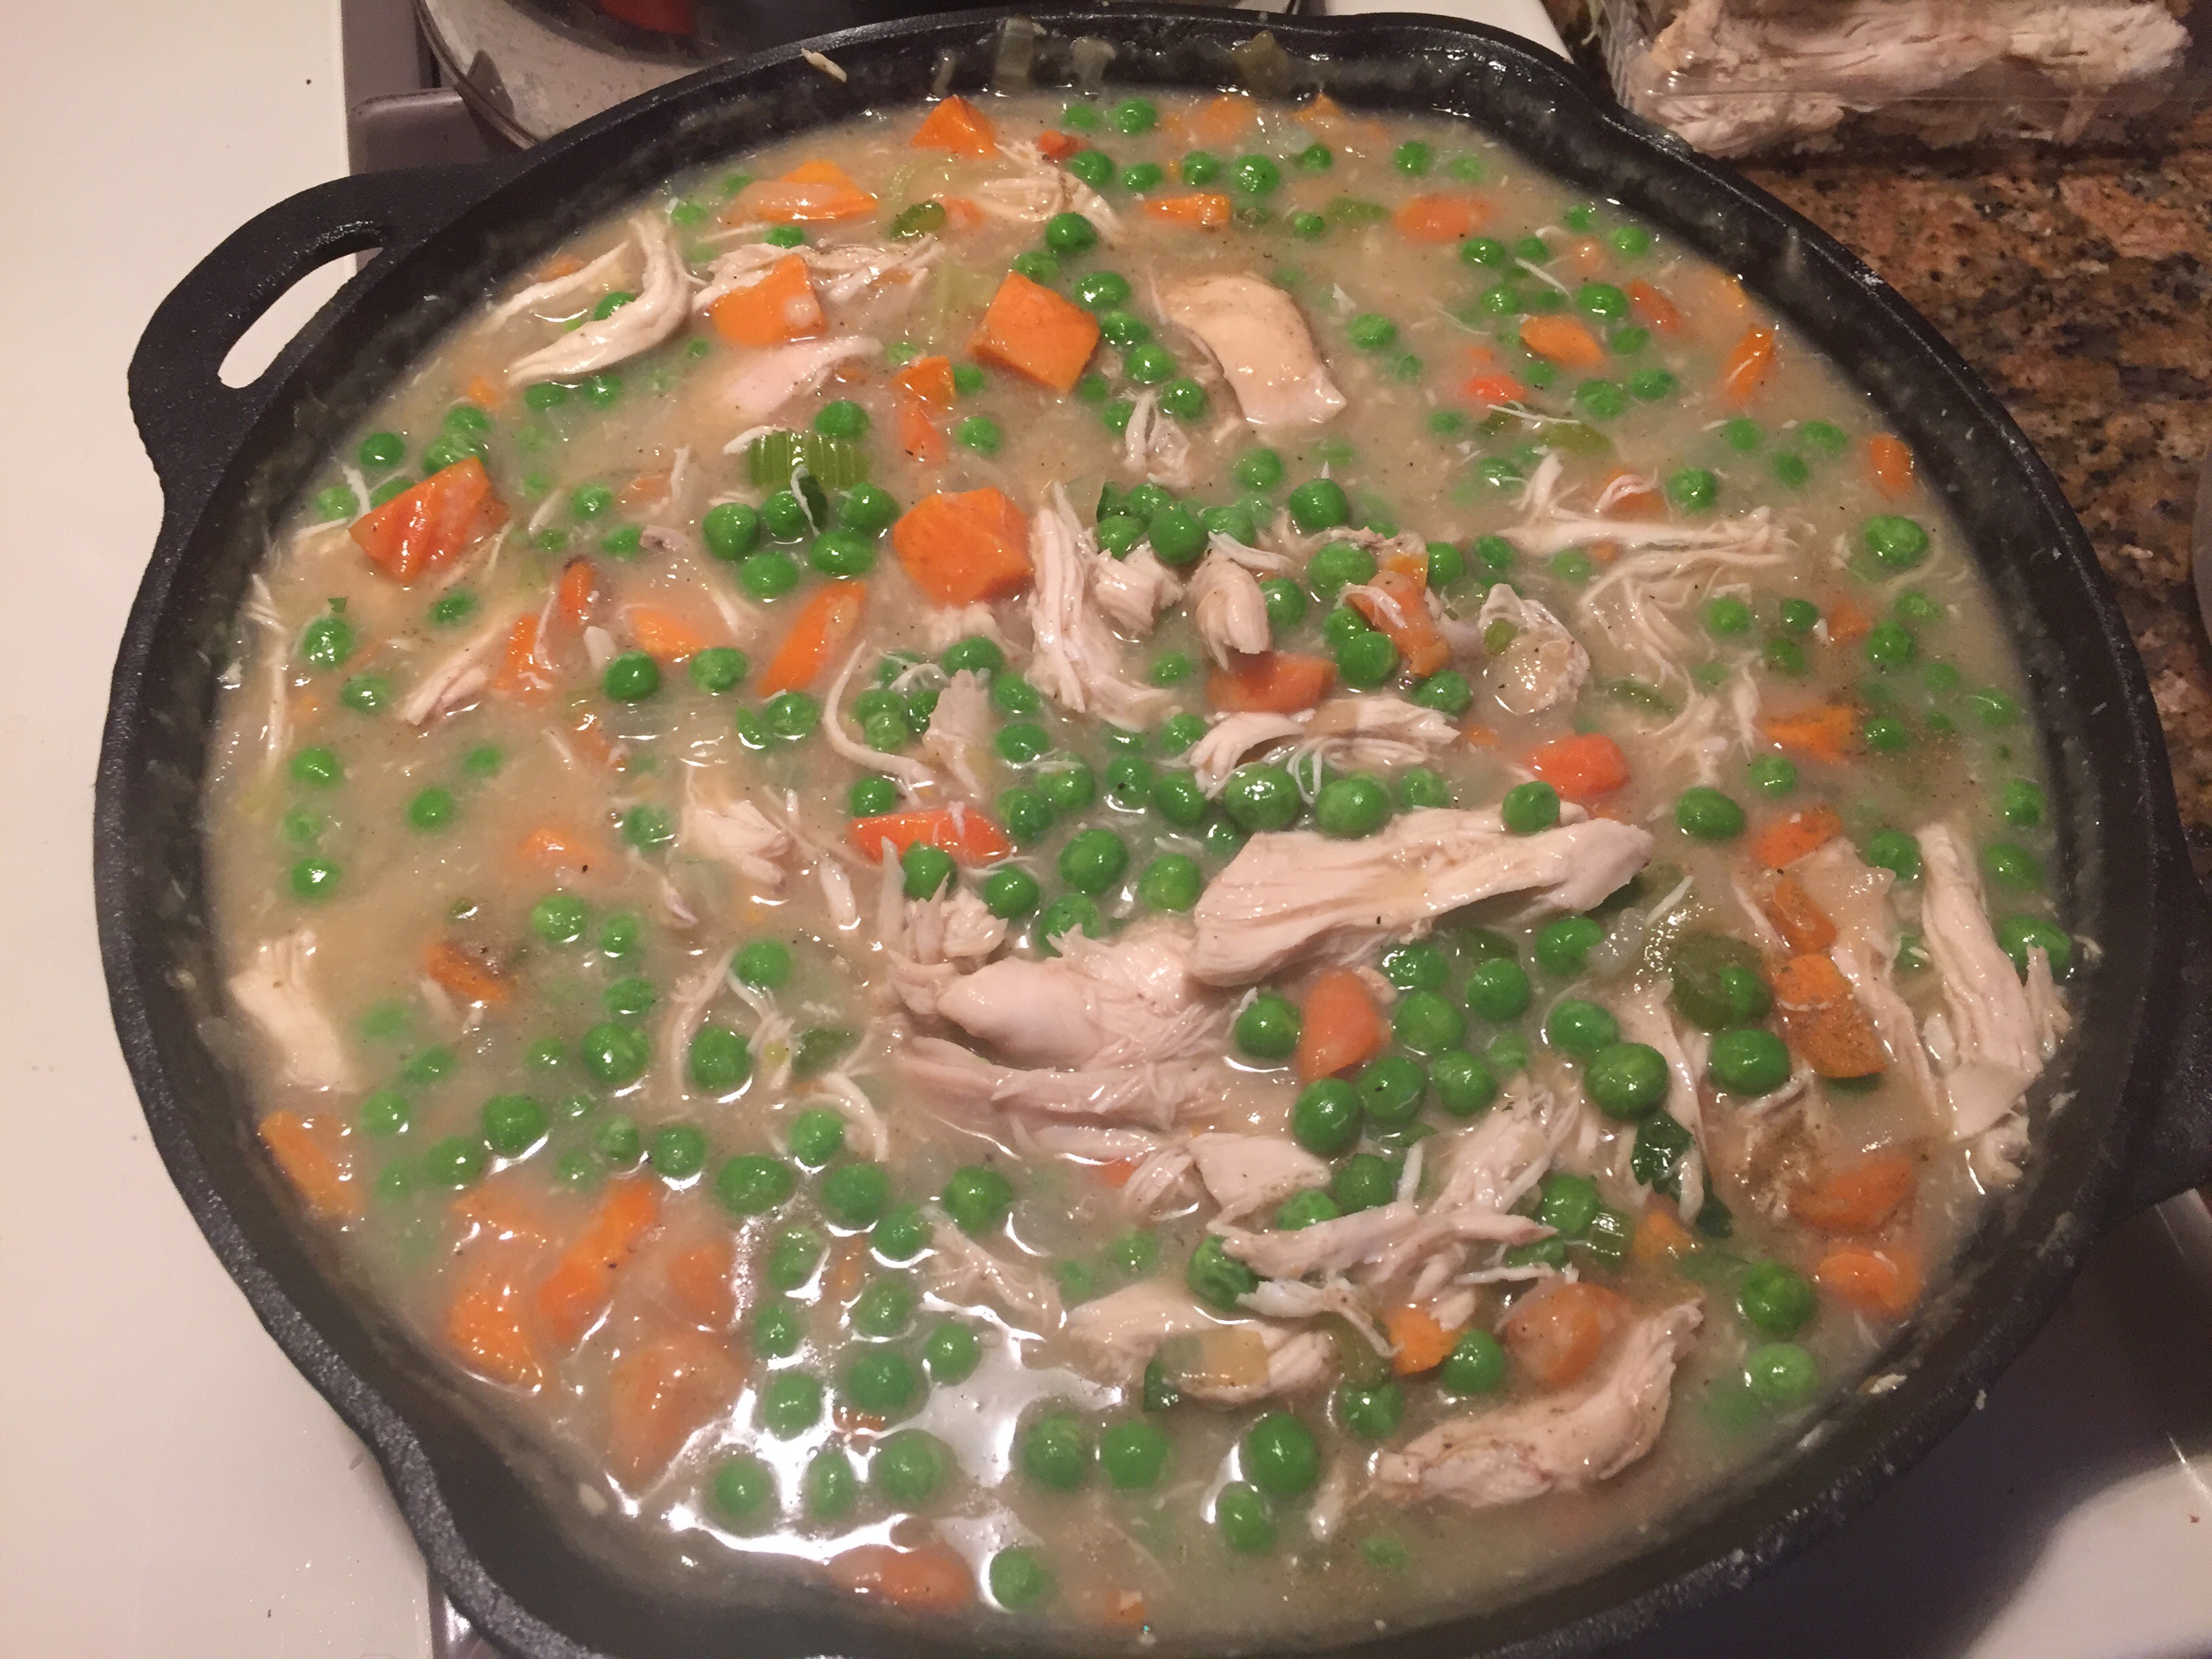
 Add 1/2 cup of flour (or a gluten free alternative) on top of the veggies and stir, cooking for a few minutes more.

Add 6 cups of chicken stock, holding back 1 cup for later if needed.

Now – if by now you realize your skillet isn’t large enough (which happened to me),  take out 1/2 of the mixture and add it to your casserole dish. If you are using a 1/2 recipe you can actually back the whole dish in the skillet.

Add the chicken, carefully stir the mixture slowly until it boils, them lower the heat and simmer 8-10 minutes. TASTE IT!  Does it need more salt, pepper, etc.

(It should thicken some – it you find it isn’t thick enough, add some of the remaining flour to 1/2 cup of the remaining stock, whisk and add to the mixture, stirring until you get the consistency you want)

Remove from the heat.

Add chopped parsley (or other fresh herbs to your taste), stir and pour into your casserole pan (or leave in the skillet if is over safe).

For the topping;

Mix up a prepared biscuit mix as instructed. I used Red Lobster Cheddar Herb Biscuit mix but any will do or you can make your own.
Spoon (or use your hands its a pretty sticky dough) to cover the “pie”. This creates the top “crust”. Try not to layer it on thicker than an inch or so – if you do – you may need to let it cook longer. to make sure the under side of the biscuits cook.

Bake

Place casserole on a cookie sheet, and place in the oven. Bake at 425 degrees for  35 – 45 minutes.
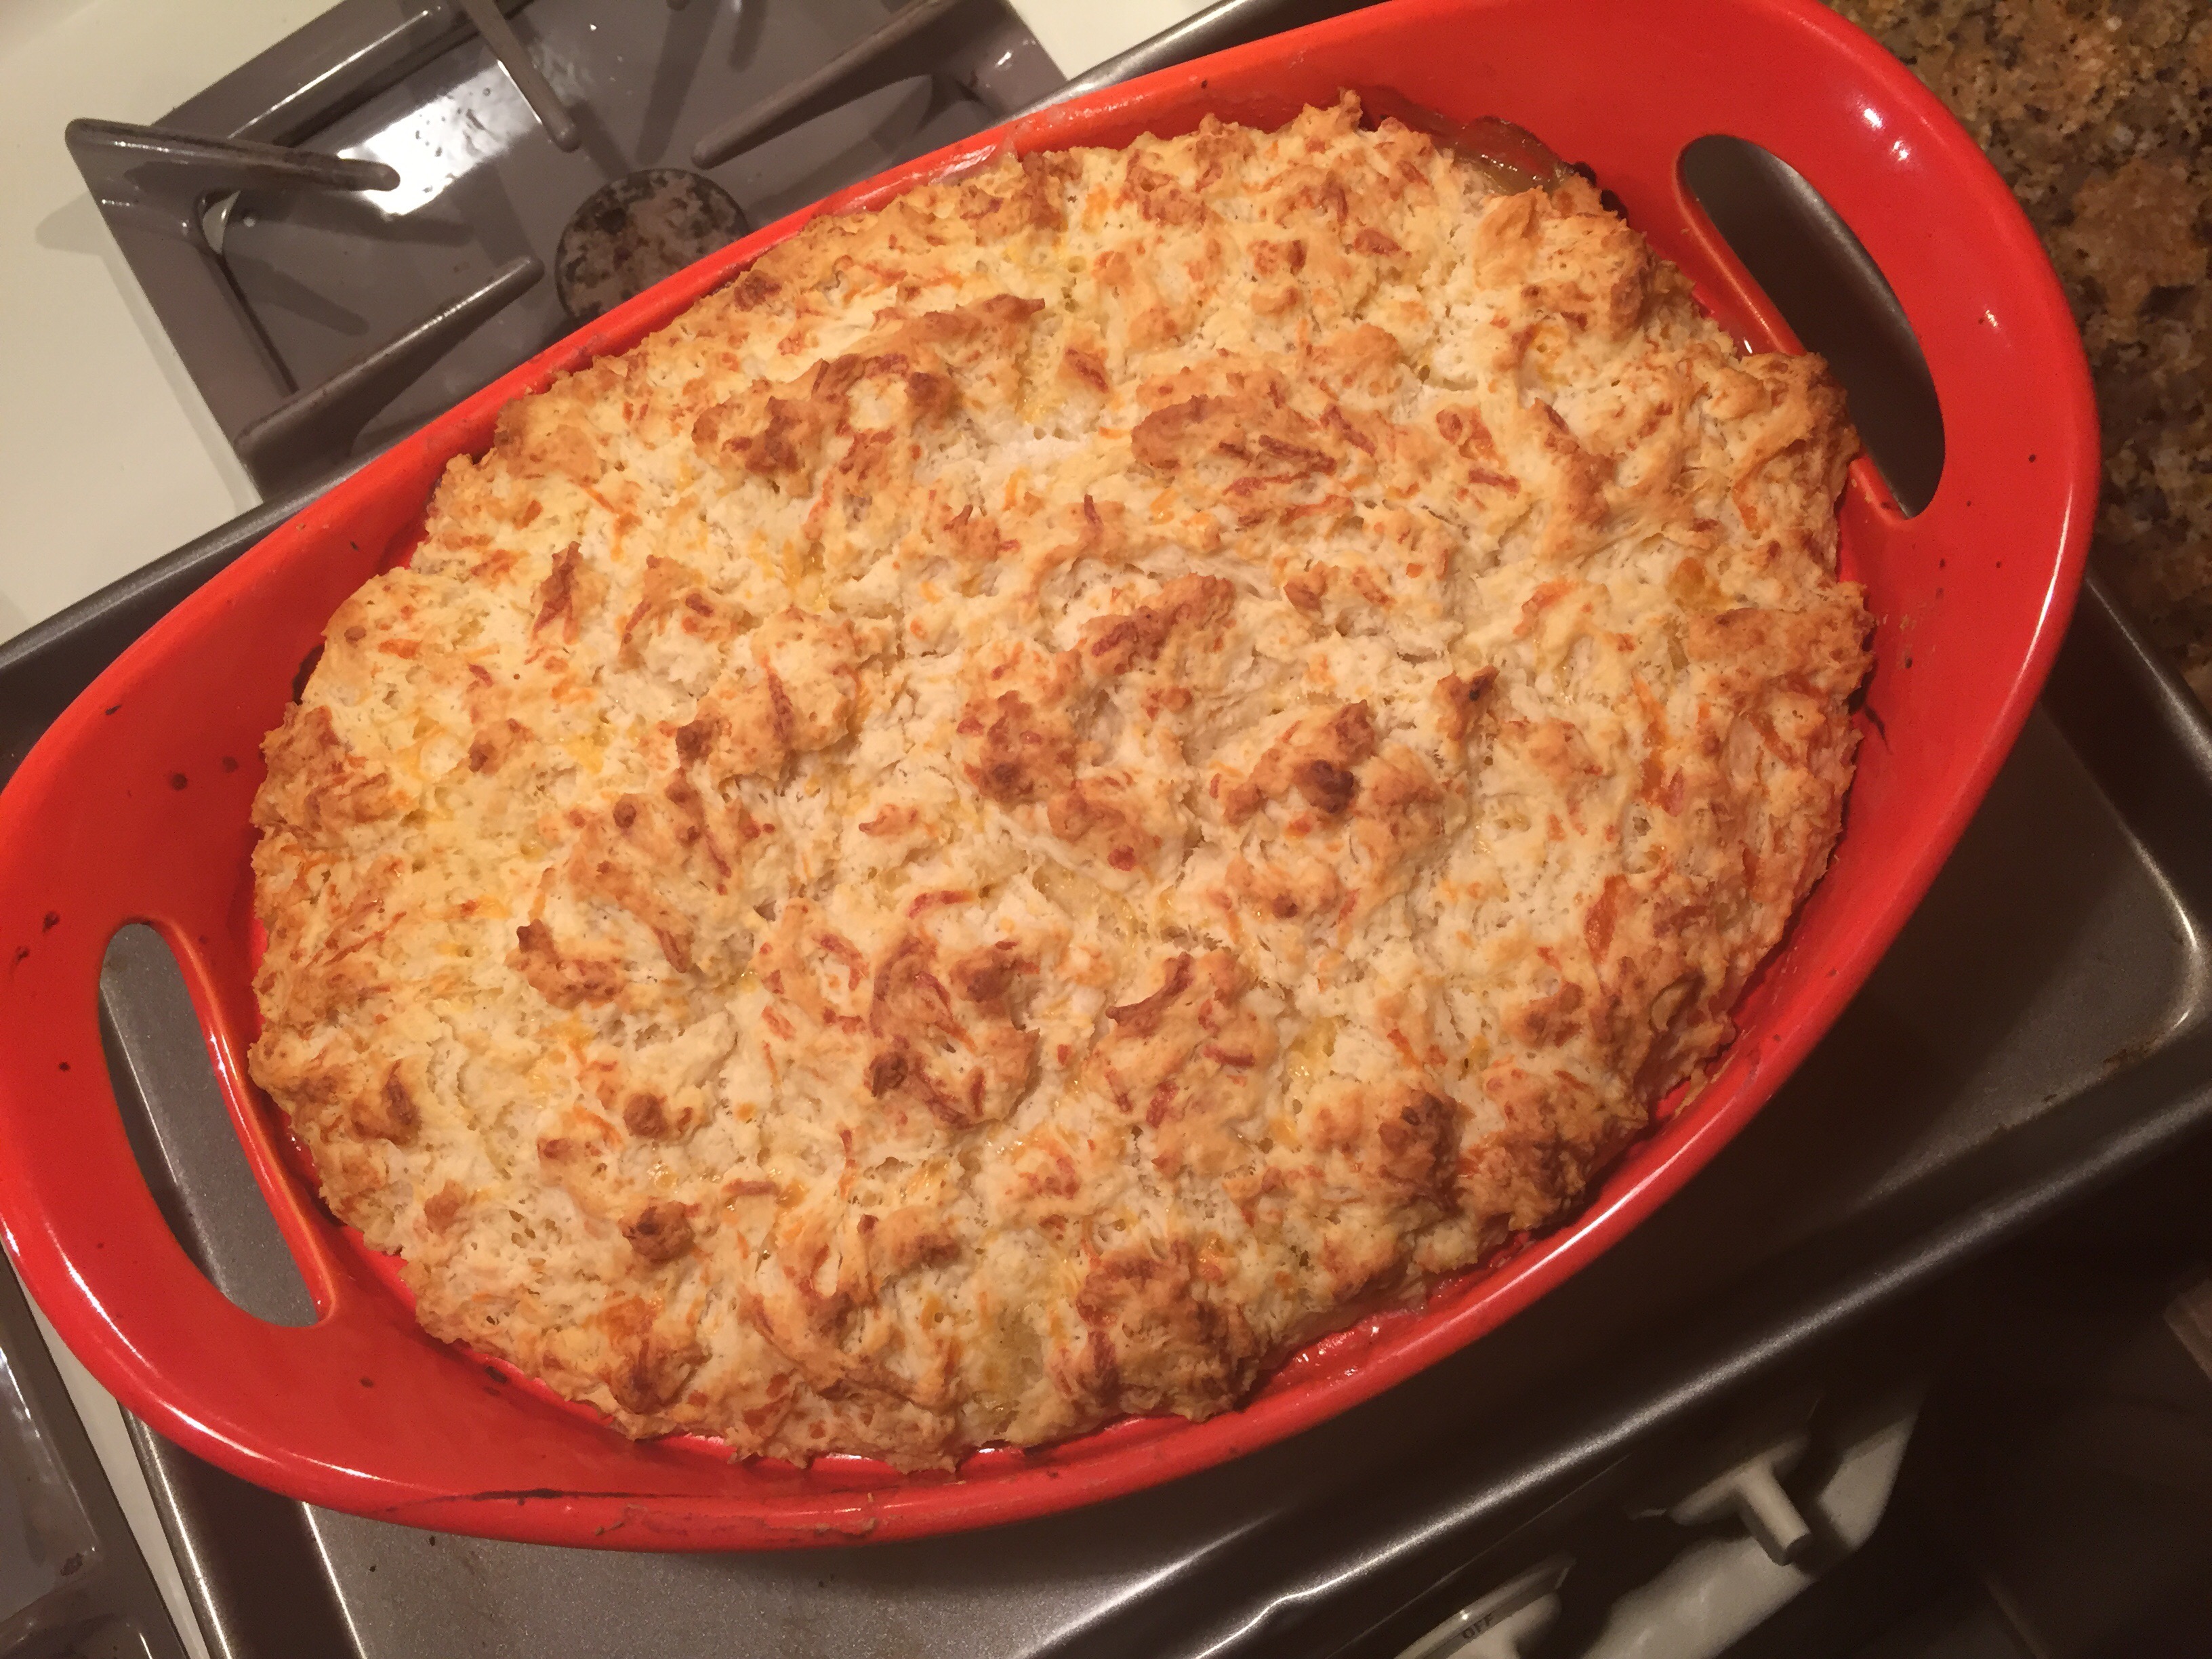
 Around 30 minutes check the biscuit topping; if the top is browning too much – loosly place foil over the top for the rest of the cooking time.

Optional:

While baking- melt butter and mix with herbs ( I used 1/2 packet of the herb packet from the biscuits – but any will do).

img_0201When you remove from the oven, brush the melted herb butter over the top of the biscuit topping.

It’s Cold, It’s Wet and I Don’t Care Its Not Fall.. Crockpot Butternut soup

Sometimes you just need a fish, hearty soup to get the chill out of you. Not being one that likes a thin broth style soups – I tend towards ones that are thick. So a good butternut squash soup will always work. This quick (sorta) toss together soup is perfect and done in the crockpot over 5-6 hours. Want to speed it up? Use left over roasted squash from the previous night!

In a Crockpot toss in:

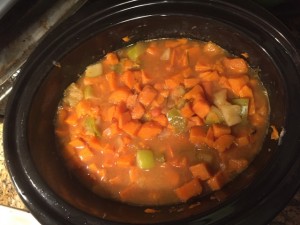
This is at about 4-5 hours

This is at about 4-5 hours


  • 2 lbs diced Butternut Squash
  • 1 sweet potato; pealed and diced
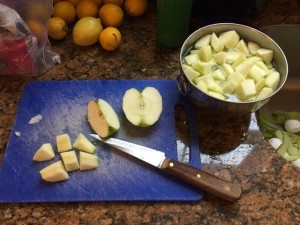
  • 1 large apple – chopped into 1 inch cubes with skin ( I use a Granny Smith for its texture and flavor)
  • 1 small – medium diced onion (white) or 2 Leeks chopped
  • 1 3-4 inch stem of Rosemary fresh – pulled off the stem
  • 1 large or 2 small carrots cubed
  • 2 1/2 cups of Vegetable Stock (low sodium)
  • 1 tablespoon of Maple Syrup
  • 1 tablespoon of Honey (or agave)
  • 1 -2 teaspoons of mashed garlic (to taste – I use the tube version)
  • 1/8 of Cayenne Pepper (or to taste)
  • 1/2 teaspoon of Cinnamon
  • 1 good pinch of nutmeg
  • 1/2 teaspoon of poultry spice (or fresh sage chopped)
  • 1-2 tablespoons of pepper jelly (any flavor you prefer)
  • Salt & Pepper to taste

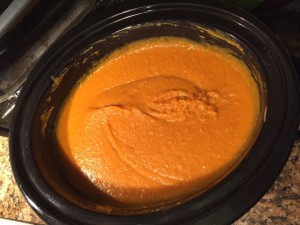
IMG_9142You want the solids to raise above the liquid by at least 1-1.5 inch. Stir together and let cook on high 4-5 hours, then low for any remaining time. Stir occasionally and taste for seasoning. Once the carrots and easy to pierce with a knife you are pretty much done. Use an emersion hand tool to puree the mixture (or get out you soup attachment for that fancy blender you have sitting on your shelf and blend in smaller batches). It should be on the thick side – somewhat like an orange porridge. Turn off the crockpot by now if you haven’t!

Now these steps differ on personal taste – I like my soup thicker than thin; If you are dairy-free; Mocha Mix brand creamer or canned coconut milk to thin and add a more creamy texture. For those of you who do dairy – this is the time to add your cream, milk and 2 teaspoons of butter. Stir until well mixed.

Technically this isn’t a right to wrong way to do this soup – just use what tastes right.

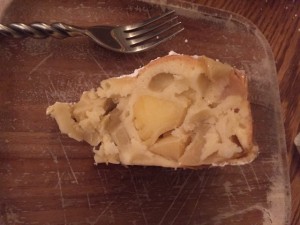
Russian Apple Pie/Cake

For a book club I am in, we are reading Red Notice in which Russia plays a pivotal role in. 11229909_10153483239269425_162442807736487759_o

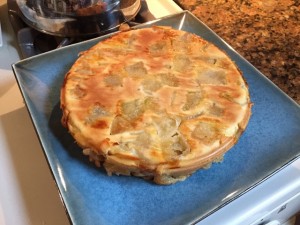
So I choose to bring a Russian Apple Pie – which is more of a cross between a cake and a pancake to bring. Smells good and can’t be any more easy to make. Now to see how I can adapt it for next time.


IMG_9010Curtesy of ekaterina1013

http://www.food.com/recipe/russian-apple-pie-114210

Ingredients:

  • 4 large granny smith apple, peeled ( I used 5 and it still worked well)
  • 12 cup sugar
  • 1 cup flour
  • 3 large eggs

Directions

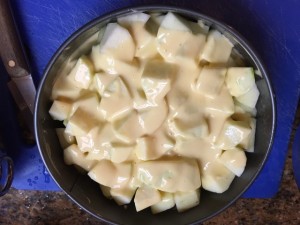
  1. Remove core from the apples, cut in large chunks 2″, lay parchment paper on the bottom of your baking form (I used 8  inch spring form). IMG_8989
    IMG_8991For my version I did soak the apples in lemon water then died them be using.IMG_8992
  2. Lay the apples on top of parchment paper.
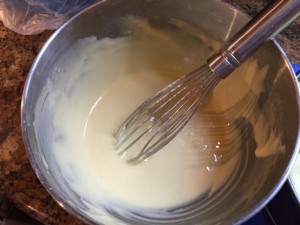
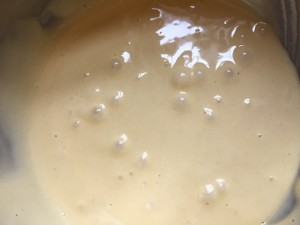
  3. Let eggs warm up for 10 minutes,then mix till light yellow and foamy; add sugar in, small portions at a time, let sugar dissolve; add flour; mix till you see air bubbles, pour mixture on the apples.

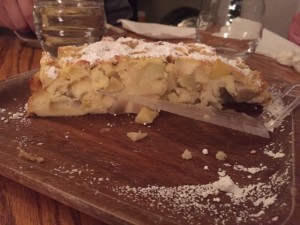
Bake at 375 for 55 mins. Cool.  When pie is done flip upside down, Apples will be on the top. ( But I have to say the rougher side alsIMG_8993o looks pretty.)

Top with powdered sugar.


IMG_9145

IMG_9144
 IMG_9011

Dreary weekend tag team; Preserving Lemons

So I figured this being my last official weekend off before I kick back into writing mode then made to work on the 15th I wanted to get a few things done. After getting the house put back together, and the new bed in place (Oh my god – I think Tuft and Needles  may have a new  customer for life and a new advocate that foam bed don’t have to break the bank for more a the bed – see the pending post soon) that I would do something I had been thinking about since my return from Atlanta. I had met someone from Morroco and over the months, talk ended up on food and his Mom shared her recipe for preserved lemons. A must have for Moroccan cooking, not to mention a great way to add lemon flavor with less tartness. So today, I decided to try my hand at it.

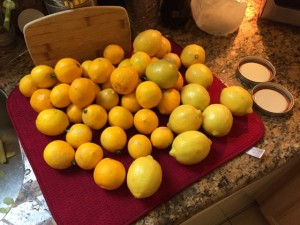
Since next door has an abundance of Meyer Lemons I figured it is a perfect way to use them.

Ingredients

  • Lemons, scrubbed and washed (Meyers or other bright thick skinned ones)
  • Kosher salt
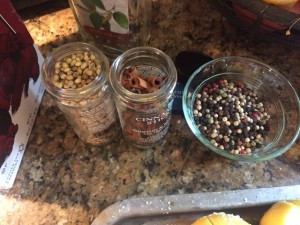
  • Black and Red Peppercorns ( you can use all black too)
  • Cardamon seeds
  • Cinnamon sticks (halved)
  • Bay leaves ( about 2 per jar you plane to make for pints sized – use the fresh ones not the dried)
  • Fresh lemon juice as neededIMG_8997 (1)

Instructions:

Wash and scrub the lemons well. Dry. Sanitize your canning jars and lids. My friend’s Mom says she tends to make this recipe in a huge glass jar then ofter a month she makes smaller jars to share. But the concept wIMG_8990orks the same with the smaller Pints. (Joanne Weirs recipe below uses a quart container for instance.)

Preparation –

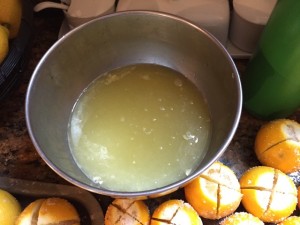
  • Squeeze juice from lemons for juice to be used in the jars.  Hint: I was told that this is perfect to use the juice from regular lemons as they tend to me more acidic than Meyers. You will need to have enough juice to fill the jars after they are full of the fruit.  Plan ahead with extra lemons. IMG_9002 (1)
  • Cut the ends off of each lemon, make 2 cuts into the lemon to partially quarter the lemon BUT don’t cut all the way through. Leave it joined at one end.
  • Using your fingers or a small spoon liberal coat the insides of the lemon with salt. Place on a surface until you have them all done.IMG_8996 (1)

Assembly:

You can do this in any order – but this is what I used:

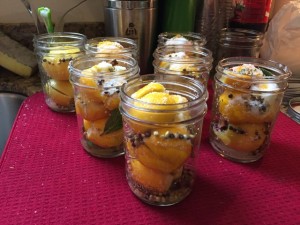
  • At the bottom of each jar – place a teaspoon of salt, and drop 1-2  lemons into the jar, gently compressing them, add Cardamon,  Peppercorns, a piece of Cinnamon stick and them more salt, rotate the process by adding 1-2 more lemons. Slide in a Bay Leaf along the side or of the lemons are big,  place in between the layers (You can use up to 2 leaves).IMG_9004
  • Remember to compress the lemons so that more of the liquid releases.
  • After you have the jar full, you will want to pour in the extra lemon juice almost to the top of the jar.
    • Note: some recipes I noticed while reserching also suggested that you can use 3 parts lemon juice and 1 part cold water. My friends Mom says she uses all juice.
  • Cover the jar tightly. Turn over once or twice to get the salt, juice and spices moving.IMG_9005

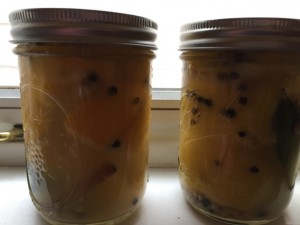
The Lemons will take about a month to cure – so each week, for the first 30 days try to turn them several times to get the salt and spices to mix. After that they are good to go and will be good for up to 6 months.  They can be left at room temperature. Once opened, they can be kept in the refrigerator for up to 3-6 months depending who you ask. You can add other spices. Some recipes call for fennel, etc I am thinking that rosemary might be a good one to try next

Basically when you use them; you will be using the skin of the lemons not the pulpy flesh (I did see some recipes online that do use it but I haven’t). So peal the skin back and slice or dice. Remember – they will be salty so when adding to a dish remember to compensate what other salt you are adding. Don’t make this with regular Iodized salt. I used Kosher salt. Don’t forget the liquid left in the jar will have lots of flavor and could be used all sorts of ways from dressings to marinades.


A few additional recipes for your own creative side:


Ways to use Preserved Lemons:

For Eating:


For Drinking:

Preserved Lemon Martini (or, as I like to call it, The Dirty Lemon) Curtesy of EatingFromTheGroundUp.com (serves 2), or for you adventurous types; try the Morocco found on http://sebbo.org/recipes/morocco.html or get creative – imagine how they could kick up a Margarita or paired with Tequila or my favorite; using some of the brine in a Bloody Mary!

Preserved Lemon Martini 

  • 2 ounces vodka
  • 2 ounces dry vermouth
  • 1 ounce preserved lemon brine
  • 2 slivers preserved lemon rind

Combine the vodka, vermouth, and lemon brine with a hefty amount of ice in a cocktail shaker (or the eternally useful mason jar). Shake, shake, shake. Put a sliver of lemon rind in the bottom of two martini glasses. Divide the vodka mixture between the two glasses.


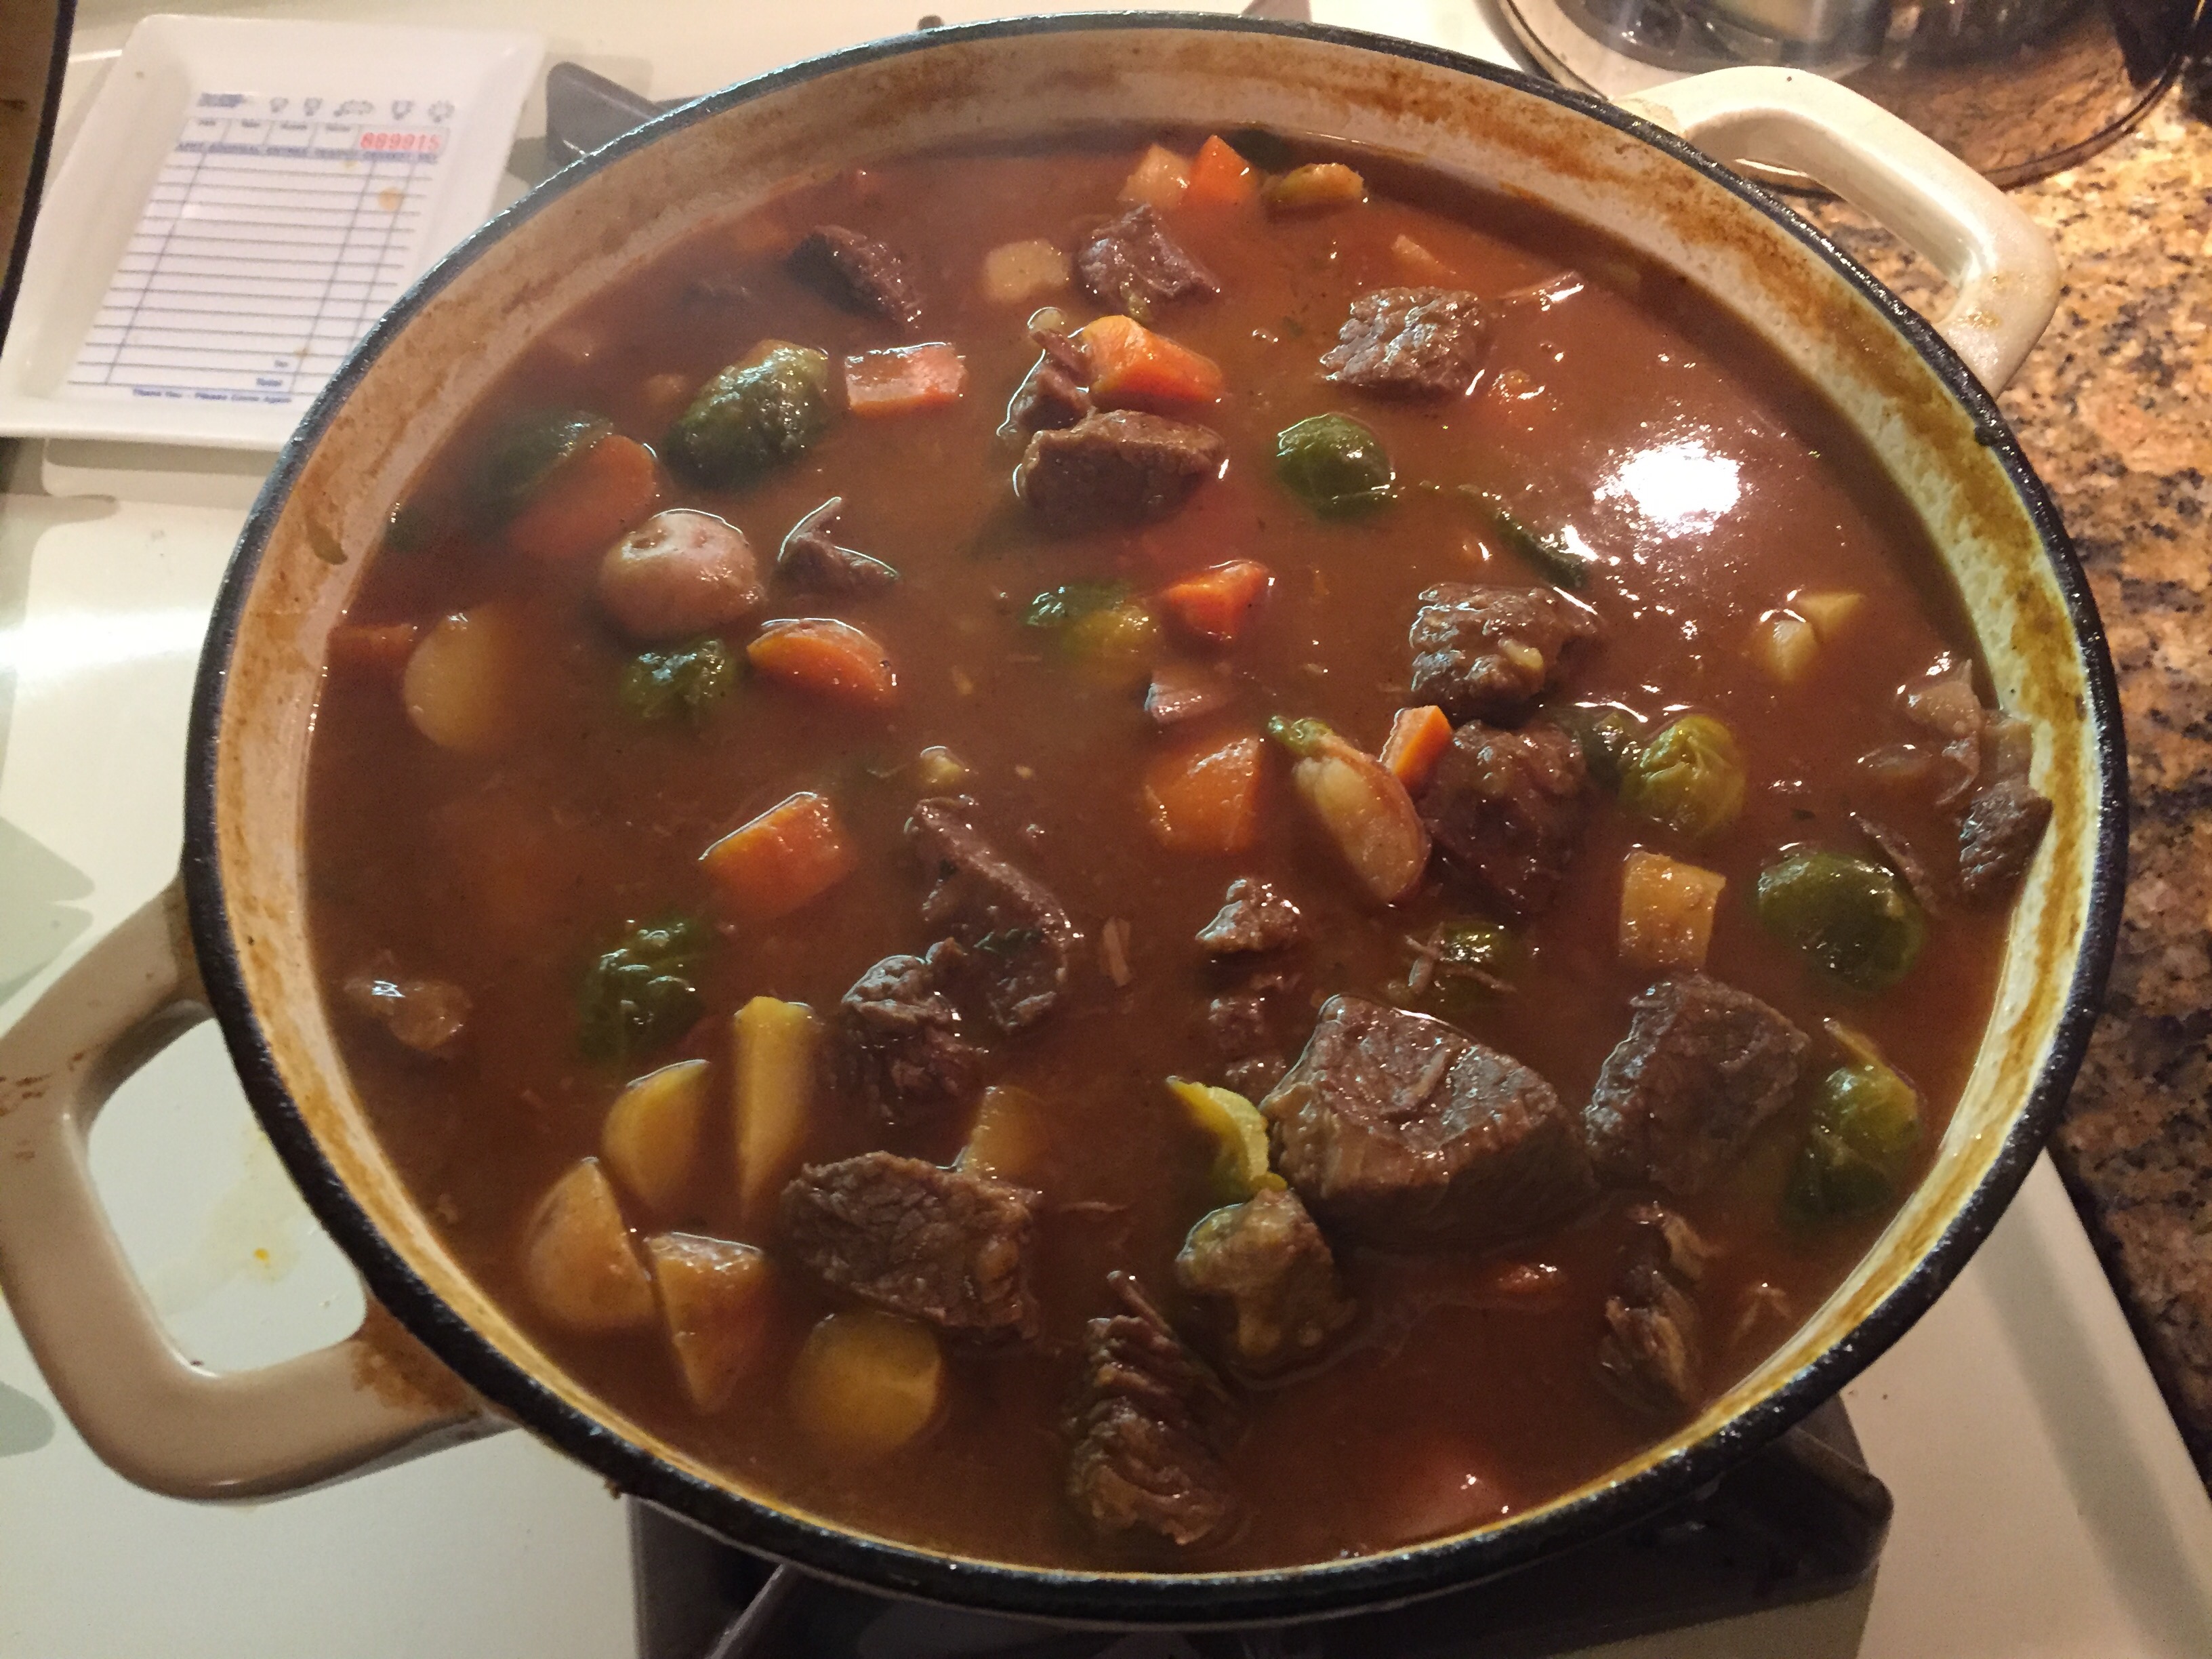
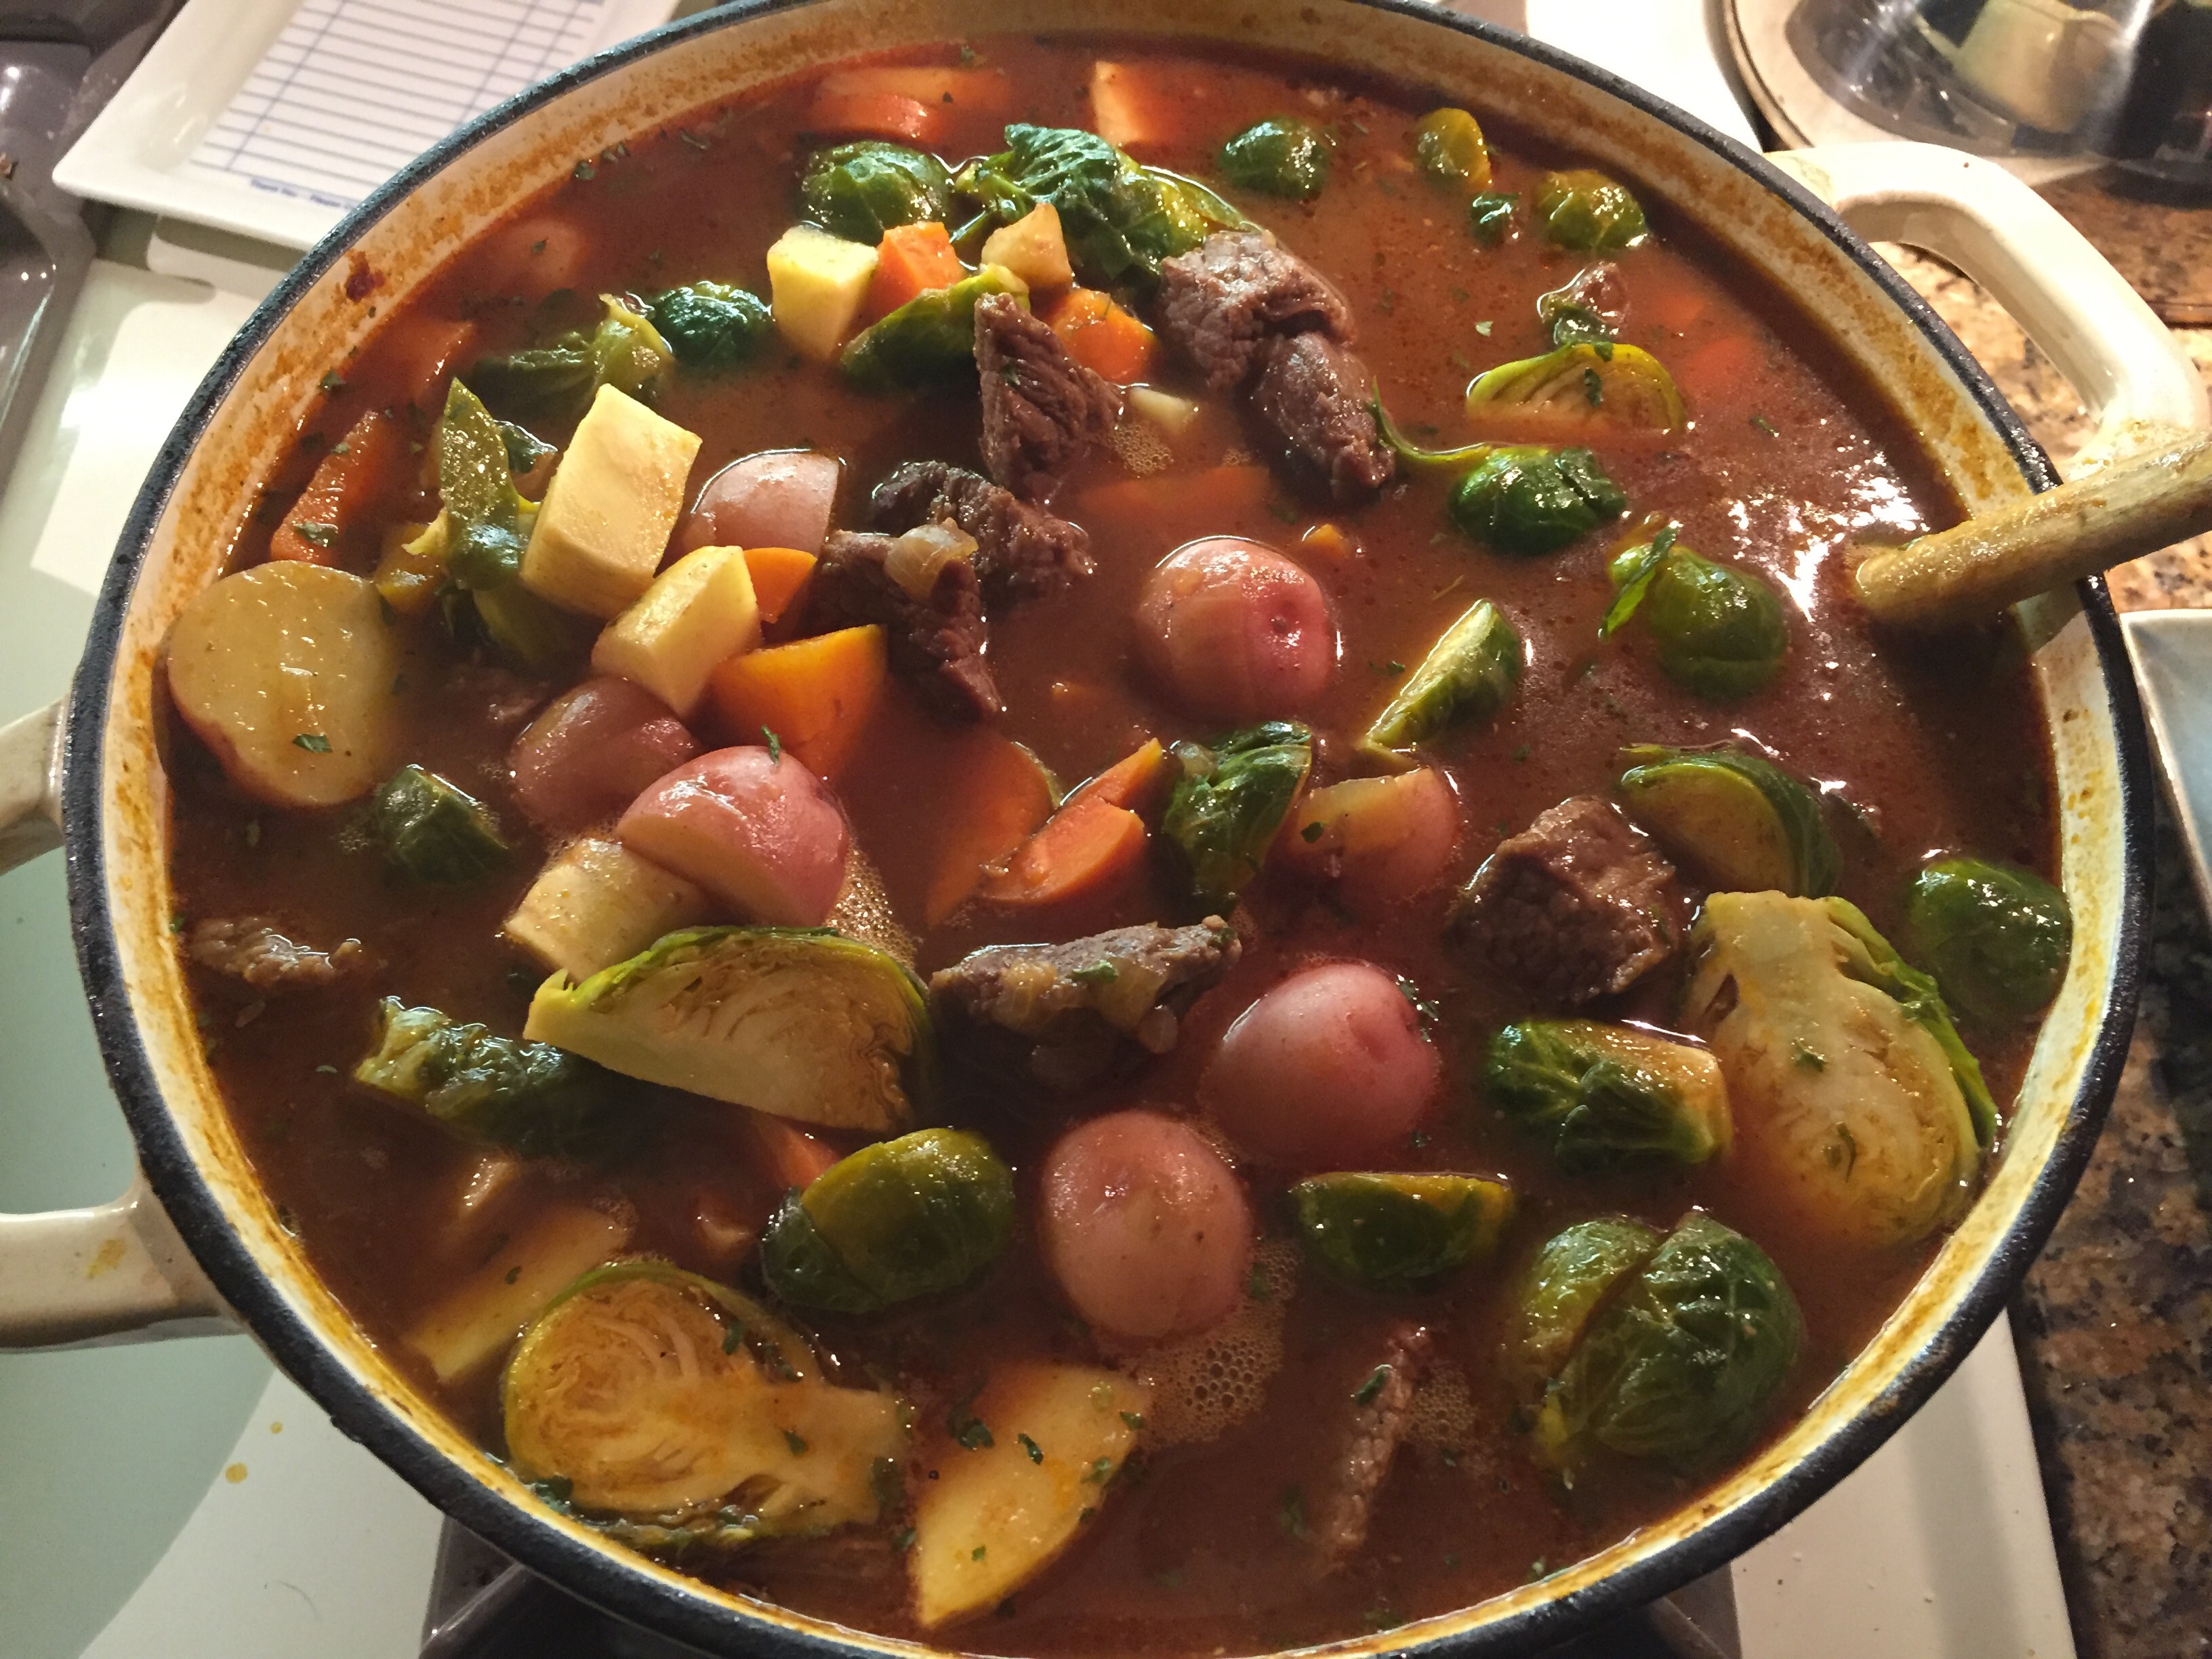
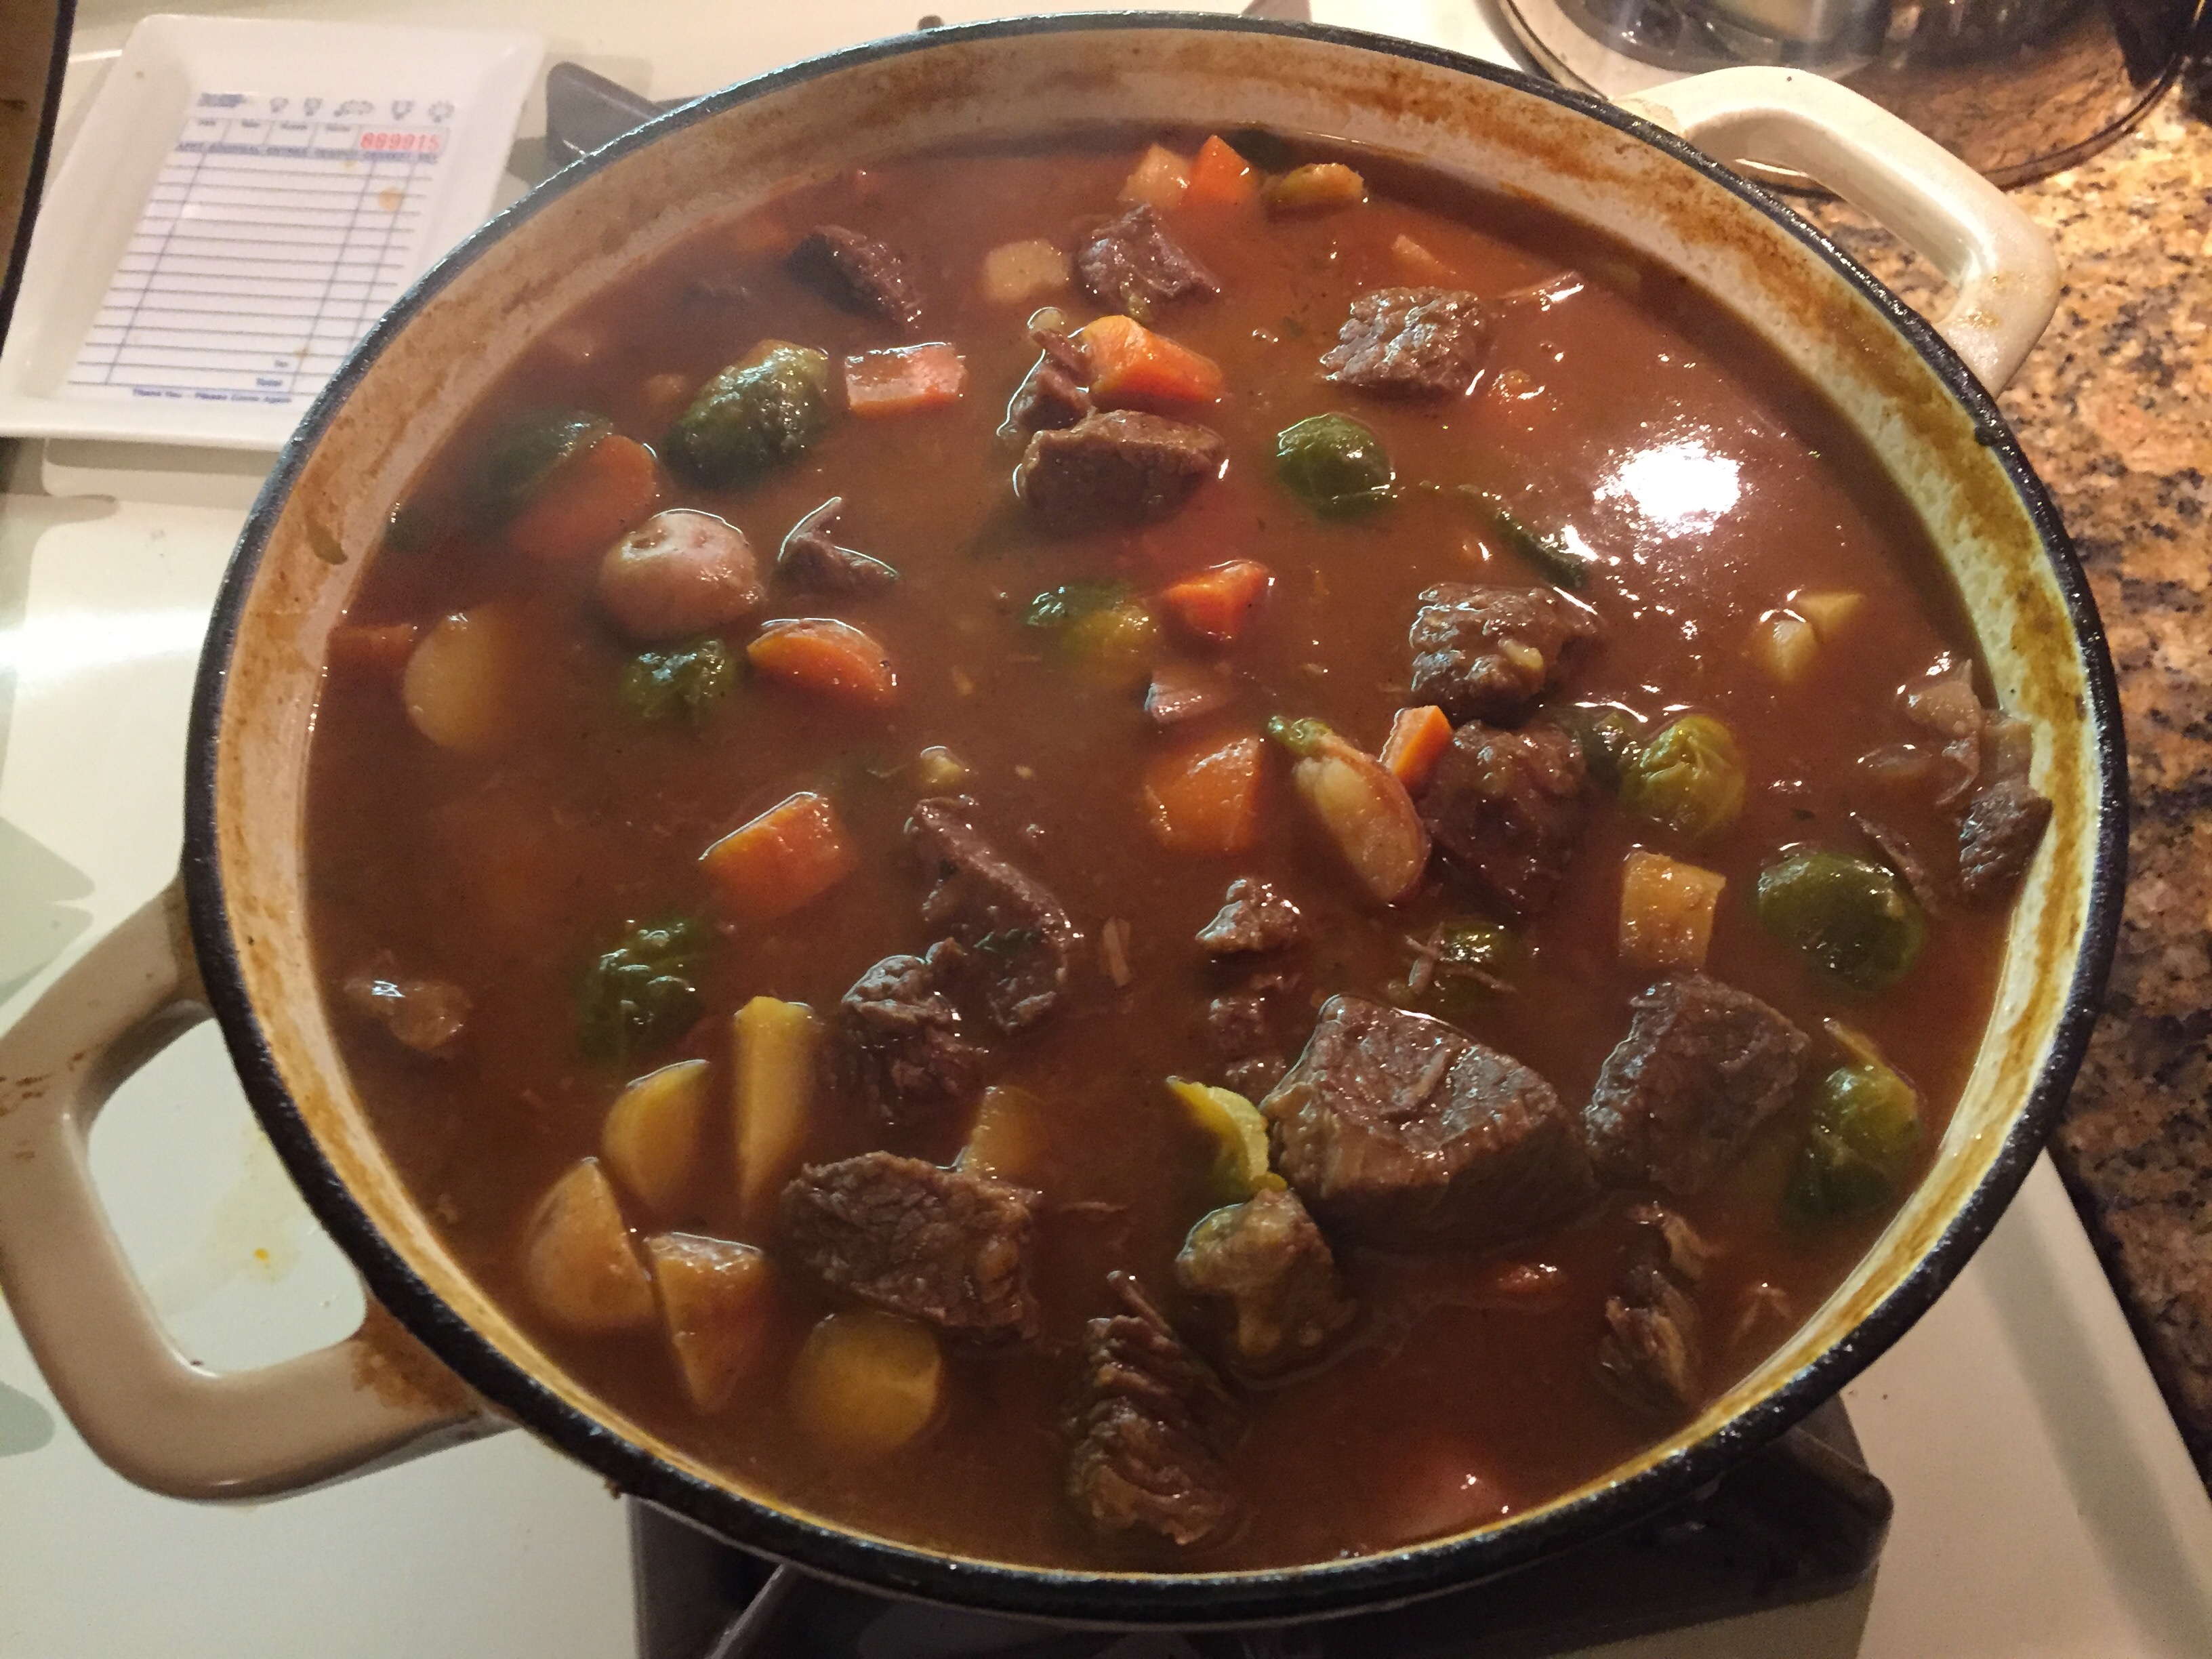
Rainy day beef stew tonight

Been wanting to try this recipe for a while. So tonight seemed as good as any. 


Adapted version of Beer-Braised Beef Stew Recipe courtesy of Nancy Fuller; Food Network host. 

  • 5 pounds boneless beef chuck, cut into 1 1/2-inch cubes
  • Kosher salt and freshly ground black pepper
  • 3 tablespoons vegetable oil
  • One 6-ounce can tomato paste
  • 2 onions, chopped
  • 3 cups beef broth
  • Two 12-ounce bottles ale
  • 3 tablespoons soy sauce
  • 1 bay leaf
  • 1 pound small beets, peeled and halved, optional
  • 1 pound Brussels sprouts, halved lengthwise
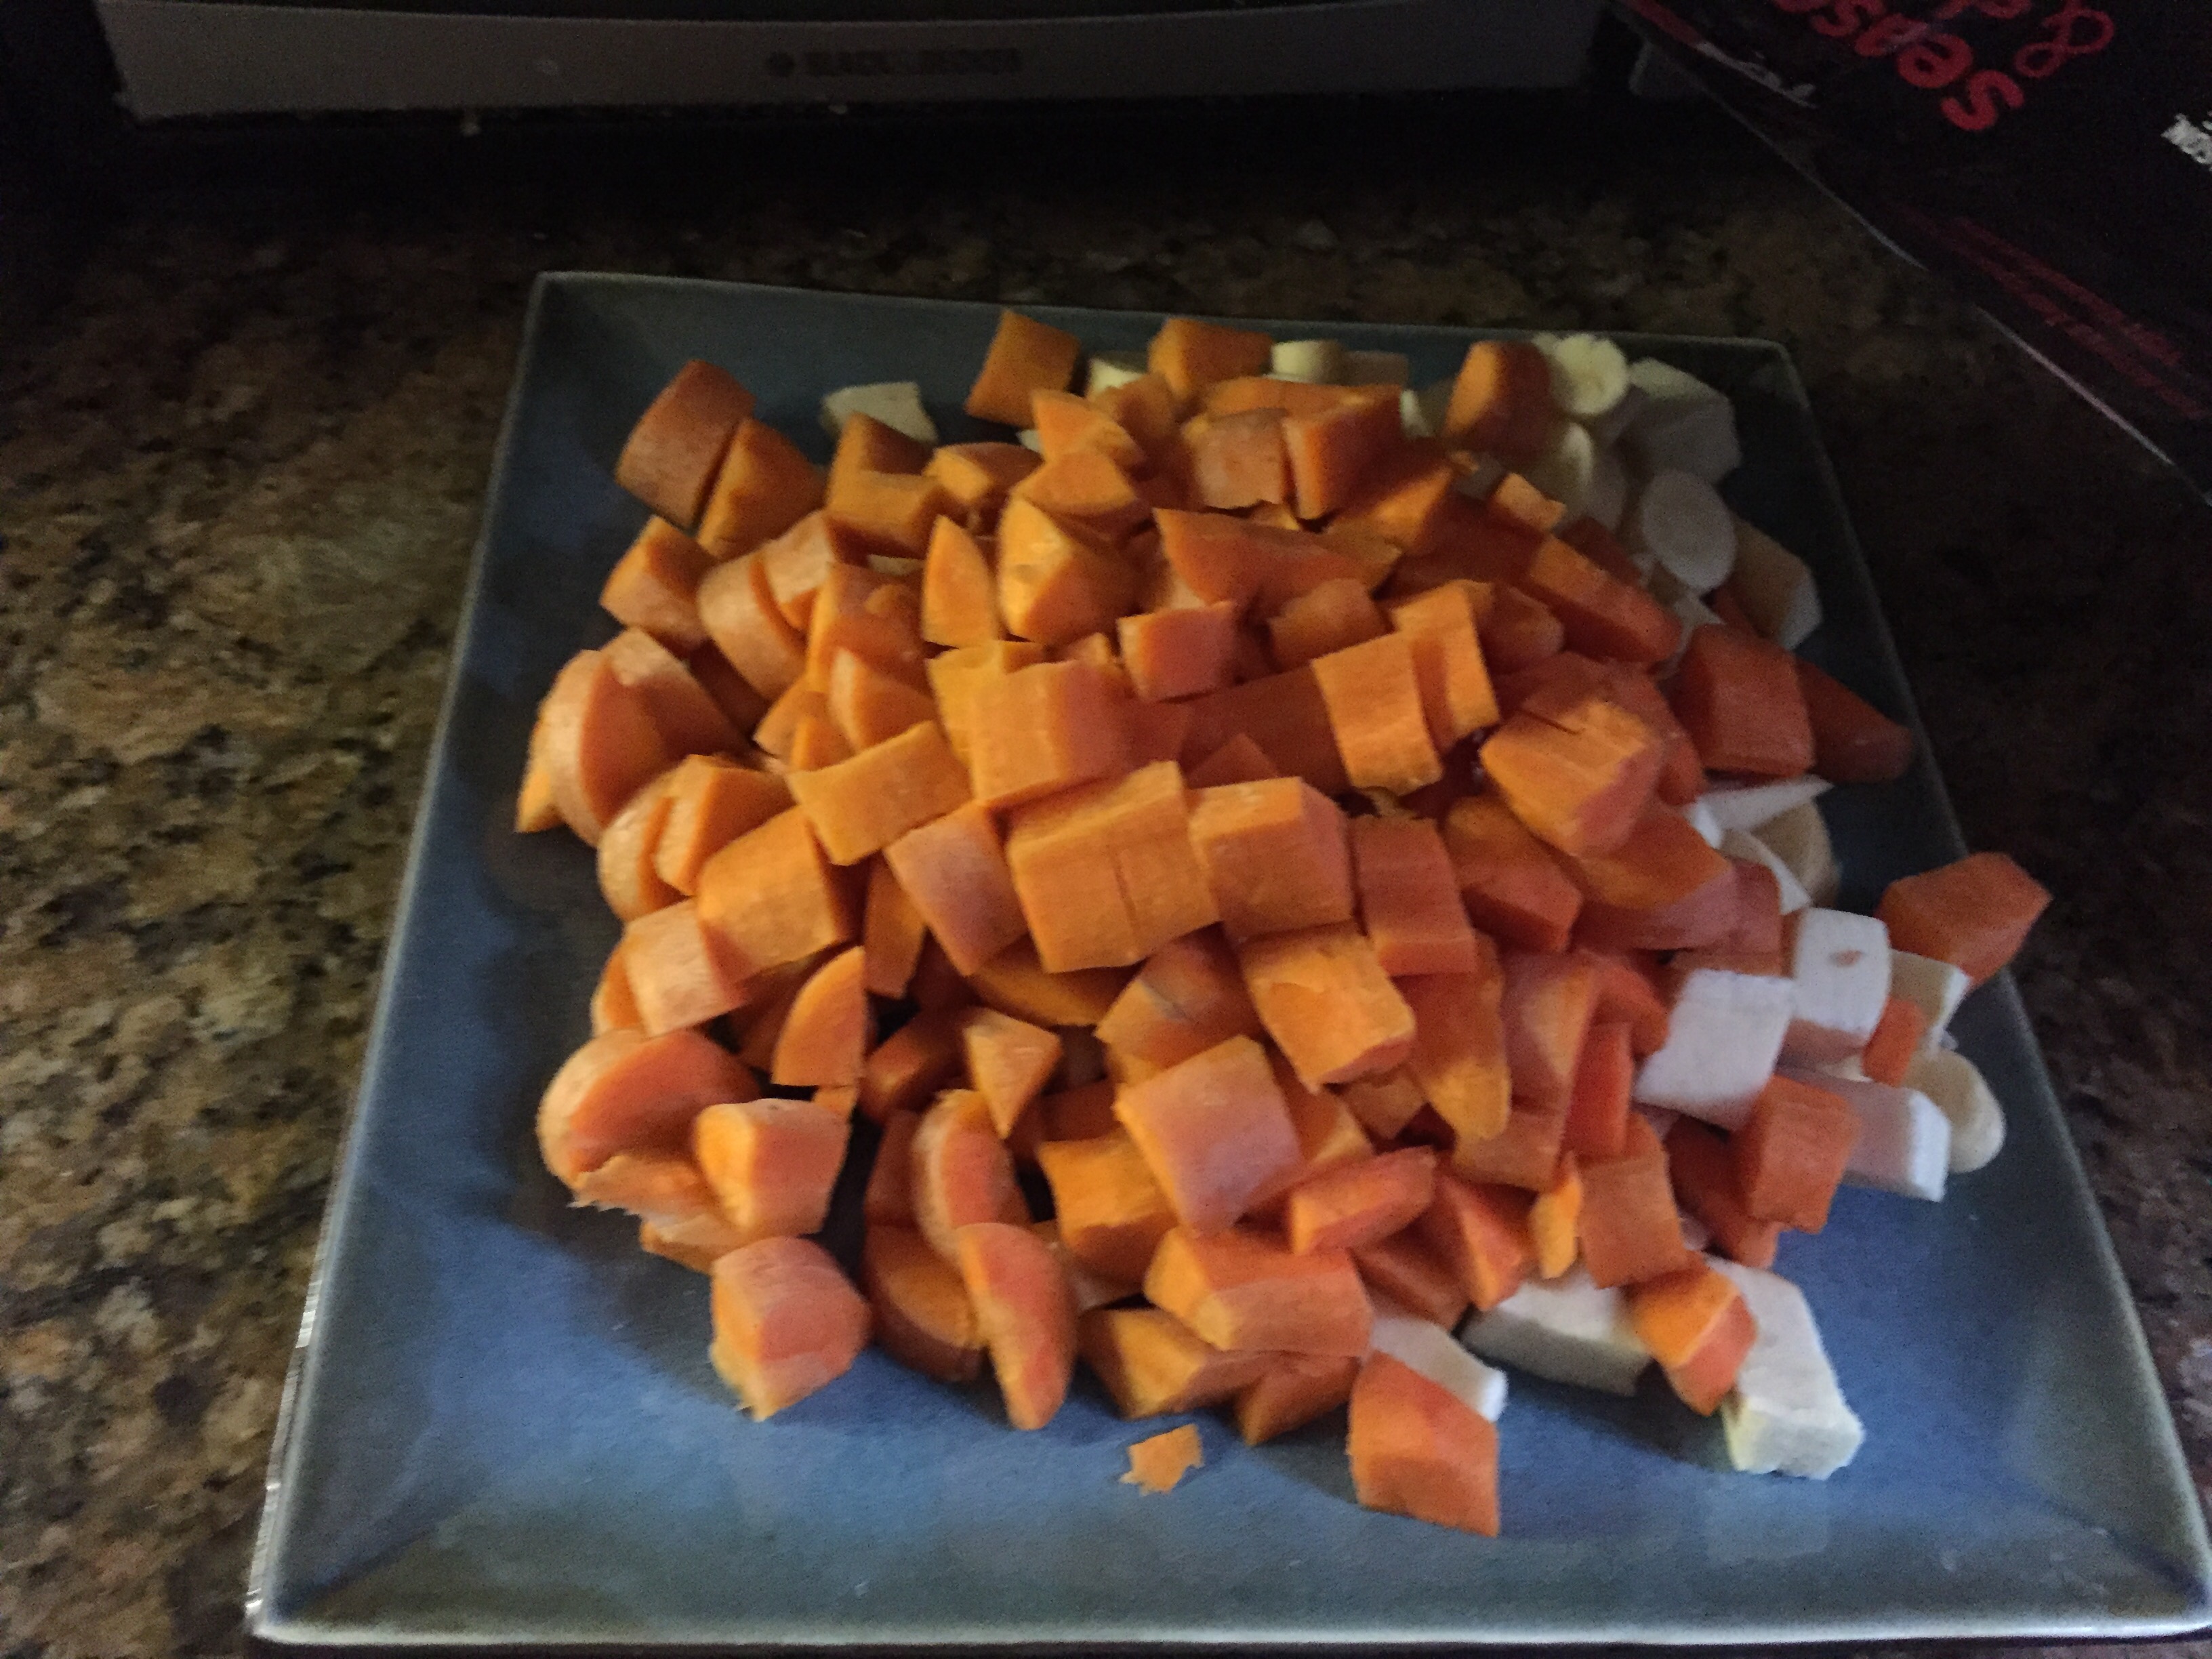
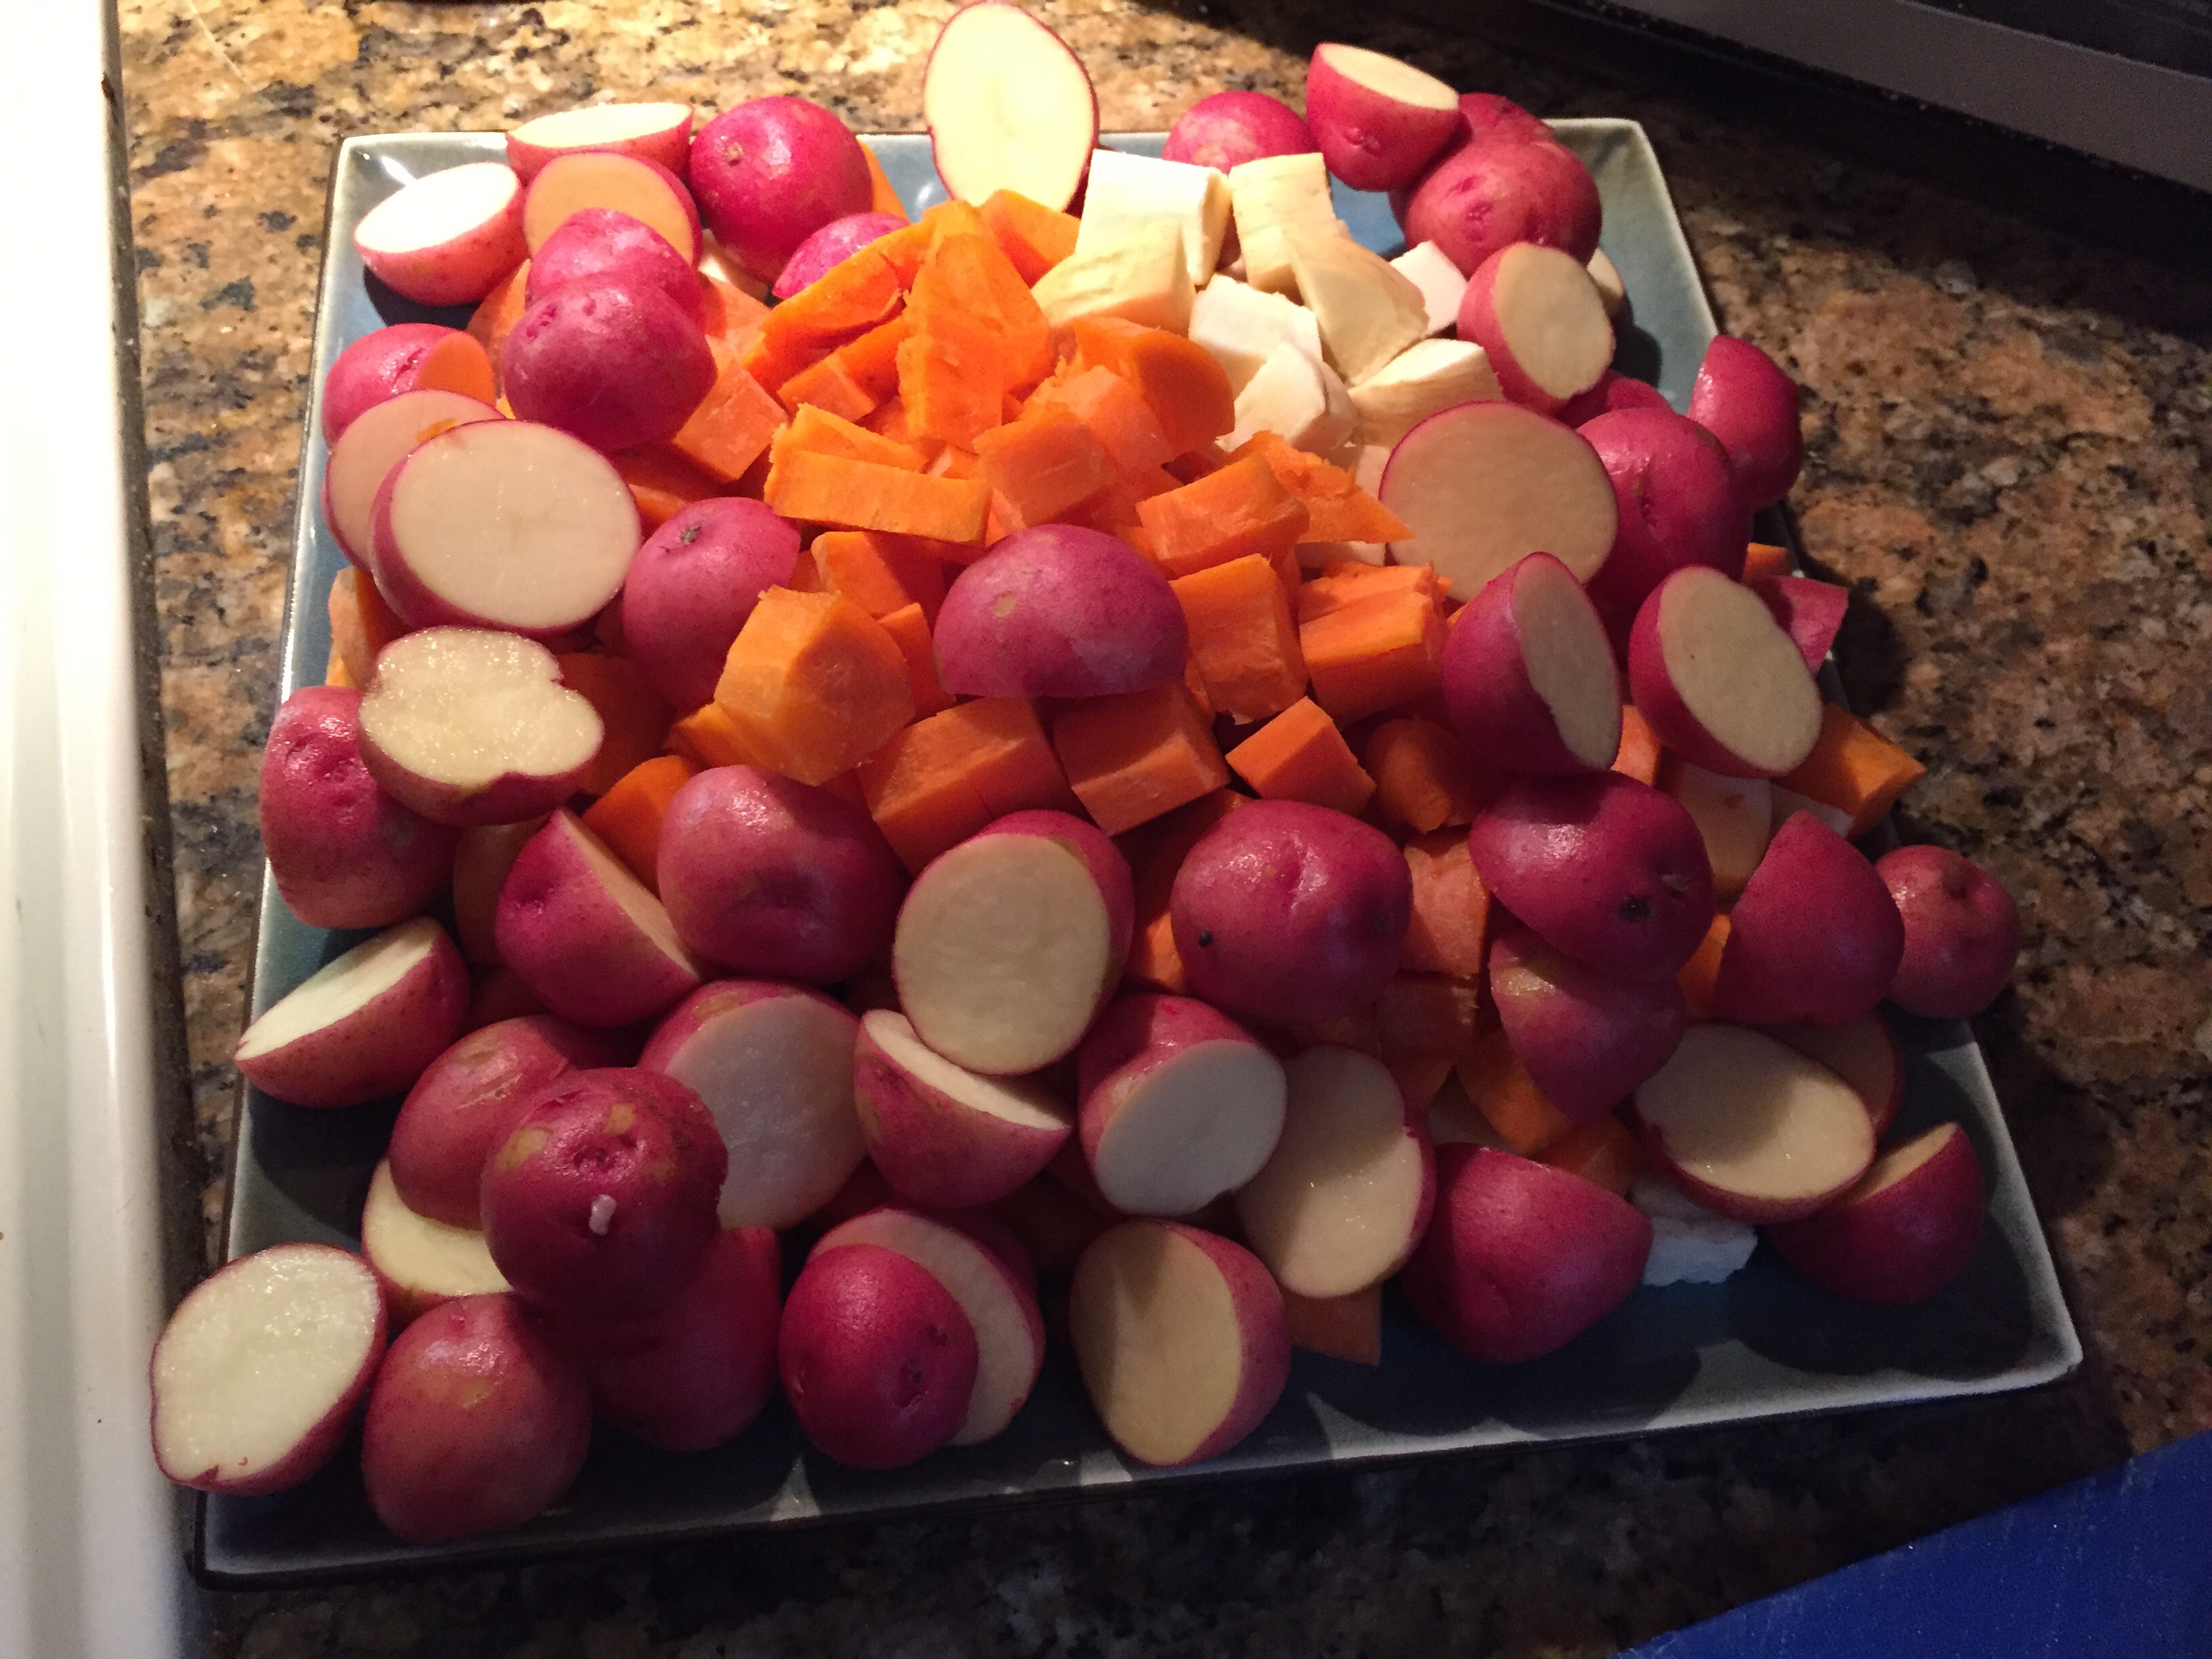
  • 1 pound carrots, chopped
  • 1 pound parsnips, chopped
  • 1 pound small red potatoes, halved
  • Dried parsely

Directions

Season the beef with some salt and pepper. I prefer a more “gravey like” stew so I dusted the beef with seasoned flour before browning; the original recipe omits flour. 

Heat the oil in a large Dutch oven over medium-high heat. Add the beef and cook until well-browned on all sides. Stir in the tomato paste and cook for 1 minute.

Stir in the onions and cook, stirring occasionally, until softened and browned. 

Add the beef broth, ale, soy sauce and bay leaf. I added 1 tablespoon of worschester sauce as I felt the original lacked depth with just soy. But if you used a darker Ale that may actually help give you a different flavor;  

   
Bring the stew to a simmer, then reduce the heat to medium-low, cover, and cook, stirring occasionally, until the meat is starting to get tender and the liquid is slightly reduced, about 1 1/2 hours.

Add the beets, ( I omitted these)  Brussels sprouts, carrots, parsnips and red potatoes, and cook, covered, stirring occasionally, until the meat and vegetables are tender, about 1 more hour. 

   
 Remove the bay leaf before serving.

Note: other additions that I added to this version was a tablespoon of dried parsley about 20 minutes before serving. I also found I needed to add a little bit more salt and pepper throughout the cooking process. I also added a slurry of water and flour to thicken. 

Original Recipe courtesy of Nancy Fuller
Show: Farmhouse Rules
Episode: Hoppy and Happy

Fall American Mash Up Congee

After having been off-kilter for a few days; I was sort of craving something warm and stick to your ribs good, but with not a lot of grease or heavy ingredients, and that I could make in my residence unit while I’ve been down here in Atlanta. Then I remembered about a rice porridge that a friend used to make me each year after Thanksgiving when she would use the leftovers for the stock to make a dish called congee or jok. Not new to those with Asian cultures, a few of my friends used to tell me that it was the Chinese version of “Jewish penicillin”. 
With all the wet weather we have down here in Atlanta I thought it was a perfect recipe to attempt with my limited cooking options an the fact that another pal had lent me her crockpot while I’ve been here in town. 
After looking at several recipes online I decided to go with a mashup of what I call the “travelers recipe” version which essentially means the infriedients has to use the who portion so I don’t have leftover ingredients. 
After cooking on low for 8 hours. I got in after work to great smell and with a few last minute additions was eating in 20 mins. 

Ingredients:

  • 1 1/2 cups garlic infused jasmine rice (uncooked)
  • 32 ounces of vegatable broth (low sodium)( a meat broth is acceptable too)
  • 16 ounces of water
  • 1 can of corn, rinsed and drained
  • 2 teaspoons of pureed ginger (I use the kind that comes in a tube)
  • 3 carrots sliced or diced small no larger than a nickel.
  • 1 bag of frozen cubed butternut squash ( fresh is fine too, but cube small)
  • 2 roasted, chilled chicken breasts, shredded, with the skin removed (In this case I actually wanted to use cooked chicken that I could pick up at the grocery store; but you could do this recipe with raw chicken and it will cook untill it falls off the bone for an even richer taste. I’d suggest using thighs in something like this because that it’ll carry more flavor) 

Seasonings are to taste I used what I had around here salt pepper red pepper flakes in a little bit of Italian seasoning mix.

If you’re going to be at work all day lightly spray the bottom with cooking spray. This could help if you run out of liquid and the rice sticks a bit

After rinsing the rice, mix water and vegetable broth, rice, ginger, salt and pepper, and carrots into the crockpot. 

 Stir several times, Cover and turn on low.

I let it cook for about eight hours, (and I didn’t stir mine until I got home and only had a little bit of stickiness on the bottom, other people have said that if your home doing it you can stir up to several times during the cooking process.)

Turn the heat up to high, add the bag of frozen squash, add the container of chilled chicken.  

Cover and let cook for another 30- 45 minutes or until heated through.

I tossed in little bit a red pepper flakes about this time added some more salt and pepper to taste and it was good to go. 

For this version I didn’t want something so thick like oatmeal so there was still some liquid in it but you can let it cook longer to cook out more the liquid.   

Note: after eating and I also realized it eased my craving for creamy corn chowder that I’m not supposed to eat because of the dairy. 


Must be the weather change; Chocolate Cream Cheese Stuffed Monkey Bread

Because I am starting to crave some dishes I rarely look for.. this Chocolate Cream Cheese Stuffed Monkey Bread one I caught on FB recently is a perfect example of everything I shouldn’t eat – but so think would take good on this rainy day.

https://www.facebook.com/buzzfeedtasty/videos/1636525969933379/


Chocolate Cream Cheese Stuffed Monkey Bread

2 16 oz containers of biscuit dough (16 big biscuits total) 
8-12 oz Cream Cheese
Chocolate Chips (we used dark chocolate) 

1 cup White Sugar
2 tsp Cinnamon
1/2 cup Butter
1 cup Brown Sugar
1/2 cup Walnuts (optional) 

Preheat oven to 350˚F (175˚C)

Cut biscuits in half and cube the cream cheese (32 pieces). Flatten each biscuit and place one cube of cream cheese and a few chocolate chips in the center of each. Fold the biscuit dough around the cream cheese and chocolate and form into a ball. 

In a 1 gallon plastic bag combine 1 cup of white sugar and 2 tsp of cinnamon. Add 6-8 dough balls to the bag, seal the bag, and shake until well coated. Repeat for the remainder of the stuffed dough pieces. 

In a microwave safe bowl add 1 cup brown sugar and 1/2 cup butter. Microwave on high for 70 seconds – stopping halfway to stir. Remove from microwave and stir until it reaches a caramel consistency. 

To a greased Bundt pan sprinkle half of the walnuts, half the dough pieces, and drizzle half the caramel glaze. Repeat with remaining walnuts, dough, and glaze. 

Bake in preheated oven for 30-35 minutes. Remove from oven and turn upside down onto a plate to cool for 10 minutes before lifting off the pan (this way the warm glaze runs back through and fully coats all the bread)

Lift off the bundt pan, pull apart, and enjoy

He misses me; or he’s just really really hungry for more than a burrito!

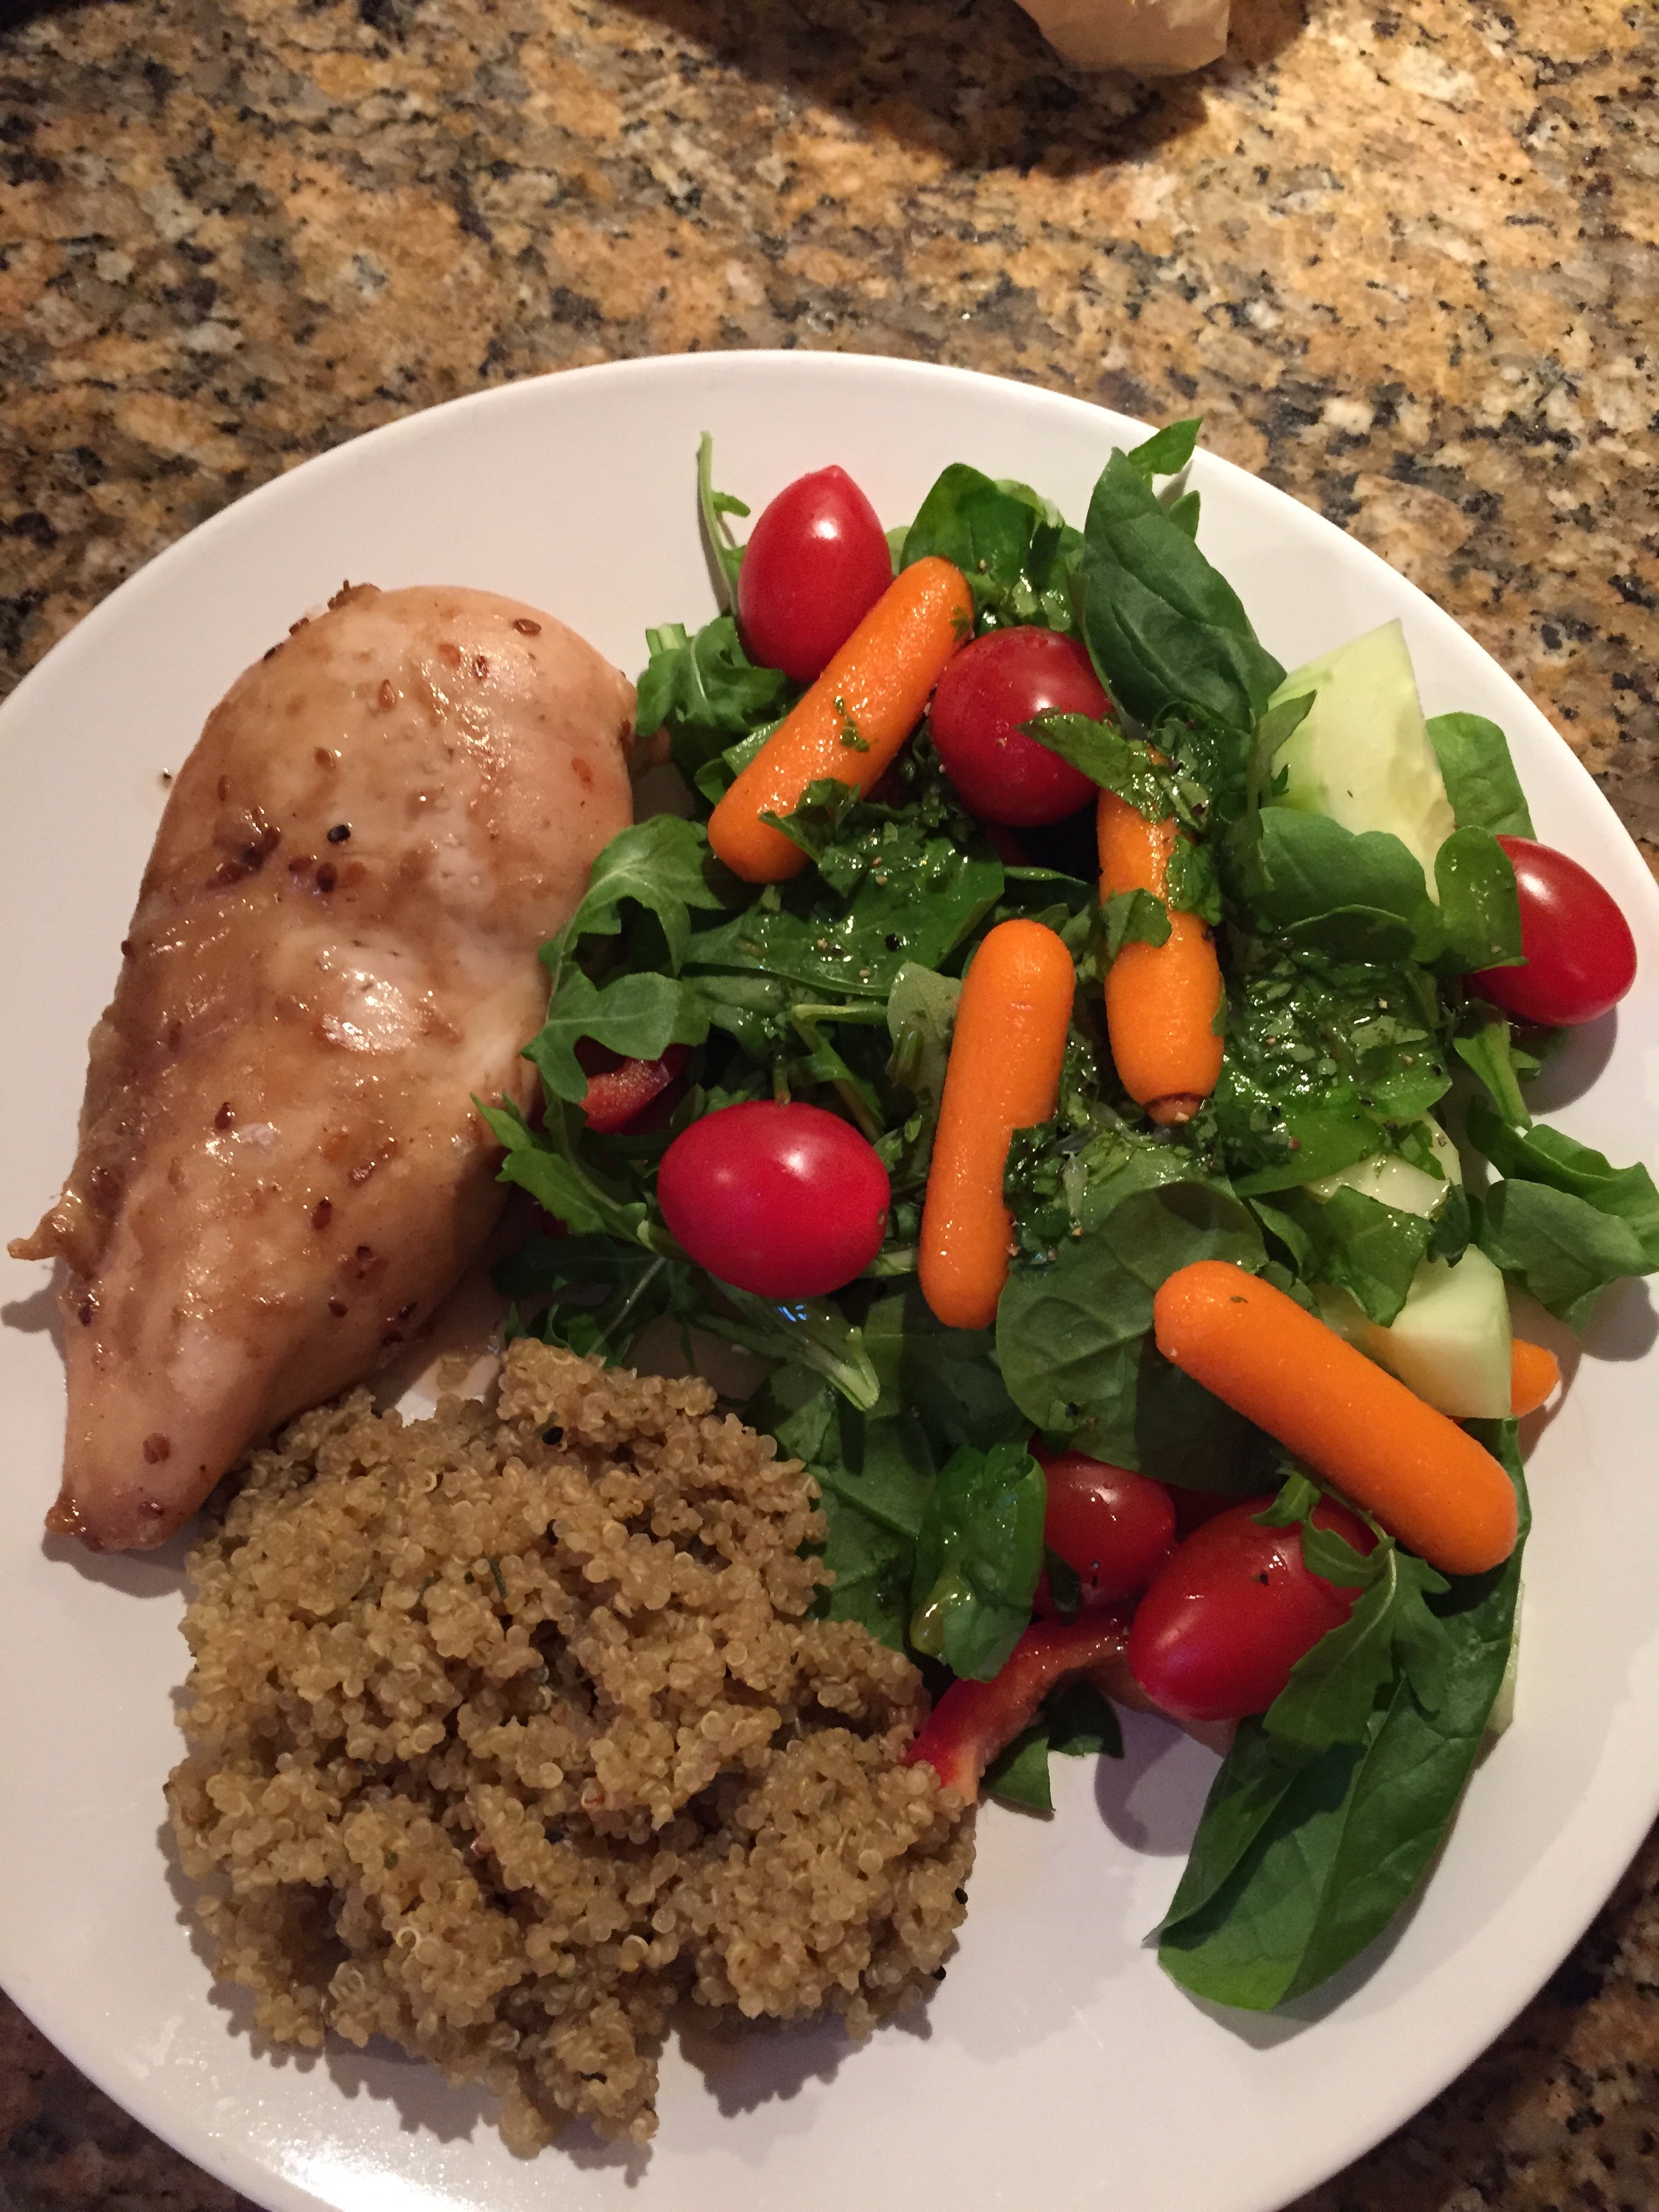
Now I know a certain someone knows how to cook full well as you can see from this lovely dish that he created for himself while I have been away.   
But I think he just likes to make sure that I know that he misses me,  so he sends me pictures like these below with messages that include “so how do I make this?” 
  
  
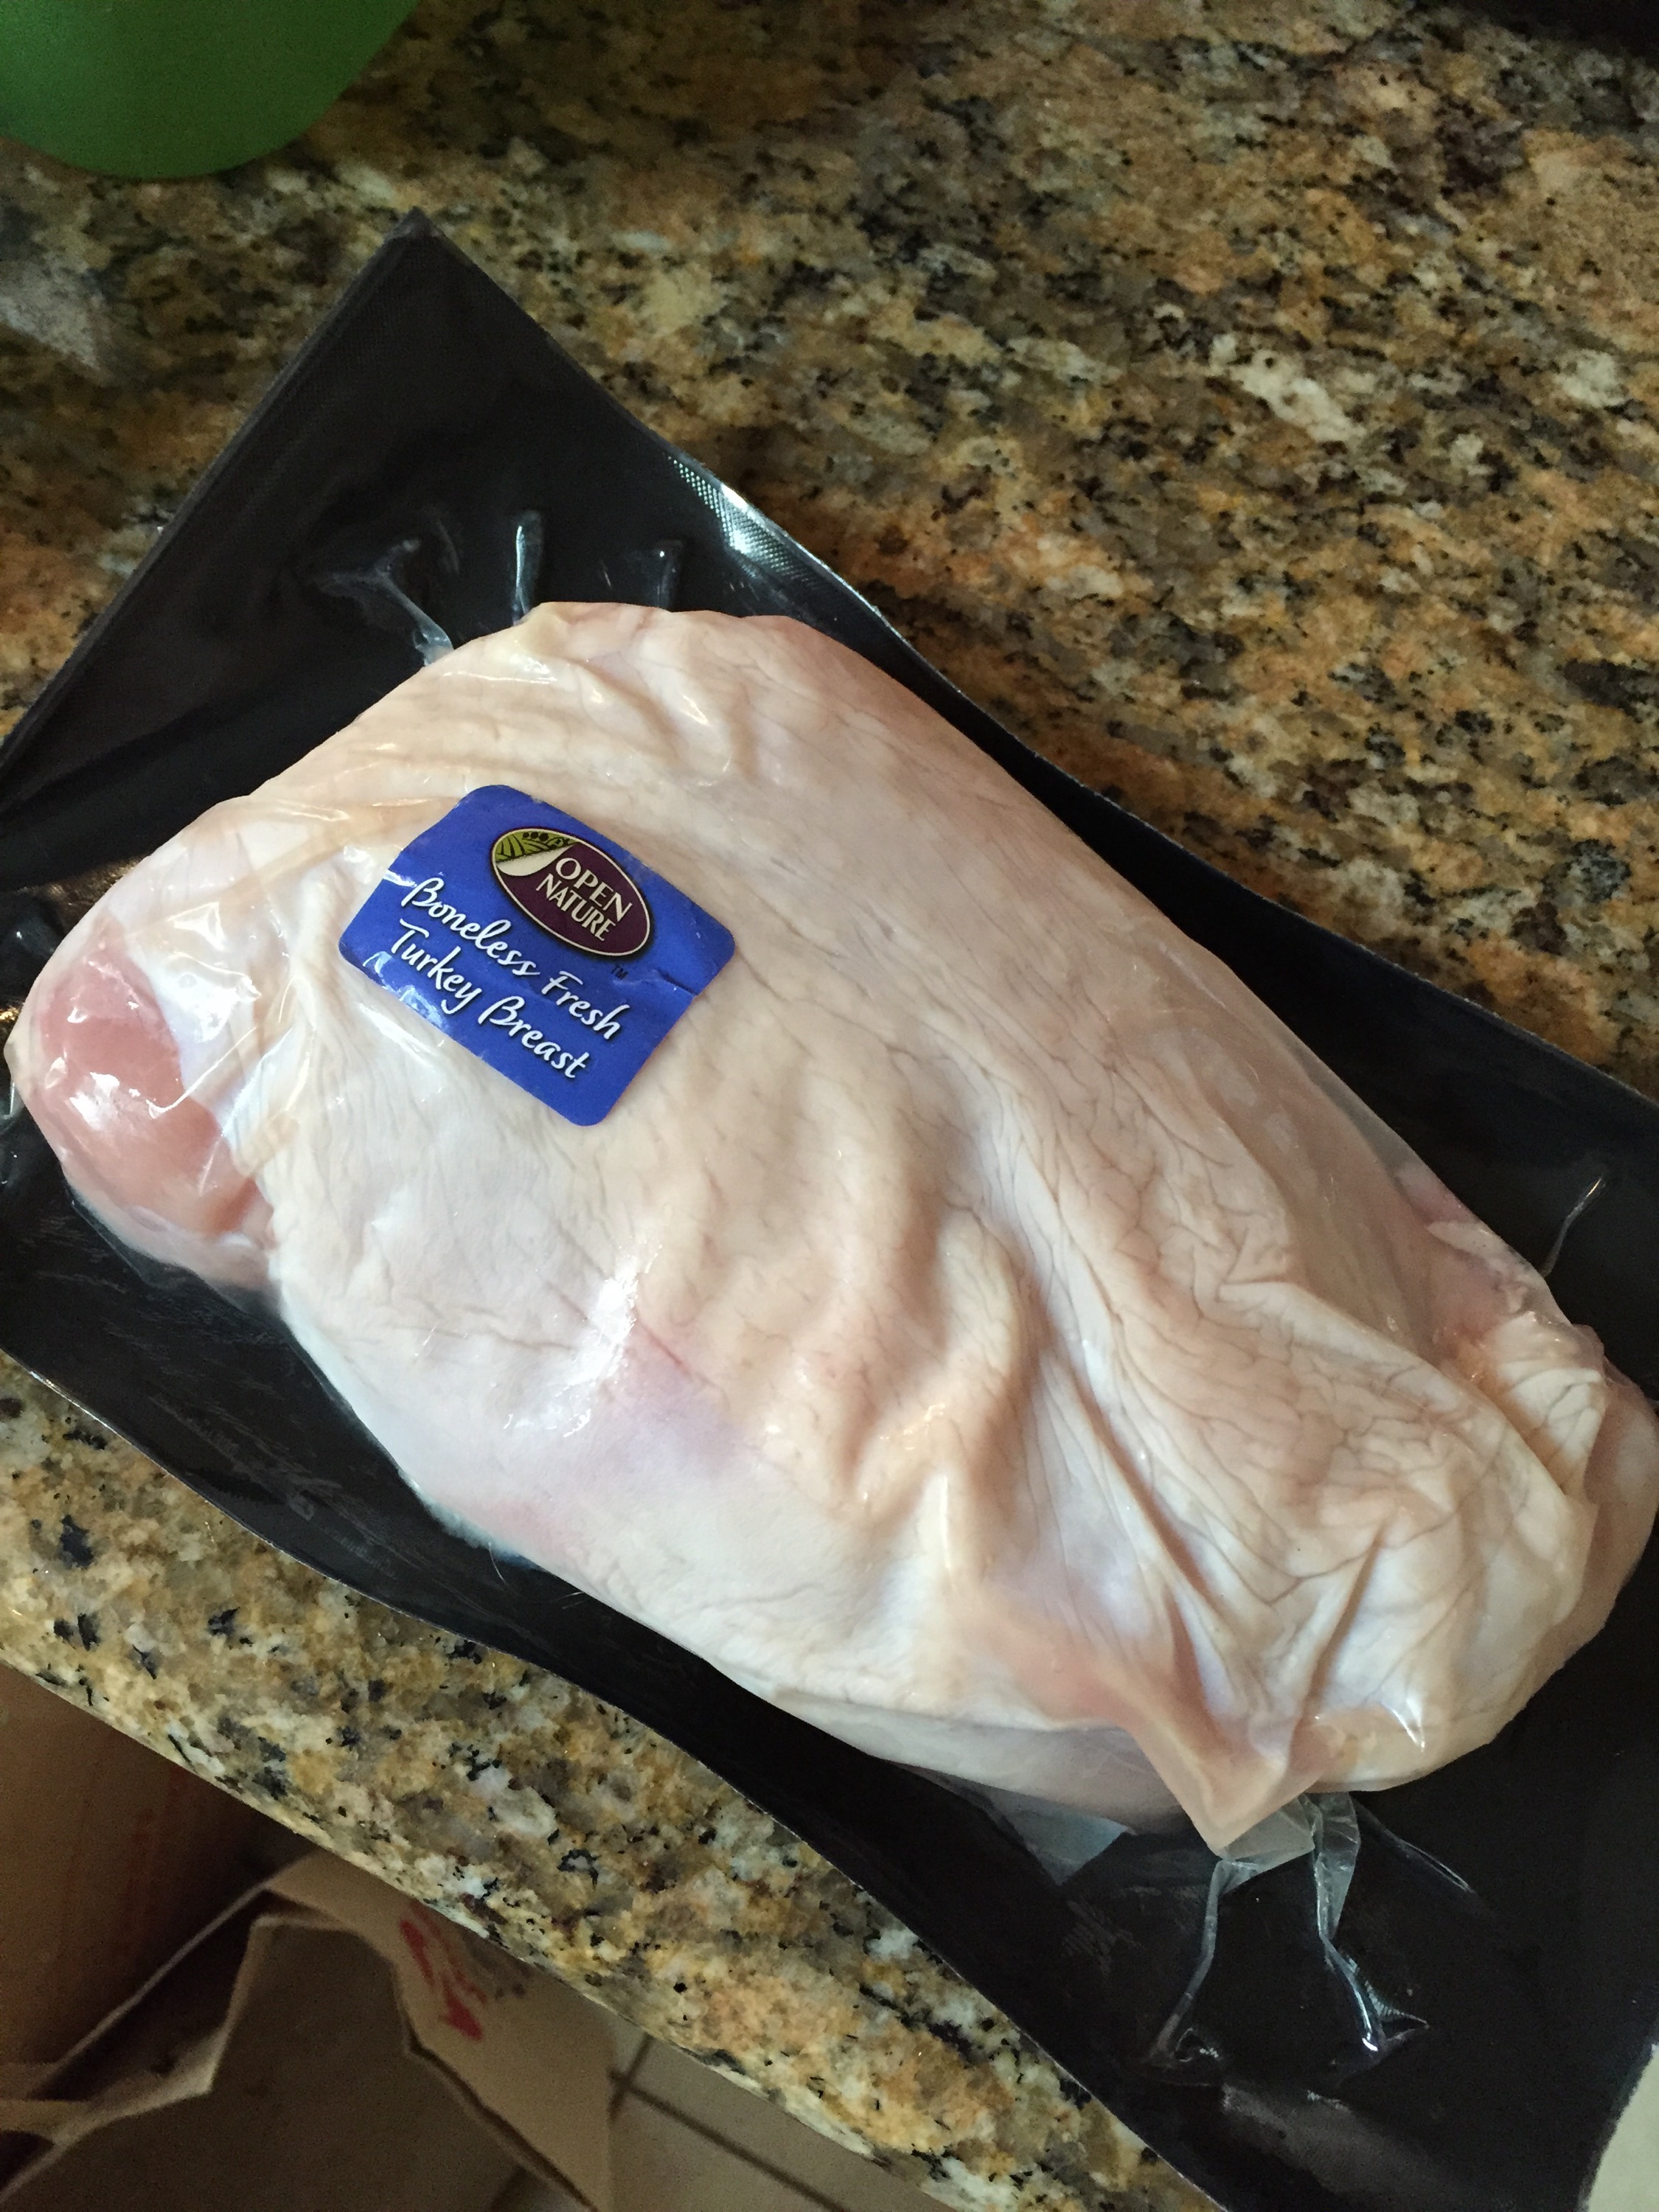
But all I have to do is send a link to an old post like this one below where I talk about making turkey that isn’t on Thanksgiving and he gets his home-cooked meal; and I don’t have to try and explain how to make an entire recipe without seeing what exactly he has. It’s a win-win!.

https://bitetheroad.com/2014/05/12/when-turkey-fixens-isnt-about-thanksgiving/