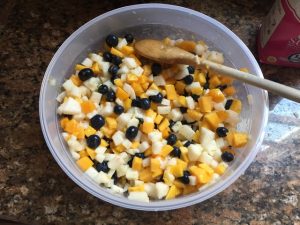
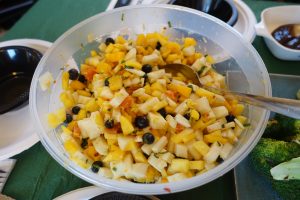
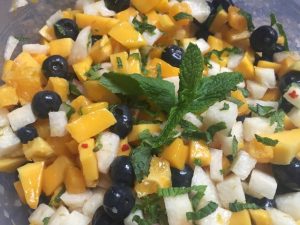
Spicy Citrus Jicama & Mango Fruit Salad with Blueberries and Mint

I tried this for Pauls office picnic and have done it several times since with both a vegan version and a regular one.

Several versions exist online but I found them too plain for me – so I adapted it some with adding the blueberries and more citrus.IMG_2995 The big part of this is not to add herbs like basil unless you want it to become more of a “salsa”.
Ingredients


  • 3 tablespoons sugar (for vegan use Agave Nectar)
  • Grated lime zest plus 3 tablespoons juice (2 limes)
  • 1/4 teaspoon red pepper flakes ( too taste – I usually add more as the Jicama can take it)
  • Pinch salt
  • 12 ounces jicama  – diced
  • 2 mangos chopped
  • 2 oranges and the zest of both of them
  • 1 lemon
  • fresh mint leaves
  • a pint of blueberries
  • 1 tablespoon of honey (or early season maple syrup)(optional)
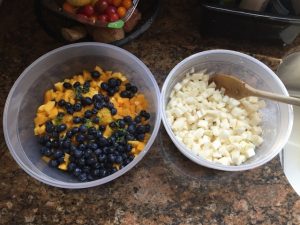
  1. Prepare the JicamaIMG_2996
    1. Peel the jícama, and cut into 1/4″ dice (should yield 1-1/2 cups).
    2. In small saucepan, add the sugar, 1/2 the lime zest and juice, 1/2 the orange zest, 1/4 teaspoon red pepper flakes, a pinch salt. (note adding some fresh ginger root also has a nice flavor)
    3. Put over medium burner and cook for 3 minutes until the sugar dissolves; stirring constantly.
    4. Remove pan from burner, stir in jícama to coat, and allow the syrup to cool for 20 minutes.
  2. Rest of the fruit
    1. Meanwhile, peel the mangos, removing pit, and cut into 1/2″ dice (should yield about 4 cups).
    2. Add to a large serving bowl.
    3. Peel your oranges and cut away the pith. Slice into 1/2″ thick rounds and then into 1/2″ dice.
    4. Add to bowl with diced mango.
    5. Add the rest of the lime and orange zest, honey and toss.
  3. After the syrup has cooled for 20 minutes, pour over fruit in serving bowl and toss until well combined.
  4. Cover and refrigerate for 15 minutes prior to serving.
    1. I think this is better after it has sit for a few hours or overnight.
    2. Add the chopped mint before serving.img_3307

You can add more lemon if you need it brighter. the amounts are really a tarting place – depending on if you buy your mango already cut up, how sweet it is, and how large your jicama is – you can play it by taste. This feeds a lot – figure 5 -8 people, so is great for a picnic or potluck
img_3008

Other versions include:

Mango, Orange, and Jícama Salad

https://www.americastestkitchen.com/recipes/7783-mango-orange-and-jicama-salad
 

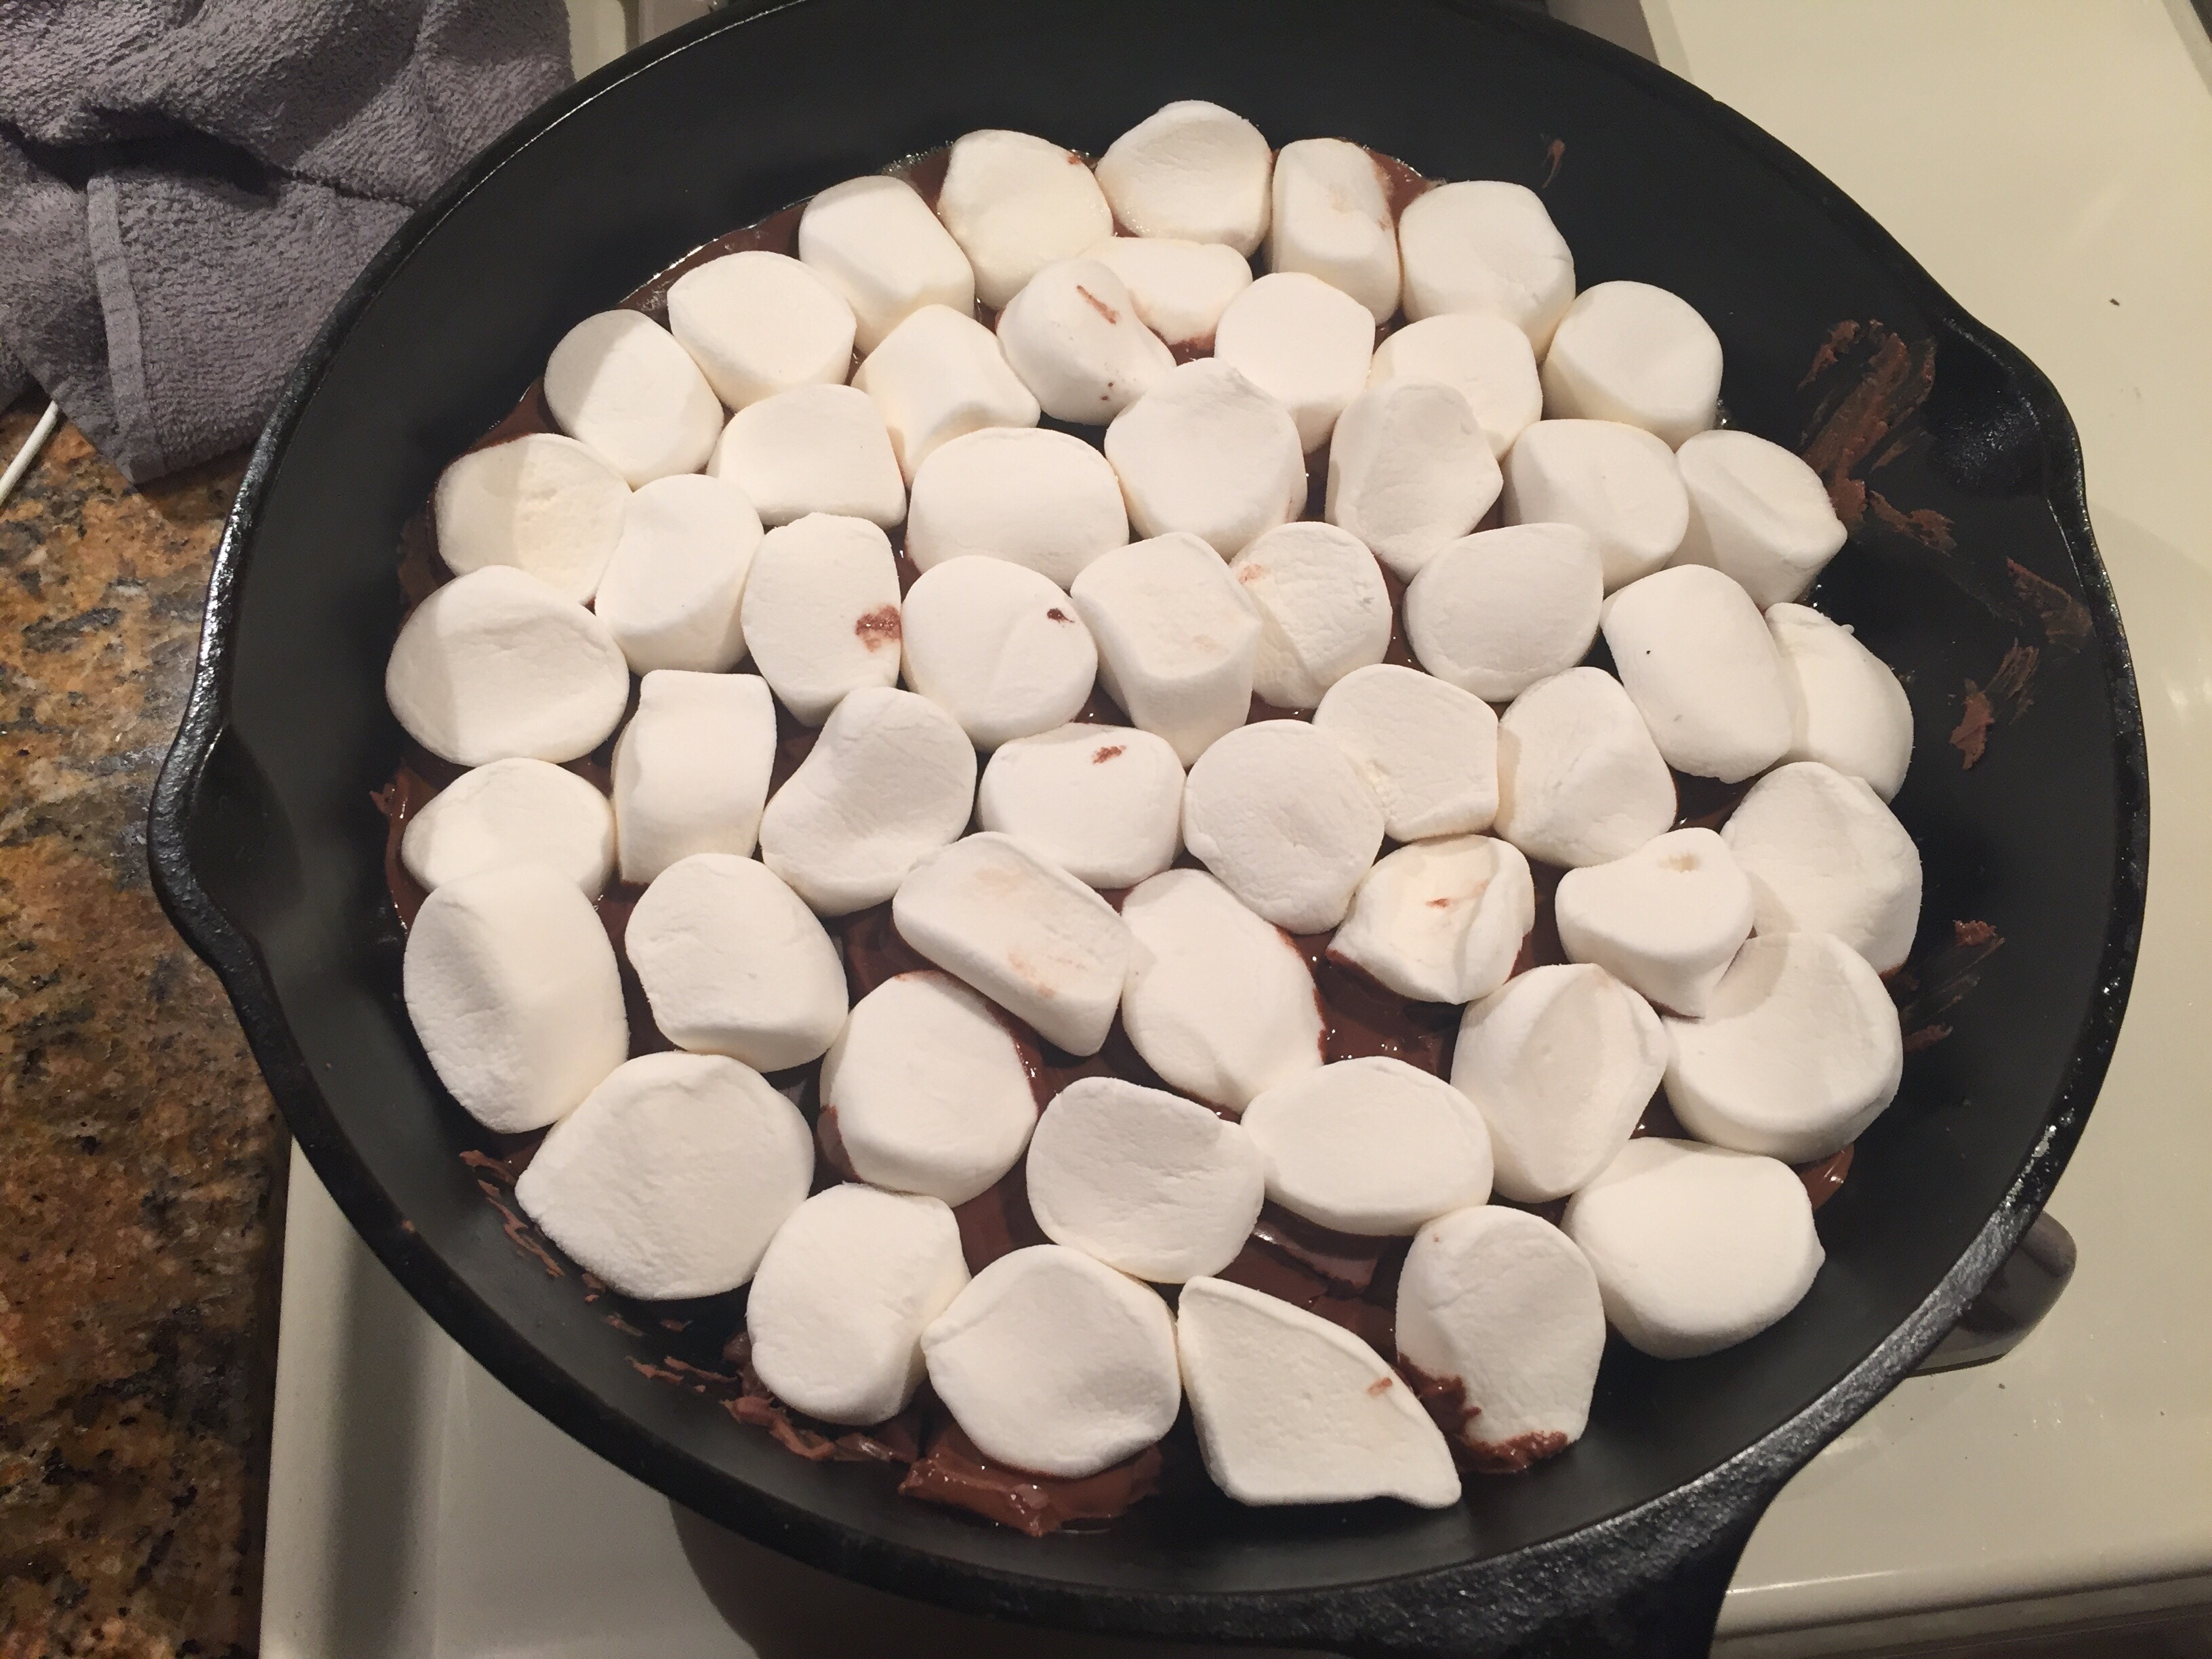
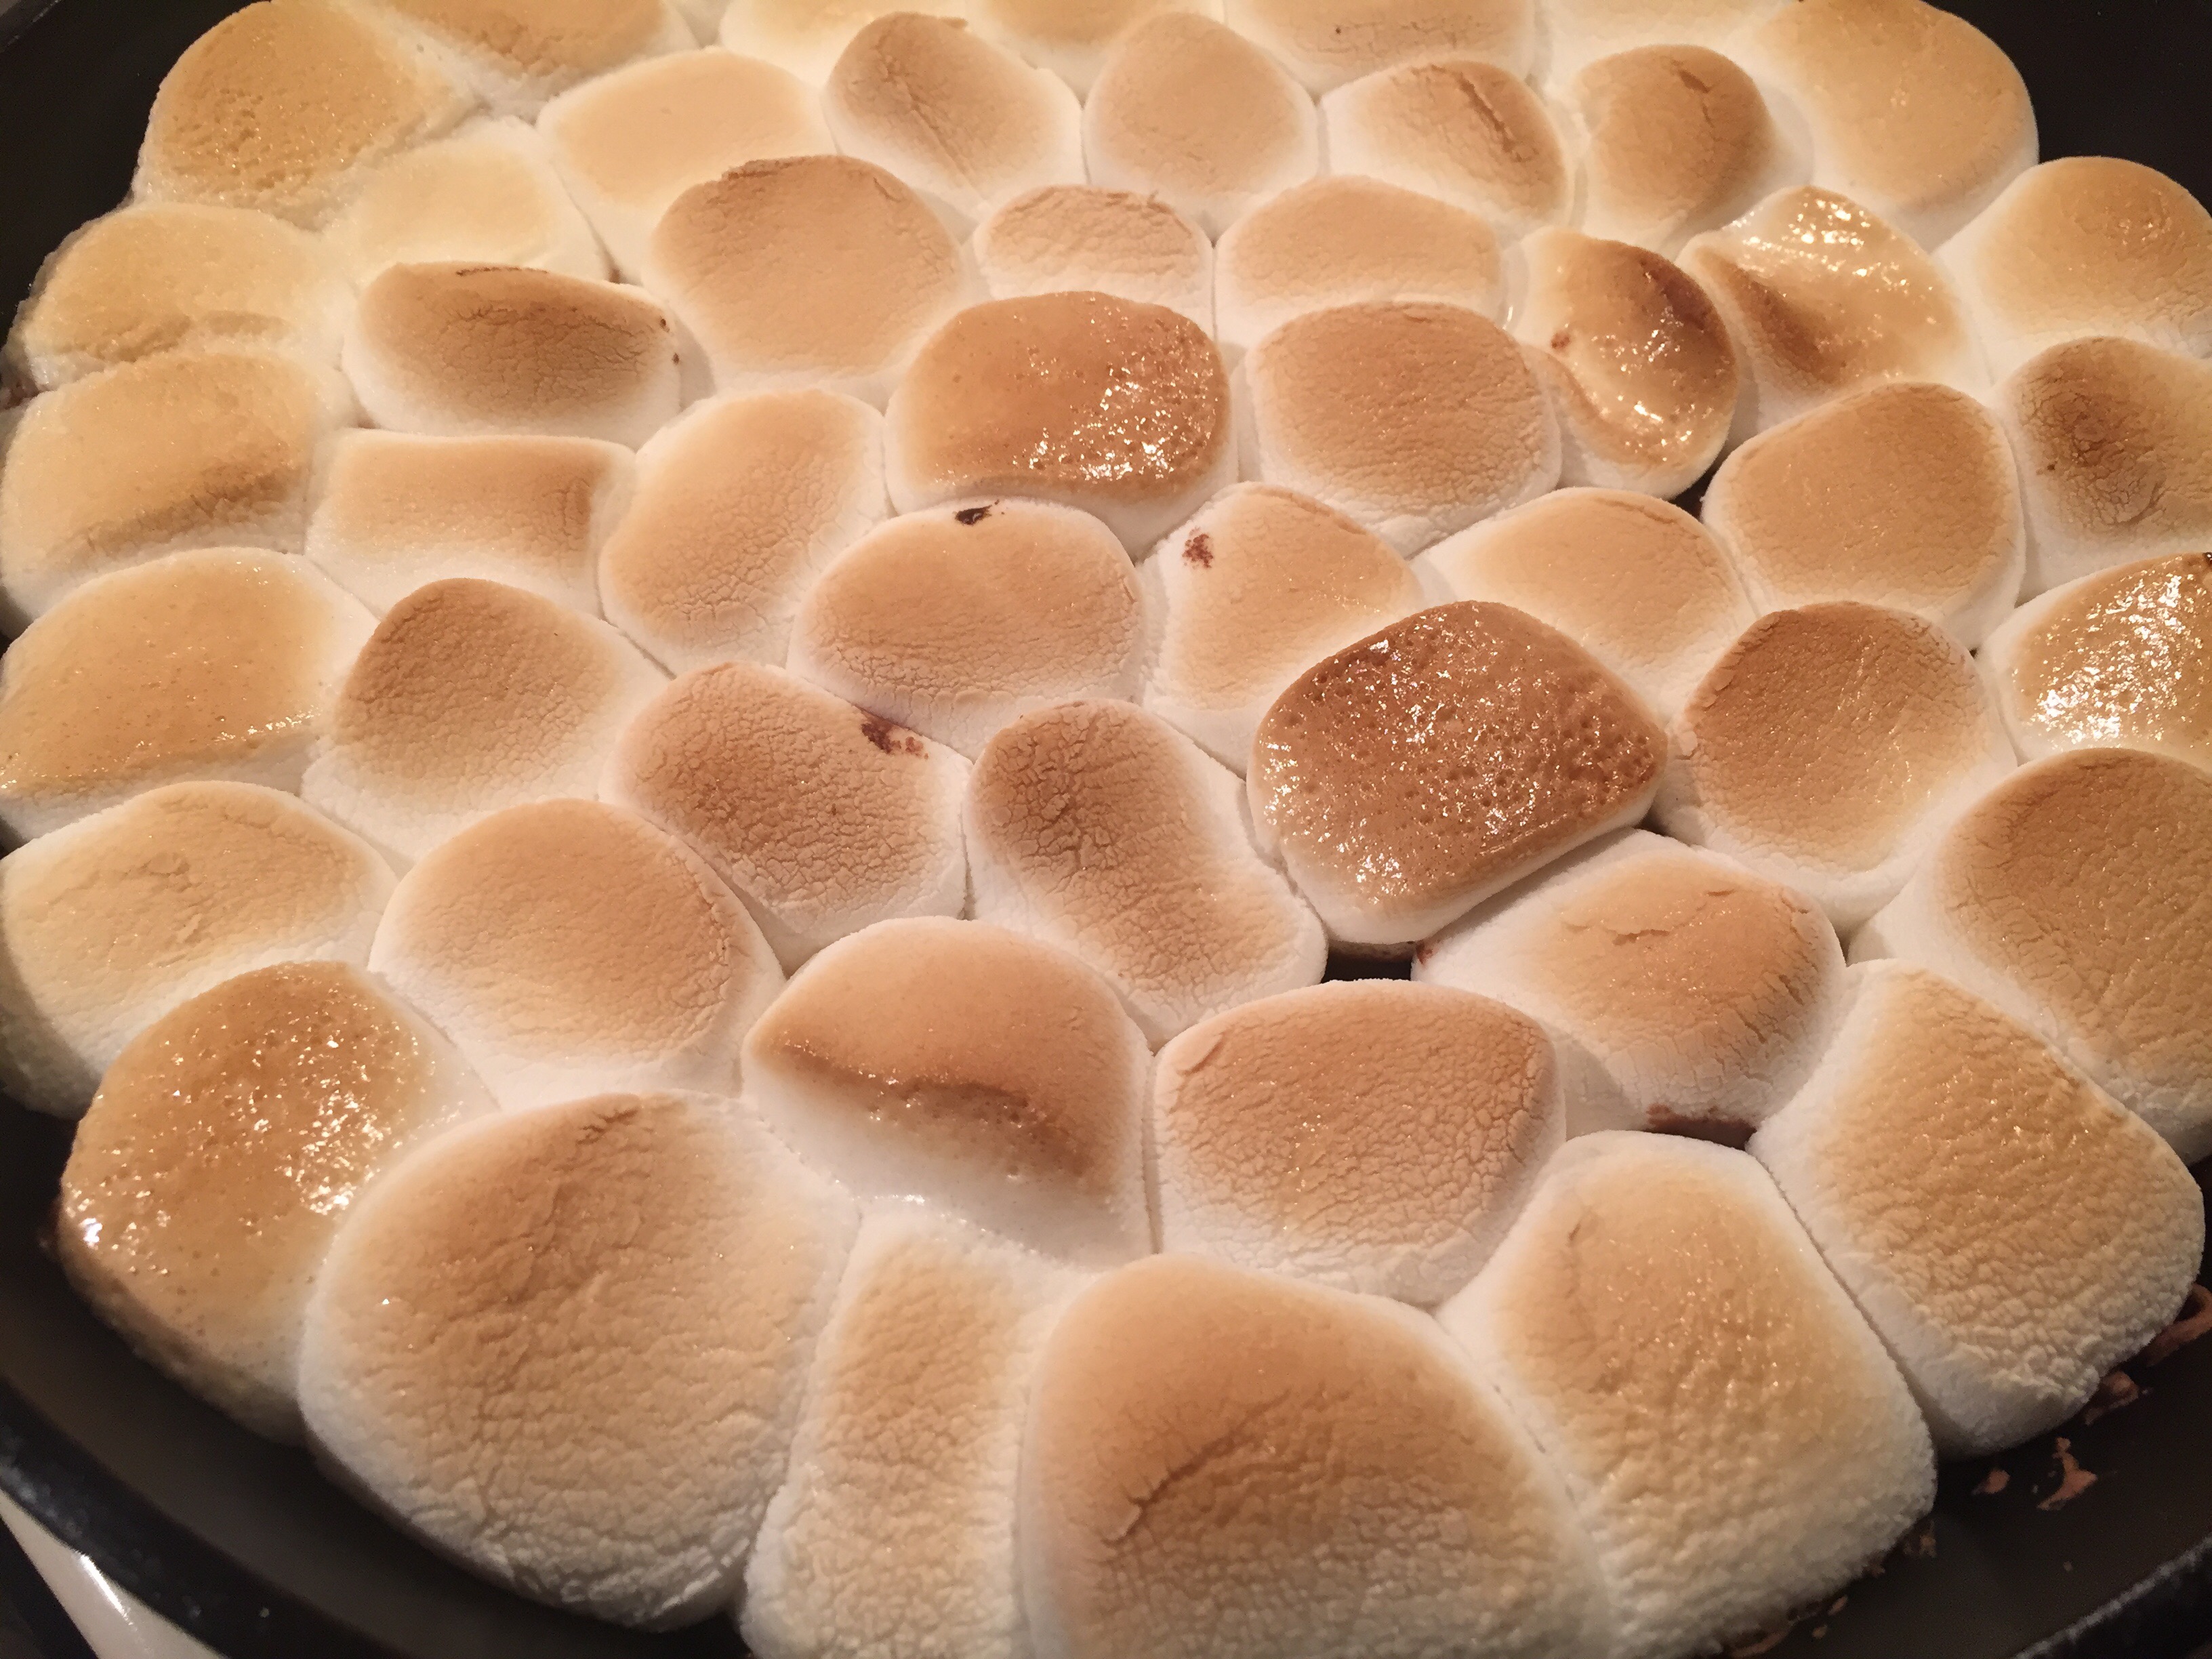
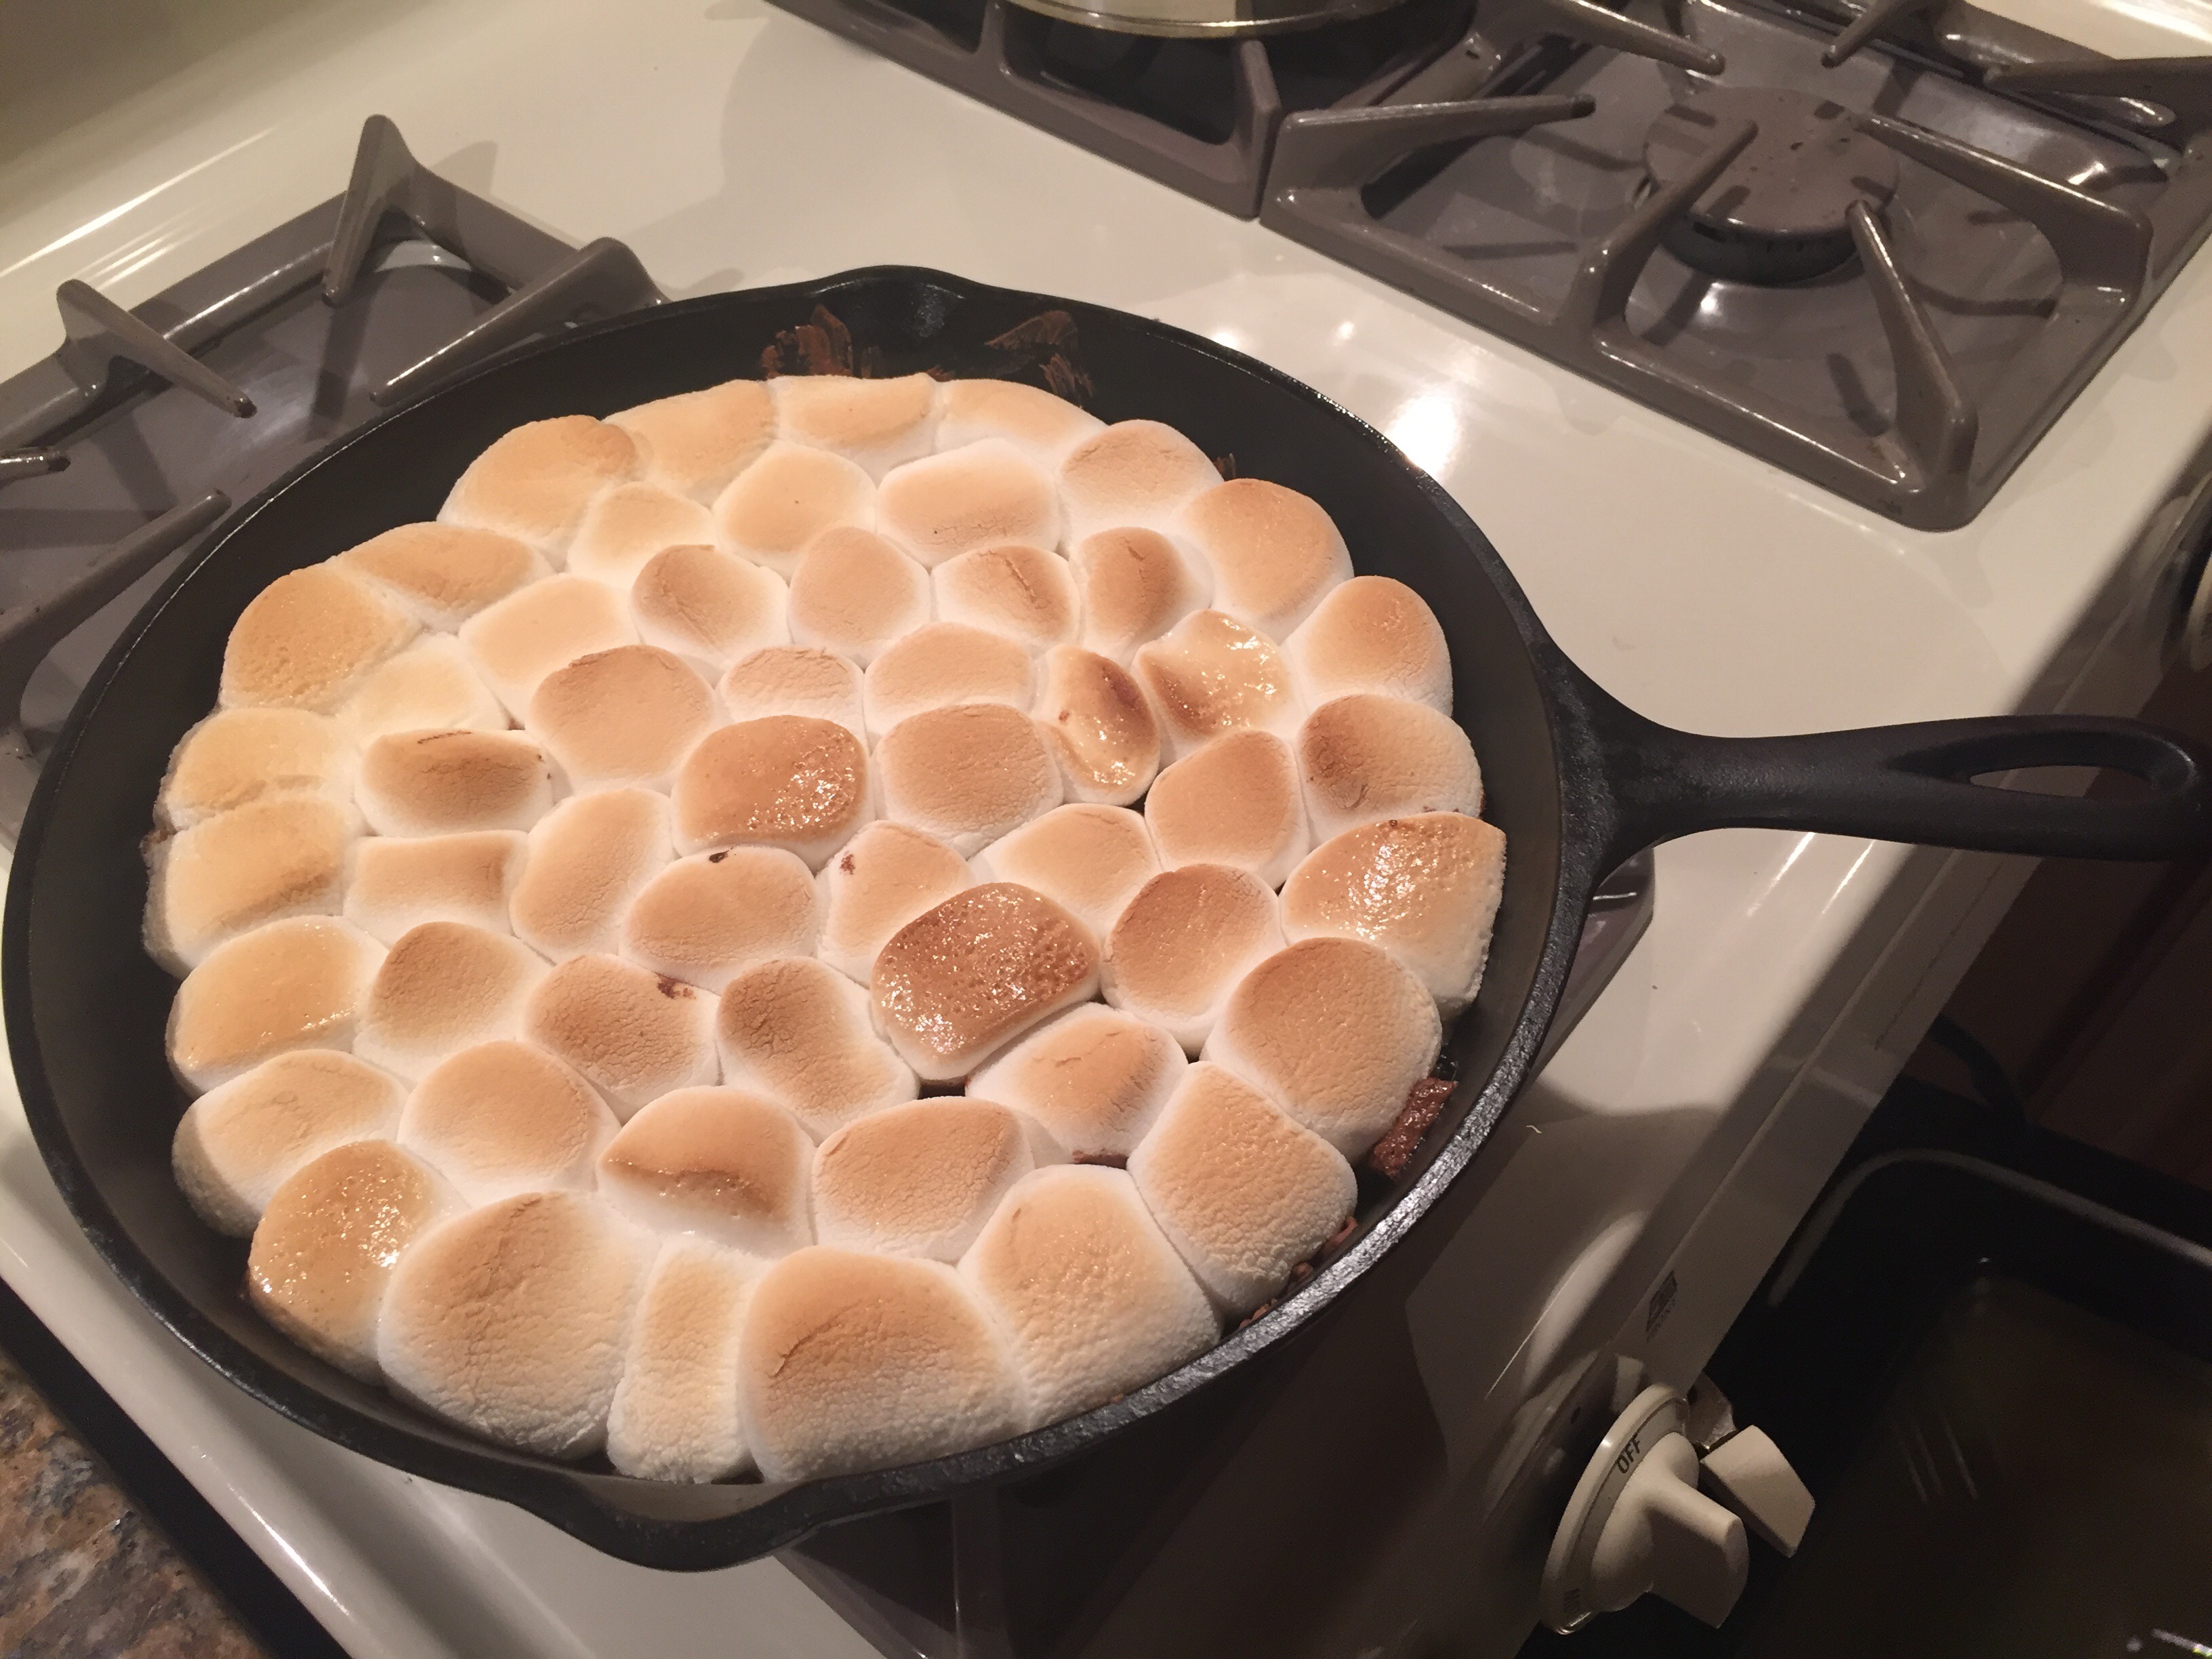
Cast Iron Skillet S’mores

Super easy. Both adult & child friendly.

Several variations exist for this dish – but they all essentially say the same thing.

  • 1/2 tablespoon butter
  • 1 1/2 cups chocolate chips (semi-sweet, milk chocolate, or a combo)
  • 15 jumbo marshmallows, halved ( use larger scissors to cut them)
  • Graham cracker squares

Heat your stove to 450 degrees and use a good solid heavy pan – Cast Iron is perfect, put the pan in the middle of the oven while it is heating up! This is important – you want the pan good and hot.

Once oven lets you know it has hit 450, wait 5 more minutes. Then using a pot older or mitt (Don’t even ask me why I need to mention this…) take the pan url of the over and place on the stove.

Place a good pat of butter in the center of the pan and as it sizzles, move it around so the bottom and sides are covered with melted butter.

Pour chocolate chips in an even layer into the bottom of the skillet to form a good layer.

With out touching the pan or the melting chocolate, arrange the marshmallows to cover and fit (much like biscuits)  – essentially cover all the chocolate.

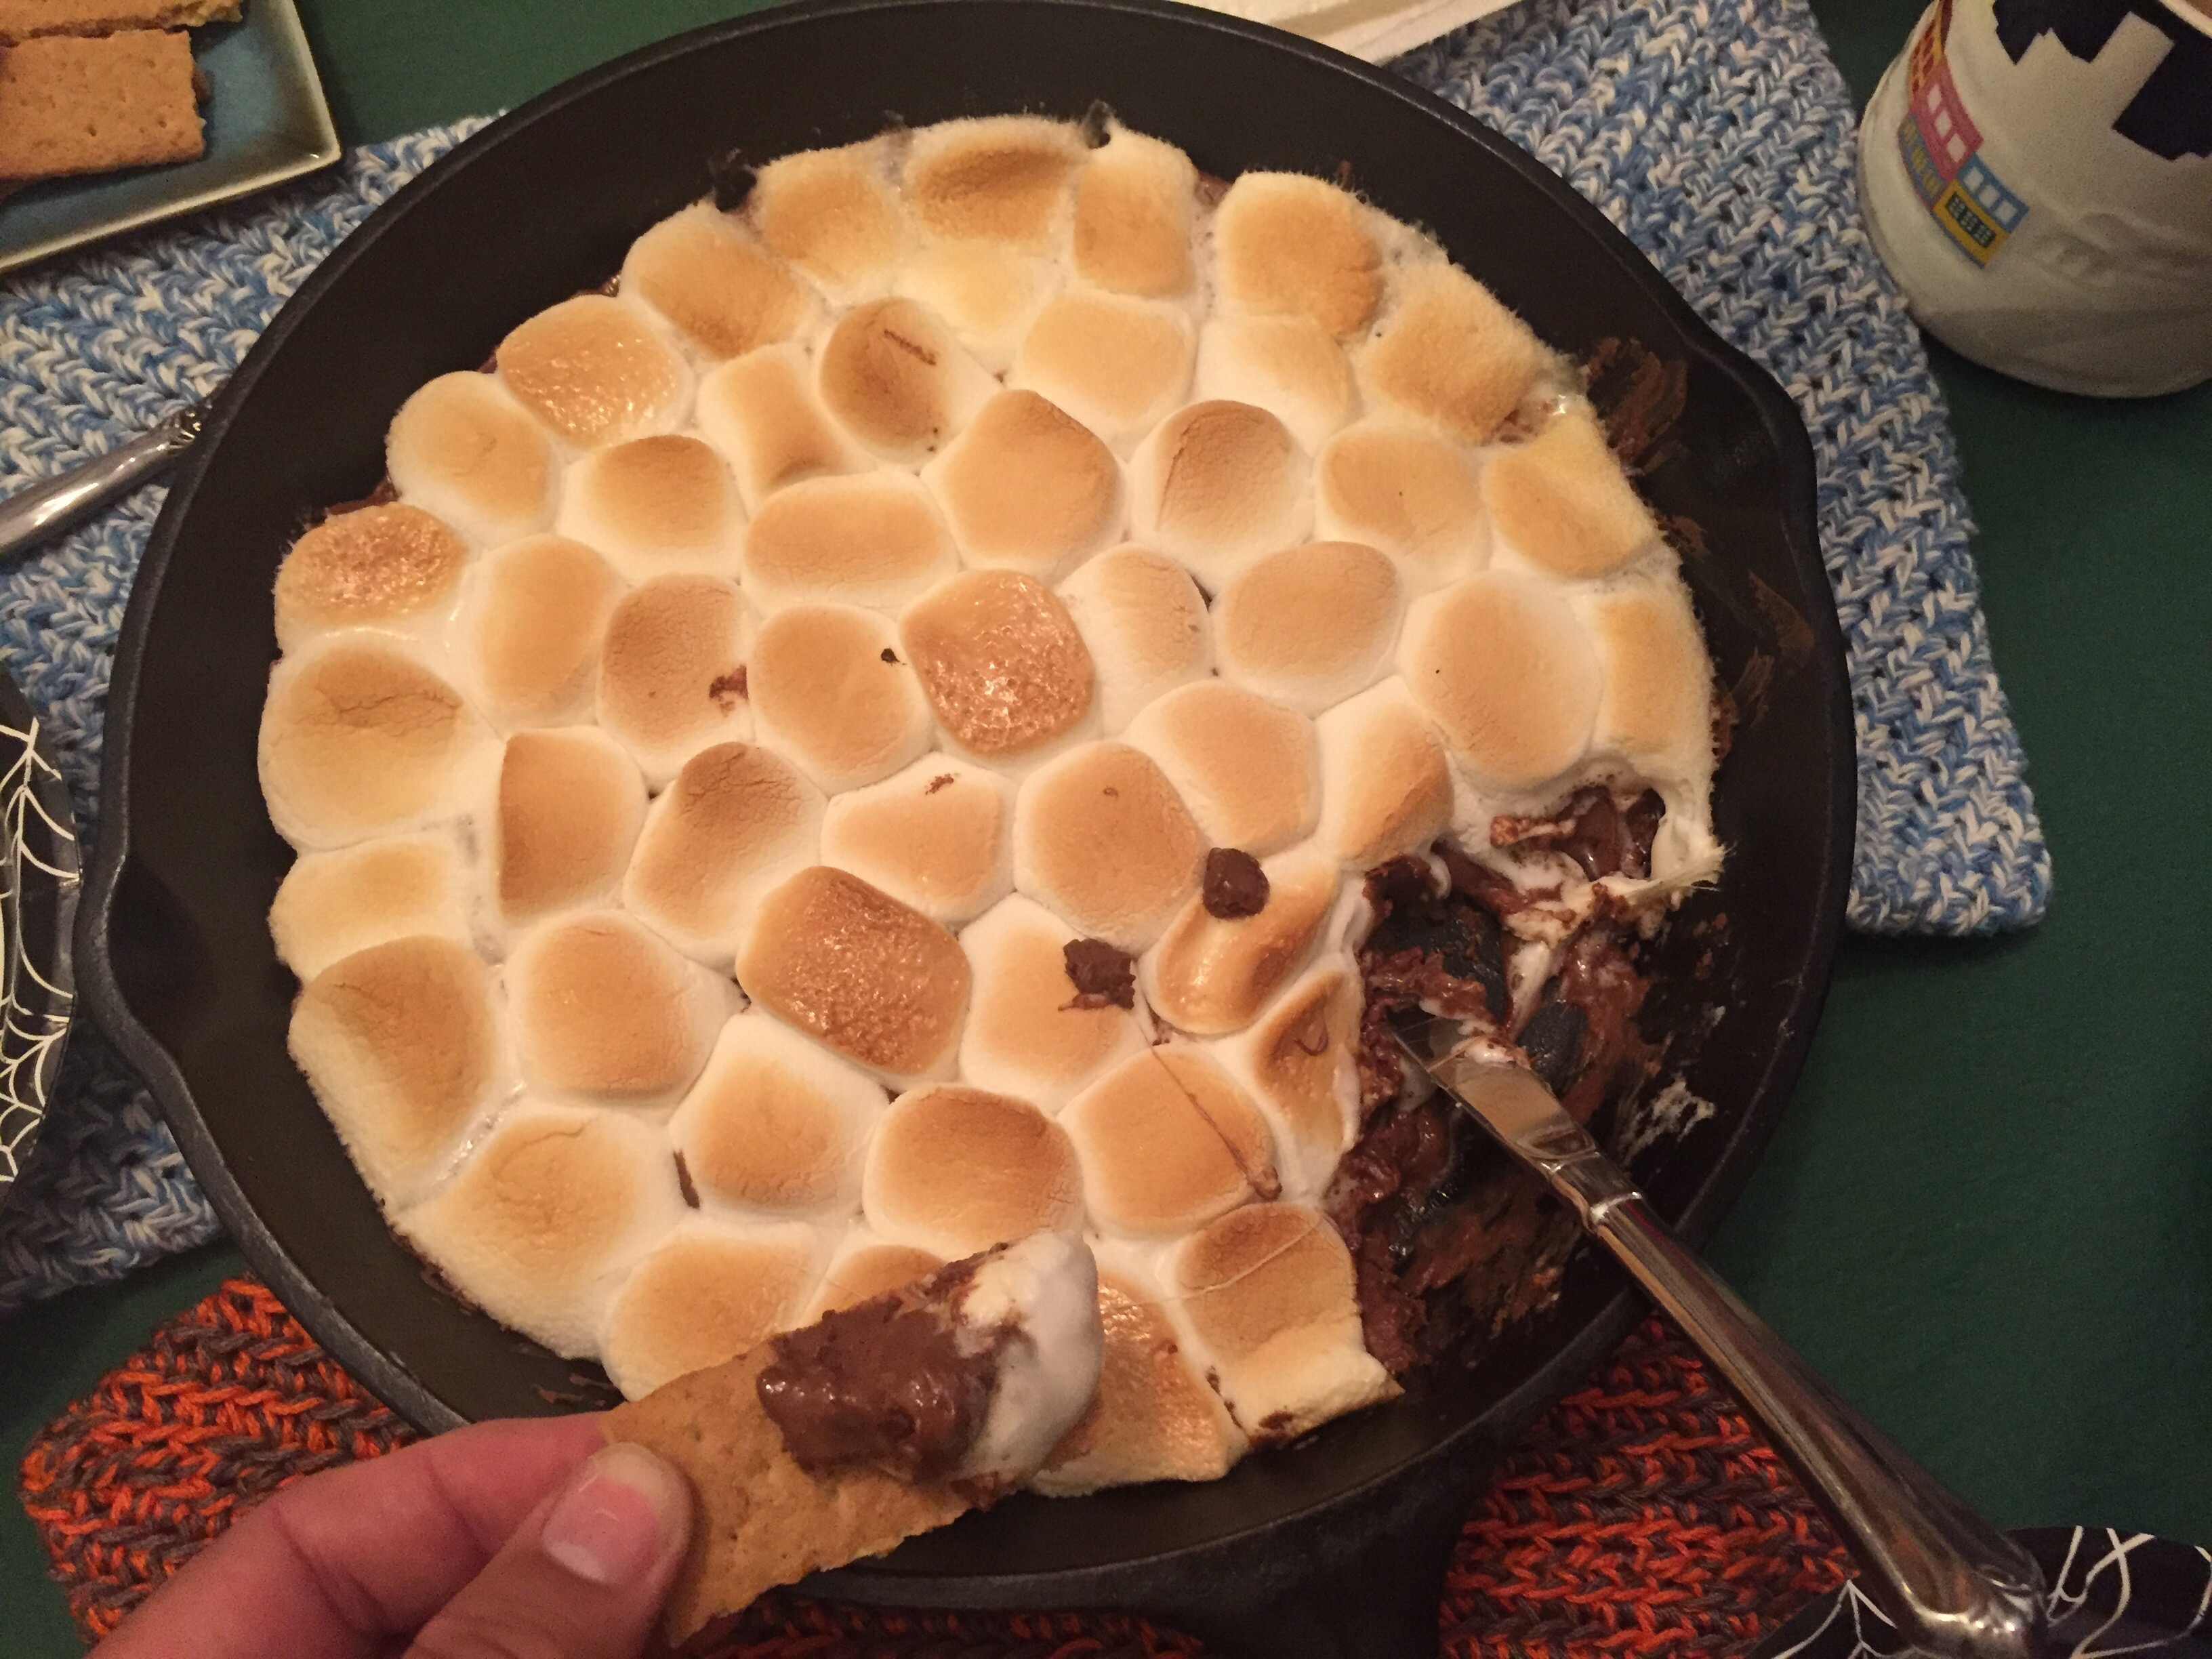
Bake for 5 to 7 minutes or until marshmallows are toasted to your preference (watch closely!). Remove from the oven and allow to rest for 5 minutes. This is important.

Serve with graham cracker squares or sticks, pretzel sticks, biscotti – you name it. …but be careful, because the dip (and the skillet) will be very hot!Notes

A few collected notes from the recipes:
  • One of our pals suggested adding bananas to the pan after the butter then adding chelate – but I am thinking that might not get the chocolate fully melted – but I bet you could add them on top under the marshmallow.
  • You may use another type of oven-safe baking dish, but it should be noted that the chocolate will probably melt more evenly (and stay melted more consistently) using a heavy cast iron skillet, which retains heat better than other types of dishes.
  • Be sure to let the skillet rest for 5 minutes before serving so that the residual heat from the skillet can finish melting the chocolate chips. Some of the chocolate chips may retain their shape, but once you dip a graham cracker into them, they should be fully melted (in the same way that chocolate chips melted in the microwave hold their shape until stirred).
  • Adjust the proportions of chocolate and marshmallows to your liking or to the size of the skillet or baking dish that you use, but don’t make the layer of chocolate chips too thick or they may not fully melt.
  • You may use whatever type of chocolate or marshmallows you have on hand…finely chopped chocolate, mini chocolate chips, regular chocolate chips, mini marshmallows, (halved) jumbo marshmallows, etc.
    Here is the one we used ; http://www.fivehearthome.com/2014/08/10/smores-dip-baked-in-skillet-oven/


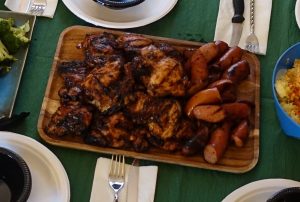
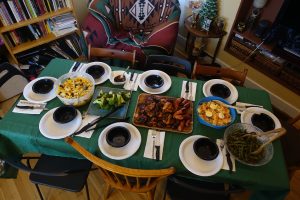
Just an last minute grill day

After several bday meals out last week, including a great dinner at our local Espetus, dinner & a movie night @drafthouse I fugured it was a cook at home day.

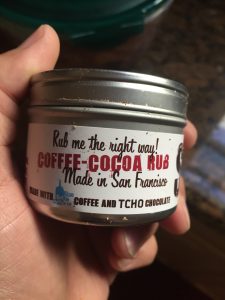
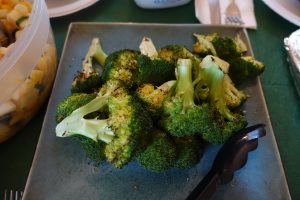
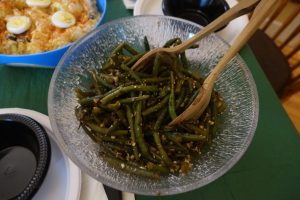
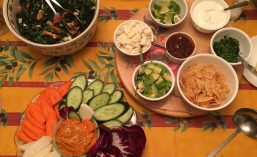
Using a new find, cherry bbq sauce ( picked up on my recent trip to Traverse City, Mi) – the menu called for grilled chicken thighs, an adapted  vegan adapted spicy sweet mango-jicama salad, homestyle baked beans, coffee-cocoa nibs rubbed eggplant planks, roasted broccoli and a few pals willing to bring string beans, patato salad and some sweets for after. Friend added green beans and potato salad..

I will post the recipes for the Jicama & Mango salad shortly, and well share more on the Baked Beans fiasco too

Sundays the way they should be..oh wait it’s only Saturday.

imageEnjoying a summer memory

From sweet to savory.. much like it’s staff, my morning visit at Joe’s Coffee is how I start my days in ptown. With the everchanging, yet consistant range of people watching, parade of “walk of shamers” to the local dishen up “care” with the daily menu of  “did ya hear about”, I can say I wouldnt have it any other way.

image


On the Saturdays when the Farmers Market is in; you never know what specialty awaits. Today it was fresh local  jared tomato sauce from Foss Farms.  My order, which will be arriving in San Francisco by mail soon after my return

image

Relish isn’t just a summer goto place – here comes “santa”

Let’s face it  – every so often, you just need a good cupcake. Sometimes you want to get creative with the fancy flavors and icing – but more often than not, I want plain, good, deep dark chocolate with a slightly gooey, sweet chocolate frosting.image

While it Ptown of the summer, one rainy day I knew just where to go! Relish. Down in the west end, this little but highly fast and efficient sandwich, snack & bakery shop not only puts out some great sandwich and sides – they do some incredible desserts. I would say I eat three several times eat stay.image

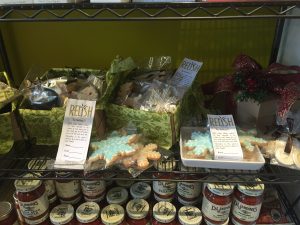
A new feature I noticed this year was that your an order xmas cookies!! A pretty great idea – what better way to treat friends and family than with food products you already love. they have an entire holiday menu of options to choose from.image

Over on the website – I notes posting from the past that indicates; they do Thanksgiving Pies and Cupcakes and kick off  a workshop for Christmas cookies.  Orders for Christmas need to be placed by December 1st.

imageFor more information, give them  a call at 508-487-8077.
you can find them at:

93 Commercial Street (at Cottage)  Provincetown  MA  02657

p: 508-487-8077

e: [email protected]


Date Night is about the food and the man

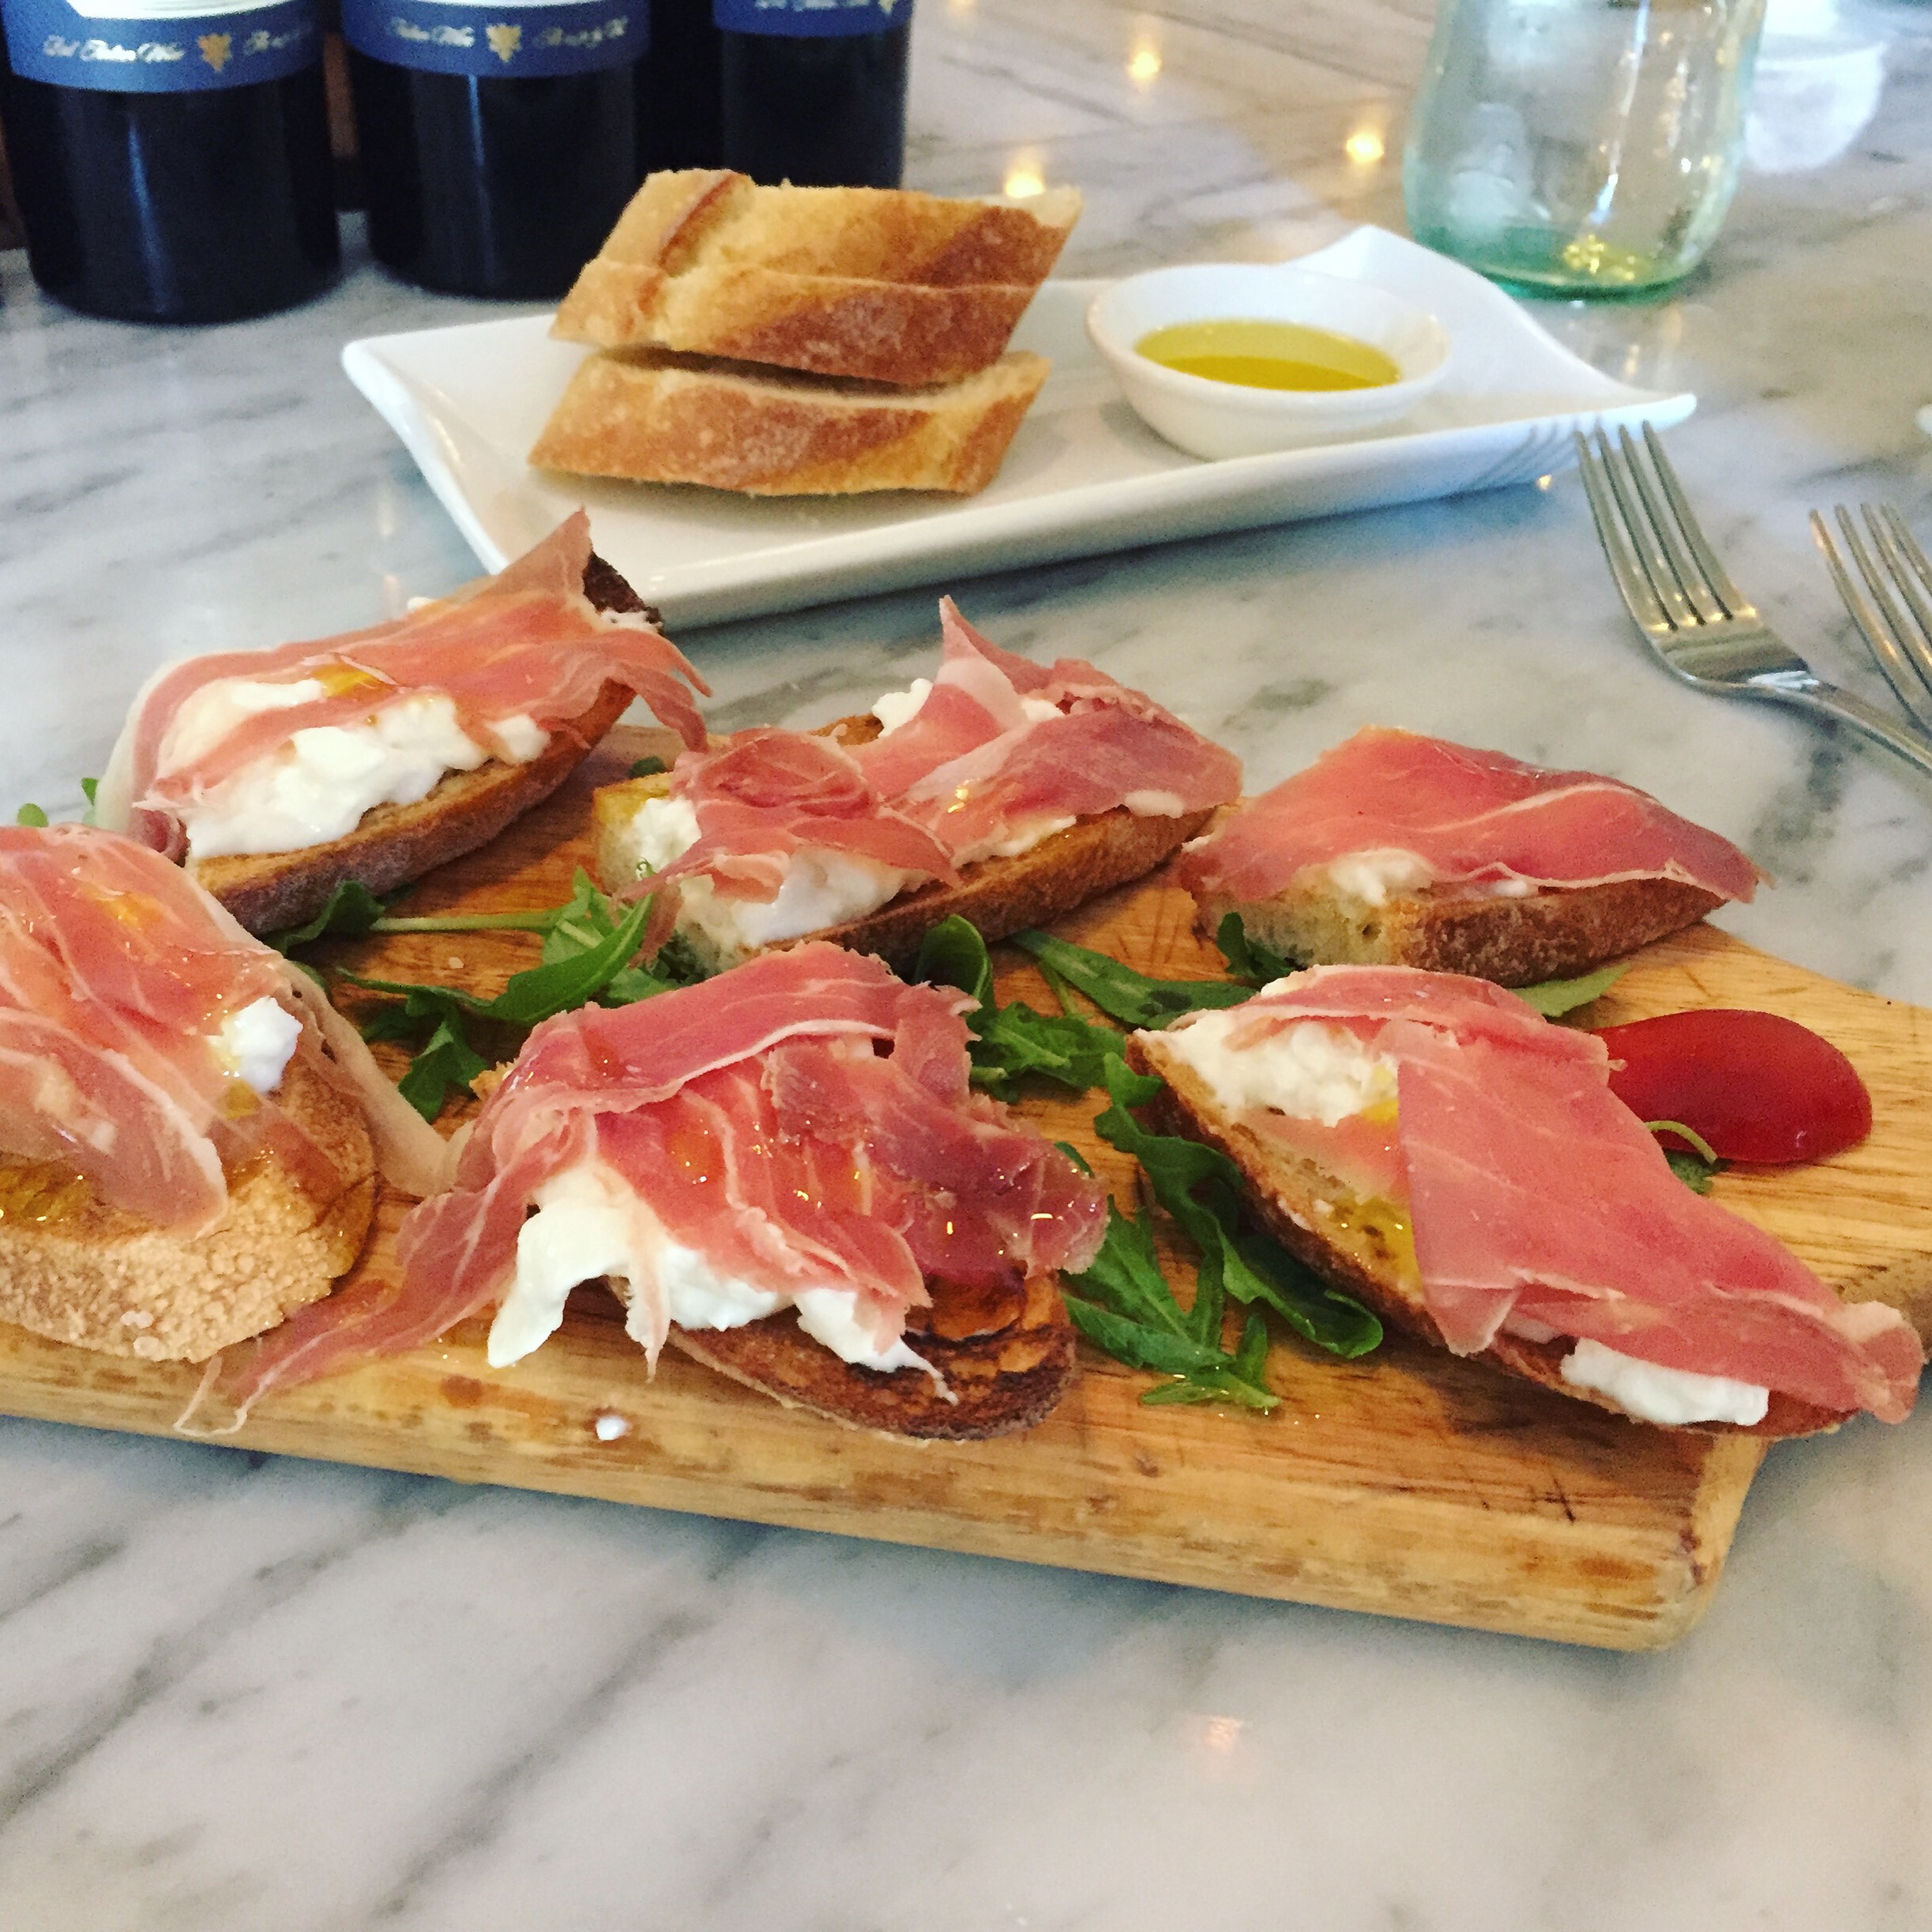
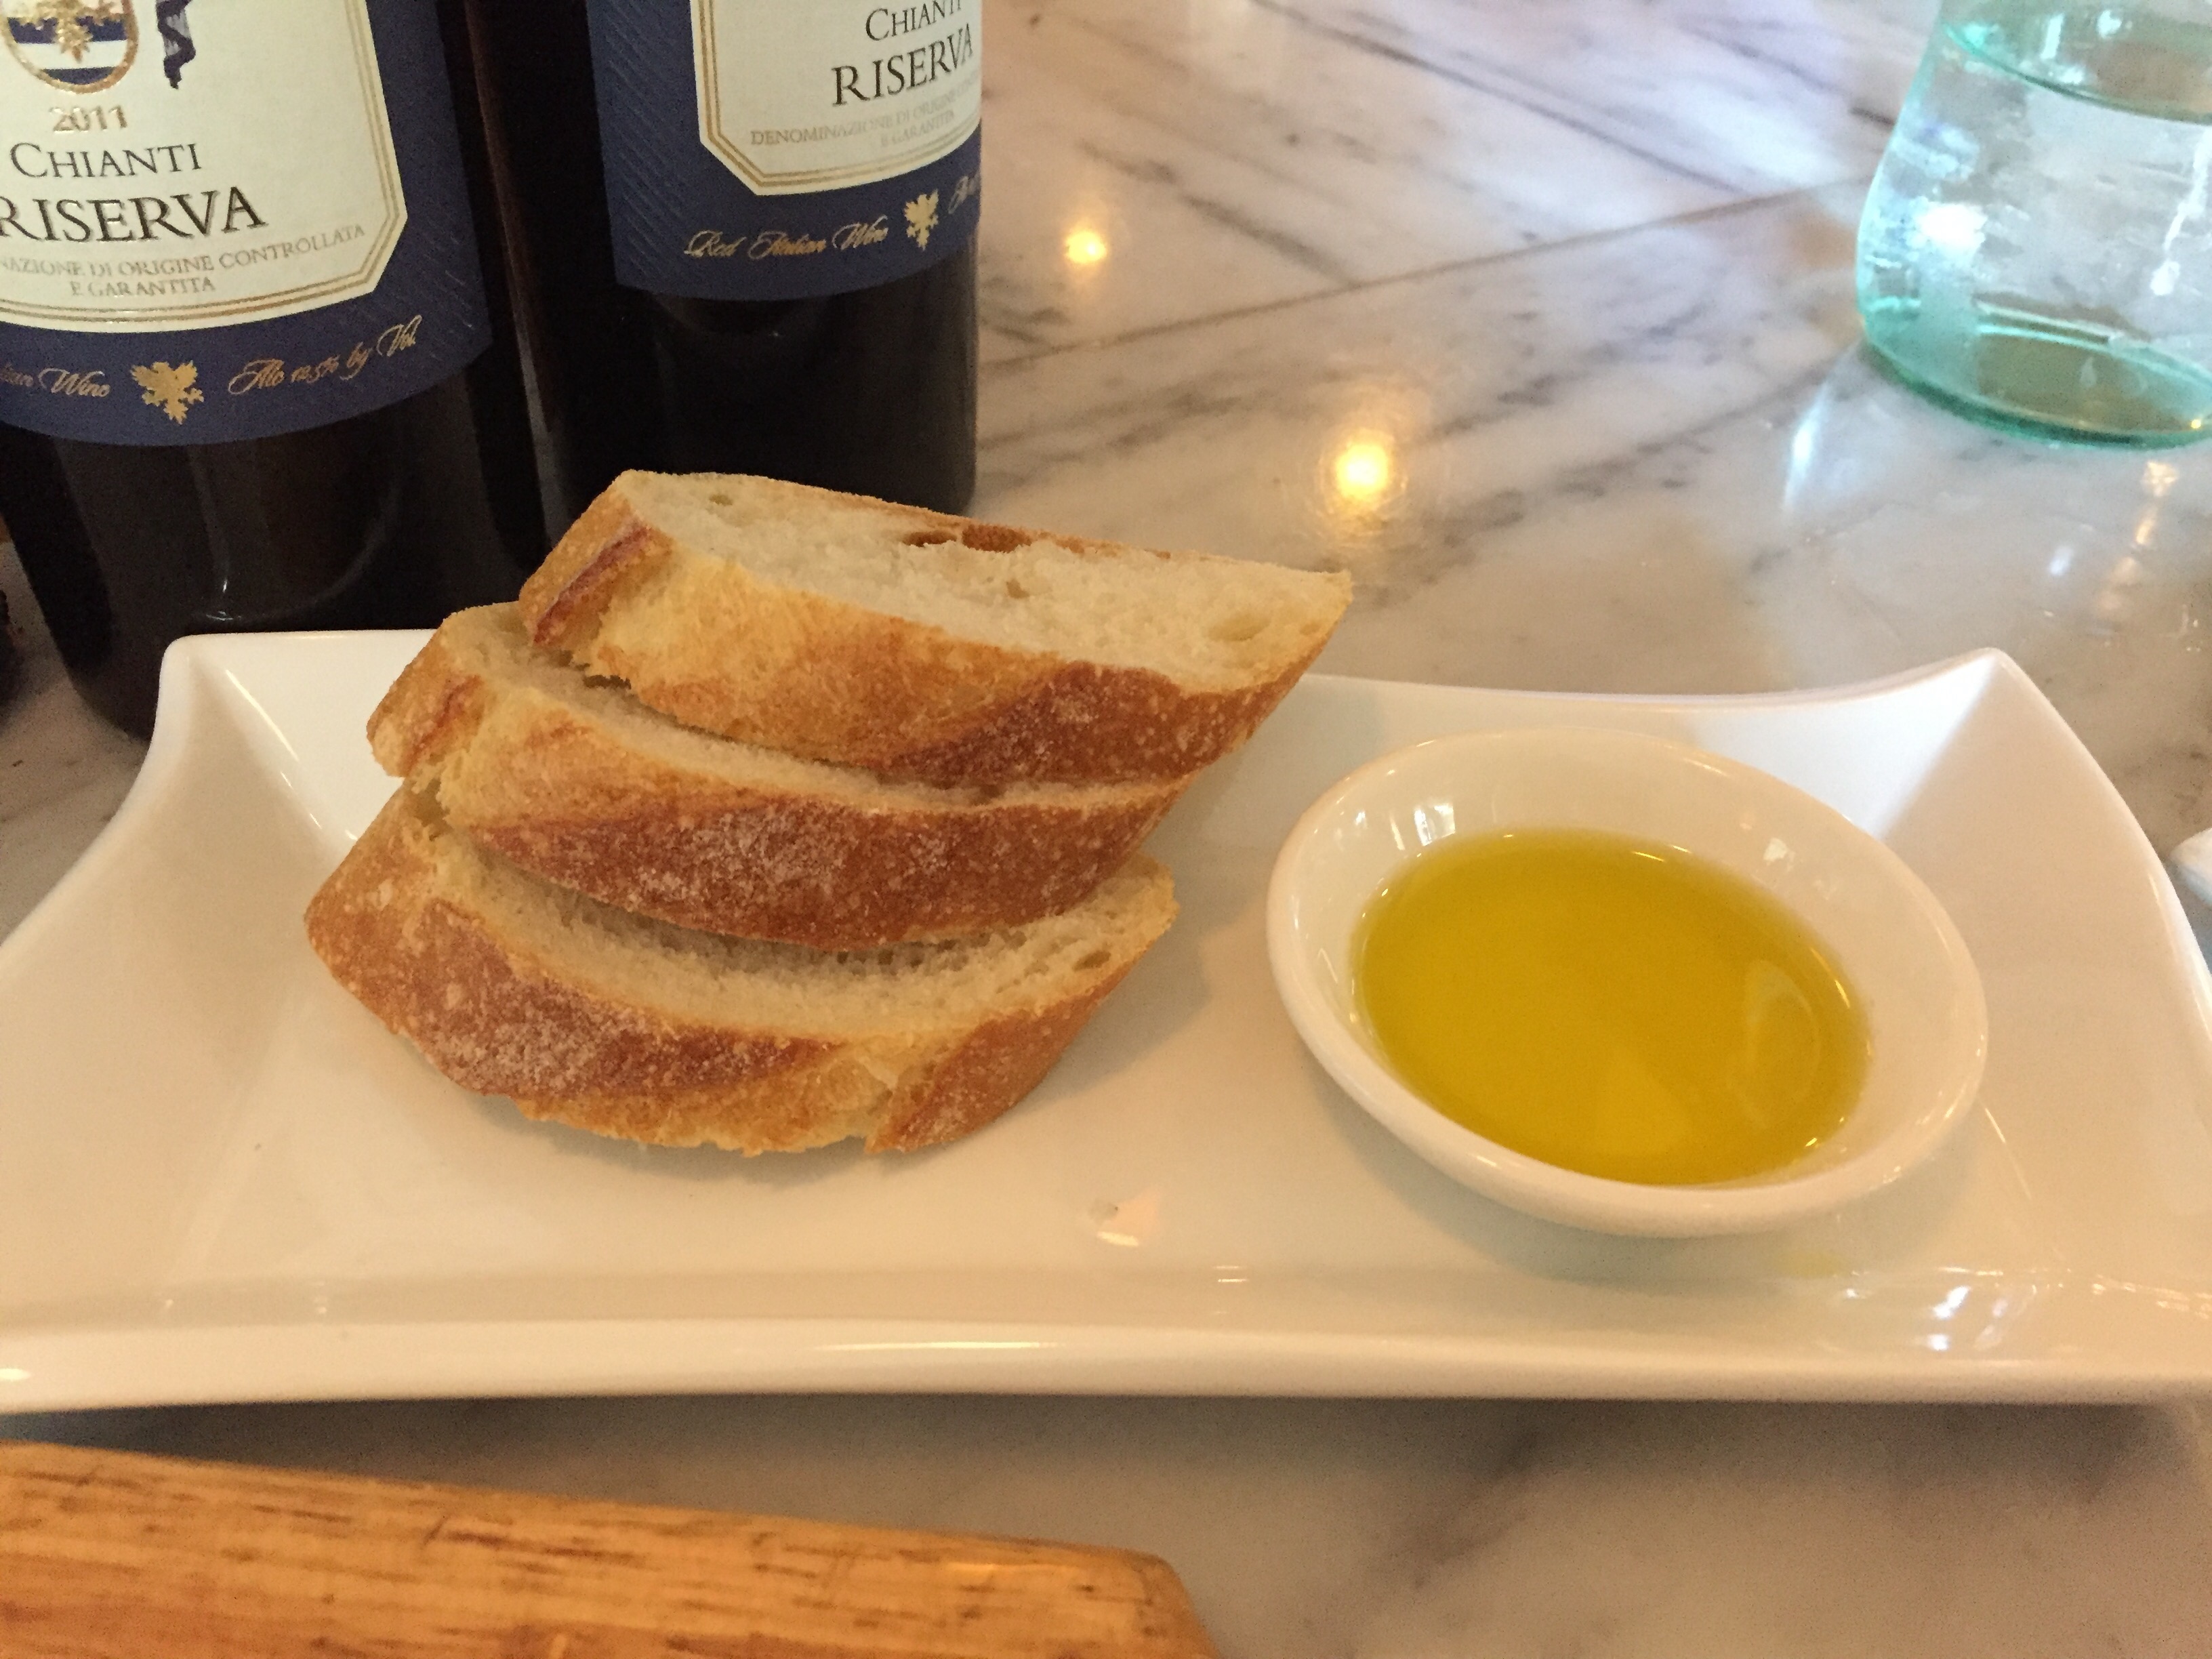
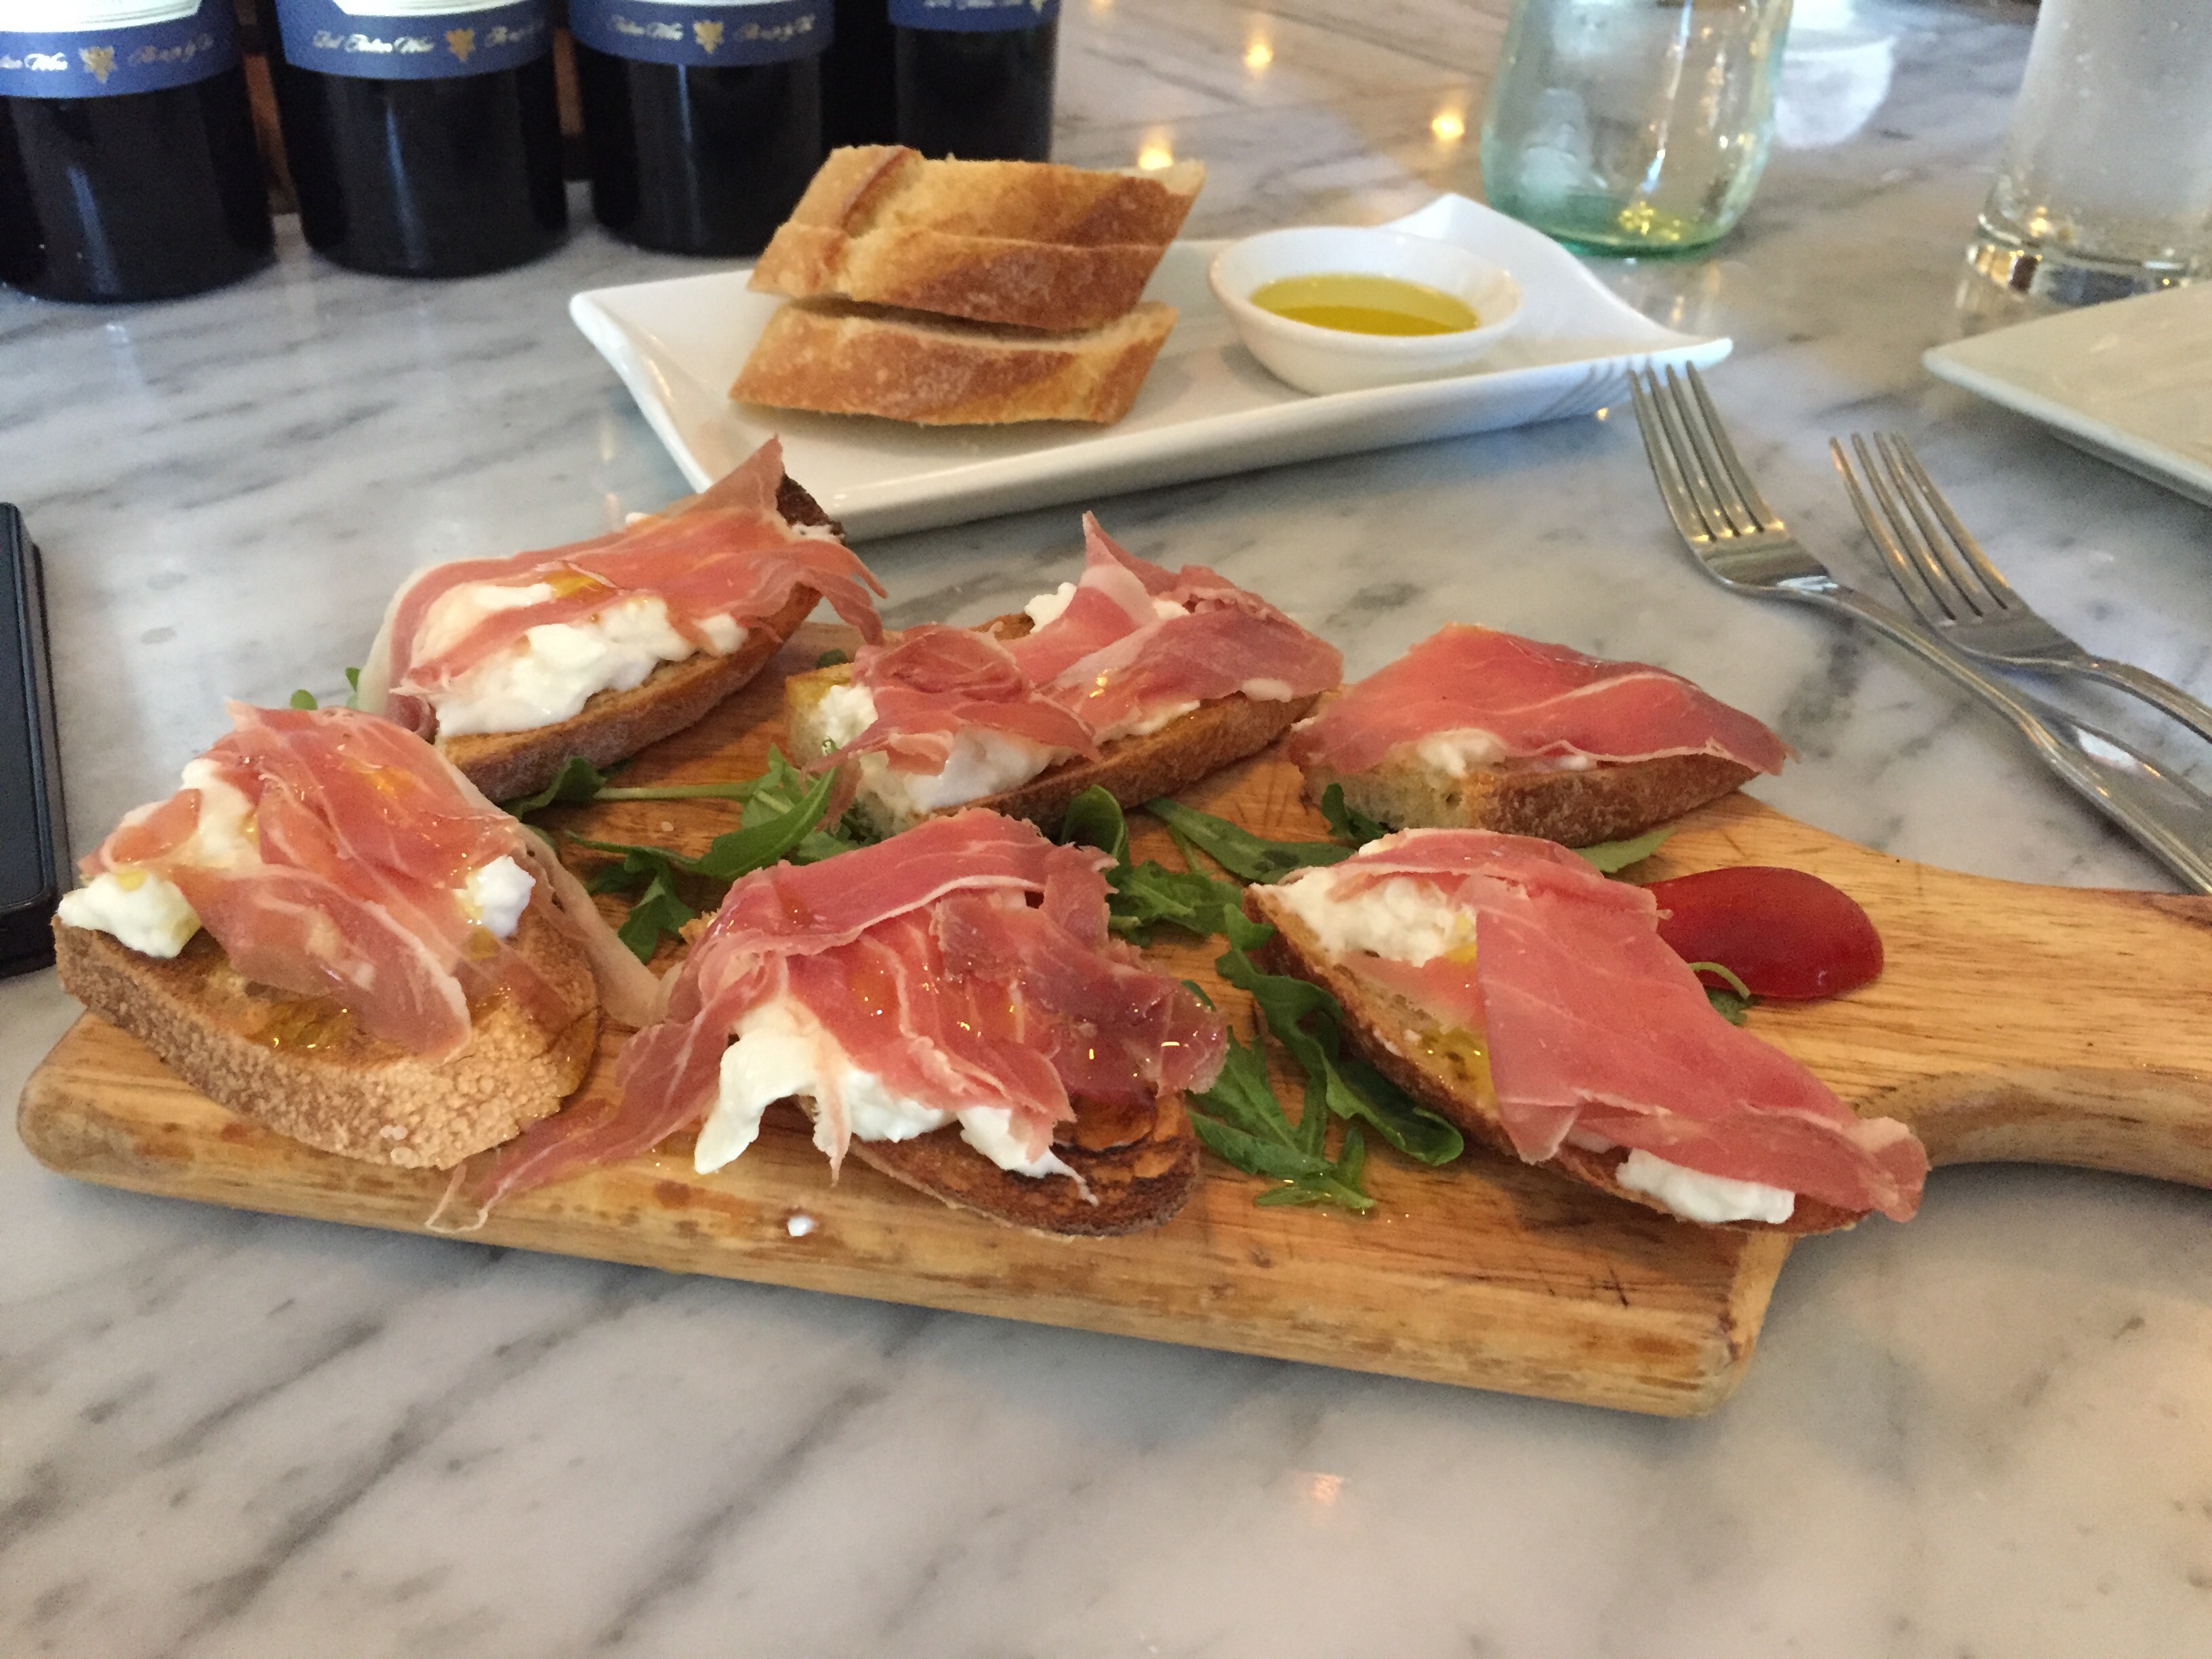
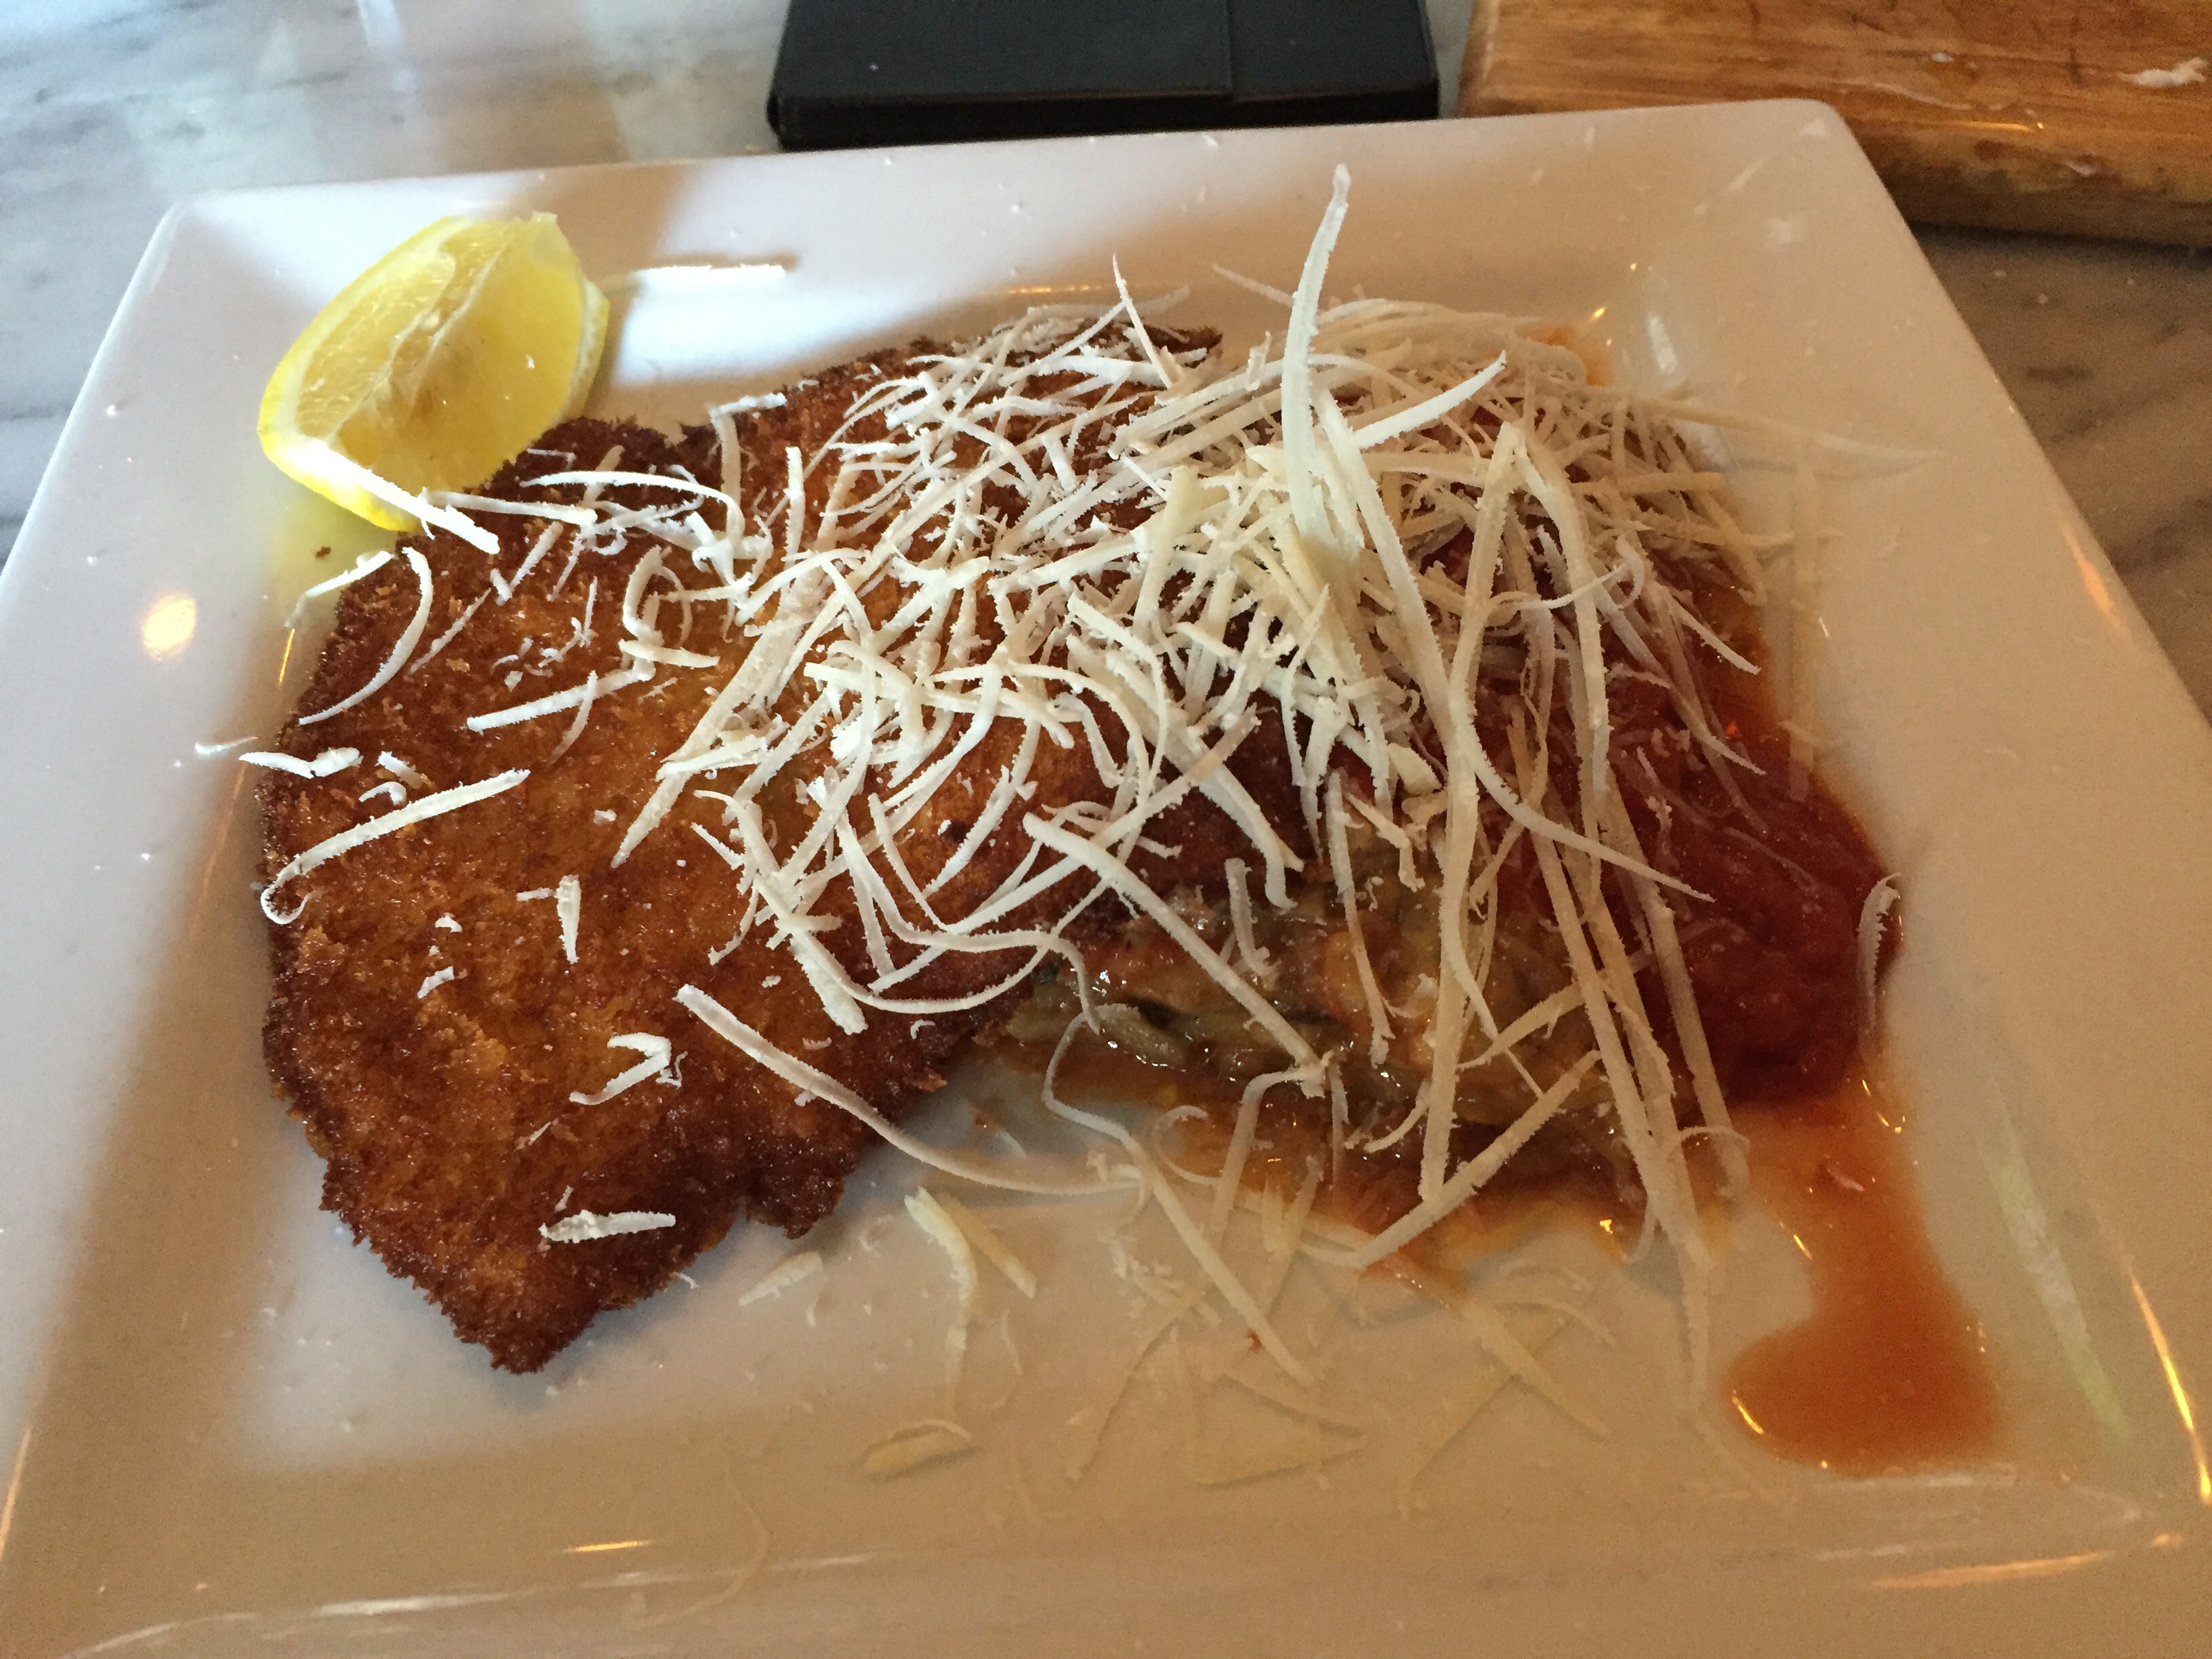
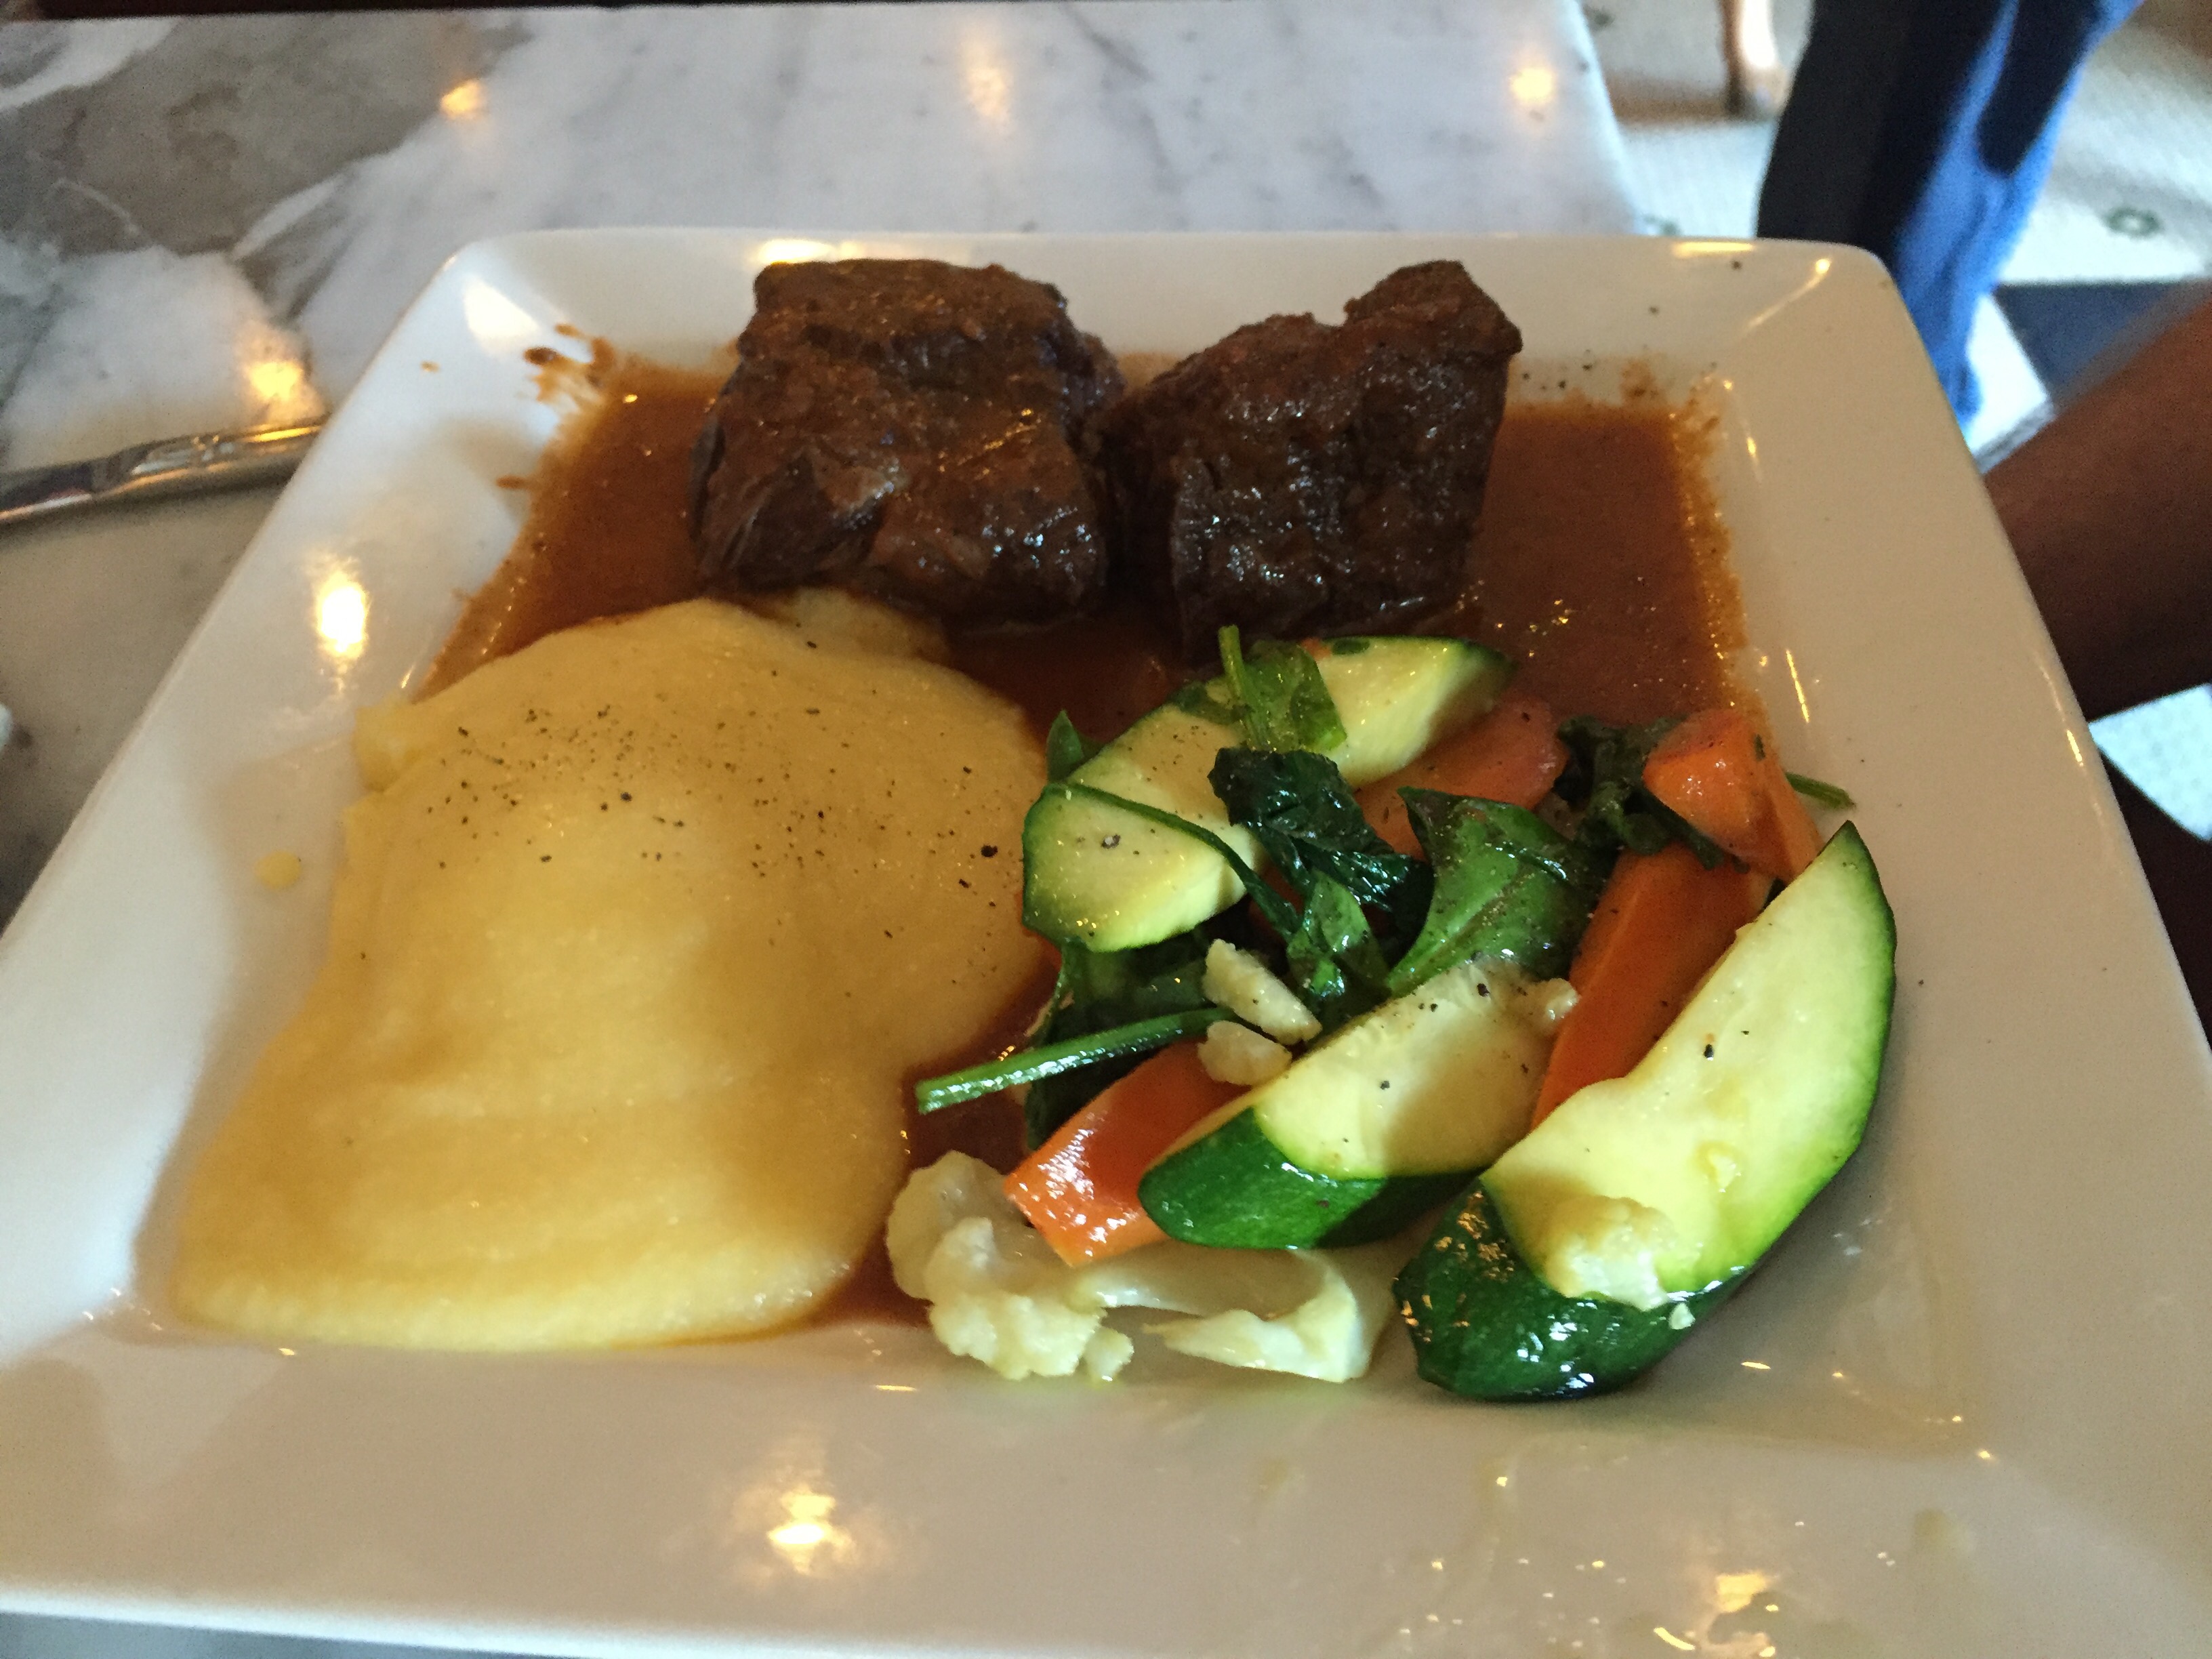
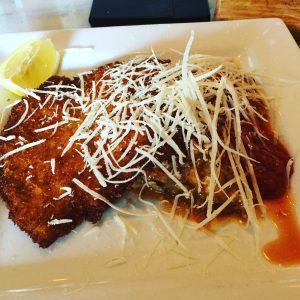
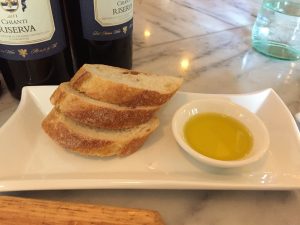
Traveling so often for work, having our four-legged third, wanting attention along with both of us having demanding work and social time – –  getting time out with just the two of us alone isn’t always easy. So when we can do it, we take it. Last week we wanted to go see the new Meryl Streep’s new film, Florence Foster Jenkins at the CineArts at the Empire and had time to eat at one of my  favorite West Portal resturant; Trattoria da Vittorio. 

I really can’t say much more about them except “just go already”. If you want authentic italian foud with a Calabrian influence you can’t go wrong. 

http://trattoriadavittorio.com/

150 W Portal Ave, San Francisco, CA 94127

Black Pepper and Orange? No, Really…


Having to change gears for a 3-day trip to present in Traverse City Mn on IPS Monday after my routine week in DC for my work on the commission usually results an excuse to step away.

Facing my computer and desk this morning  I am faced with the eternal travelors dilemma; how do I reframe all I have to do to prepare the next week, debrief my last DC trip and get my capstone grades in for students?

Headphones on, refridgerator open; engage..IMG_3117

First is a quick ham, feta, broccoli and cheddar quiche for brunch when someone ( Paul) gets up. IMG_3114

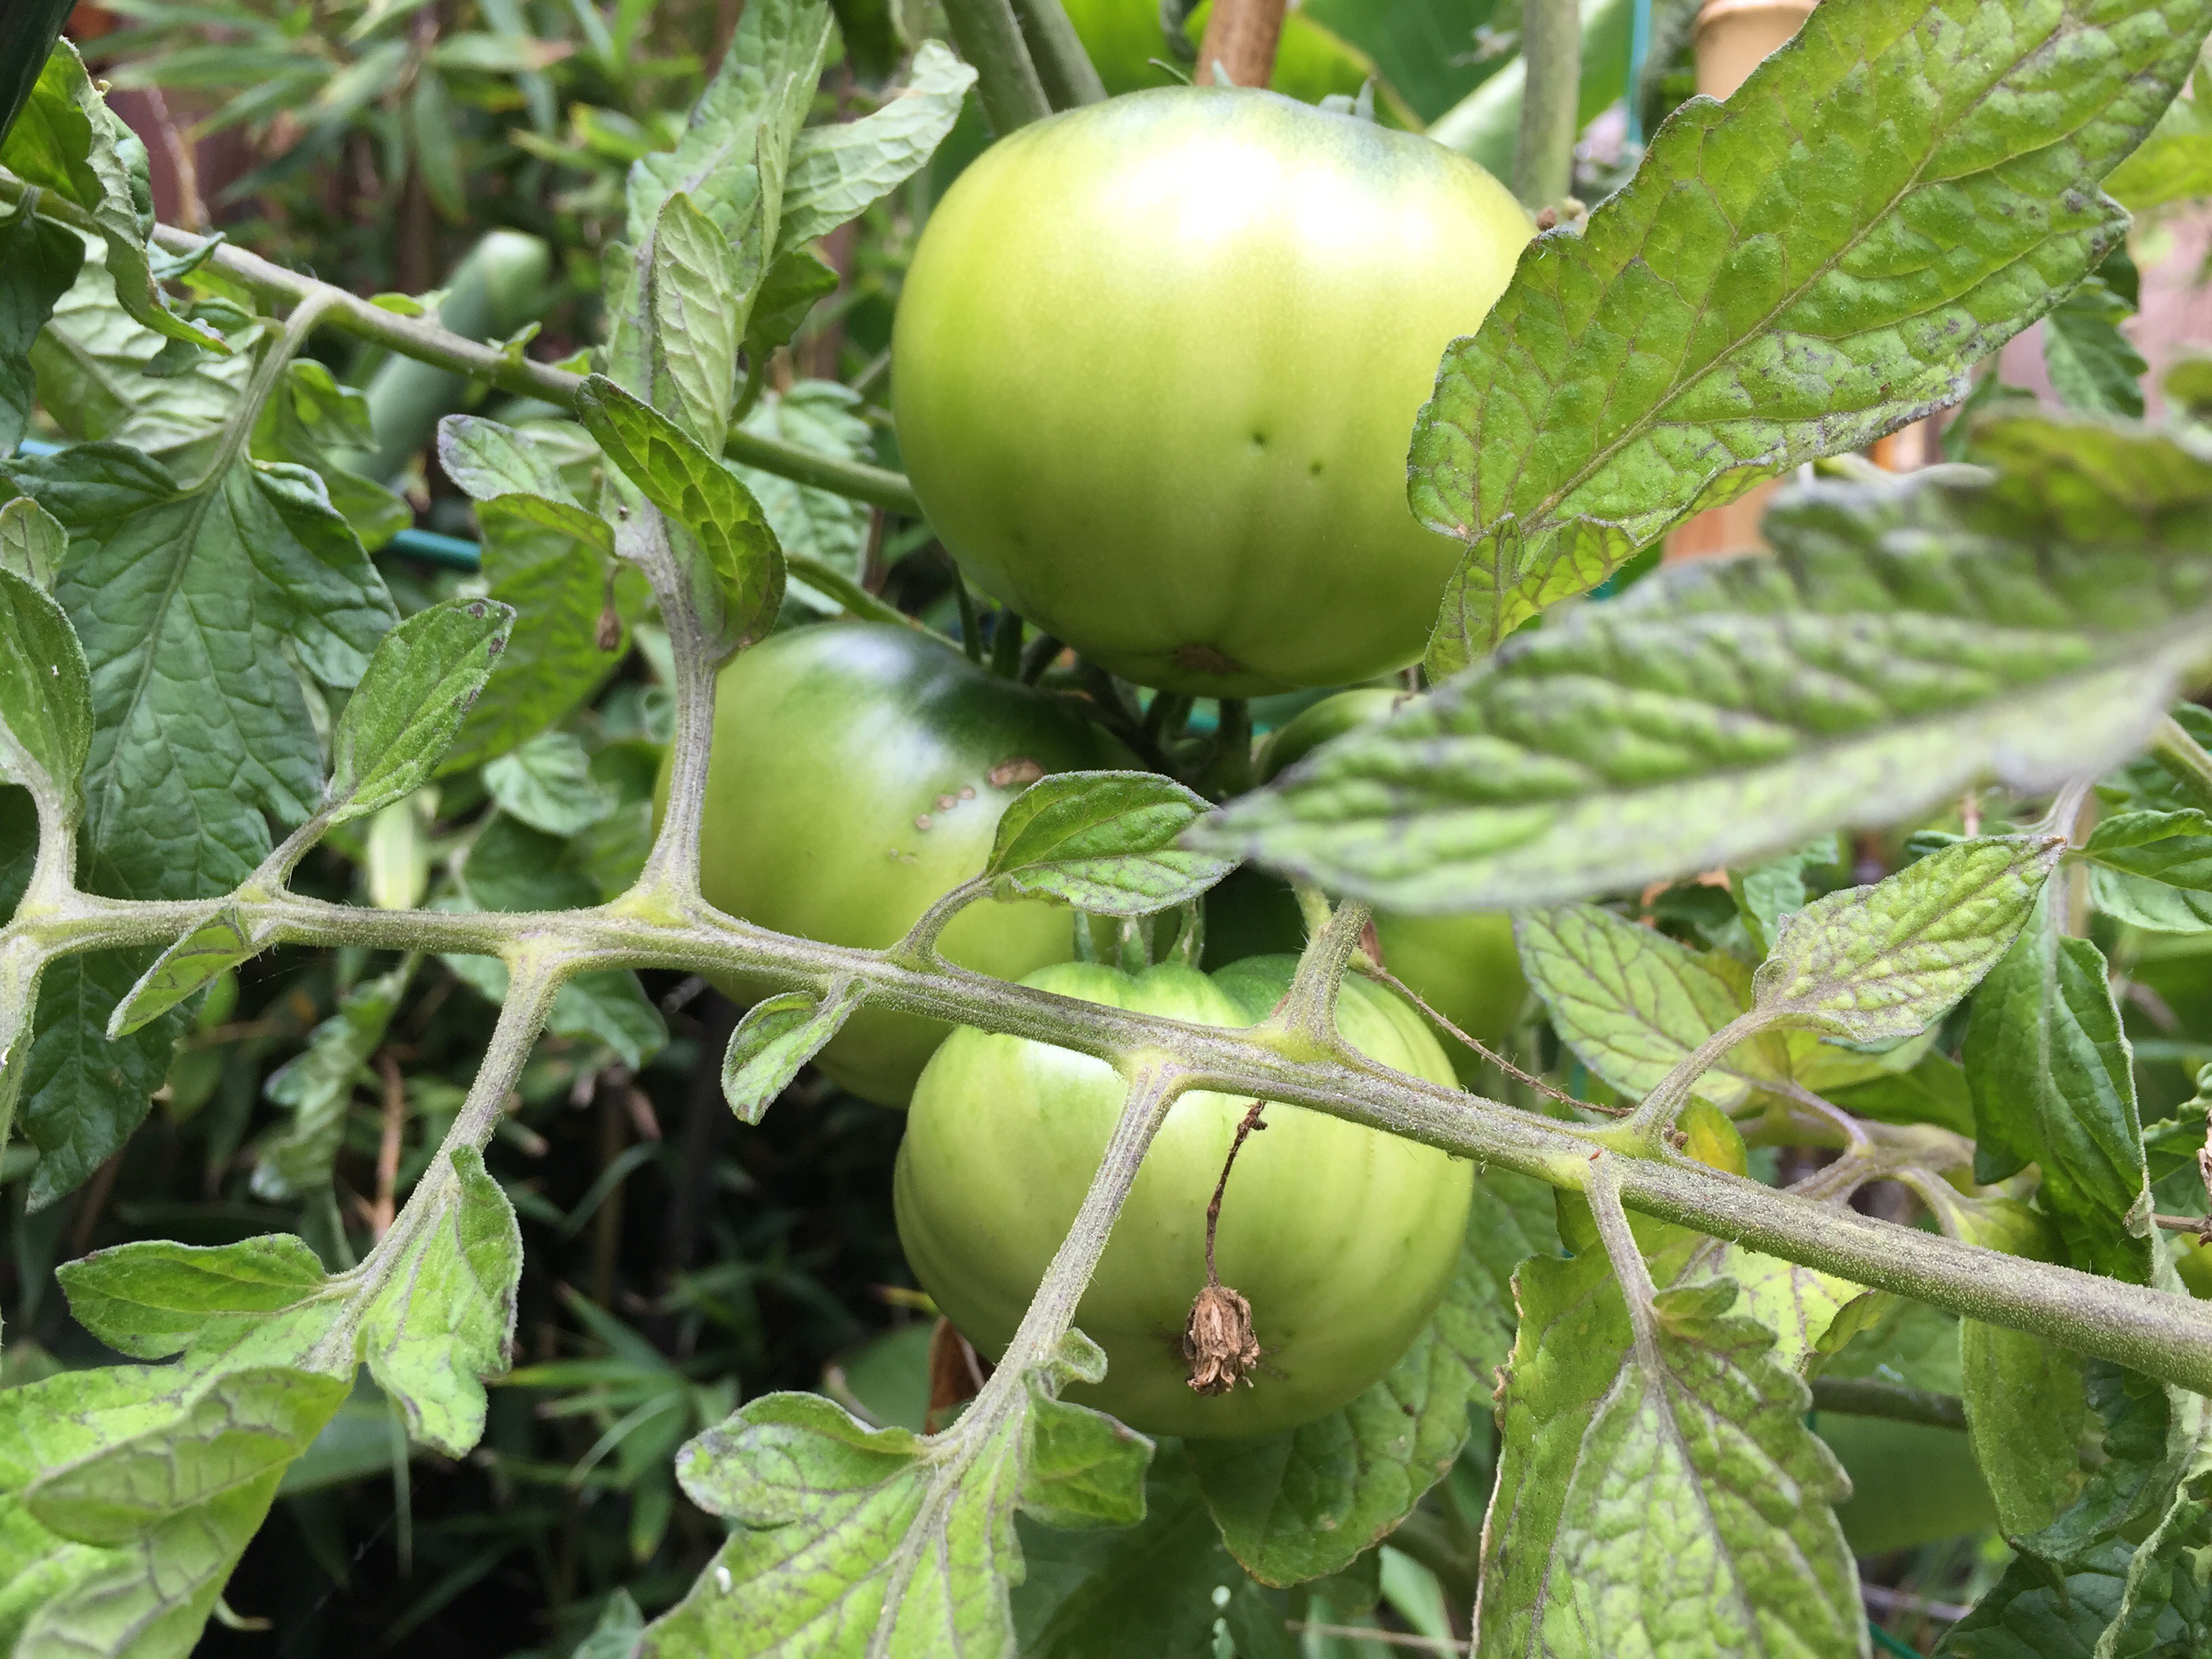
Then whip up another variation on those Black Pepper & Orange peel biscotti by special request from the pals who gave us our “Charlie Brown Tomato Plants”.

Since it’s rare I get a special request, when I got asked to remake my adapted version of the Black Pepper, Vanilla & Orange peel  I wrote about on “the battle rages on” which is actually yet its own adapted recipe  Valerie Bertinelli’s Helen’s Black Pepper Biscotti I agreed too on my return this week.

Below is the my revised version with notations where I made changes

Ingredients
  •  2 3/4 cups all-purpose flour
  •  1/2 teaspoon baking soda*
  •  1/2 teaspoon baking powder*
  •  1 tablespoon freshly ground black pepper ( I use a mixed of fine ground and course grind for taste and texture.)**
  •  Pinch kosher salt
  •  1/2 cup (1 stick) unsalted butter, softened
  •  1 cup sugar
  •  3 large eggs, at room temperature
  •  2 teaspoons grated orange zest (I tend to get the organic ones or ones I pick from my pals garden- depending on size of orange this may be 1 -oranges )
  • The zest of one lemon
  •  1 1/2 teaspoons vanilla extract
  •  1/4 teaspoon almond extract
  • 1 1/2 cups chopped walnuts, lightly toasted (In reality the nuts are option, or use another sturdy nut that can take a bake and have a bite to them; Almonds, Pecans, Pistachios all work to my taste.)
 * If you don’t bake a lot- check the expiration dates on these!
** To give these a visual pop – you can ground peppercorns that are other colors over the traditional black)

Sift together the flour, baking soda and baking powder over a piece of wax parchment paper ( I find this works bette and makes it easier to pour into the mixer). Stir in the pepper and salt. Set aside.

In the bowl of a stand mixer fitted with the paddle attachment, beat the butter on high speed until pale and light, have the patience to let it do it’s work – it could take several minutes. Add the sugar and beat until light and fluffy, about 7 minutes. Reduce the speed to low and add the eggs one at a time, beating well after each addition. Add the orange zest and vanilla and almond extracts.

With the mixer on low, slowly pour in the flour mixture, and then the walnuts. Mix a few minutes till the dough texture is formed a sticky mess 😉 .

(You can also do this by hand and fold them in then work the dough by hand till smooth).

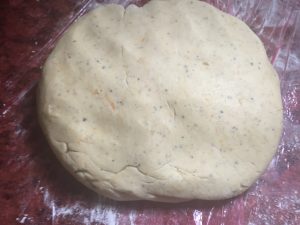
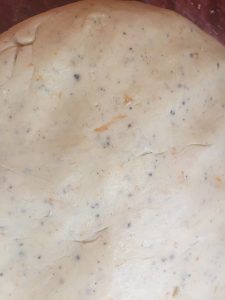
Pour the dough out on to a lightly floured plastic wrap covered surface or clean counter top. Gently knead the dough to shape with your hands to form a thick round ball shape. The dough is super easy to handle at this piont. Cover the dough with plastic wrap and refrigerate for 30 minutes. (For this batch I omitted nuts). img_3111 img_3112

Preheat the oven to 350 degrees F. Line 2 baking sheets with parchment paper ( nonstick silicone liners also work).

Remove from the refrigerator, unwrap and divide the dough in half, place 1 piece on each sheet and shape each piece into a 12-inch log, about 2 inches across and 1 inch tall. (note you can make these as wide or thick as you like – I find because of the texture and taste of these, I tend to like a finished bake that is about 3inch long and 1.5 inch high you may have to play with it a few times). But they don’t need to be preferfect. In fact any uniform shape will work. ( I am planning to try shaping it as a round log and slice into discs next time). Bake until the logs are cooked through and lightly browned on the bottom, about between 20- 35 minutes, depending on your oven and pans.  Watch them the last 5- 10 minutes as this could differ based on your pan and stove temp.

Let the logs cool for about 5-7 minutes on the baking sheets (leave the oven on), then transfer them carefully to racks (remove the parchment paper) to cool 10-15 minutes more.

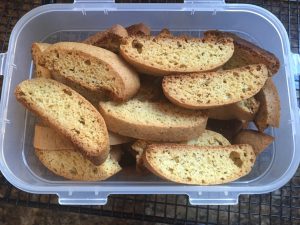
Using a serrated knife, slice each log either on the diagonal (to give you a fancy shape) or straight across into 3/4-inch-thick slices. Arrange the slices cut-side down on the baking sheets and return to the oven until well toasted, 10 to 15 minutes more. I general flip mine over about half way to get even color. img_3121 img_3120

Note: These biscotti have a great golden color to them which will darker to as you “second bake”. If you want to keep them less brown; adjust time or instead of laying them on the cut sides, leave the standing cooked side down.

Transfer the biscotti to cooling racks to cool completely. The longer they bake the harder they become. Note: they will continue to harden as they cool. Store in tins or air tight containers (QVC favorite Lock & Lock rock for this). They will keep, tightly covered, up to 1 week.

This Cook’s Note came from the recipe website and I though worth sharing: To toast the walnuts  or most nuts on the stove top, put them in a dry skillet over medium heat and cook, stirring, until golden and fragrant. To toast them in the oven, spread in a single layer on a baking sheet and roast at 350 degrees F until golden and fragrant. In either case- the minute you smell them – get them off the heat.


Adapted from “One Dish at a Time: Delicious Recipes from My Italian-American Childhood and Beyond” by Valerie Bertinelli © Rodale 2012. Provided courtesy of Valerie Bertinelli. All rights reserved.