So I hate to toss away stale bread products and luckily I am a huge fan of bread puddings – so recipe was as a result of seeing what I had handy
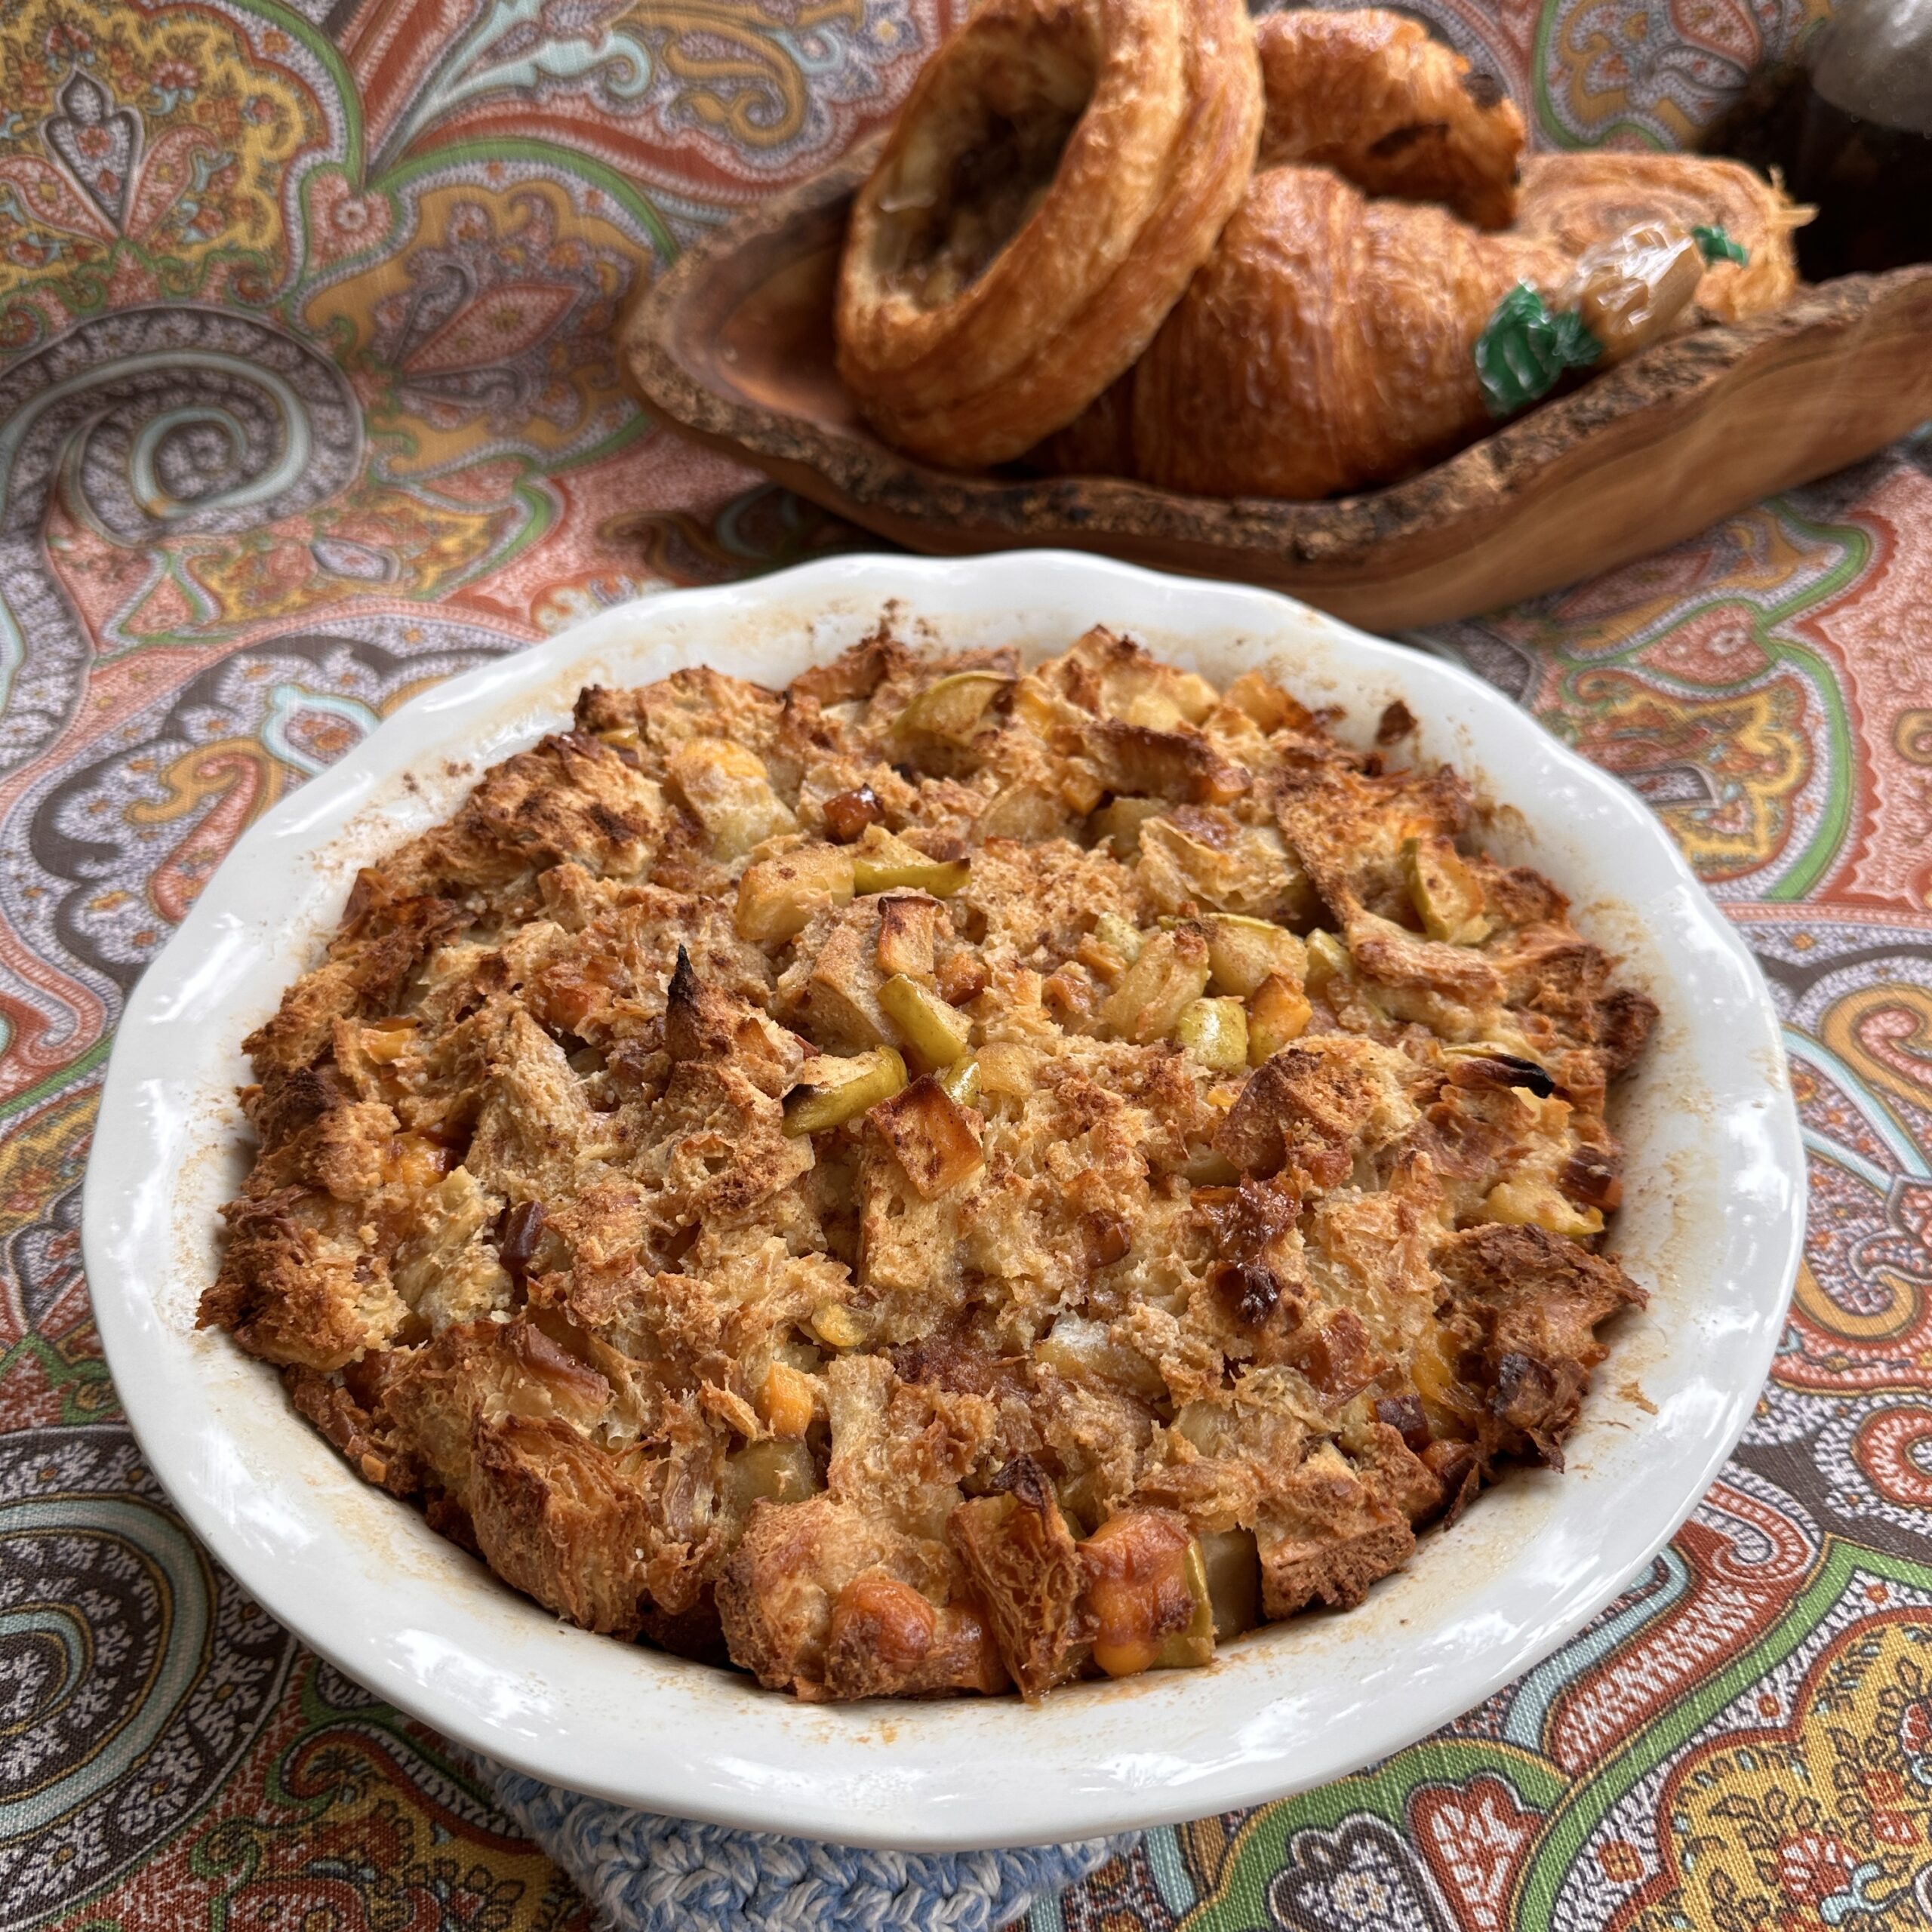
I recently started using an app called TooGoodToGo as a way to see what kinds of food and perishables are available from local vendors as a reduced cost. This saves them from tossing out perfectly good merch and it saves me some money too! Danish and baked goods are a popular item and a a result I have some assorted danish and croissants that I wasn’t able to eat at its freshest. So what came to mind was, “lets turn it into a “bread pudding”.
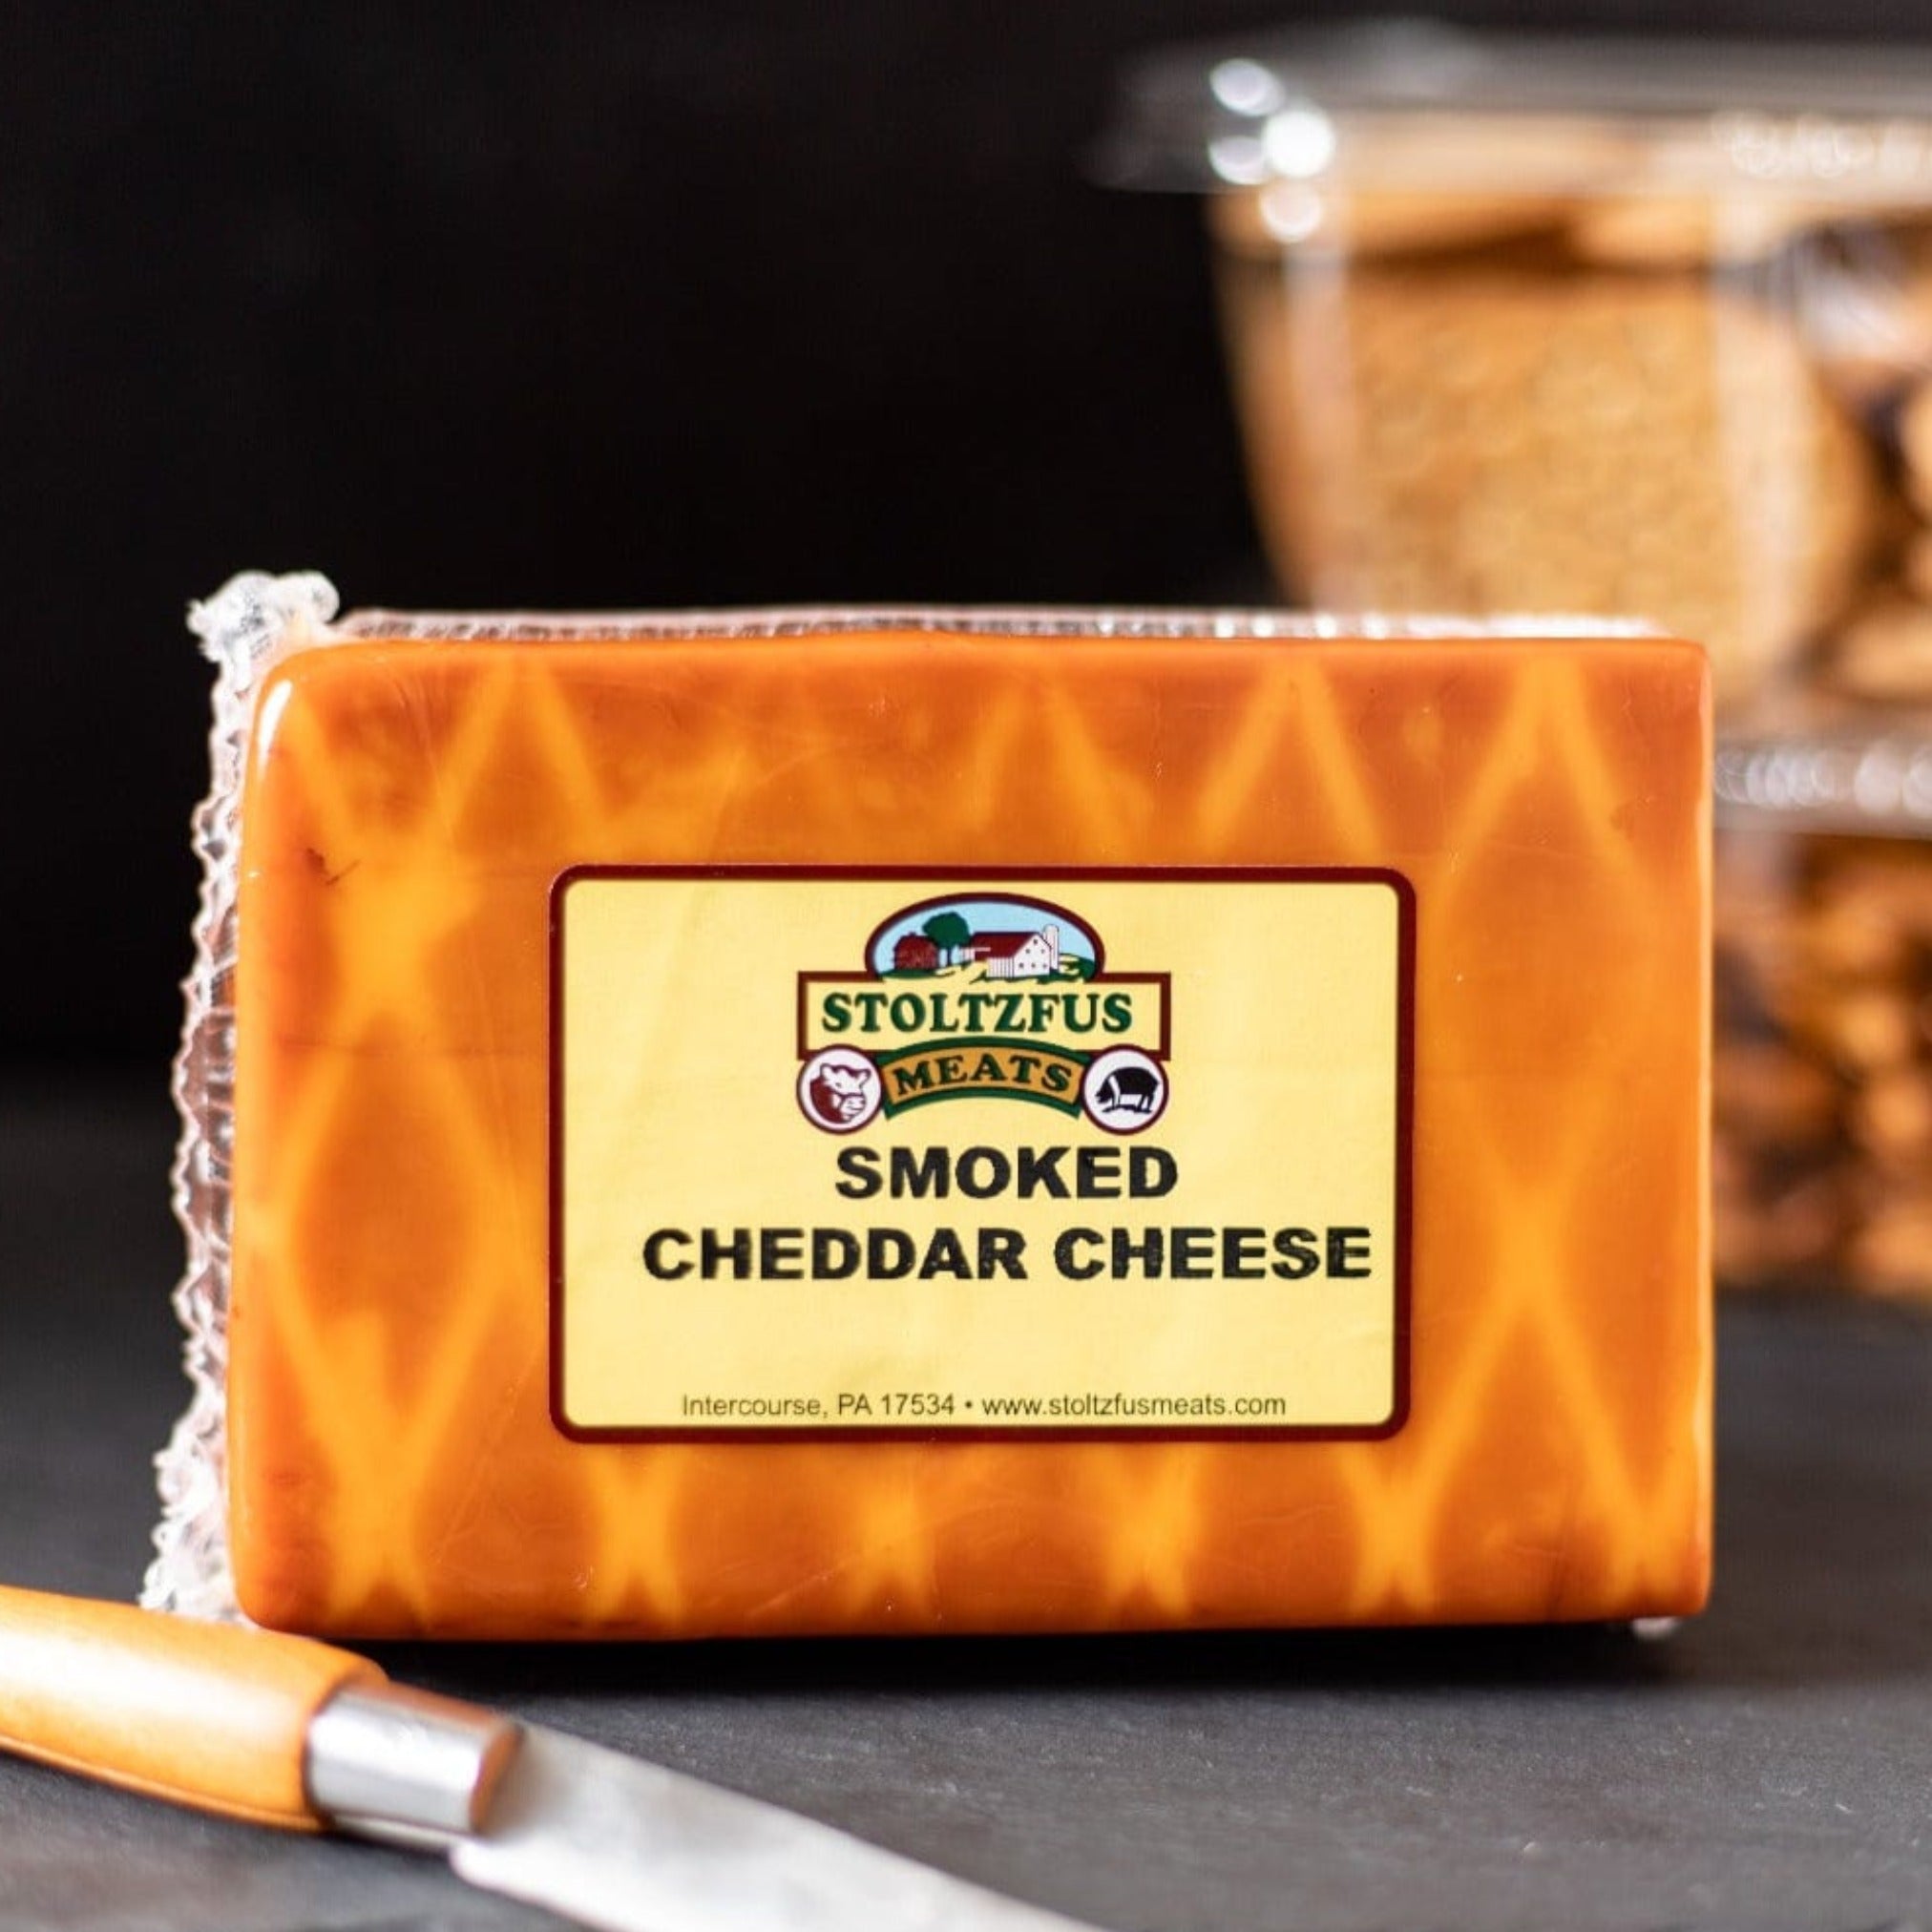 I rummaged around and saw I had granny smith apples and some smoked cheddar cheese from Stoltzfus Meats out of PA. I had the opportunity to try some of the product they produce in a few recent recipes including Bacon, Onion, Cheese, and Walnut Bisquick Muffins and a Smoked Hog inspired Muffaletta and had been saving the last piece of cheese for something special.
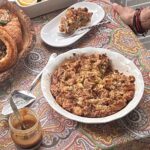
Now before you say “no way” – remember for New Englanders eating pieces of cheddar cheese with Apples slices or on a piece of warm Apple Pie is cultural. So I figured what the hell. I also made a yummy caramel drizzle to use as a side sauce with some of the Celtic Sea Salt Caramels from Bequet that my pal Christine (Tiktoks @OctoberDragonfly)
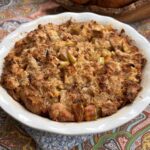
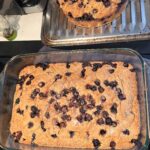
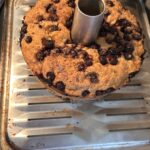
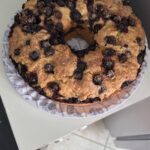
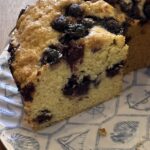
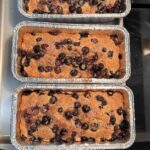
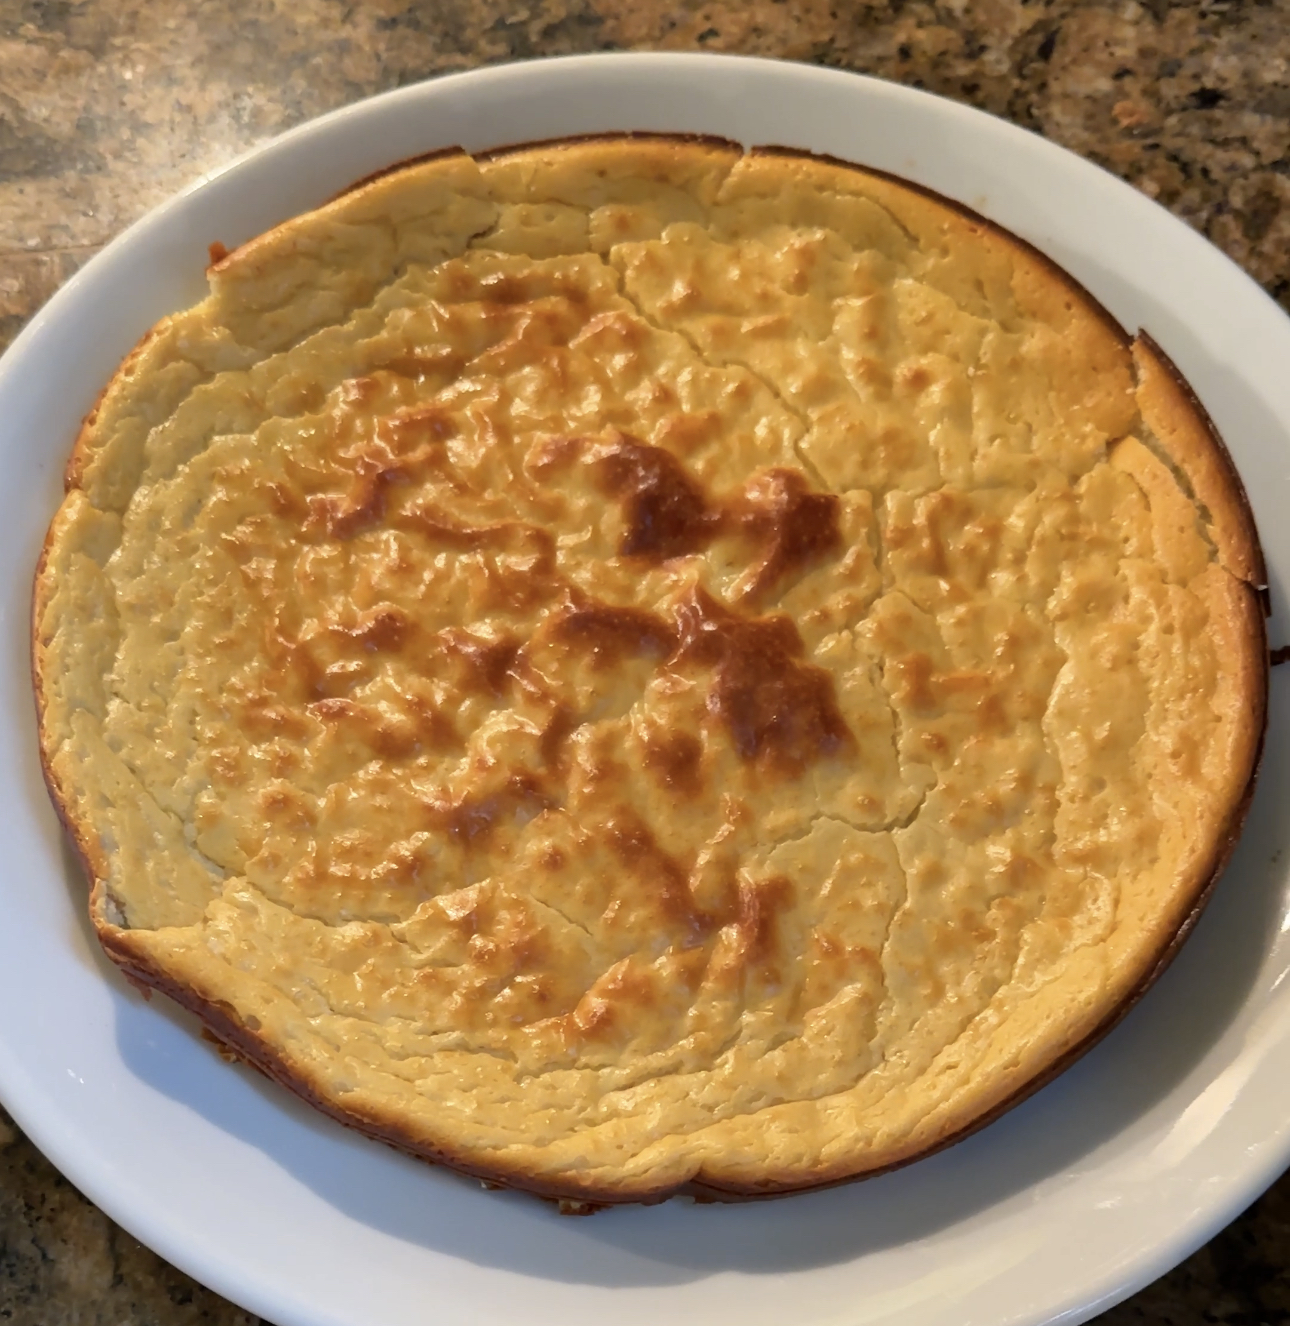
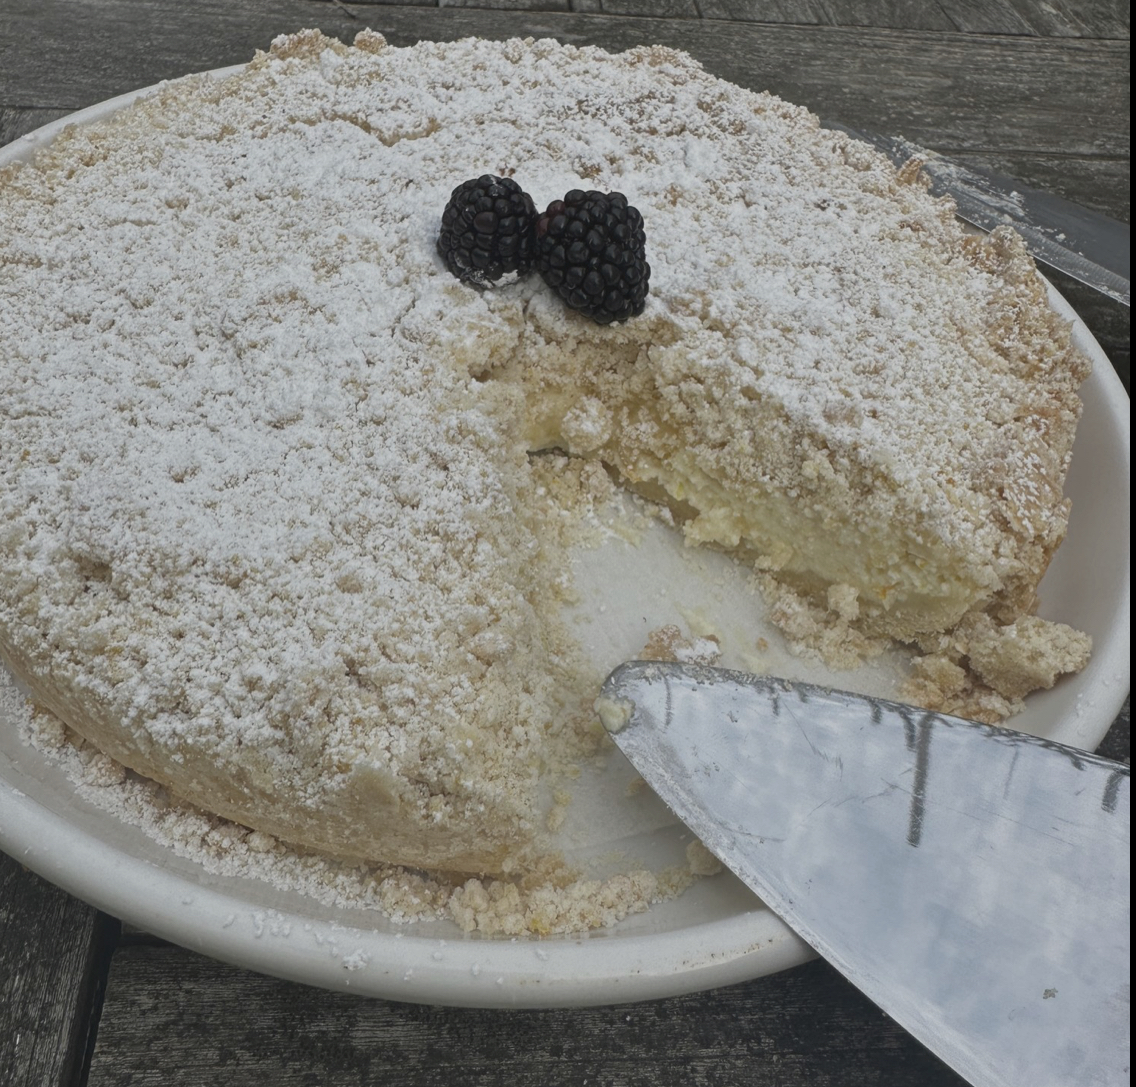
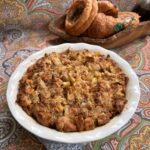 My Day Old Danish, Smoked Cheddar & Apple Pudding
You can start with this Basic Bread Pudding Base; good on it own and very adaptable to any additions
- 1 1/2 cups (12 oz.) milk (or heavy cream)
- 3 large eggs
- 6 cups day old danish, cut into 1″ cubes
- 5 tbsp light brown sugar (depending on how sweet you want this)
- 2-3 tsp Ground Cinnamon or Pumpkin Pie spice Mix ( to your taste)
- 1 teaspoon Vanilla Extract
- Butter or cooking spray for greasing pan
This amount makes for a perfect Loaf pan or regular pie tin. For a deep dish pie pan- double the recipe and pile it high before backing!
For Smoked Cheddar & Apple Danish Pudding variation you will need:
- 1 cup small diced Stoltzfus Smoked Cheddar Cheese
- 1 large granny smith apple diced in10 1″ pieces (washed but you can peal or not up to you)
- 2 tbsp light brown sugar
- 2 tbsp butter
- Pinch of salt
Making it
- Up to 1 hour before (or overnight), vigorously whisk together the milk, eggs, 1-2 tbsp of the brown sugar, vanilla and seasonings in a medium bowl.
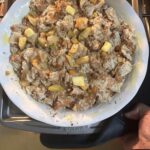
- Put the cubed bread pieces into a large bowl and pour the liquid mixture over the bread pieces, stirring to combine and gently pressing to help absorb the liquid base.
- Let sit for at least 60 minutes, or overnight to soak up liquid.
- Cover and refrigerate
Baking Time!
- Preheat oven to 350 degrees.
- Take the soaked danish out
- Peel and chop the apples.
- Sauté the apples in a skillet; with remaining brown sugar, butter and a pinch of salt until soft
- Remove from the heat
- Add the diced cheese to the cubed mix incorporate
- Using a slotted spoon, add the cooled fruit into the soaked danish, reserving the liquid in the pan and gently mix well .
- Grease/butter a pie plate or casserole dish and pour mixture into it. Pile it high.
- Drizzle the reserved sugar and apple glaze from the saute pan over the pudding.
- Sprinkle with sugar and cinnamon
- Bake for 45 minutes to one hour on middle rack until the pudding begins to pull away from the sides and has raised some. You want it to have a nice golden-brown top.
- Check for doneness (should not be any liquid when a knife inserted and pulled apart)
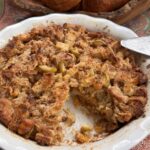
- Let cool 15-30 minutes before serving
The addition of the cheddar makes this a version a more New England inspired taste and can work as an unusual side dish dressing with roasted meats or add the caramel sauce, or top with a scoop of ice cream as a warm sweet treat.
You can substitute apple pie filling for fresh apples.