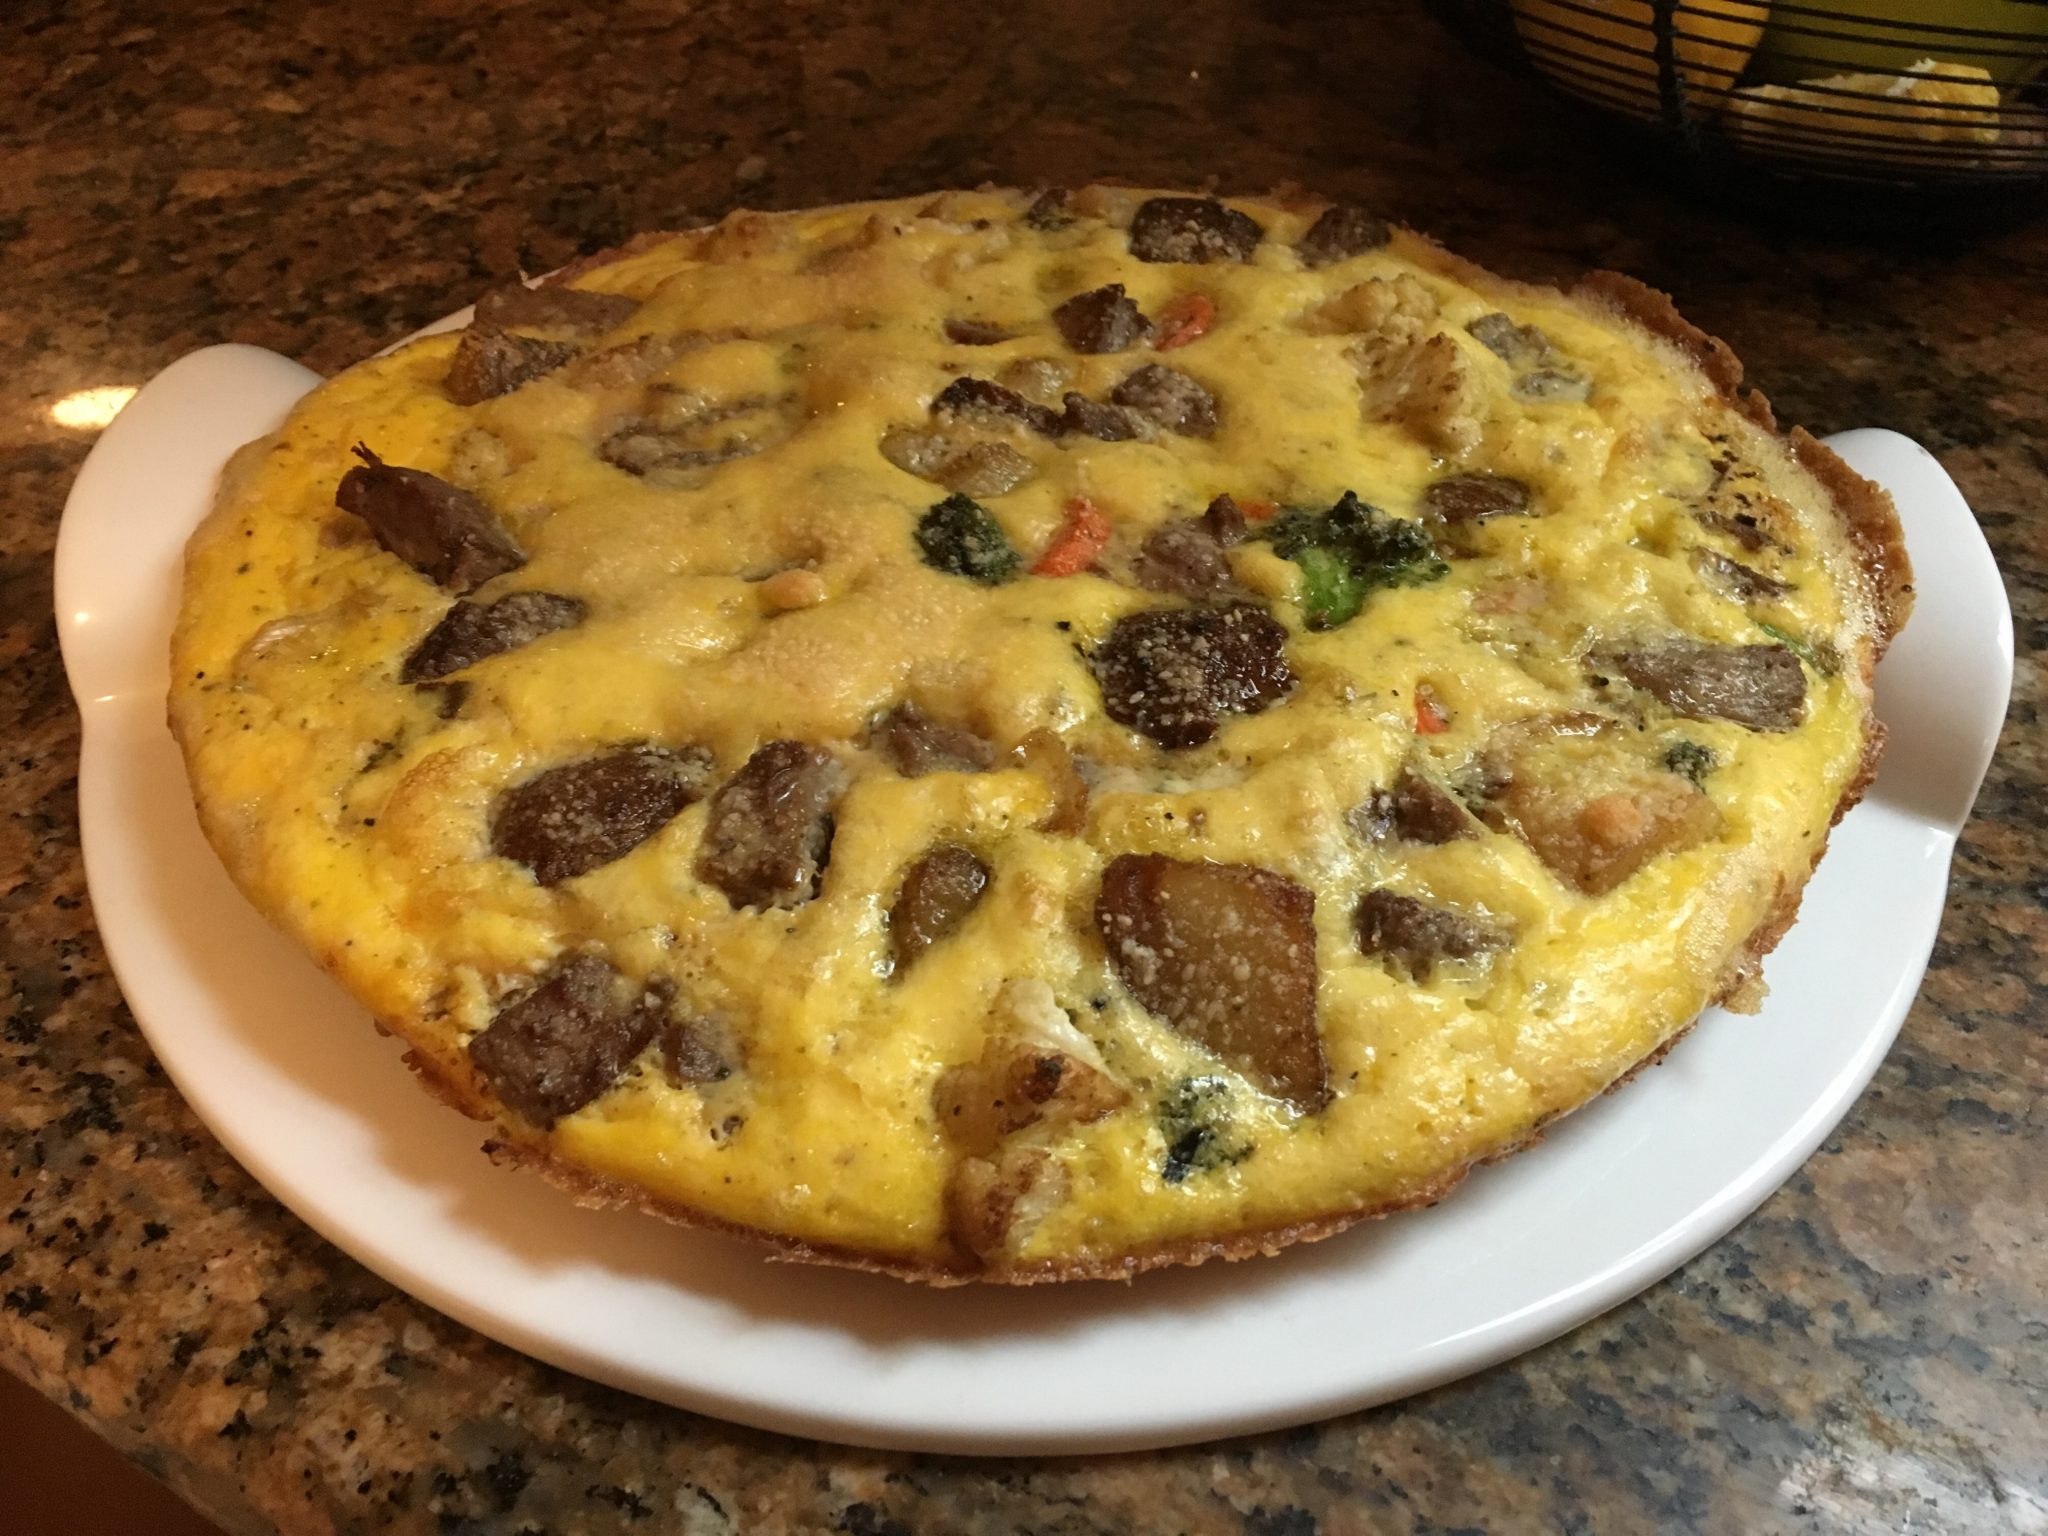
I first came across this on Ree Drummond’s Food Network show the Pioneer Woman but she also did a version on her blog back in 2015 here. I made a first batch a few weeks ago and was surprised at how good and easy it was. I have made some adaptions for our tastes below.
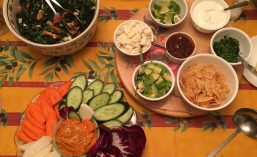
Carrot “Hummus” Recipe with raw veggies
 This dish can be made vegan or not; just depends on you time and needs. I have made several variations on this recently for a small rainy night dinner in 2017 and in 2016 Carrot Hummus at Easter and posted about it here. I found the recipe initially on the Joanne Weir website for CreateTV and adapted it some for my taste. Continue reading
Woohoo. Another win last night at dinner on the road.
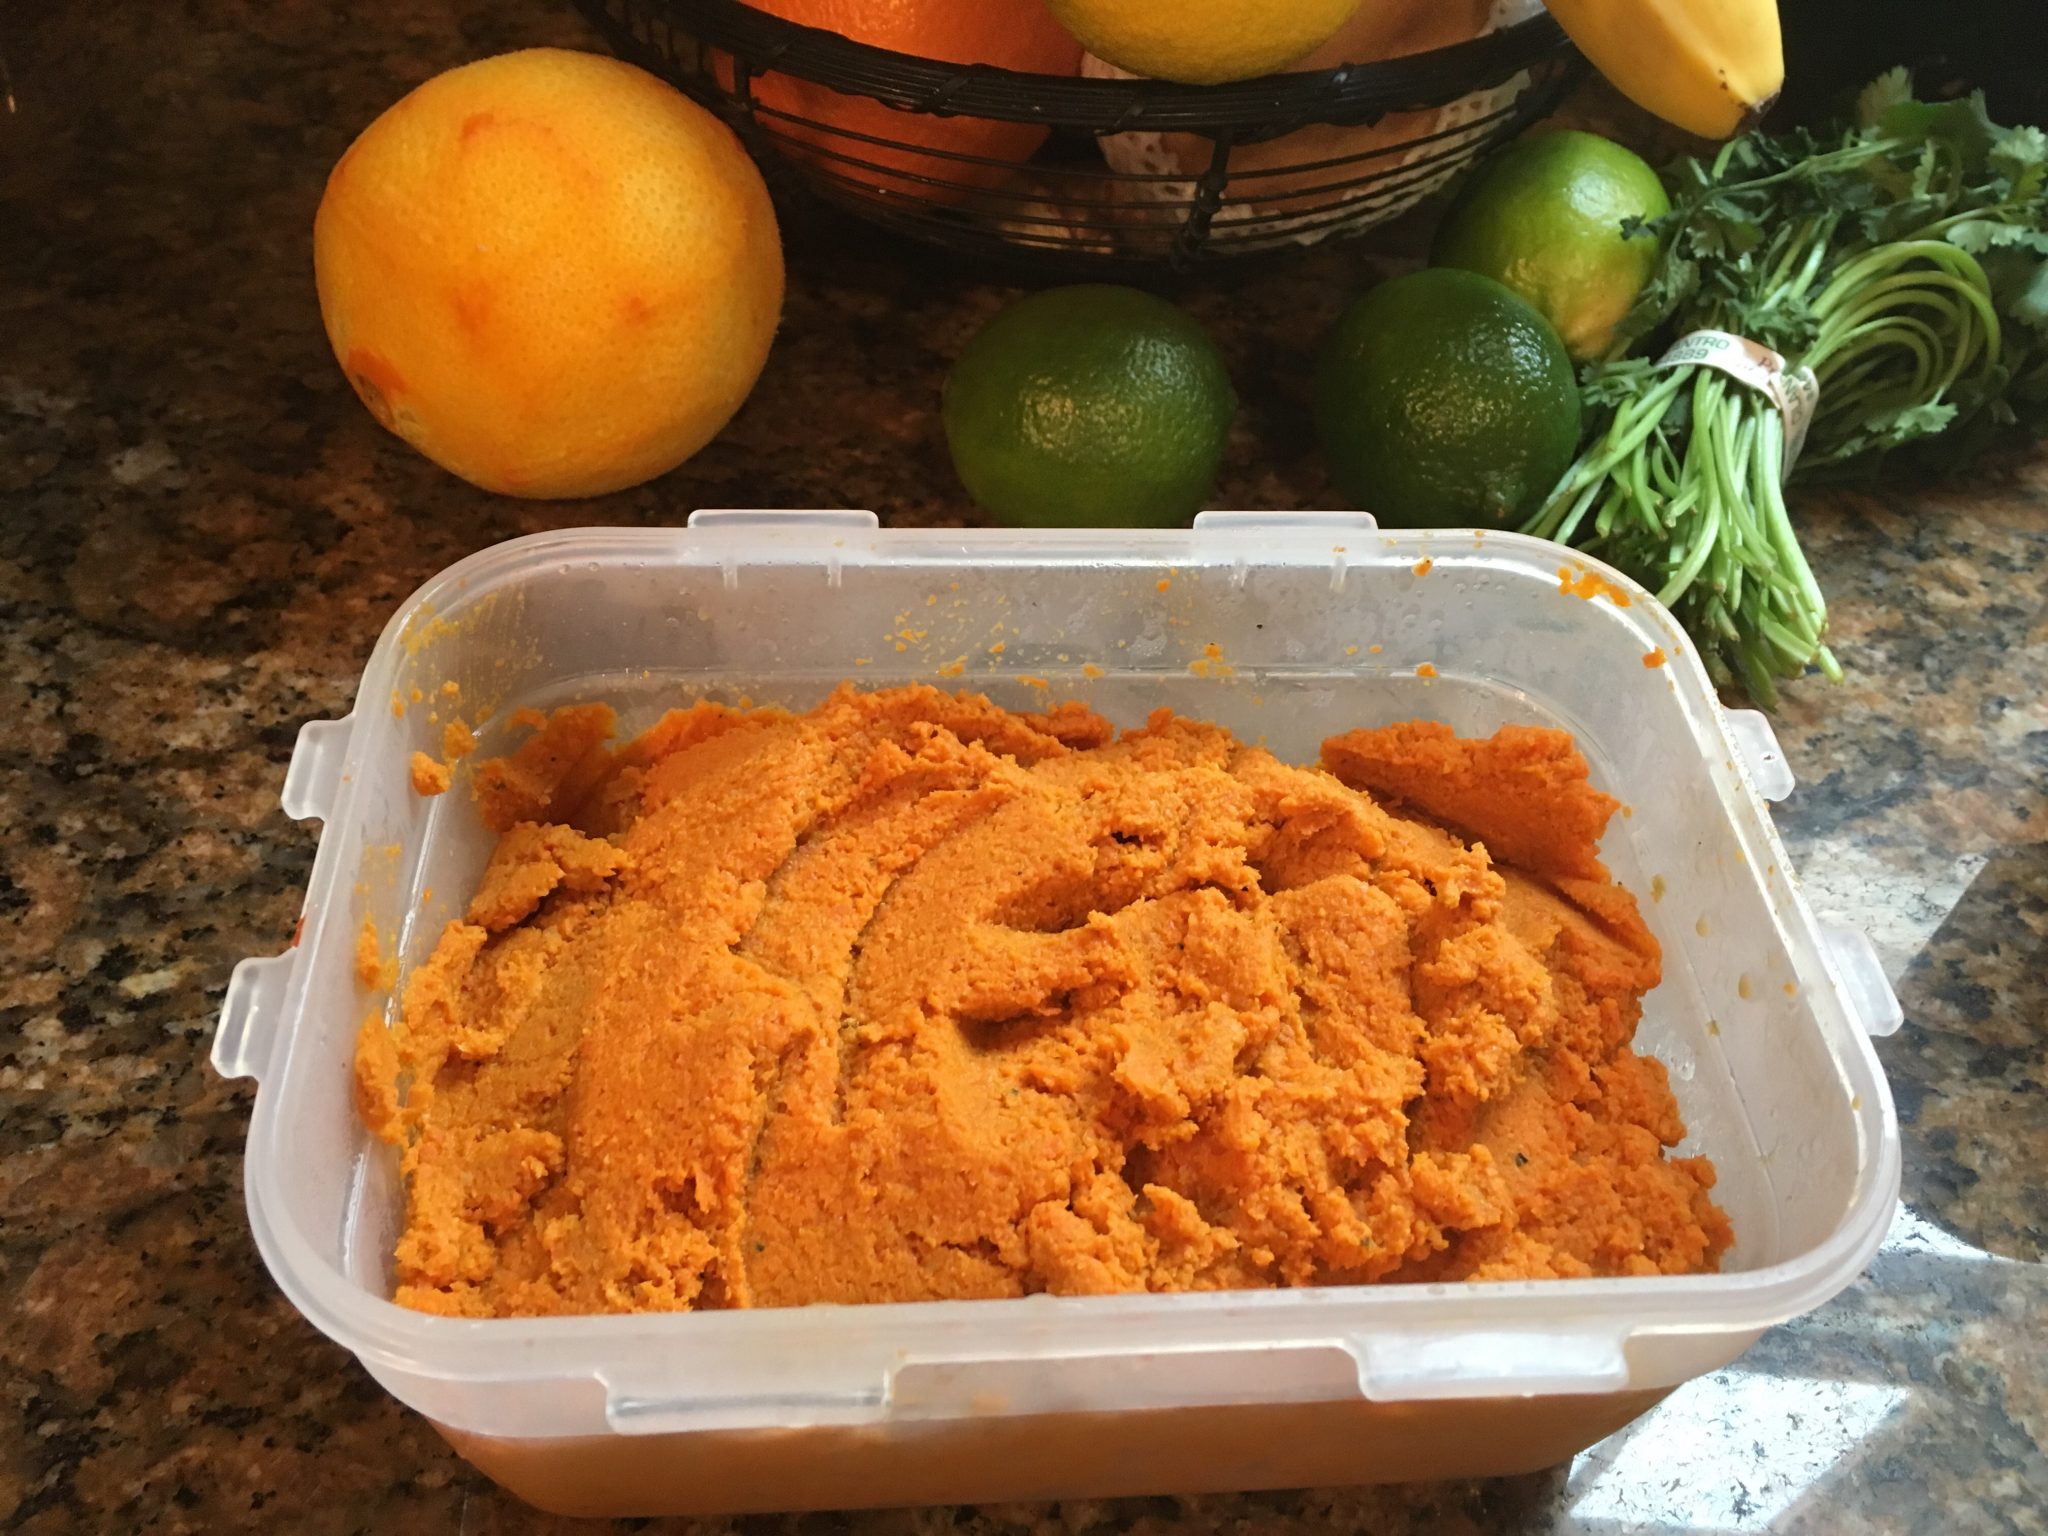
Vegan adapted Carrot “Hummus” rocked it last night. Perfect starter to the Mexican inspired chix soup with all the toppings & a citrus, fennal & kale salad.
Starting this week you can also find all my “official” recipes here as I convert them from the blog posts for easier searching.
Adding in some great rustic sourdough bread, a homemade spelt loaf, some cheese and good talk made for a full night. Check for the full recipes here.
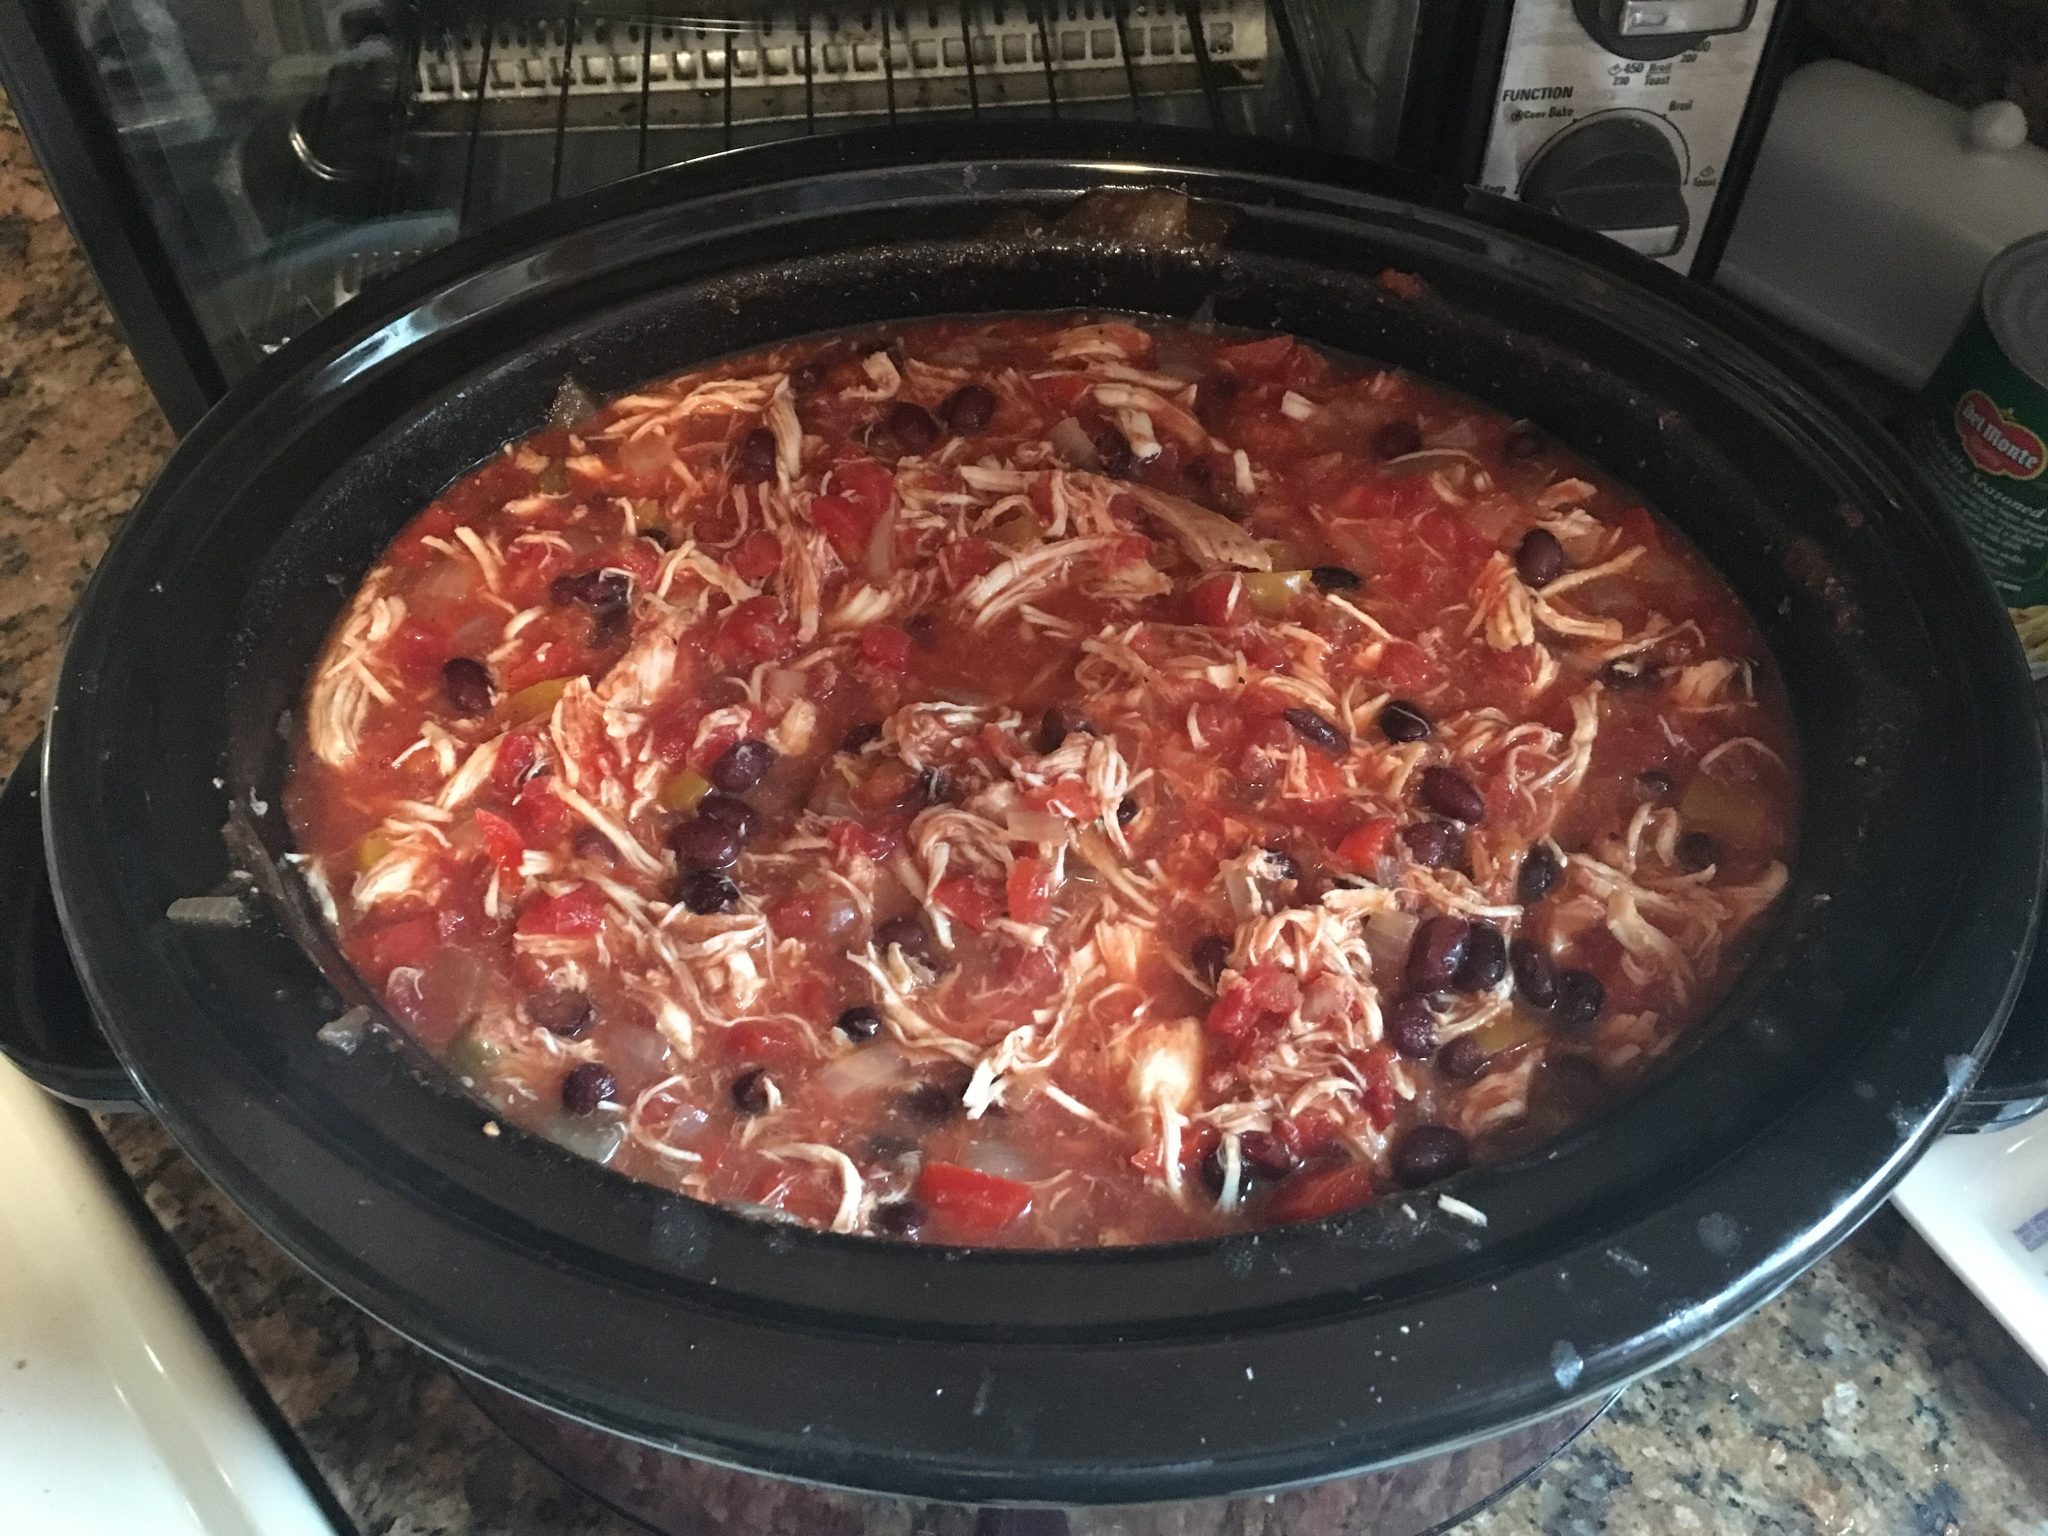
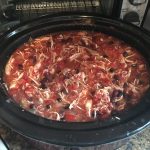
Heavy on the shredded chicken and smokey chipotle
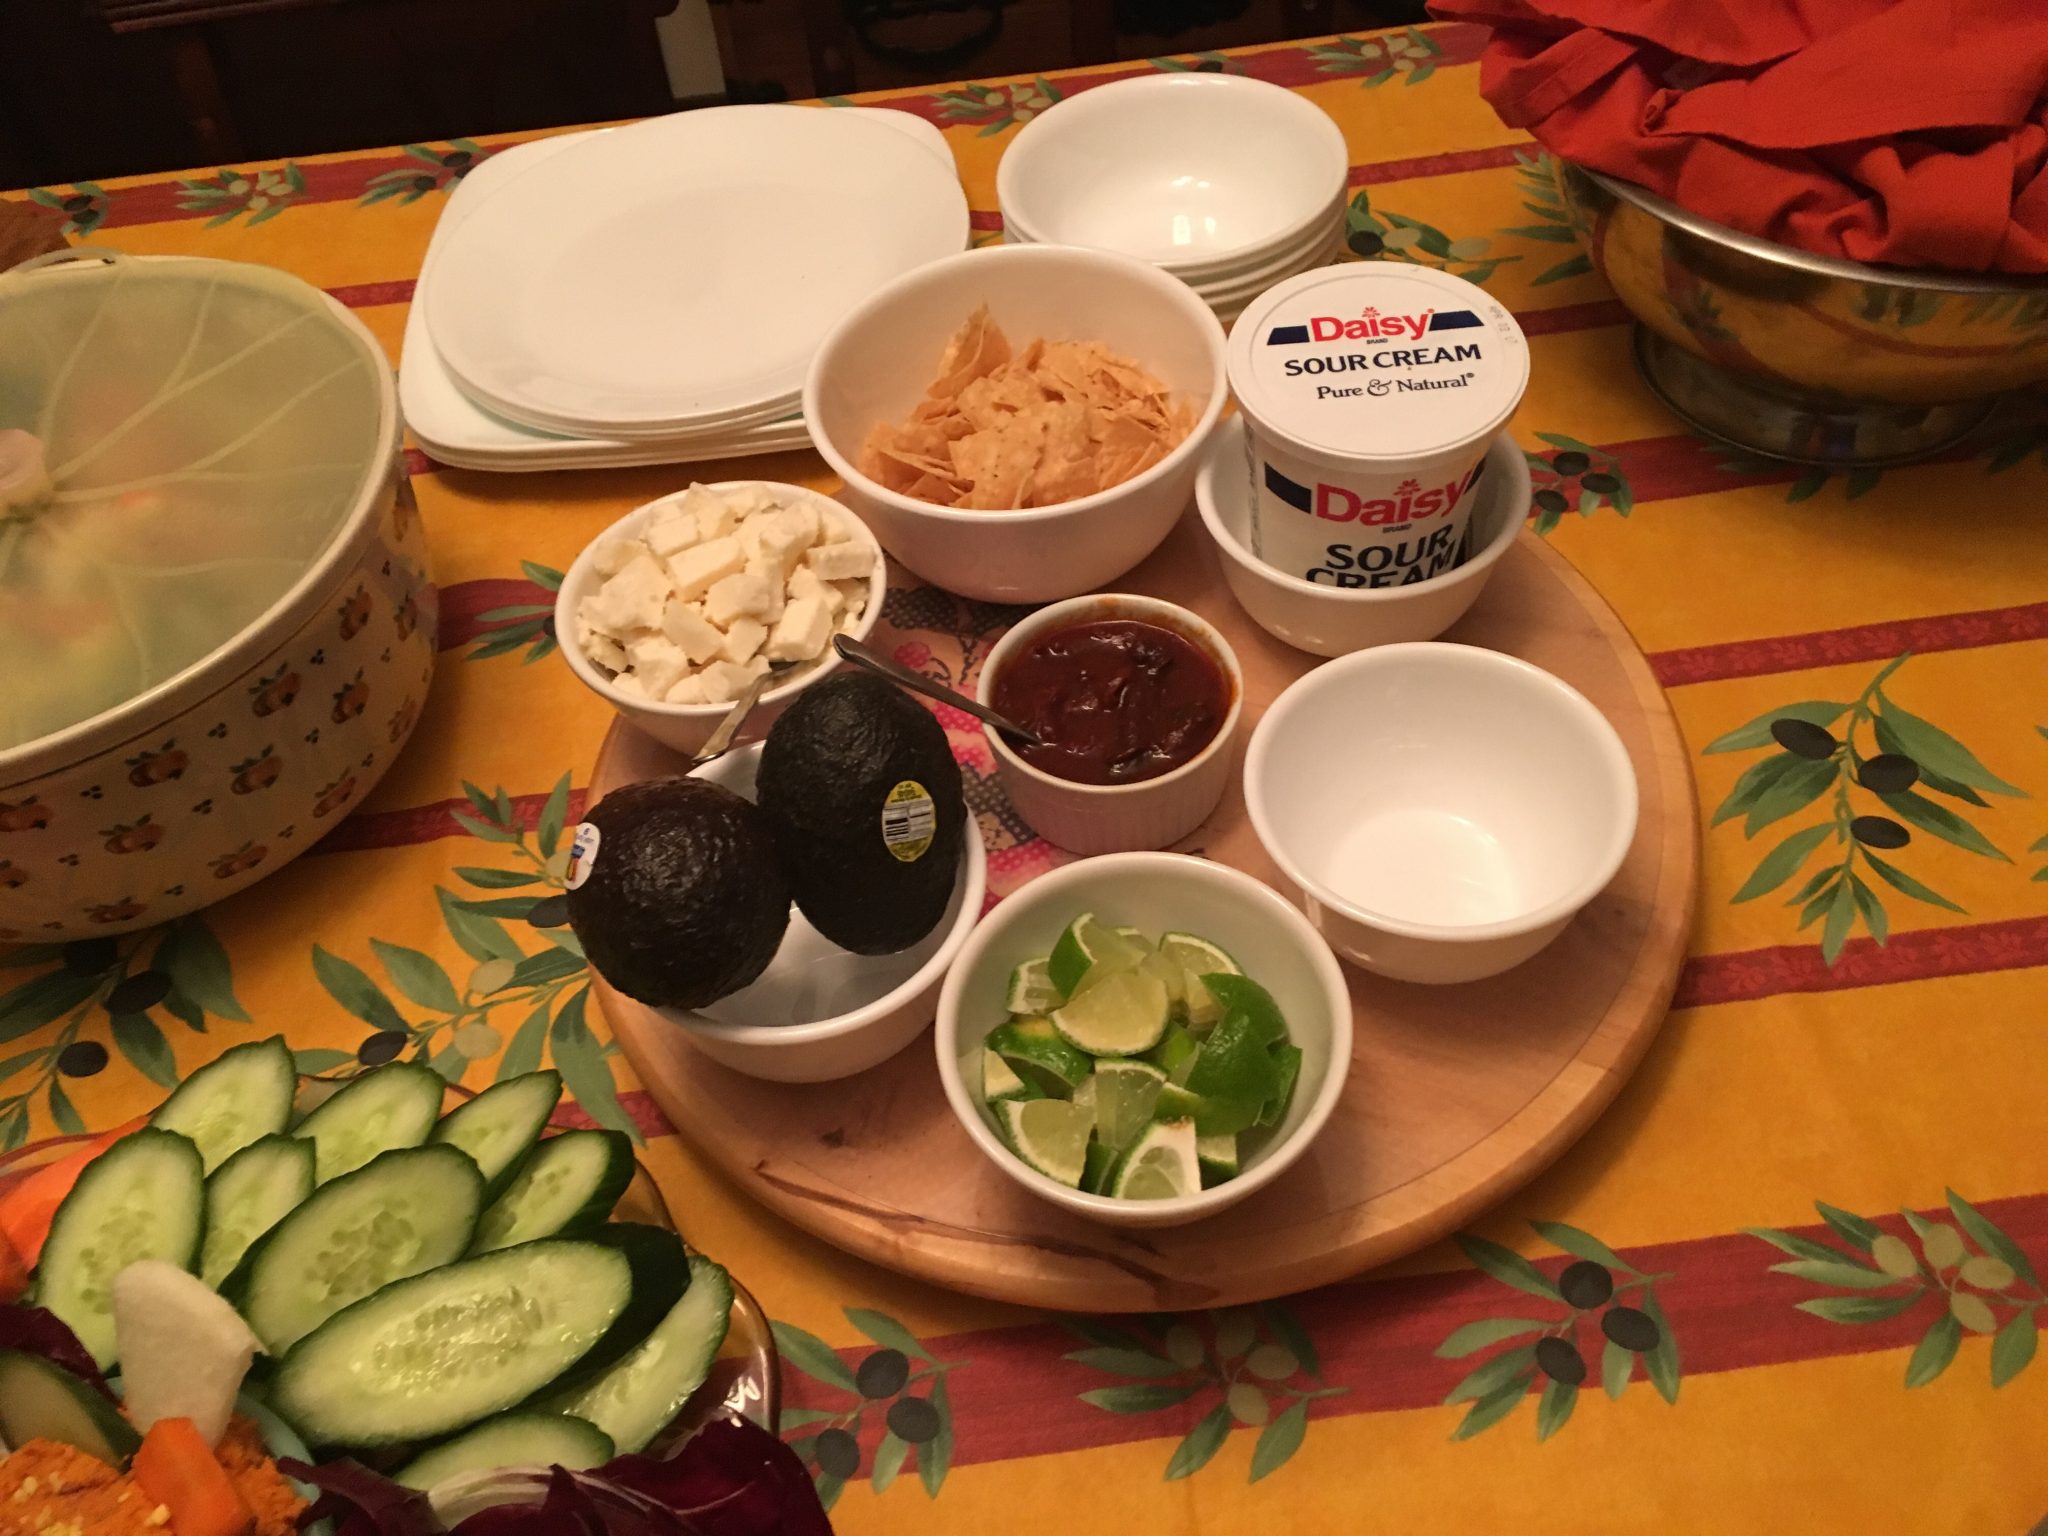
Laying out the foundation for last minute prep
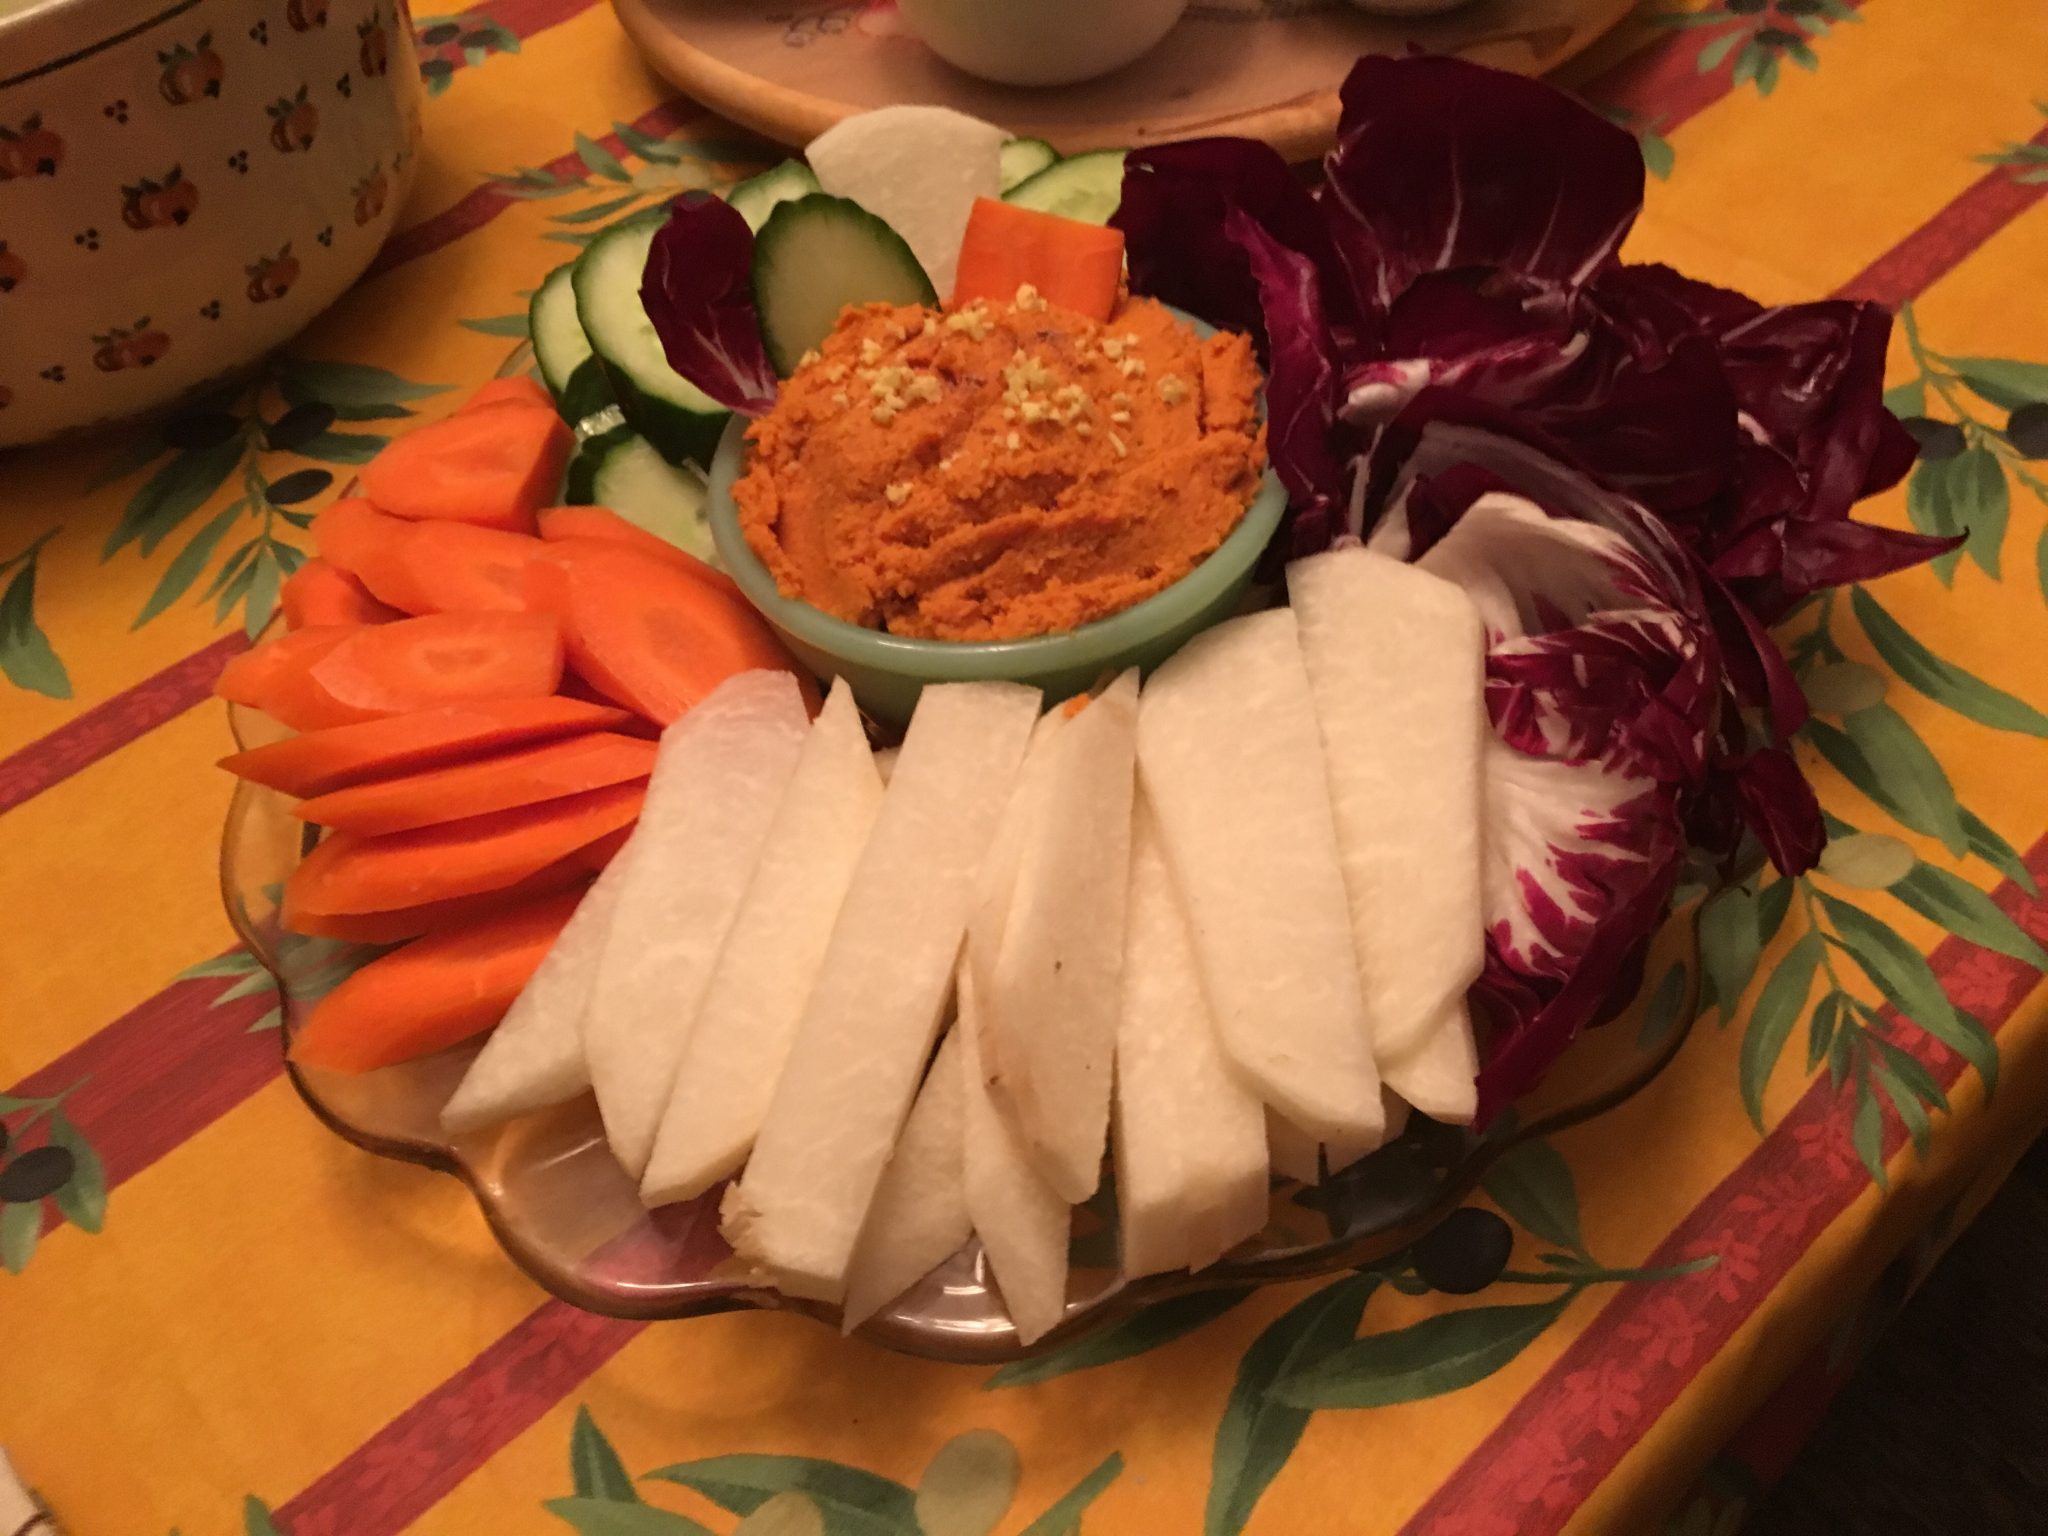
The rustic chop veggies circle its prey
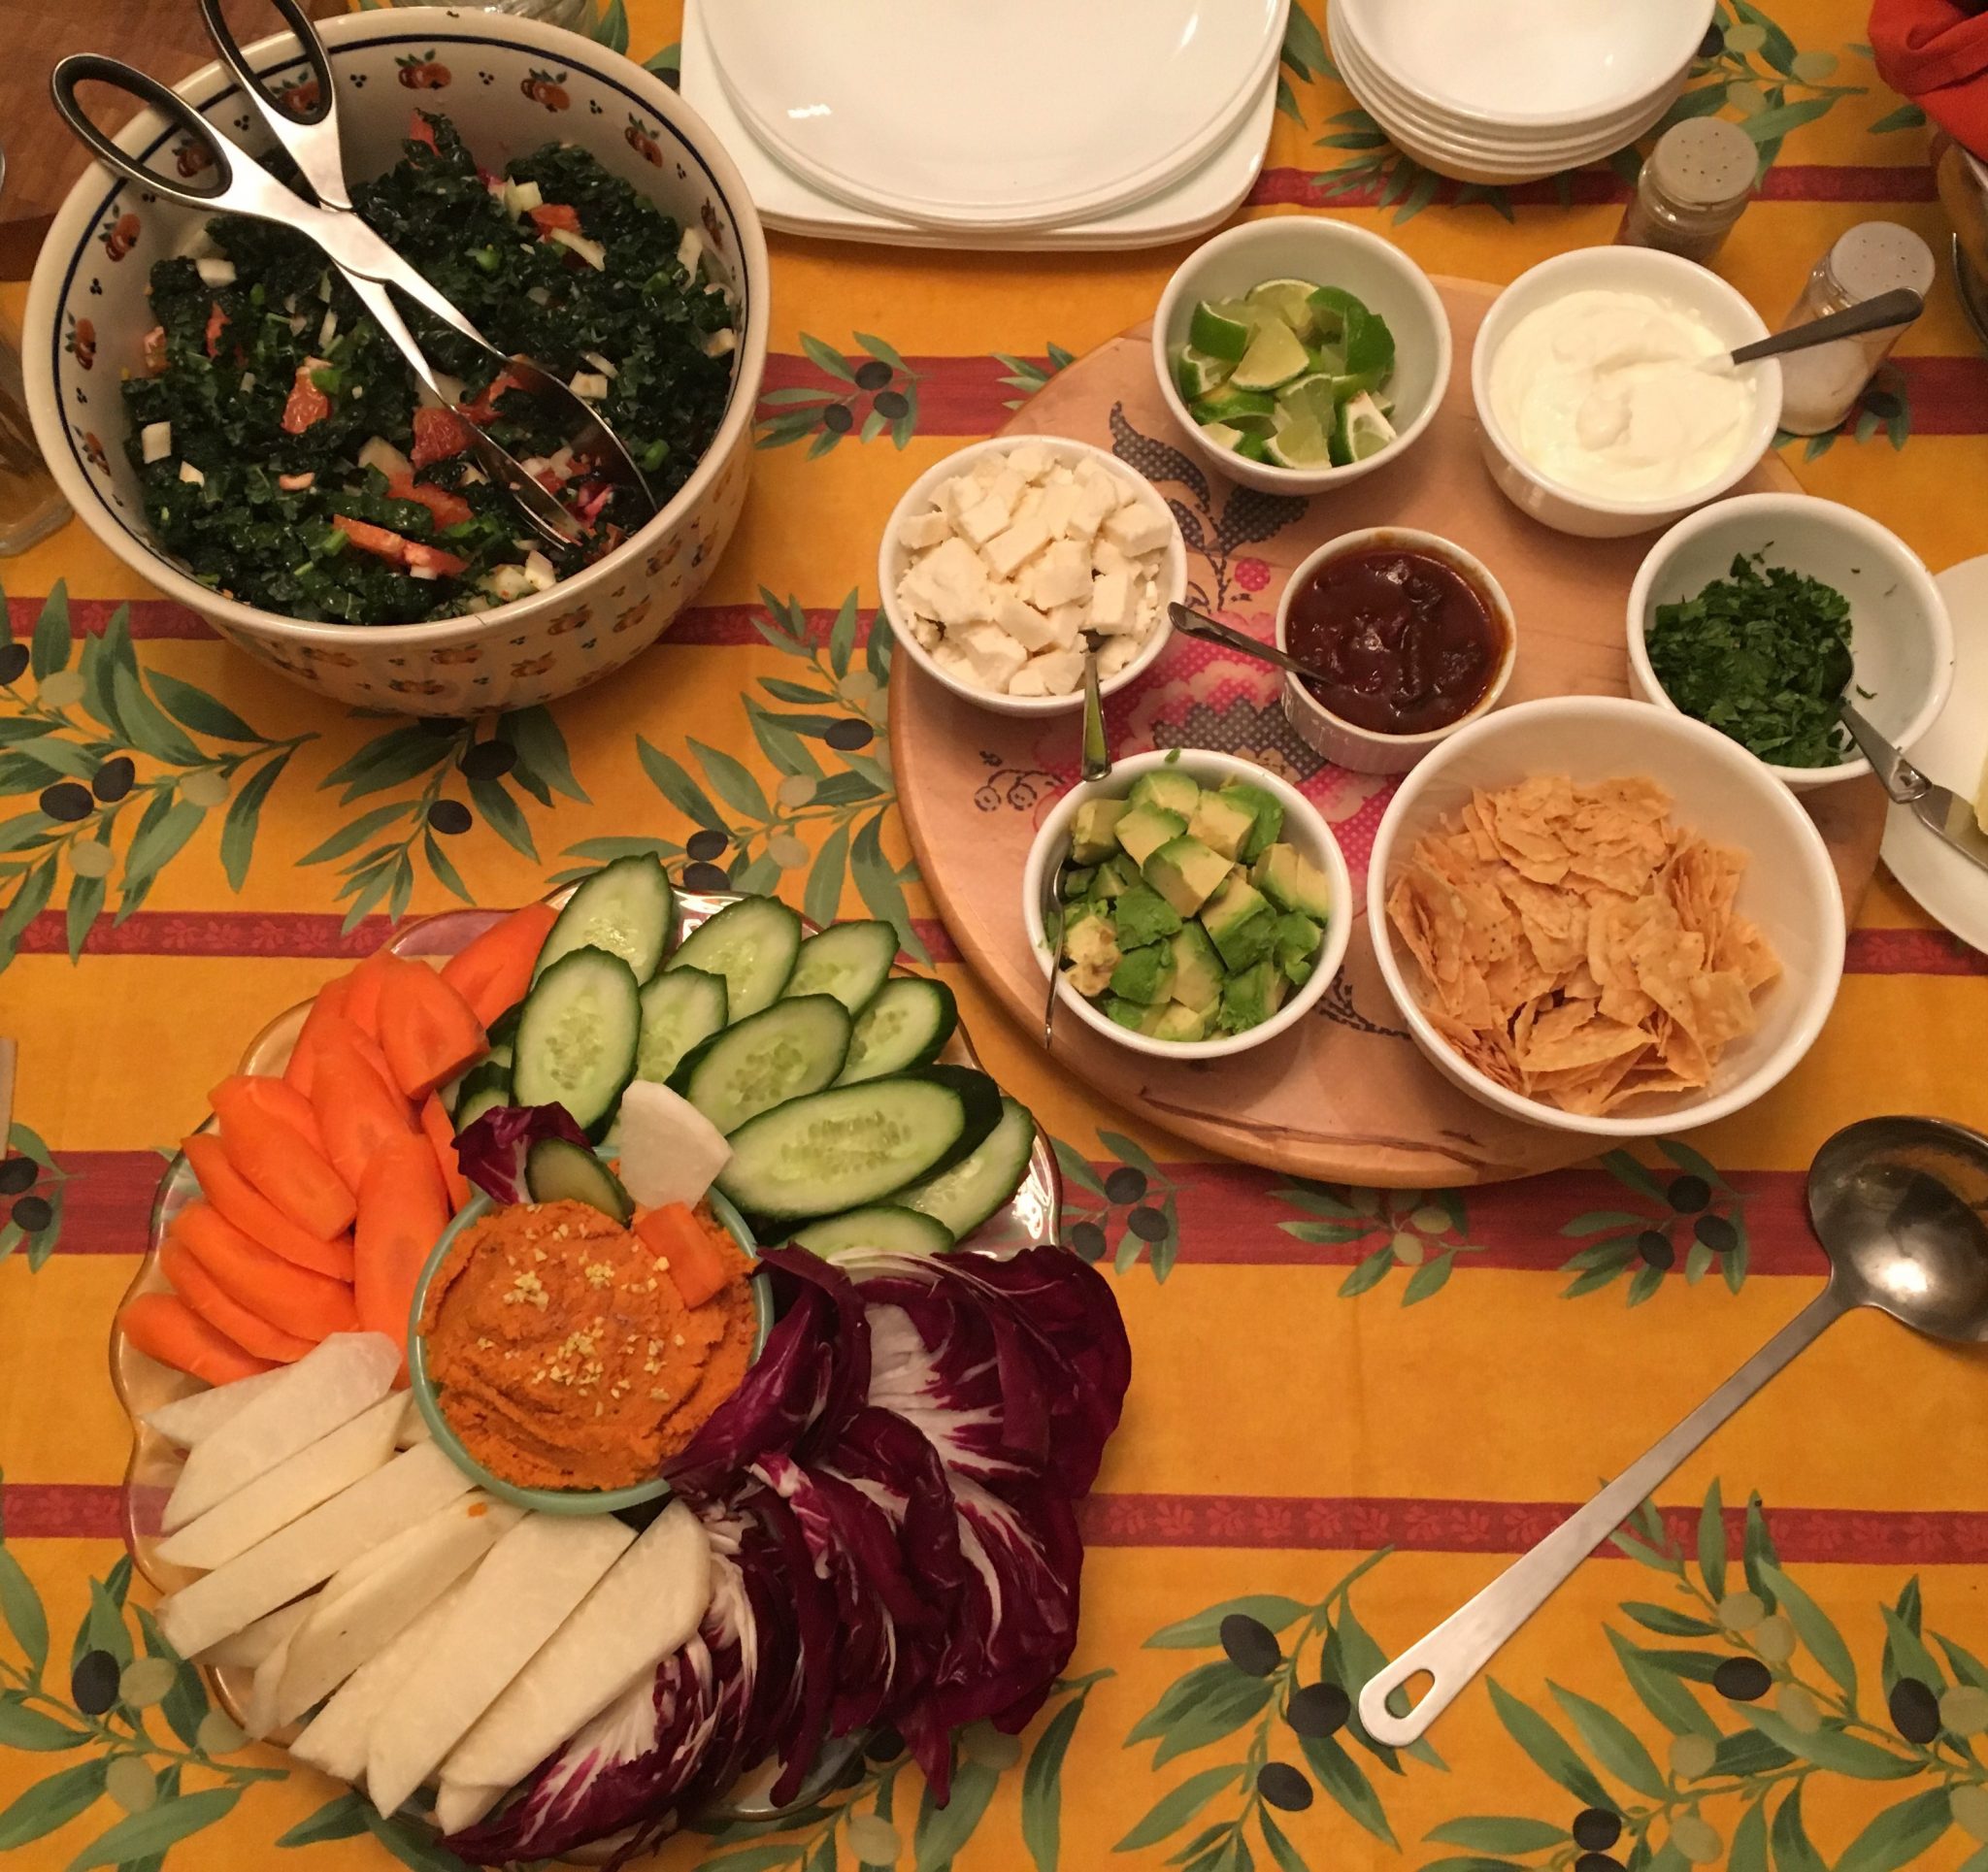
How could anyone resist
Paul’s work dinner party tonight, time to get cracken with some old fav’s to warm up the night
My partner, Paul and his colleague M, wanted to have a dinner party with some folks from work; so I was volunteered to help pull the dinner party off – I wonder if I can pull this look off?
Since were going to hold it at her house, my thoughts were to go simple with good standards fitting the weather; so that means;
- A vegan Carrot “Hummus” with raw veggies as the chips
- For the main course; since the Mexican chicken soup was such a hit two weeks ago at home and is slow cooker friendly – it’s up again. Topped with all the fixings after a long slow cook and shredding the chicken – its a perfect rainy friday night dish.
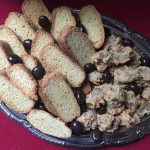
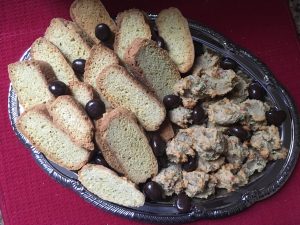
- For after supper, my favorite adaption of a black pepper biscotti and a new version of the old school italian “Ugly But Good” almond paste cookie should set the table for a great social tonight.
- Others will bring salad, cheese and crackers, and we’ve got a fresh loaf of baked bread to round it all off.
Recipes:
I first made the Carrot Hummus at Easter and posted about it here. I found the recipe initially on the Joanne Weir website for CreateTV and adapted it some for my taste. For this version I adapted it as a fully vegan version with out oil.
Ingredients
- 2 1/2 lbs large carrots, roughly cut into 1-inch pieces
- 4 pieces of pealed garlic whole
- Kosher salt
- 1 1/2 tablespoons Agave Nectar
- 2 tablespoons tahini (sesame paste in a pinch peanut butter or almond butter will work too I bet), well stirred (I might use up to 2 teaspoons more next time)
- 2 Tablespoons of sesame seeds, roasted and ground
- 1 teaspoon light brown sugar
- 1/2 teaspoon ground cumin
- 1/2 teaspoon toasted and ground cardamom
- Pinch crushed red chili pepper, or cayenne (or to taste)
- Juice and peel of one lemon
- Fresh squeezed lemon juice to taste
Note: for the next time I plan to try these with grilled carrots, garlic and ginger then puree.
Instructions
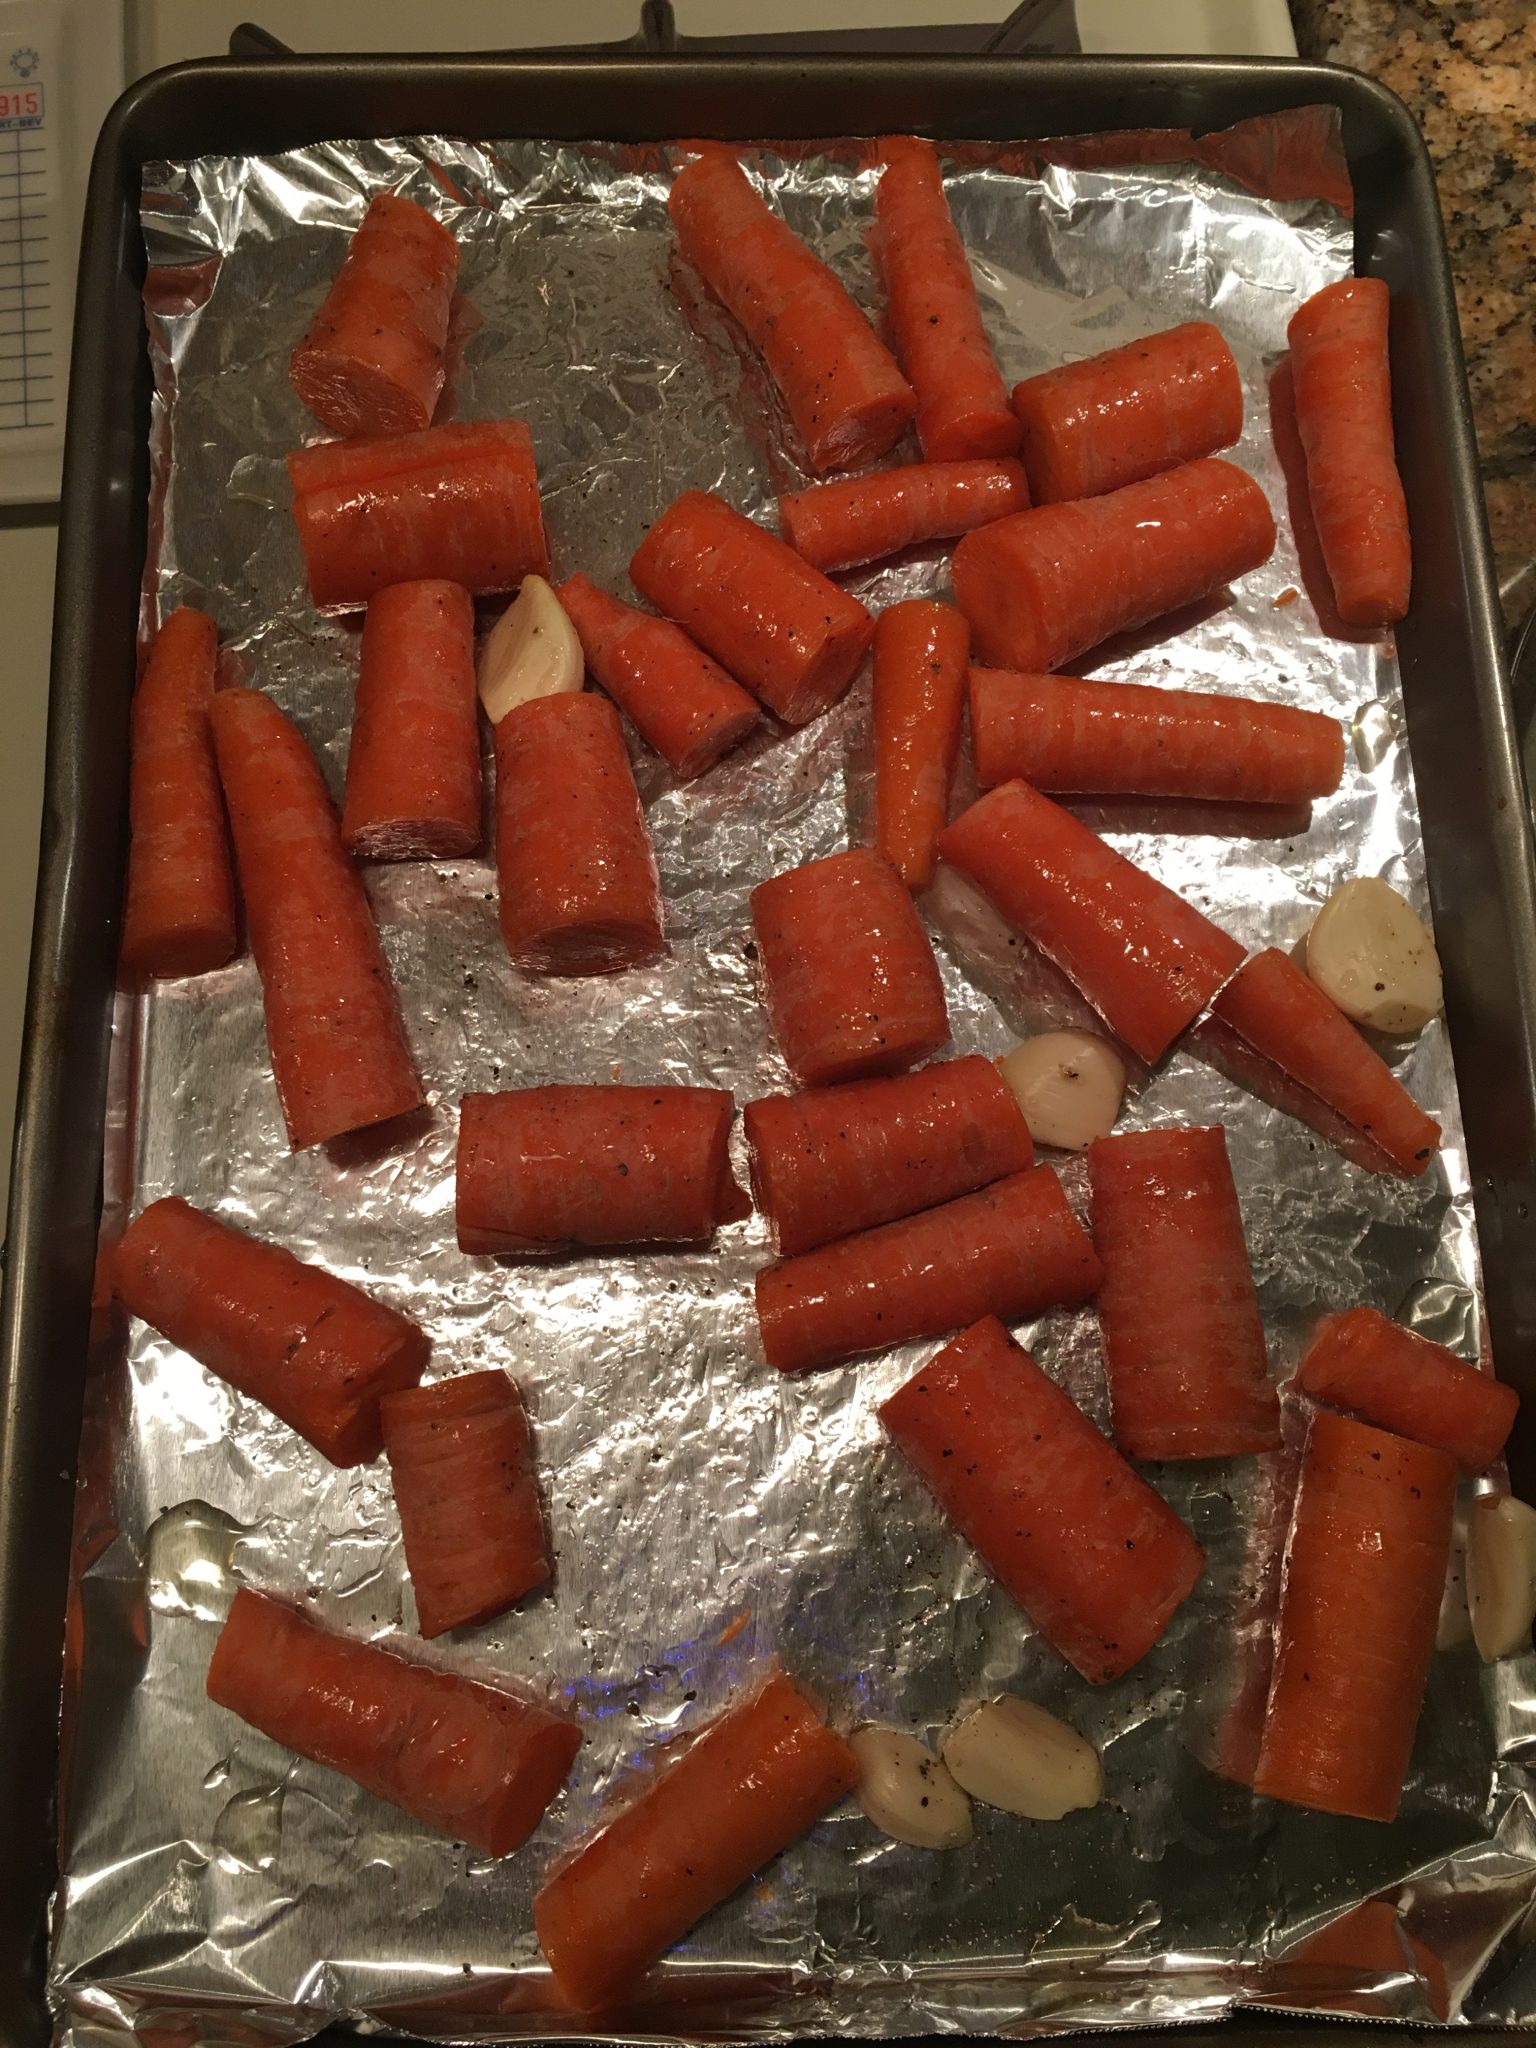
Heat up the oven to 375°F.
- Place the carrots, salt, and agave on a large piece of foil or parchment paper. Toss together. (I wanted a bit of a char on them so didn’t cover them, but it you wrap them up and seal the edges so the steam doesn’t escape. you will get a more mellow taste)
- Bake in the oven until tender, 20 minutes. Stir and continue to roast for 20 minutes.
- Remove from the oven and cool completely.
- Pour the entire packet of carrots and oil into to the food processor with the remaining ingredients (except for the water and lemon juice).
- Process until smooth, scraping down the sides of the bowl.
- Add water if needed to make a thick dip the consistency of hummus.
- Season with salt and lemon juice to taste. This is also when you can add more honey, spices etc.

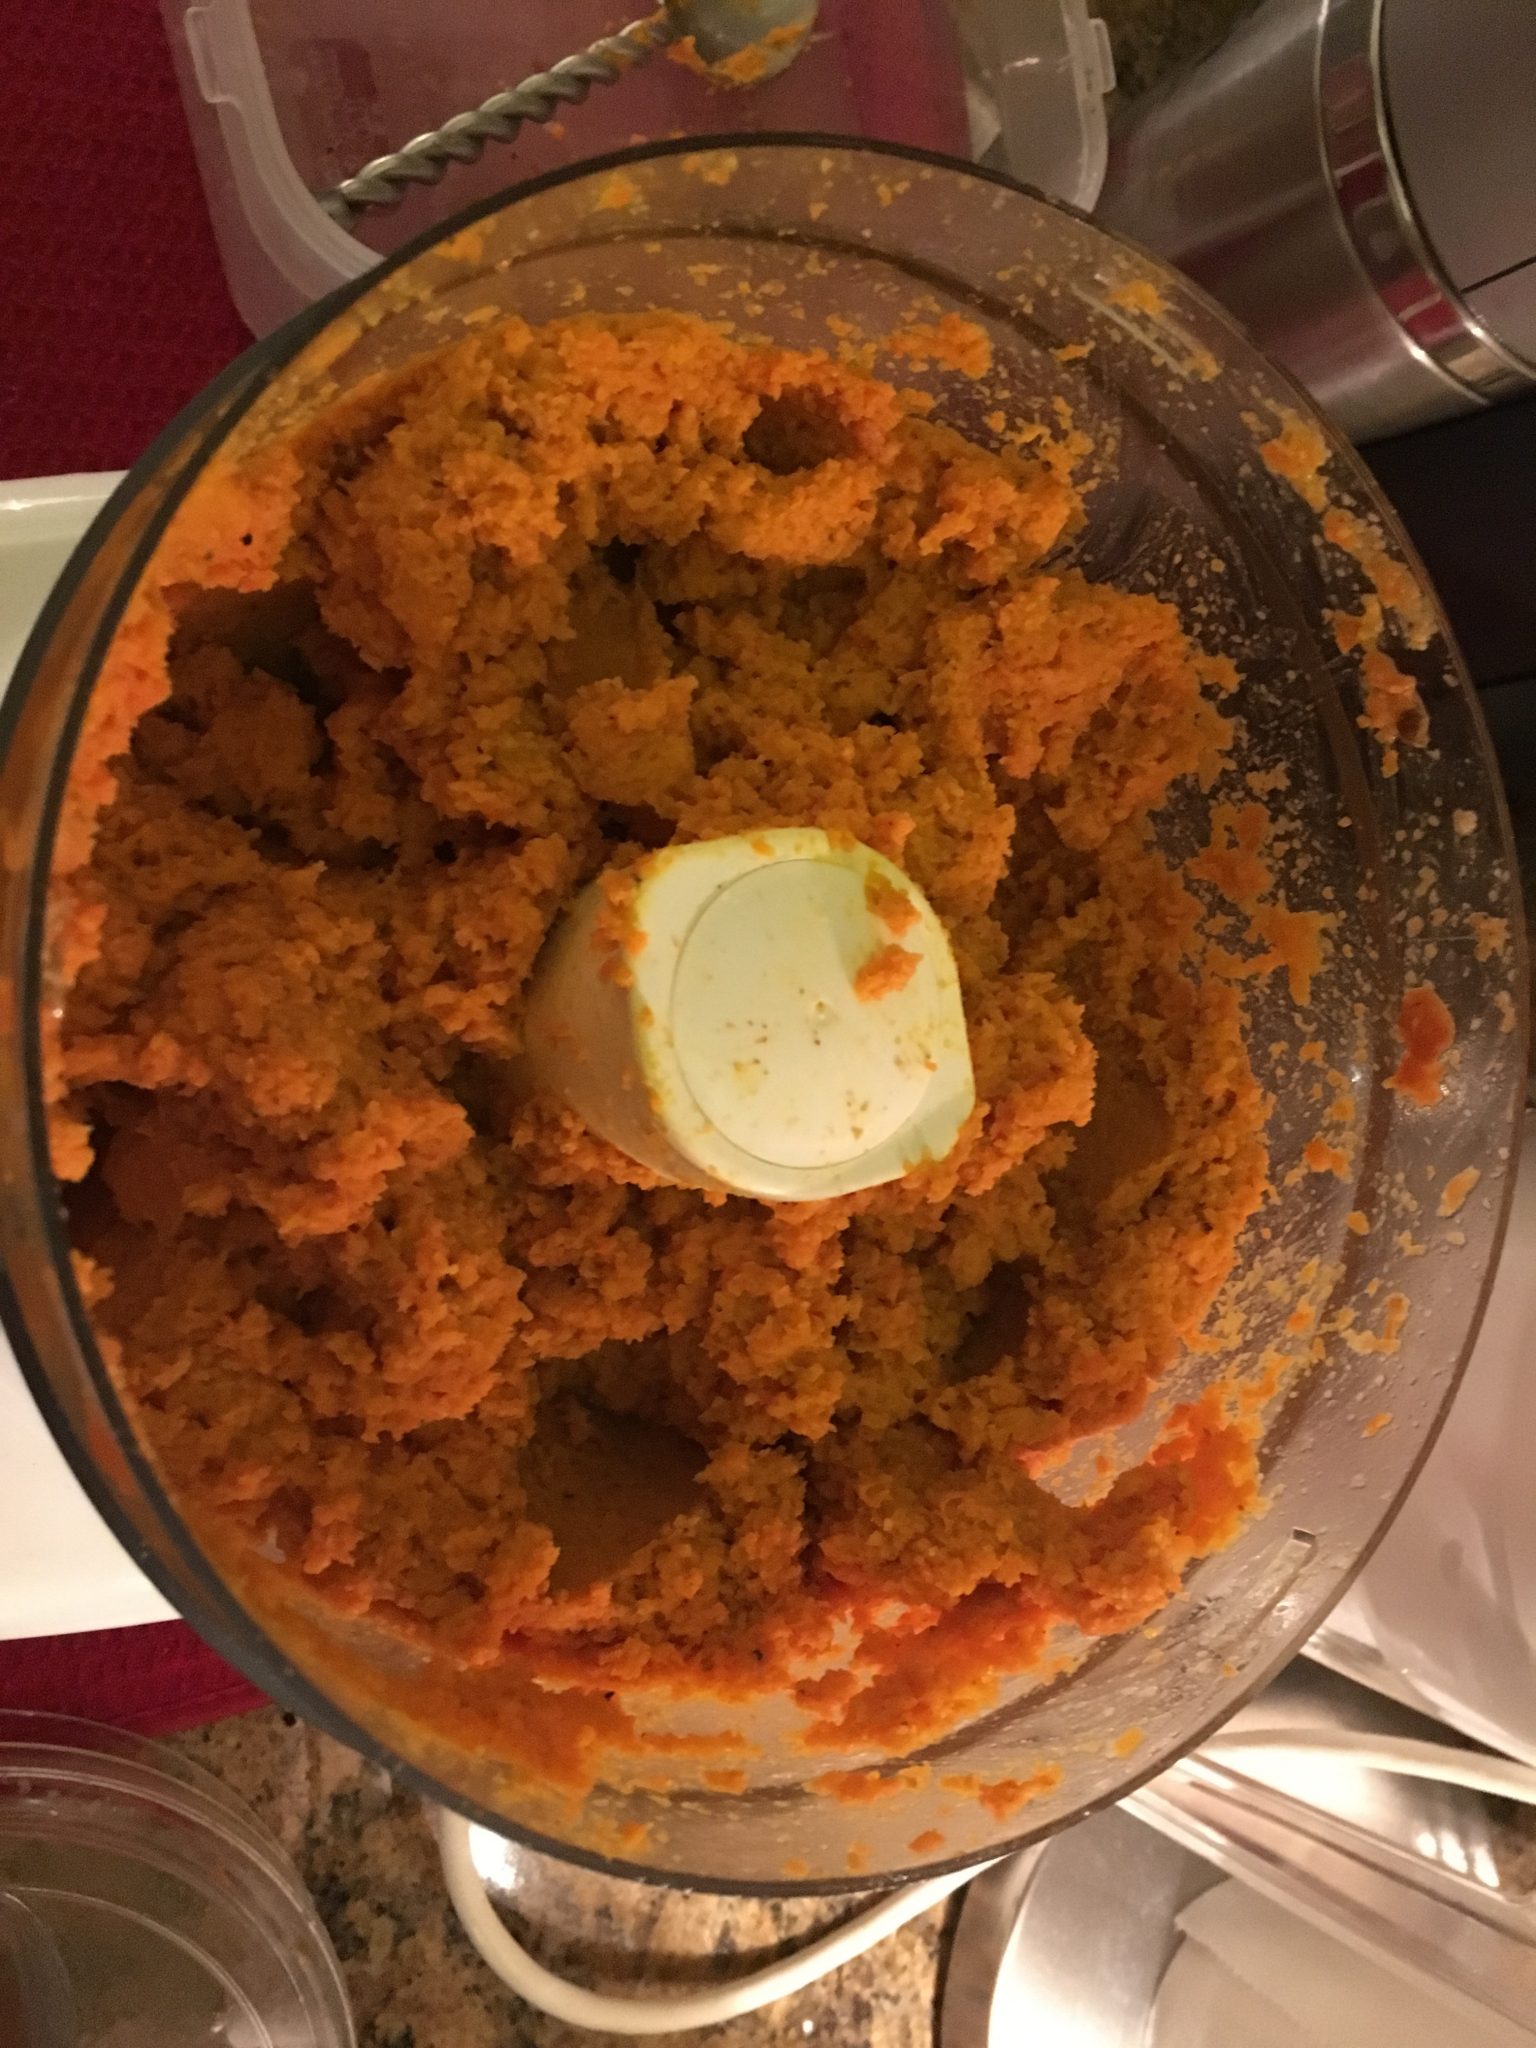
Joanne Weir’s recipes calls for serving the dip with thin sliced root vegetable “chips” but few are going with fresh veggies. To check out the original inspiration for this version, visit Joanne Weir’s recipe here
This will keep in the refrigerator for a few days but I take it out about 20 min before serving.
For the Soup
I first came across this on Ree Drummond’s Food Network show the Pioneer Woman but she also did a version on her blog back in 2015 here. I made a first batch a few weeks ago and was surprised at how good and easy it was. I have made some adaptions for our tastes below.
- 5 boneless, skinless whole chicken breasts (The original recipe called for 3 – but I needed family stye for men)
- 1 teaspoon chili powder
- 1 teaspoon ground cumin
- Kosher salt and freshly ground black pepper
- One 28-ounce can whole or diced tomatoes, with juice
- 32 ounce low-sodium chicken broth (you can add less initially if you want it thicker)
- 2 15-ounce can black beans, drained and rinsed
- One 10-ounce can diced tomatoes with green chiles, such as Ro*tel
- 1 small can of tomato paste
- 1 medium onion, chopped
- 1 red bell pepper, seeded and chopped
- 1 yellow bell pepper, seeded and chopped
- 2 small or 1 large pepper chopped and 1 teaspoon of the adobo sauce from a canned chipotle pepper in adobo (you may add more peppers if you like but it has some heat – I will leave the rest as a garnish)
- Juice of 1/2 to 1 lime, (to taste – you could end up using the whole lime or serve some as garnish)
- 1 can of roasted corn (or fresh roasted off the grill if you have it)
Salt, Pepper and Cumin one side of the chicken and lay flat in the bottom of slow cooker. add more pepper salt, cumin and the chili powder.
 In layers, add the tomatoes, black beans, tomatoes with chiles, tomato paste, onion, chipotle pepper and red and yellow peppers, chicken broth. Stir, place the lid on the slow cooker and cook for 5 hours on high or 8 hours on low.
Add in the corn (with out it’s liquid). Stir in the lime juice. Remove the chicken to a plate and use 2 forks to break it into chunks (or shred it finely). Return the chicken to the pot, taste and add more seasoning if necessary.
 Serve piping hot in a bowl with avocado, sour cream, grated cheese, crushed tortilla chips and cilantro leaves on top!
Don’t forget to serve it with the fixings – it makes the whole dish: avocado, sour cream, crumbled cheese, crushed tortilla chips and fresh cilantro leaves
And of course the Cookies
Black Pepper, Vanilla & Orange peel I wrote about on “the battle rages on” which is actually yet its own adapted recipe Valerie Bertinelli’s Helen’s Black Pepper Biscotti is one I know Paul’s boss loves. So this was a remake for her.
Ingredients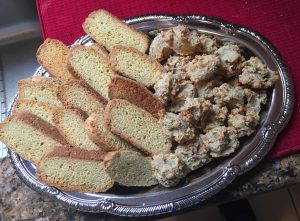
- 2 3/4 cups all-purpose flour
- 1/2 teaspoon baking soda*
- 1/2 teaspoon baking powder*
- 1 tablespoon freshly ground black pepper ( I use a mix of fine ground and course grind for taste and texture.)**
- Pinch kosher salt
- 1/2 cup (1 stick) unsalted butter, softened
- 1 cup sugar
- 3 large eggs, at room temperature
- 2 teaspoons grated orange zest (I tend to get the organic ones or ones I pick from my pals garden- depending on size of orange this may be 1 -oranges )
- The zest of one lemon
- 1 1/2 teaspoons vanilla extract
- 1/4 teaspoon almond extract
** To give these a visual pop – you can ground peppercorns that are other colors over the traditional black)
Sift together the flour, baking soda and baking powder in a medium bowl. Stir in the pepper and salt. Set aside.
In the bowl of a stand mixer fitted with the paddle attachment, beat the butter on high speed until pale and light, have the patience to let it do it’s work – it could take several minutes. Add the sugar and beat until light and fluffy, about 7 minutes. Reduce the speed to low and add the eggs one at a time, beating well after each addition. Add the orange zest and vanilla and almond extract .
With the mixer on low, slowly pour in the flour mixture, and then the walnuts. Mix a few minutes till the dough texture is formed a sticky mess 😉 .
(You can also do this by hand and fold them in then work the dough by hand till smooth).
Pour the dough out on to a lightly floured plastic wrap covered surface or clean counter top. Gently knead the dough to shape with your hands to form a thick round ball shape. The dough is super easy to handle at this piont. Cover the dough with plastic wrap and refrigerate for 30 minutes. (For this batch I omitted nuts). 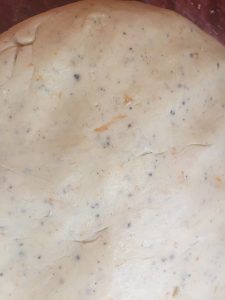
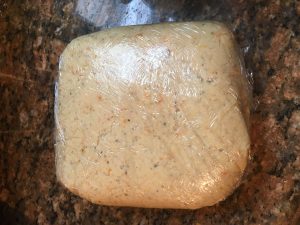
Preheat the oven to 350 degrees F. Line 2 baking sheets with parchment paper ( nonstick silicone liners also work).
Remove from the refrigerator, unwrap and divide the dough in half, and shape each piece into a 12-inch log, about 2 inches across and 1 inch tall. (note you can make these as wide or thick as you like – I find because of the texture and taste of these, I tend to like a finished bake that is about 3 inch long and 1.5 inch high you may have to play with it a few times). But they don’t need to be preferfect. In fact any uniform shape will work.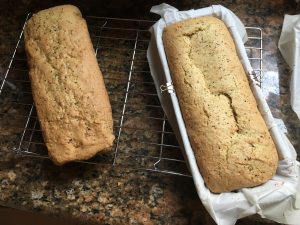
Because I wanted to use less space – I actually cooked this in old-school metal ice trays lined with parchment paper. Bake until the logs are cooked through and lightly browned on the bottom, about between 30 – 35 minutes, depending on your oven and pans. 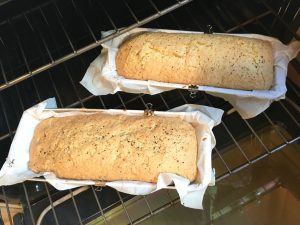 Watch them the last 5- 10 minutes as this could differ based on your pan and stove temp.
Let the logs cool for about 5-7 minutes on the baking sheets (leave the oven on), then transfer them carefully to racks (remove the parchment paper) to cool 10-15 minutes more.
Using a serrated knife, slice each log either on the diagonal (to give you a fancy shape) or straight across into 3/4-inch-thick slices. 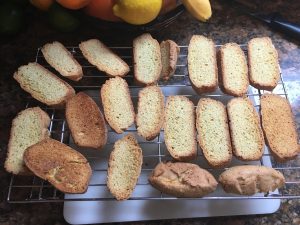 Arrange the slices cut-side down on the baking sheets and return to the oven until well toasted, 10 to 15 minutes more. I general flip mine over about half way to get even color.
Note: These biscotti have a great golden color to them which will darker to as you “second bake”. If you want to keep them less brown; adjust time or instead of laying them on the cut sides, leave the standing cooked side down.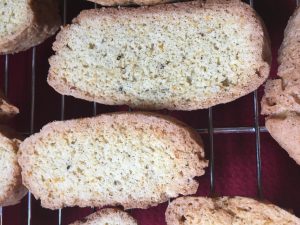
Transfer the biscotti to cooling racks to cool completely. The longer they bake the harder they become. Note: they will continue to harden as they cool. Store in tins or air tight containers (QVC favorite Lock & Lock rock for this). They will keep, tightly covered, up to 1 week.
This Cook’s Note came from the recipe website and I thought worth sharing: To toast the walnuts or most nuts on the stove top, put them in a dry skillet over medium heat and cook, stirring, until golden and fragrant. To toast them in the oven, spread in a single layer on a baking sheet and roast at 350 degrees F until golden and fragrant. In either case- the minute you smell them – get them off the heat.
Ugly But Good Cookies (aka Brutti Ma Buoni)
These quick and simple almond cookie are a old-school cookie that adapts well. I have made version chocolate covered cherries, candied ginger, gluten free etc. they are pretty forgiving. Pack a lot of flavor and is a nice “host” gift if you are going to someones for dinner.
Ingredients
- 1/2 lb of Almond Paste
- 1 Egg White – I use large eggs for this
- 3 tablespoons of flour (Almond flour works great too, This is one of my favorite brands)
- 1/2 cup of chopped assorted dried fruit (or do like I do and buy the “Fruit Cake Chopped Candied Fruit“)
- 1 teaspoon of orange zest
- 1 Tablespoon Vanilla Extract (get a good one)
- 1 Tablespoon of Amaretto (or use Amaretto flavored Syrup or even Almond Extract
Preheat the over to 300 degrees.
In a food processor; blend almond paste and egg white until smooth, add rest of the ingredients until just mixed.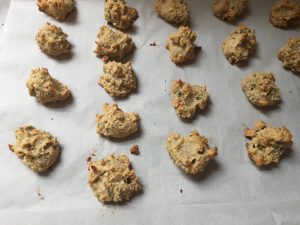
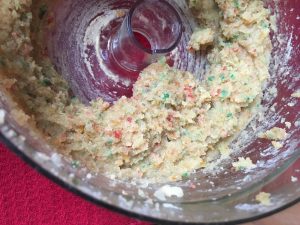
On a parchment paper covered pan, drop teaspoon sized scoops of the mix. Don’t bother trying to make them pretty – they will grow and cook organically which is what is why they named it that way.

If you are using chocolate or cherries, you could top with a one on the top it try and dress it up.
Bake for 25 minutes till golden. Cool and serve. they should keep about a week in an air tight container.
Simple & Straight Forward Coddled Eggs
This simple steamed egg dish is a perfect, quick and easy way to make eggs. This is to prepare two eggs. But keep in mind if you use smaller eggs; double up!
Essentially preparing coddled eggs is just a fancy way describe gently or lightly cooked eggs. In the past – they eve n had a bunch of really lovely glassware called “coddlers” to use to cook and serve them in. Some ways of preparing them include cooking them in the eggs shells themselves, or cooking & serving them in the coddlers or ramekins or the coddlers serving as a cooking mold and they are up-ended out onto the plate. Chefs and cooking host from Martha Stewart to Jacque Pepin have plenty of recipes for them. In fact it was the Heart & Soul recipe series from Pepin that prompted this breakfast. You can find a bunch of those versions here. Cooking them doesn’t need any fancy equipment; you can use regular style 4 or 6 ounce shuffle ramekins or the ones I tend to use; the 6 ounce pyrex custard cups. You can even find specialty ramekins or “coddlers” as they are known at antique stores or Amazon.
Sunday breakfast in front of the TV
Been watching the tv and the complete idiocracy of what has been done with a swipe of a pen in the hands of the “wannabe” leader. So needed a breakfast I could make and eat easily, and still have leftovers for the week. These crustless (gluten free), “Egg-ffins” (yeah its just what call them..) where the perfect low drama fix.
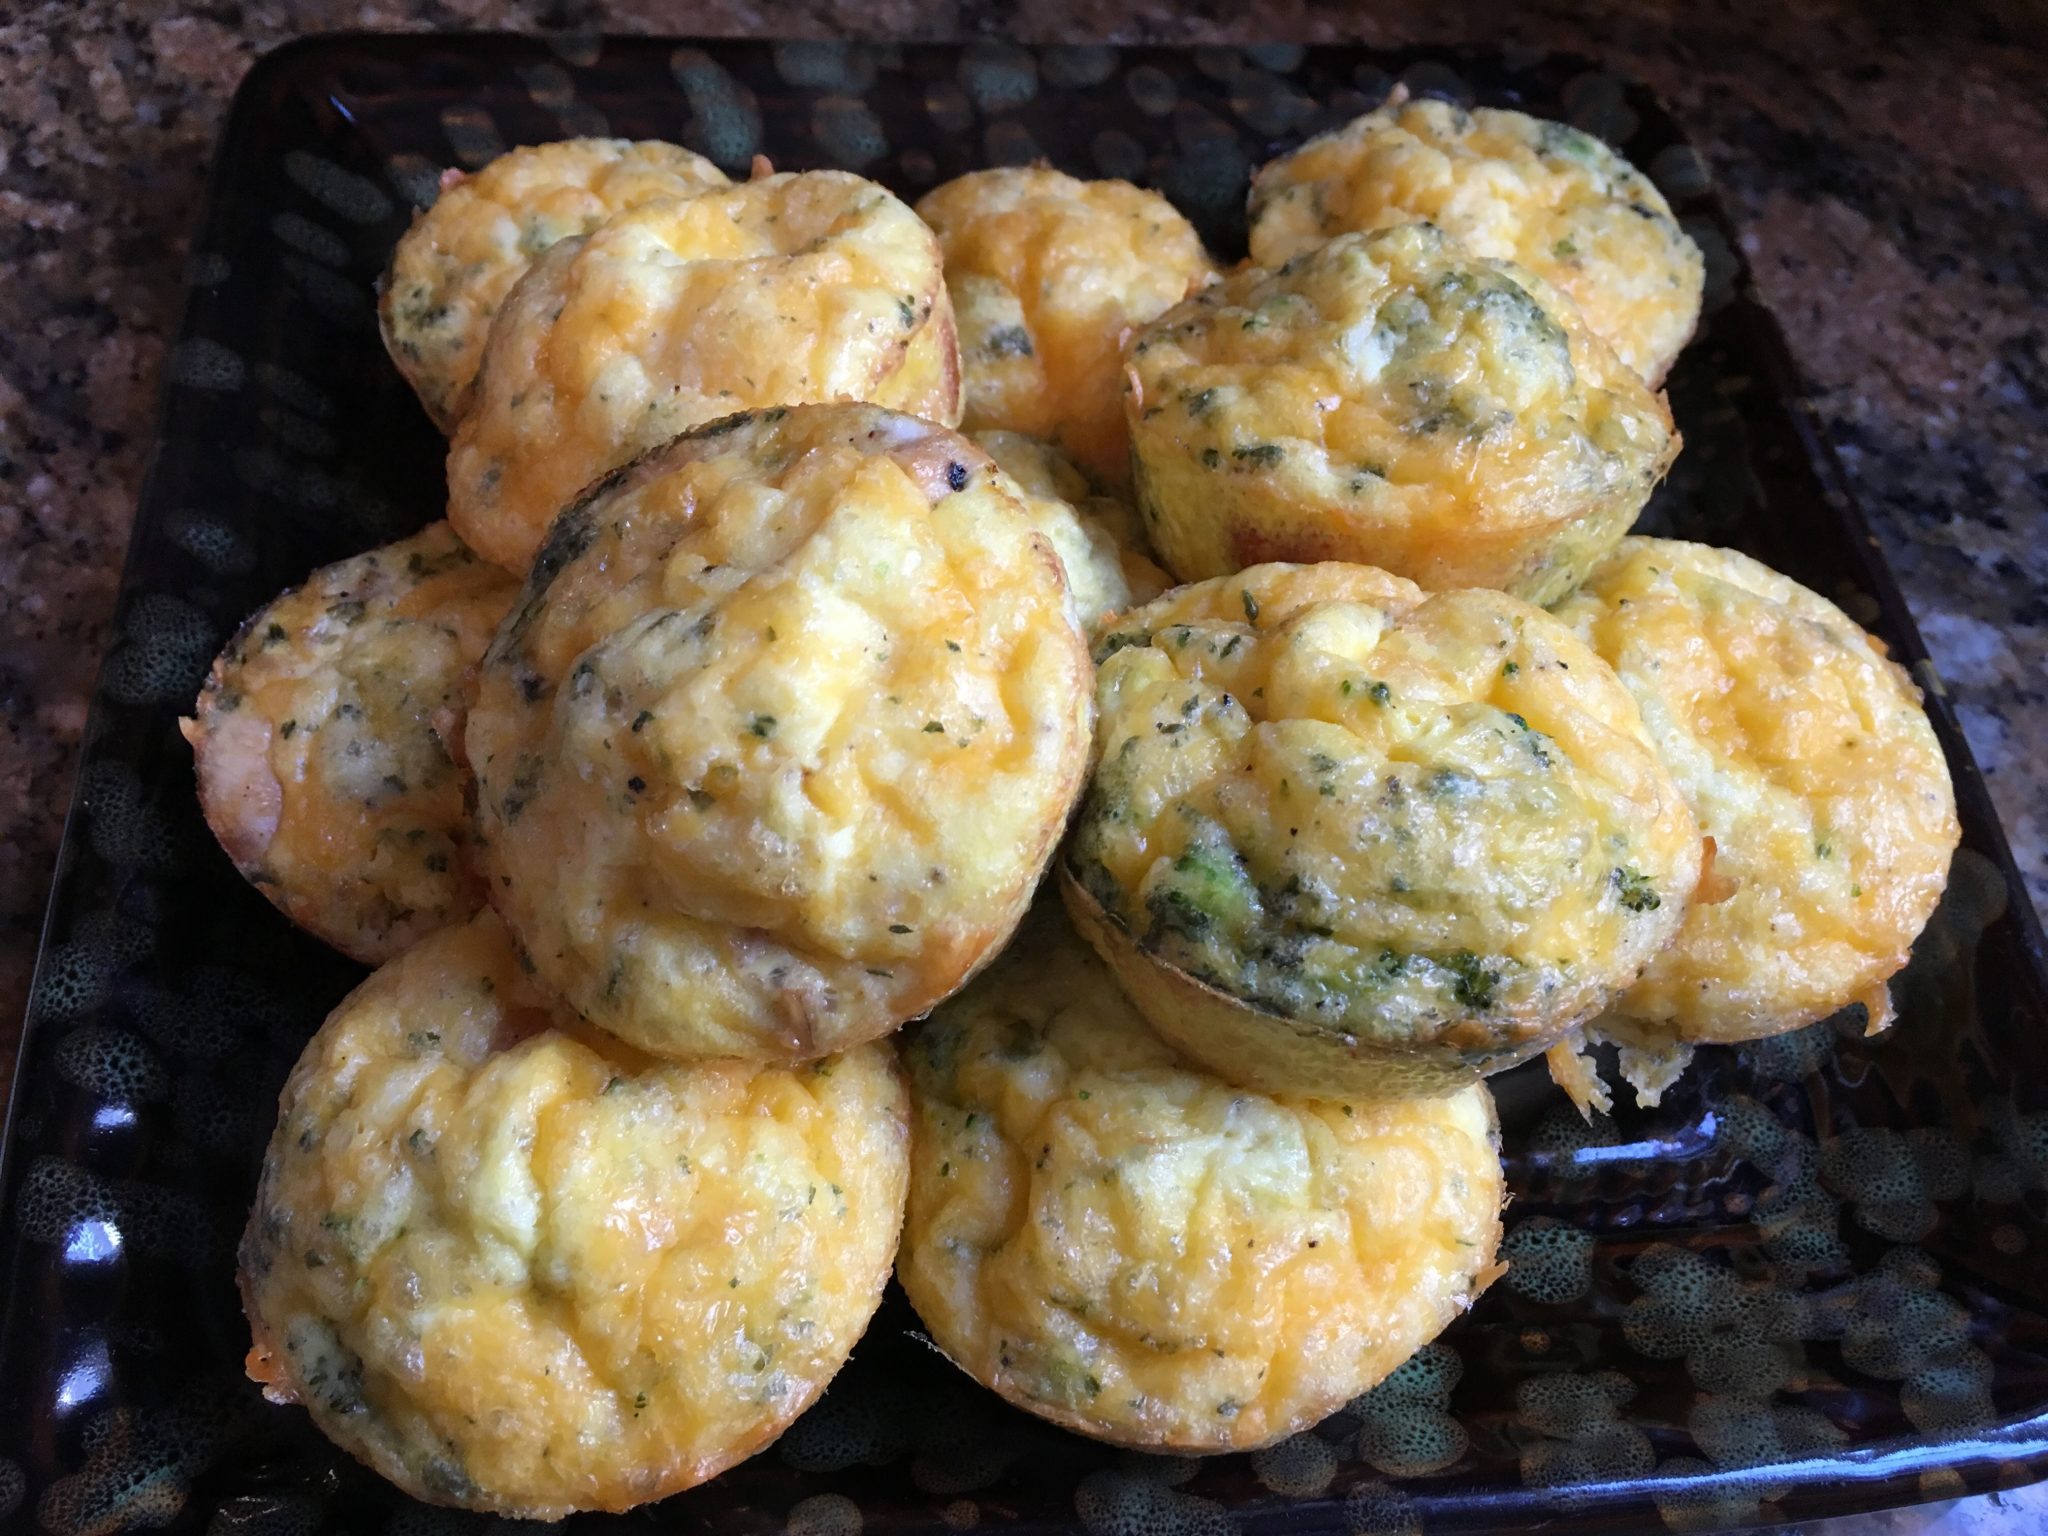
They couldn’t be simpler to make and easy adapt to what ever you have in the house.
- Preheat oven to 365 (350 is fine just cook linger)
- Crack 12 large eggs in a bowl; 12 will fill a regular muffin pan.
- Using a fork, blend, add a splash water or cream, salt & pepper to taste, stir and add in 1 teaspoon of dried parsely. Note: you can use any fresh or dried herbs you have available. This is a great way to use jarred herb blends as well.
- Dice up cooked meat, leftover vegatables, deli meats, set aside. In this case I used stir fried chicked & broccoli from earlier in the week. Hint: this works great with leftover steak or beef. You will need about 1-1 1/2 cups, depending on your taste.
- Use cooking spray on the pan, then pour the eggs mixture into each cup. From half to 3/4 full. Then add the meat & veggies. Top with shredded cheddar cheese.
- Using the back of a fork, poke and gently stir each egg and cheese mixture, then top with more shredded cheese.
- Bake 12-15 min at 365 degrees until set and solid and it pushes back to the touch.
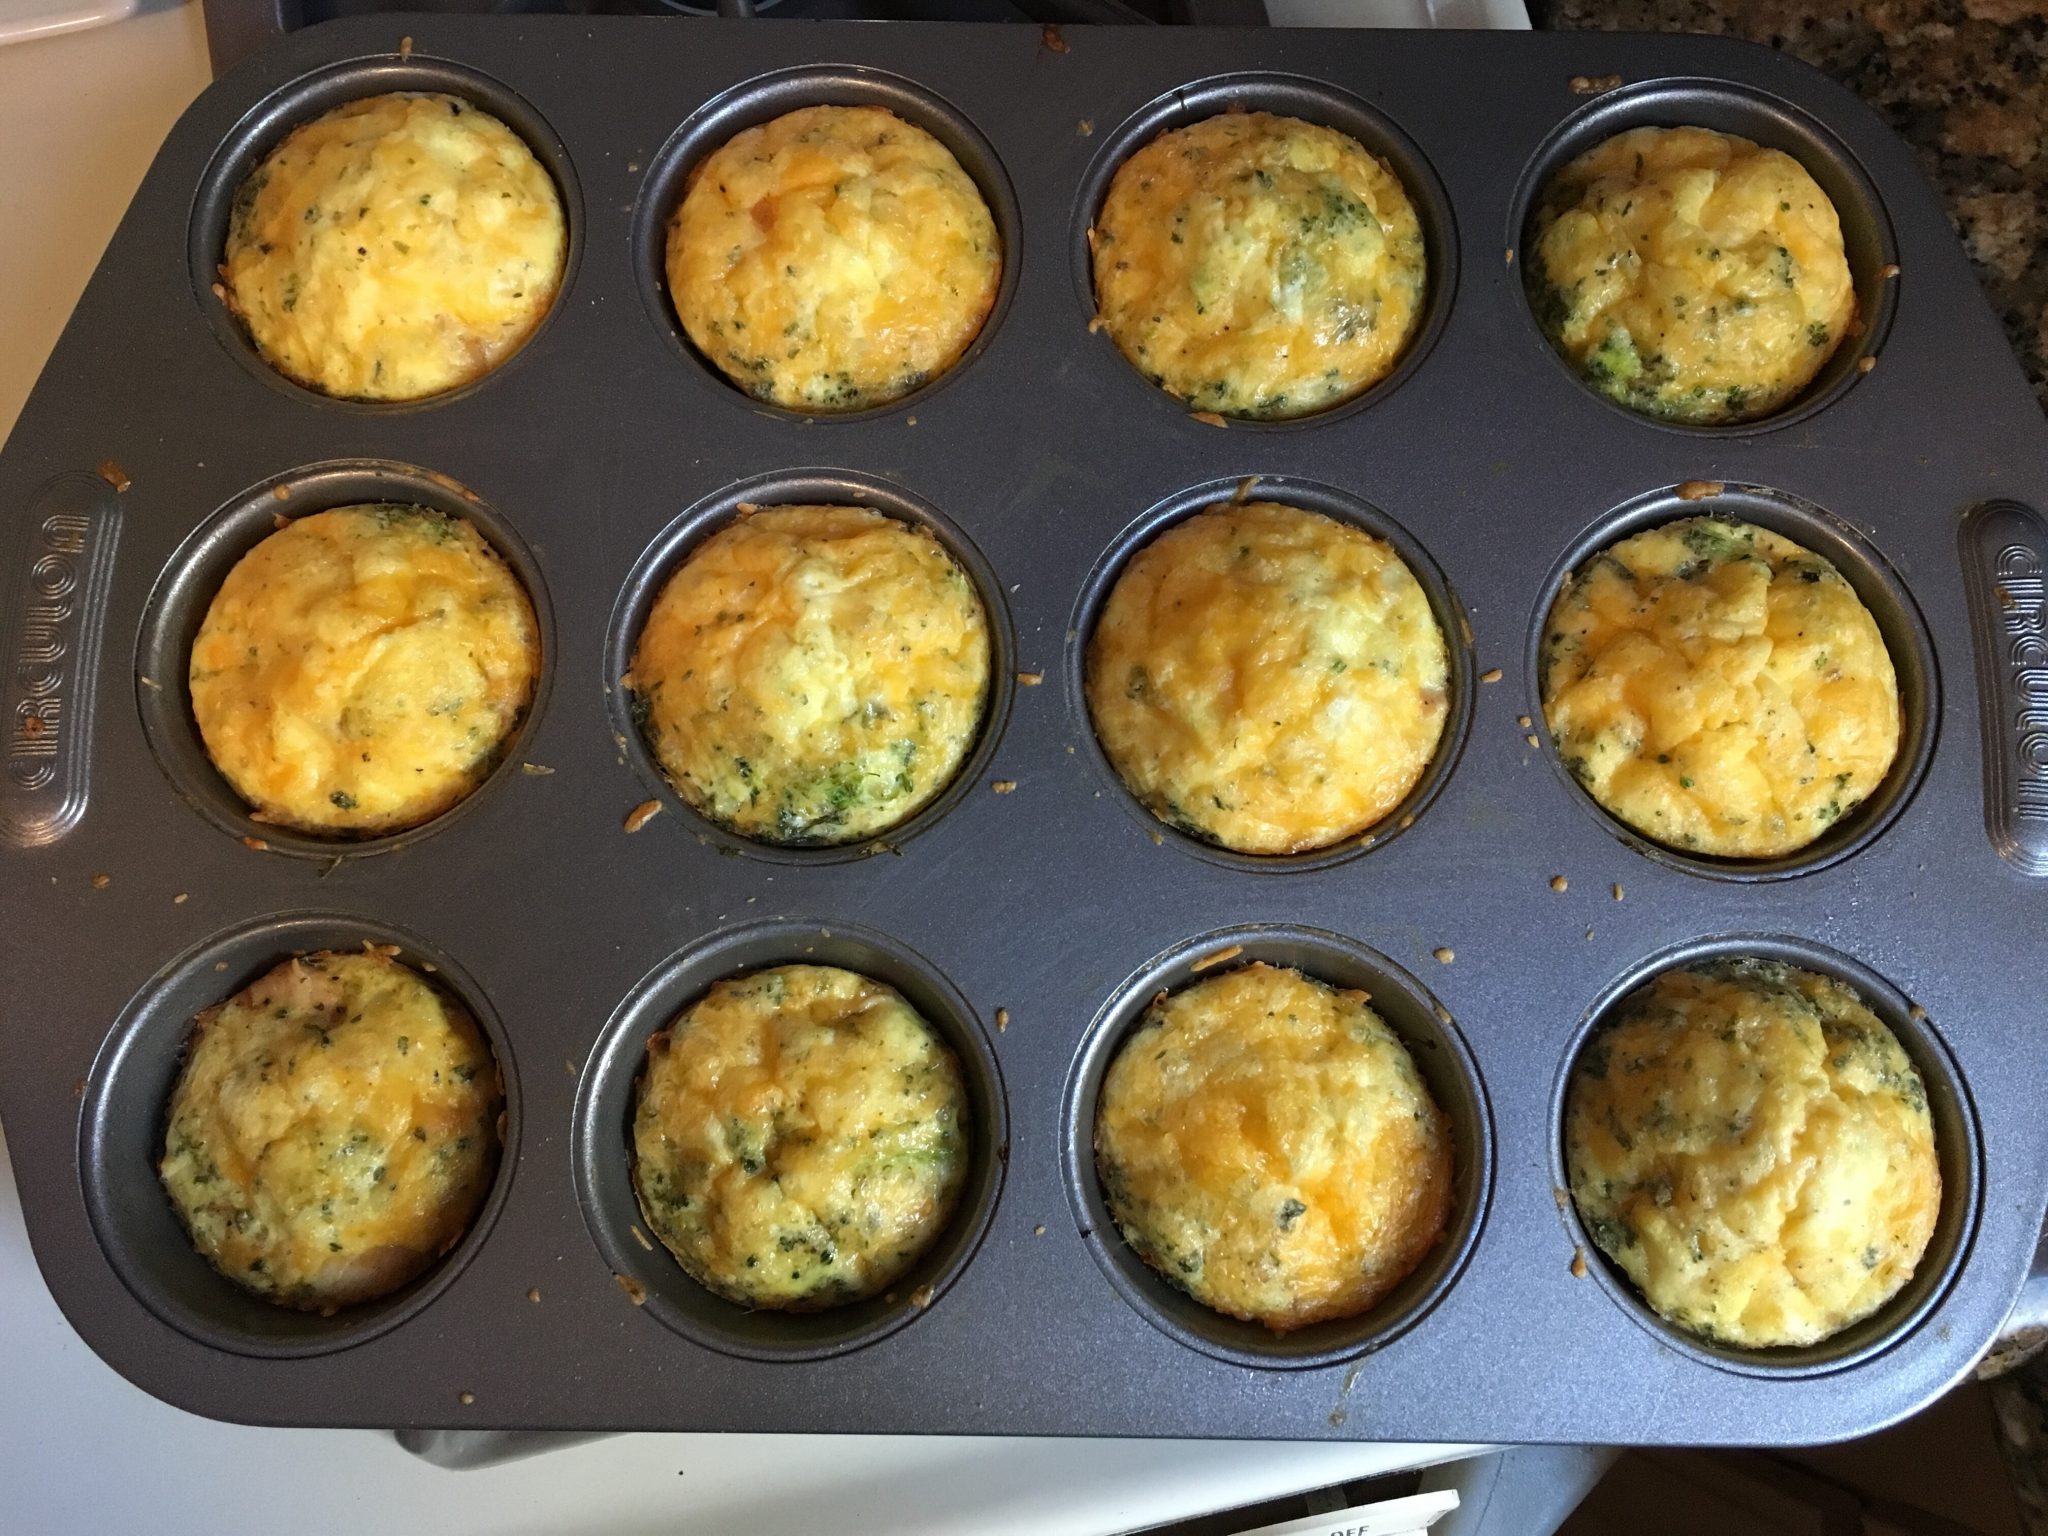
You can also pop these under the broiler for the last few minutes of cooking if you want the top more crisp. Hint: Especially good if you add some grated parm cheese on it just before hitting the broiler.
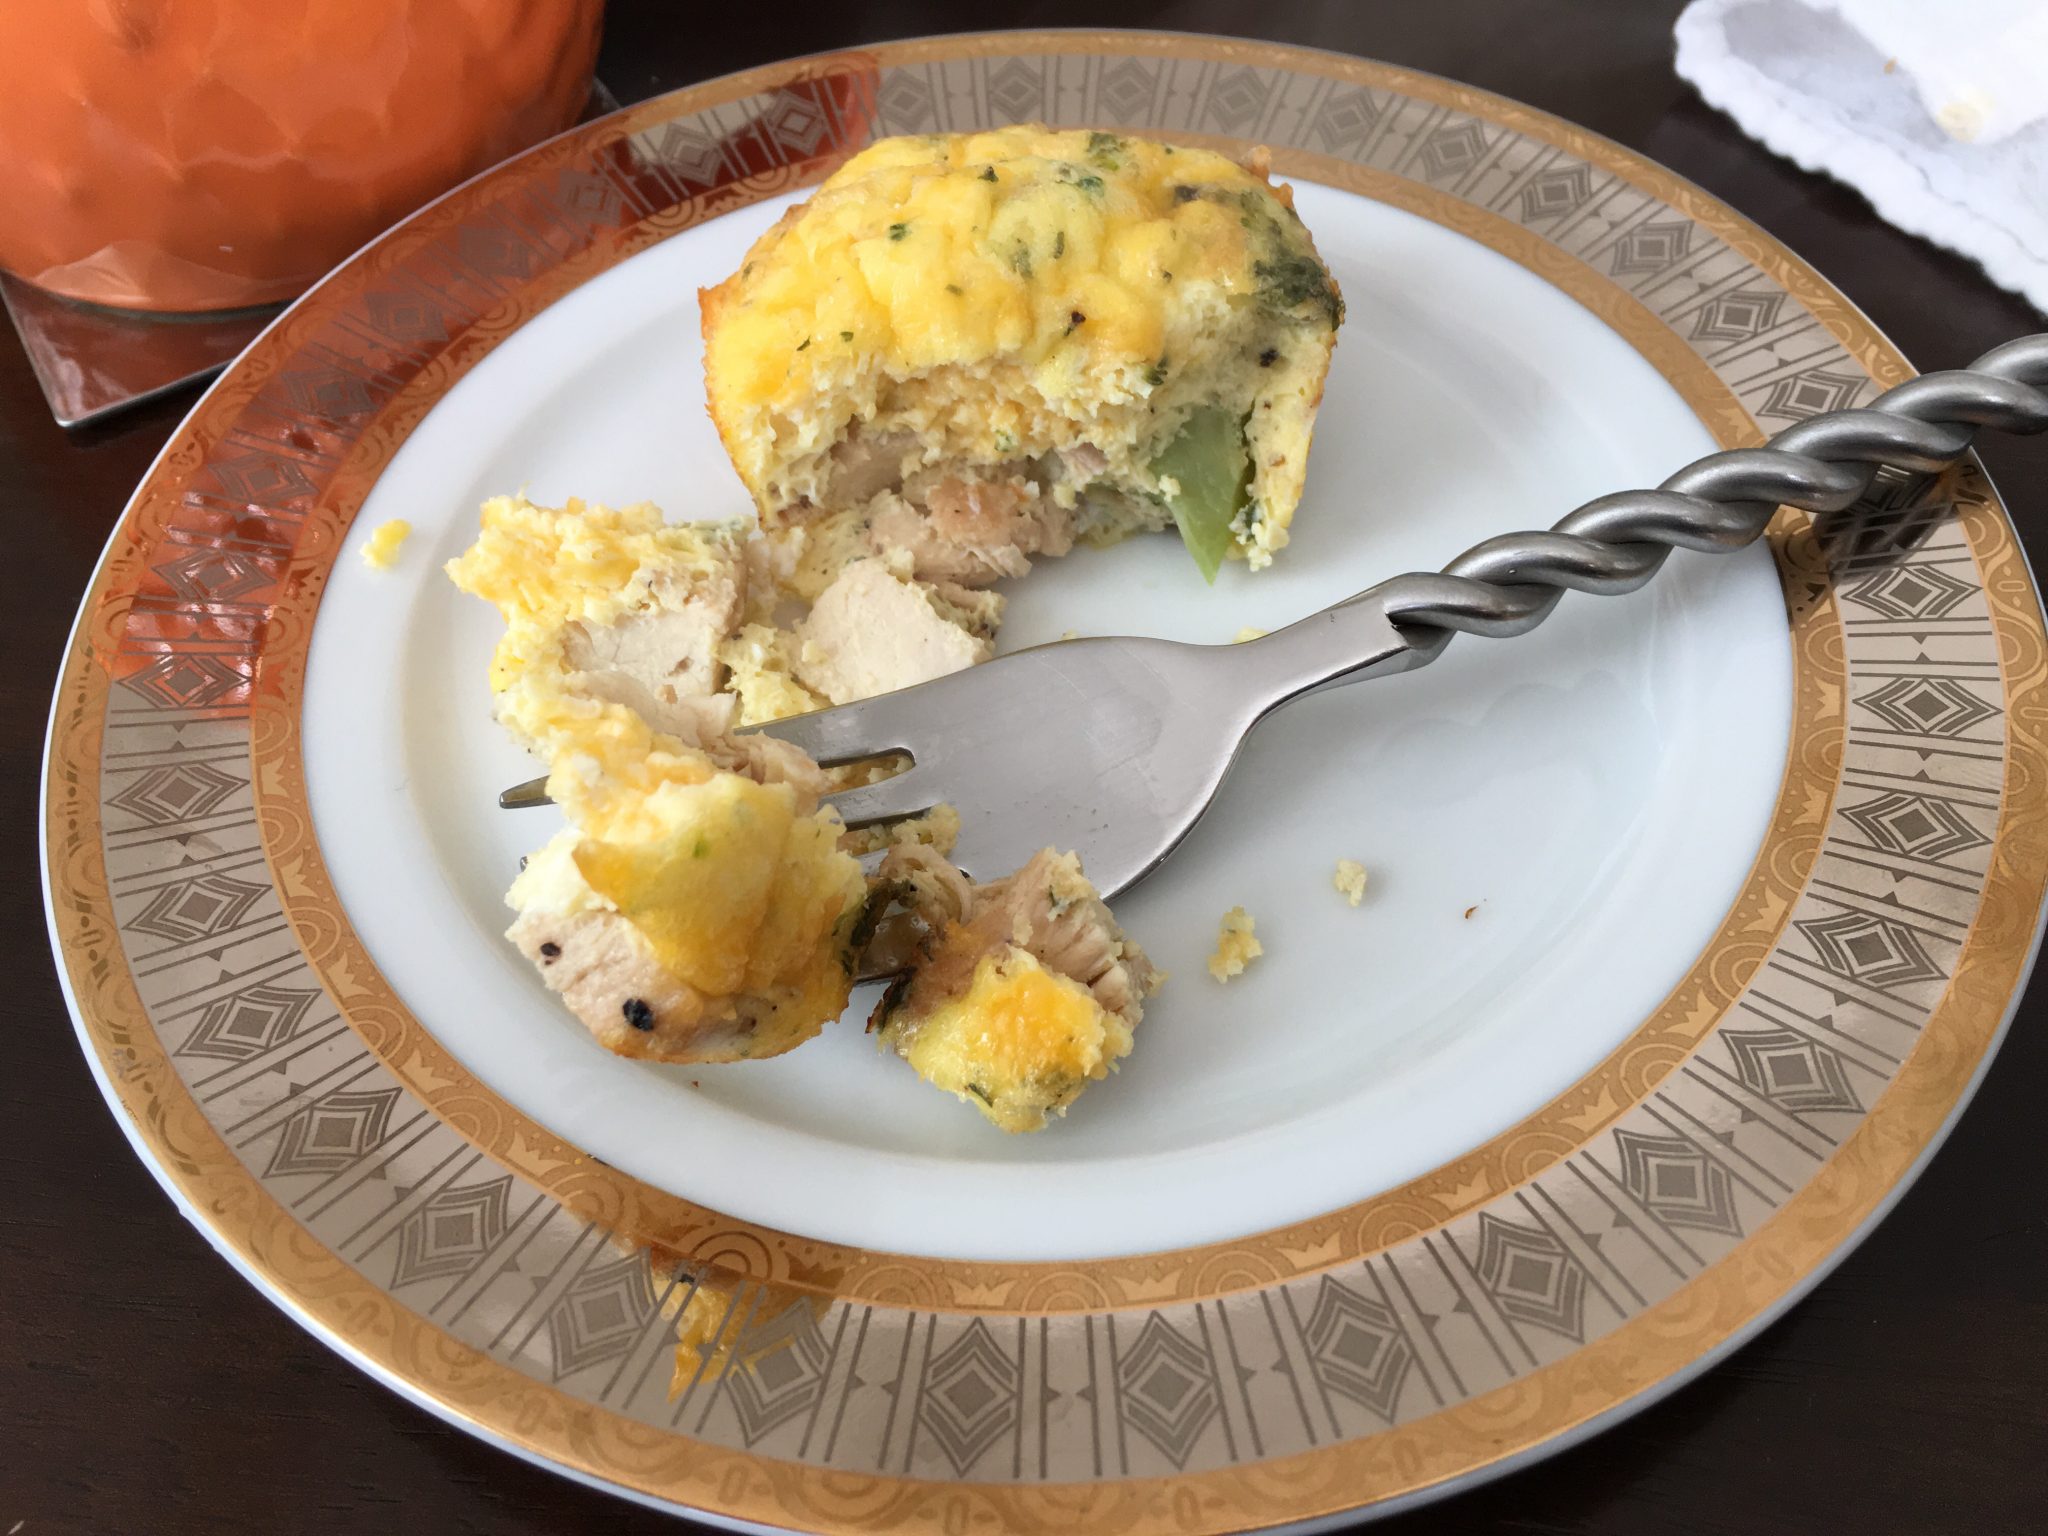
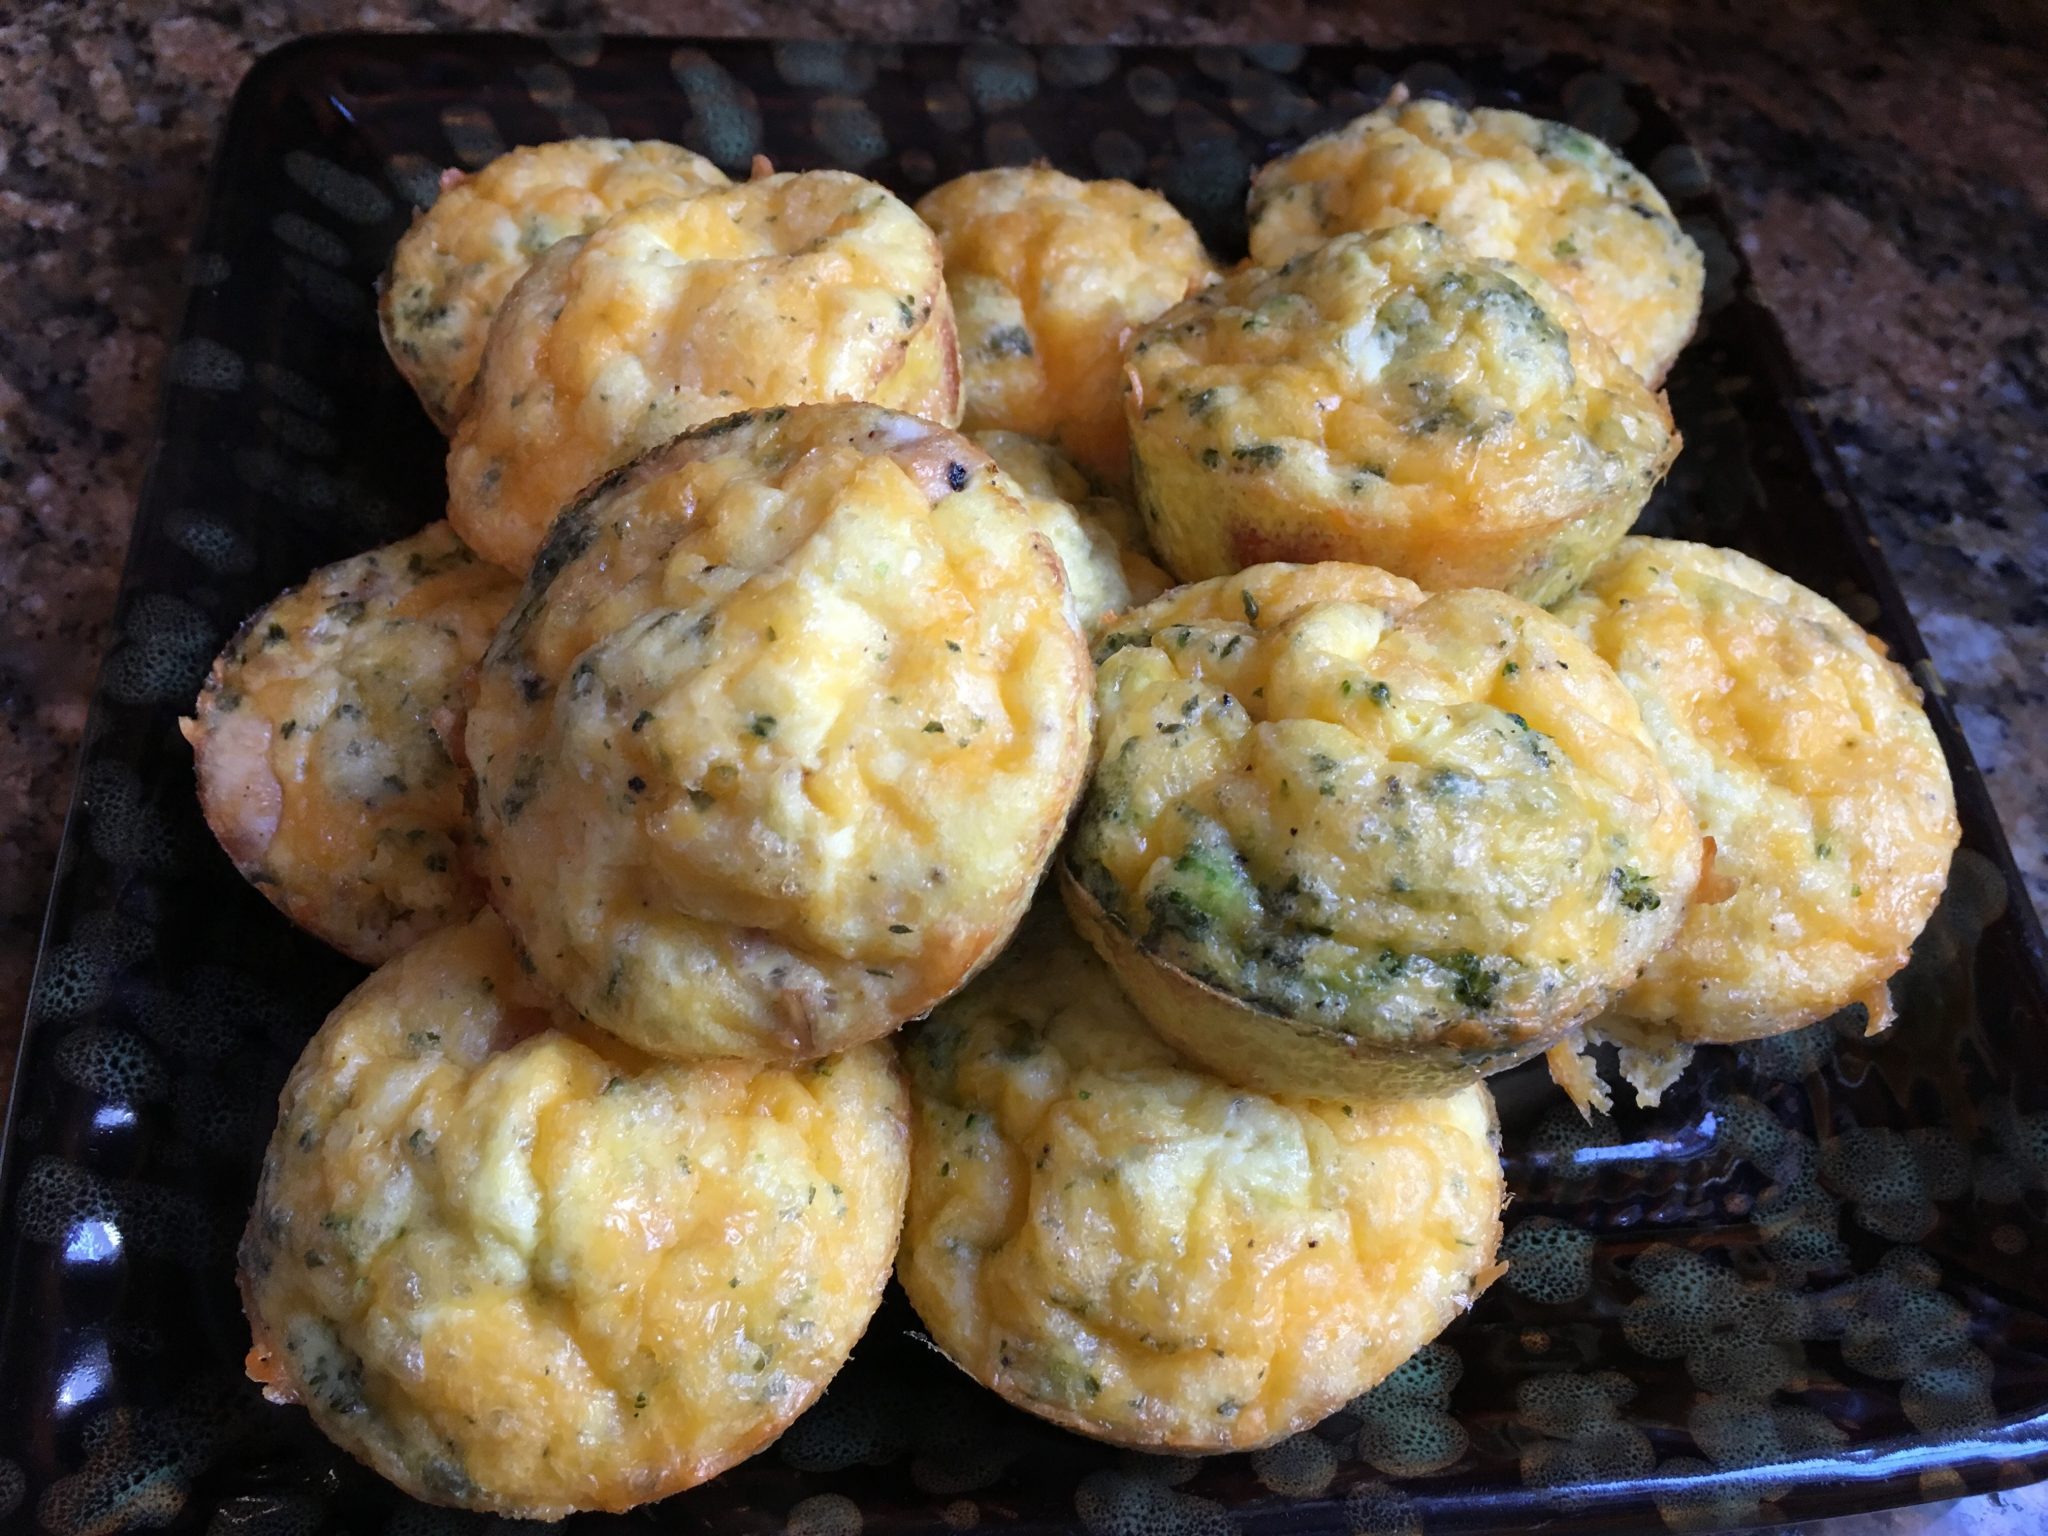
FYI: if you use mini muffin pans, this same mix works great for appetizers or for a party. It can be pre-mixed and kept in the refrigerator until cooking (take out 30 min before) at the last minute or even better cooking them earlier in the day and serve room temperature.
Hint: no time to make dinner? Pair the larger Egg-ffins with some fresh greens or spinach, diced tomatoes, pear etc and toss with a simple vinegrette and you have dinner.
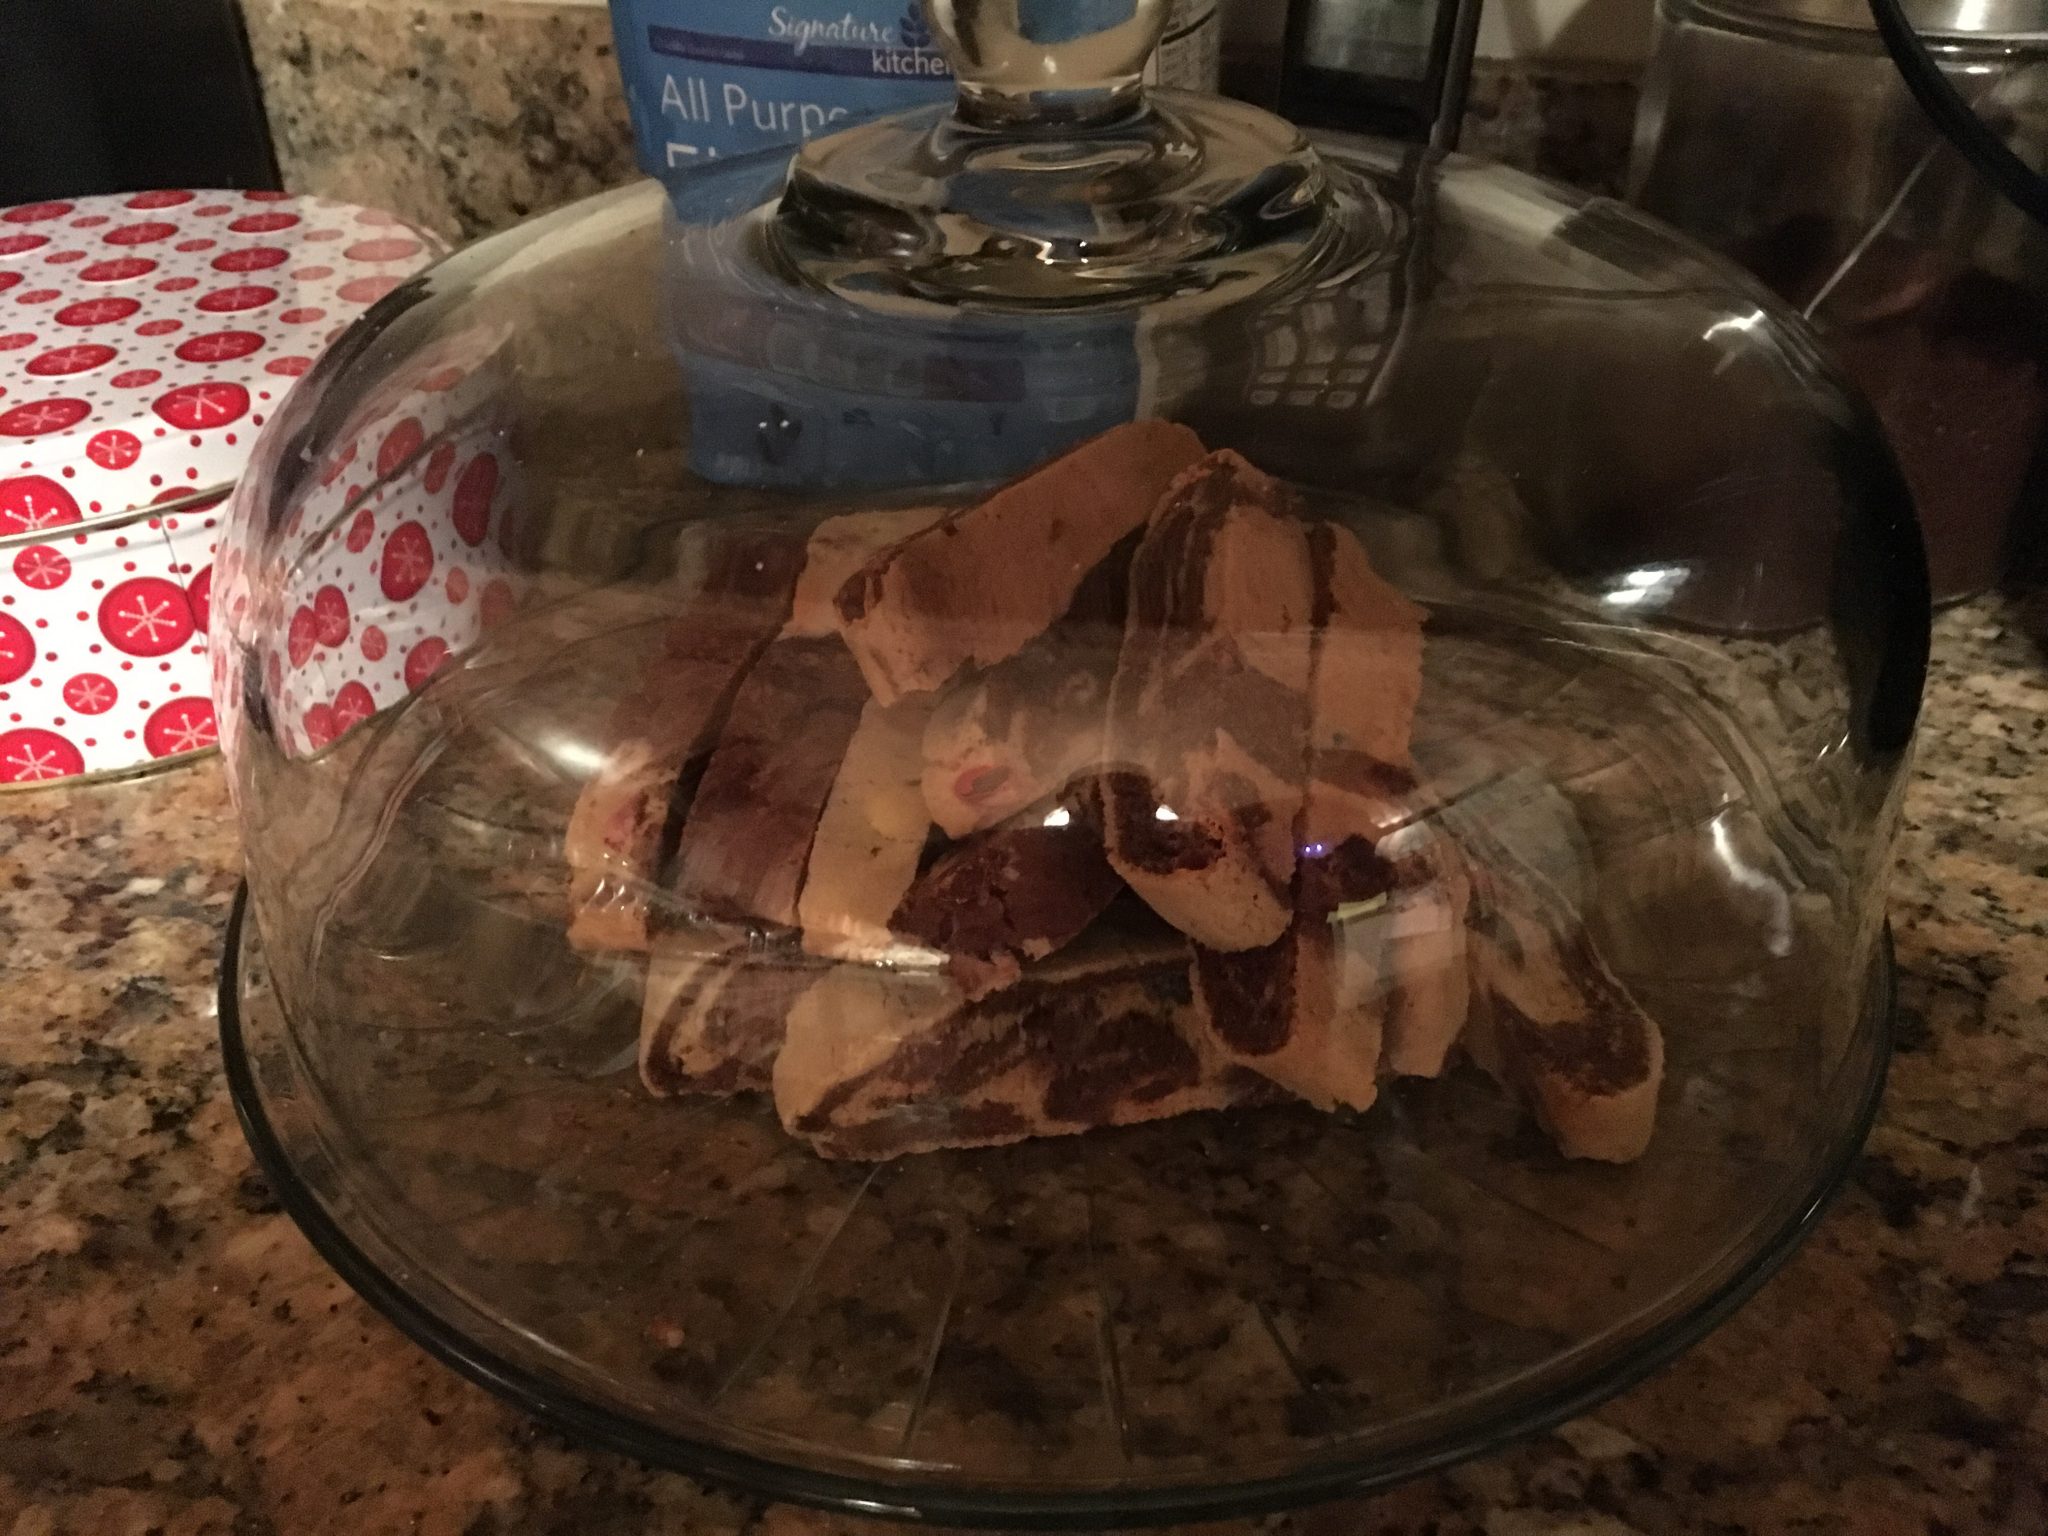
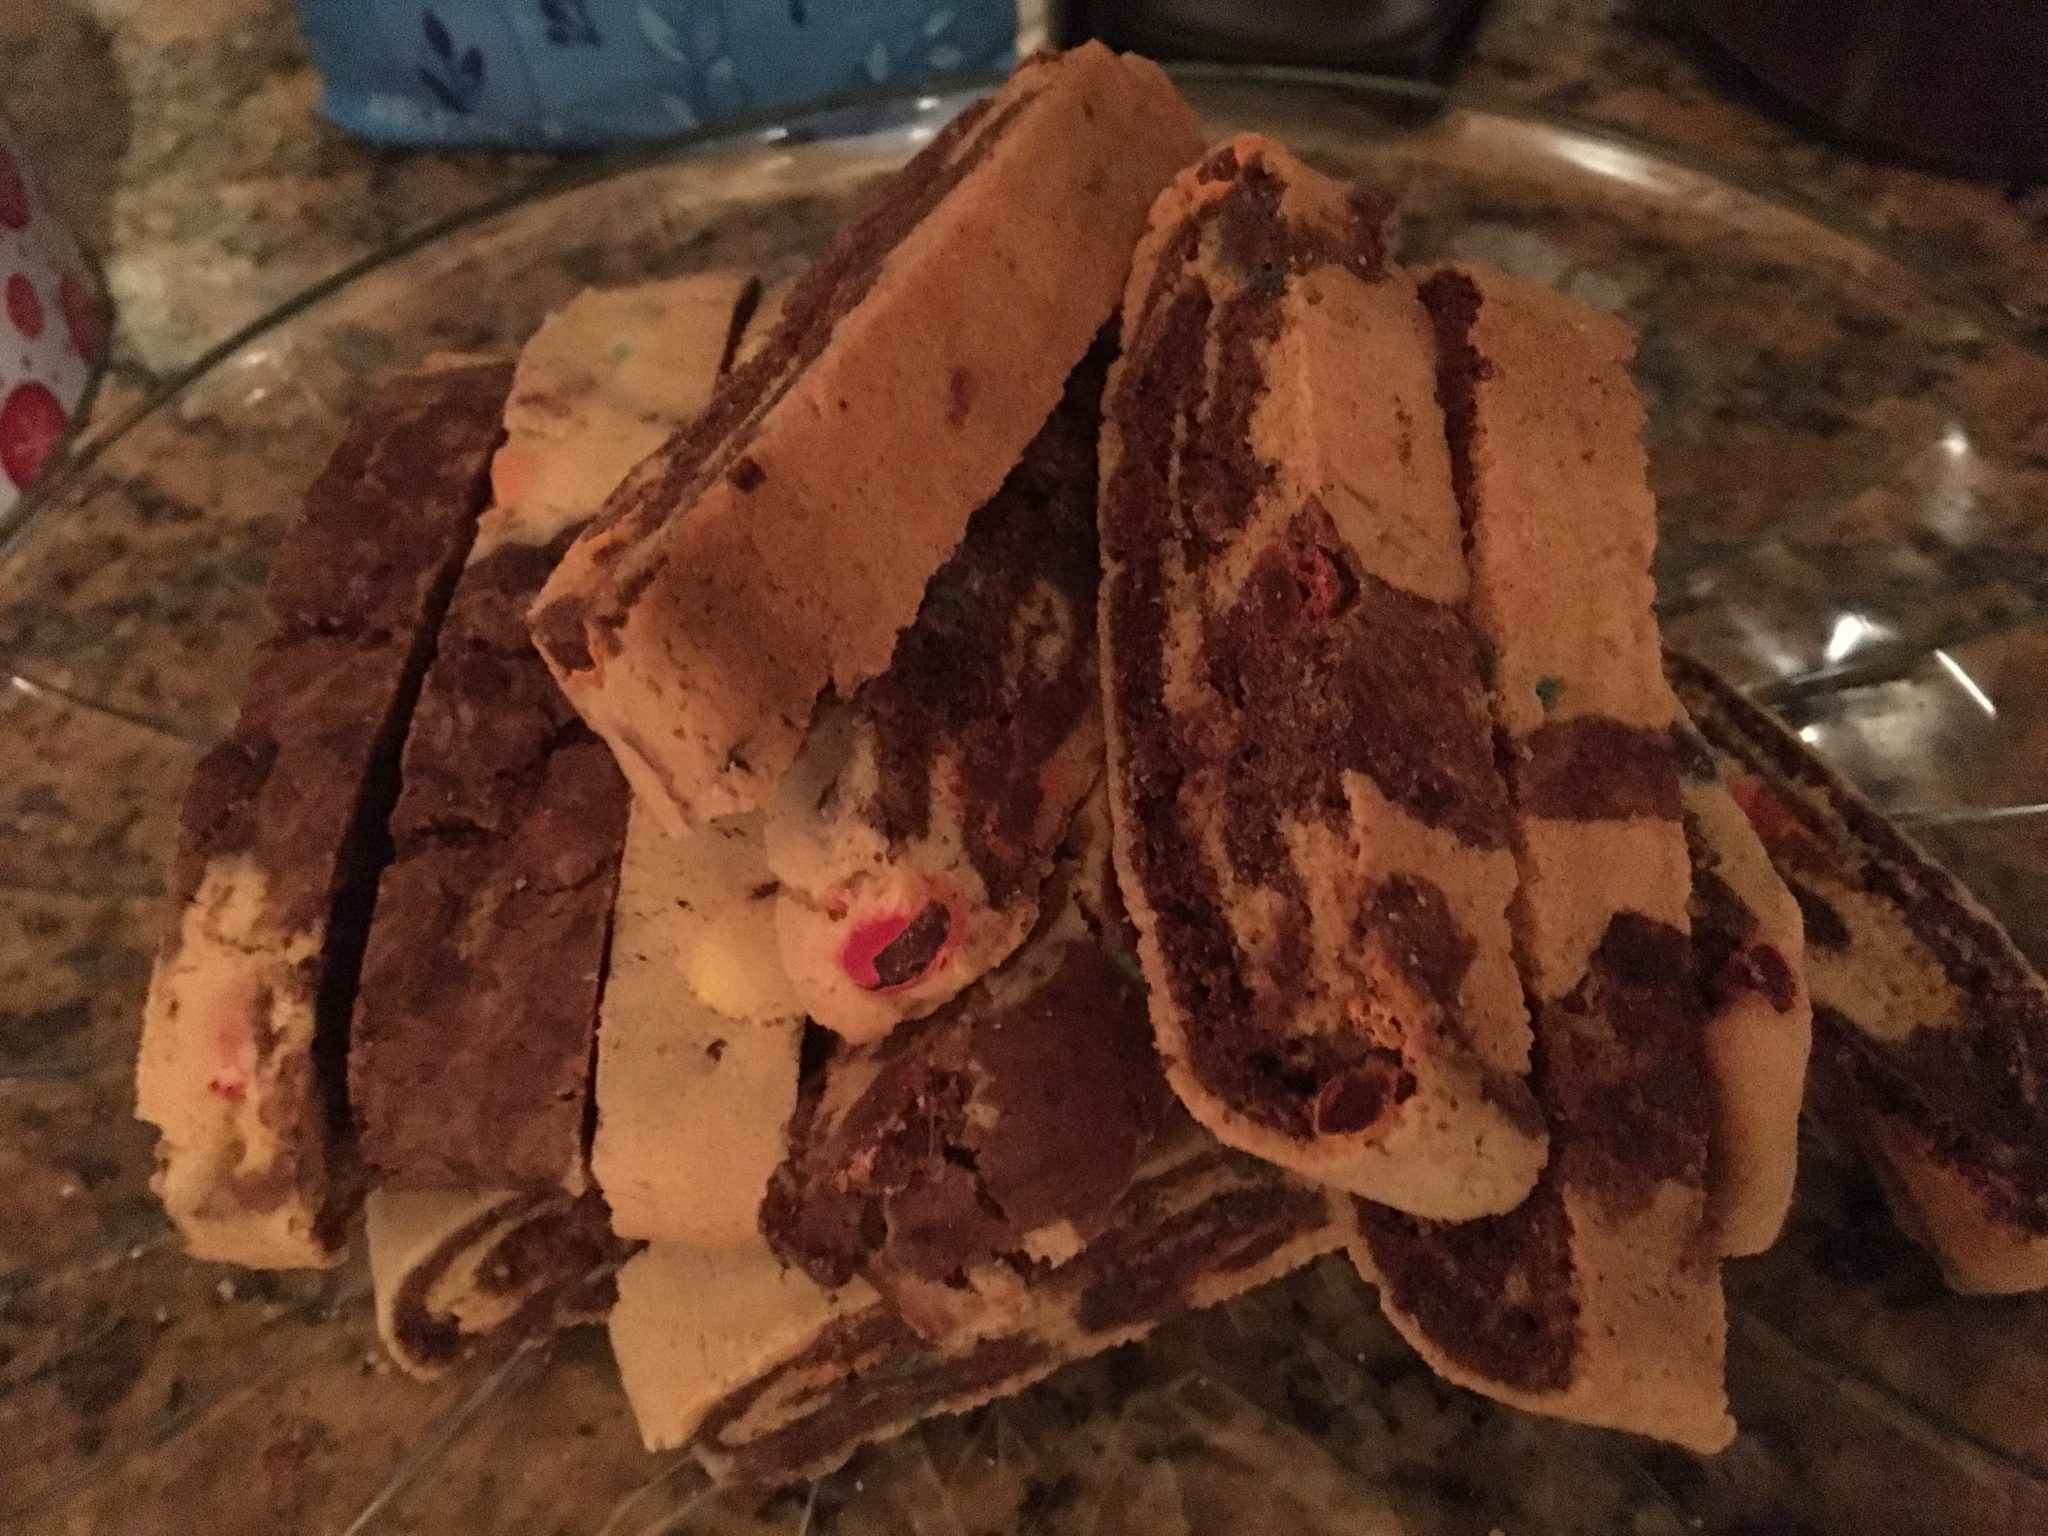
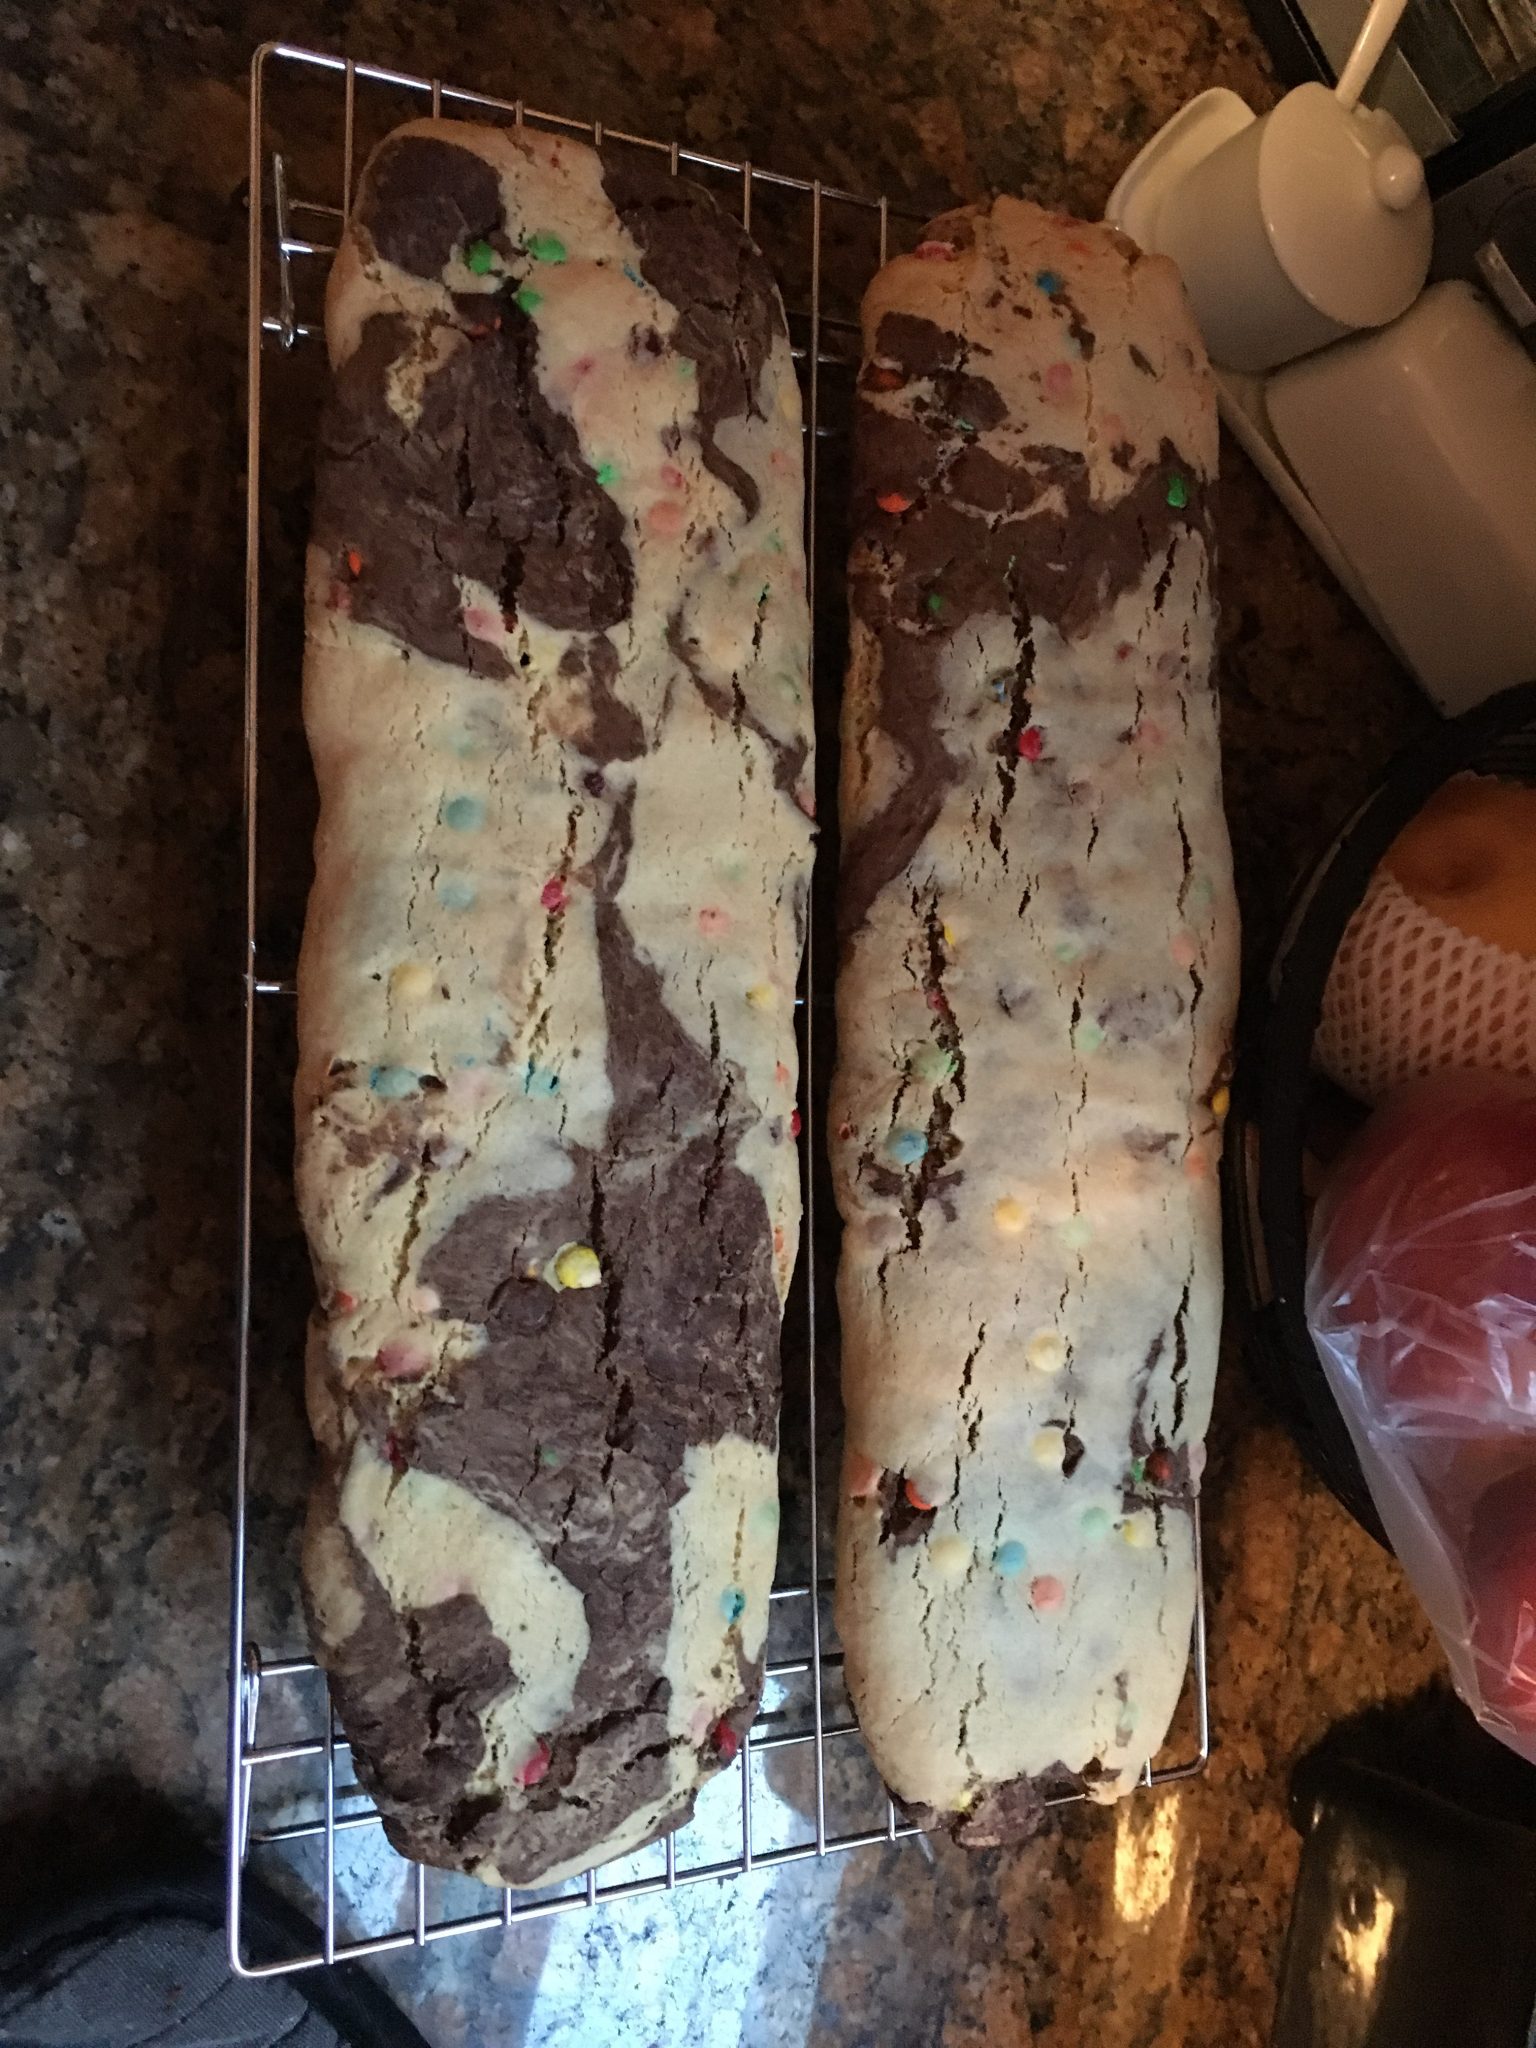
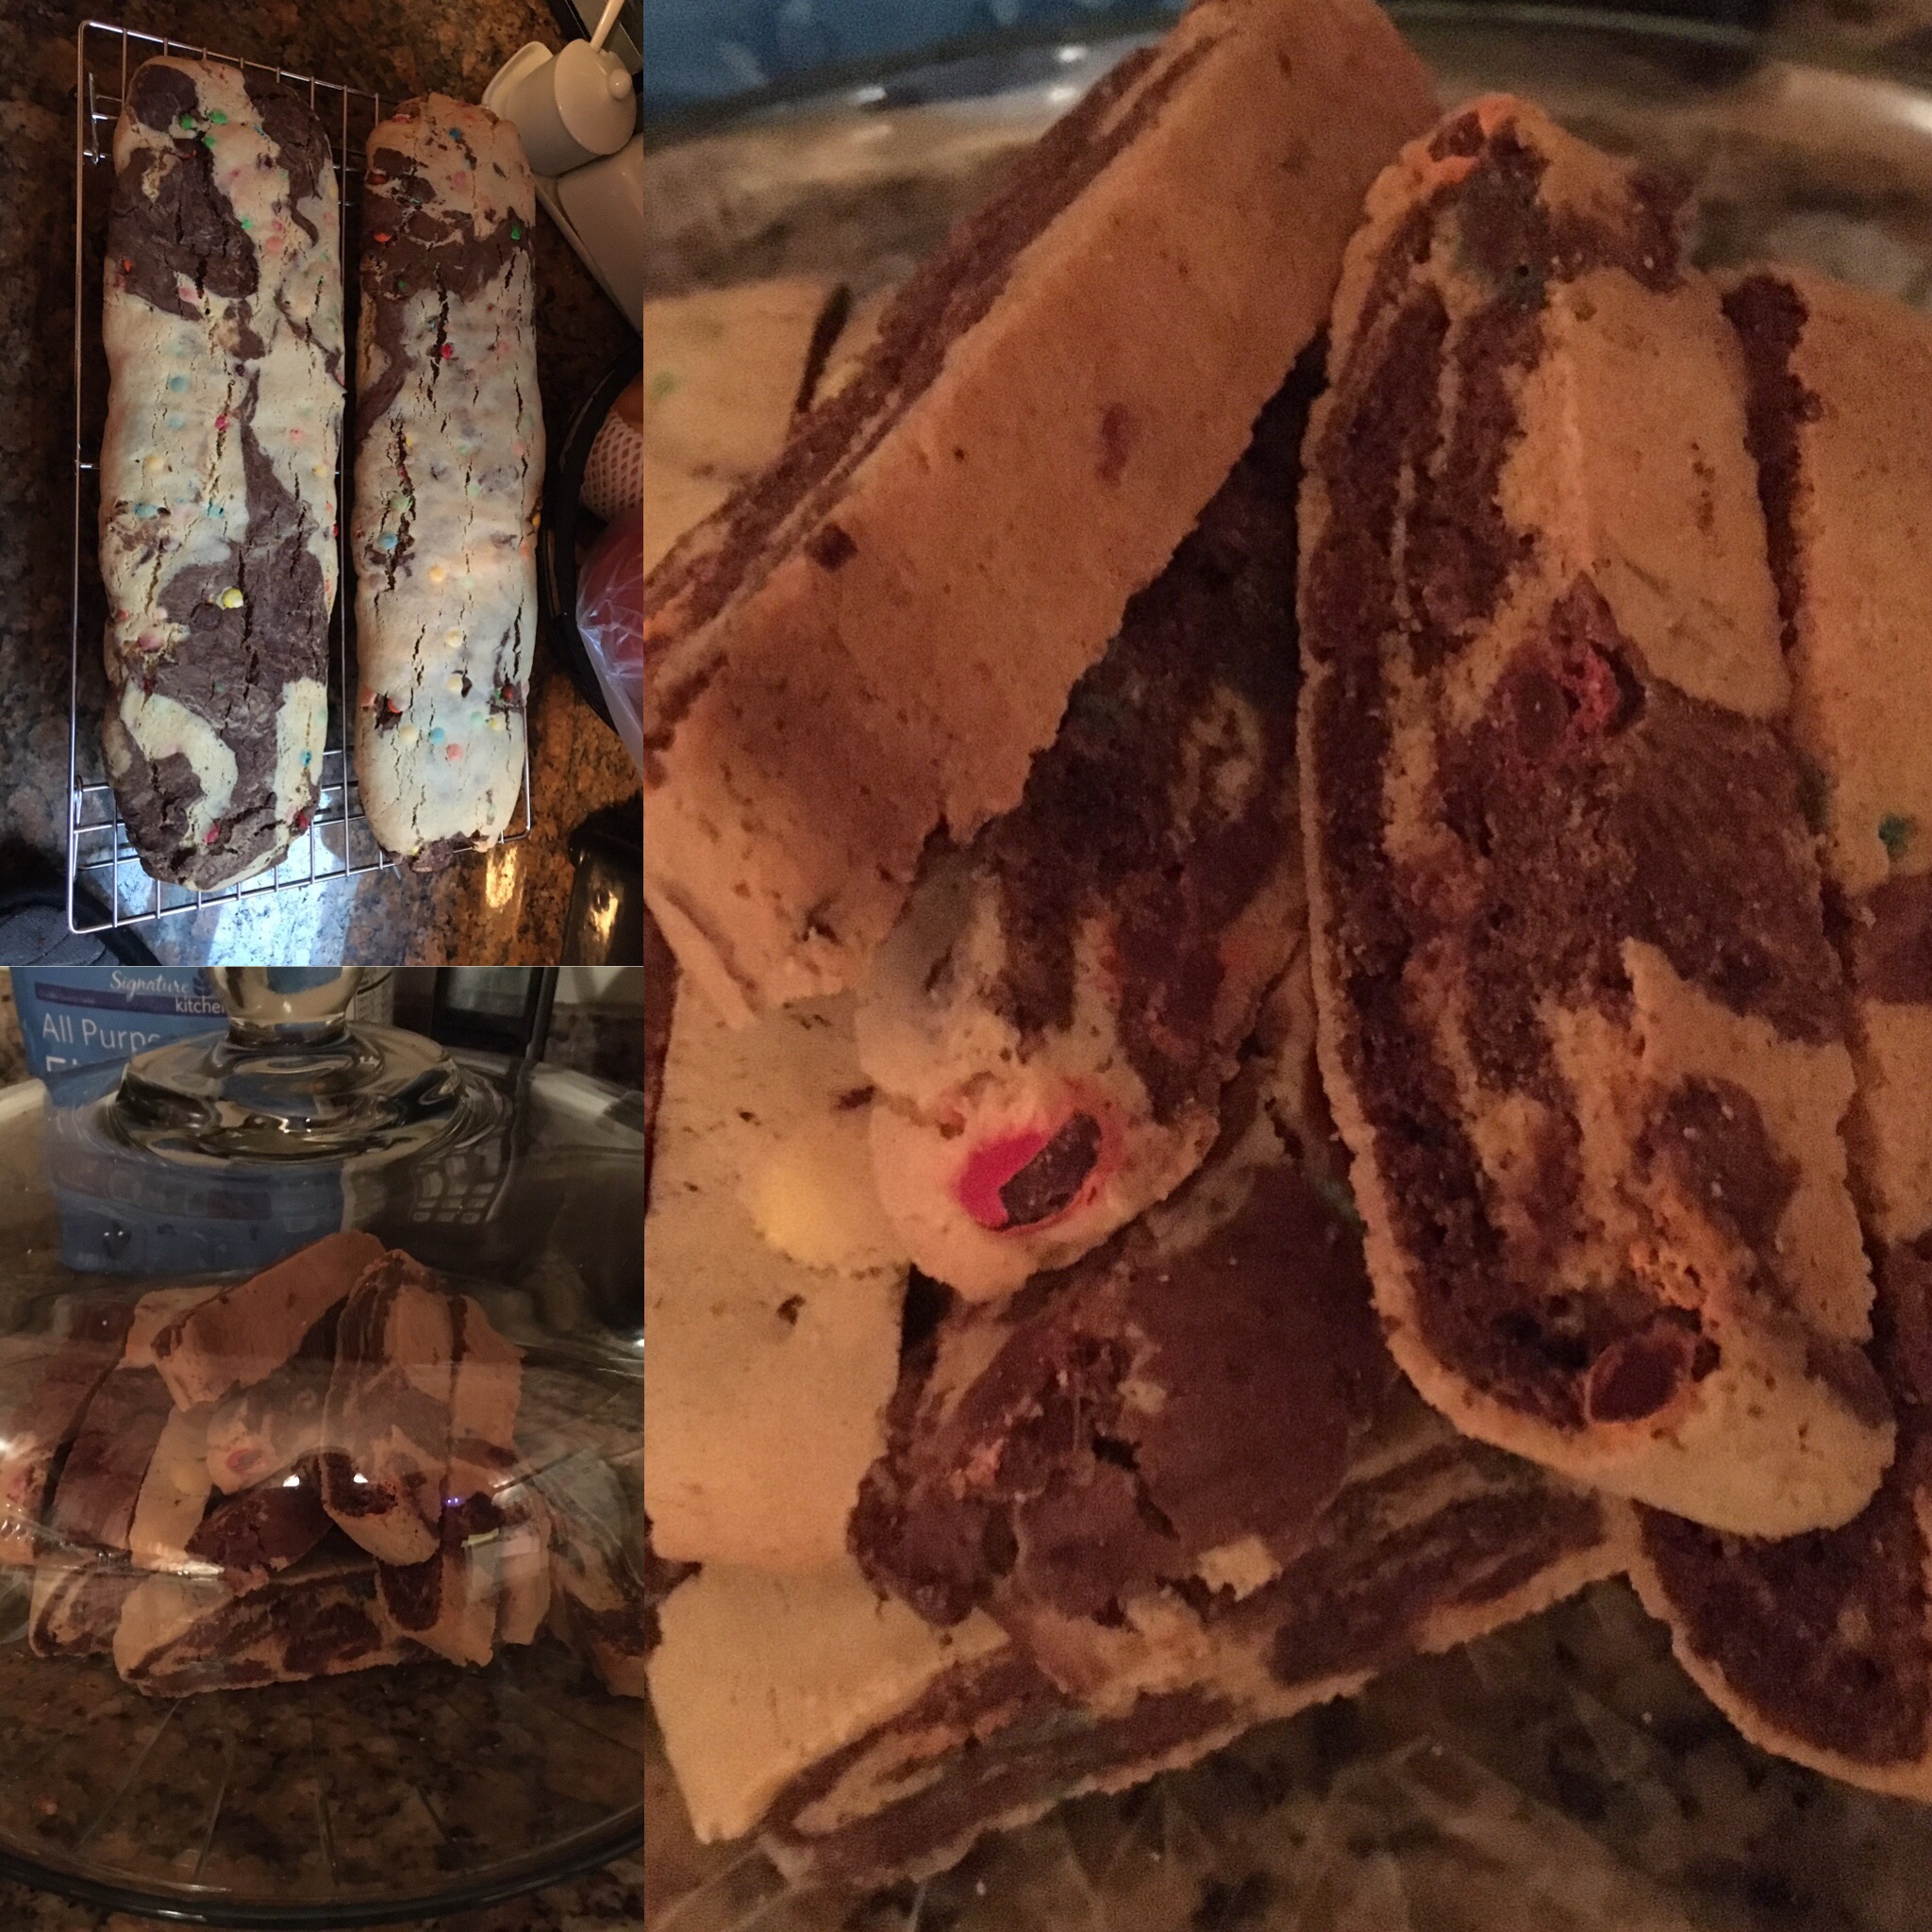
65 mins to quick biscotti!
Sometimes with busy lives, coupled with how easy it is to buy premade baked goods; a reminder is needed that ultimately its as easy and cheaper to make something homemade, than it is to buy. For the official recipe: Mini M&M Marbled Biscotti’s
it’s so easy, it is not worth trying to adapt my own version!
Multi-level cooking
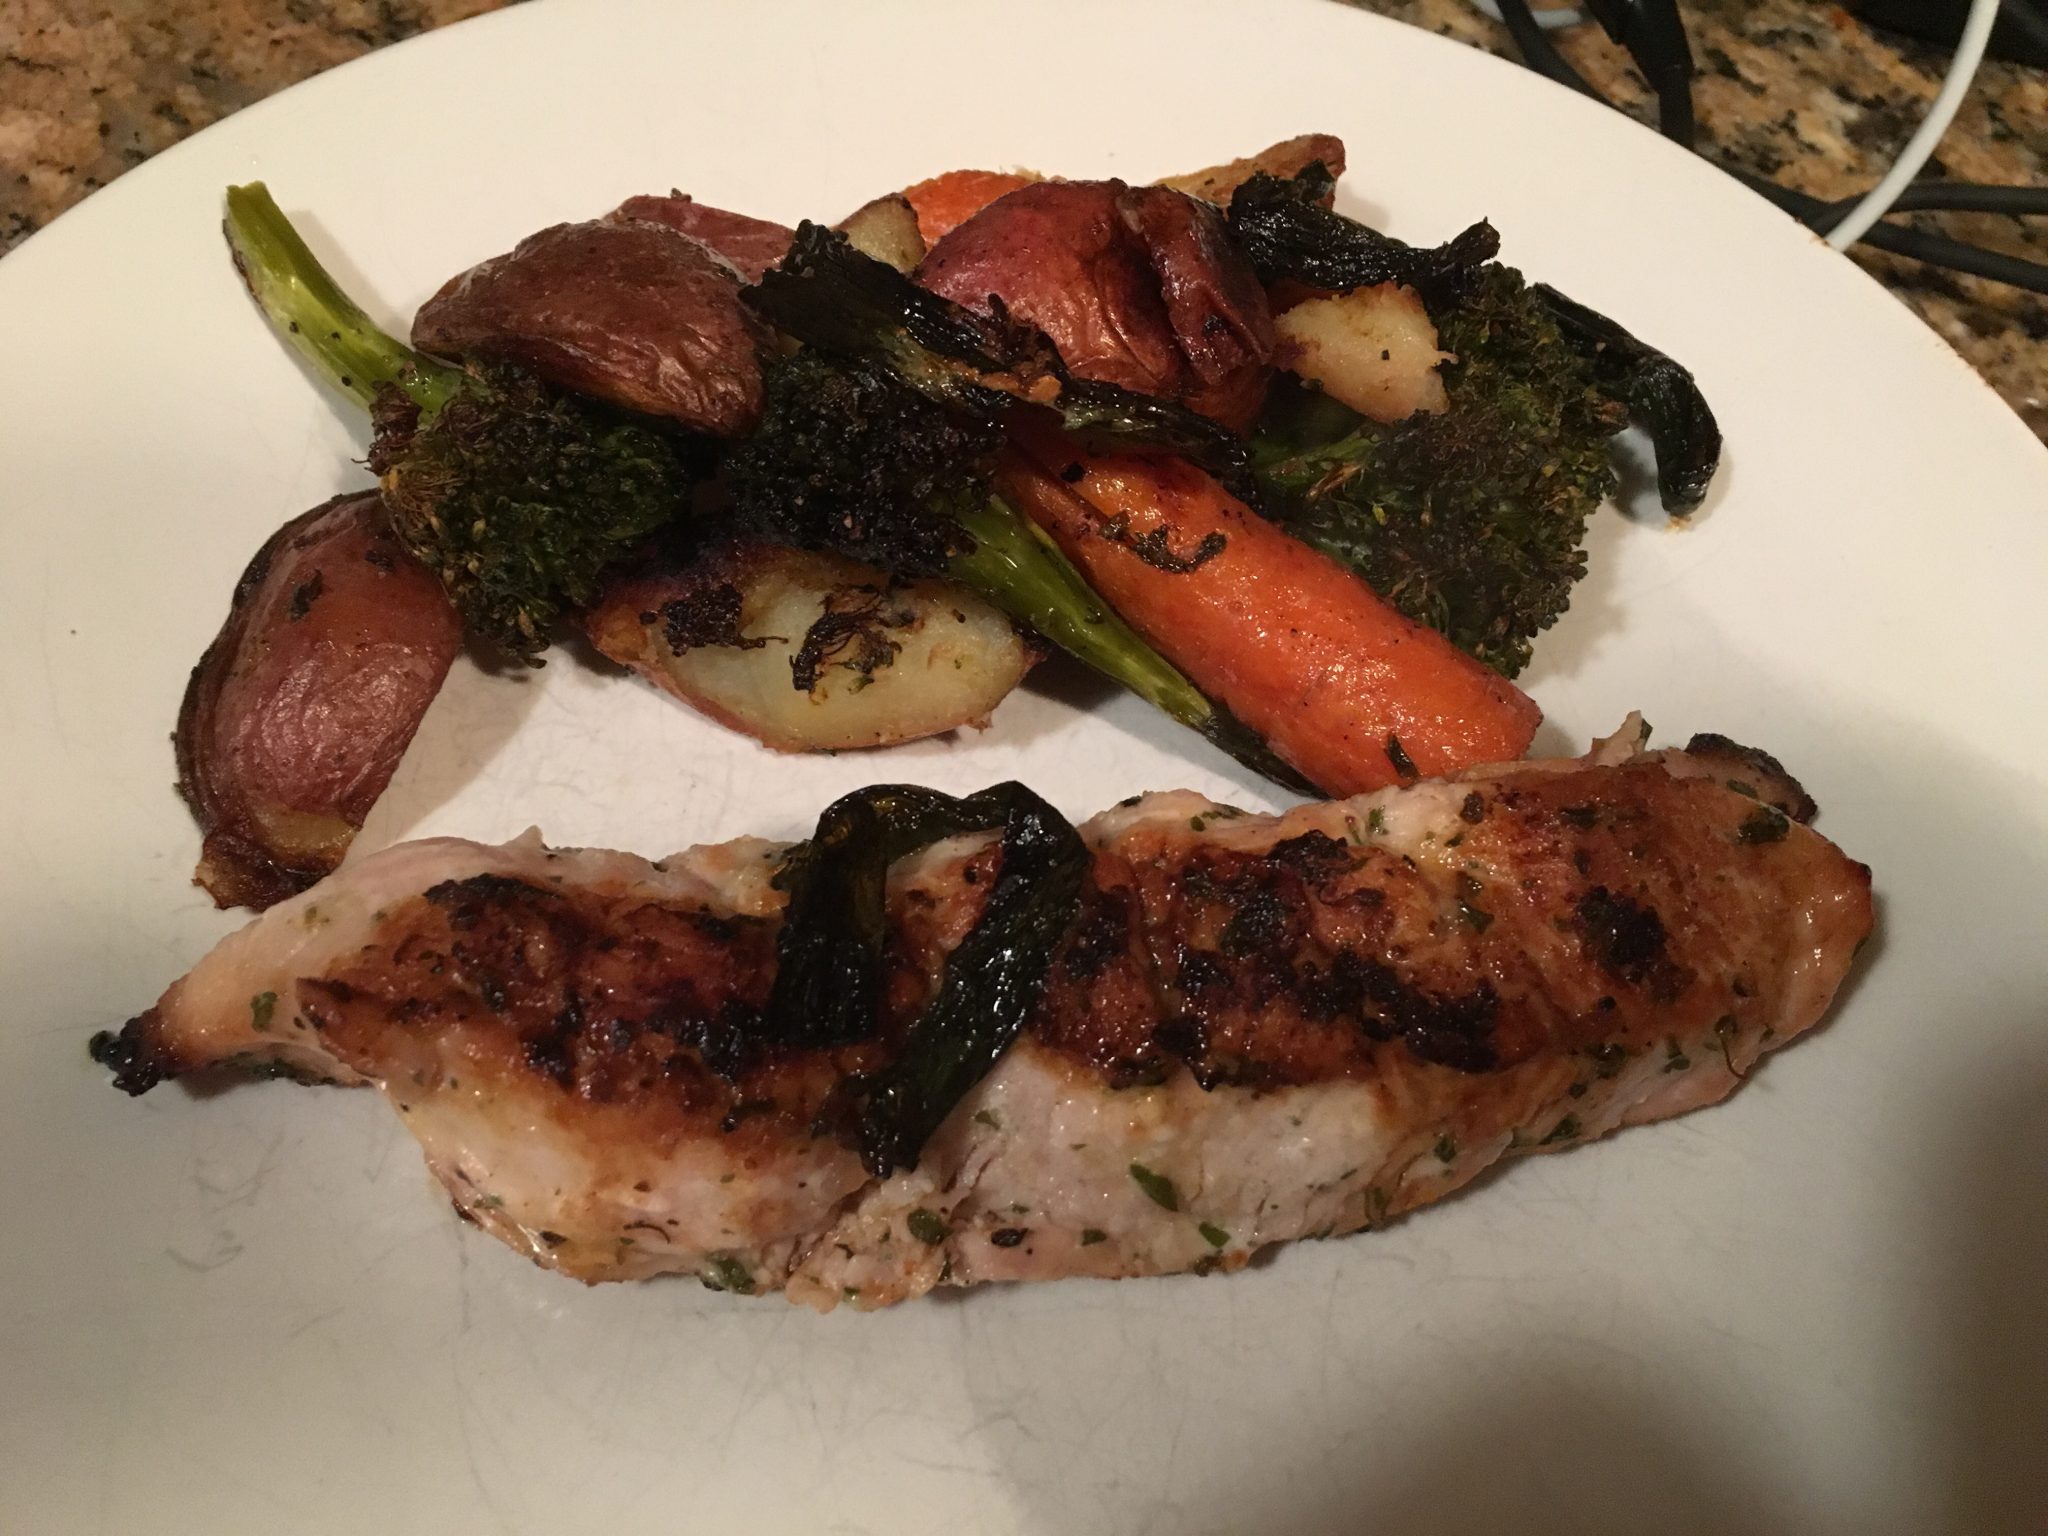
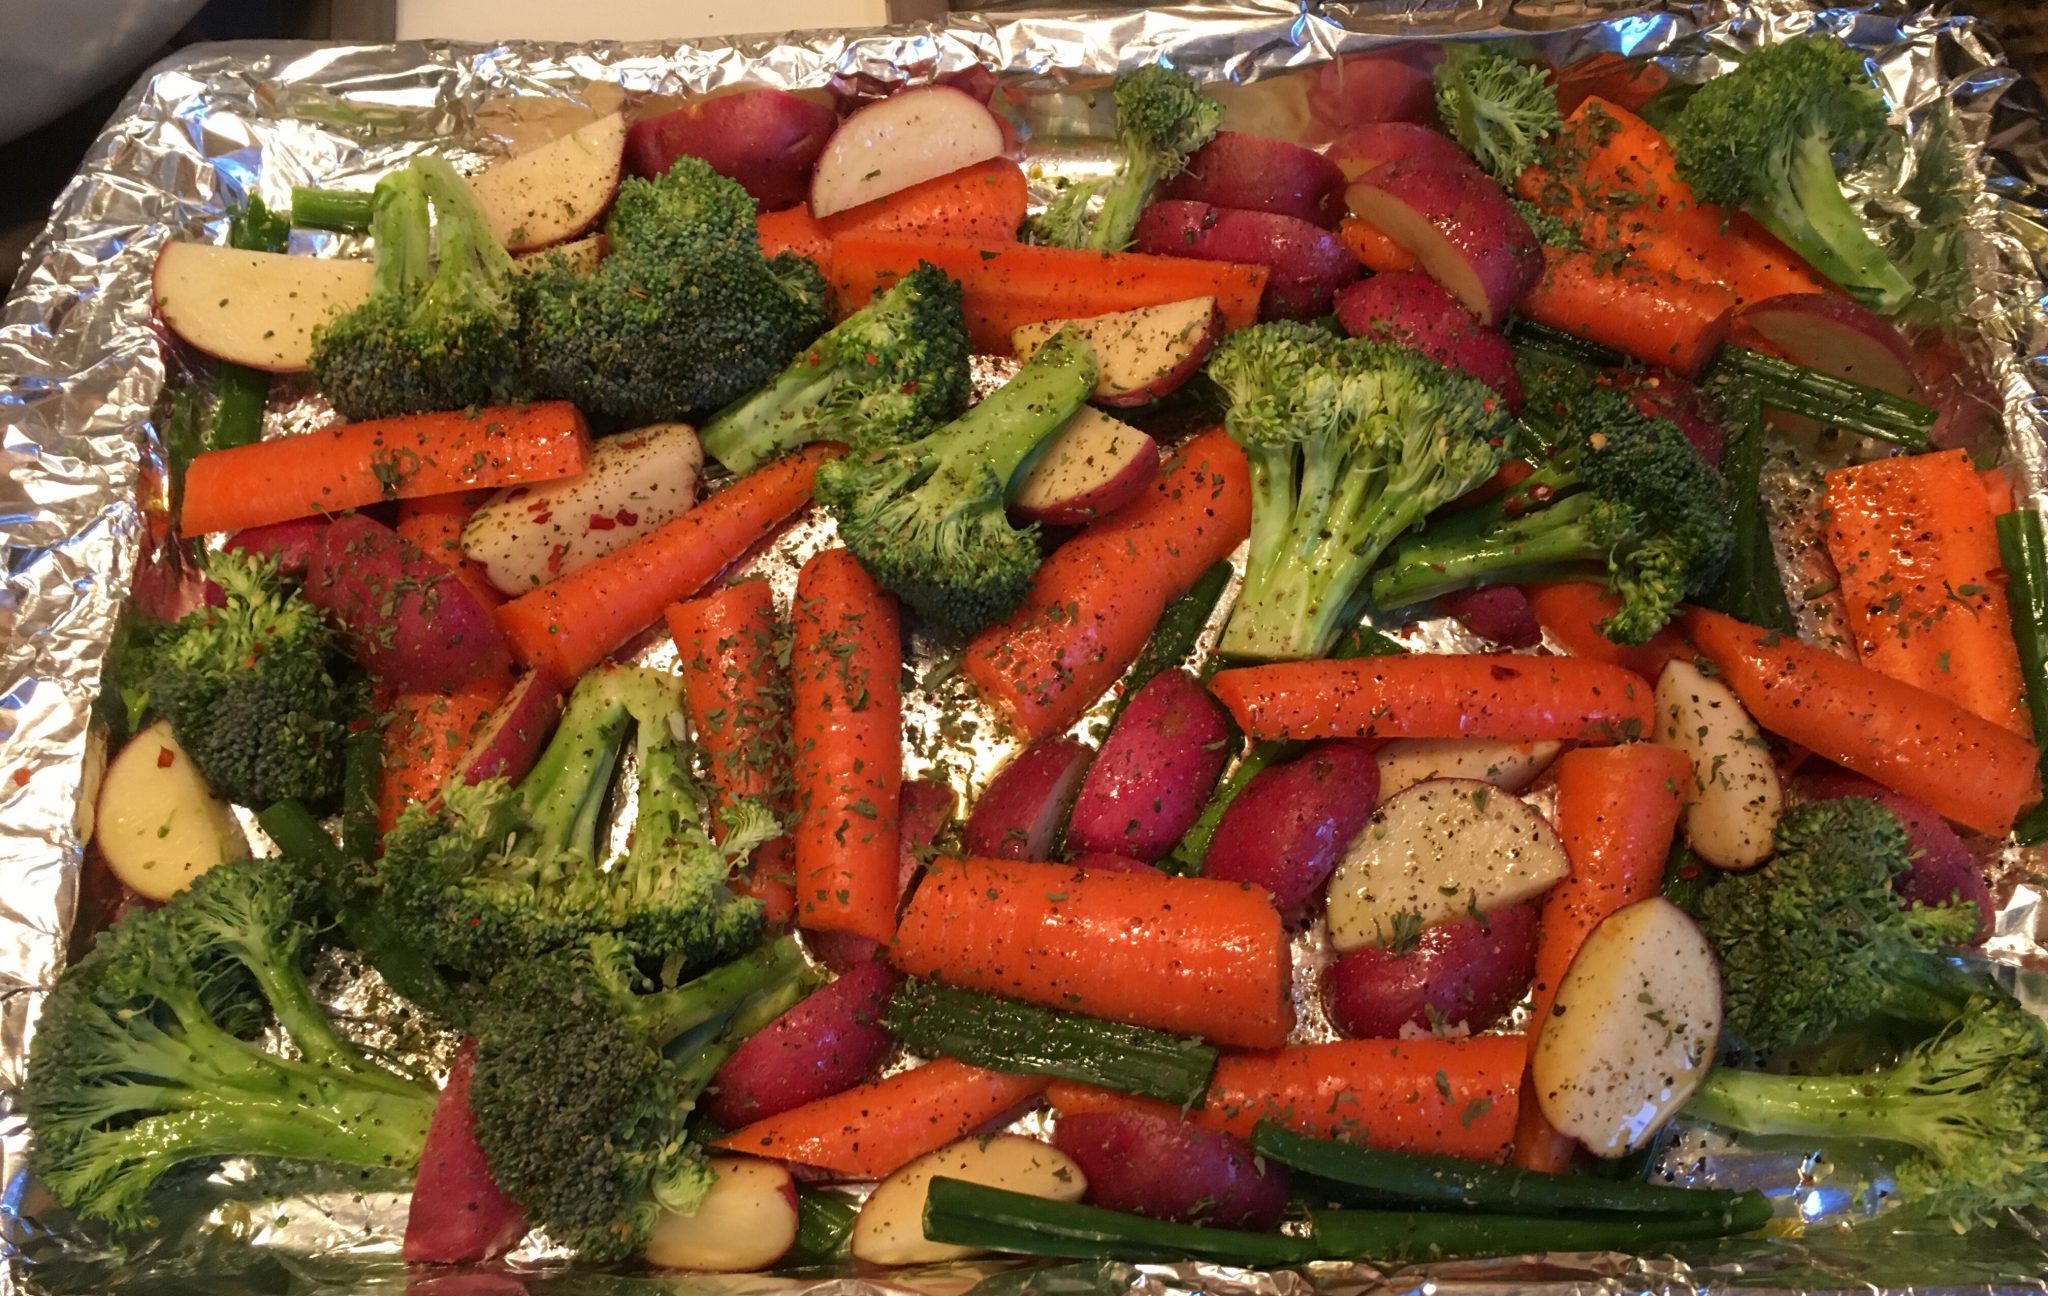
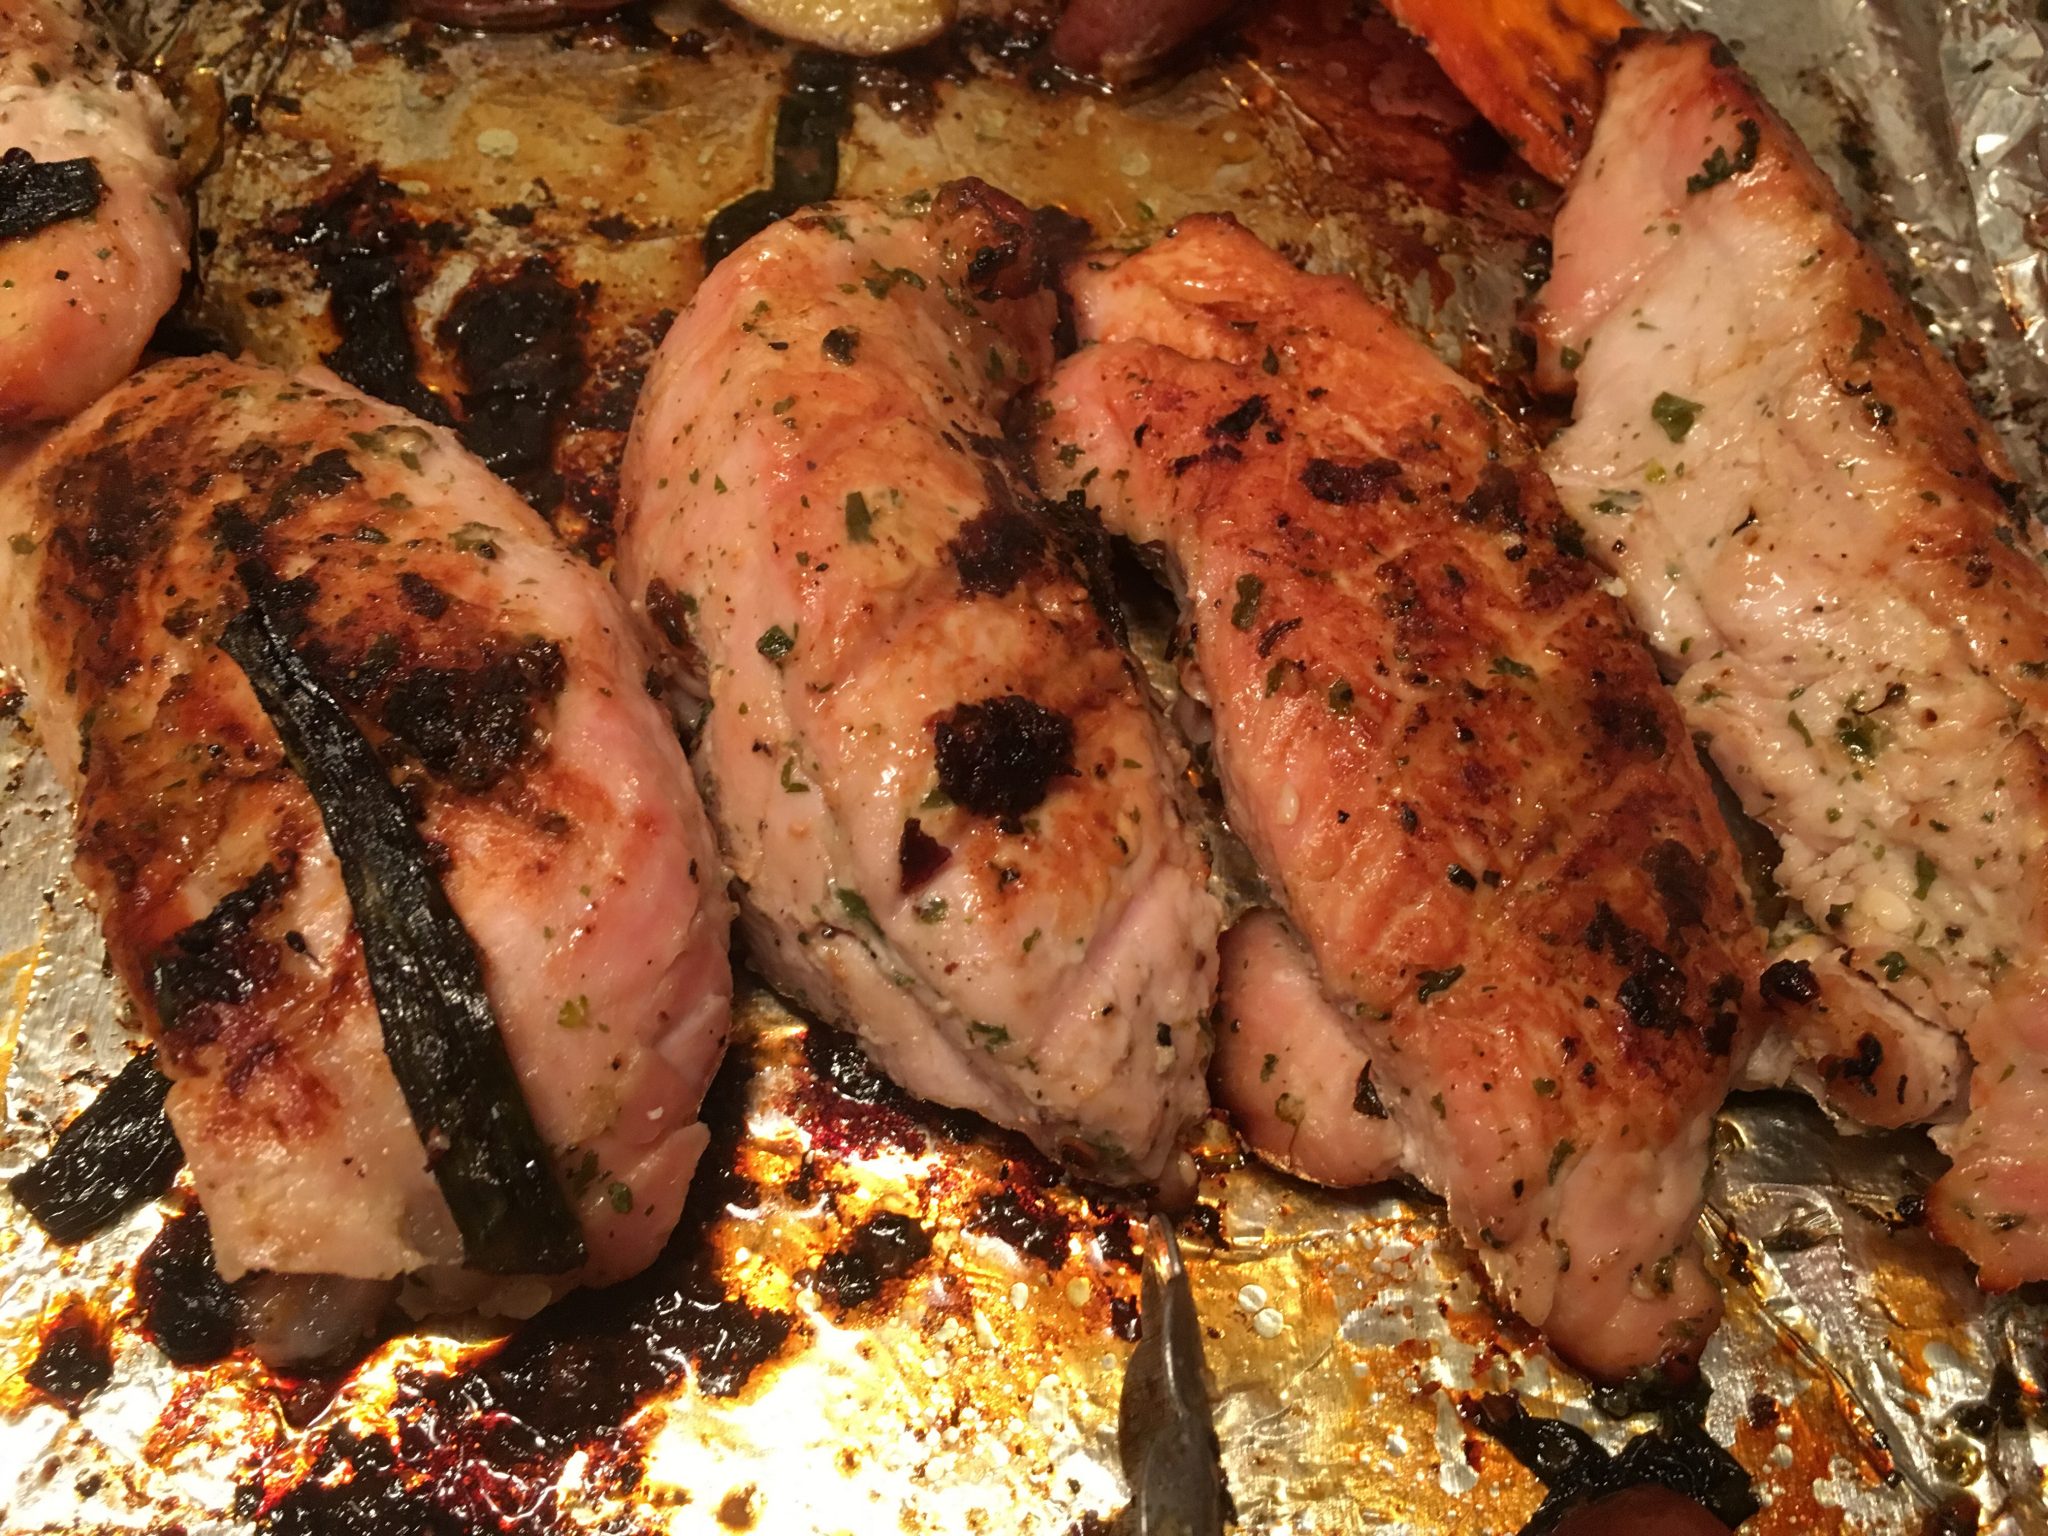
Wanted to make a simple oven roasted vegatable and turkey tenderlions and only use one pan!
1a- cut and coat rhe potatoes and veggies in evoo, salt, pepper, red pepper flakes and dried parsely
1b- marinate turkey with oil, honey, vinegar, pepper, lemon or orange juice and fresh herbs.
2- start the veggies in the oven at 375 for 15 min.
3- add a cooking spray, coated cookie rack over the veggies and lay marinated turkey on it. Bake 20 min more, remove from the oven, turn veggies, flip turkey and bake 20 more min.
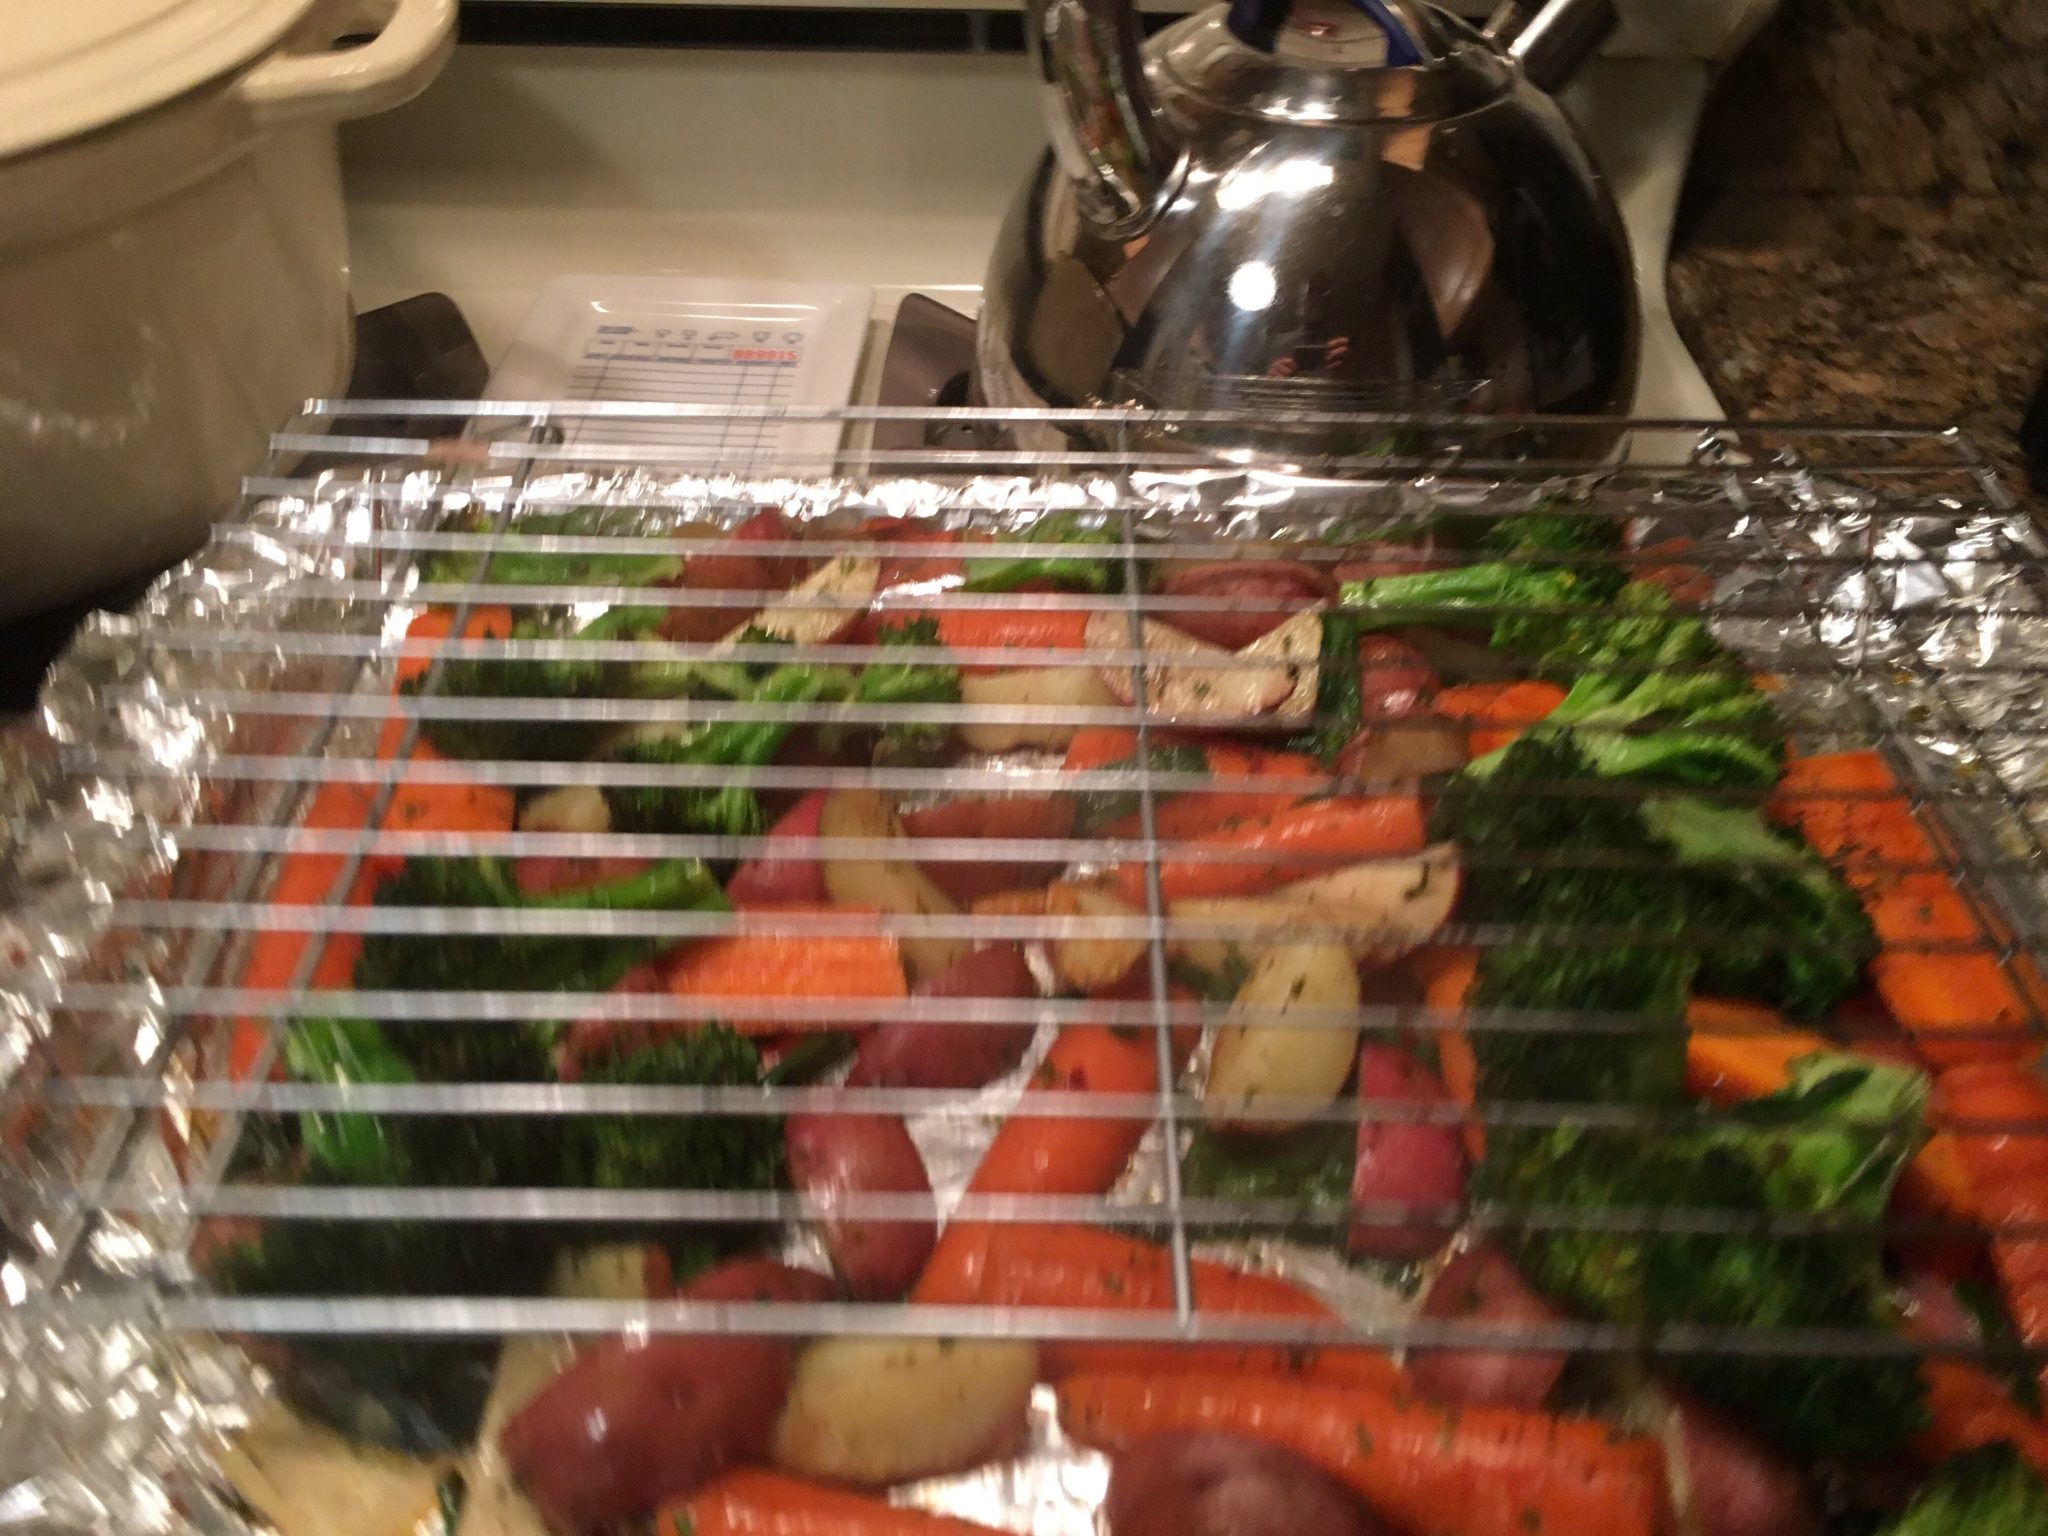
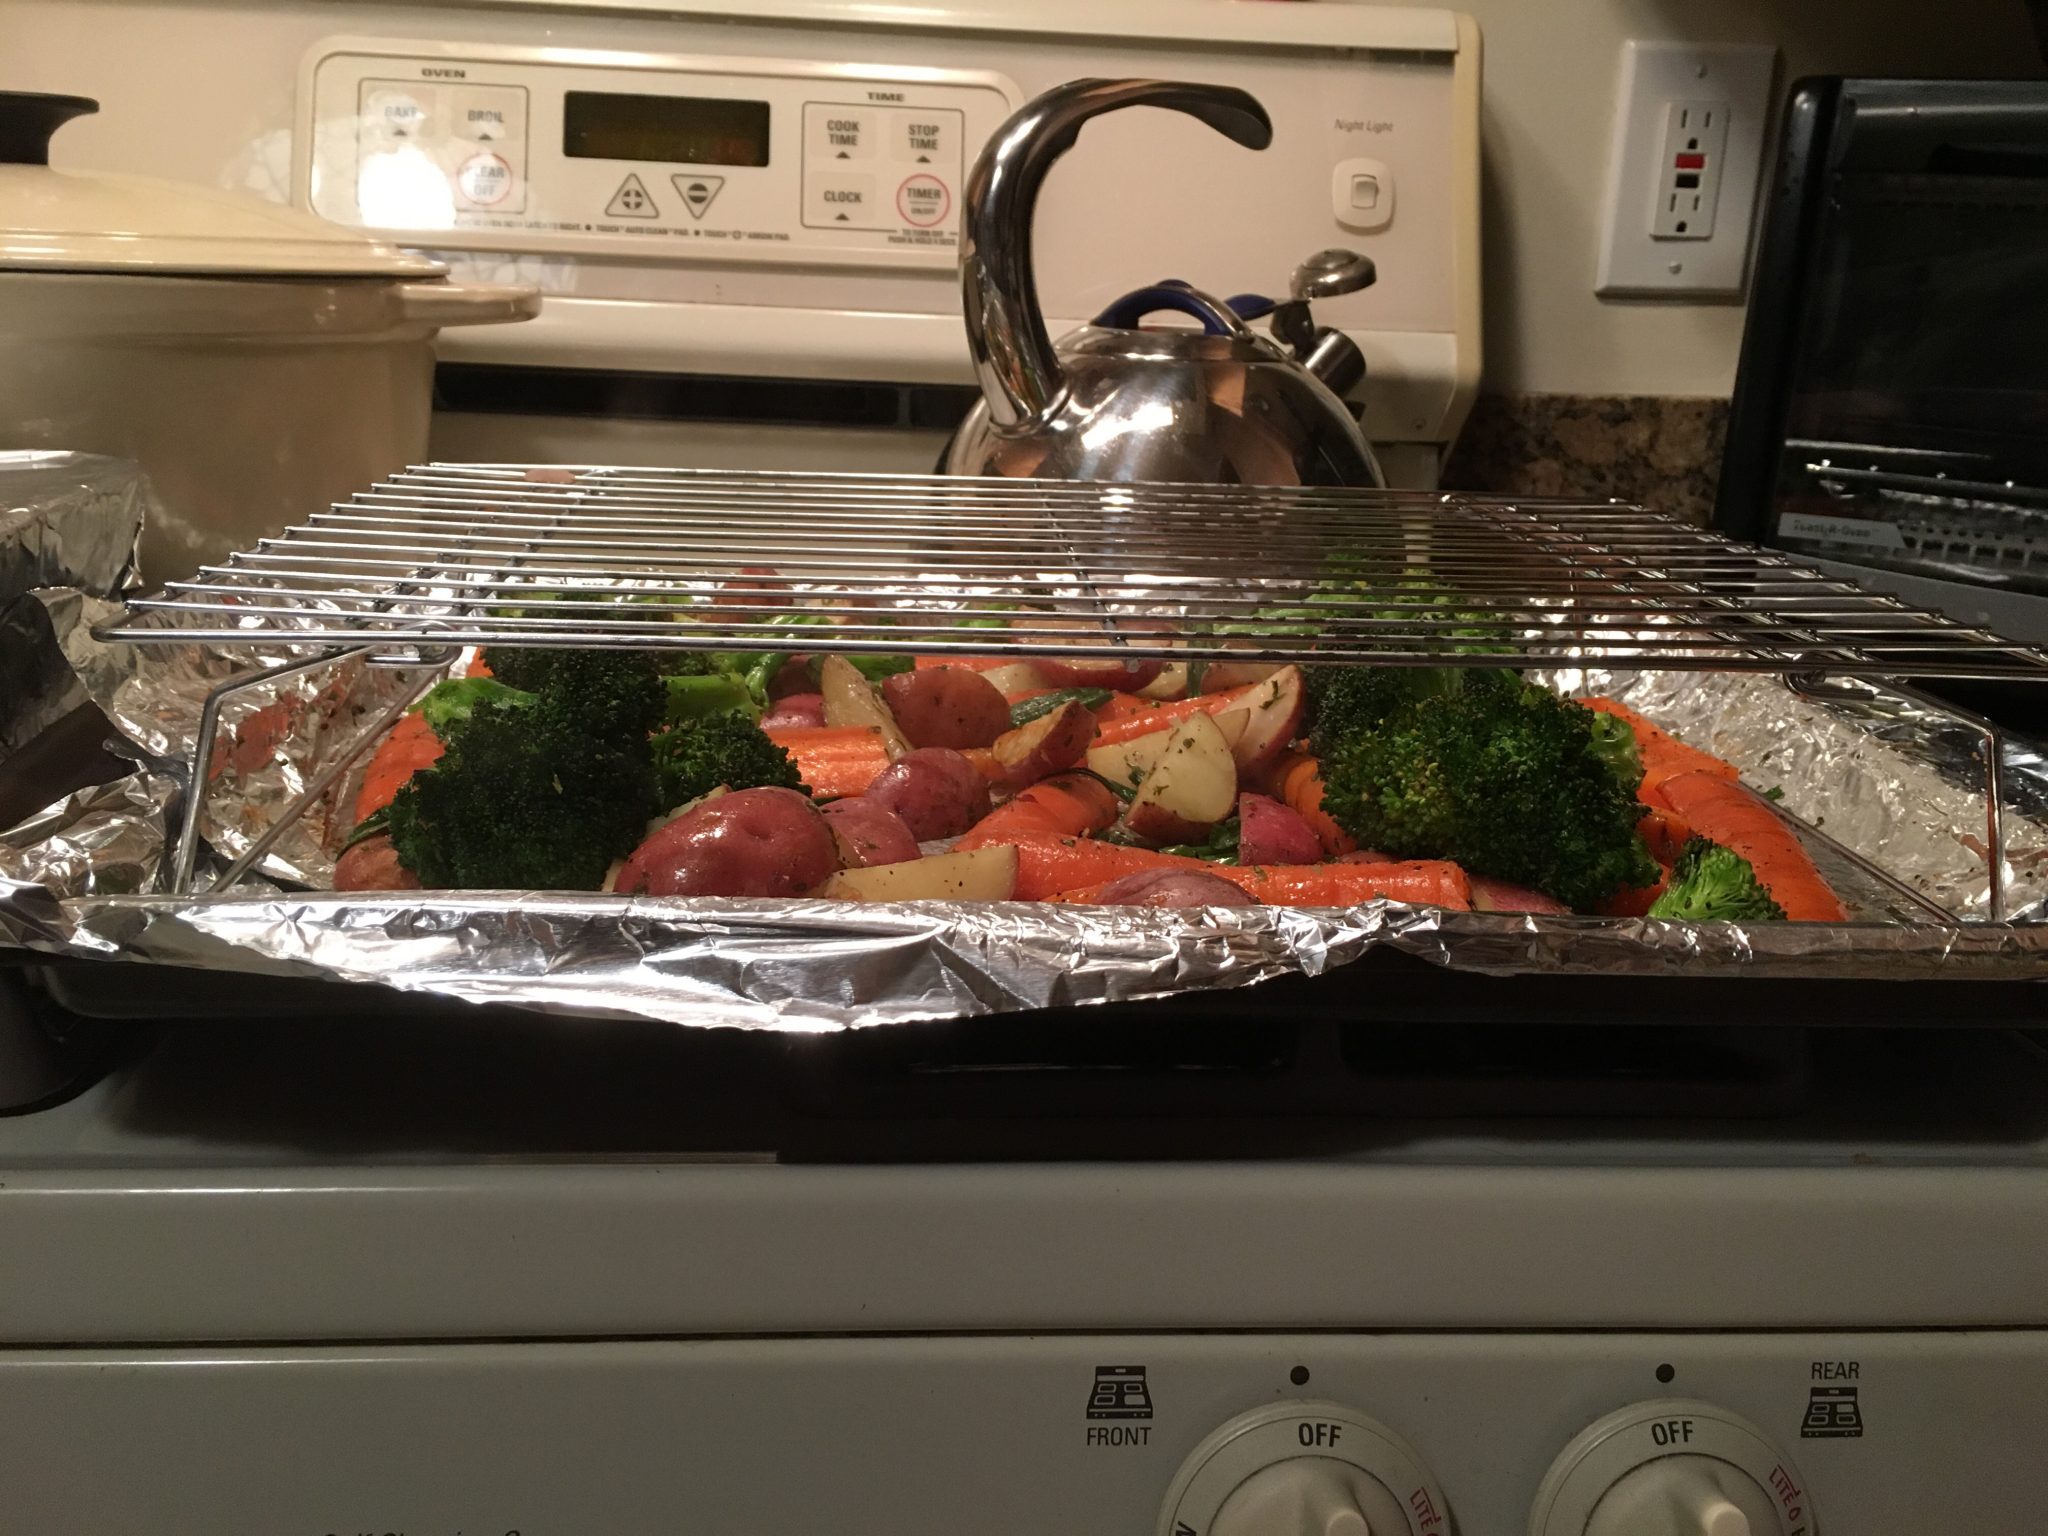
4- remove from the oven and move veggies to each end of the pan, take rack off and place turkey directly on the pan. Bale for 5 min on top shelf, flip turkey and bake 5 more min.
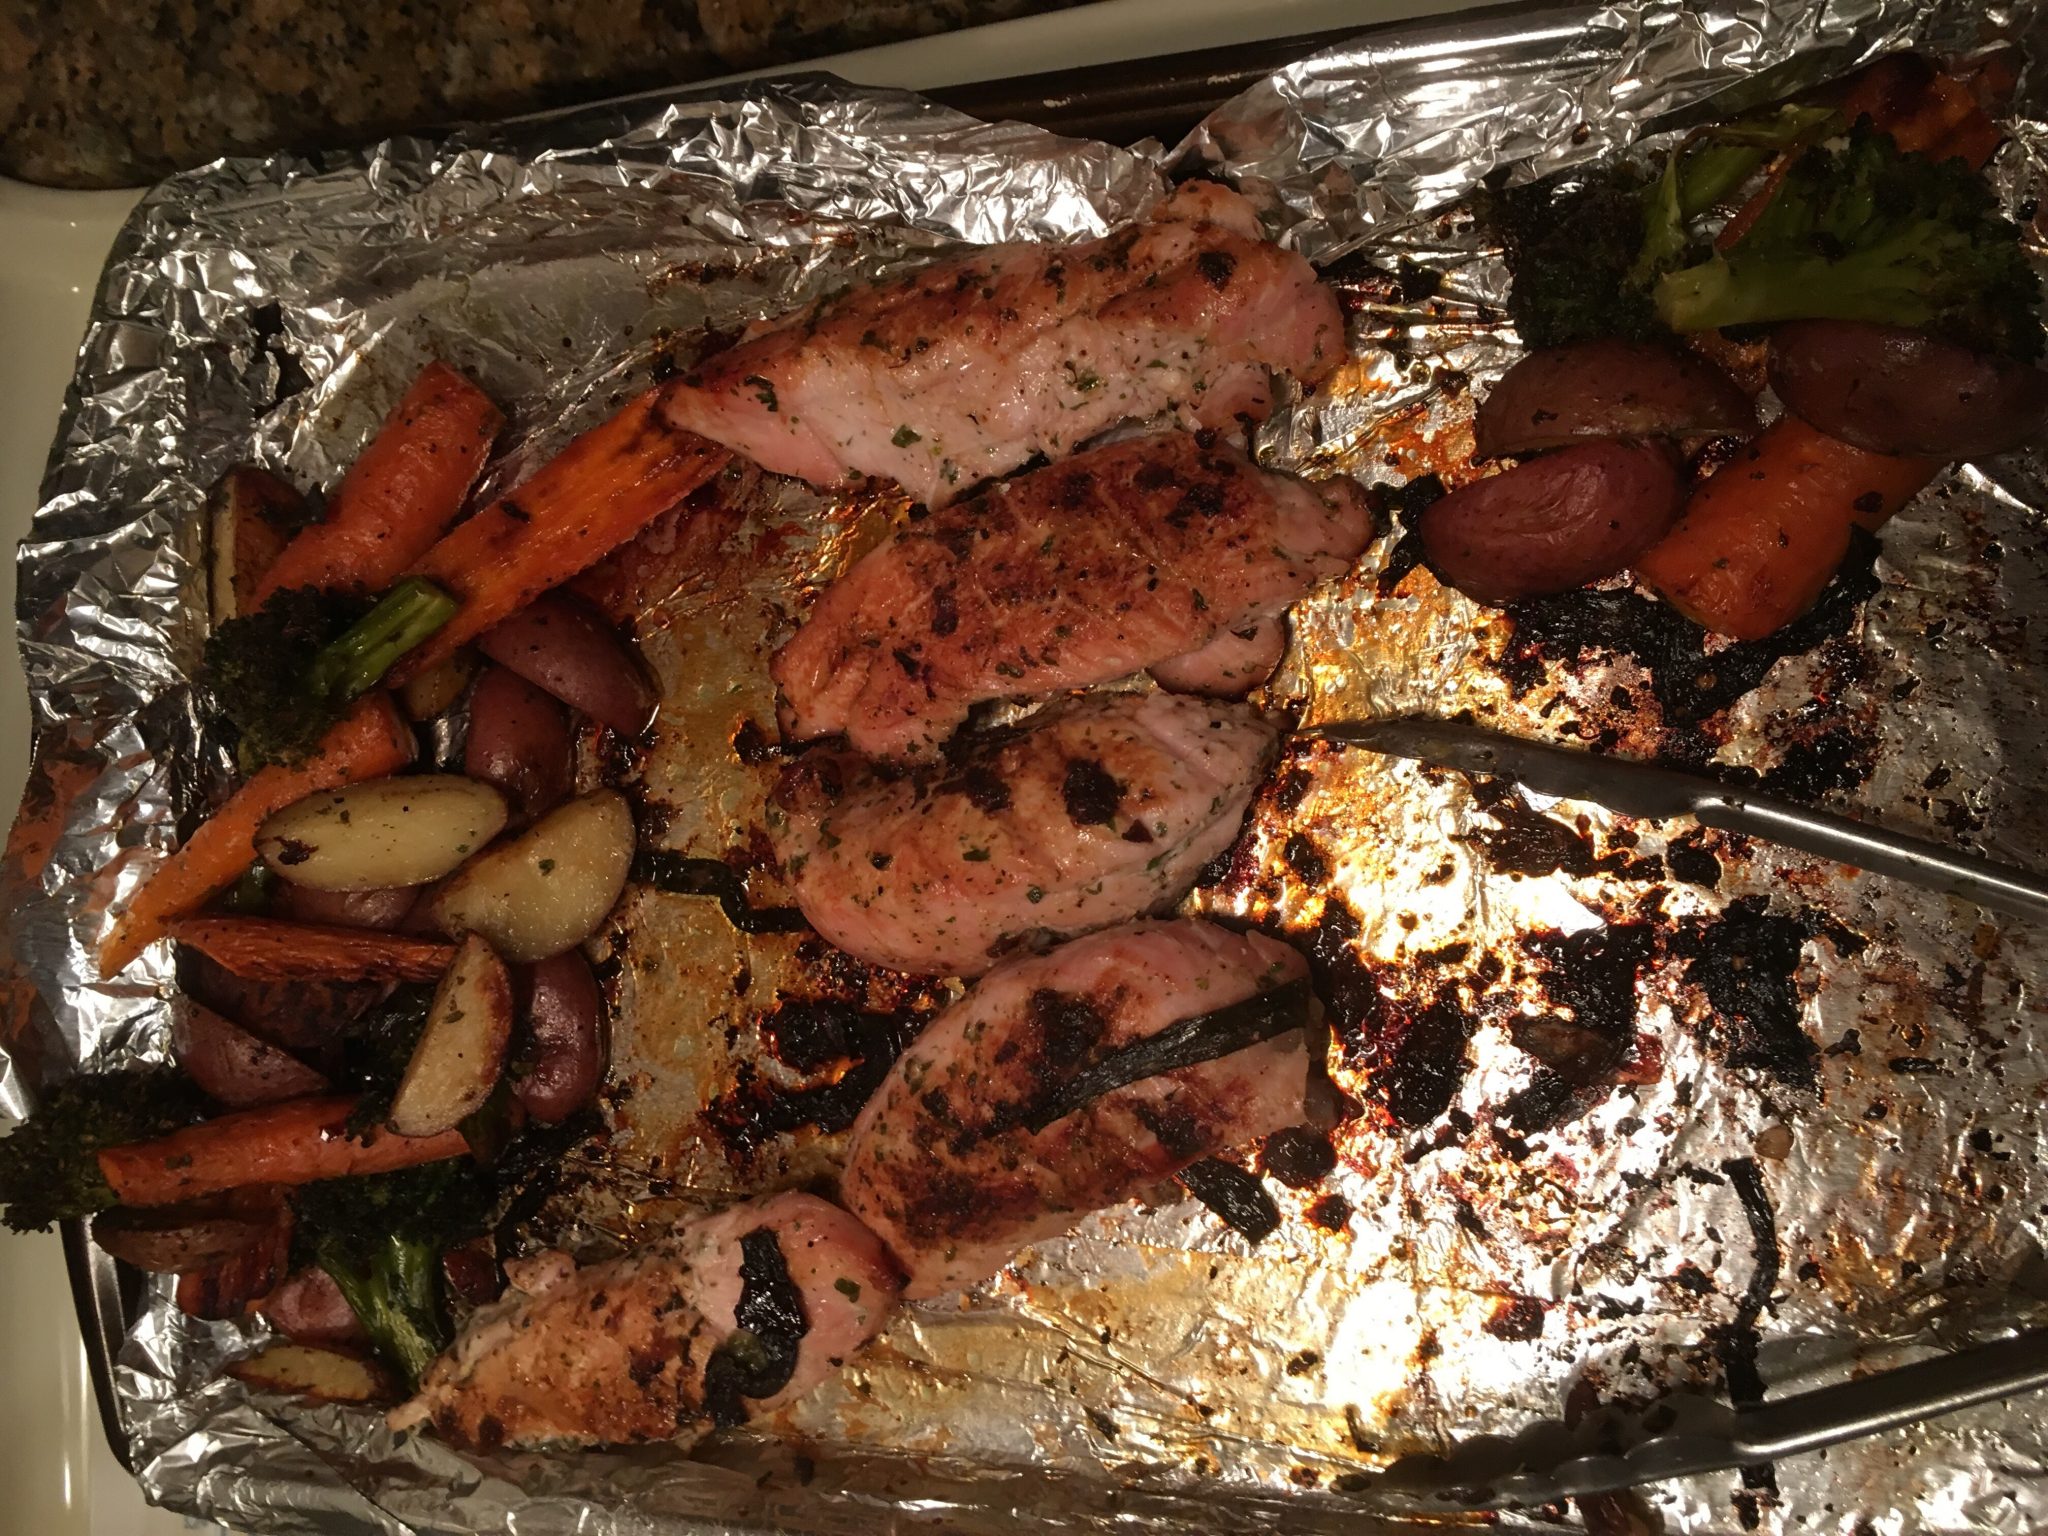
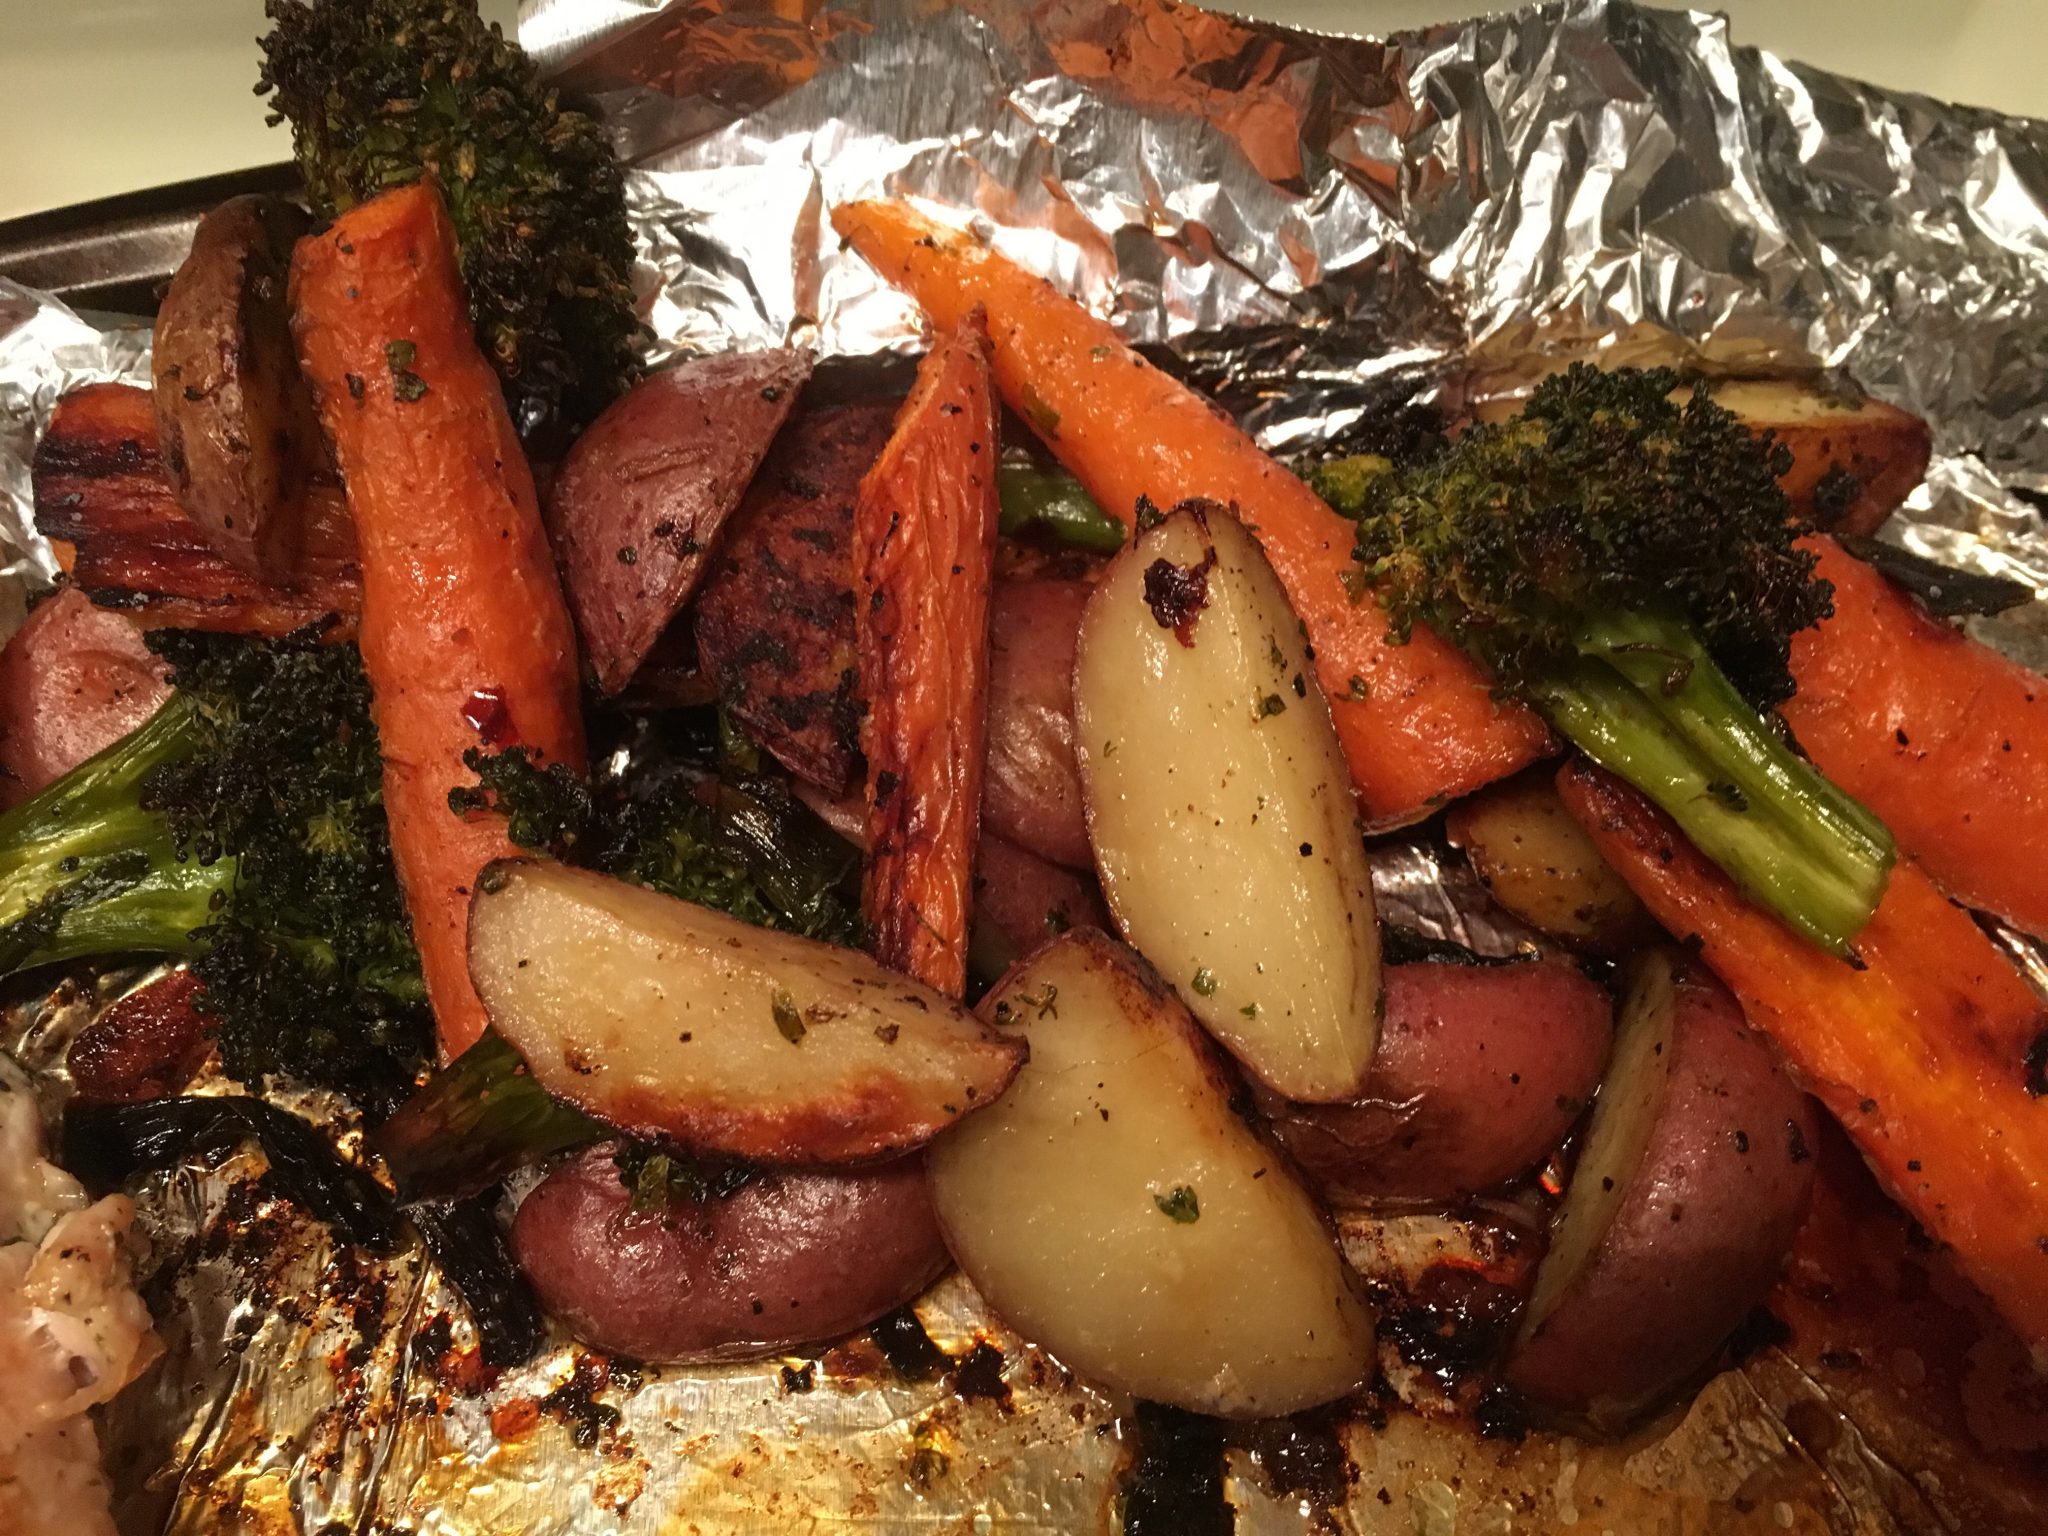
5- remove from oven, check internal temp for doneness. If done, squirt veggies and turkey with lemon and eat!
My “Story Tree” or the stories behind the ornaments …
For those of you who didn’t know; I lean towards the more historical, traditional (gasp and clutch the pearls), crafter, homemade and vintage inspired decorations of holidays, so my tree is often a mix of old and new. its been that way since I first started to put up a tree (or rosemary bush in those really lean years). Even though these days I put up a smaller tree and yes – its a 1/2 tree, meaning its doesn’t have a back so I can put it flush against the wall to save some room; I still keep track of all my old favorite ornaments and rotate them each year. So while I add a few new ones each year (especially owls). It’s the usually the older, bruised or gifted ones that have become some of my favorites. Why? Because they tell my and my friends stories.
I was never one for fancy ornaments and decorations; rather I always found those that could serve to make me pause a moment to remember, to be an archive of sorts and tell the story of shared pasts, of friends, of families; the good times and the bad. Each year in November, (and yes I always put the tree up the weekend after T-day, unless I am on the road), it is a treat to open the boxes (oh, maybe all 12 of them) and unpack them. 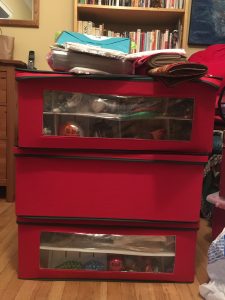 Deciding on which ones get to come out that year. It becomes a sort of “Mission Impossible” episode.
Some of mine; like the angel that has sat at the top of my tree for the last 20 years; and who before that it sat on my family tree since 1965. Yea, her “golden” wire skirt is tattered and torn, but she still gets to be the last thing I put up each year. I even had to make do with a new wand from her a few years back. Thank goodness for cliffs having something just right.. <grin>

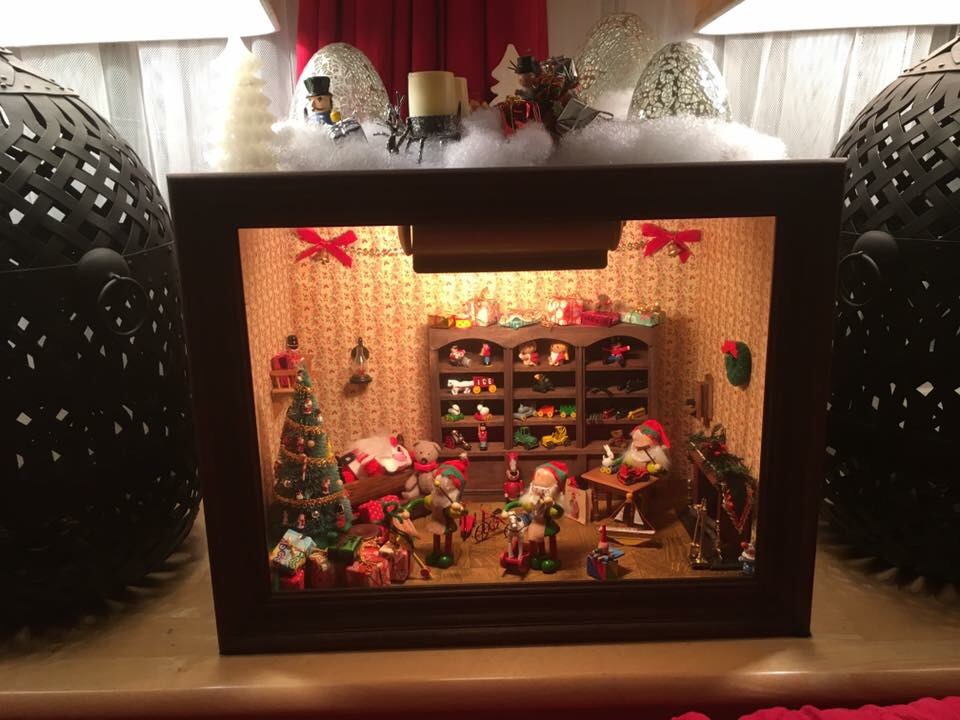
Amore recent addition to the “family”; is the Santa diorama. I found this up in the Russian River several years ago at a church bazaar. When I saw it, I knew I was going to buy it. But the best surprise was when I asked someone working to tell me about it, she asked me did I want to meet the woman who made it. I said yes, and she came over with a lovely knowing grin on her face. She said she knew right away I was going to want it. She told me how she had made it 40 years ago. Her husband built the box custom for her, and all the pieces she either made or custom ordered them. She even wallpapered it. Back then she said it has cost her almost a $100 to make. I looked at Paul and he smiled, saying go ahead, you know if you don’t you will regret it. So I asked her how much, and she smiles and says $20 and make sure I gave it a good home.
These faded glass ones from a senior nieghbor many years ago. After she died, the family just left boxes of her ornaments on the street. It was sad to see them be tossed aside. Too much trouble to even gift or donate. But I love the dulled luster they offer tucked in the tree, like small candies.

A new one from my mother was delivered this summer. These ceramic trees used super popular back in the 70’s, in fact many of them were made during ceramic classes by crafters.  Recently they have been put back in production, but I knew we had two and asked for one of ours. This particular one sits on a bourbon bottle base and wasn’t handmade by mother – my sister has that one.
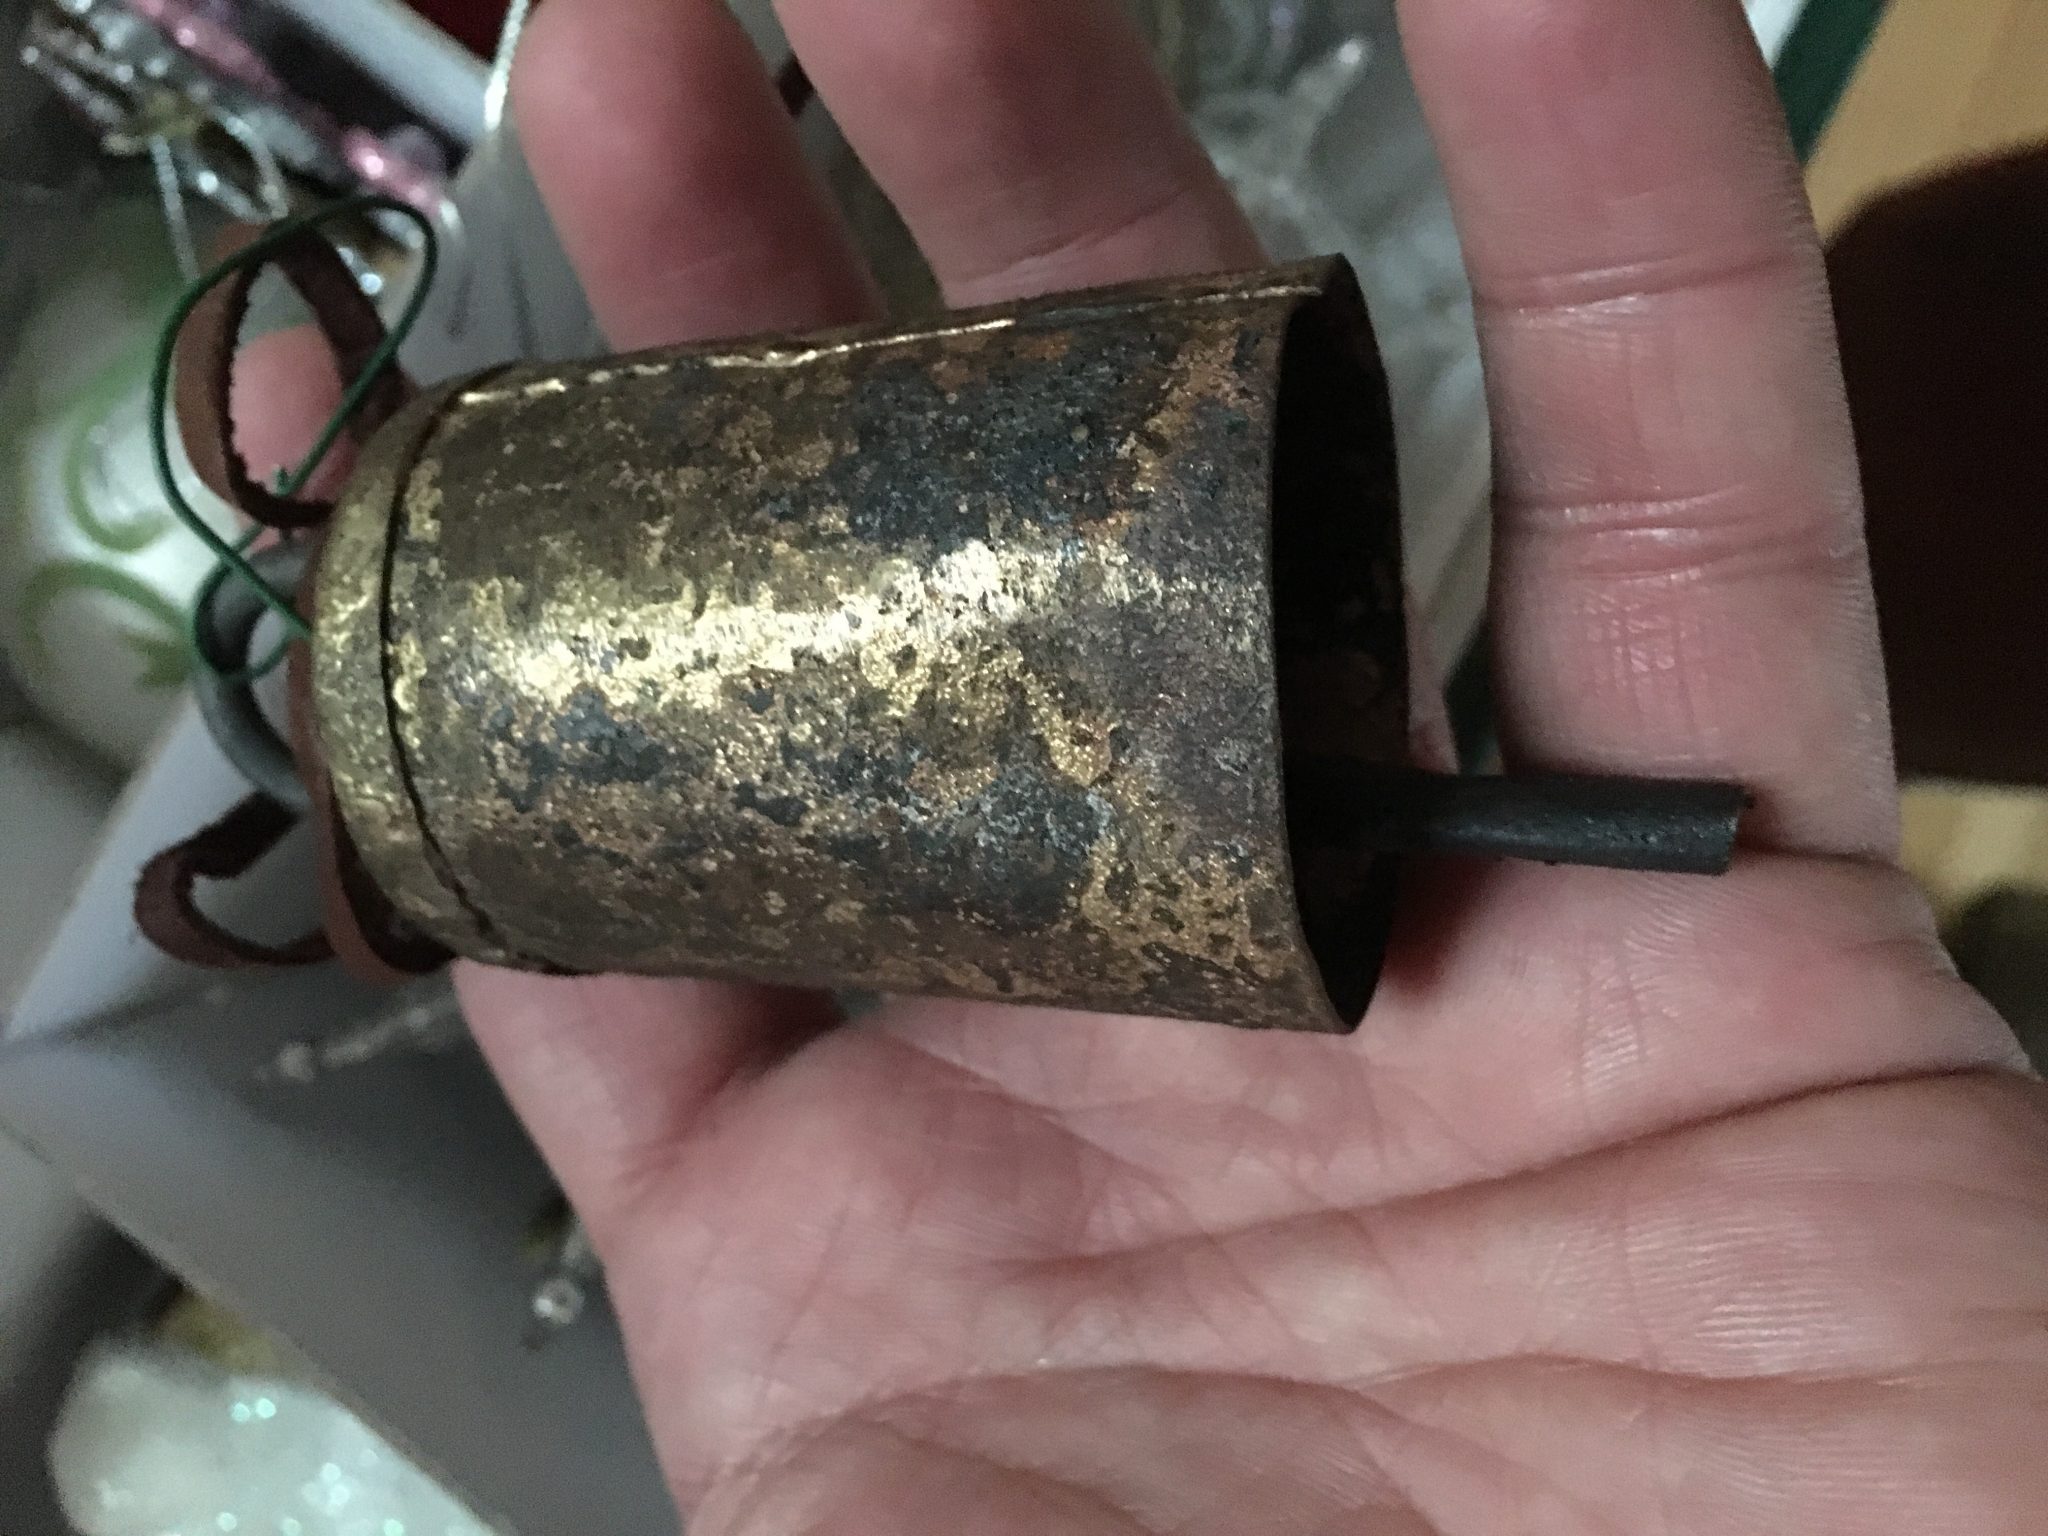
Some of my other favorites have come as “thank you’s”; acquired over the last 20 years after the annual open house, when I get ornaments from friends who attend and realize my quirky little tree is a home for those odd, old or sentimental ornament they had as a kid or the one from Mom’s house that they no longer can use because they don’t put a tree up or it doesn’t match the “theme” tree. Even the notes telling the story of each, are saved. Like this rusted bell, even to me as a way of saying goodbye to someone.
They each have a story to tell and find a home here. Maybe that’s why I always resonated with the seasonal story of the “Rudolph and The Island of Misfit Toys”.
They all have a home on mine and are become “real”. I guess my tree becomes the playroom from the Velveteen Rabbit; only instead of a playroom it is a tree, where they become real again by being displayed and loved on my “story tree”.

Bringing Back Date Night
Perfect rainy night meal @OssoSteakhouse last night.
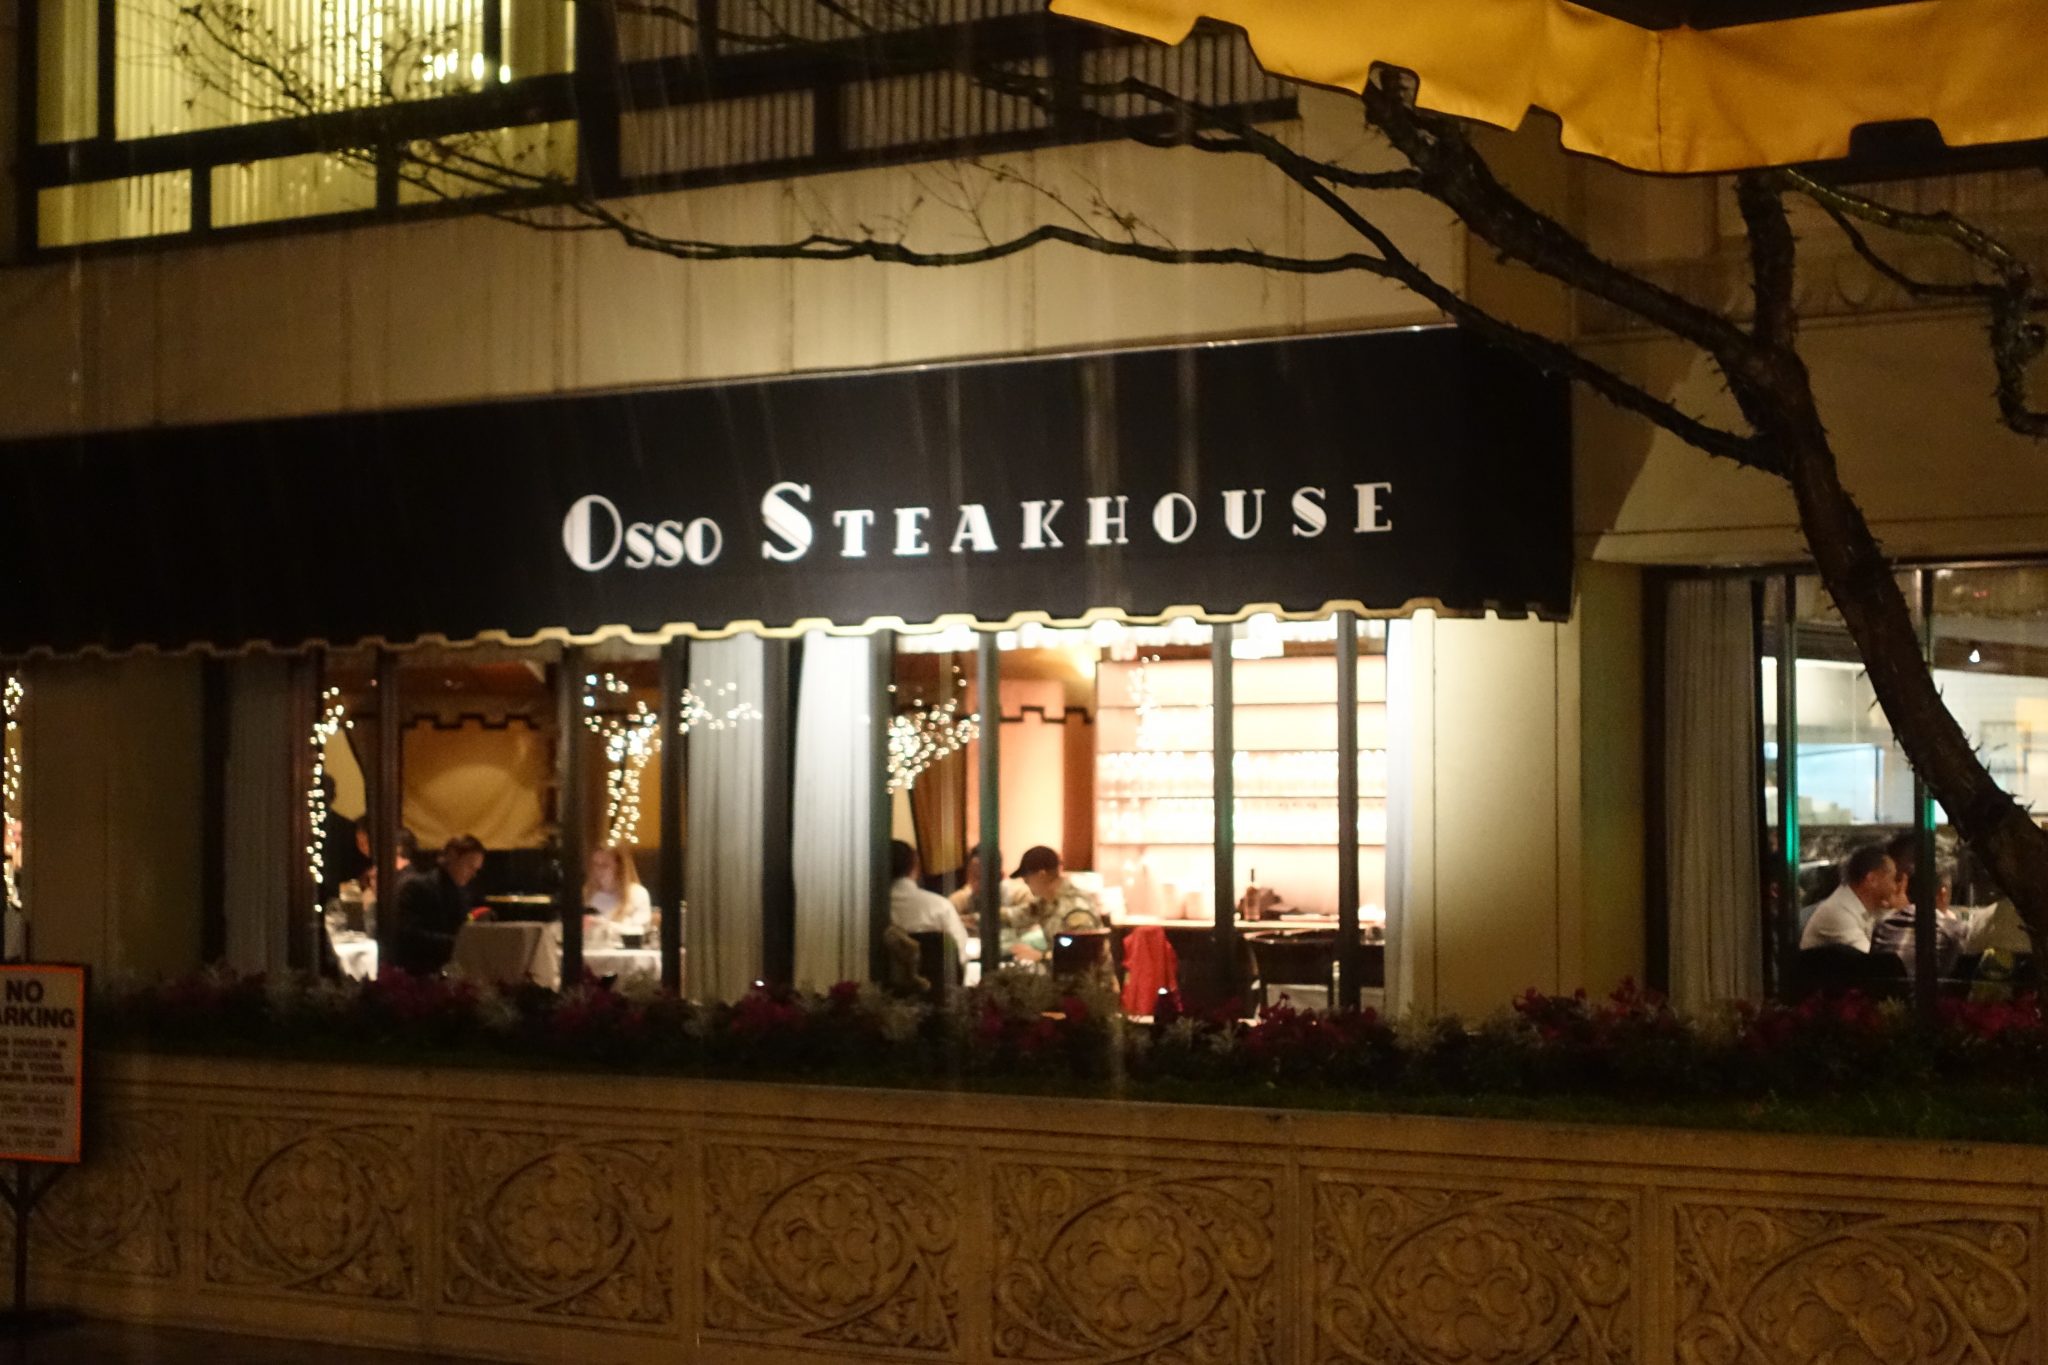
As expected it was all about the meat. Several cuts offered, but the bone in filet mignon is what takes it home. It’s monster huge portion size.
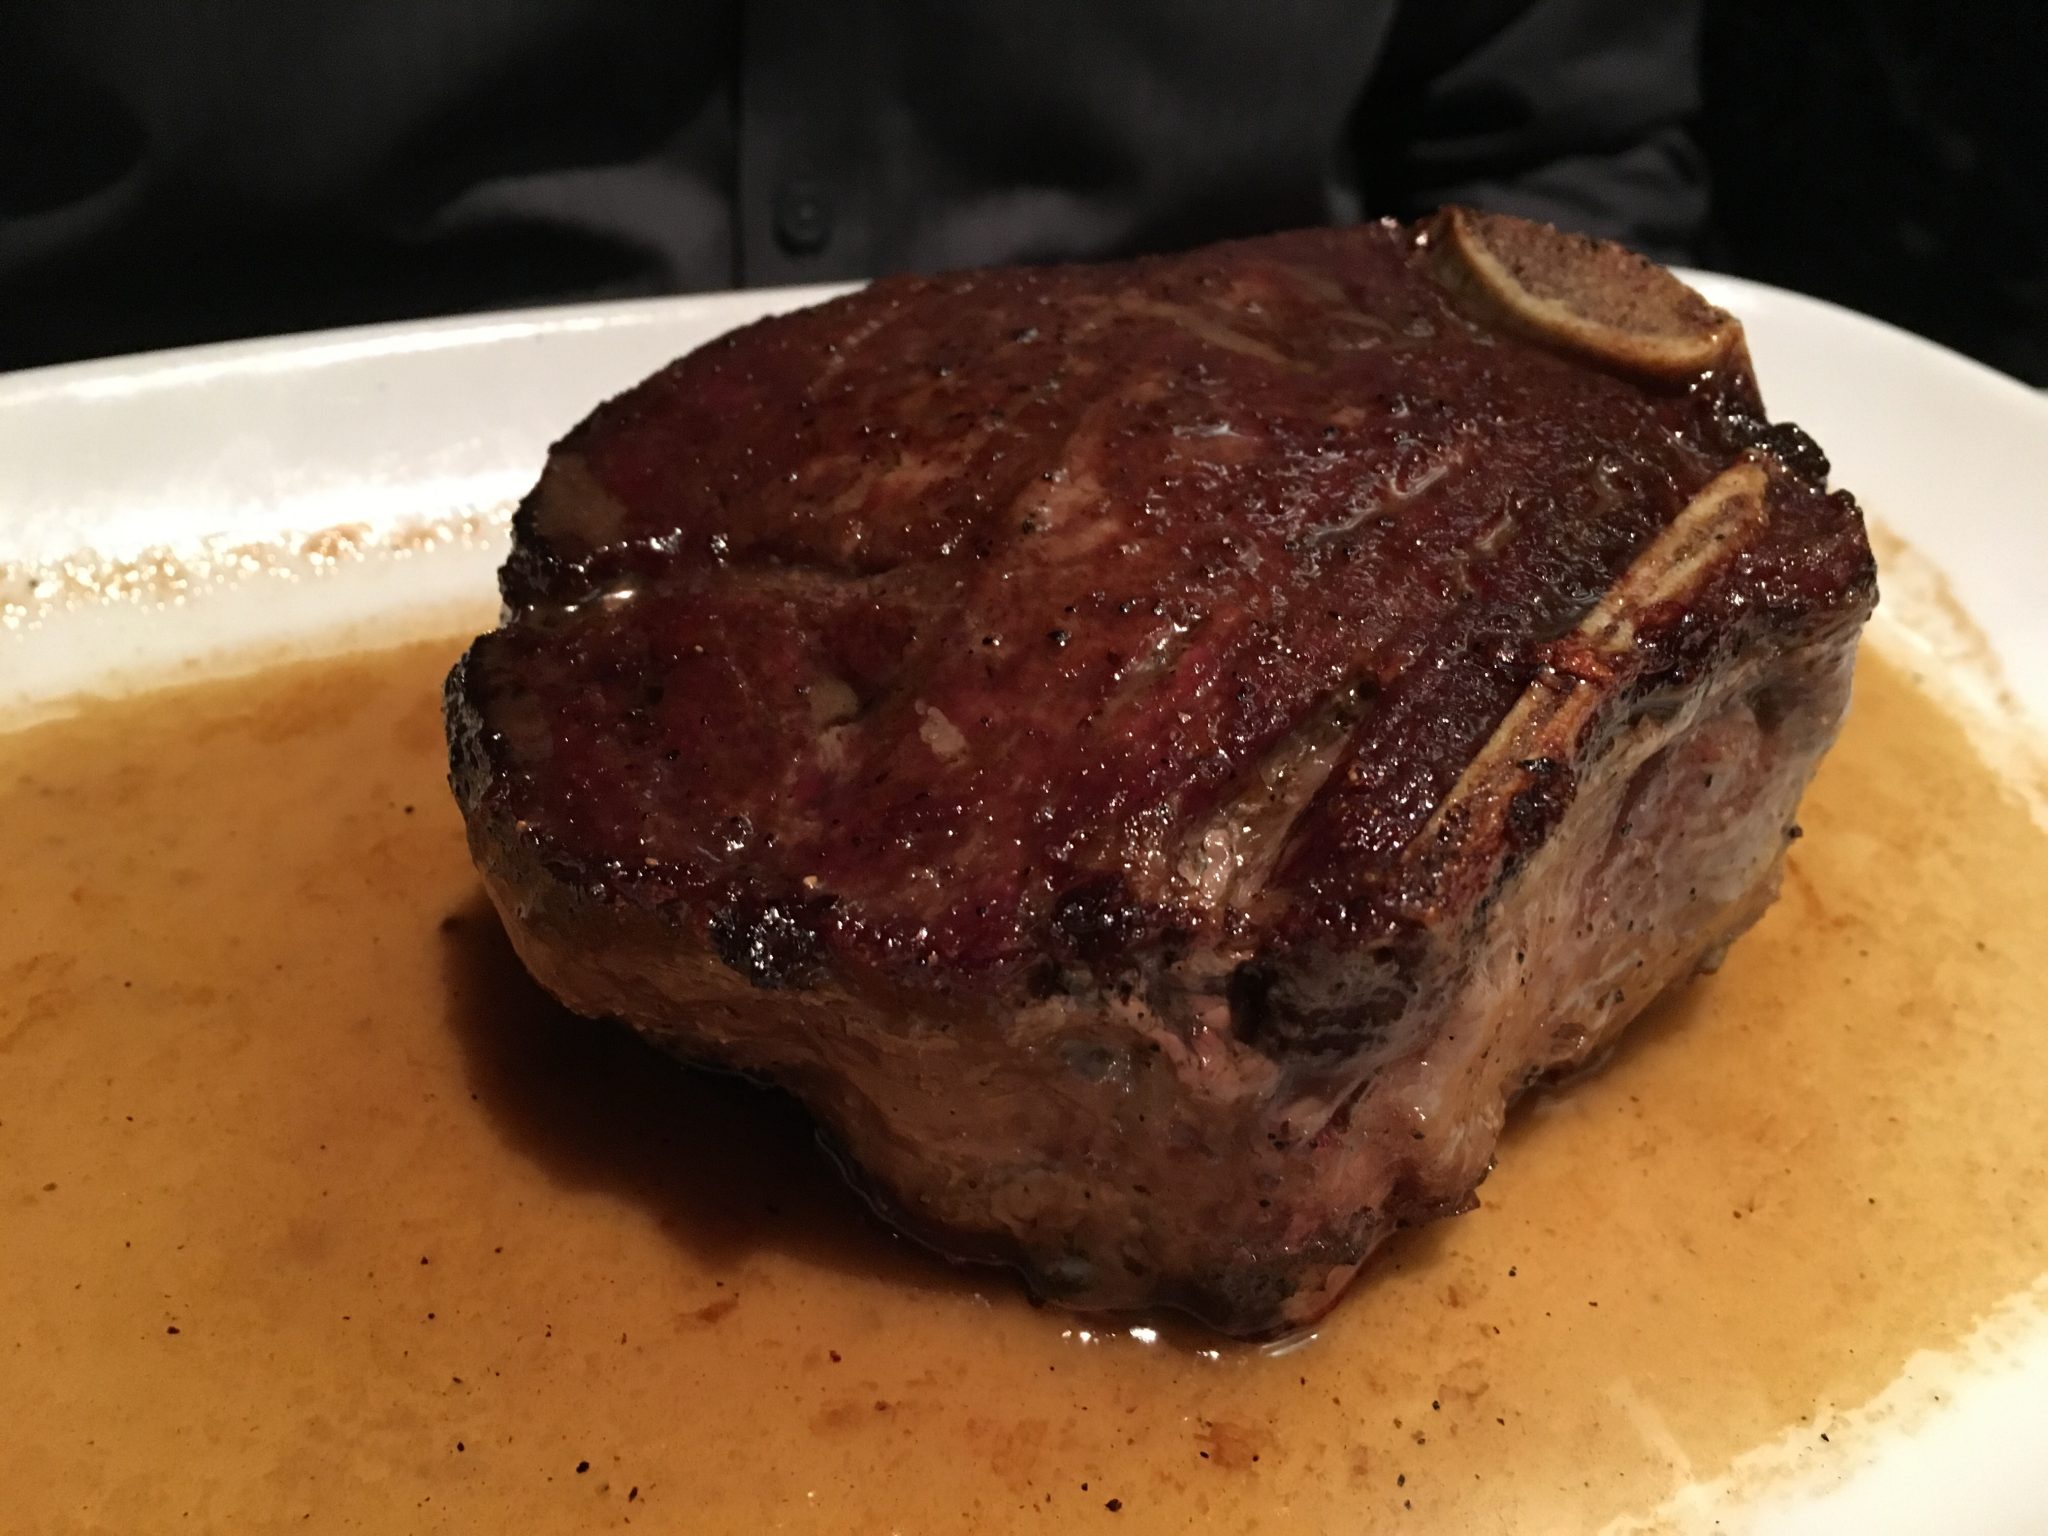
They offer several app and sides to choose from. But that cheese bread captured my heart! Hot, gooey with just some spice from the chirizo- almost worth ordering two.
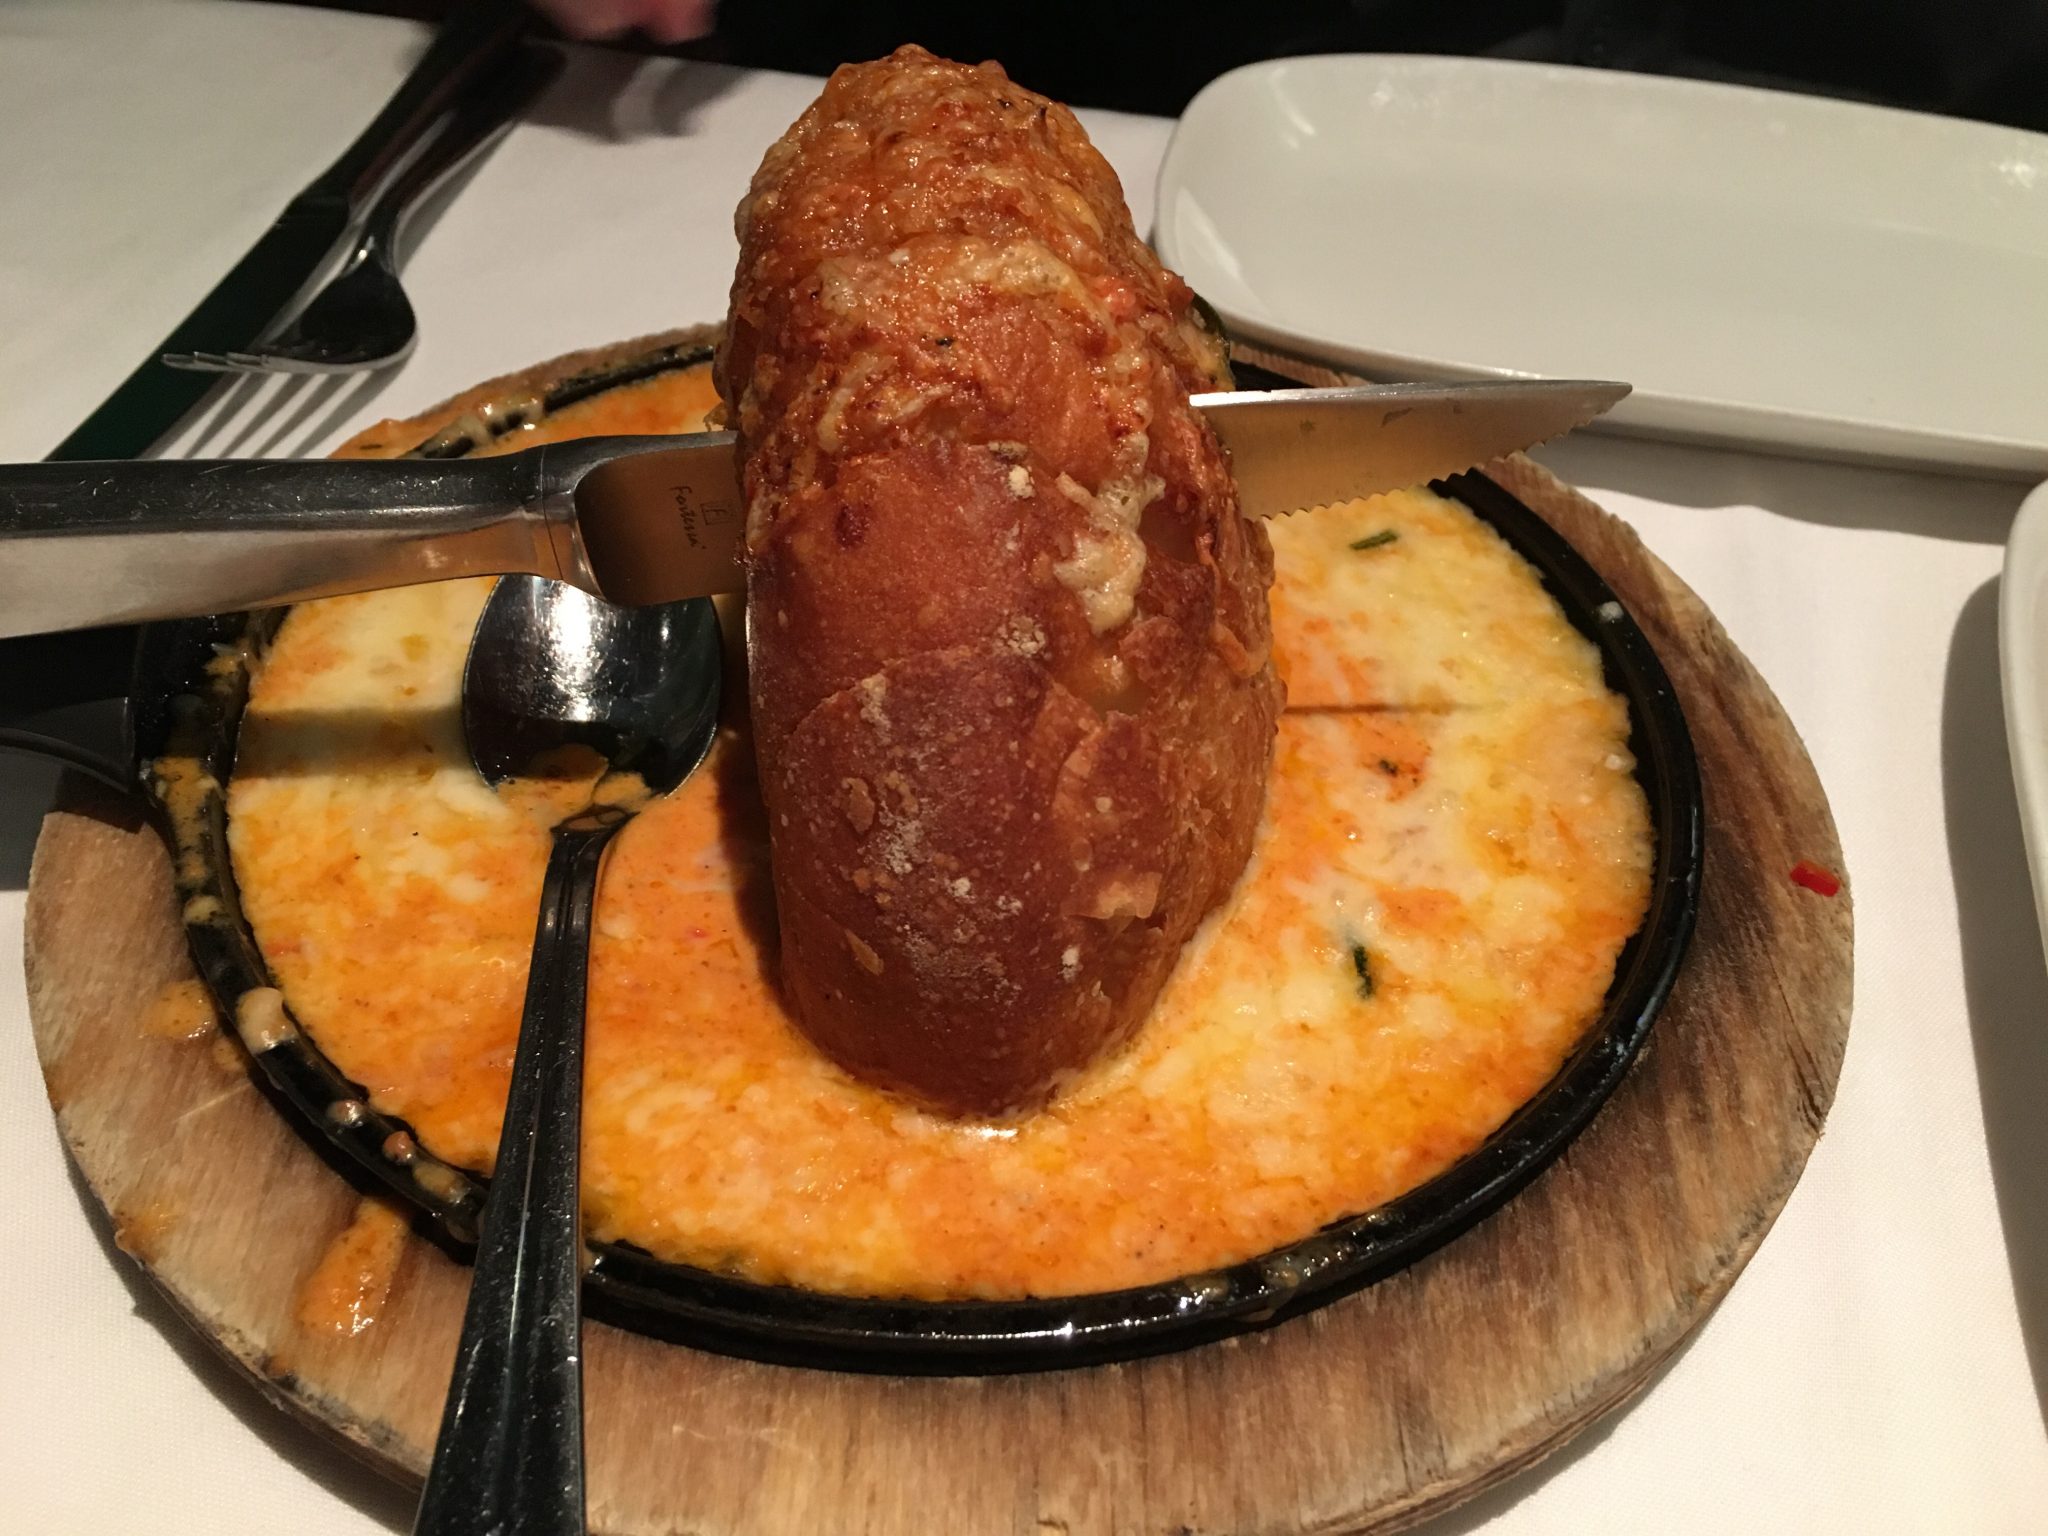
So to balance that we went with the crispy potatoes & veggies which were spot on. Simple, clean taste with a balance of herbs and butter.
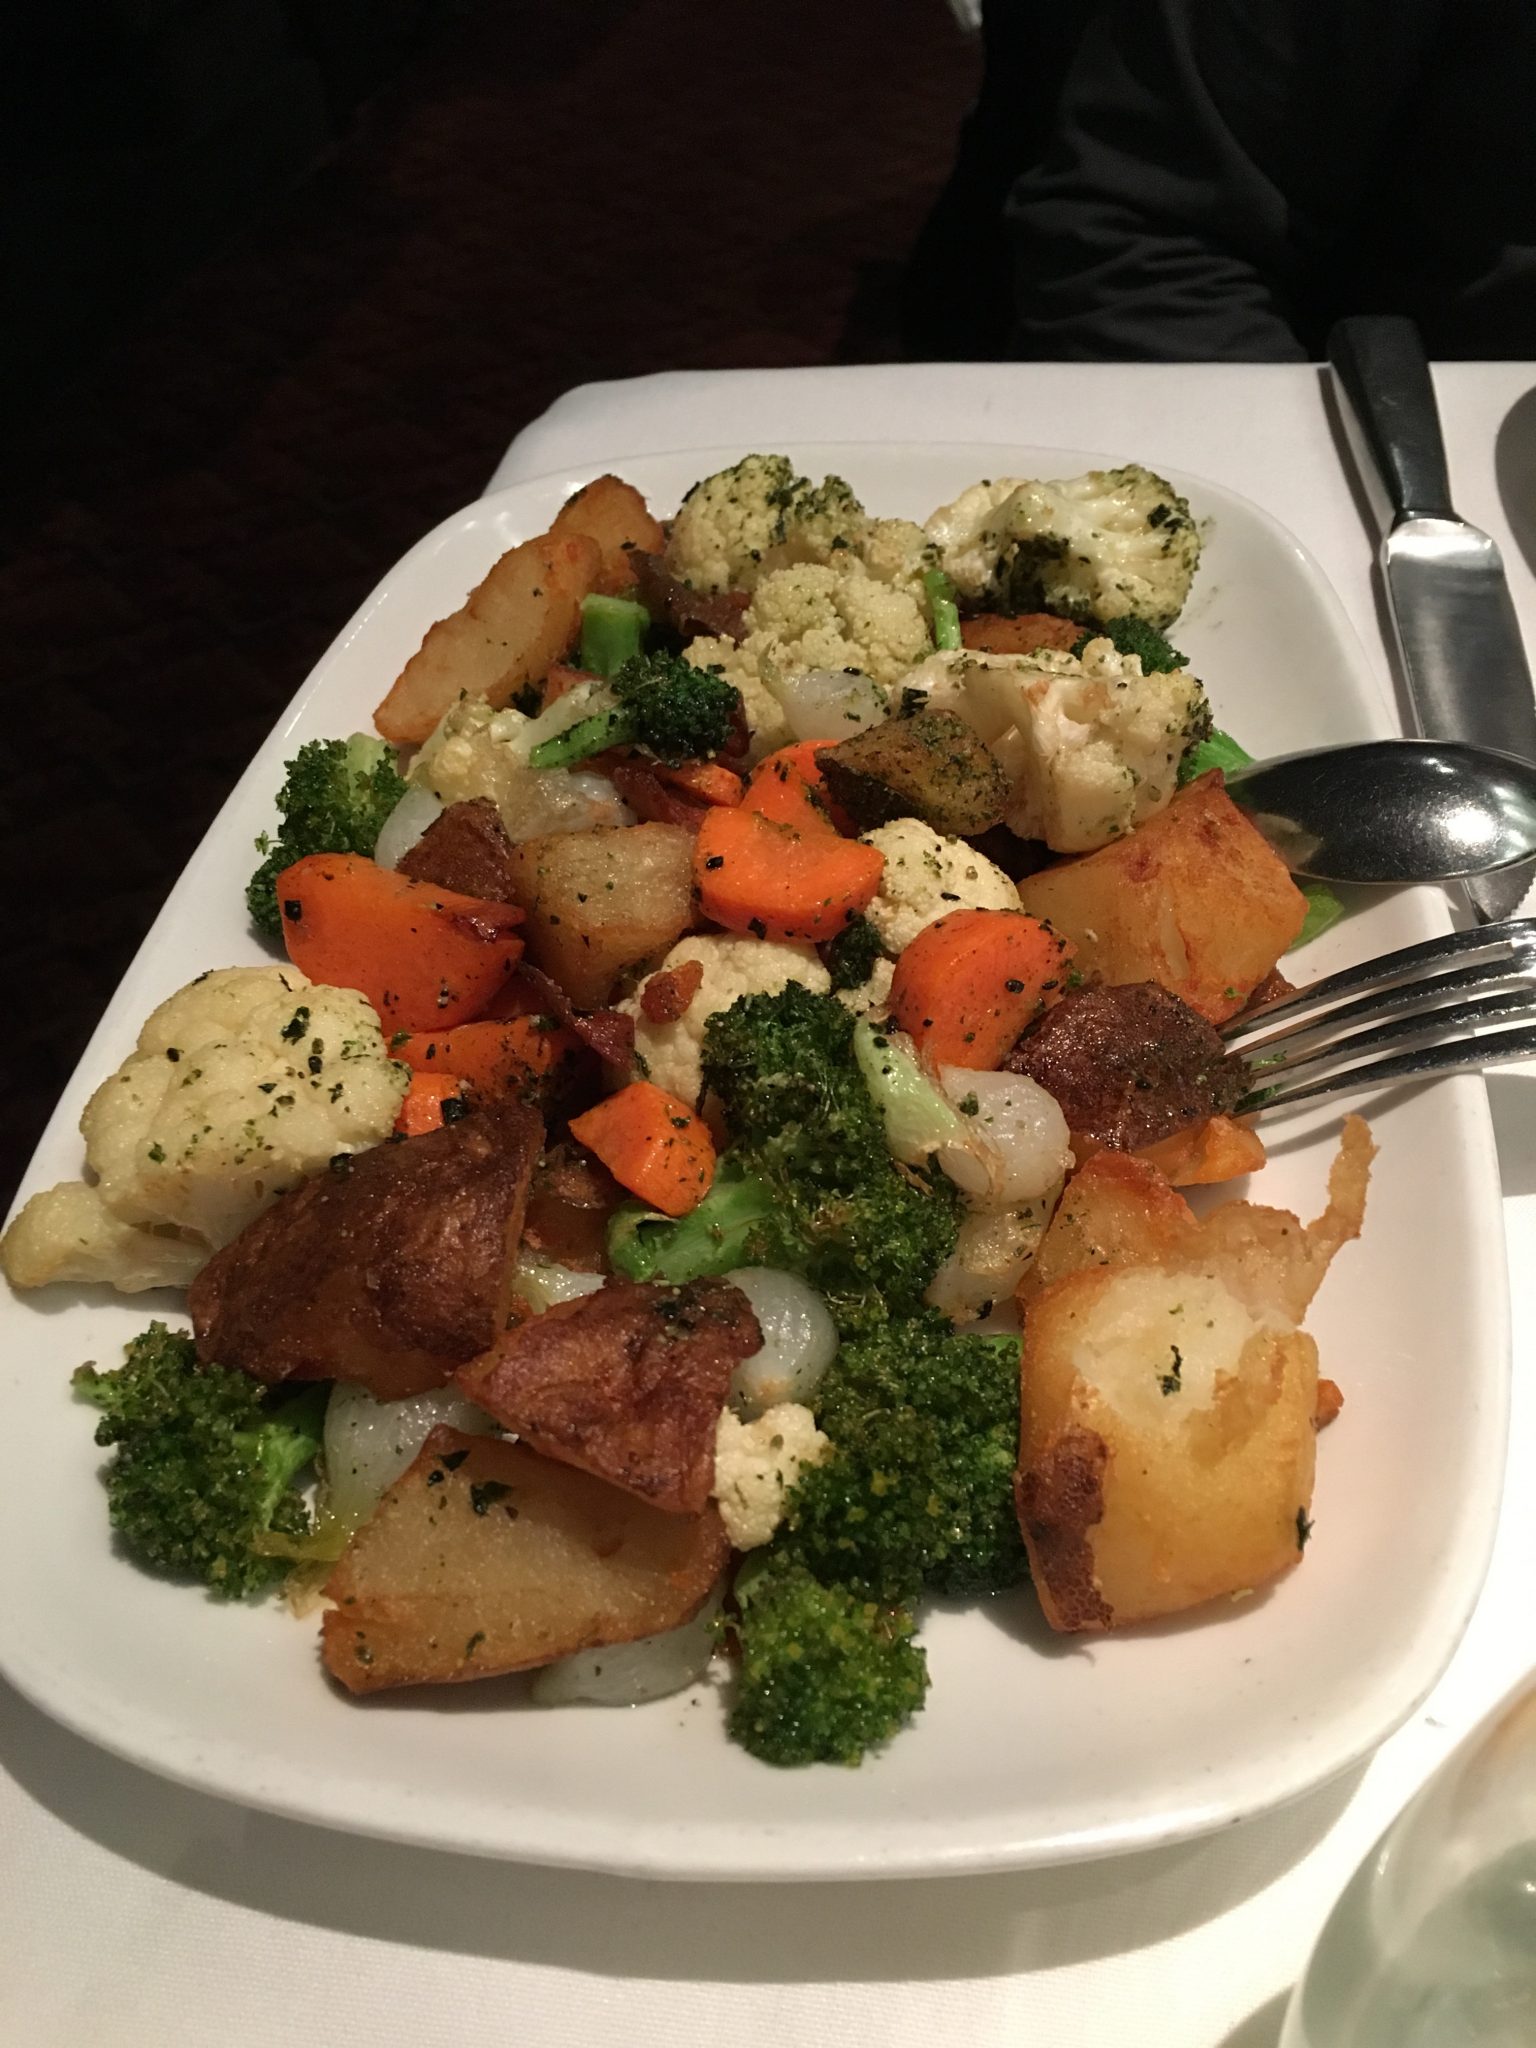
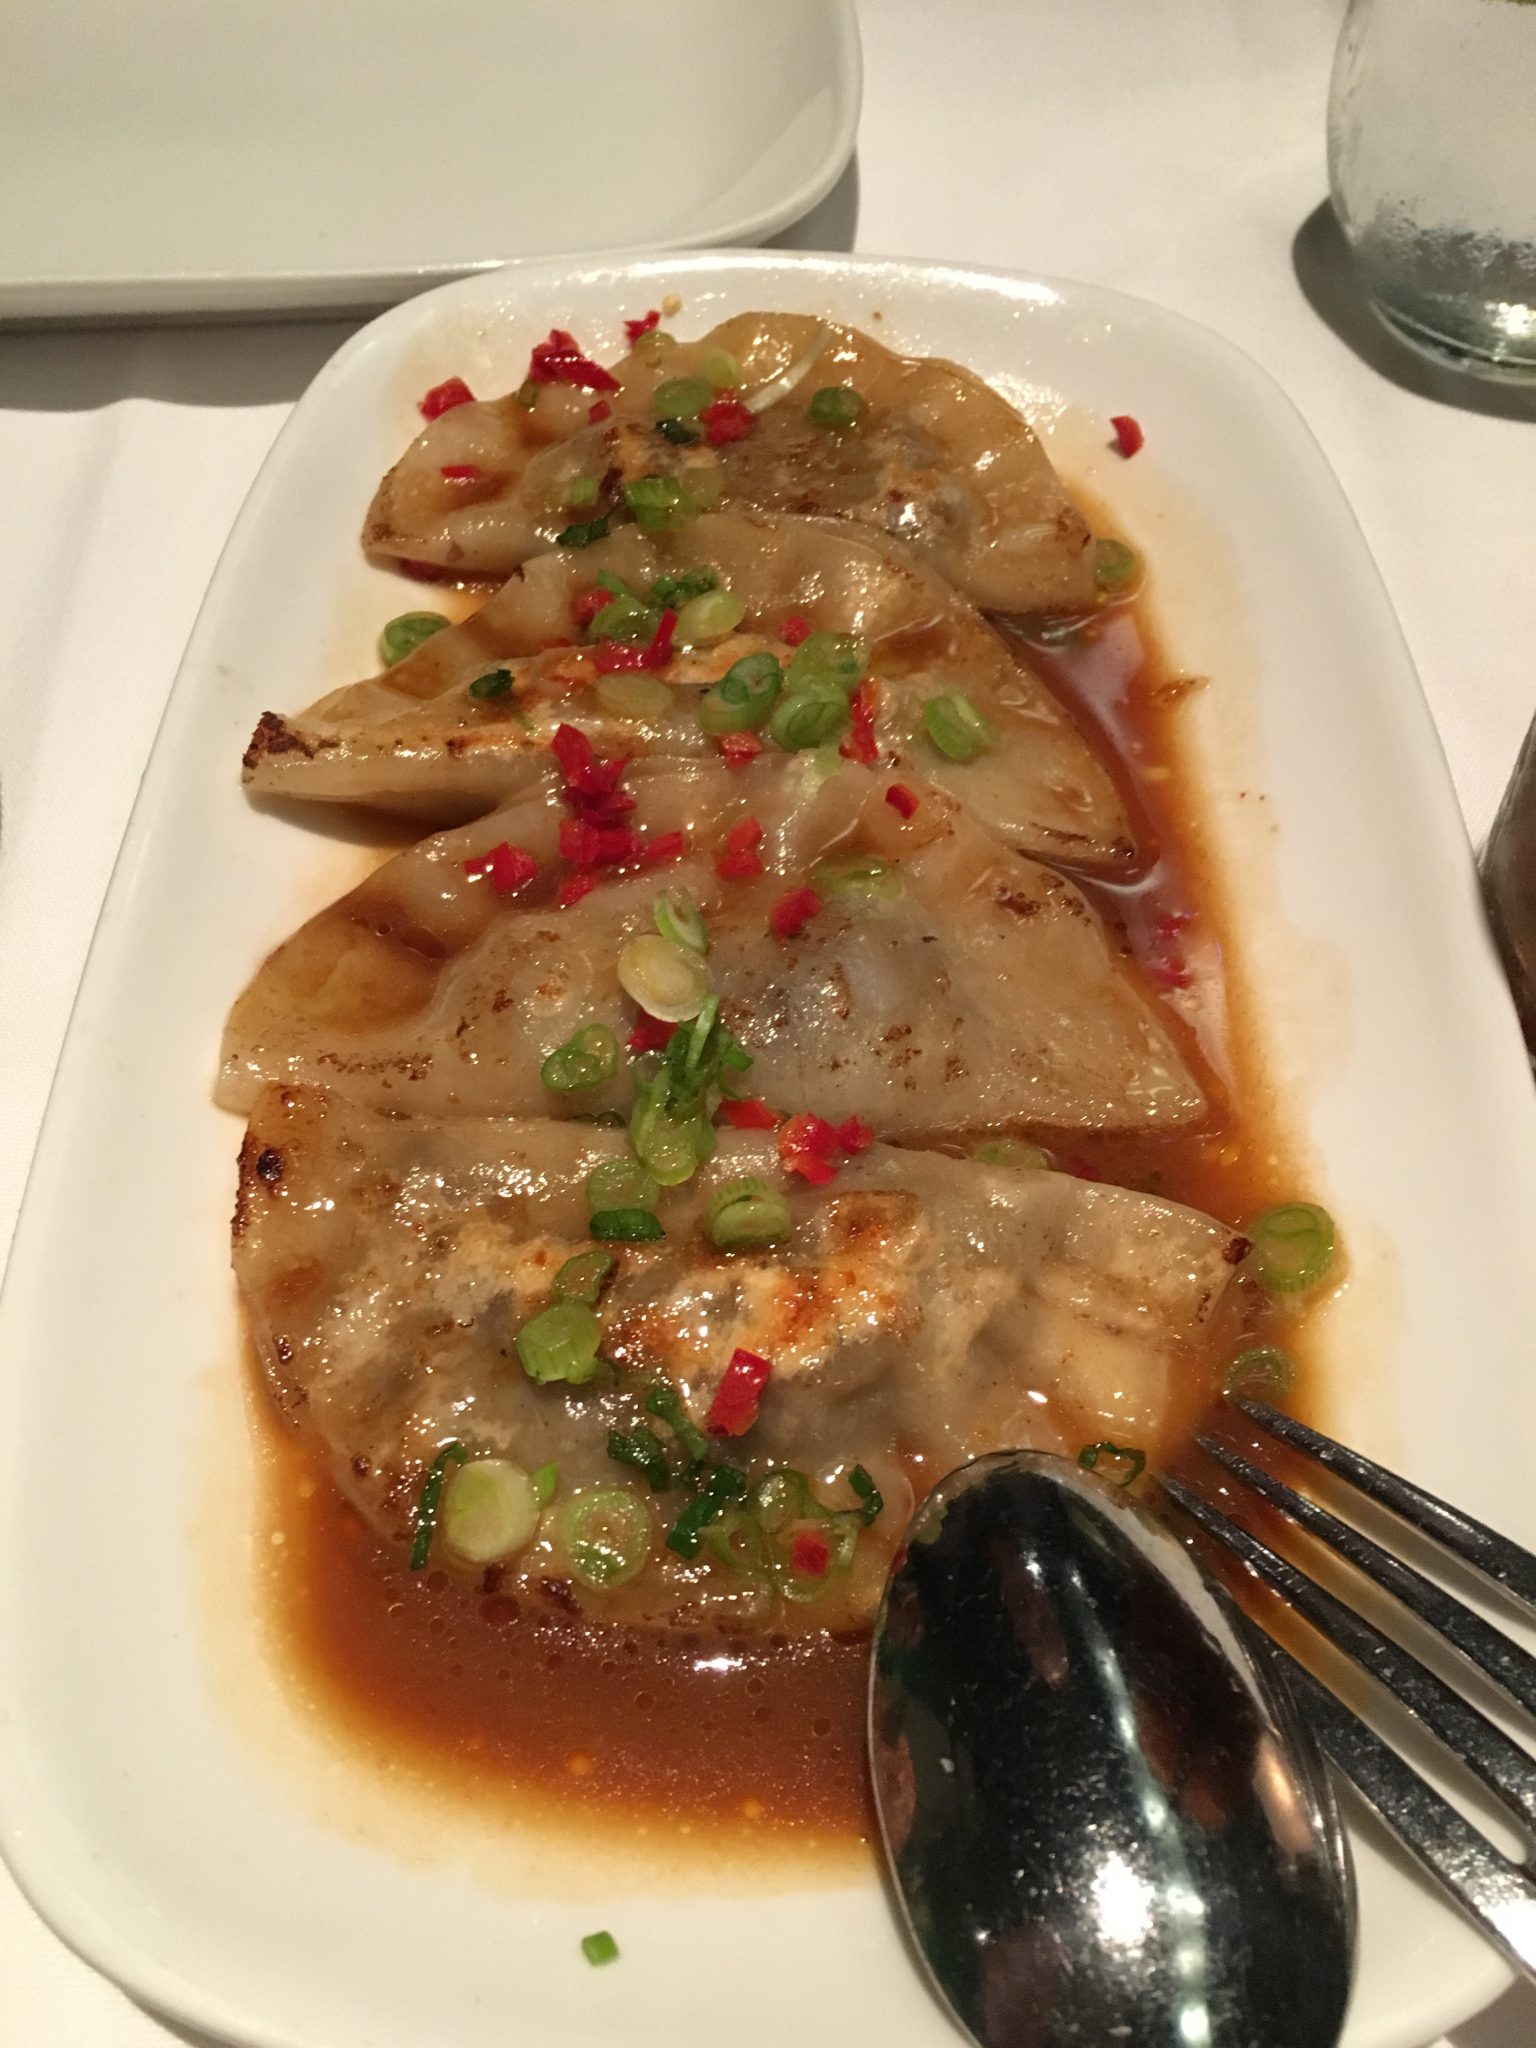
We tried the italian pot-stickers as well, they were good but not “omg”. I would opt for one of the seafood skillets next time.
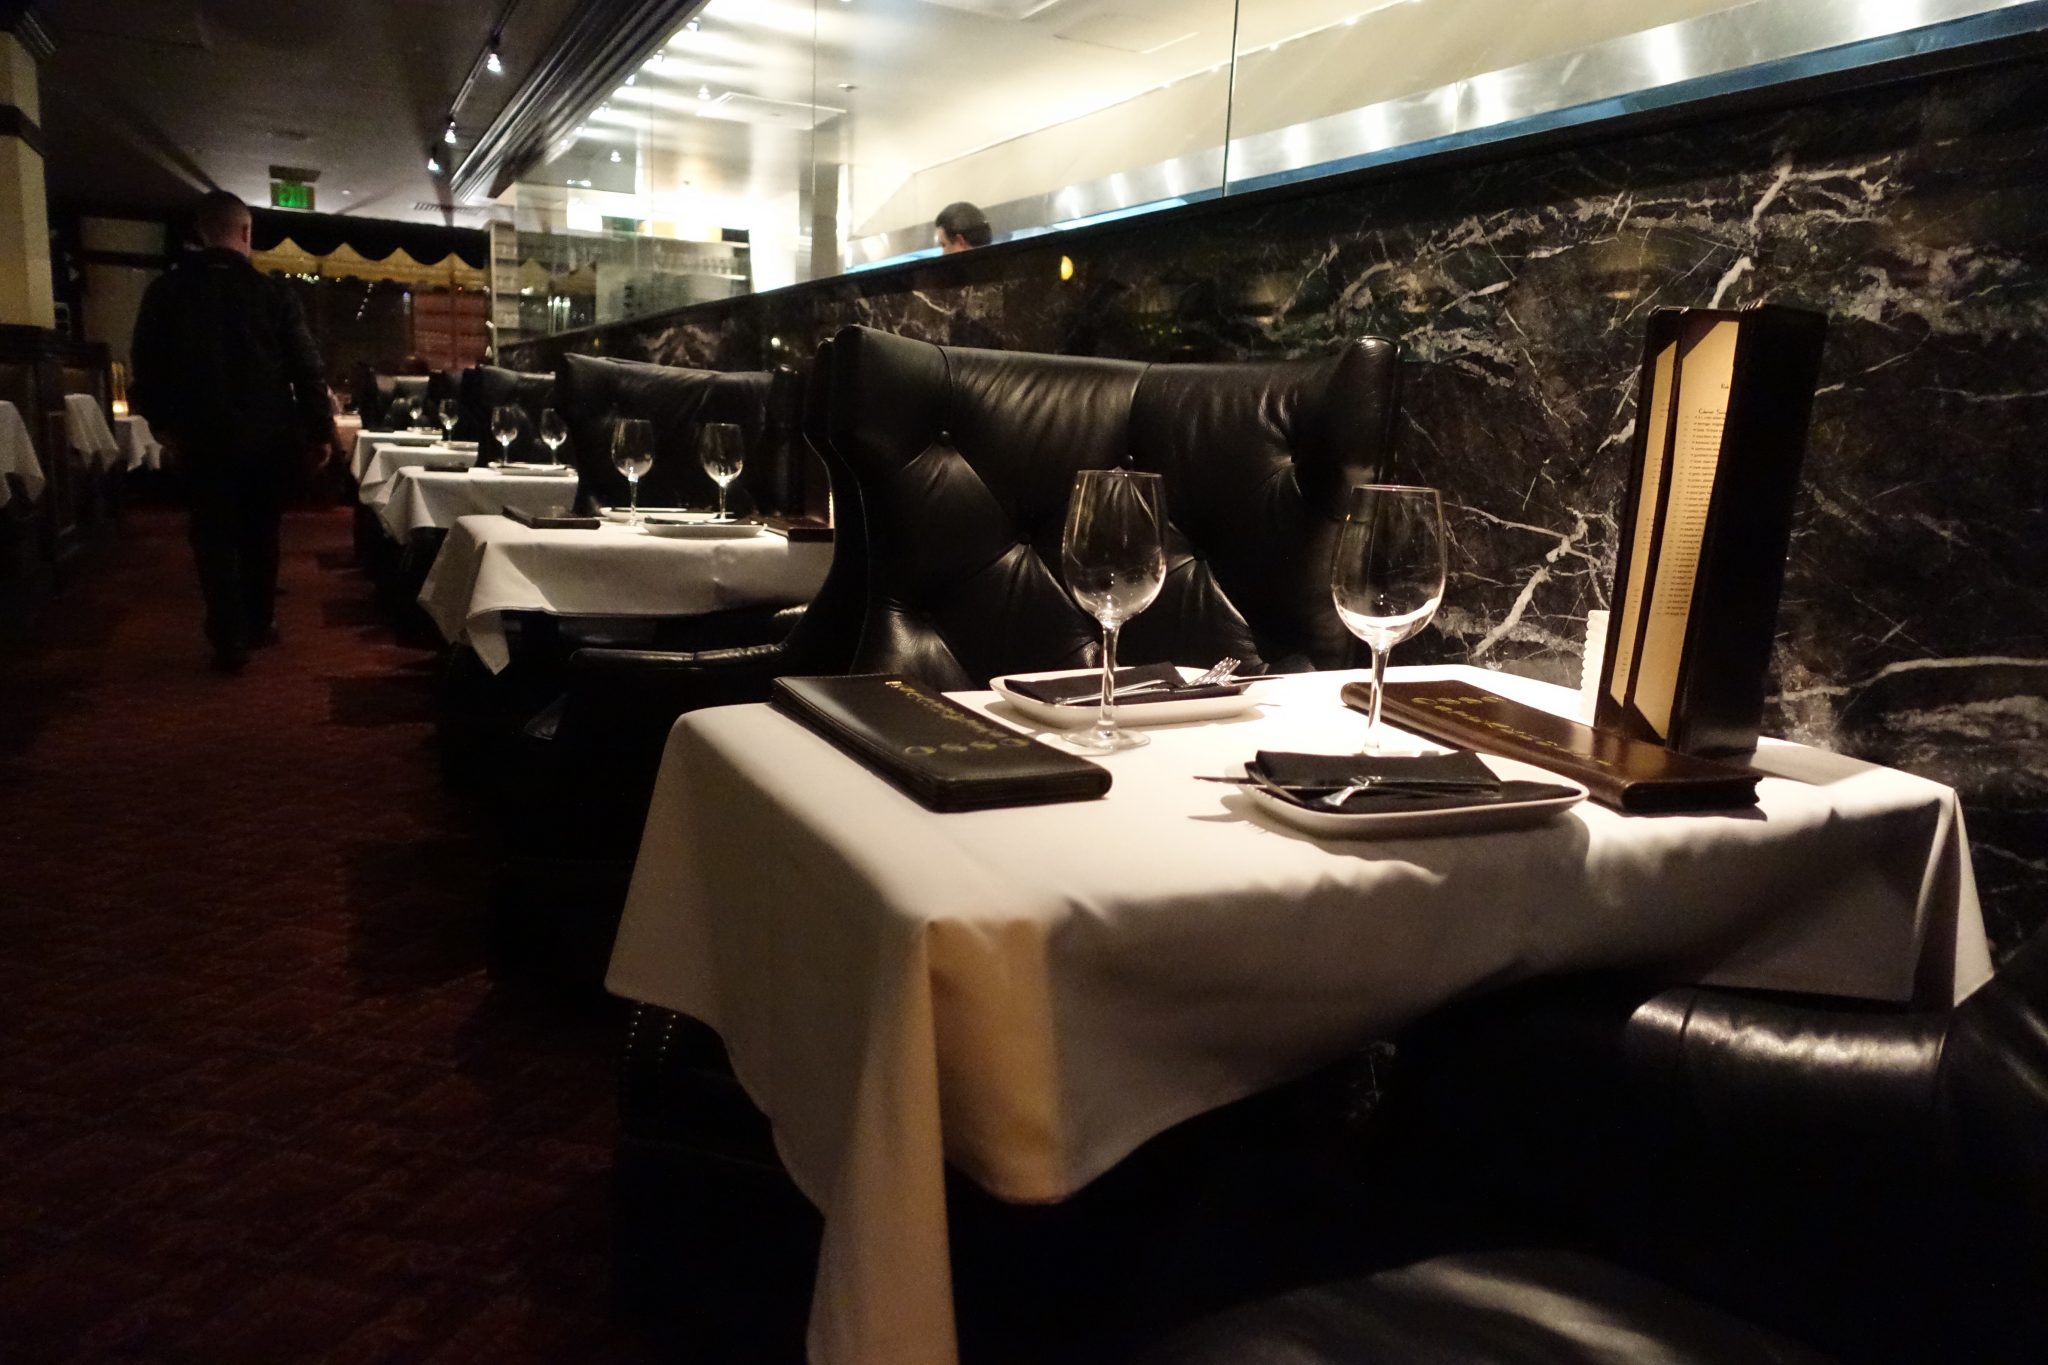
Reservations suggested. They have these great “command center” seats for couples, but if you are both tall; ask for the booth.
Not a cheap night; but well worth it when celebrating or just a night out.
1177 California St, San Francisco, CA 94108
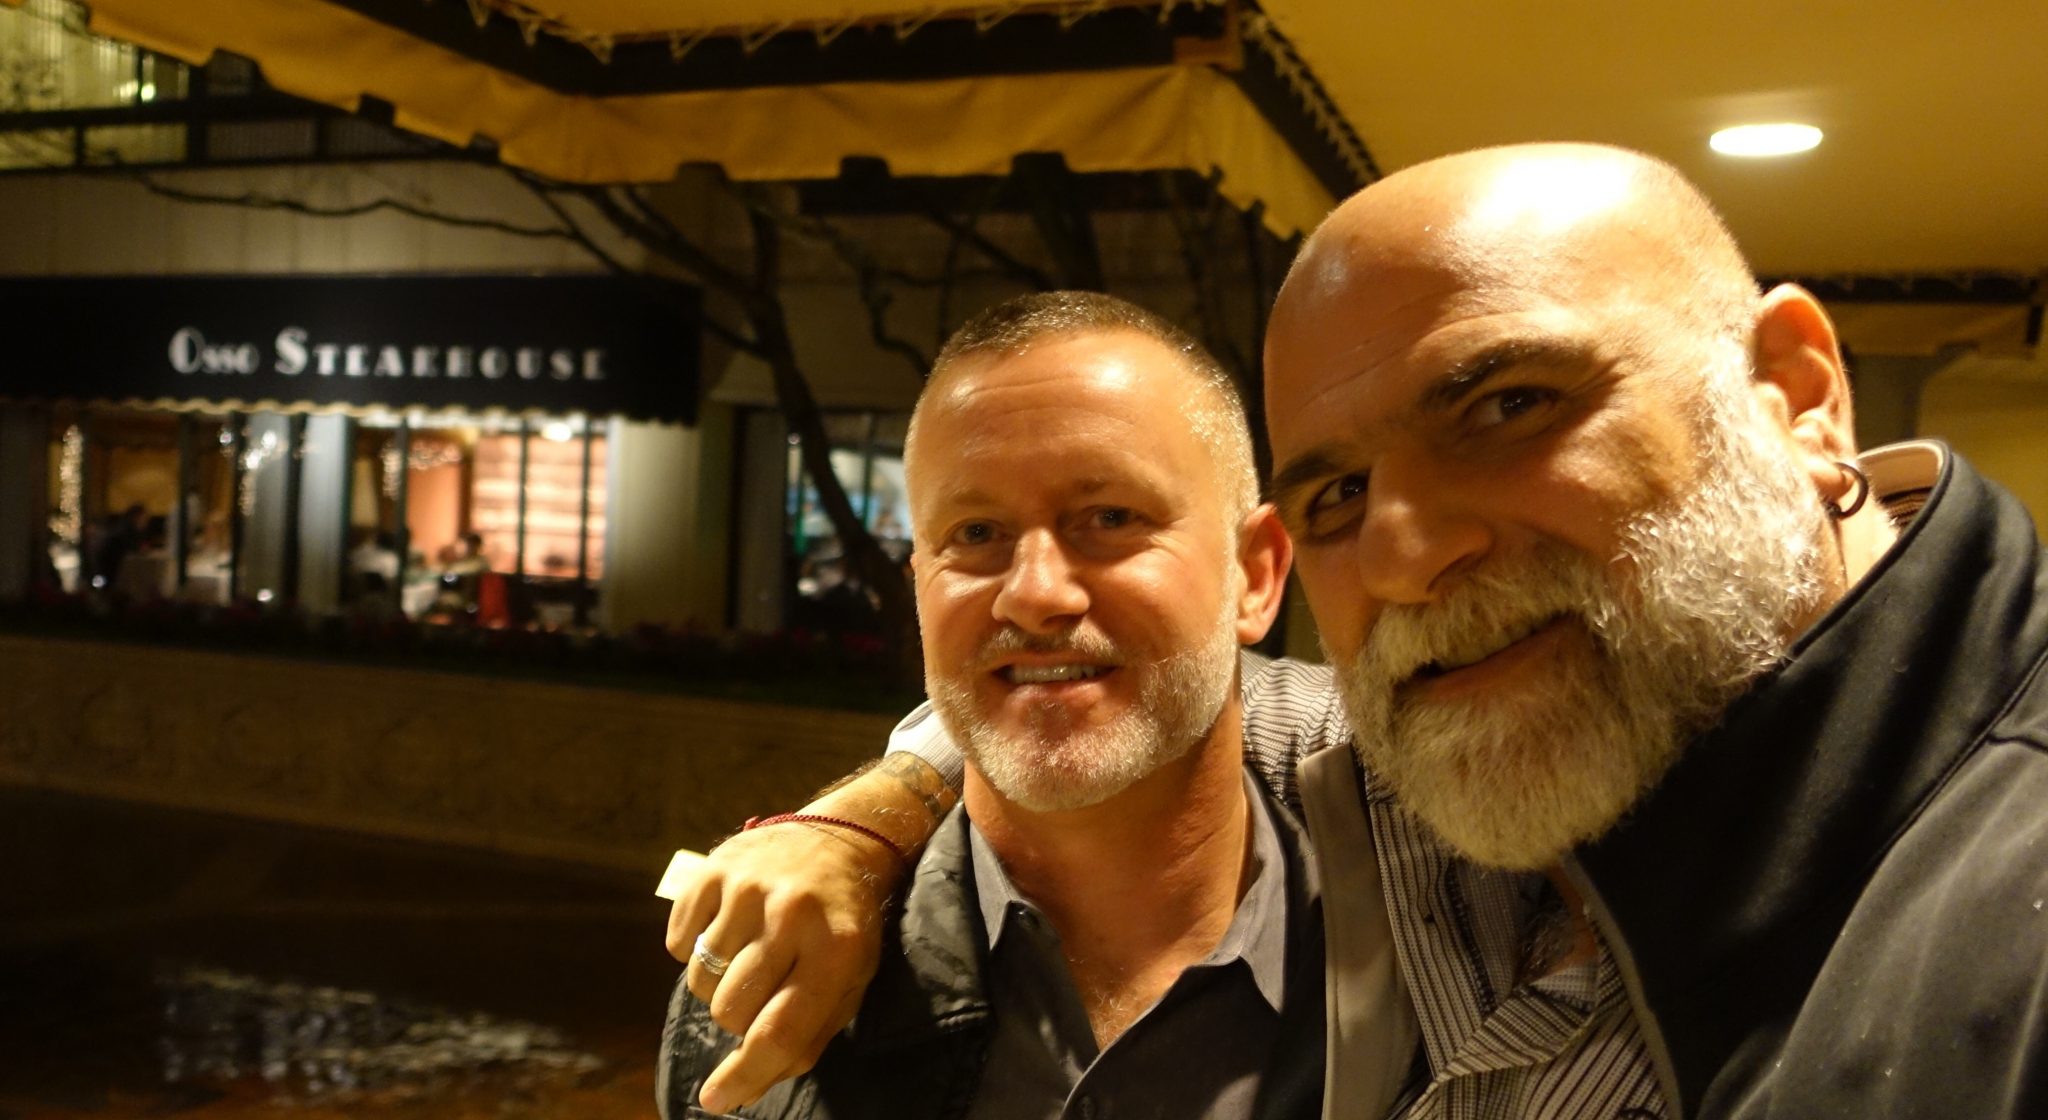
Best part is that we had enough leftovers for sunday brunch!