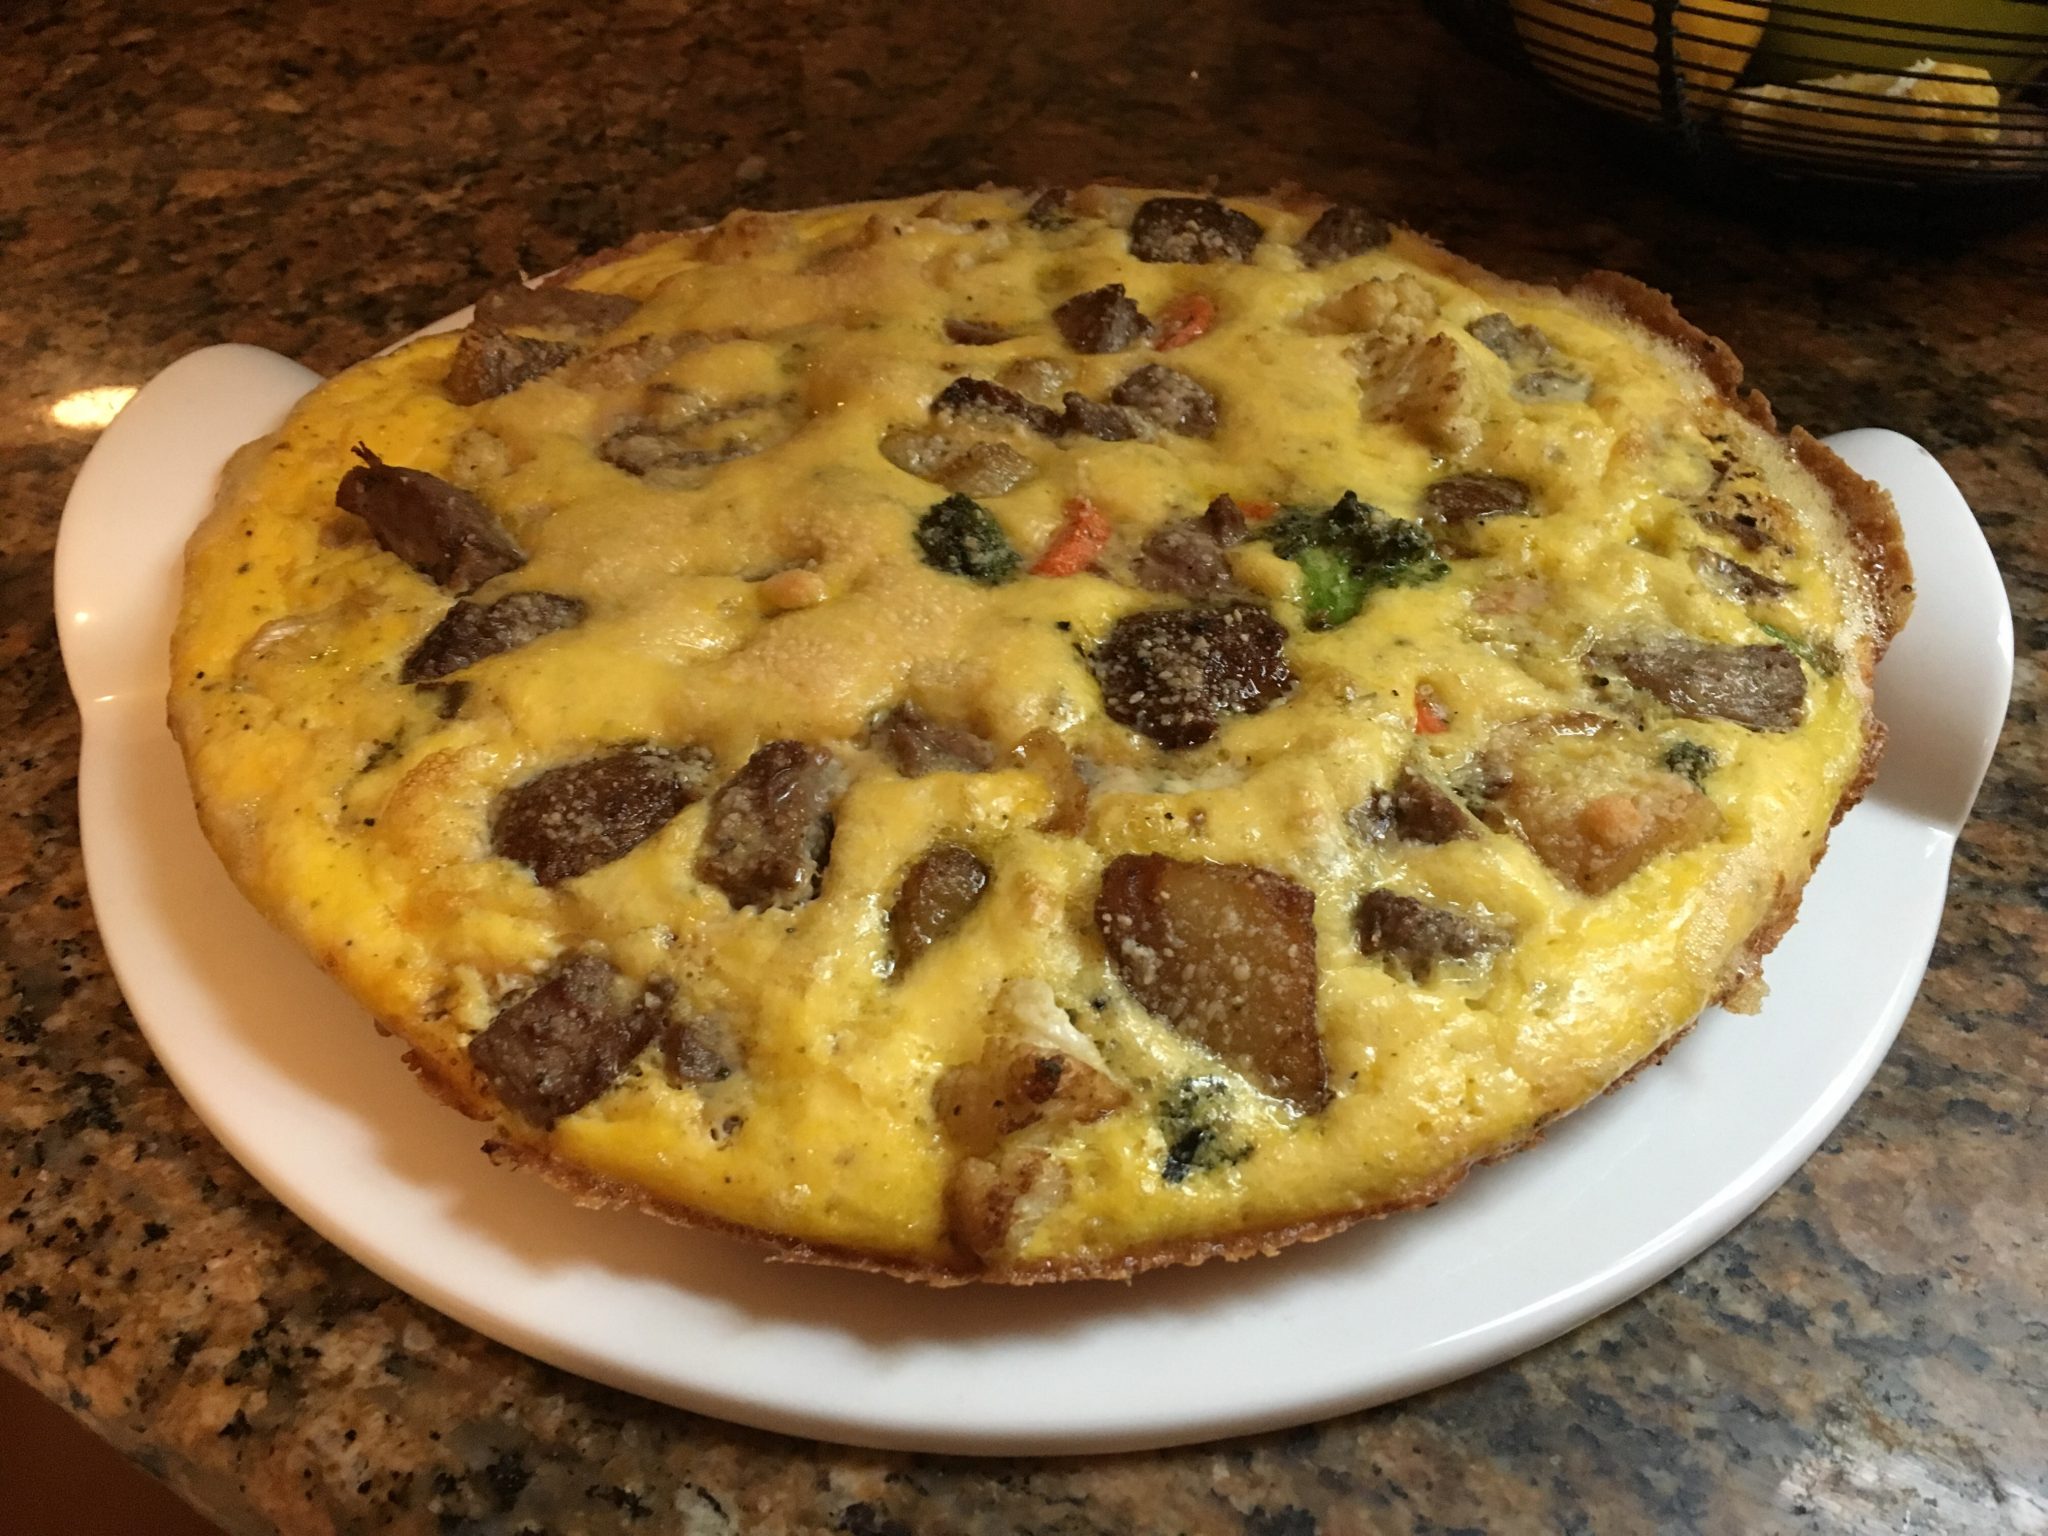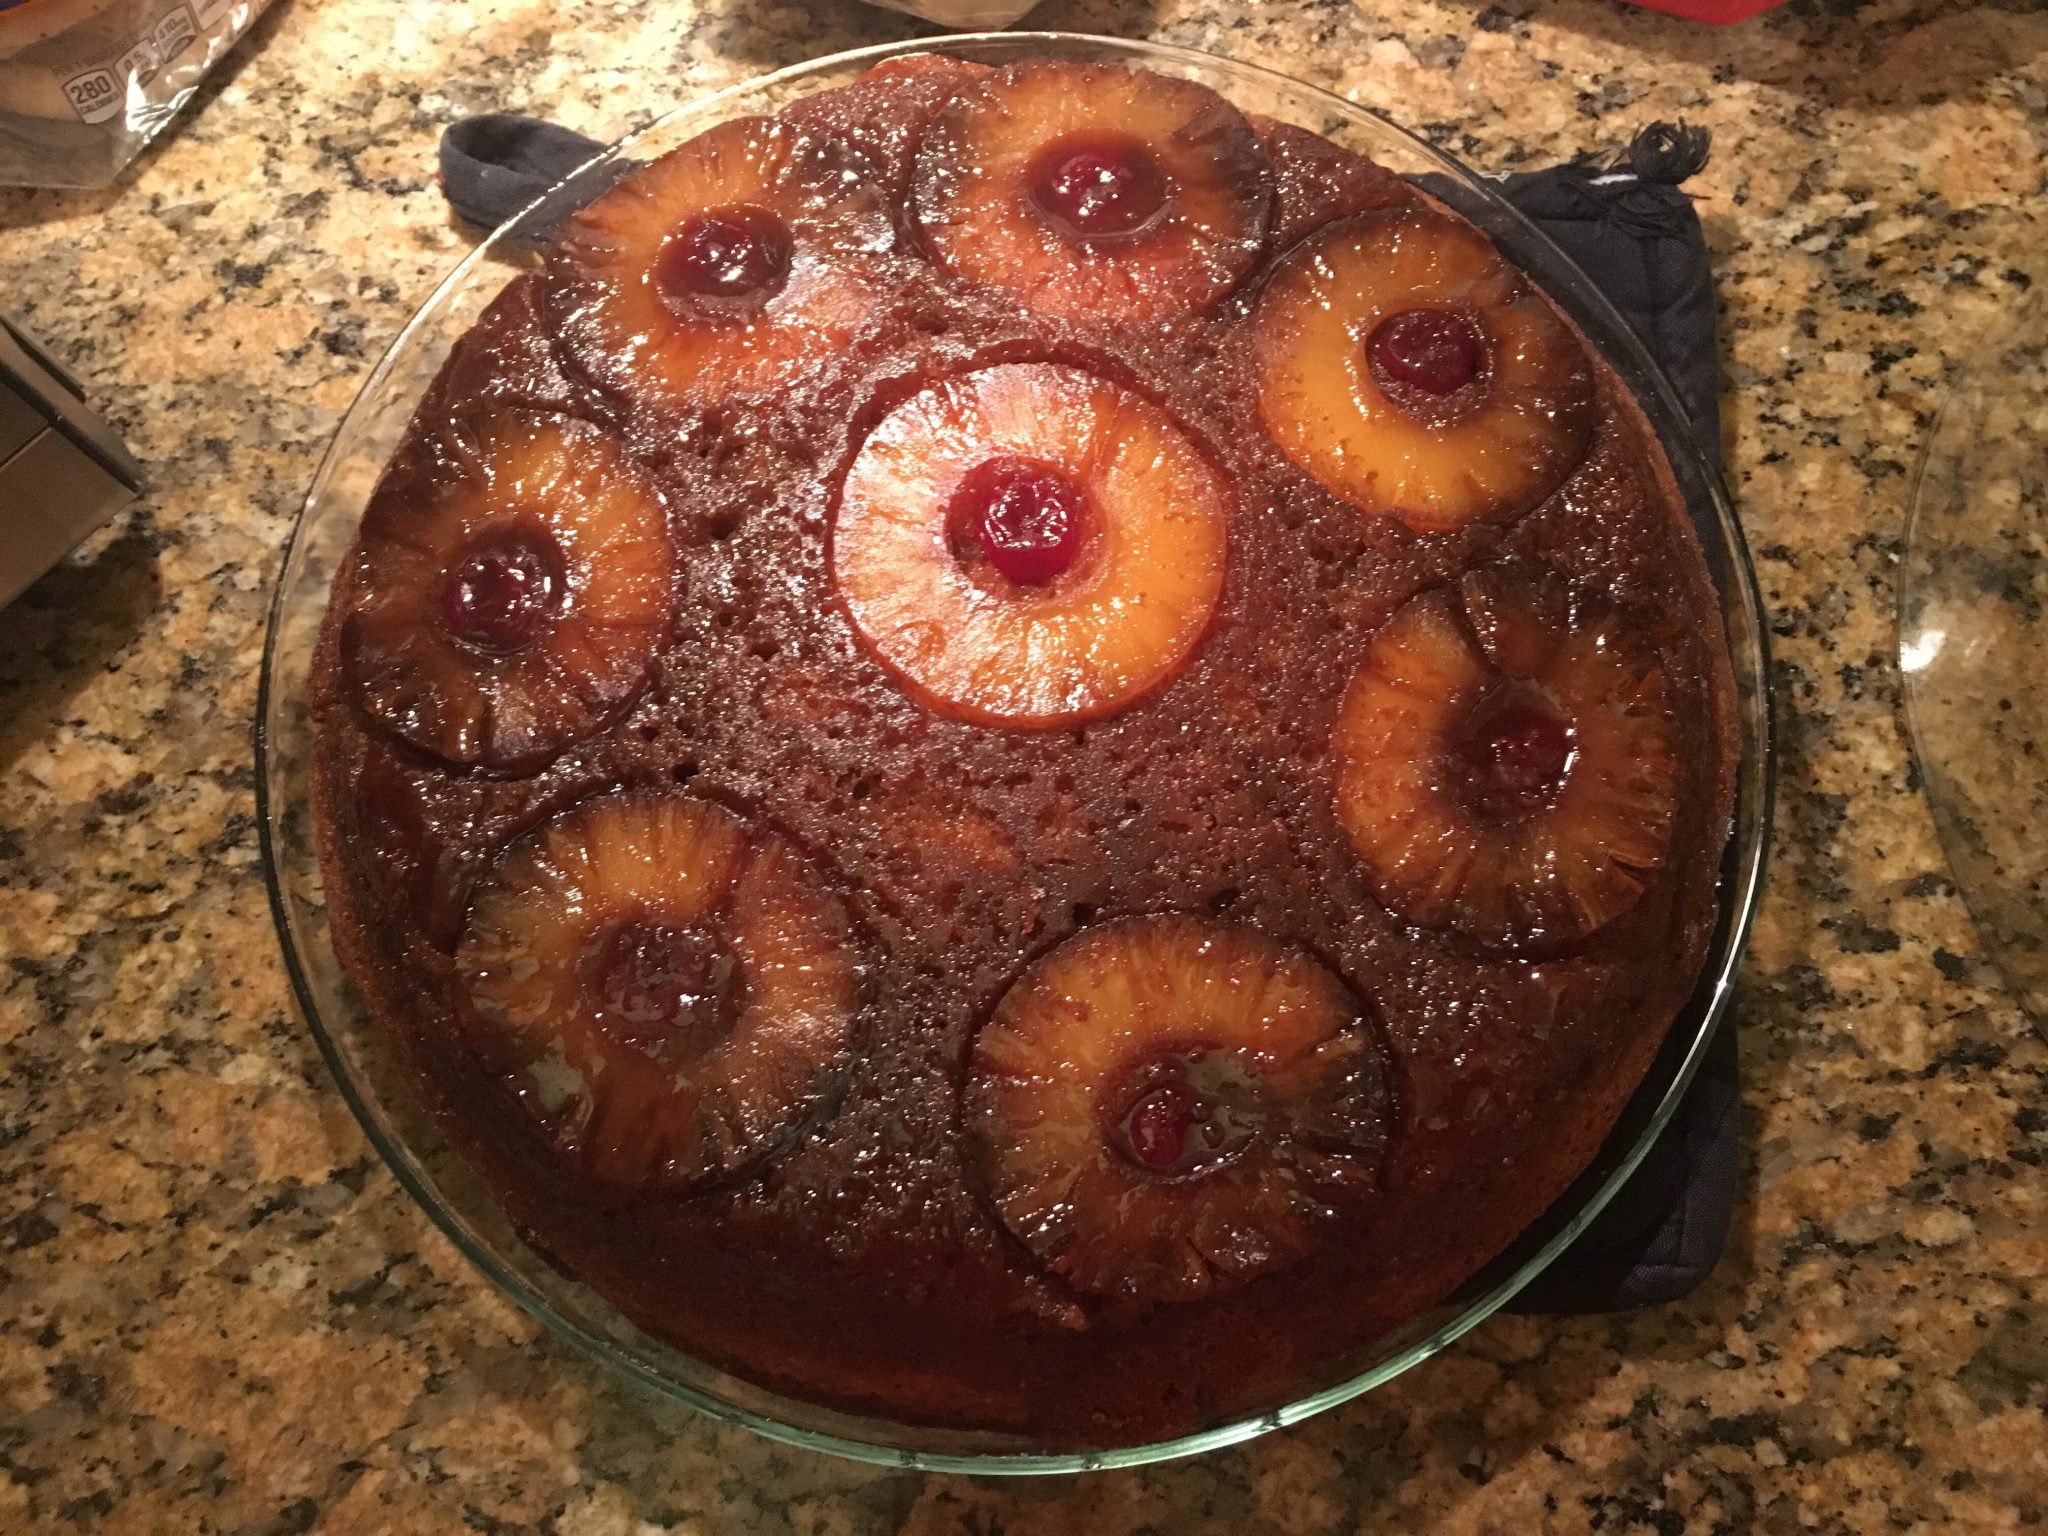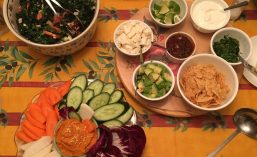
Paul’s work dinner party tonight, time to get cracken with some old fav’s to warm up the night

My partner, Paul and his colleague M, wanted to have a dinner party with some folks from work; so I was volunteered to help pull the dinner party off – I wonder if I can pull this look off?
Since were going to hold it at her house, my thoughts were to go simple with good standards fitting the weather; so that means;

  • A vegan Carrot “Hummus” with raw veggies as the chips
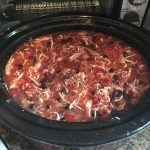
  • For the main course; since the Mexican chicken soup was such a hit two weeks ago at home and is slow cooker friendly –  it’s up again. Topped with all the fixings after a long slow cook and shredding the chicken – its a perfect rainy friday night dish.
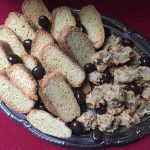
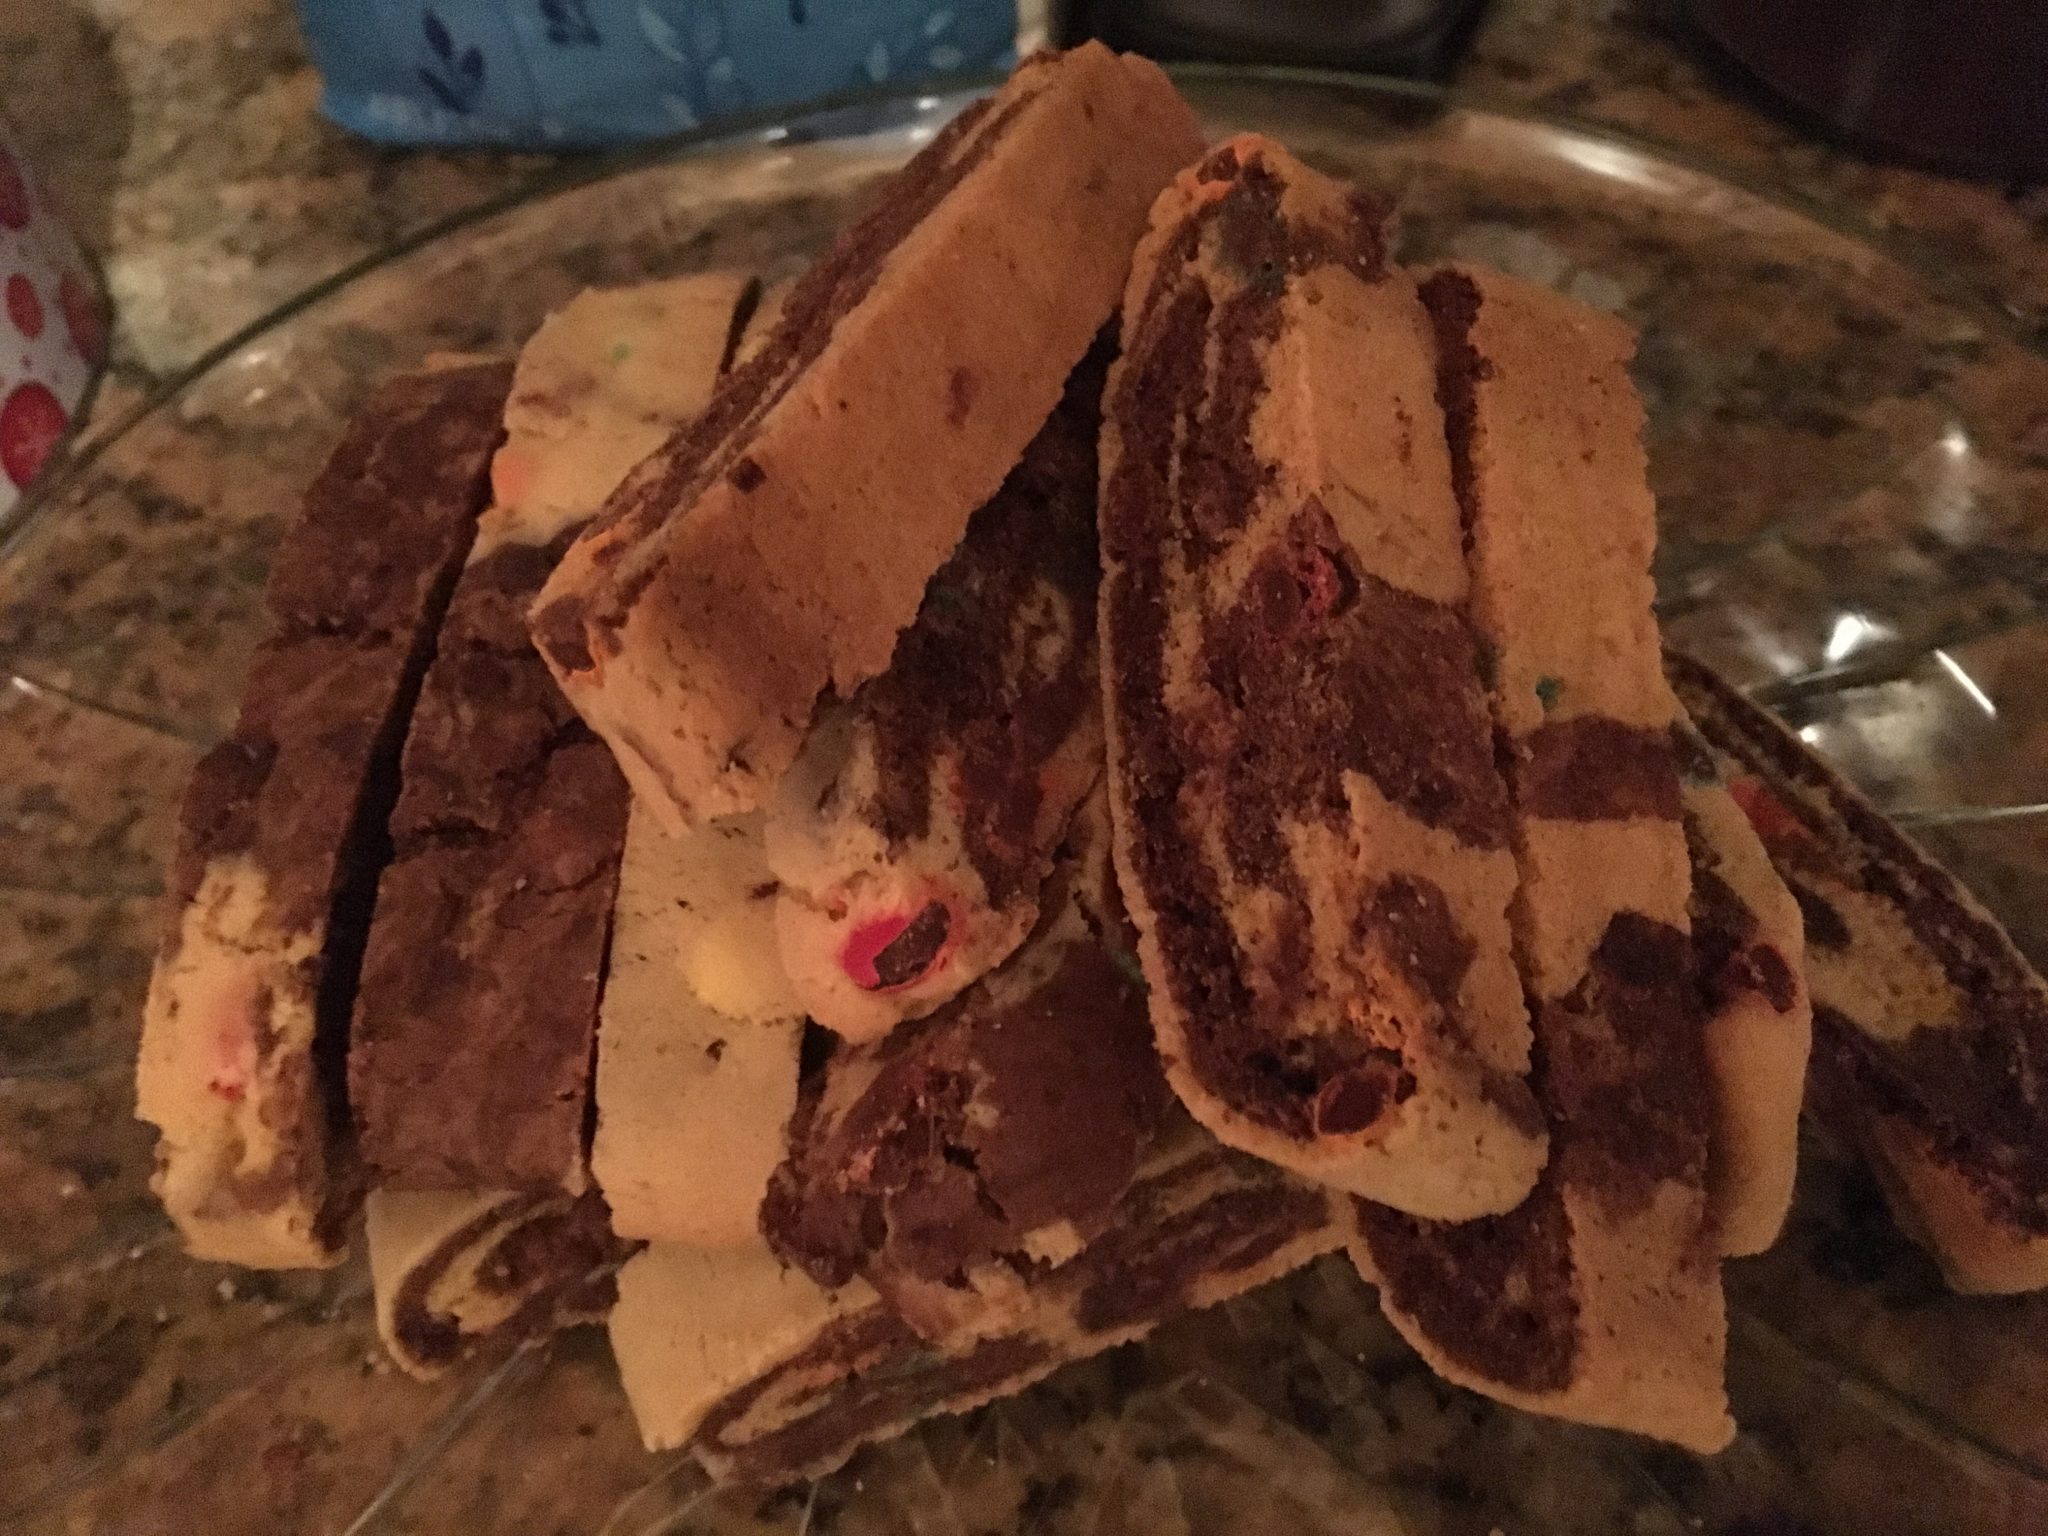
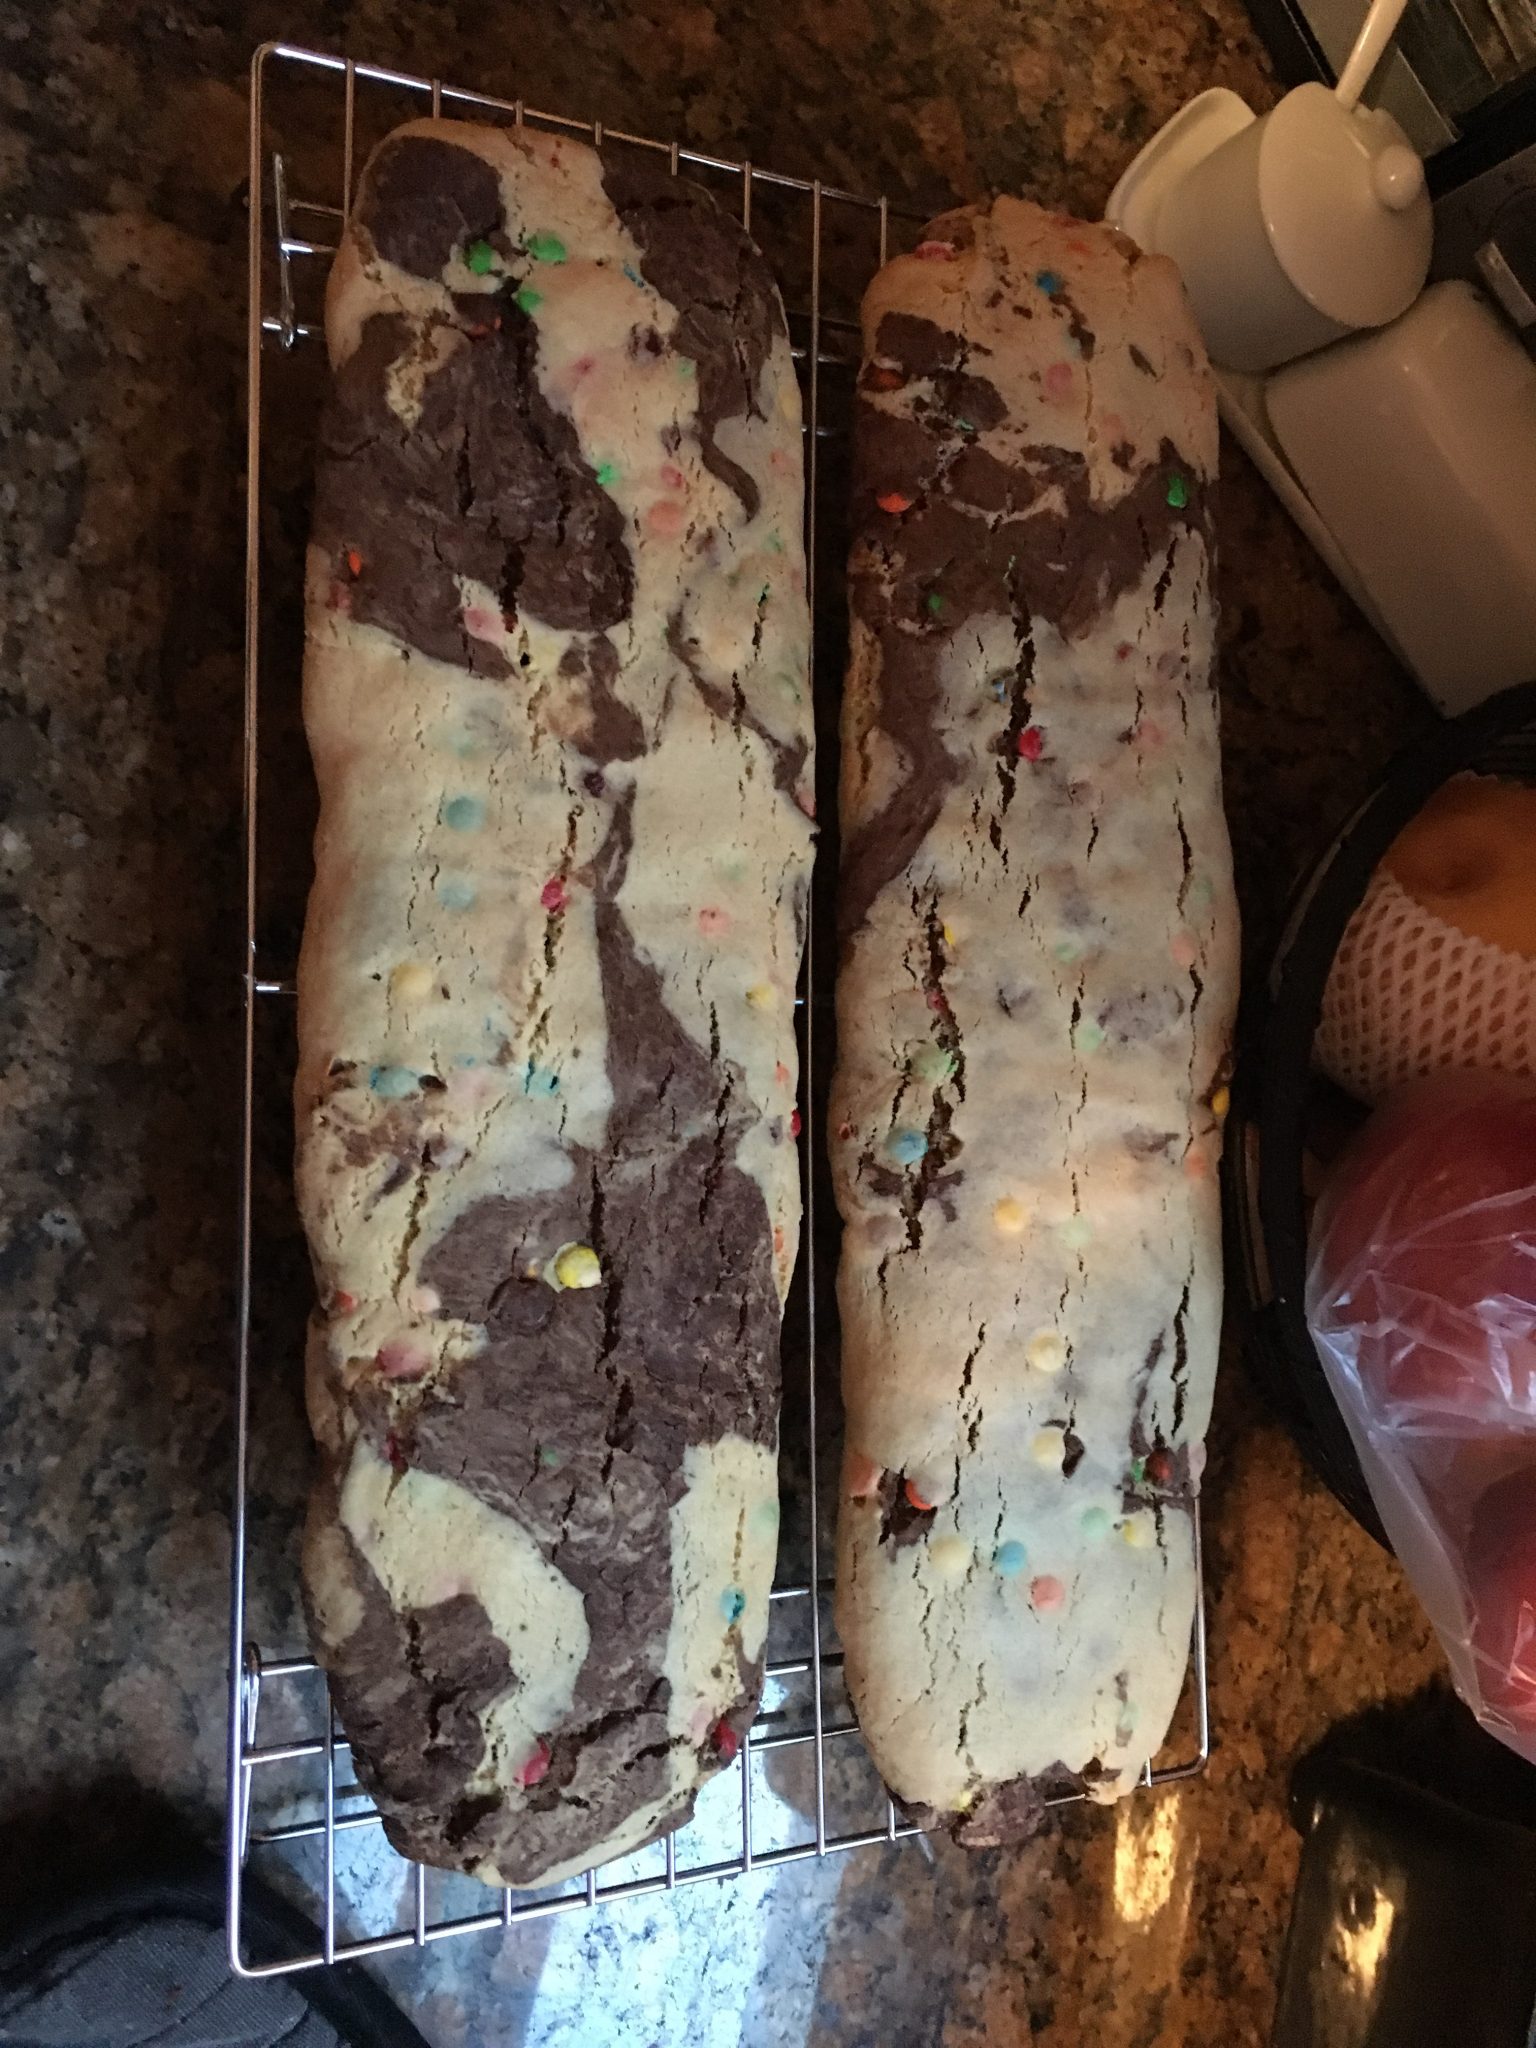
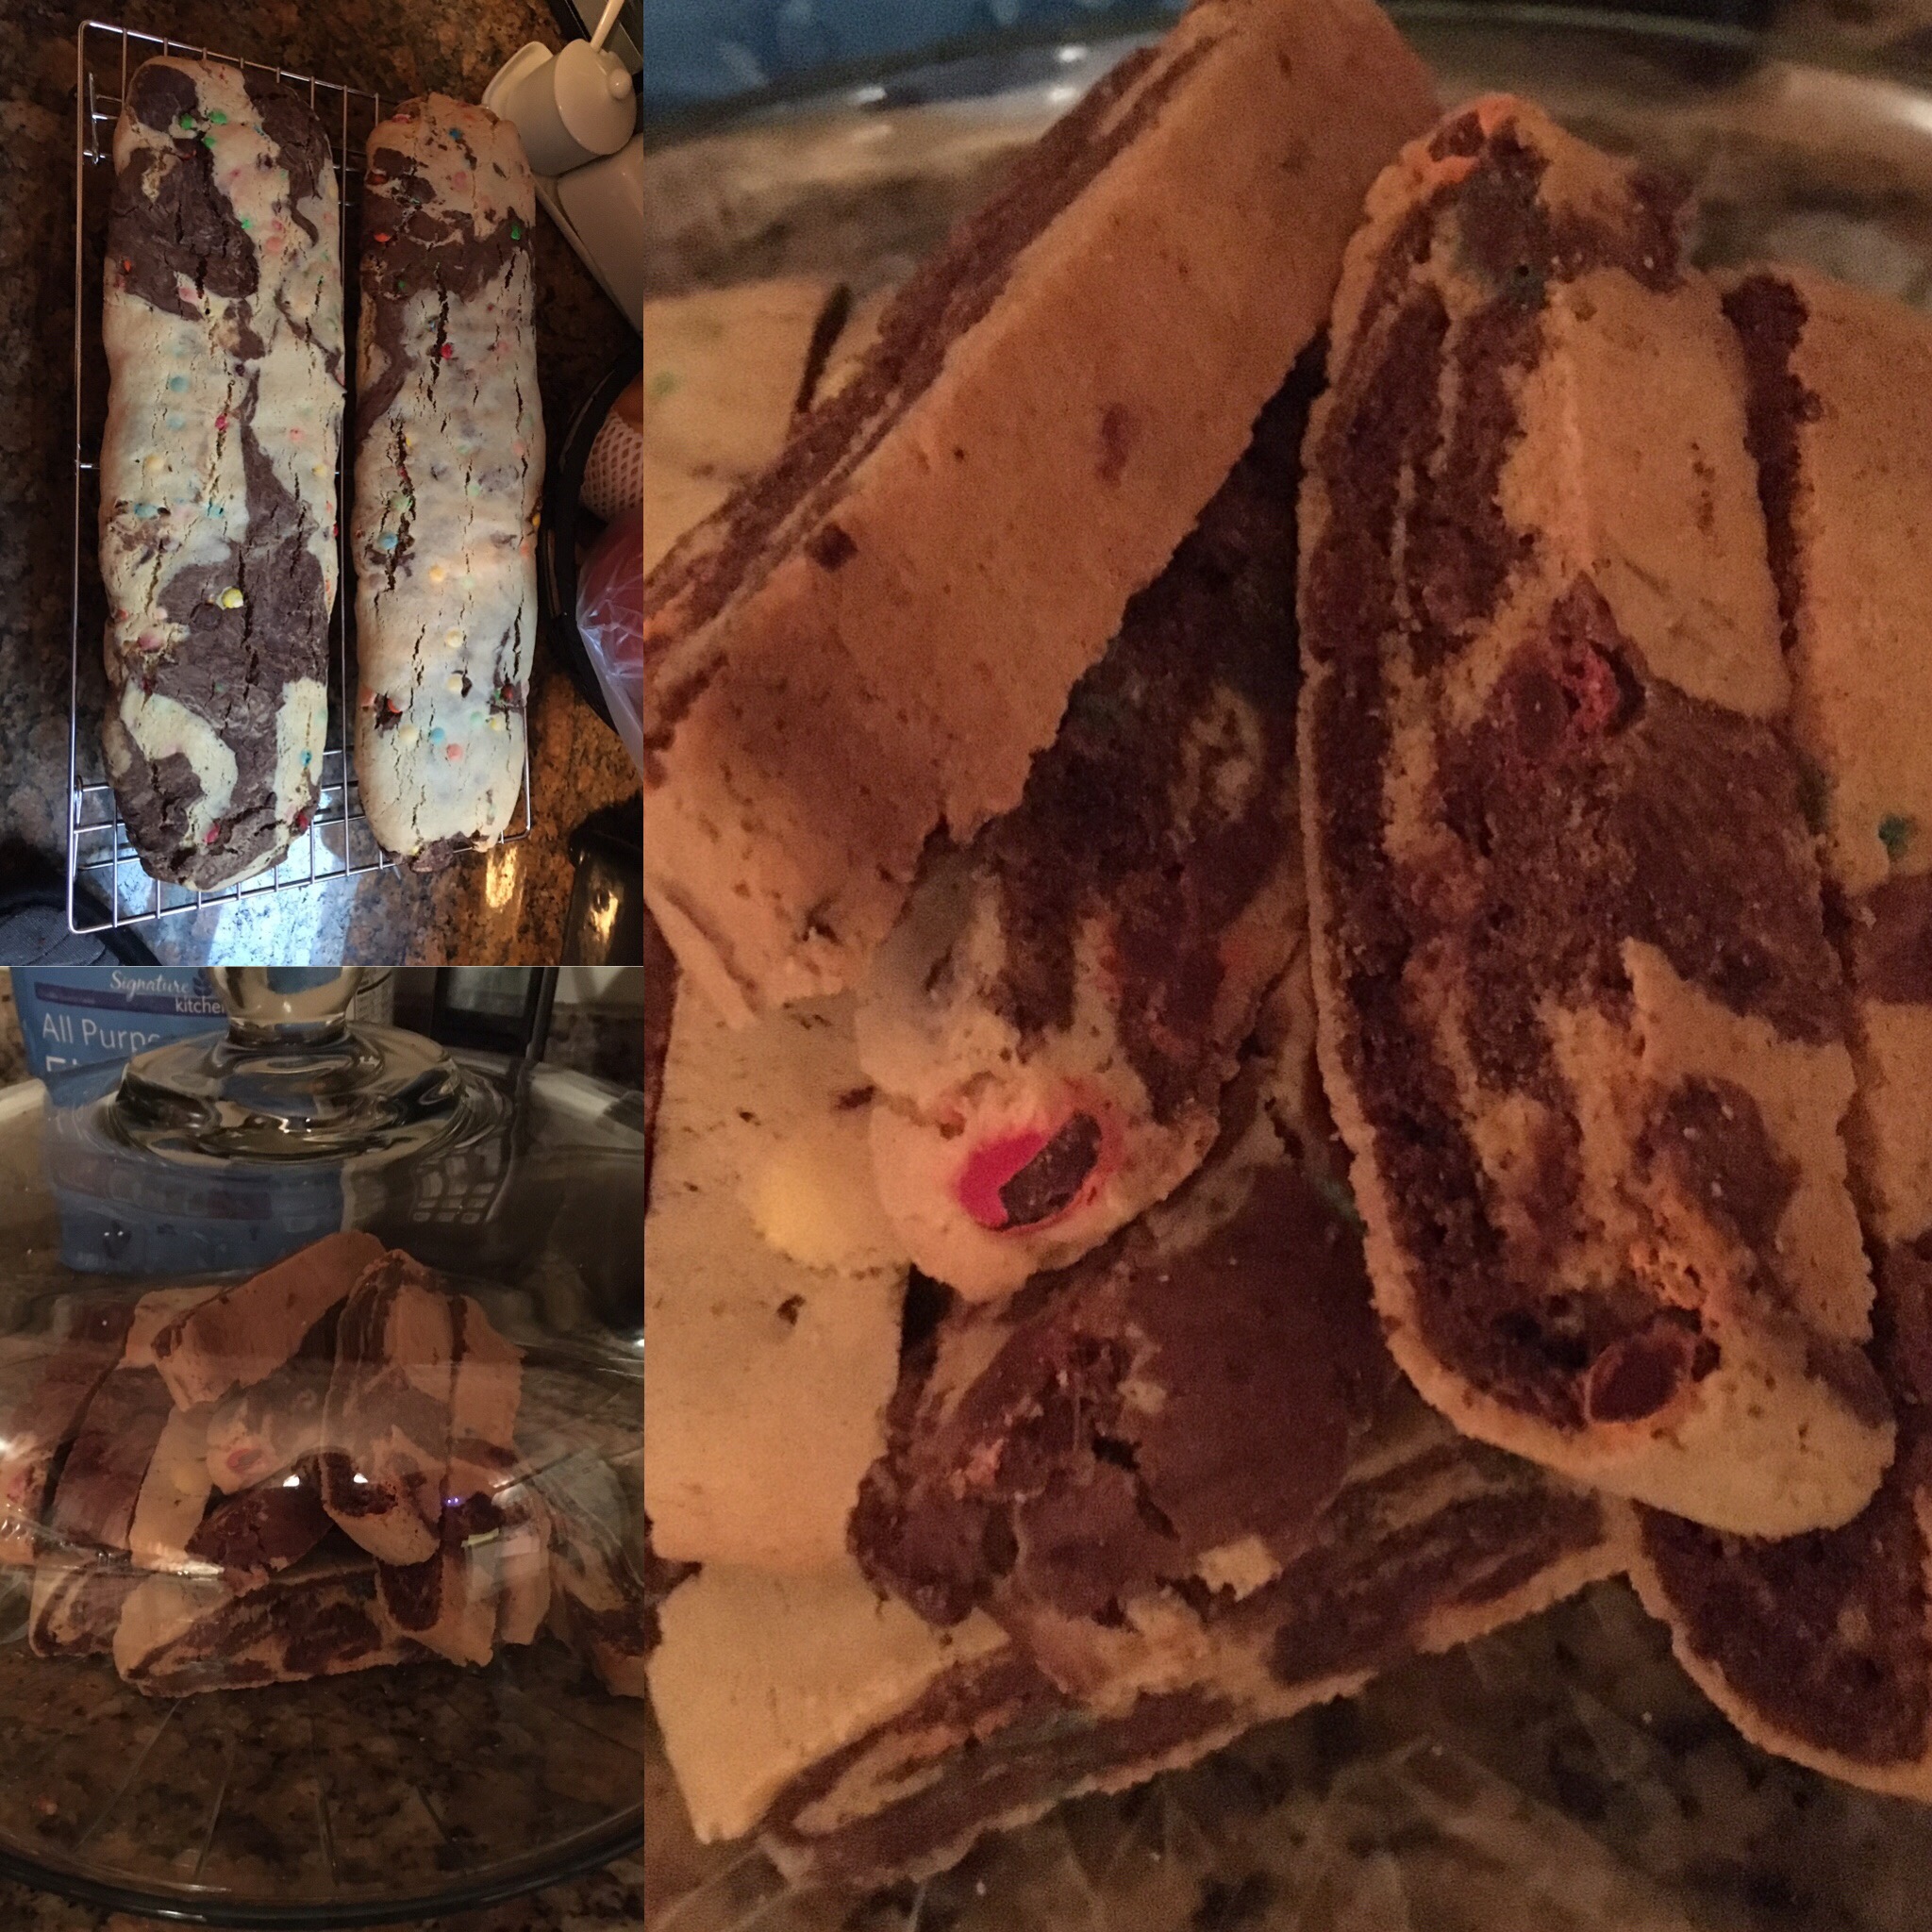
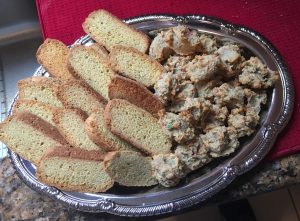
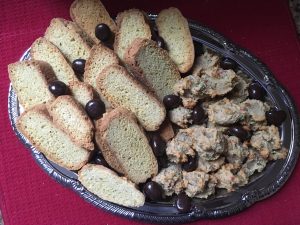
  • For after supper, my favorite adaption of a black pepper biscotti and a new version of the old school italian “Ugly But Good” almond paste cookie should set the table for a great social tonight.
  • Others will bring salad, cheese and crackers, and we’ve got a fresh loaf of baked bread to round it all off.
 

Recipes:

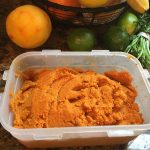
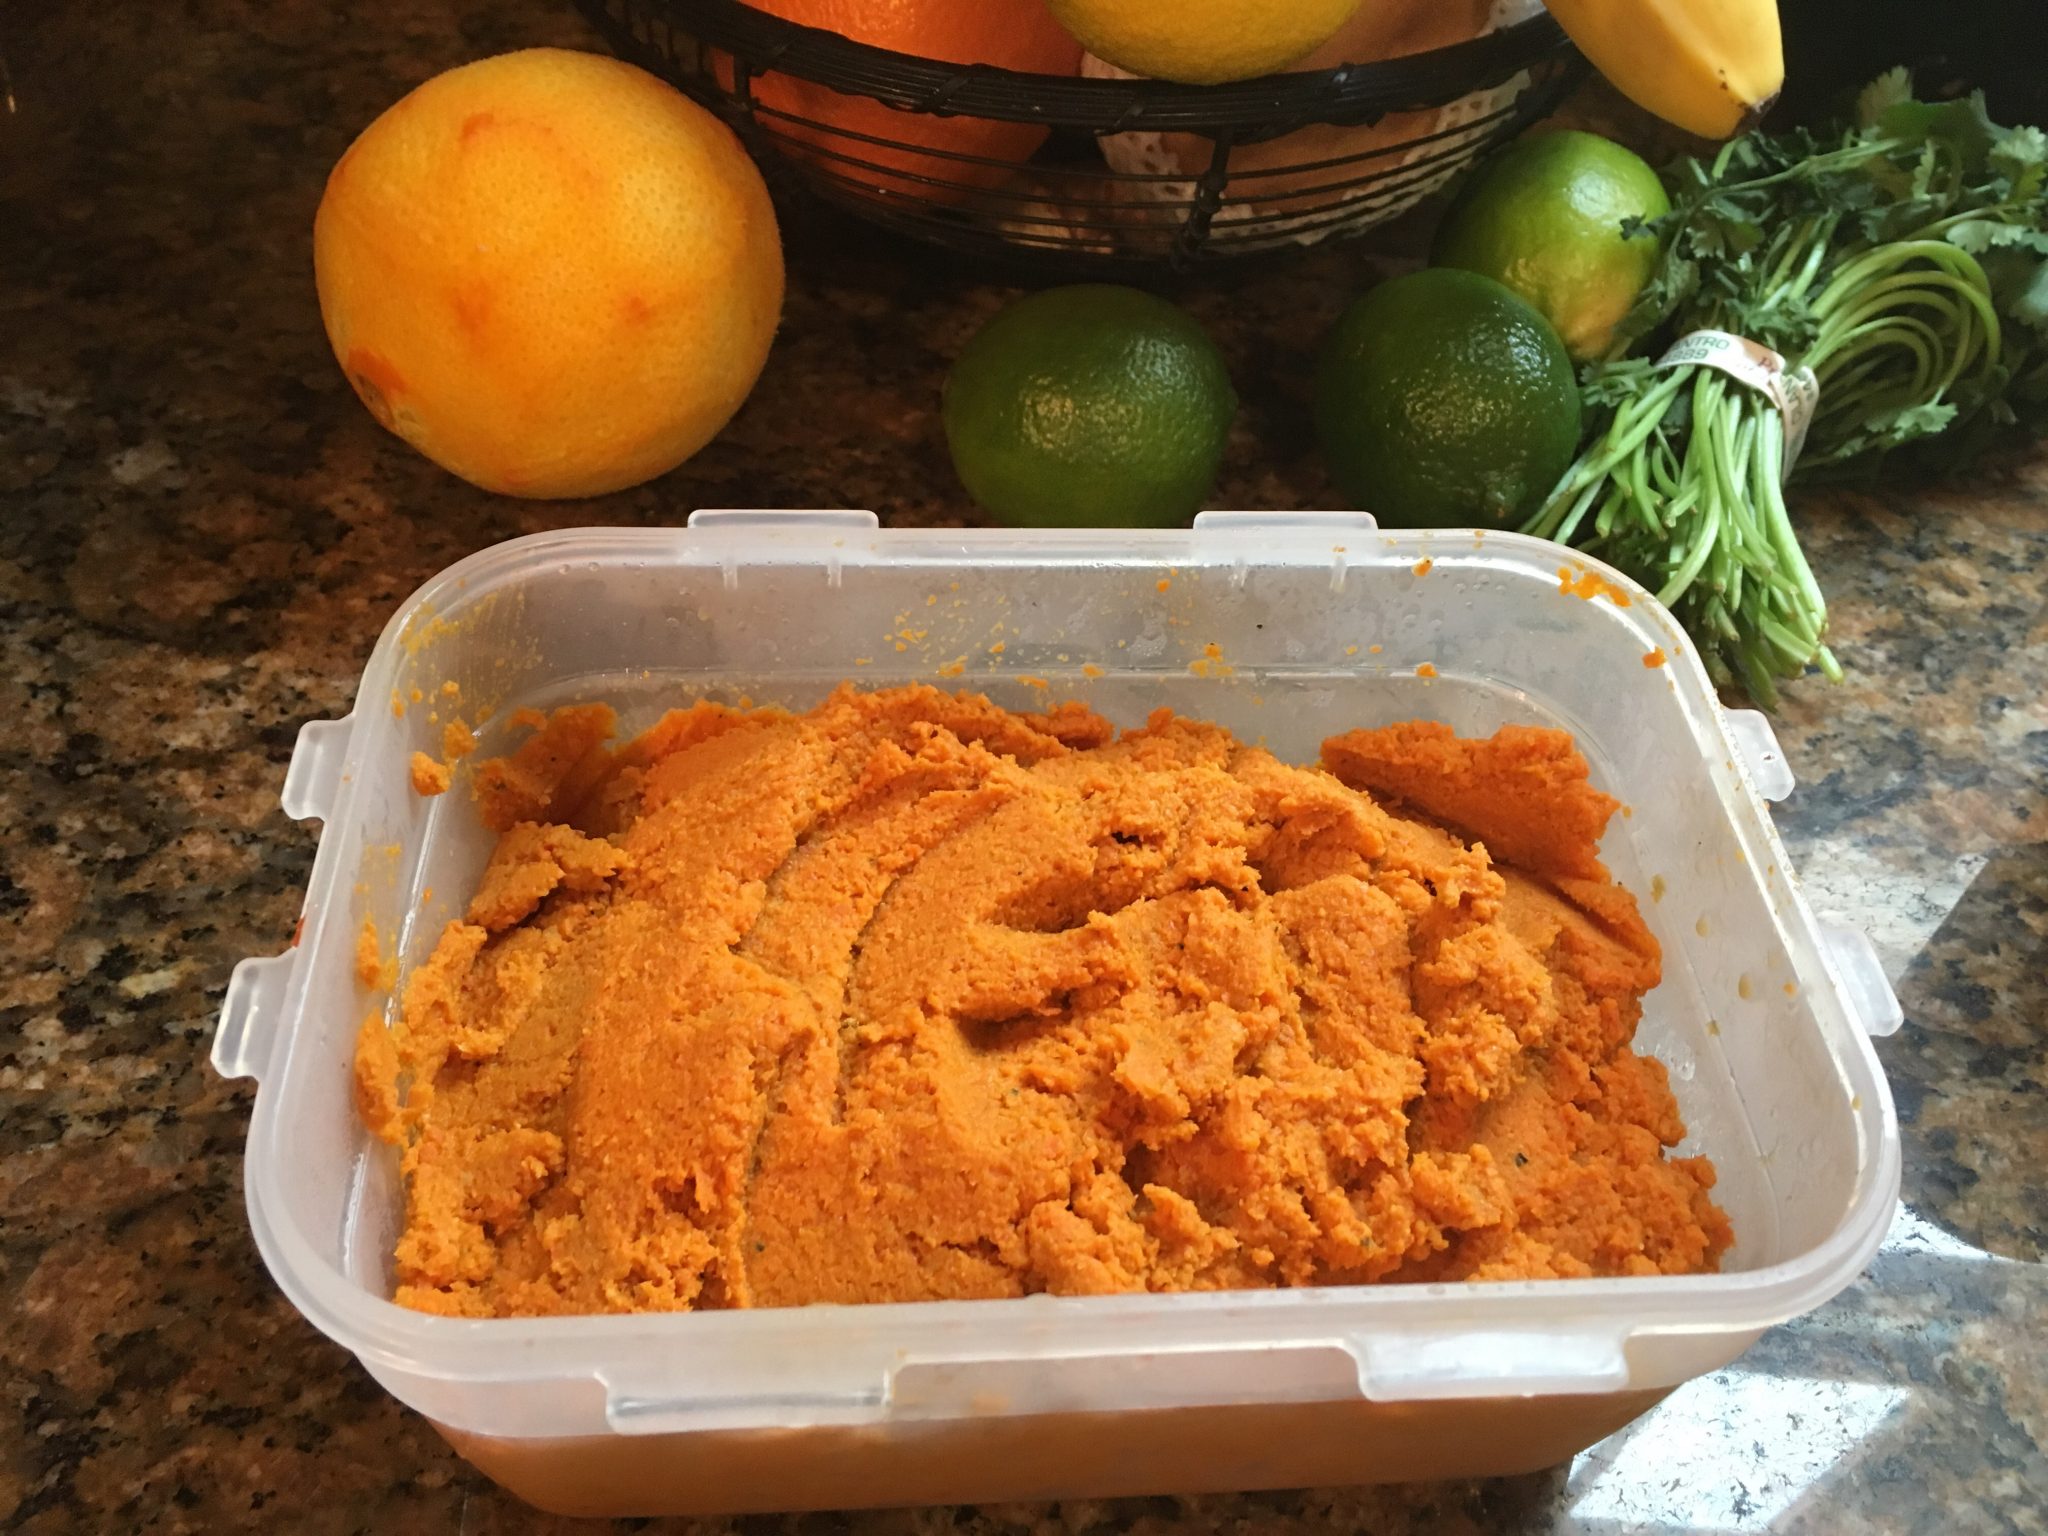
I first made the Carrot Hummus at Easter and posted about it here. I found the recipe initially on the Joanne Weir website for CreateTV and adapted it some for my taste. For this version I adapted it as a fully vegan version with out oil.
 

Ingredients
  • 2 1/2 lbs  large carrots, roughly cut into 1-inch pieces
  • 4 pieces of pealed garlic whole
  • Kosher salt
  • 1 1/2 tablespoons Agave Nectar
  • 2 tablespoons tahini (sesame paste in a pinch peanut butter or almond butter will work too I bet), well stirred (I might use up to 2 teaspoons more next time)
  • 2 Tablespoons of sesame seeds, roasted and ground
  • 1 teaspoon light brown sugar
  • 1/2 teaspoon ground cumin
  • 1/2 teaspoon toasted and ground cardamom
  • Pinch crushed red chili pepper, or cayenne  (or to taste)
  • Juice and peel of one lemon
  • Fresh squeezed lemon juice to taste
Note: for the next time I plan to try these with grilled carrots, garlic and ginger then puree.
Instructions
 
Heat up the oven to 375°F.
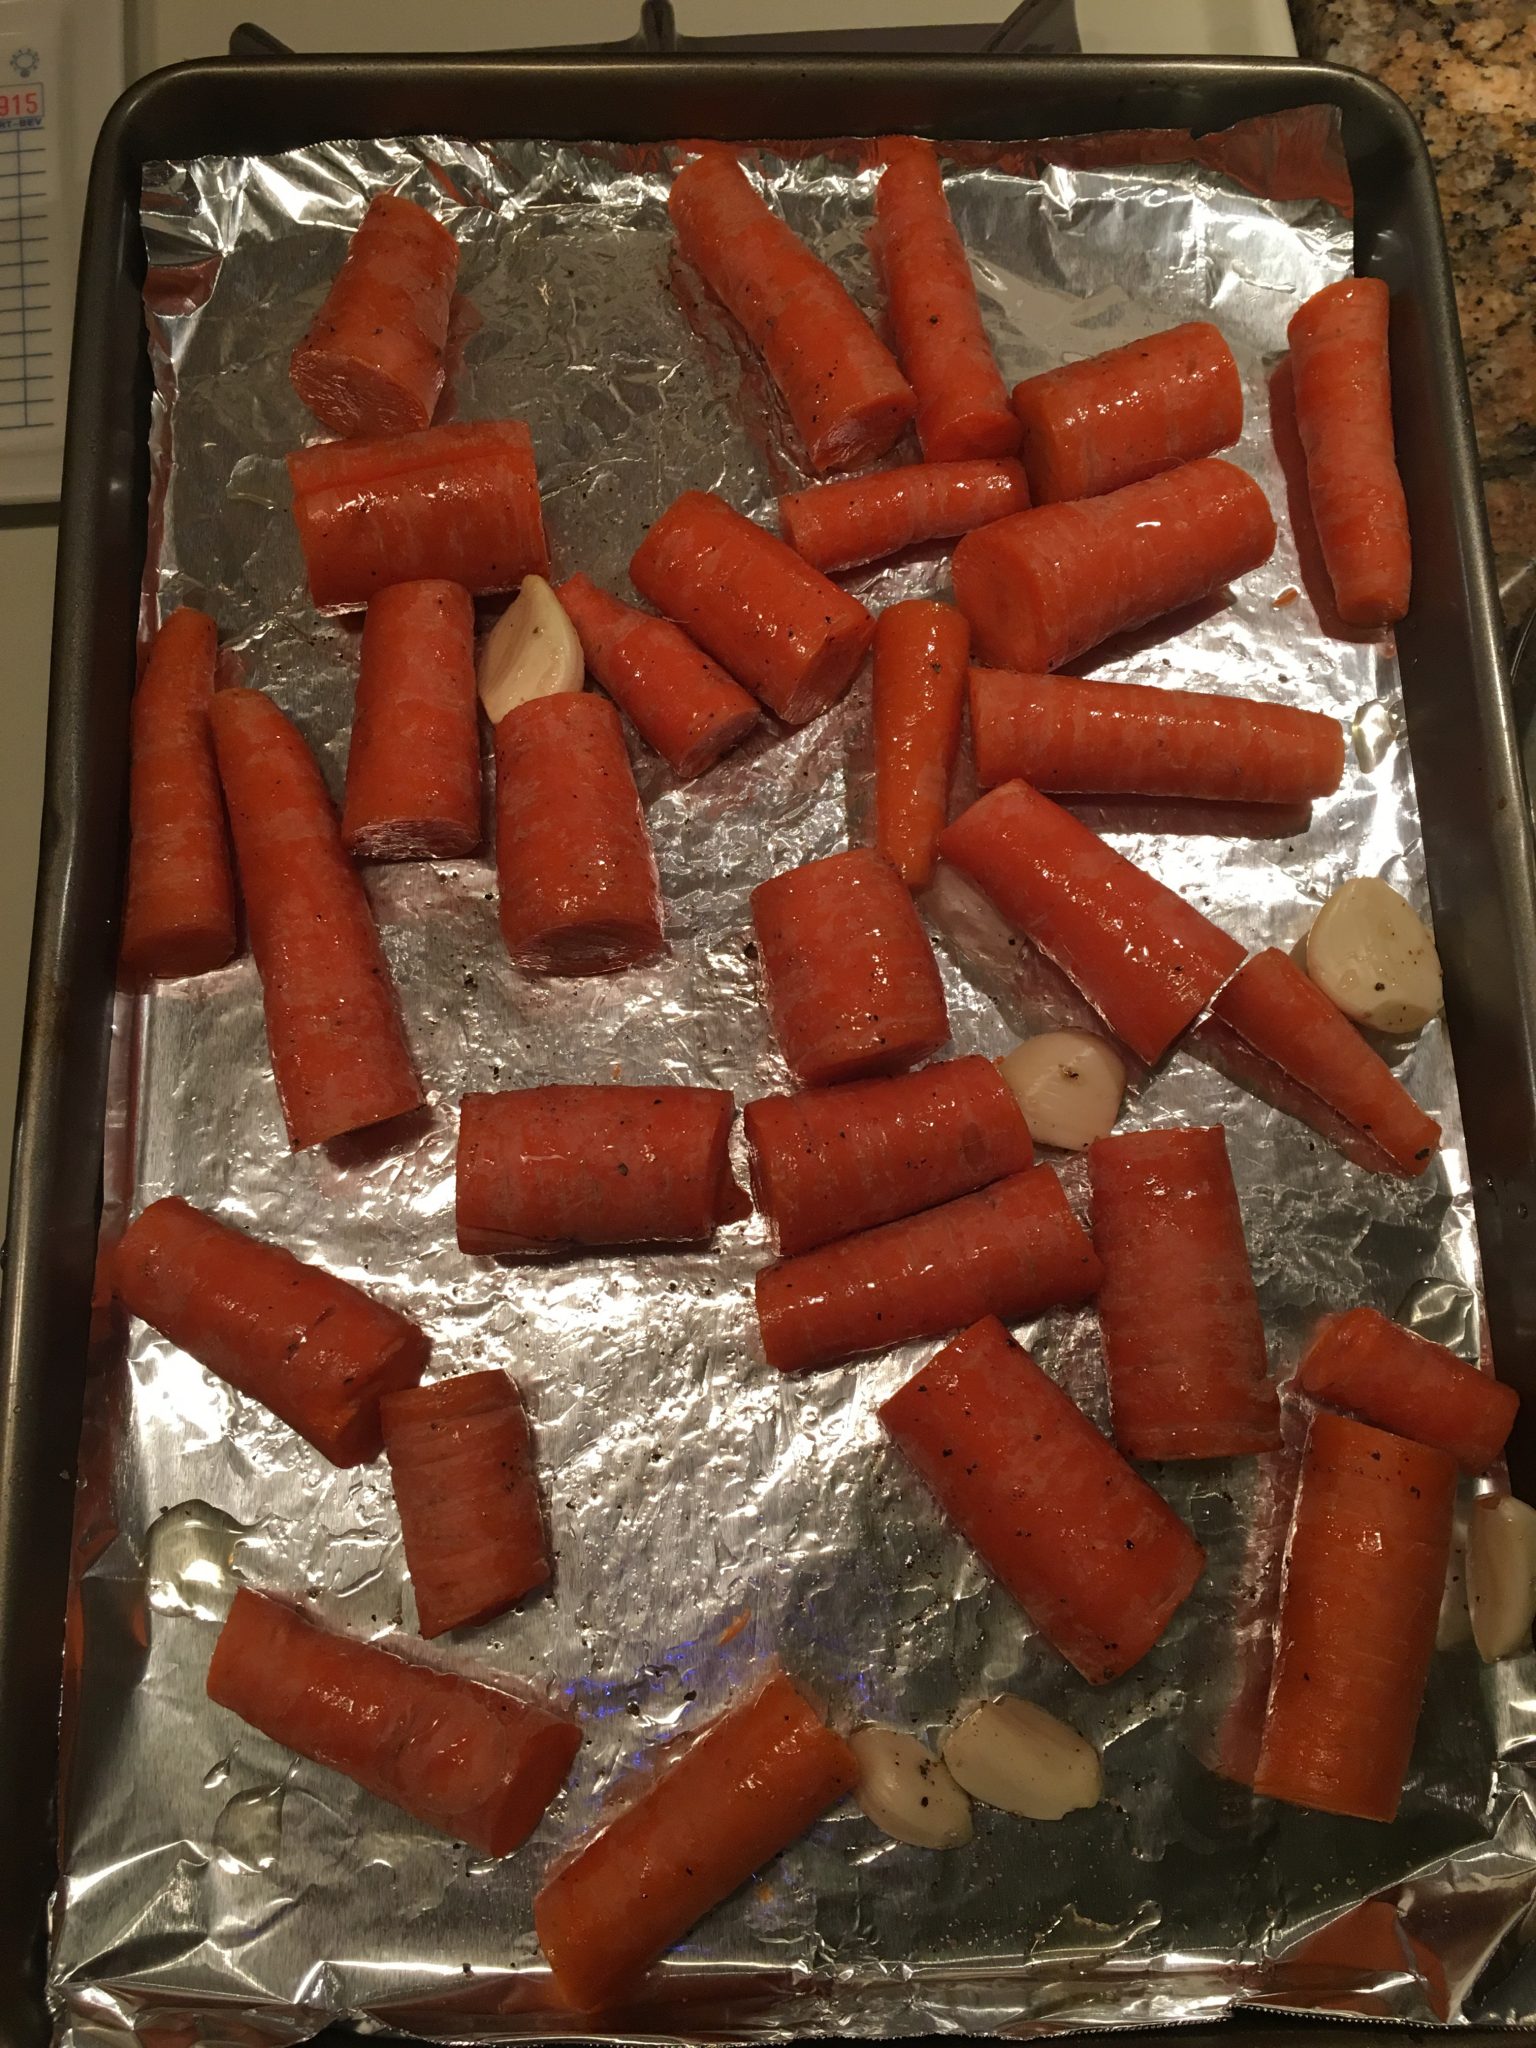
  • Place the carrots, salt, and agave on a large piece of foil or parchment paper. Toss together.  (I wanted a bit of a char on them so didn’t cover them, but it you wrap them up and seal the edges so the steam doesn’t escape. you will get a more mellow taste)
  • Bake in the oven until tender, 20 minutes. Stir and continue to roast for 20 minutes.
  • Remove from the oven and cool completely.
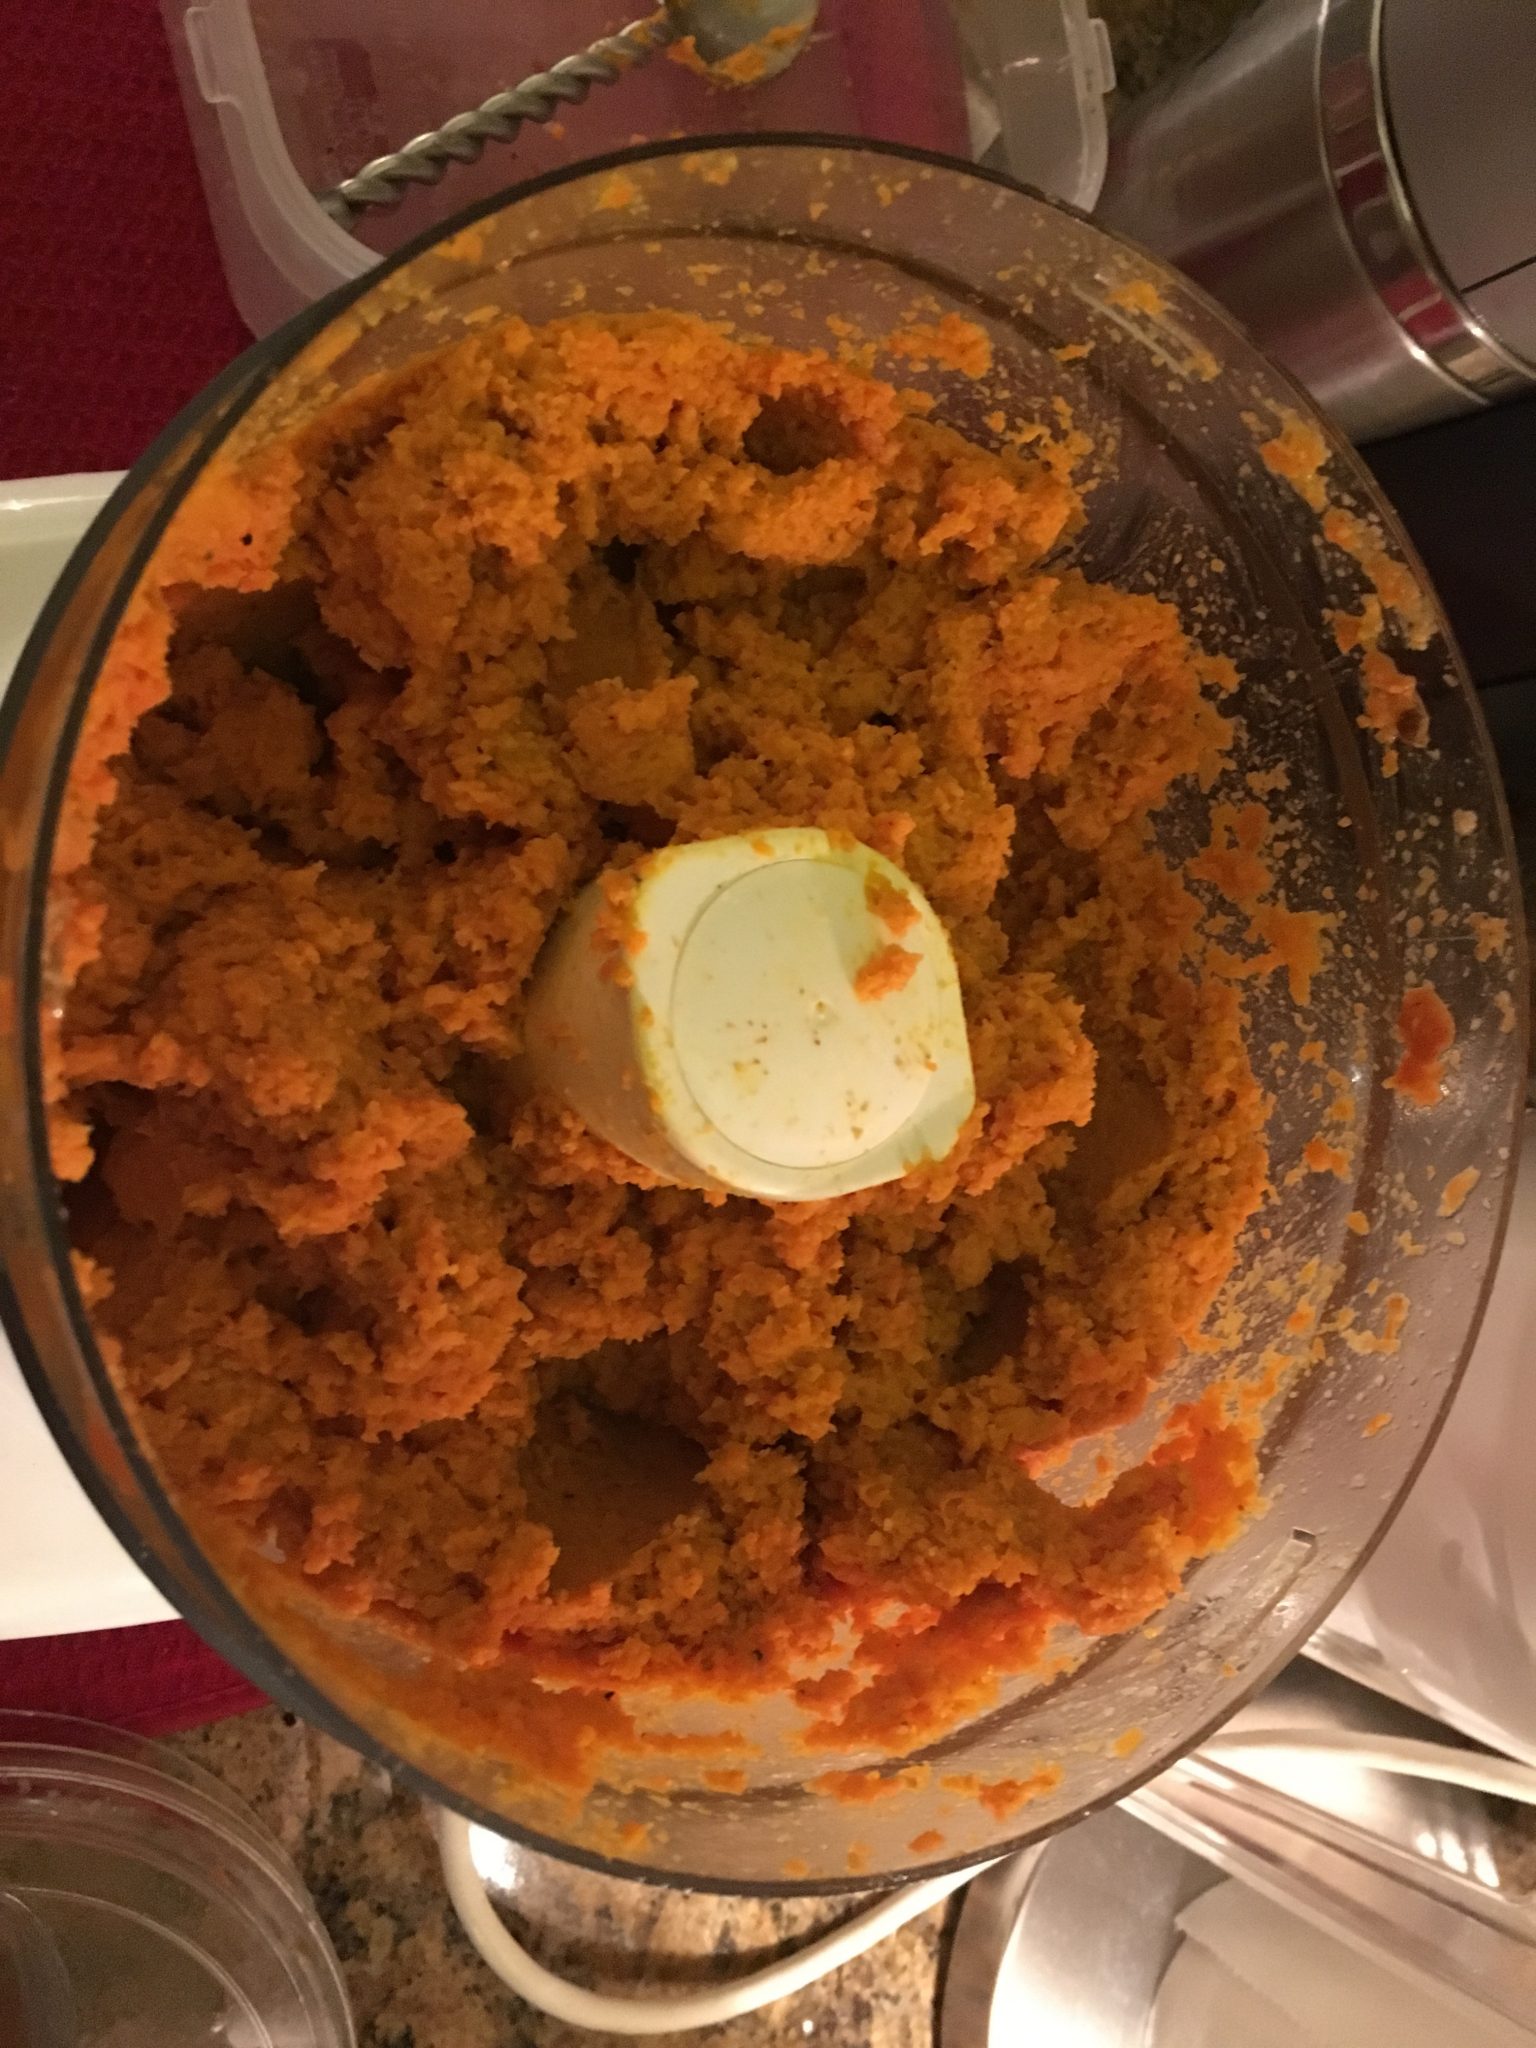
  • Pour the entire packet of carrots and oil into to the food processor with the remaining ingredients (except for the water and lemon juice).
  • Process until smooth, scraping down the sides of the bowl.
  • Add water if needed to make a thick dip the consistency of hummus.
  • Season with salt and lemon juice to taste. This is also when you can add more honey, spices etc.
Joanne Weir’s recipes calls for serving the dip with thin sliced root vegetable “chips” but few are going with fresh veggies.  To check out the original inspiration for this version, visit Joanne Weir’s recipe here
This will keep in the refrigerator for a few days but I take it out about 20 min before serving.


For the Soup

I first came across this on  Ree Drummond’s  Food Network show the Pioneer Woman but she also did a version on her blog back in 2015 here. I made a first batch a few weeks ago and was surprised at how good and easy it was. I have made some adaptions for our tastes below.

  • 5 boneless, skinless whole chicken breasts (The original recipe called for 3 – but I needed family stye for men)
  • 1 teaspoon chili powder
  • 1 teaspoon ground cumin
  • Kosher salt and freshly ground black pepper
  • One 28-ounce can whole or diced tomatoes, with juice
  • 32 ounce low-sodium chicken broth (you can add less initially if you want it thicker)
  • 2  15-ounce can black beans, drained and rinsed
  • One 10-ounce can diced tomatoes with green chiles, such as Ro*tel
  • 1 small can of tomato paste
  • 1 medium onion, chopped
  • 1 red bell pepper, seeded and chopped
  • 1 yellow bell pepper, seeded and chopped
  • 2 small or 1 large pepper chopped and  1 teaspoon of the adobo sauce from a canned chipotle pepper in adobo (you may add more peppers if you like but it has some heat – I will leave the rest as a garnish)
  • Juice of  1/2 to 1 lime, (to taste – you could end up using the whole lime or serve some as garnish)
  • 1 can of roasted corn (or fresh roasted off the grill if you have it)

Salt, Pepper and Cumin one side of the chicken and lay flat in the bottom of slow cooker. add more pepper salt, cumin and the chili powder.
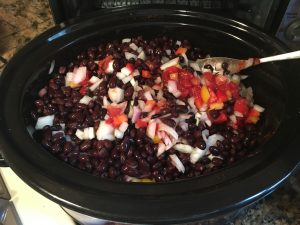
In layers, add the tomatoes, black beans, tomatoes with chiles, tomato paste, onion, chipotle pepper and red and yellow peppers, chicken broth. Stir, place the lid on the slow cooker and cook for 5 hours on high or 8 hours on low.
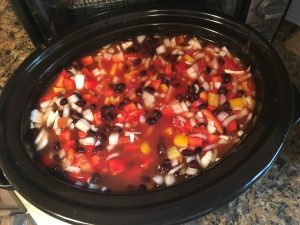
Add in the corn (with out it’s liquid). Stir in the lime juice. Remove the chicken to a plate and use 2 forks to break it into chunks (or shred it finely). Return the chicken to the pot, taste and add more seasoning if necessary.
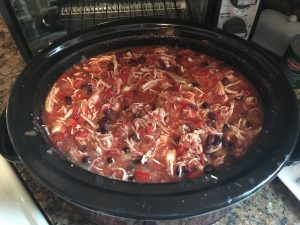
Serve piping hot in a bowl with avocado, sour cream, grated cheese, crushed tortilla chips and cilantro leaves on top!

Don’t forget to serve it with the fixings – it makes the whole dish: avocado, sour cream, crumbled cheese, crushed tortilla chips and fresh cilantro leaves

And of course the Cookies

Black Pepper, Vanilla & Orange peel  I wrote about on “the battle rages on” which is actually yet its own adapted recipe  Valerie Bertinelli’s Helen’s Black Pepper Biscotti is one I know Paul’s boss loves. So this was a remake for her.

Ingredients
  •  2 3/4 cups all-purpose flour
  •  1/2 teaspoon baking soda*
  •  1/2 teaspoon baking powder*
  •  1 tablespoon freshly ground black pepper ( I use a mix of fine ground and course grind for taste and texture.)**
  •  Pinch kosher salt
  •  1/2 cup (1 stick) unsalted butter, softened
  •  1 cup sugar
  •  3 large eggs, at room temperature
  •  2 teaspoons grated orange zest (I tend to get the organic ones or ones I pick from my pals garden- depending on size of orange this may be 1 -oranges )
  • The zest of one lemon
  •  1 1/2 teaspoons vanilla extract
  •  1/4 teaspoon almond extract
** To give these a visual pop – you can ground peppercorns that are other colors over the traditional black)

Sift together the flour, baking soda and baking powder in a medium bowl. Stir in the pepper and salt. Set aside.

In the bowl of a stand mixer fitted with the paddle attachment, beat the butter on high speed until pale and light, have the patience to let it do it’s work – it could take several minutes. Add the sugar and beat until light and fluffy, about 7 minutes. Reduce the speed to low and add the eggs one at a time, beating well after each addition. Add the orange zest and vanilla and almond extract .

With the mixer on low, slowly pour in the flour mixture, and then the walnuts. Mix a few minutes till the dough texture is formed a sticky mess 😉 .

(You can also do this by hand and fold them in then work the dough by hand till smooth).

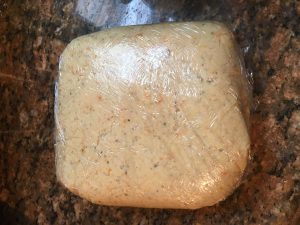
Pour the dough out on to a lightly floured plastic wrap covered surface or clean counter top. Gently knead the dough to shape with your hands to form a thick round ball shape. The dough is super easy to handle at this piont. Cover the dough with plastic wrap and refrigerate for 30 minutes. (For this batch I omitted nuts).
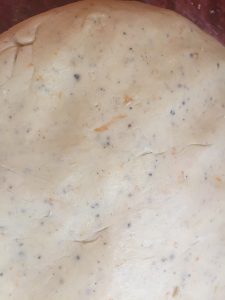
Preheat the oven to 350 degrees F. Line 2 baking sheets with parchment paper ( nonstick silicone liners also work).

Remove from the refrigerator, unwrap and divide the dough in half,  and shape each piece into a 12-inch log, about 2 inches across and 1 inch tall. (note you can make these as wide or thick as you like – I find because of the texture and taste of these, I tend to like a finished bake that is about 3 inch long and 1.5 inch high you may have to play with it a few times). But they don’t need to be preferfect. In fact any uniform shape will work.
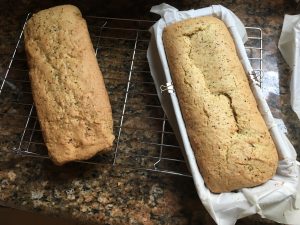
Because I wanted to use less space – I actually cooked this in old-school metal ice trays lined with parchment paper. Bake until the logs are cooked through and lightly browned on the bottom, about between 30 – 35 minutes, depending on your oven and pans.  Watch them the last 5- 10 minutes as this could differ based on your pan and stove temp.
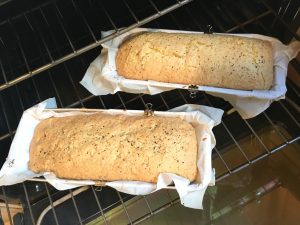
Let the logs cool for about 5-7 minutes on the baking sheets (leave the oven on), then transfer them carefully to racks (remove the parchment paper) to cool 10-15 minutes more.

Using a serrated knife, slice each log either on the diagonal (to give you a fancy shape) or straight across into 3/4-inch-thick slices. Arrange the slices cut-side down on the baking sheets and return to the oven until well toasted, 10 to 15 minutes more. I general flip mine over about half way to get even color.
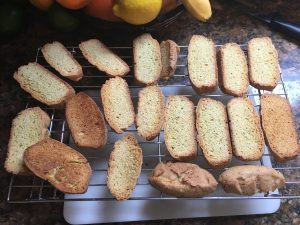
Note: These biscotti have a great golden color to them which will darker to as you “second bake”. If you want to keep them less brown; adjust time or instead of laying them on the cut sides, leave the standing cooked side down.
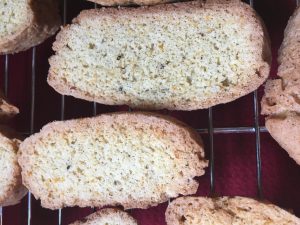
Transfer the biscotti to cooling racks to cool completely. The longer they bake the harder they become. Note: they will continue to harden as they cool. Store in tins or air tight containers (QVC favorite Lock & Lock rock for this). They will keep, tightly covered, up to 1 week.

This Cook’s Note came from the recipe website and I thought worth sharing: To toast the walnuts  or most nuts on the stove top, put them in a dry skillet over medium heat and cook, stirring, until golden and fragrant. To toast them in the oven, spread in a single layer on a baking sheet and roast at 350 degrees F until golden and fragrant. In either case- the minute you smell them – get them off the heat.

Ugly But Good Cookies (aka Brutti Ma Buoni)

These quick and simple almond cookie are a old-school cookie that adapts well. I have made version chocolate covered cherries, candied ginger, gluten free etc. they are pretty forgiving. Pack a lot of flavor and is a nice “host” gift if you are going to someones for dinner.

Ingredients

Preheat the over to 300 degrees.

In a food processor; blend almond paste and egg white until smooth, add rest of the ingredients until just mixed.
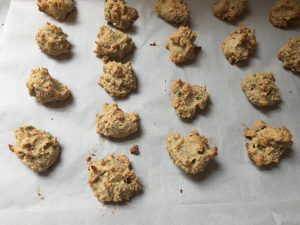
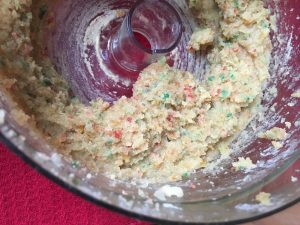
On a parchment paper covered pan, drop  teaspoon sized scoops of the mix. Don’t bother trying to make them pretty – they will grow and cook organically which is what is why they named it that way.
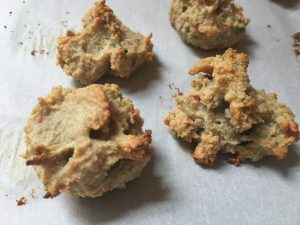
If you are using chocolate or cherries, you could top with a one on the top it try and dress it up.

Bake for 25 minutes till golden. Cool and serve. they should keep about a week in an air tight container.

My “Story Tree” or the stories behind the ornaments …

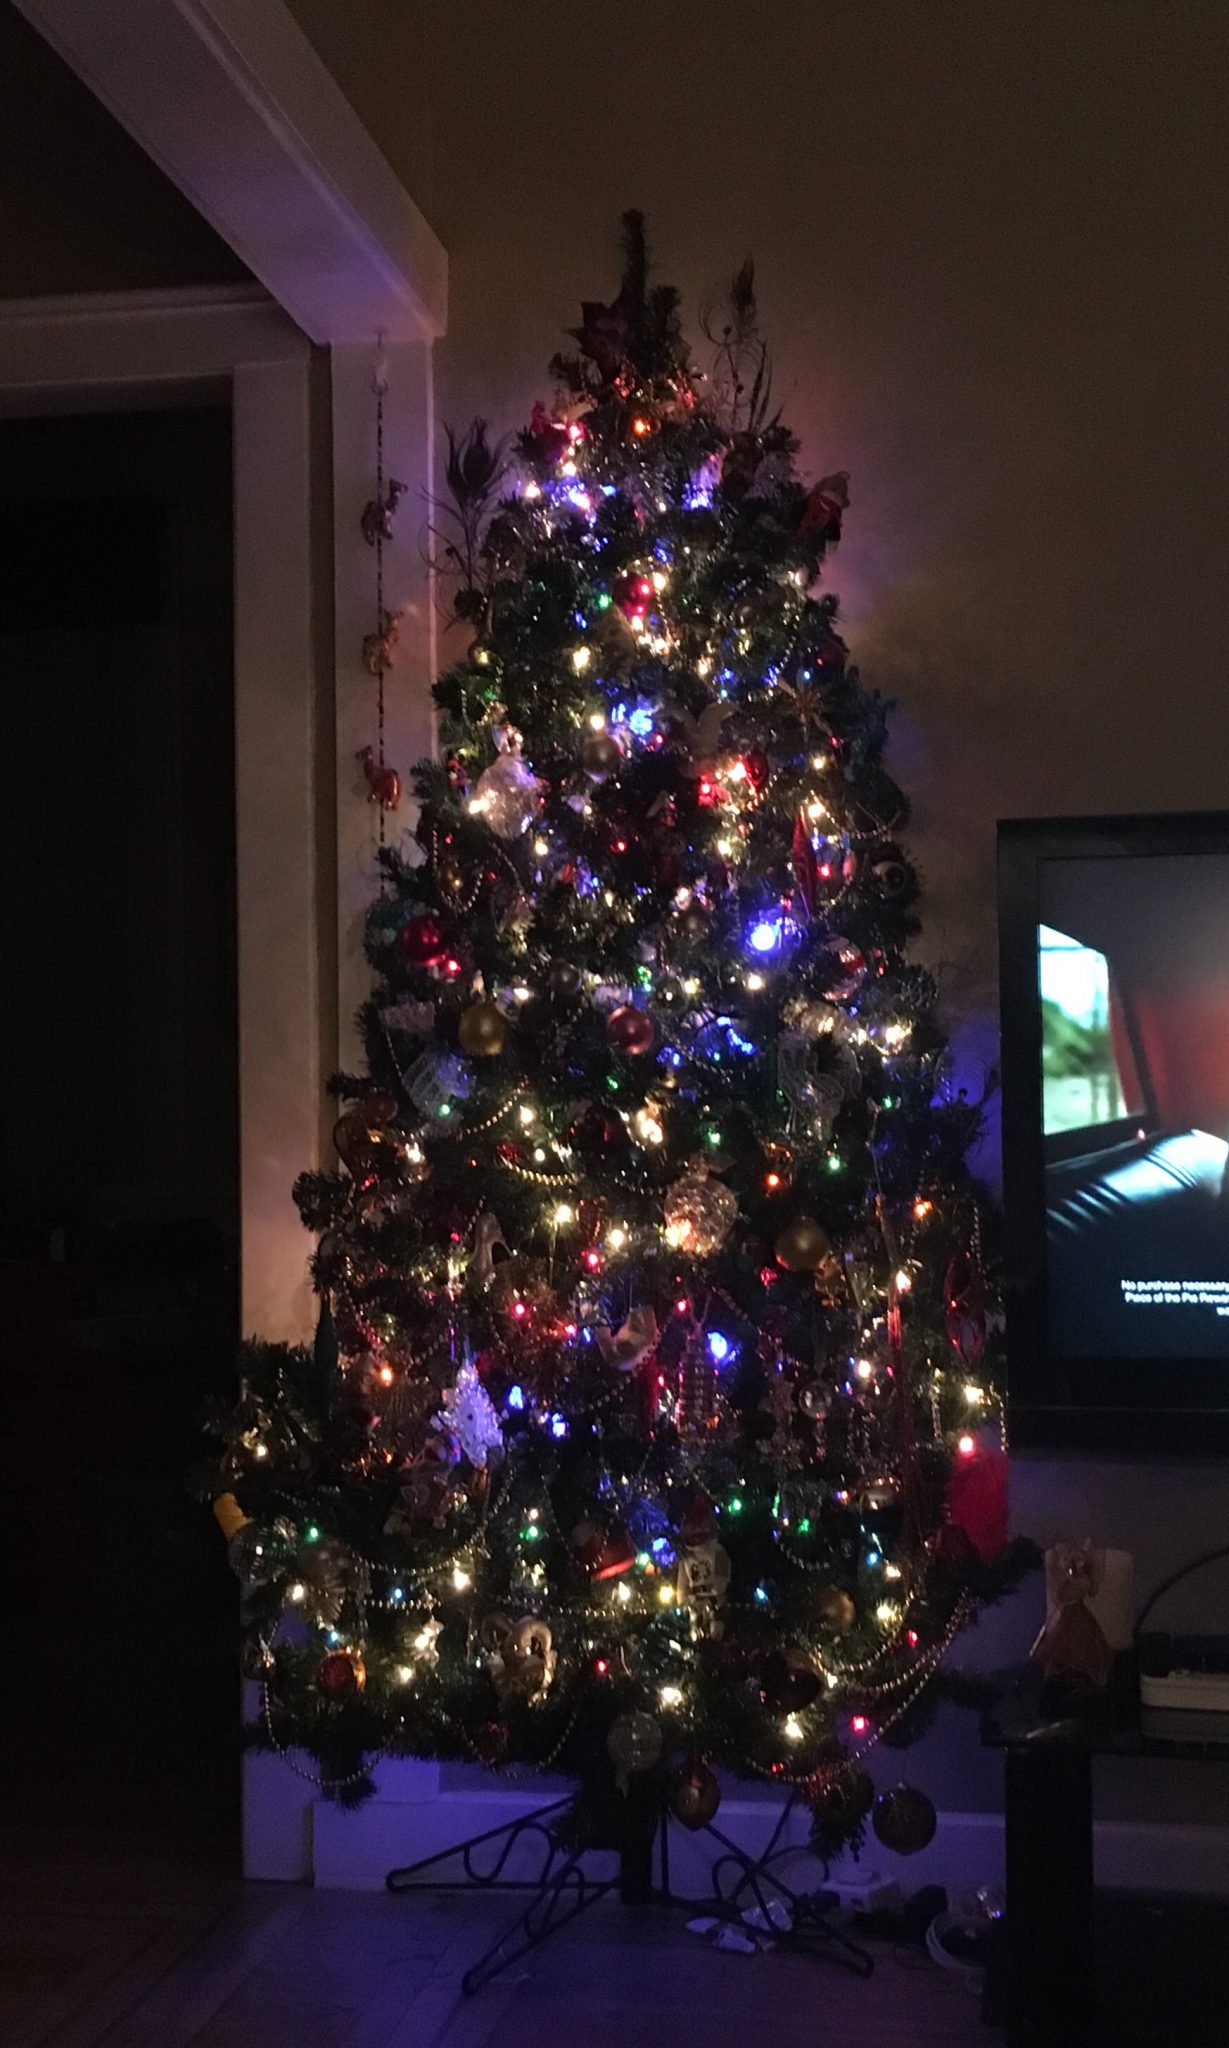
For those of you who didn’t know; I lean towards the more historical, traditional (gasp and clutch the pearls), crafter, homemade and vintage inspired decorations of holidays, so my tree is often a mix of old and new.  its been that way since I first started to put up a tree (or rosemary bush in those really lean years). Even though these days I put up a smaller tree and yes – its a 1/2 tree, meaning its doesn’t have a back so I can put it flush against the wall to save some room; I still keep track of all my old favorite ornaments and rotate them each year. So while I add a few new ones each year (especially owls). It’s the usually the older, bruised or gifted ones that have become some of my favorites. Why? Because they tell my and my friends stories.

I was never one for fancy ornaments and decorations; rather I always found those that could serve to make me pause a moment to remember, to be an archive of sorts and tell the story of shared pasts, of friends, of families; the good times and the bad. Each year in November, (and yes I always put the tree up the weekend after T-day, unless I am on the road), it is a treat to open the boxes (oh, maybe all 12 of them) and unpack them. img_5641Deciding on which ones get to come out that year. It becomes a sort of “Mission Impossible” episode.
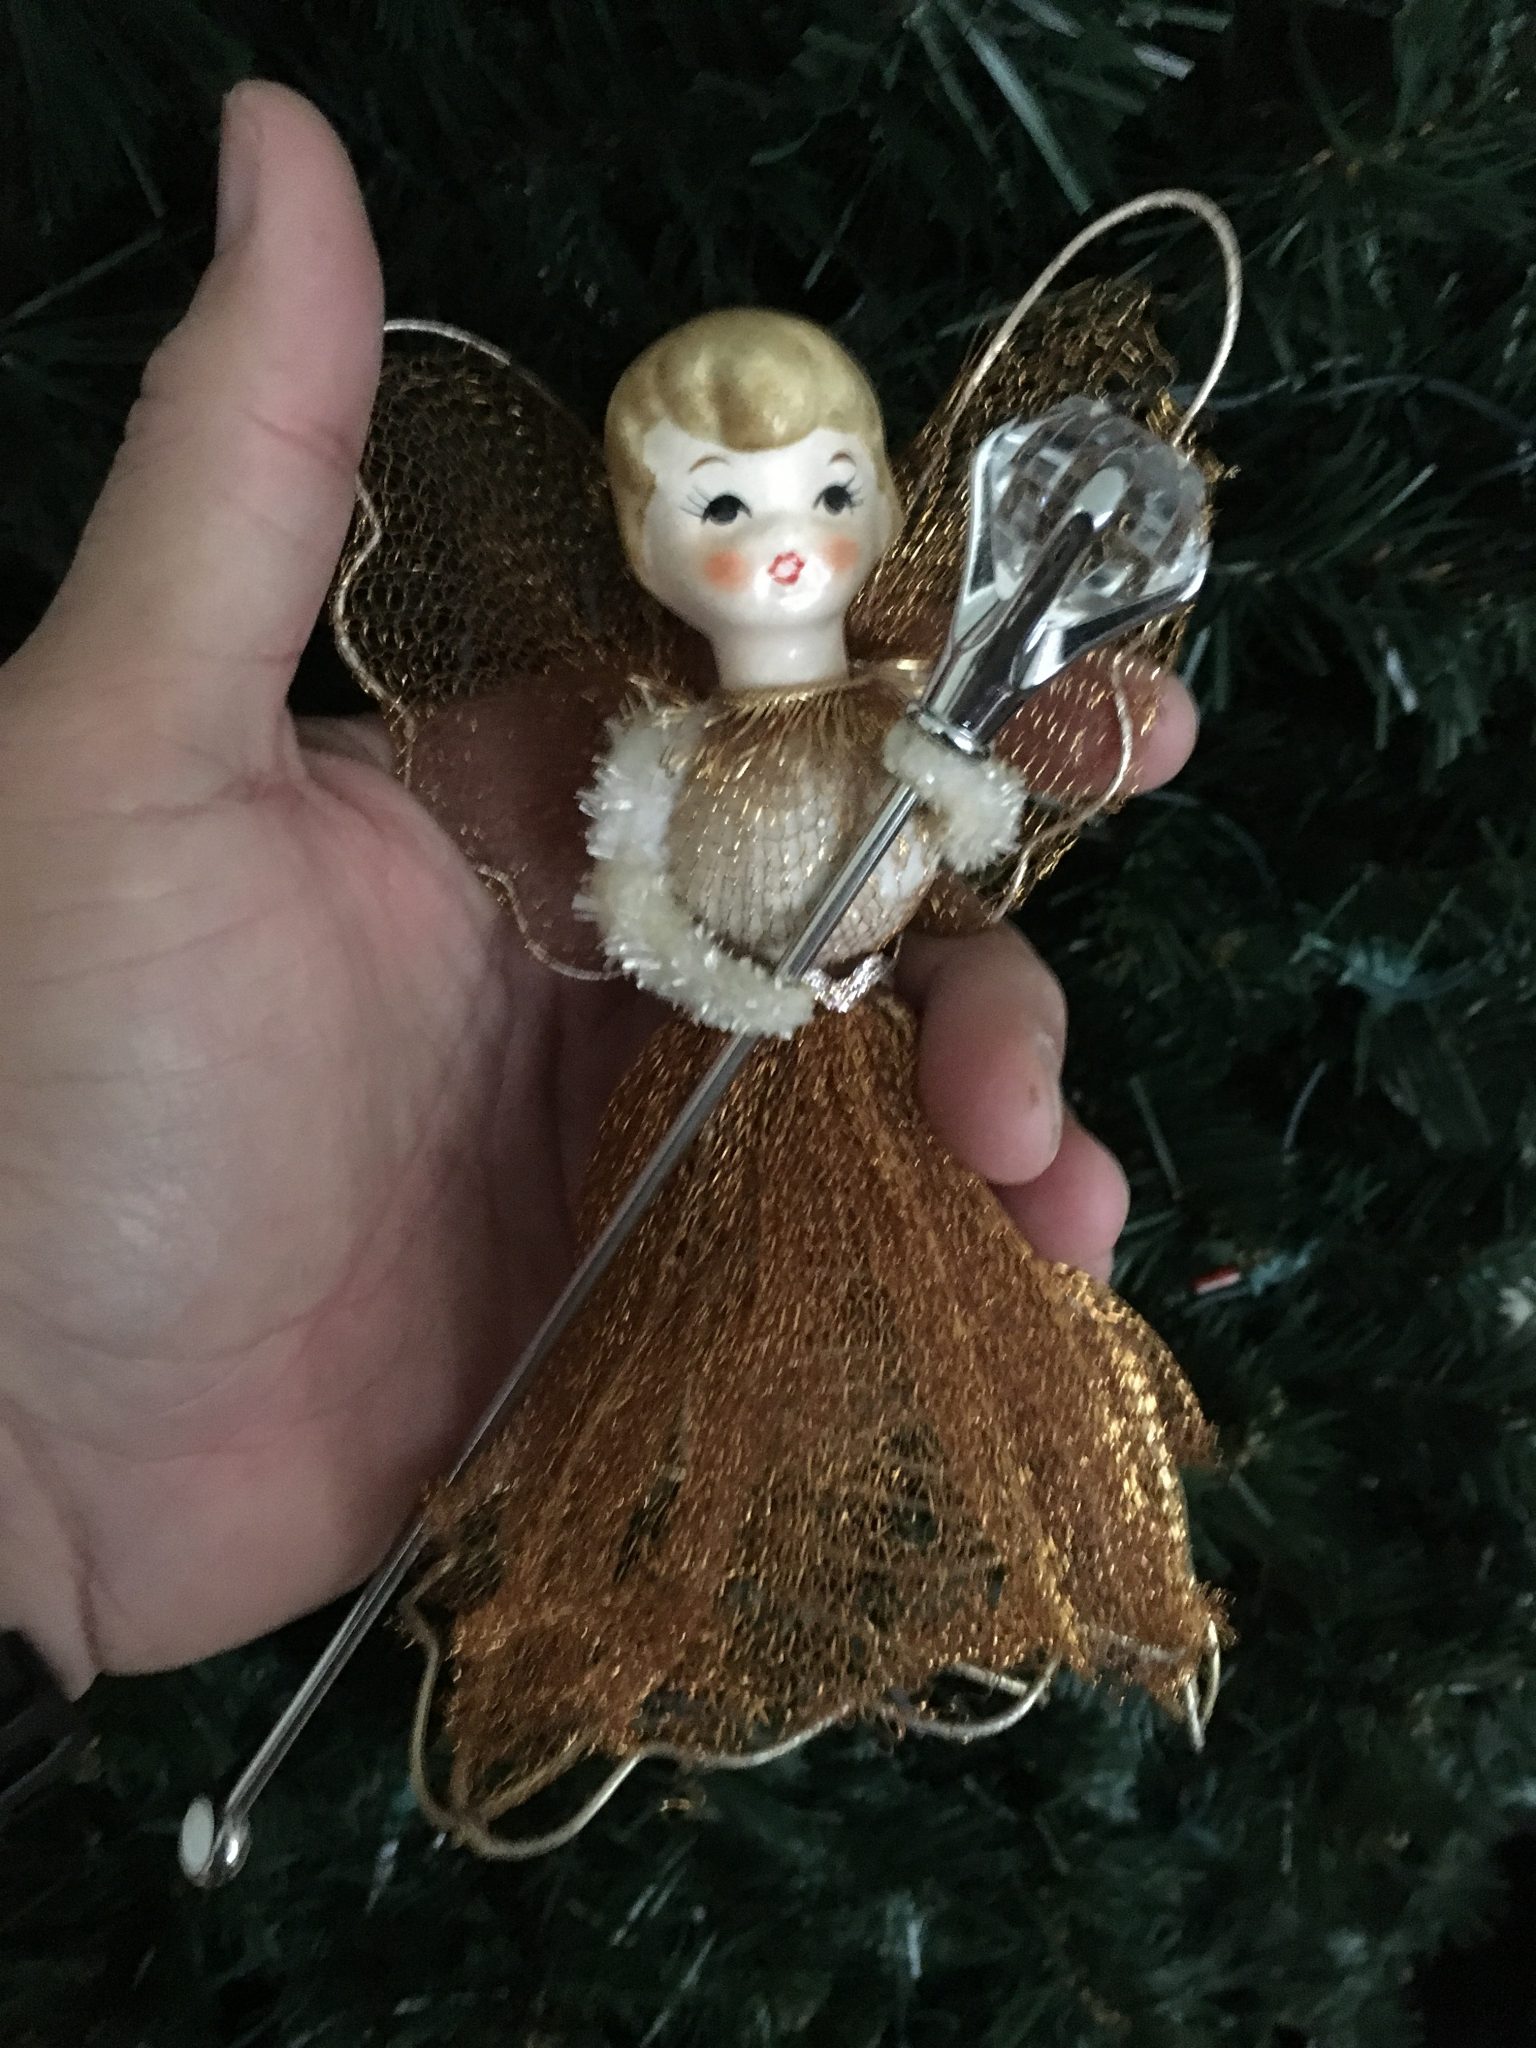
Some of mine; like the angel that has sat at the top of my tree for the last 20 years; and who before that it sat on my family tree since 1965. Yea, her “golden” wire skirt is tattered and torn, but she still gets to be the last thing I put up each year. I even had to make do with a new wand from her a few years back. Thank goodness for cliffs having something just right.. <grin>


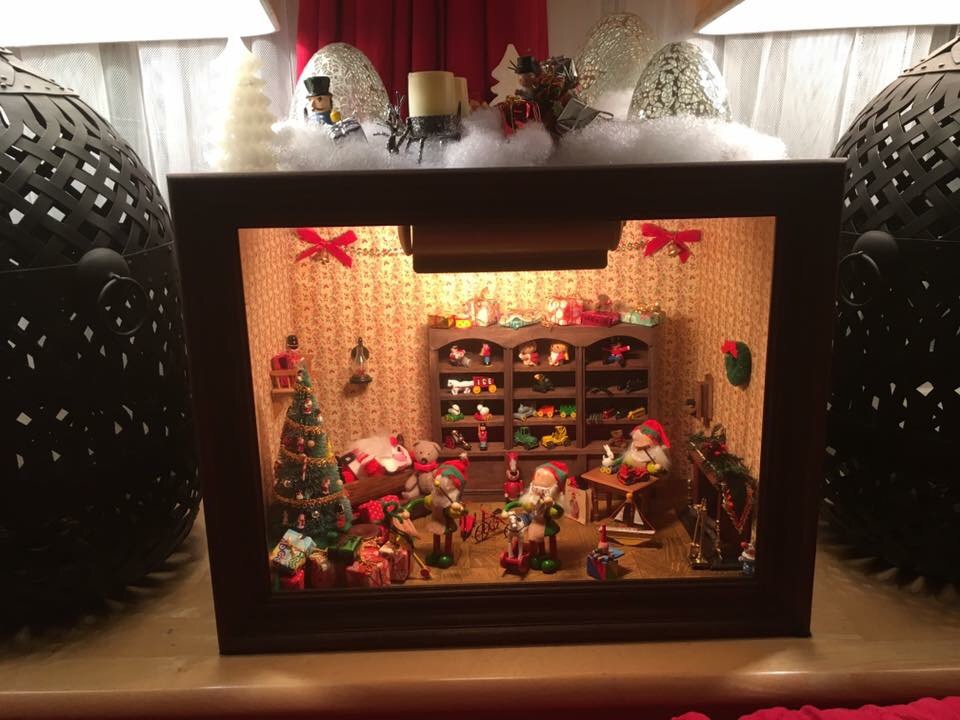
Amore recent addition to the “family”; is the Santa diorama. I found this up in the Russian River several years ago at a church bazaar. When I saw it, I knew I was going to buy it. But the best surprise was when I asked someone working to tell me about it, she asked me did I want to meet the woman who made it. I said yes, and she came over with a lovely knowing grin on her face.  She said she knew right away I was going to want it. She told me how she had made it 40 years ago. Her husband built the box custom for her, and all the pieces she either made or custom ordered them. She even wallpapered it. Back then she said it has cost her almost a $100 to make.  I looked at Paul and he smiled, saying go ahead, you know if you don’t you will regret it. So I asked her how much, and she smiles and says $20 and make sure I gave it a good home.


These faded glass ones from a senior nieghbor many years ago. After she died, the family just left boxes of her ornaments on the street. It was sad to see them be tossed aside. Too much trouble to even gift or donate. But I love the dulled luster they offer tucked in the tree, like small candies.
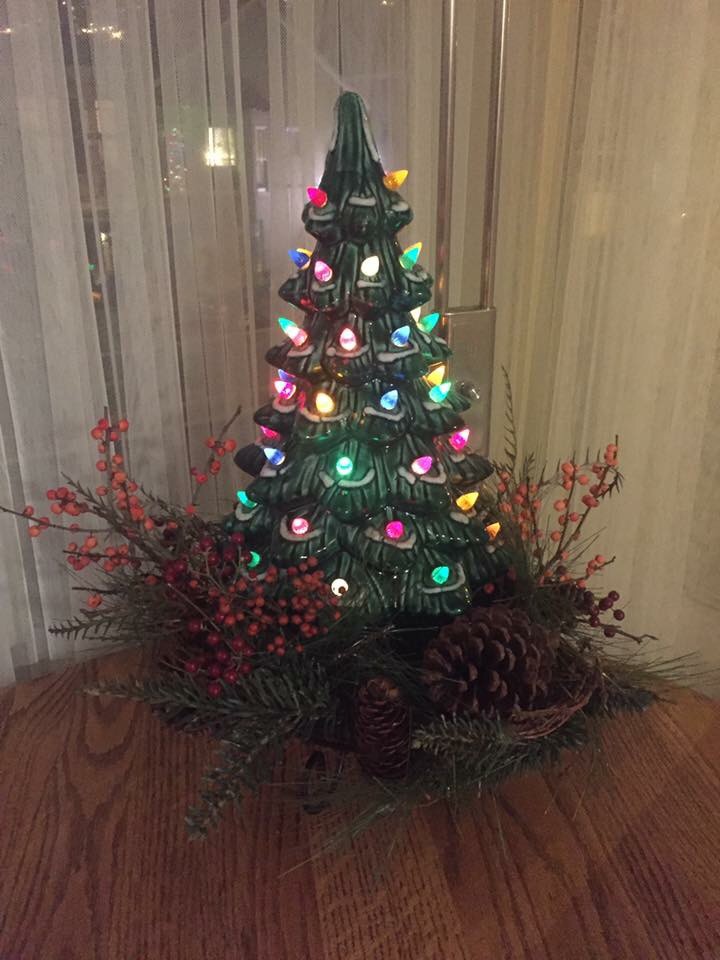
A new one from my mother was delivered this summer. These ceramic trees used super popular back in the 70’s, in fact many of them were made during ceramic classes by crafters. Recently they have been put back in production, but I knew we had two and asked for one of ours. This particular one sits on a bourbon bottle base and wasn’t handmade by mother – my sister has that one.

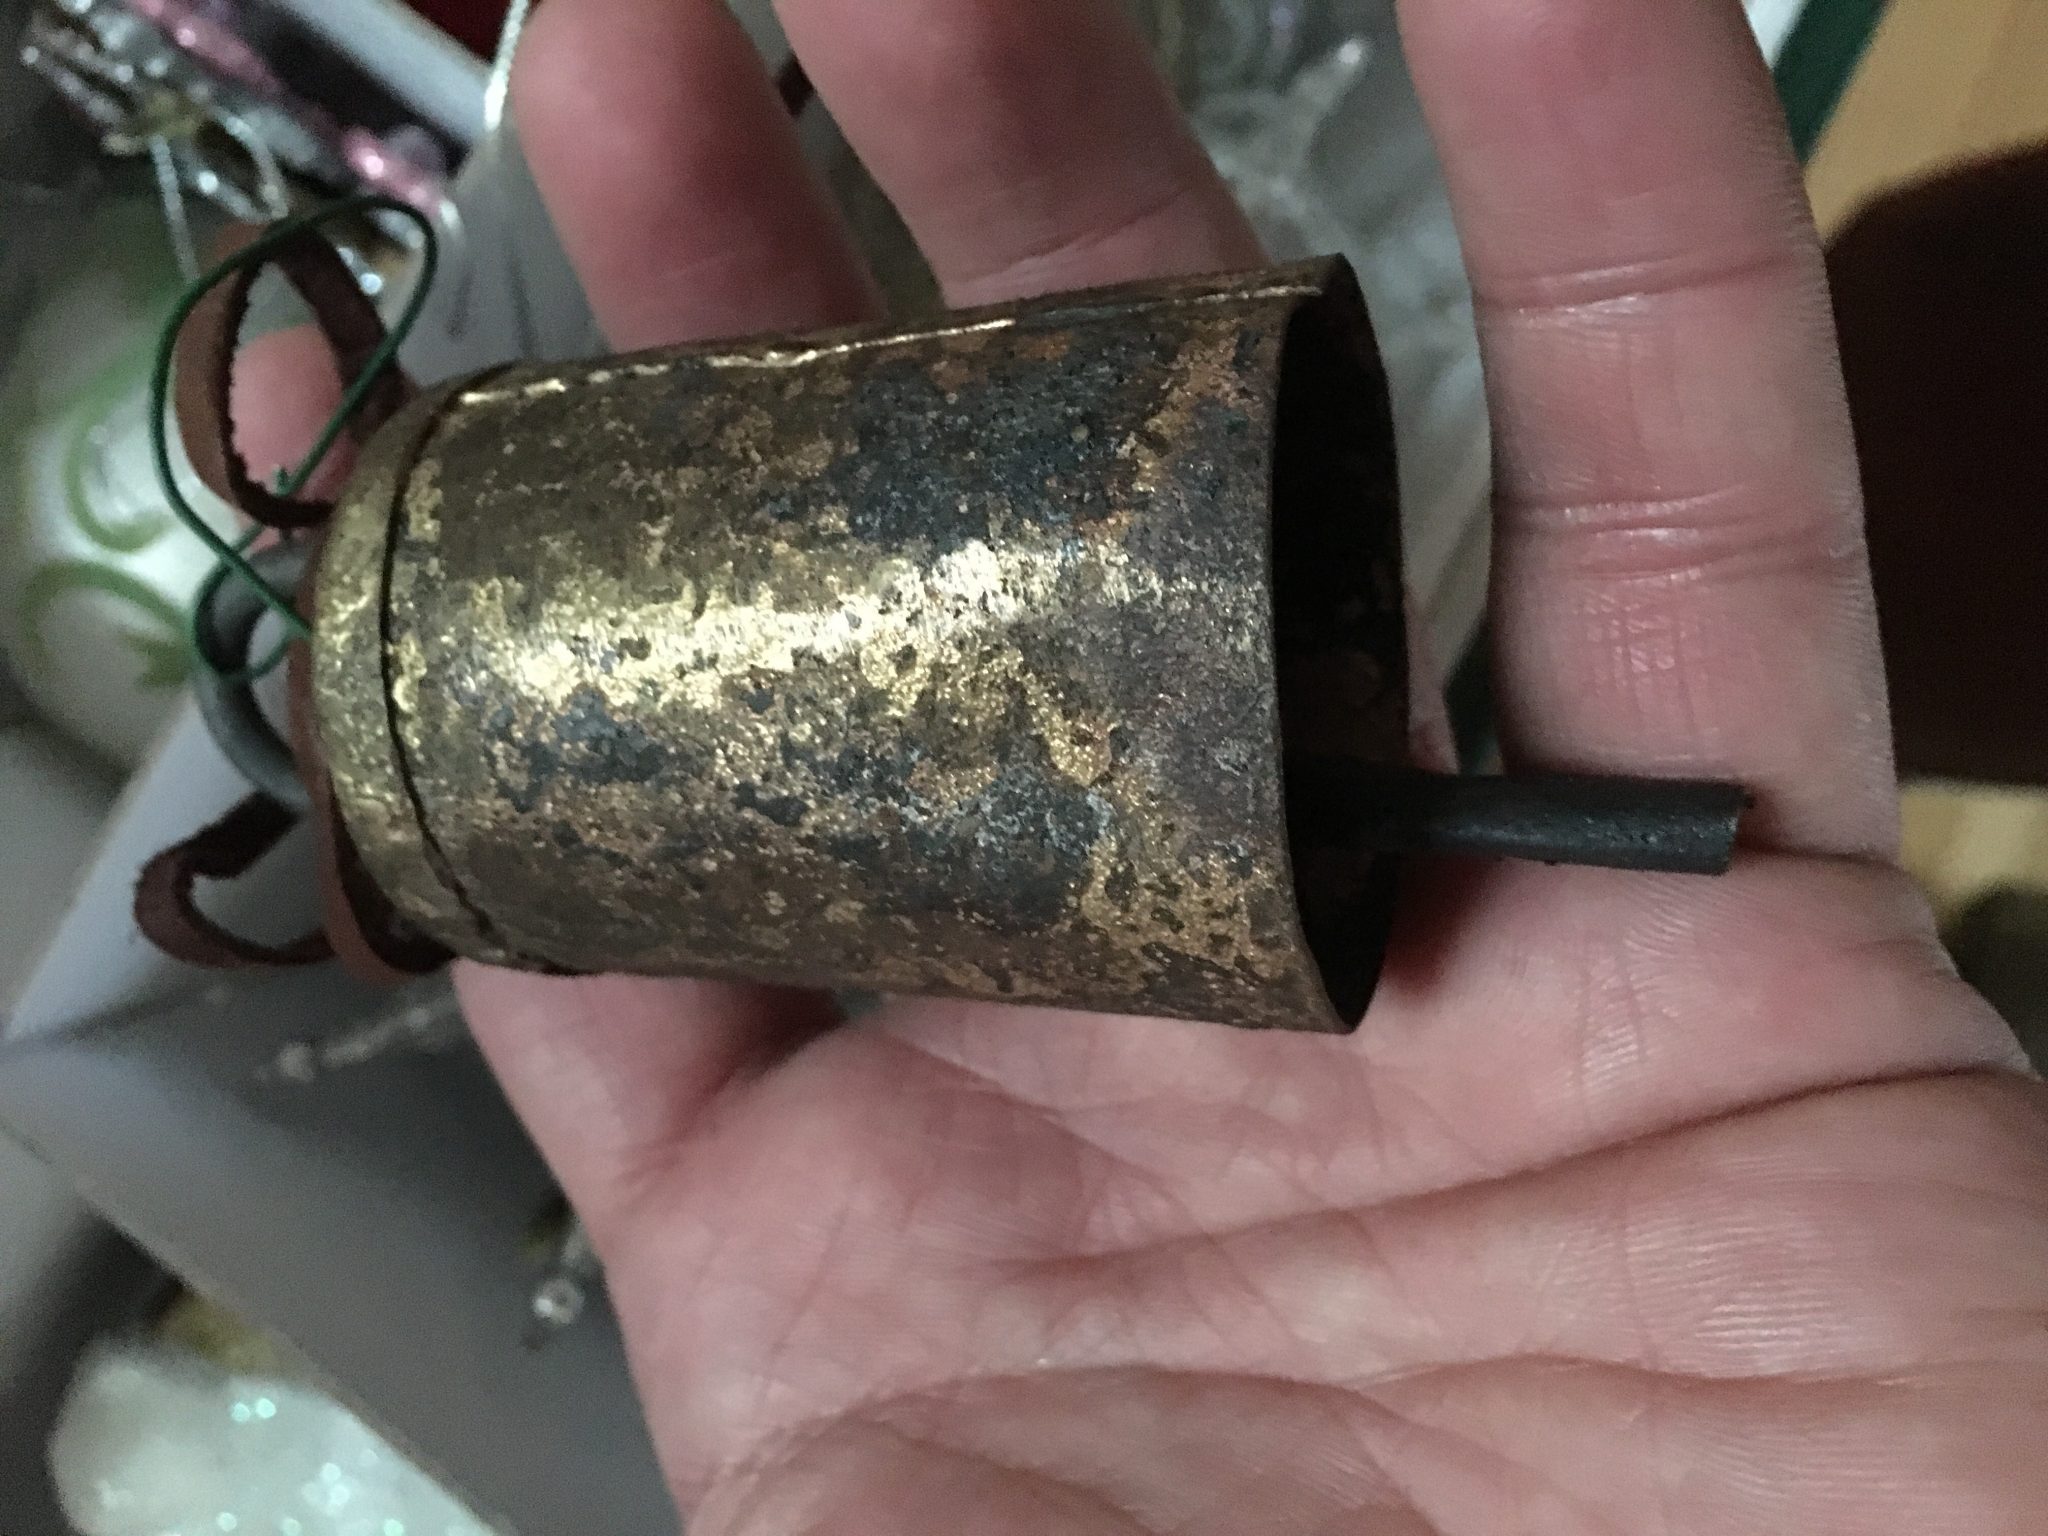
Some of my other  favorites have come as “thank you’s”;  acquired over the last 20 years after the annual open house, when I get ornaments from friends who attend and realize my quirky little tree is a home for those odd, old or sentimental ornament they had as a kid or the one from Mom’s house that they no longer can use because they don’t put a tree up or it doesn’t match the “theme” tree.  Even the notes telling the story of each,  are saved.  Like this rusted bell, even to me as a way of saying goodbye to someone.

They each have a story to tell and find a home here. Maybe that’s why I always resonated with the seasonal story of the  “Rudolph and The Island of Misfit Toys”.

They all have a home on mine and are become “real”. I guess my tree becomes the playroom from the Velveteen Rabbit; only instead of a playroom it is a tree, where they become real again by being displayed and loved on my “story tree”.

Bringing Back Date Night

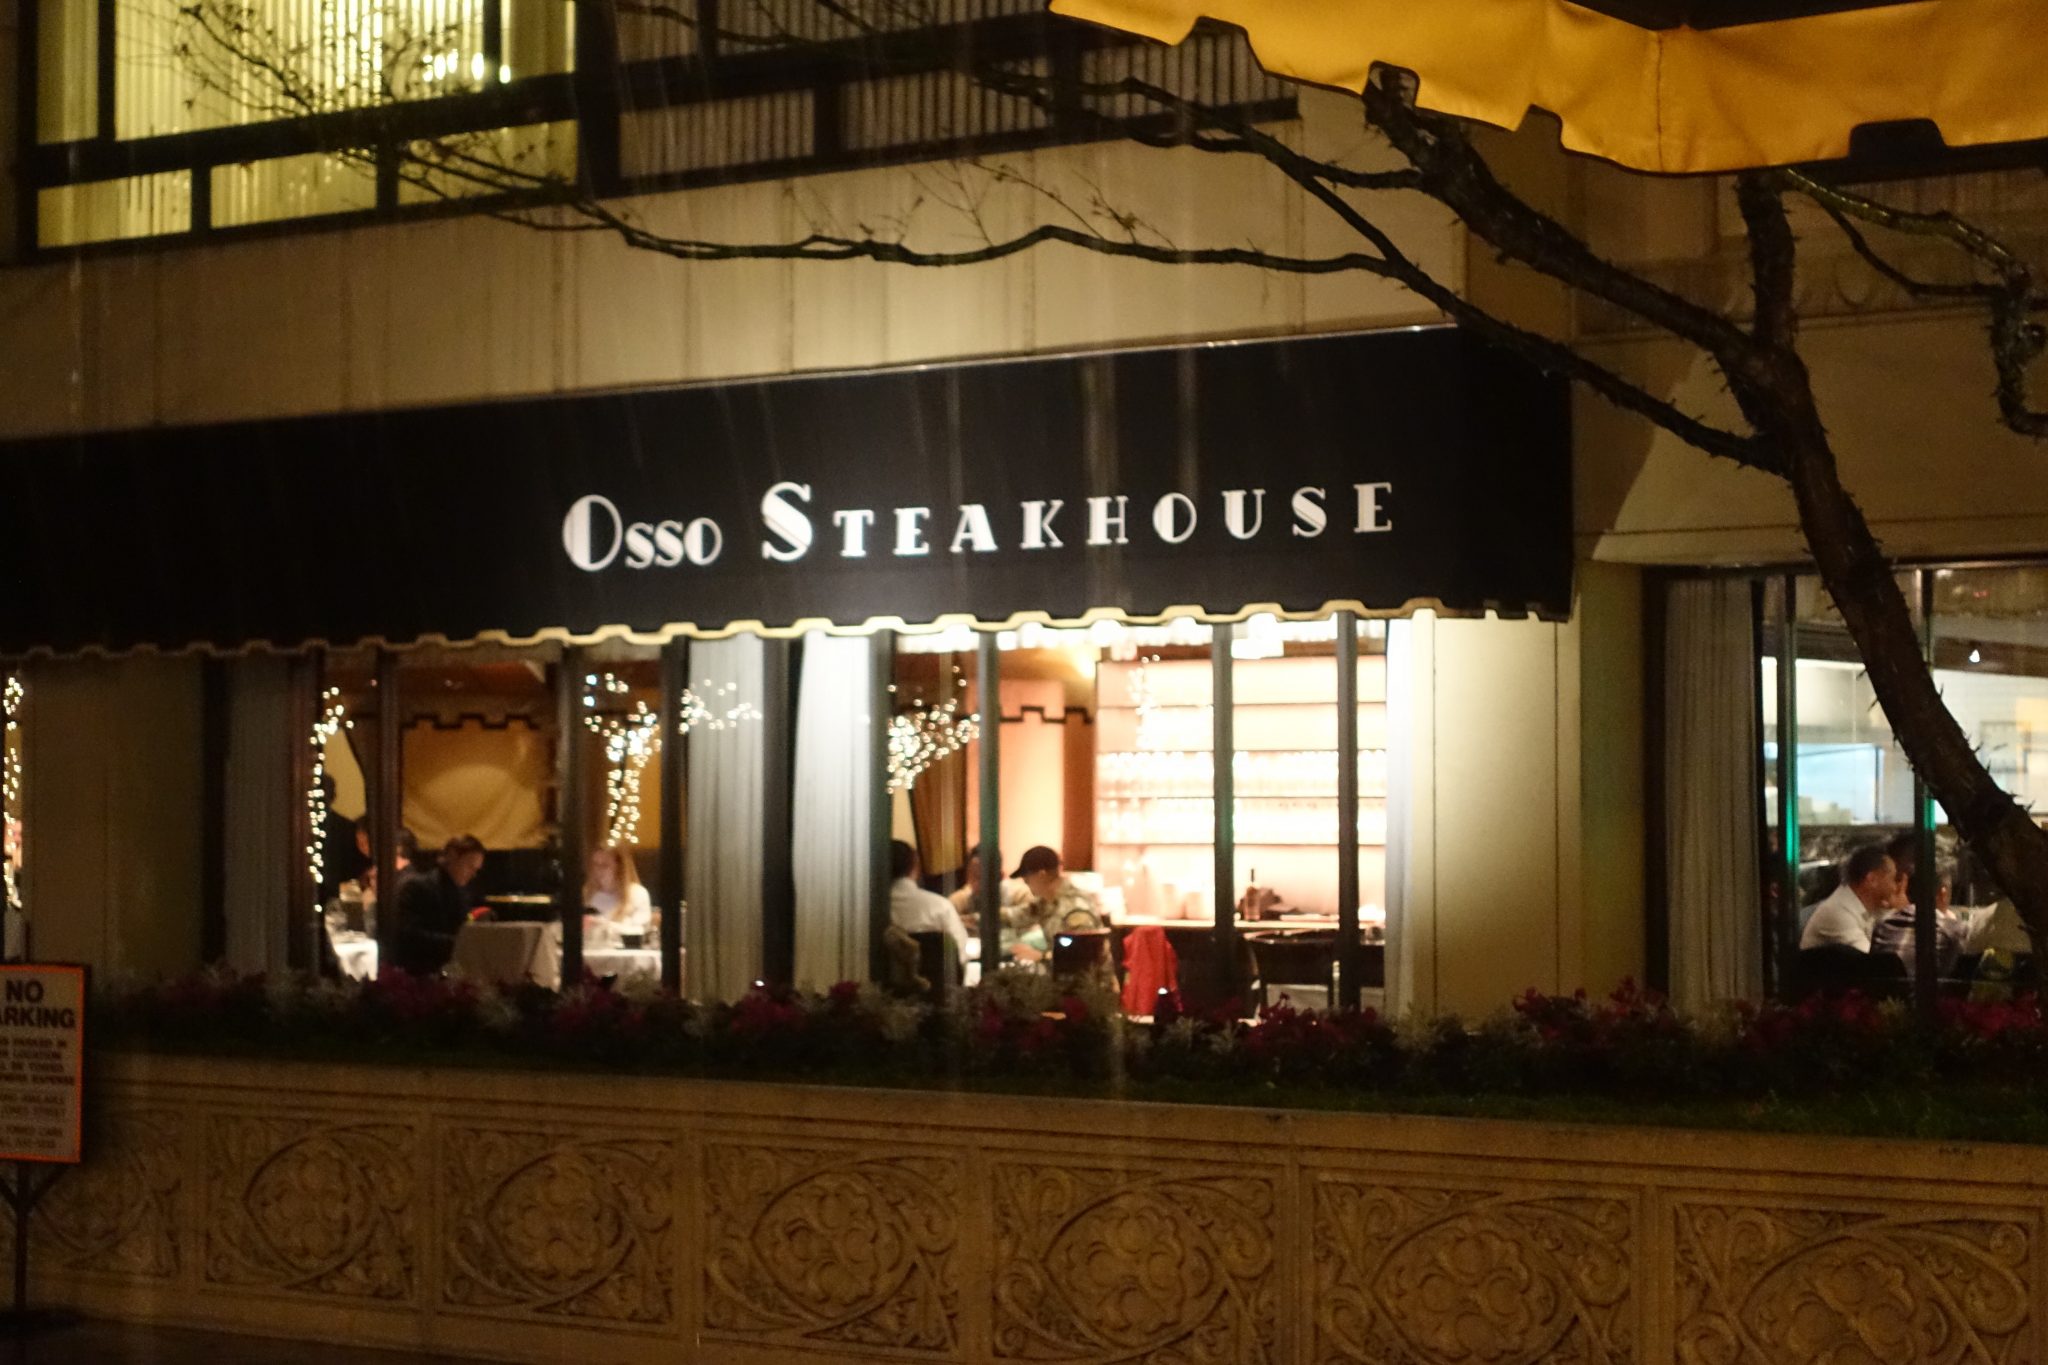
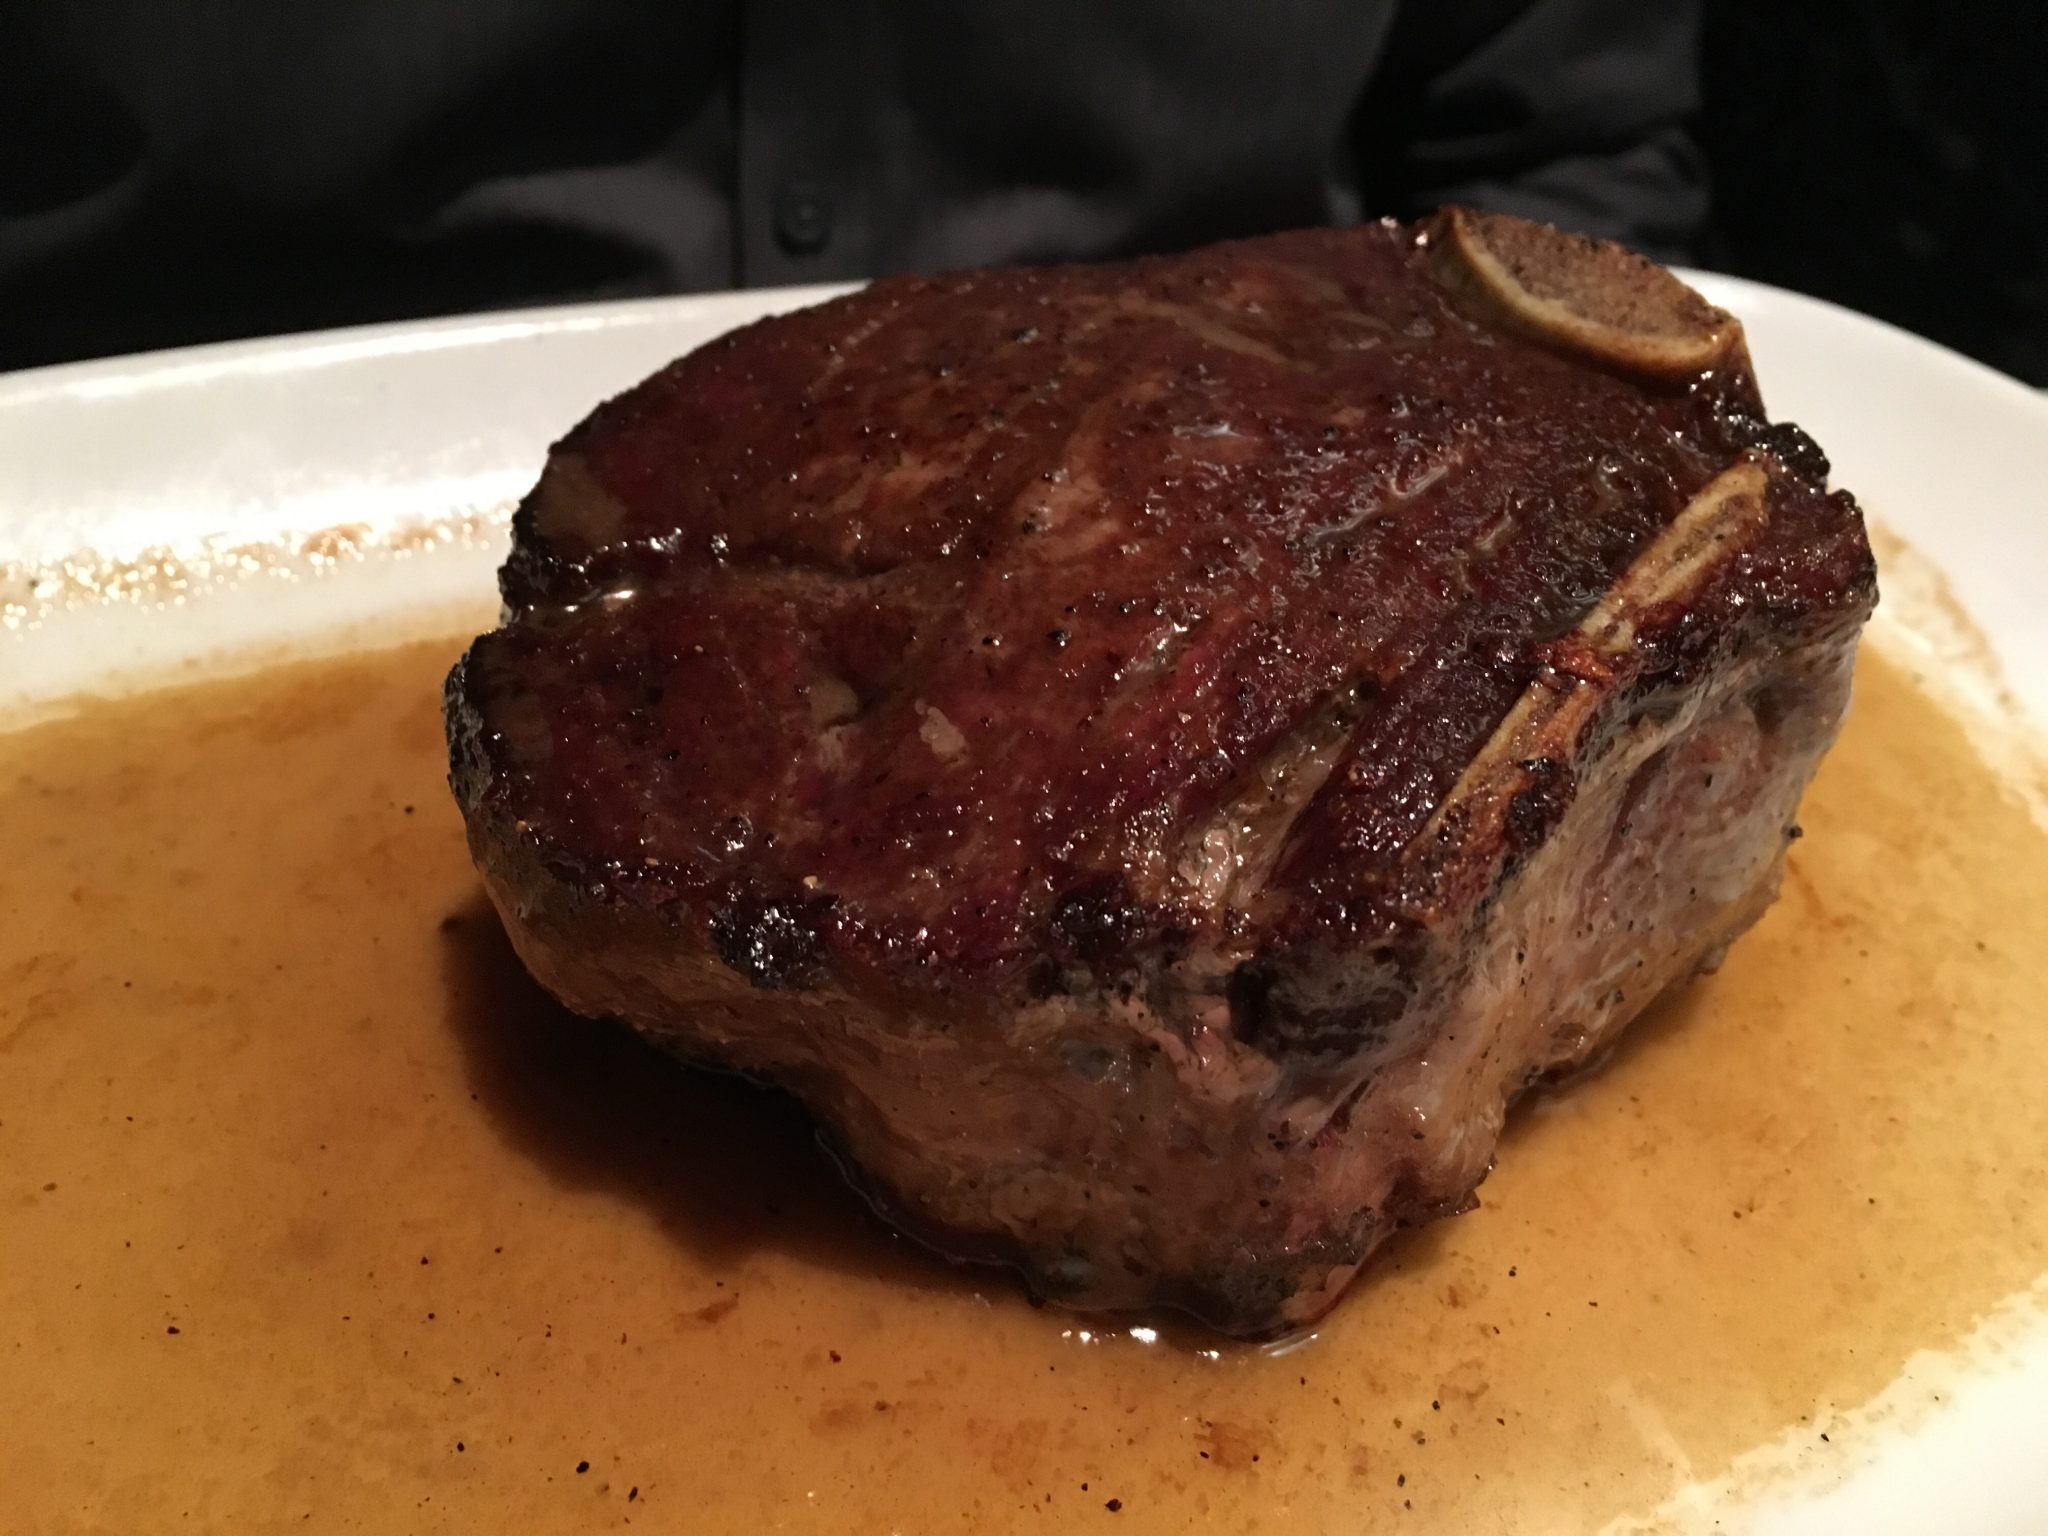
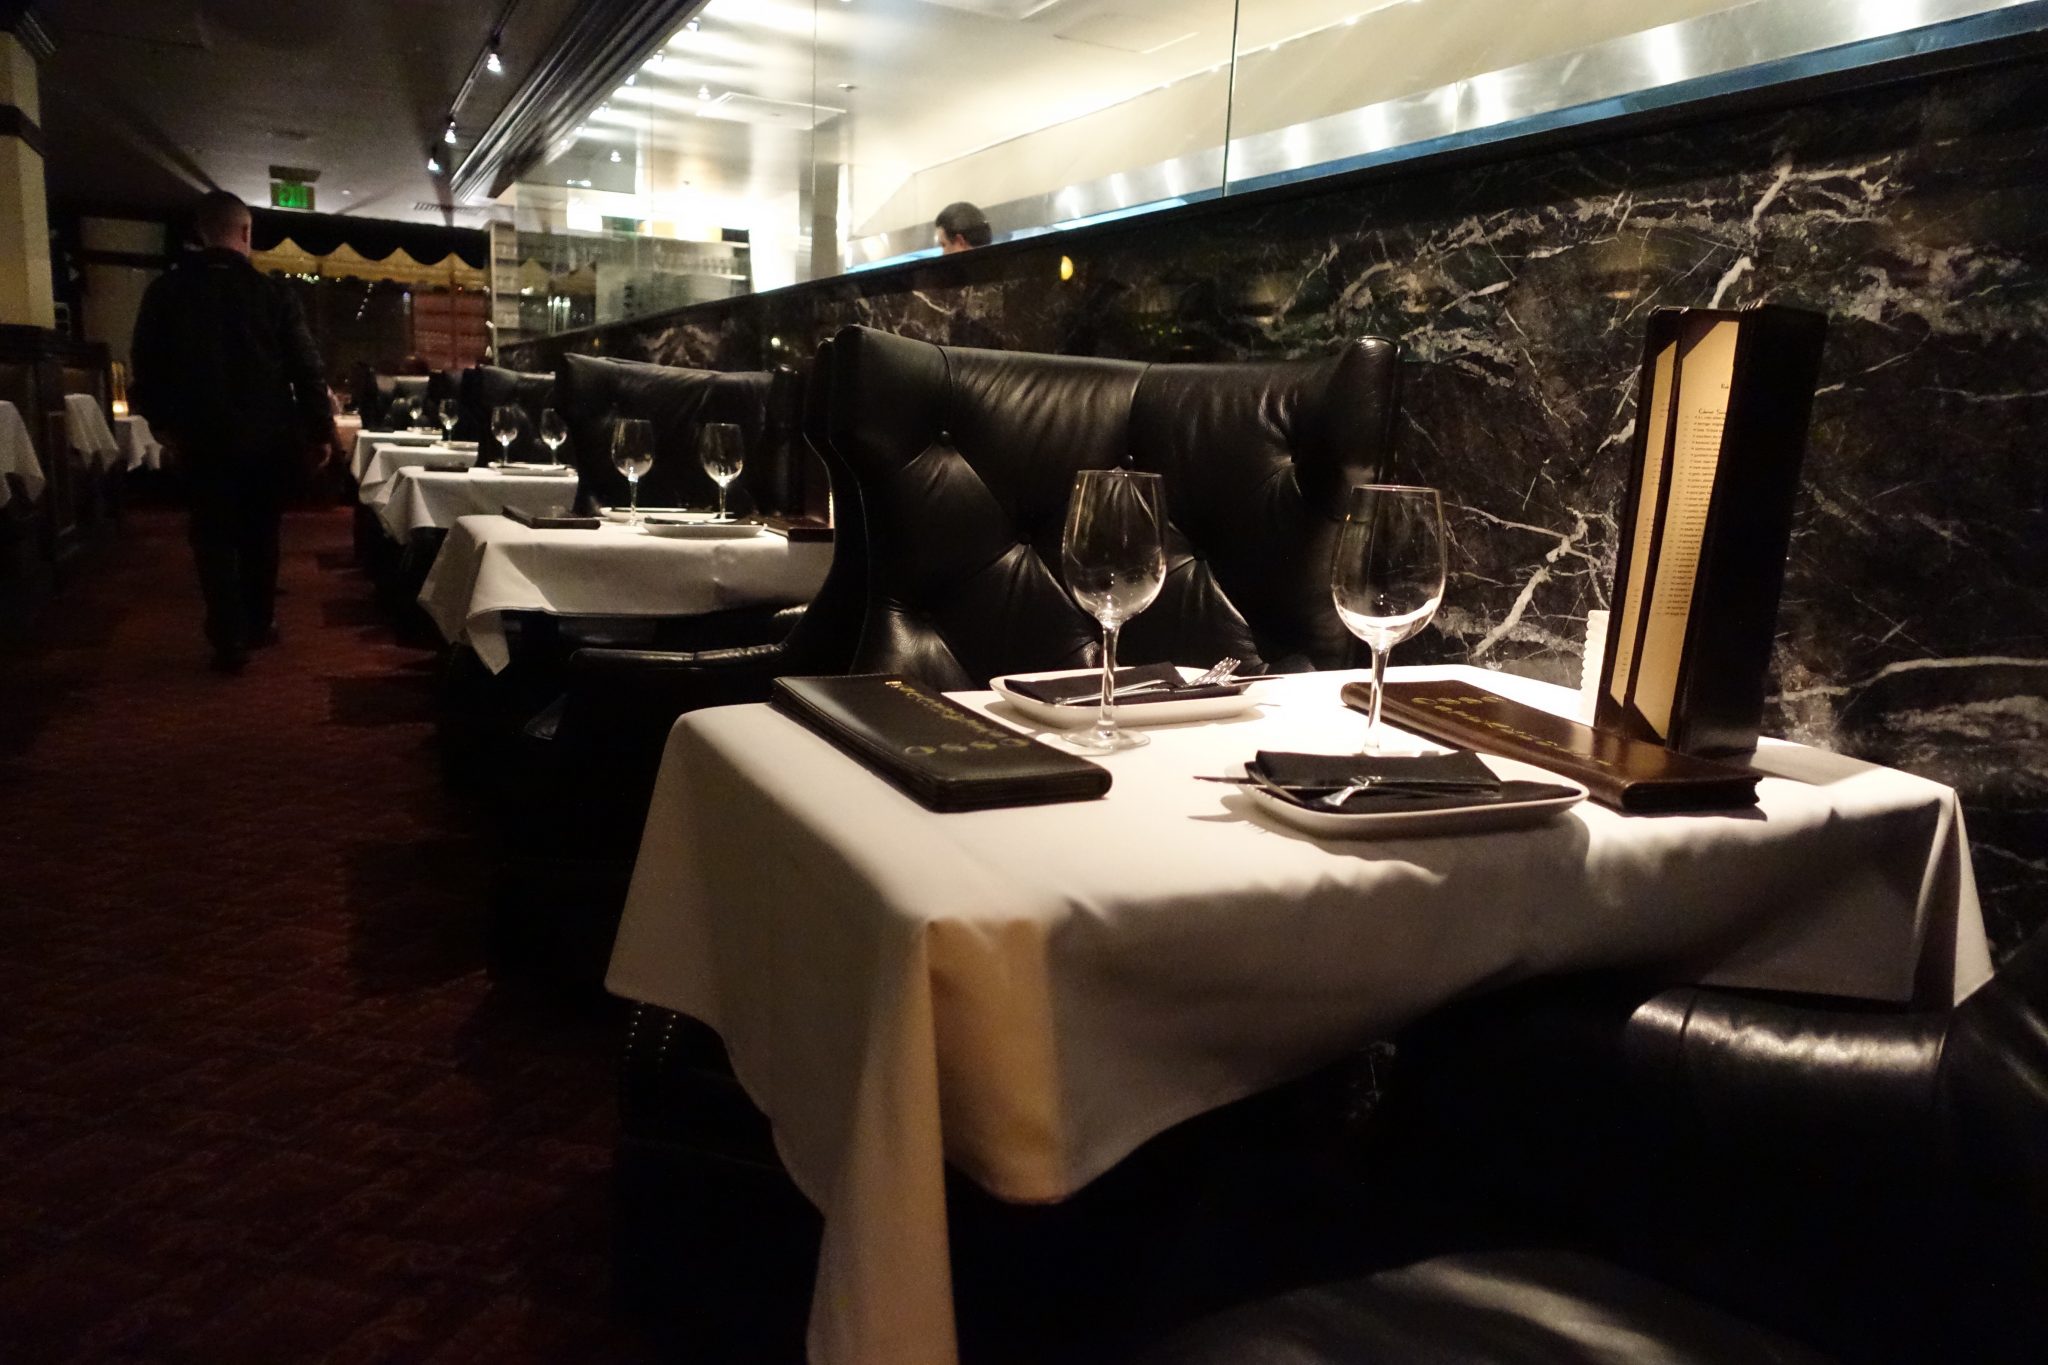
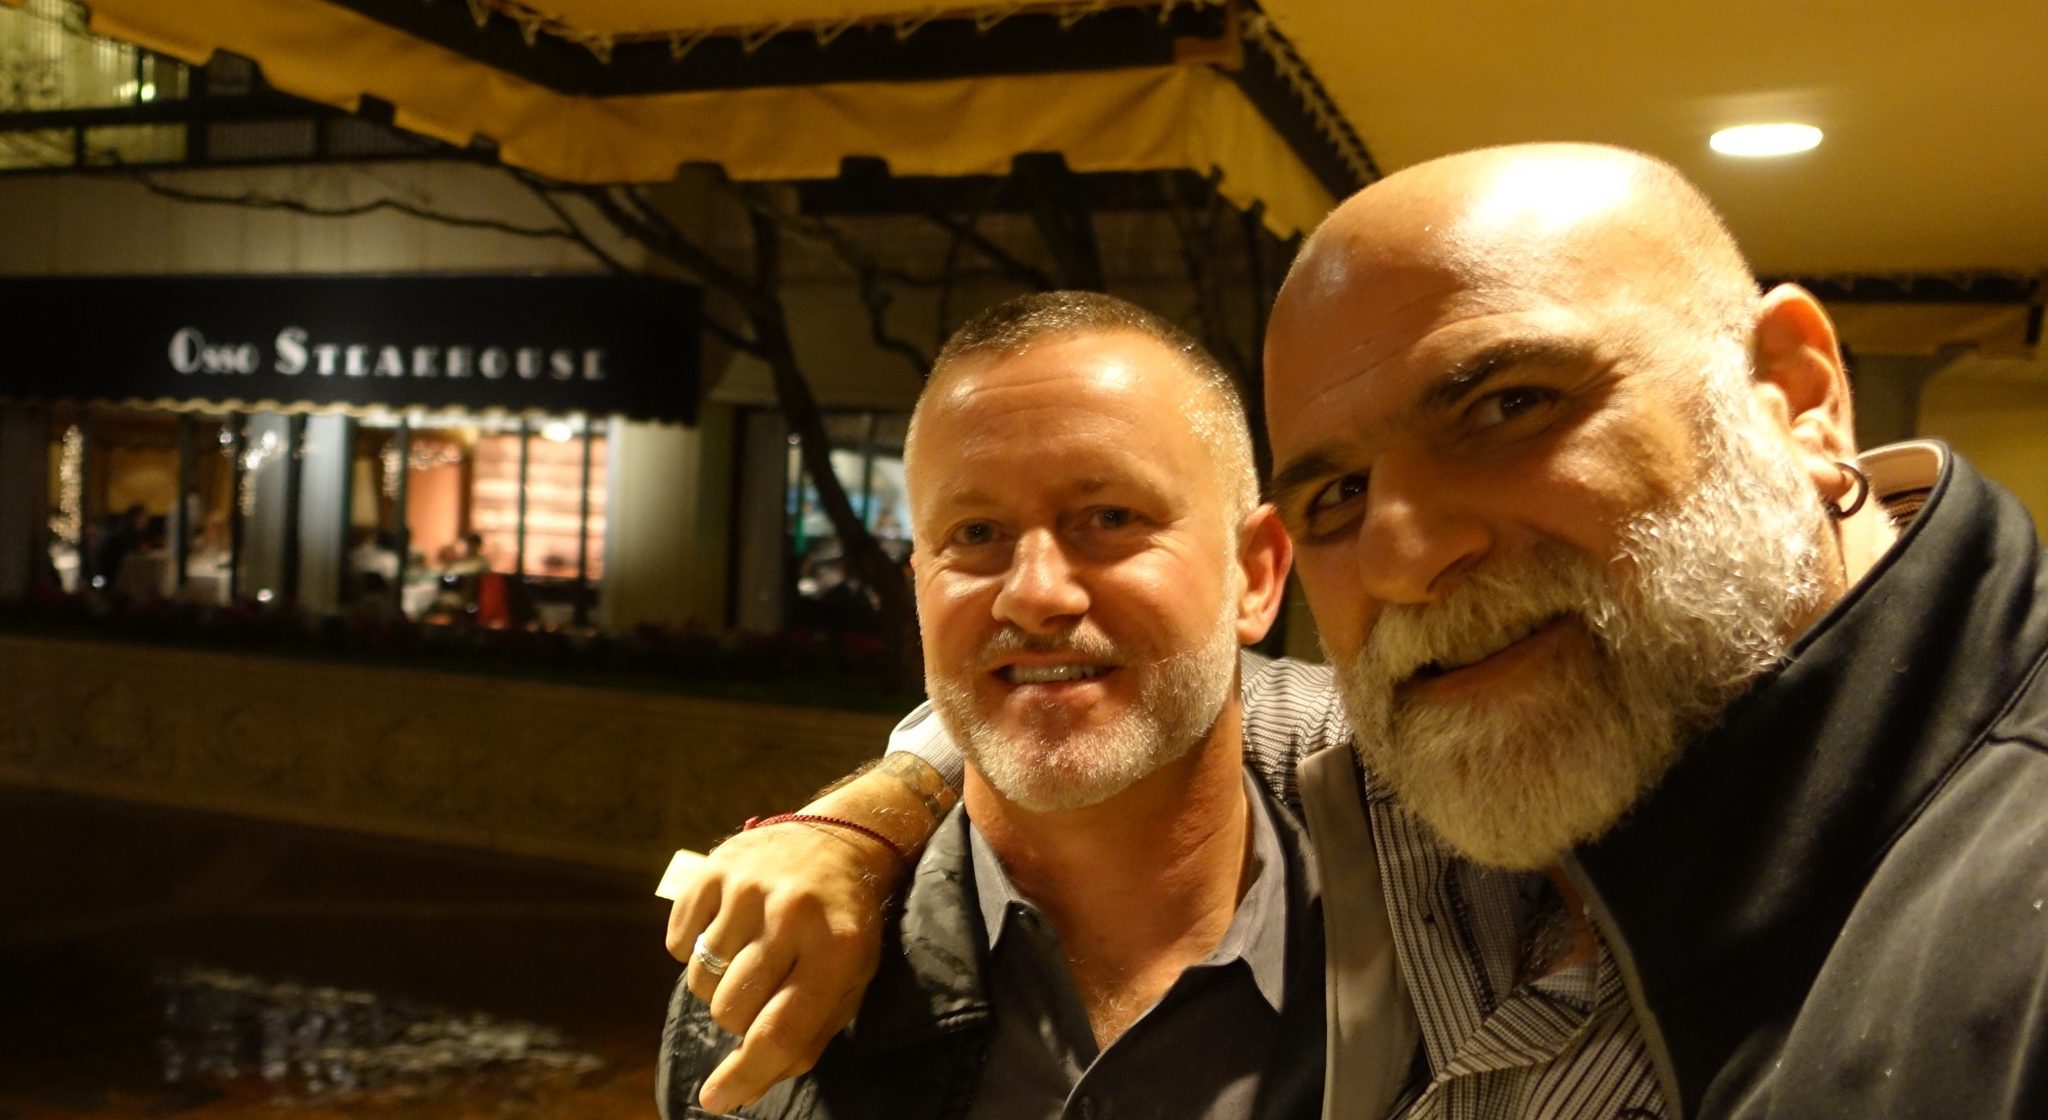
‪Perfect rainy night meal @OssoSteakhouse last night. 

As expected it was all about the meat. Several cuts offered, but the bone in filet mignon is what takes it home. It’s monster huge portion size. 

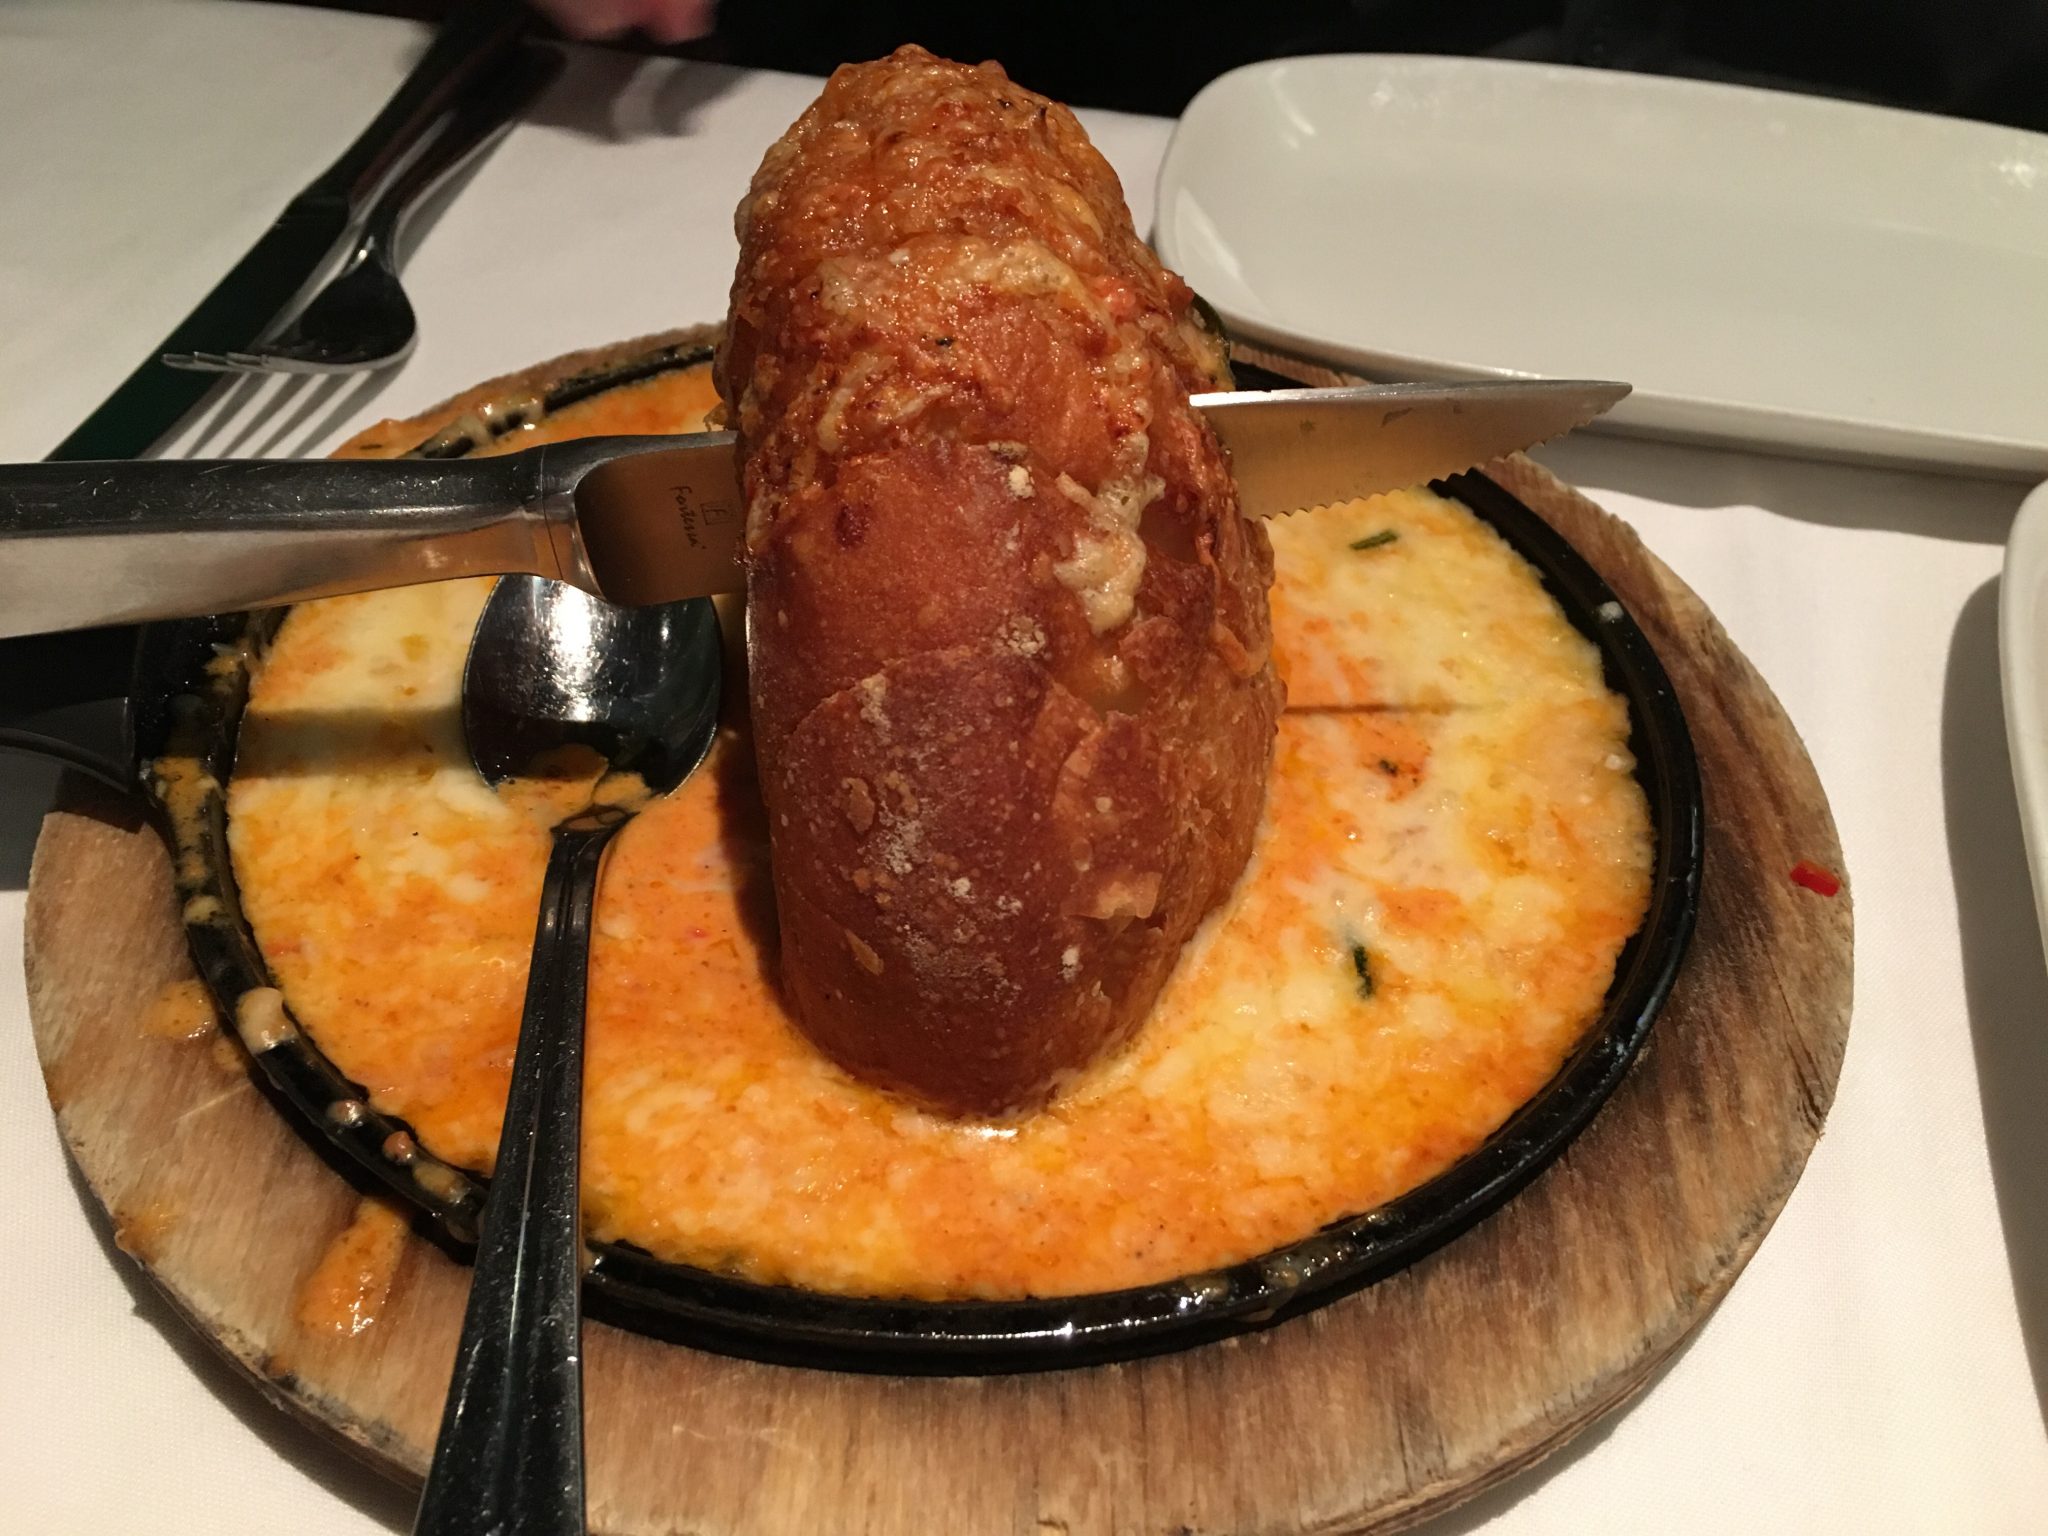
They offer several app and sides to choose from. But that cheese bread captured my heart! Hot, gooey with just some spice from the chirizo- almost worth ordering two. 


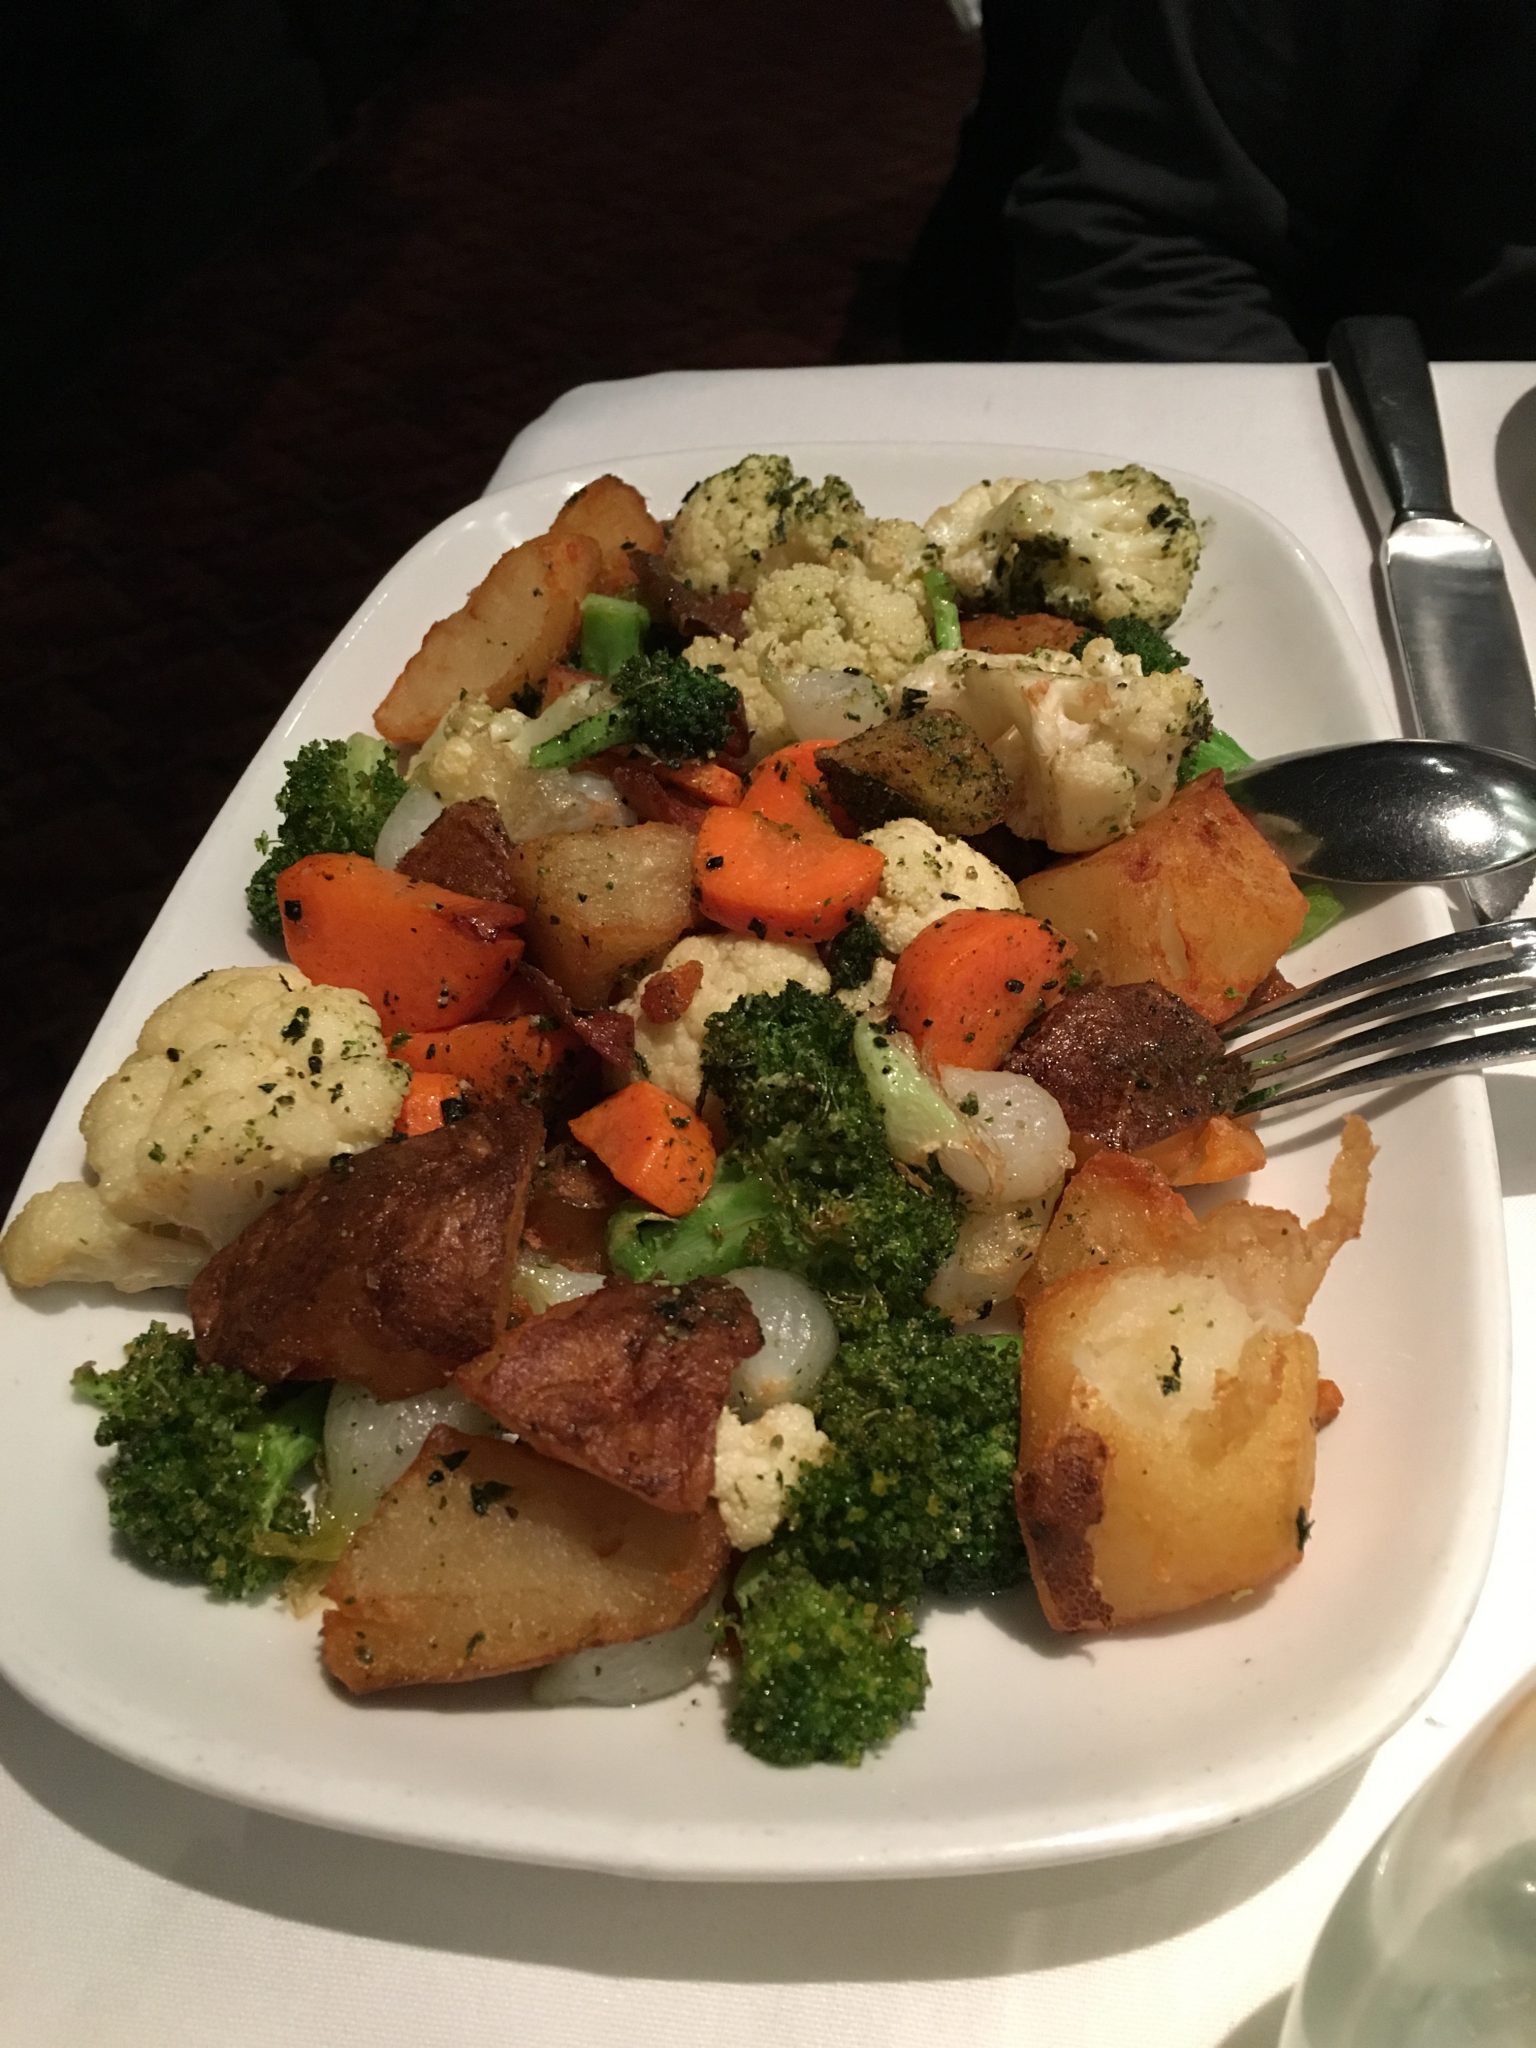
So to balance that we went with the crispy potatoes & veggies which were spot on‬. Simple, clean taste with a balance of herbs and butter.  


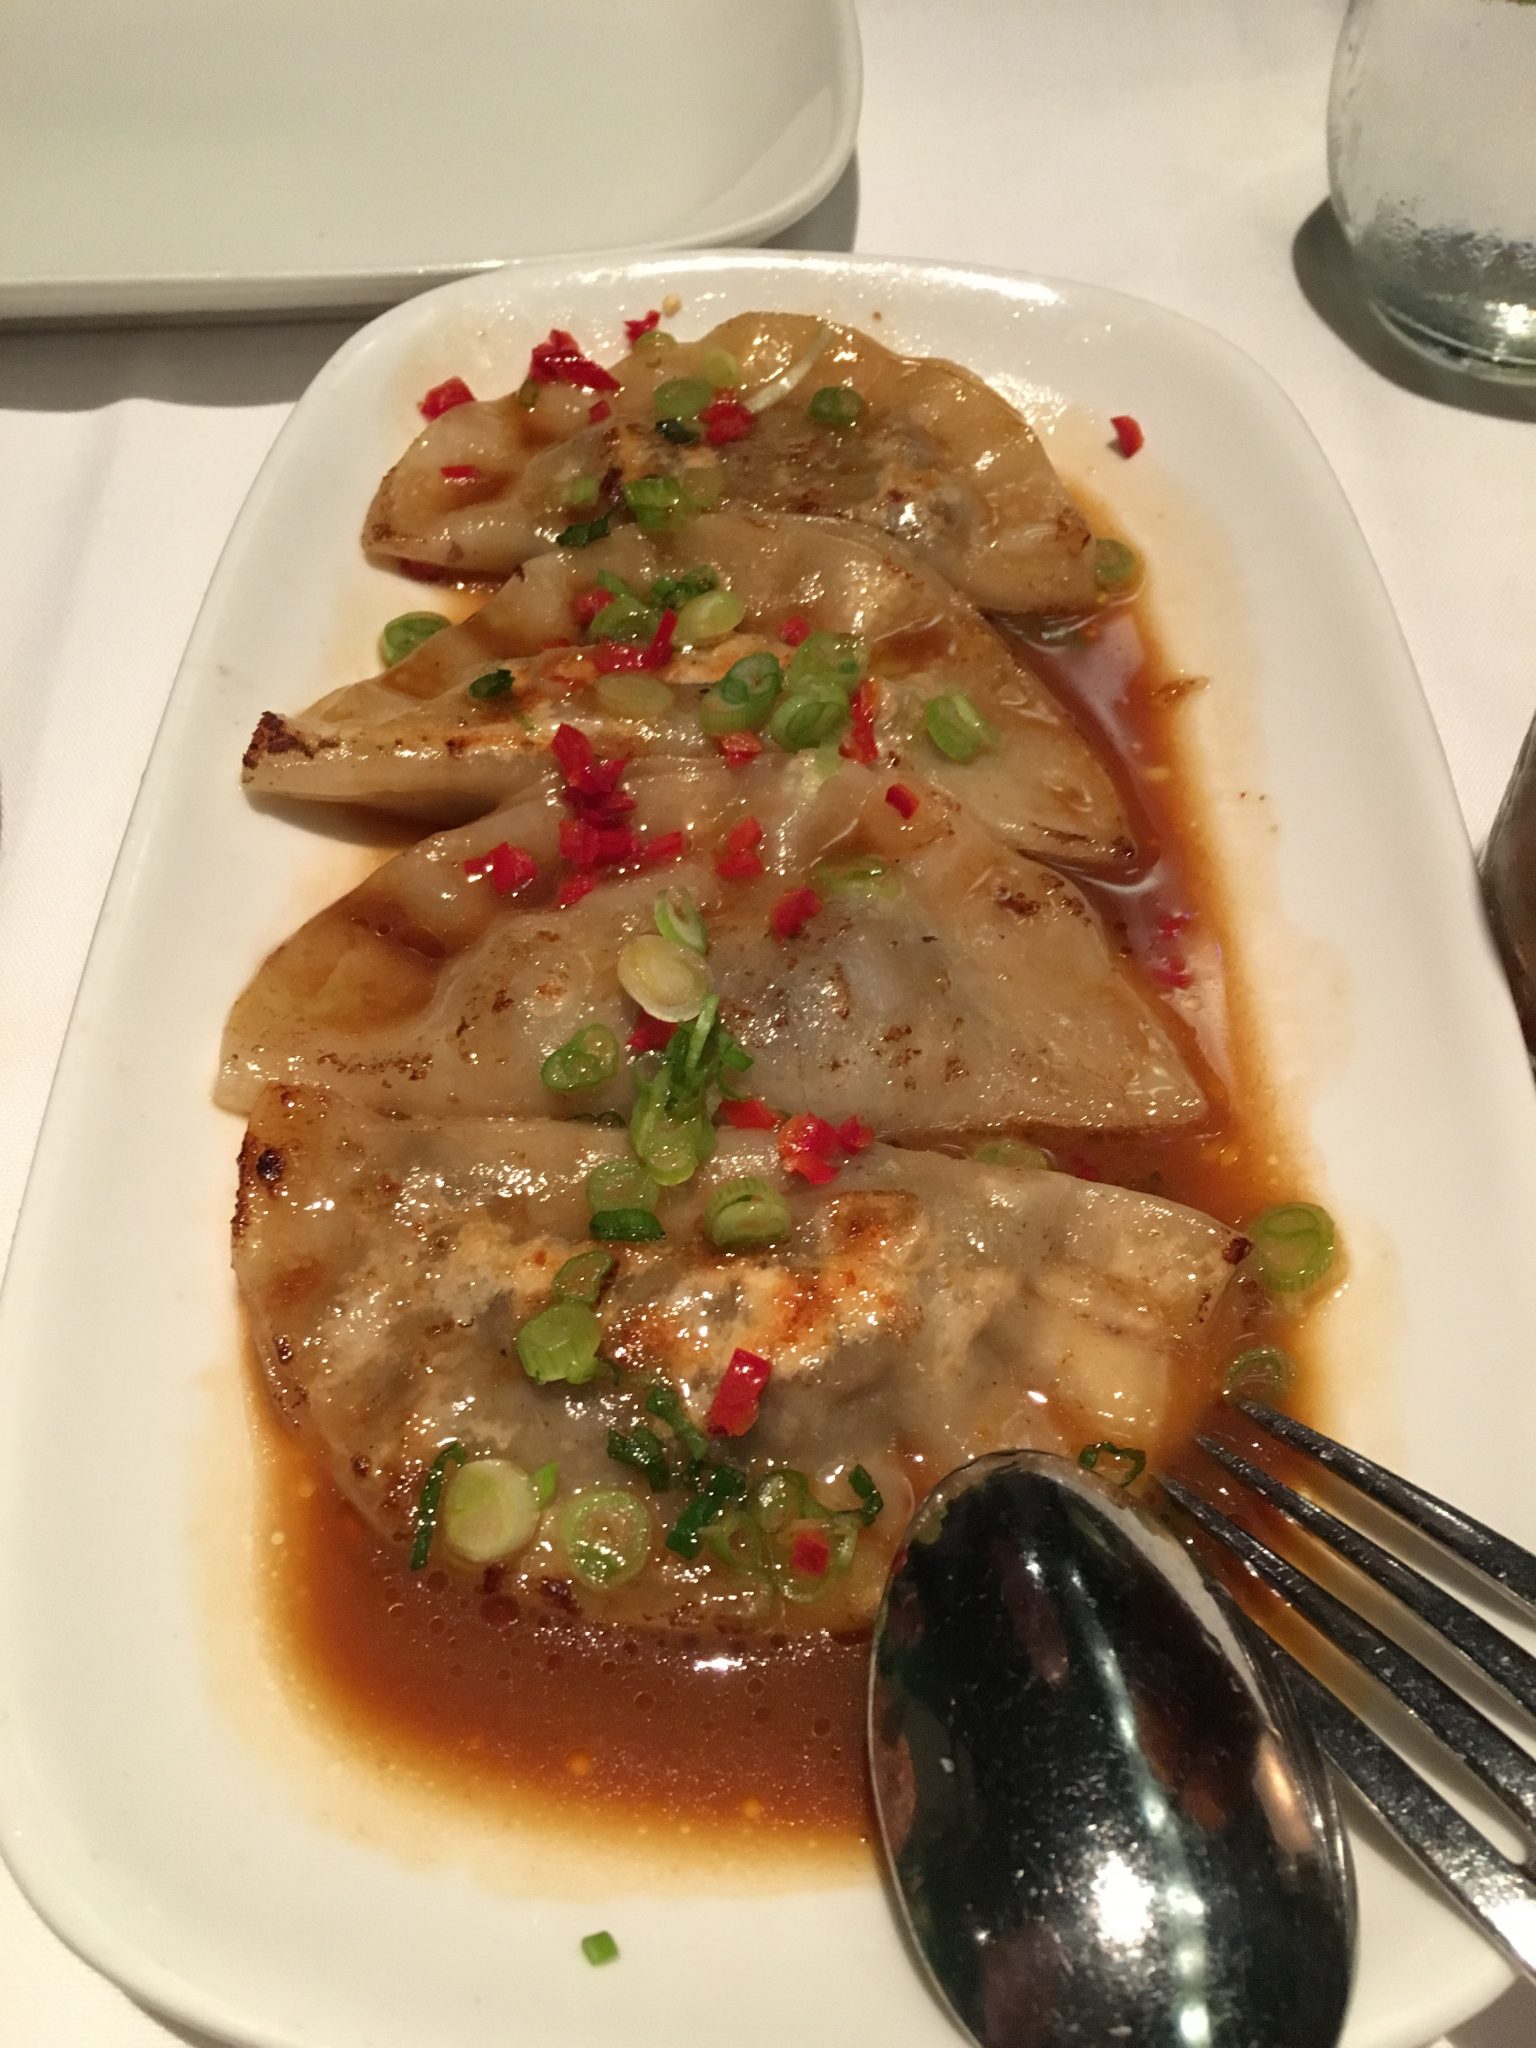
We tried the italian pot-stickers as well, they were good but not “omg”. I would opt for one of  the seafood skillets next time. 


Reservations suggested. They have these great “command center” seats for couples, but if you are both tall; ask for the booth. 


Not a cheap night; but well worth it when celebrating or just a night out. 

1177 California St, San Francisco, CA 94108

Http://ossosteakhouse.com

Best part is that we had enough leftovers for sunday brunch!

So little time, but so many ways to make cheesy sausage snacks

So last month I found a Low Country recipe for a cheesy sausage biscuit snack from Hoppin Johns Low Country cookbook; unlike a regular fluffy biscuit these are a much more dense & compact bite that are meant to be a  cross between a savory “cookie” and a snack bite. 

The only change I made after making it a couple times is the addition of a topping of pepper jelly, almost making it like a “thumbprint cookie”. The bite and coolness of the jelly on the dense snack adds a nice break in the flavor.

But there was still a taste of “flour” to it that I didn’t care for, so I kept looking for an alternative which I found in a recent more Italian style version from Valerie Bertinelli’s cookbook.

This cheesy sausage snack uses Bisquick instead of flour, uncooked bulk sasuage and a tablespoon of Tabasco sauce with a result that comes out hot, crisp, dark-golden brown and gooey good

Ingredients

  • Oil, for greasing the baking sheets (cooking spray is fine)
  • 3 cups biscuit mix, such as Bisquick
  • 1 pound spicy sausage (uncooked)

Note: you can use so use a pound of mild or sweet sausage and add in several links of hot sausage or any combination of sausage that meets your preference. The key here us it needs to be in bulk or taken out of the casing).

  • 1 tablespoon chopped fresh rosemary
  • 8 ounces aged white Cheddar, grated
  • 8 ounces sharp yellow Cheddar, grated
  • 2 tablespoons of parmesan  cheese, grated (this is in addition I added to the Recipe)
  • 1 tablespoon hot sauce, such as Tabasco (or to taste)
  • Ground pepper to taste

Directions

  • Preheat the oven to 400 degrees F. Grease 2 baking or cookie sheets and set aside.

Note: I think the oven I use runs hot so 400 actually made them darker than I like, when I cook them in the future I’ll be doing them at 350.

  • Combine the biscuit mix, sausage and rosemary in a large bowl. 

  • Mix with your hands, then work in the white and yellow Cheddars and hot sauce. 

Note: this actually may take longer than you think. Because of the limited liquid, its the fat from the sausage as it warms up with your hands that ads to the binding from  the mixing. So be prepared to knead this until it’s really well combined. One trick is to make sure that your sausage isnt ice cold when you mix it together.  

  • Form into balls the size of walnuts and place on the prepared baking sheets.

Note:  I used a small ice cream scooper to divide them out and I tried both just scooping it onto the tray as well as shaping them into balls with my hands and ultimately they both look the same after cooking. 

  • Bake until cooked through, about 18-20 minutes. Serve warm or at room temperature. 

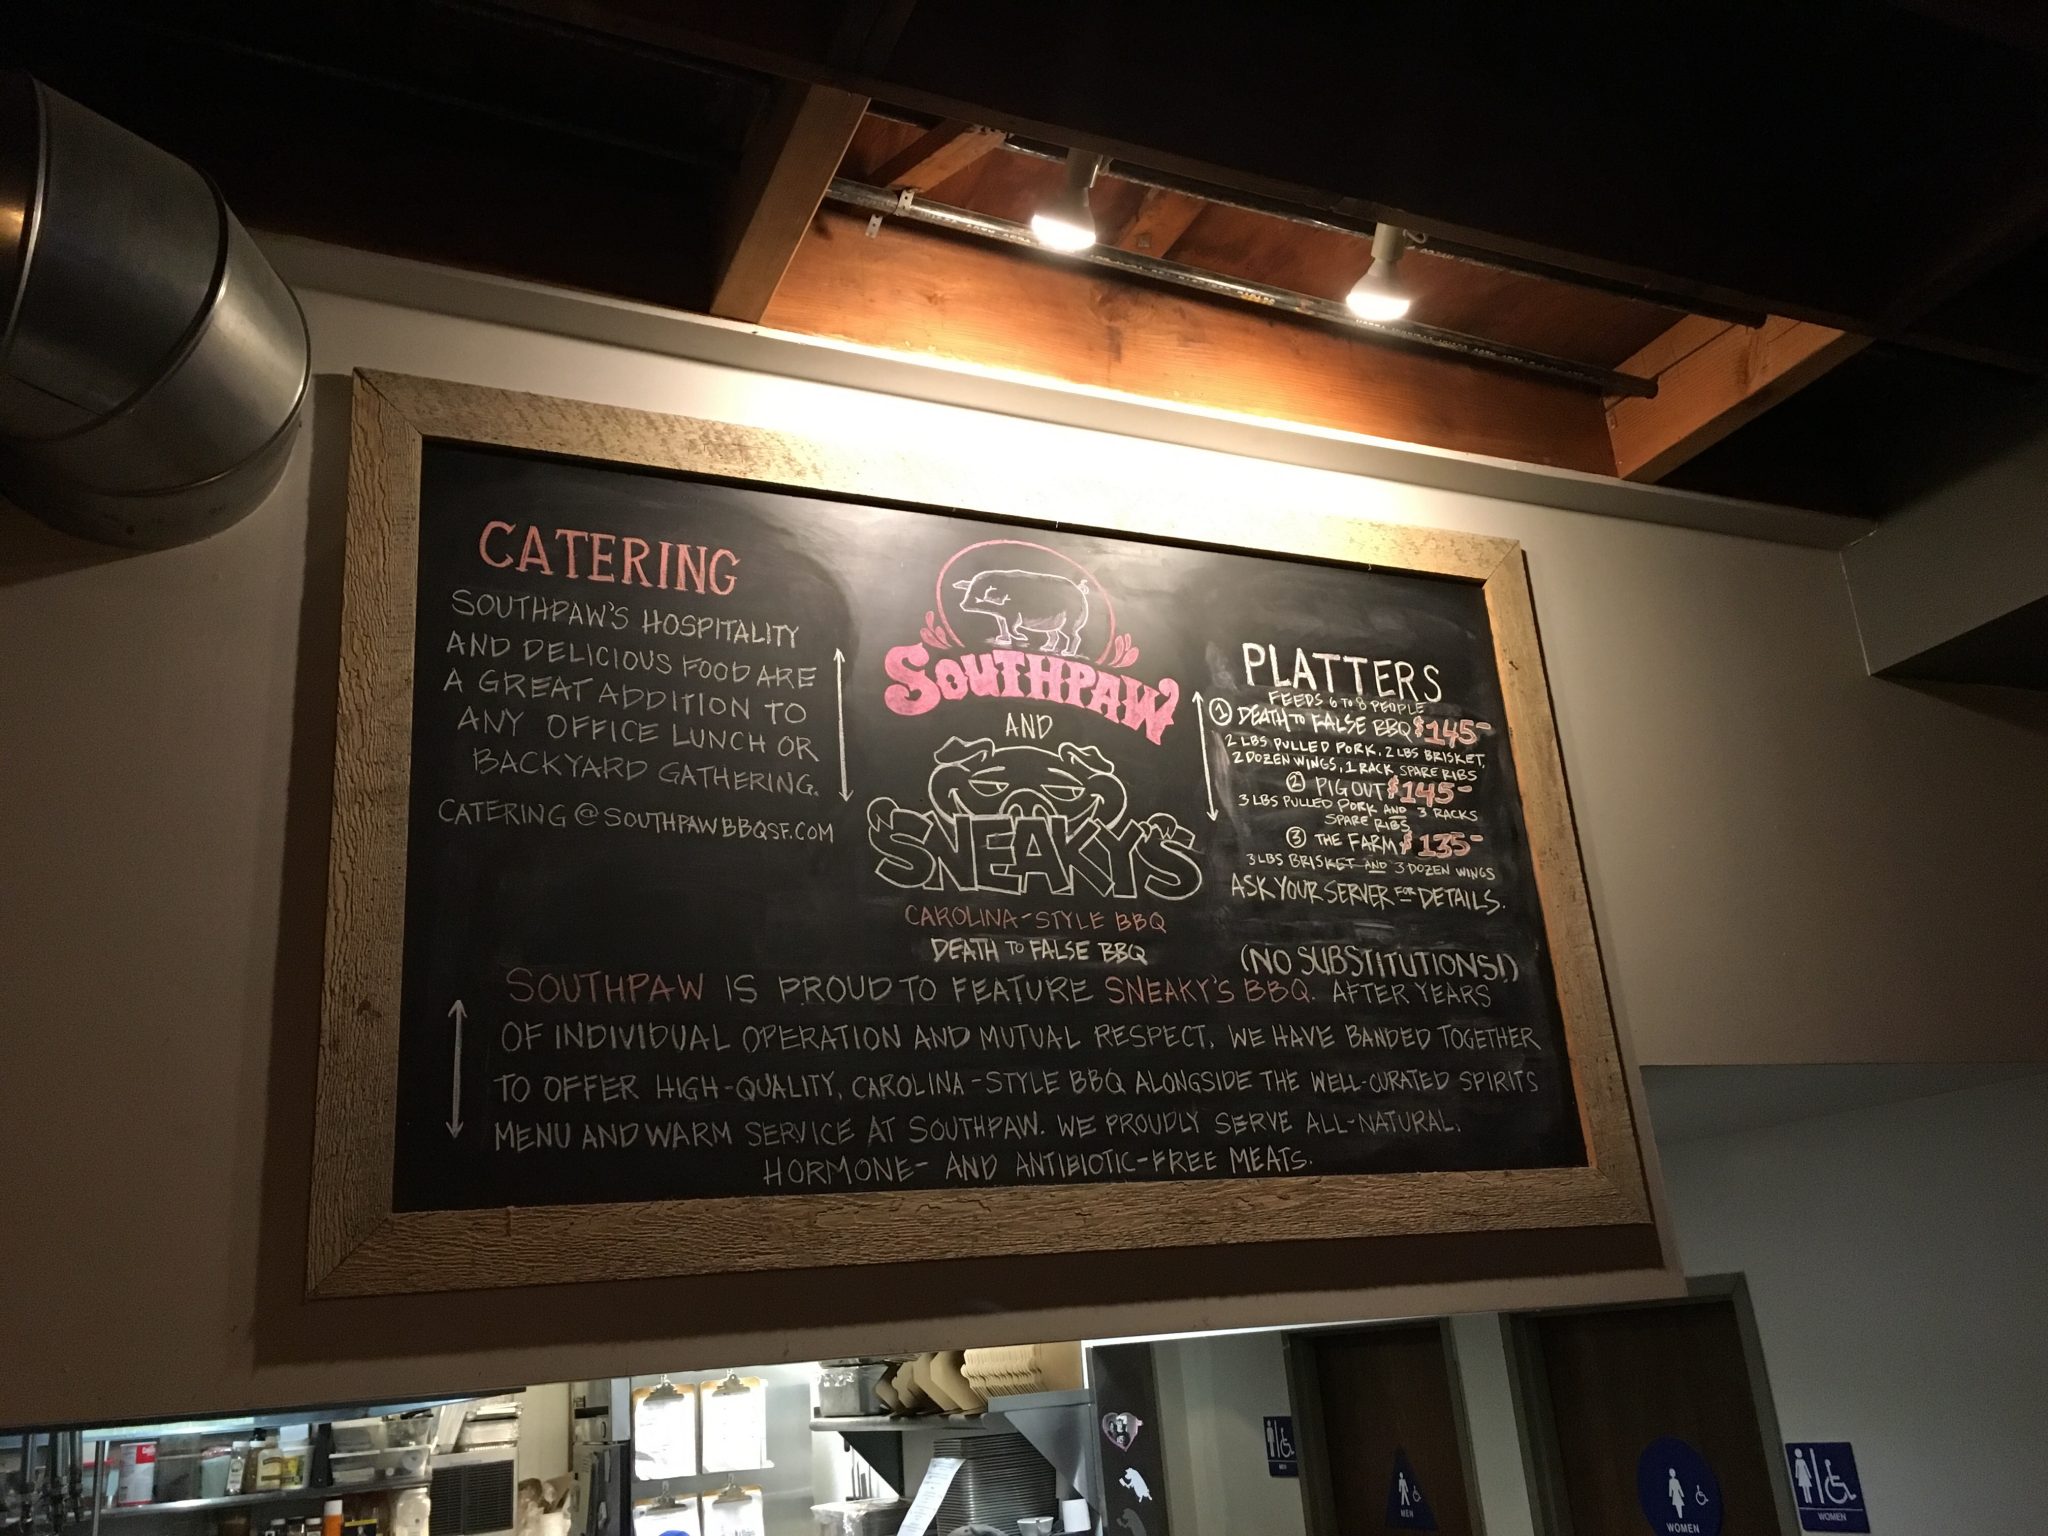
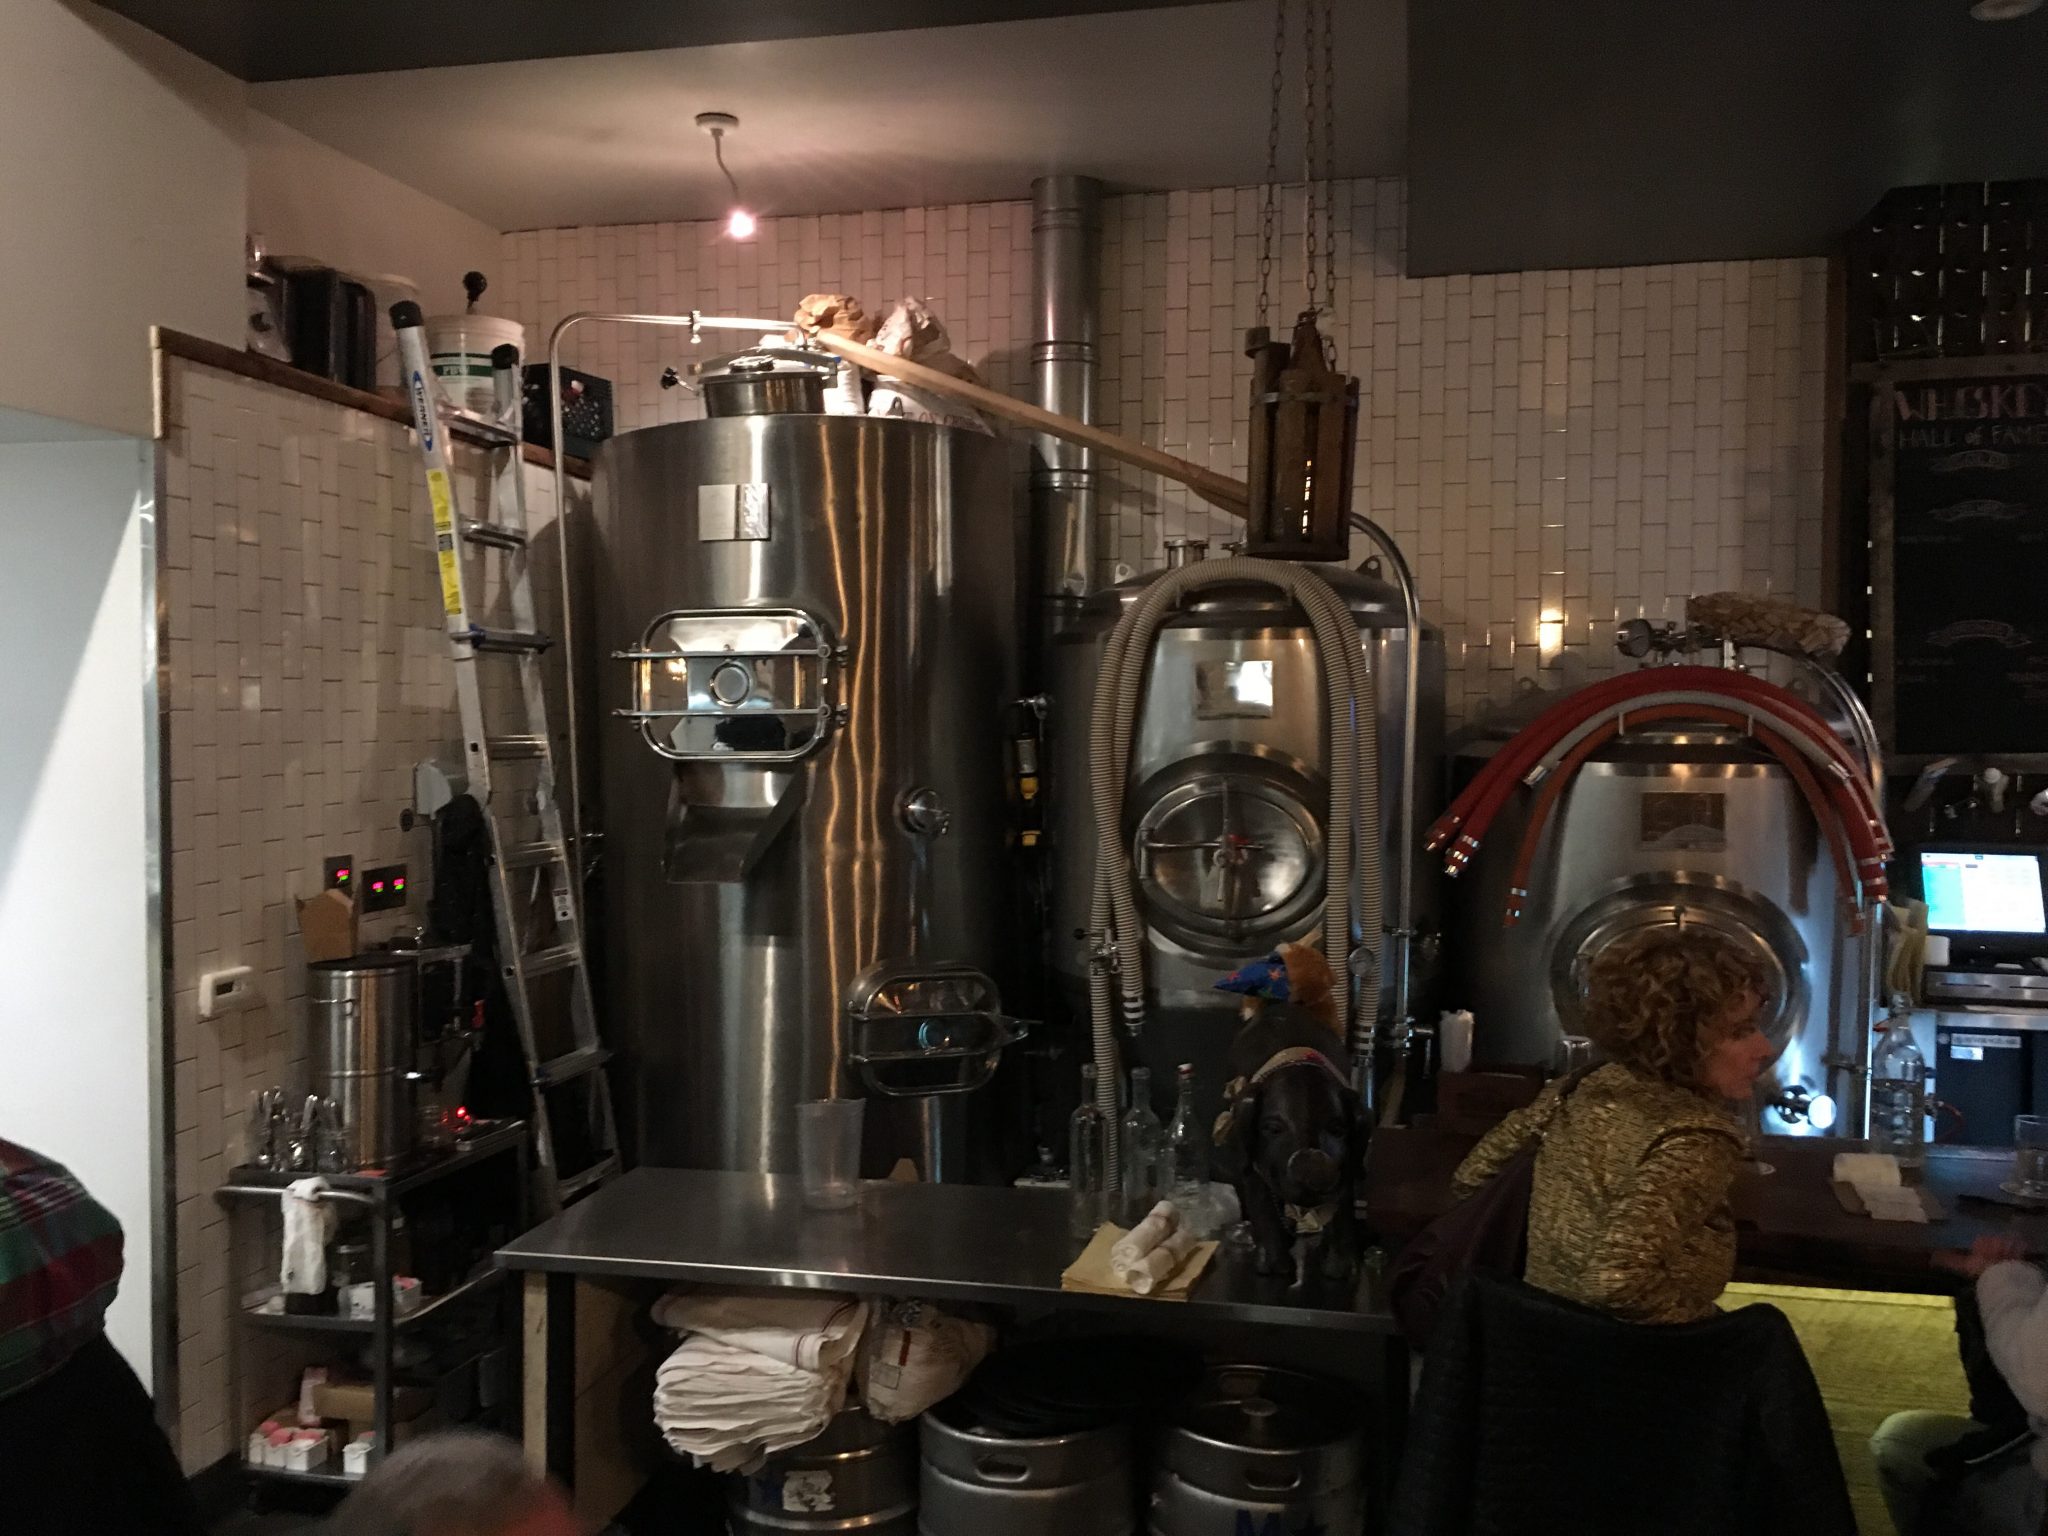
South at Southpaw

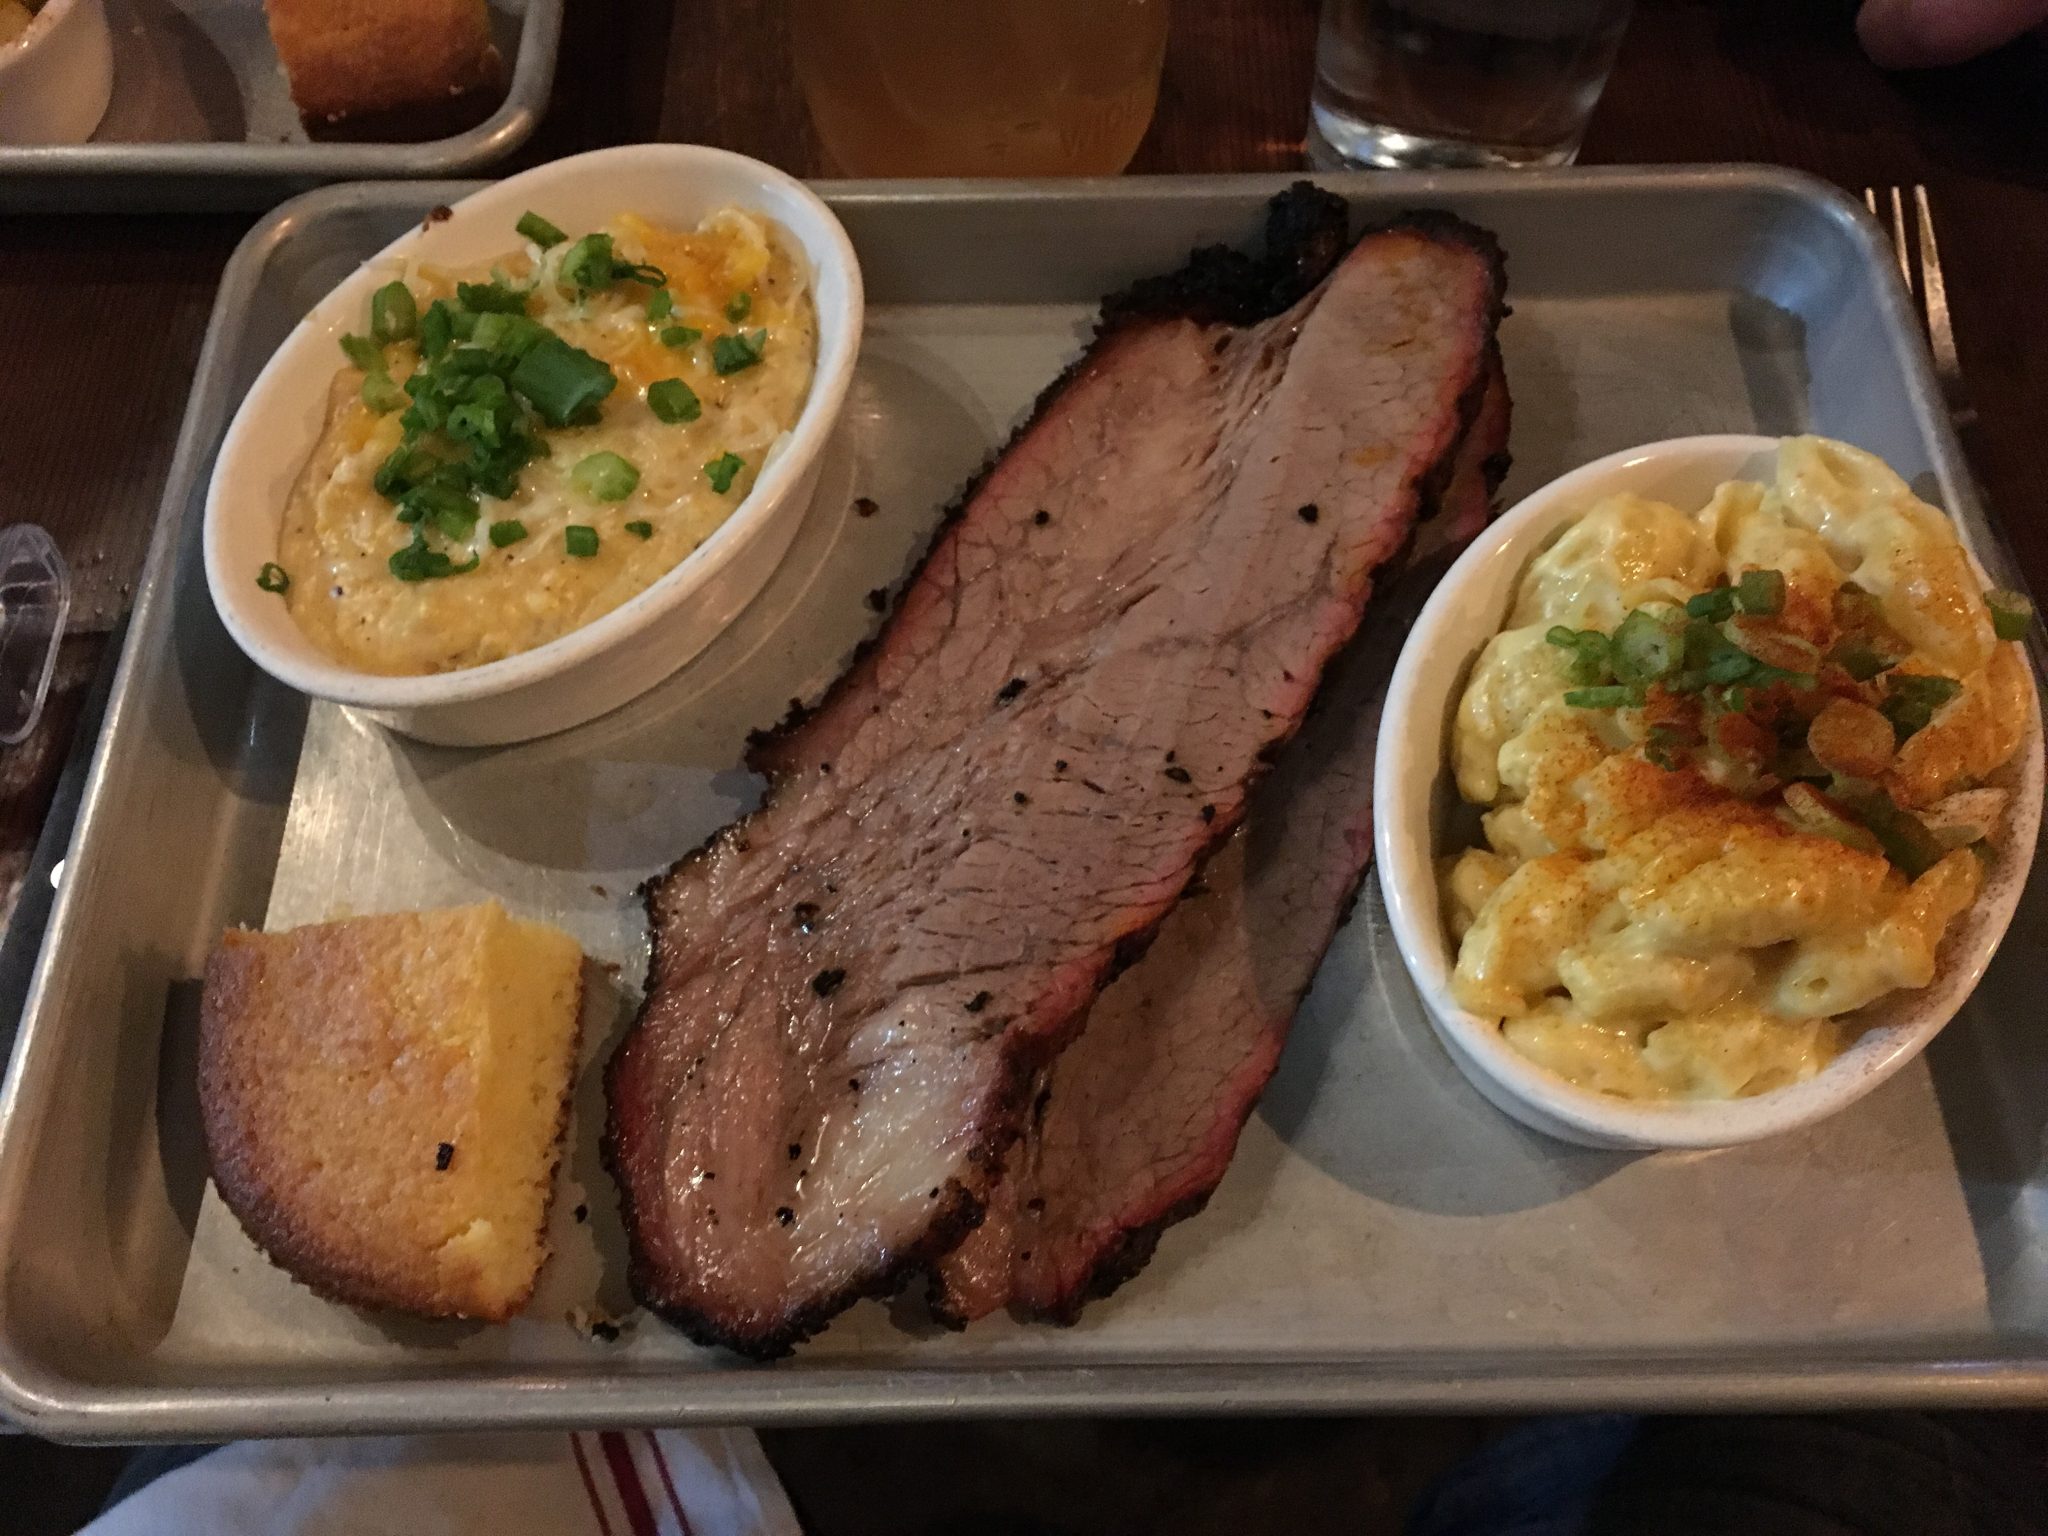
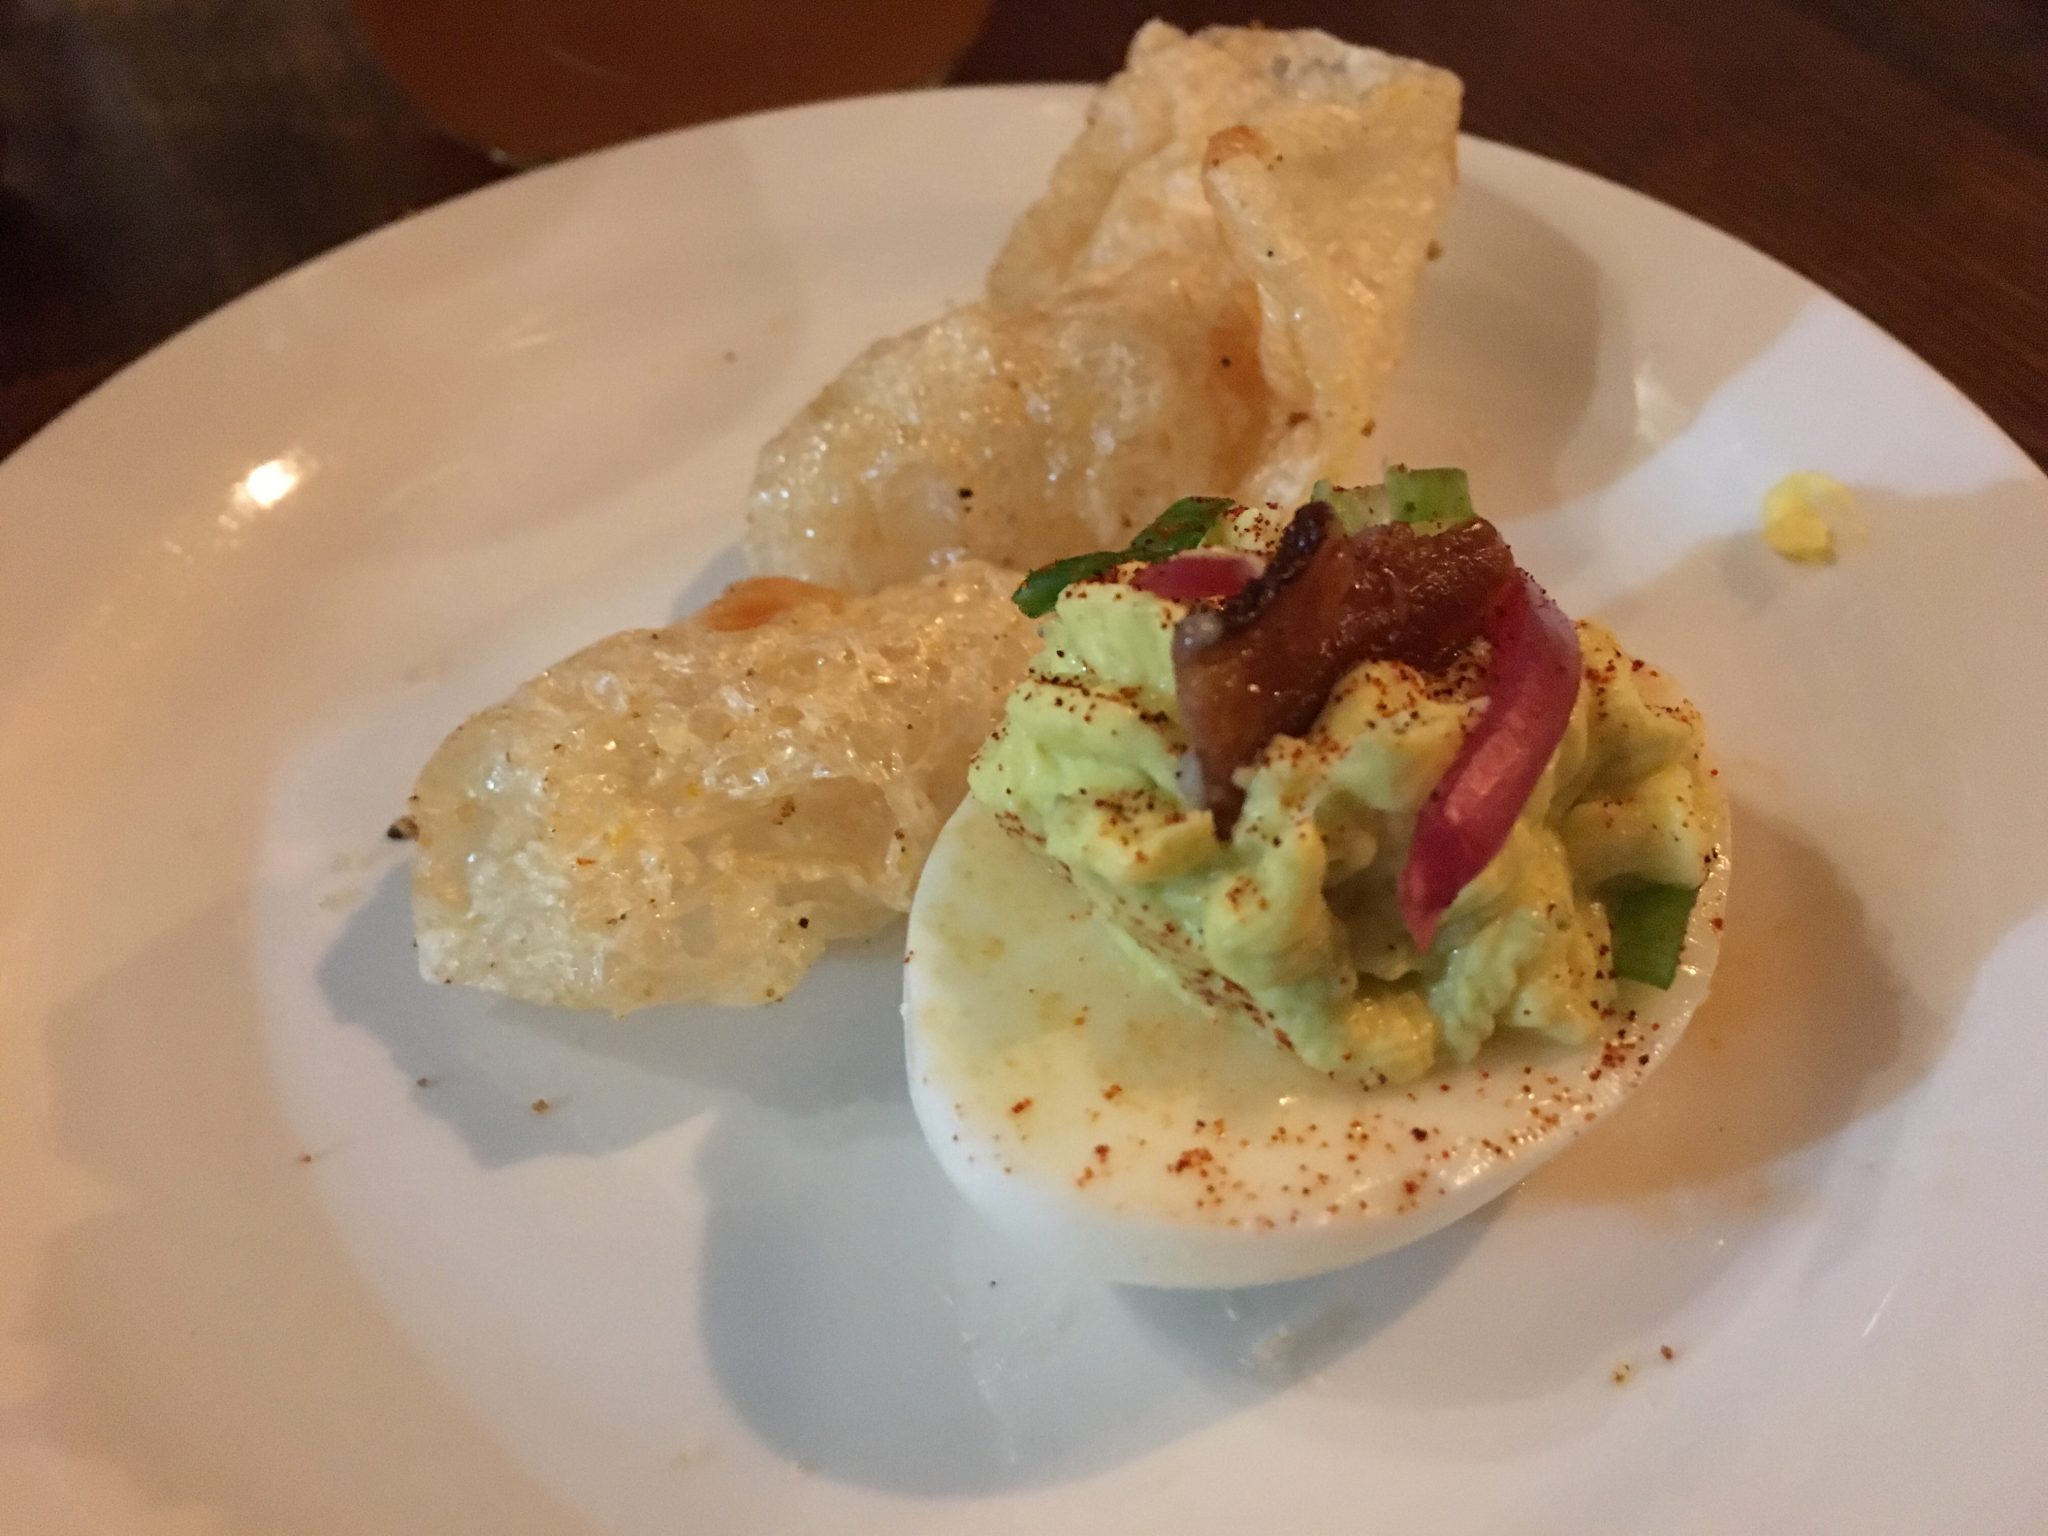
Super great dinner tonight at Southwall barbecue in the mission. All the food past everyone’s taste buds from the smoke brisket to the ribs to the pulled pork. Another shine on the menu are the sides; from salty to sweet – a selection for everyone’s taste from the traditional grits, to a “grits cake”, fried pickles, baked macaroni and cheese and even vegetables. 

If it’s cold out, the restaurant itself can be chilly so dress in layers, other than that it’s a must-see. Reservations recommended. They cater too. 

Southpaw BBQ http://www.southpawbbqsf.com/

PHONE:

(415) 934-9300

ADDRESS:

2170 Mission St.

San Francisco, CA 94110

HOURS:

Mon 5–10:30p

Tues Closed

Wed 5–10:30p

Thur 5–10:30p

Fri 5–11:30p

Sat 3–11:30p

Sun 3–10:30p

The Real Italian Deli in Palm Springs

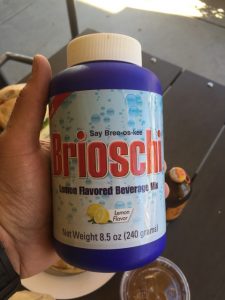
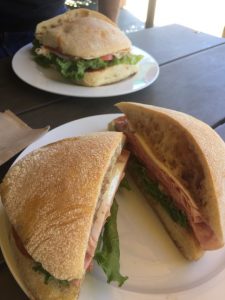
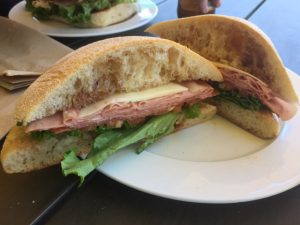
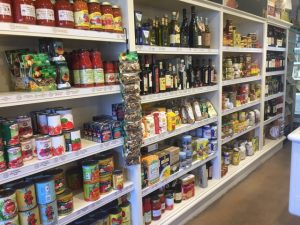
On our way to the airport on Friday, after a lovely week in Palm Springs at the always special and relaxing Triangle Inn, where hosts Micheal and Steven make our stay bright and sunny, no matter the weather, we grabbed sandwiches at The Real Italian Deli. What a treat, I am a big sandwich fan and when I can find good italian style meat and toppings I can generally be made happy. I think it brings me back to my growing up in New Haven when we would stop at a few of our favorites for sandwiches back then. This re-imaged deli, has all the right “nods” toward its italian culture with our being stuck in a faux theme. The food is great from its line of sandwiches to the prepared meals, they offer a big selection of imported treats for those living in PS and missing theme. Its definitely going on the “not to miss” list from here on. then to top it off; they carry Brioschi (see here for take on it).

The Real Italian Deli – 

100 South Sunrise Way. Suite B, Palm Springs. Ca. 92262, 760-325-3800

44795 San Pablo – Palm Desert, CA 92260 – Tel: (760) 836-1493

and on Facebook at: https://www.facebook.com/therealitaliandeli

img_4768 img_4769 img_4770 img_4774 img_4775


The Big “B” is back on the market; Brioche is back

Bring on the holidays. The big “B” is back and available again, and yes I purchased two bottles.

Old school italians would remember this as the best remedy for upset stomach, occassional indigestion etc. not to mention its fun to watch fizz. Growing up we always had it around and even as an adult I generally had a bottle somewhere until a few years ago when it seemed to vanish. When Walgreens stopped selling it a few years ago I did some searching and its back with new labels that don’t promote it in a way to get it in trouble but still has the same recipe of sugar, baking soda, malic acid, glucose syrup, natural lemon flavor (dehydrated lemon juice), FD&C Blue No. 2 to combat that indigestion and heartburn.  More info can be found in its site: https://www.brioschi.com but it appears it has a new owner. You know I will be asking Walgreens to stock it again. The bottles run about $9 but last. The market I found it in Palm Springs also has a import alternative, but for now – I am back to my roots and picked up two bottles…