It’s apple time but not just apple but “Candied Apple” time!
One of my favorite times of the year is the September – November period. I always liked the ending of summer and the start of the fall. The leaves changing, the colors, the smells, the slight coolness in the breeze. One of the few things I miss not living in the east coast any longer is a certain smell in the air that comes from just the right combination of rain, new growth, mulch, warmth, and dampness. Every so often I will catch a quick moment of it here in San Francisco first thing in the fall morning.
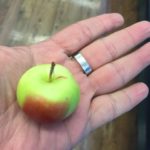
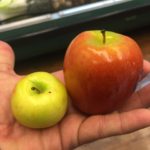
But with the cool weather comes apples.. lots and lots of apples. OK – you bakers can make all the pies and cakes you want. But my favorite way to enjoy apples is smothered in caramel, chocolate, and some extras. Yes, that’s right. It’s candied apple season and not just any apples – it’s the time of the year the little hybrid Lady Apple is at its best. This combination packs the tartness of a crab apple and the sweet of a granny smith in a 3-bite snack. I was looking for other images and found these it promoted me to re-post the how to on them for folks.
ok so this isn’t rocket science here folks:
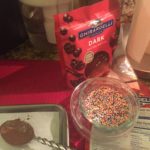
All you need apples, caramel, chocolate, sticks, wax or parchment paper, plastic wrap and some extras like nuts, sprinkles etc.
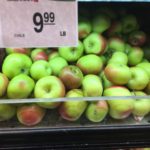
Check out the grocery stores. It used to be, you could only find these at places like Whole Foods. But now I can find them pretty much anywhere starting September. But they have a short season and to be honest can be expensive so plan accordingly.
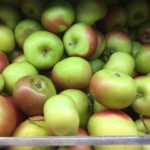
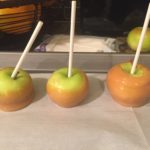
Wash and dry the apples. I leave the stems on – but some folks like to remove them. While they dry – start the next steps:
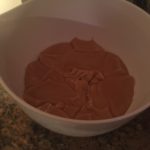
Depending on the kind of caramel and chocolate you use, you will need to prep them. For the caramel, I use a large box I get from either Amazon or Smart & Final, but in a pinch, you can buy regular packaged caramel squares and unwrap them individually. (that just takes too much time). In either scenario cut the caramel into 2-3 in cubes and toss in a microwave safe bowl. Something with a handle as the melted caramel will be super hot. Set it aside.
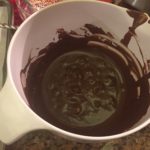
Then do the same with your melting chocolate. Milk or dark – it’s all your preference. Sometimes I get mine at Safeway and use the packages melting chocolate, other times I head over to Marin or Berkeley to the Cake and Candy supply store for bags of it. I also melt mine in the microwave, so no fussing with extra pans.
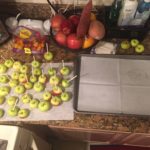
Now lay out an assembly line.
| Clean & dry Apples => | Candy Sticks => | Hot pad for Carmel => | Hot pad for Chocolate => | Bowl for toppings => | Sheet pan covered in parchment or wax paper |

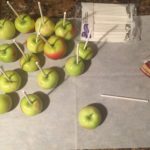
Now stick the little suckers, stem side up.
Next, put your caramel in the microwave to melt in 40 sec intervals. Stirring in between. DON”T over heat it. Also, DON’t let any moisture and water get in it. Use a dry spoon to stir. You want it like liquid molten bubbling lava, and almost as hot!
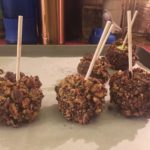
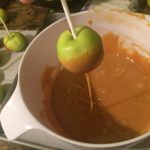
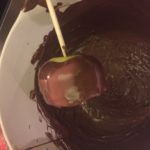
Now in small batches, working quickly, dip, rotate in the hot caramel and twirl off the excess in the hot caramel. (This is why I use a deeper bowl for this part) and place on the covered sheet pan. Once they set up a few minutes. Check for shape – the caramel will be soft enough to smooth and shape if you get a few irregular bumps. Keep in mind – when it cools it will get stiff. All you need to do is pop it back in the microwave and reheat.
Now you do the same with the chocolate – put your chocolate in the microwave to melt in 20 sec intervals. Stirring in between. DON”T over heat it. Also, DON’t let any moisture and water get in the chocolate. Use a dry spoon to stir.
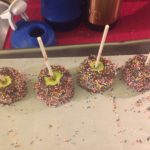
After you twirl off the excess chocolate this is the time to roll it in any toppings and then place back on the sheet pan to set.


If you feel the chocolate is cooling off or you are running low – just add more and/or reheat it.
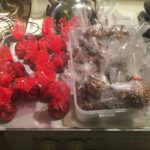
Once they are dry to the touch, you can wrap them in the plastic wrap or buy the small food gift bags from the store. Close with a simple tie and you are ready. They don’t need to be kept super cold – but keep them out of direct sun.