Date Night is about the food and the man

Traveling so often for work, having our four-legged third, wanting attention along with both of us having demanding work and social time – –  getting time out with just the two of us alone isn’t always easy. So when we can do it, we take it. Last week we wanted to go see the new Meryl Streep’s new film, Florence Foster Jenkins at the CineArts at the Empire and had time to eat at one of my  favorite West Portal resturant; Trattoria da Vittorio. 

I really can’t say much more about them except “just go already”. If you want authentic italian foud with a Calabrian influence you can’t go wrong. 

Home

150 W Portal Ave, San Francisco, CA 94127

Black Pepper and Orange? No, Really…


Having to change gears for a 3-day trip to present in Traverse City Mn on IPS Monday after my routine week in DC for my work on the commission usually results an excuse to step away.

Facing my computer and desk this morning  I am faced with the eternal travelors dilemma; how do I reframe all I have to do to prepare the next week, debrief my last DC trip and get my capstone grades in for students?

Headphones on, refridgerator open; engage..IMG_3117

First is a quick ham, feta, broccoli and cheddar quiche for brunch when someone ( Paul) gets up. IMG_3114

Then whip up another variation on those Black Pepper & Orange peel biscotti by special request from the pals who gave us our “Charlie Brown Tomato Plants”.

Since it’s rare I get a special request, when I got asked to remake my adapted version of the Black Pepper, Vanilla & Orange peel  I wrote about on “the battle rages on” which is actually yet its own adapted recipe  Valerie Bertinelli’s Helen’s Black Pepper Biscotti I agreed too on my return this week.

Below is the my revised version with notations where I made changes

Ingredients
  •  2 3/4 cups all-purpose flour
  •  1/2 teaspoon baking soda*
  •  1/2 teaspoon baking powder*
  •  1 tablespoon freshly ground black pepper ( I use a mixed of fine ground and course grind for taste and texture.)**
  •  Pinch kosher salt
  •  1/2 cup (1 stick) unsalted butter, softened
  •  1 cup sugar
  •  3 large eggs, at room temperature
  •  2 teaspoons grated orange zest (I tend to get the organic ones or ones I pick from my pals garden- depending on size of orange this may be 1 -oranges )
  • The zest of one lemon
  •  1 1/2 teaspoons vanilla extract
  •  1/4 teaspoon almond extract
  • 1 1/2 cups chopped walnuts, lightly toasted (In reality the nuts are option, or use another sturdy nut that can take a bake and have a bite to them; Almonds, Pecans, Pistachios all work to my taste.)
 * If you don’t bake a lot- check the expiration dates on these!
** To give these a visual pop – you can ground peppercorns that are other colors over the traditional black)

Sift together the flour, baking soda and baking powder over a piece of wax parchment paper ( I find this works bette and makes it easier to pour into the mixer). Stir in the pepper and salt. Set aside.

In the bowl of a stand mixer fitted with the paddle attachment, beat the butter on high speed until pale and light, have the patience to let it do it’s work – it could take several minutes. Add the sugar and beat until light and fluffy, about 7 minutes. Reduce the speed to low and add the eggs one at a time, beating well after each addition. Add the orange zest and vanilla and almond extracts.

With the mixer on low, slowly pour in the flour mixture, and then the walnuts. Mix a few minutes till the dough texture is formed a sticky mess 😉 .

(You can also do this by hand and fold them in then work the dough by hand till smooth).

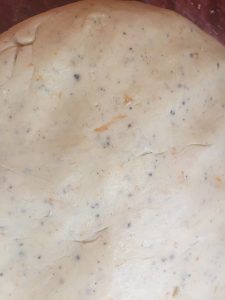
Pour the dough out on to a lightly floured plastic wrap covered surface or clean counter top. Gently knead the dough to shape with your hands to form a thick round ball shape. The dough is super easy to handle at this piont. Cover the dough with plastic wrap and refrigerate for 30 minutes. (For this batch I omitted nuts). img_3111 img_3112

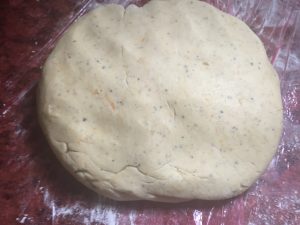
Preheat the oven to 350 degrees F. Line 2 baking sheets with parchment paper ( nonstick silicone liners also work).

Remove from the refrigerator, unwrap and divide the dough in half, place 1 piece on each sheet and shape each piece into a 12-inch log, about 2 inches across and 1 inch tall. (note you can make these as wide or thick as you like – I find because of the texture and taste of these, I tend to like a finished bake that is about 3inch long and 1.5 inch high you may have to play with it a few times). But they don’t need to be preferfect. In fact any uniform shape will work. ( I am planning to try shaping it as a round log and slice into discs next time). Bake until the logs are cooked through and lightly browned on the bottom, about between 20- 35 minutes, depending on your oven and pans.  Watch them the last 5- 10 minutes as this could differ based on your pan and stove temp.

Let the logs cool for about 5-7 minutes on the baking sheets (leave the oven on), then transfer them carefully to racks (remove the parchment paper) to cool 10-15 minutes more.

Using a serrated knife, slice each log either on the diagonal (to give you a fancy shape) or straight across into 3/4-inch-thick slices. Arrange the slices cut-side down on the baking sheets and return to the oven until well toasted, 10 to 15 minutes more. I general flip mine over about half way to get even color. img_3121 img_3120

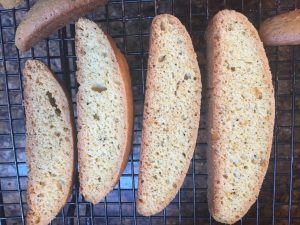
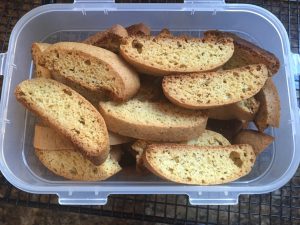
Note: These biscotti have a great golden color to them which will darker to as you “second bake”. If you want to keep them less brown; adjust time or instead of laying them on the cut sides, leave the standing cooked side down.

Transfer the biscotti to cooling racks to cool completely. The longer they bake the harder they become. Note: they will continue to harden as they cool. Store in tins or air tight containers (QVC favorite Lock & Lock rock for this). They will keep, tightly covered, up to 1 week.

This Cook’s Note came from the recipe website and I though worth sharing: To toast the walnuts  or most nuts on the stove top, put them in a dry skillet over medium heat and cook, stirring, until golden and fragrant. To toast them in the oven, spread in a single layer on a baking sheet and roast at 350 degrees F until golden and fragrant. In either case- the minute you smell them – get them off the heat.


Adapted from “One Dish at a Time: Delicious Recipes from My Italian-American Childhood and Beyond” by Valerie Bertinelli © Rodale 2012. Provided courtesy of Valerie Bertinelli. All rights reserved.


Celebration Dinner (part 2)

For part two of Pauls dinner, I decided to try Ree Drummond’s version of pot roast. When I have made them before – I tend to use the crockpot – but the need to use an extra pan to crust the meat seems counter intuitive when I know I am going to be home and have a dutch oven to cook it in.IMG_2967

Over all I think her recipe came to well – but I will notate placed I would change for the future (and one significant change I did make).

Ingredients

Salt and freshly ground black pepper
One 3 to 5-pound chuck roast [For the one here – it was just over 5 lbs – but I made the butcher give me one that was somewhat even thickness]IMG_2955
2 or 3 tablespoons olive oil
2 whole onions, peeled and halvedIMG_2953 IMG_2954
6 to 8 whole carrots, unpeeled, cut into 2-inch pieces
1 cup red wine, optional [So I didn’t want to crack open a bottle for this one recipe – so used Pomegranate soda instead.. yes Pomegranate. As a fruit it is a natural pairing with beef and they make the carrots even sweeter tasting]
3 cups beef broth
2 or 3 sprigs fresh rosemary [in future I will use 4 or 5 – this was way to subtle for me]
2 or 3 sprigs fresh thyme [in future I will use 4 or 5 – this was way to subtle for me]

Instructions

Preheat the oven to 275 degrees F.
Generously salt and pepper the chuck roast. [I do mean generously – its a think cut of meat]
Heat the olive oil in large pot or Dutch oven over medium-high heat. Add the halved onions to the pot, browning them on both sides. Remove the onions to a plate.
Throw the carrots into the same very hot pot and toss them aIMG_2956
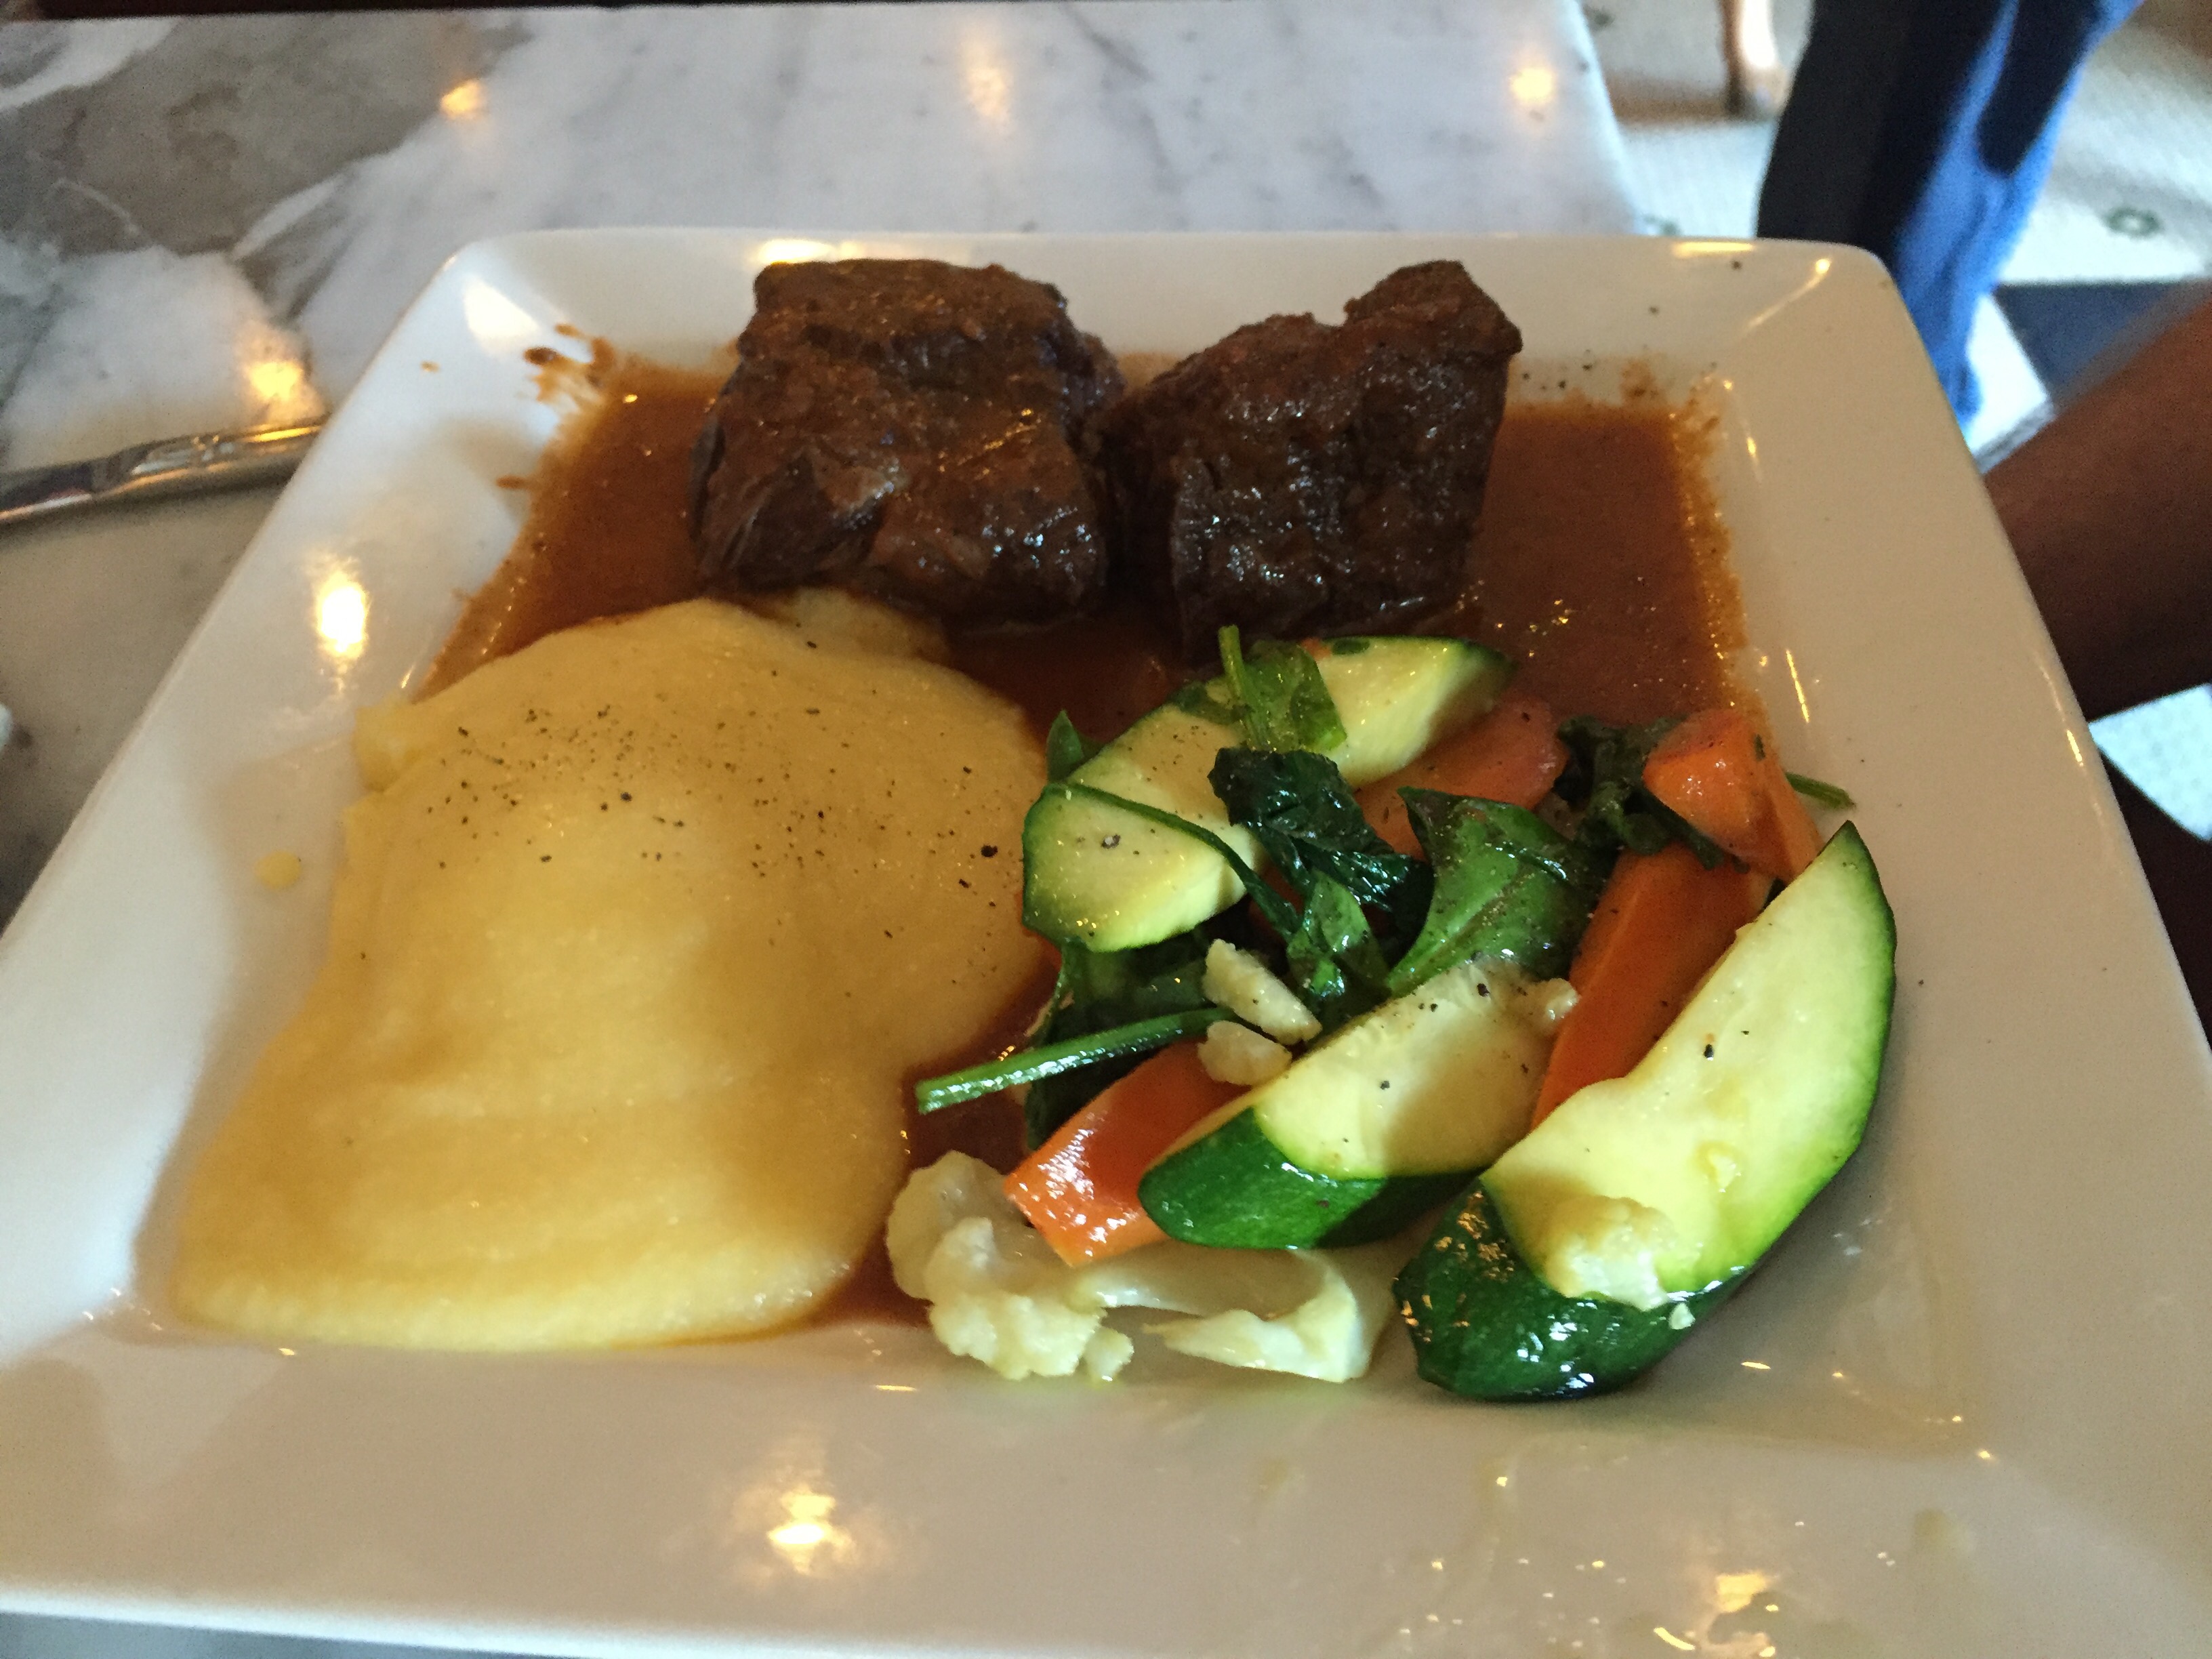
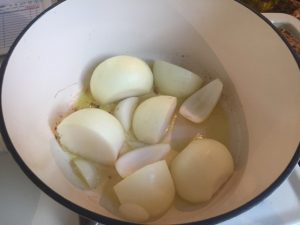
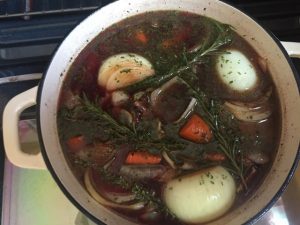
round a bit until slightly browned, about a minute or so. Reserve the carrots with the onions.
If needed, add a bit more olive oil to the very hot pot. Place the meat in the pot and sear it for about a minute on all sides until it is nice and brown all over. Remove the roast to a plate.

With the burner still on high, use either red wine [Remember I used Pomegranate soda] or beef broth (about 1 cup) to deglaze the pot, scraping the bottom with a whisk. Place the roast back into the pot and add enough beef stock to cover the meat halfway.IMG_2960 IMG_2958IMG_2961
Add in the onions and the carrots, along with the fresh herbs.
Put the lid on, then roast for 3 hours for a 3-pound roast. For a 4 to 5-pound roast, plan on 4 hours. The roast is ready when it’s fall-apart tender. [Mine was ready at the 4 hour mark!] Fall apart goodness.IMG_2964 IMG_2966

Note: During the last 40 minutes, I cut some wedges of potatoes and tossed with olive oil, salt, pepper and cayenne and tossed them in the oven to cook as well. I wanted the crisp texture to contrast with the soft and chewy one of the pot roast.

Some Home Cooking to get me back in practice (Part 1)

IMG_2946 IMG_2951 IMG_2952
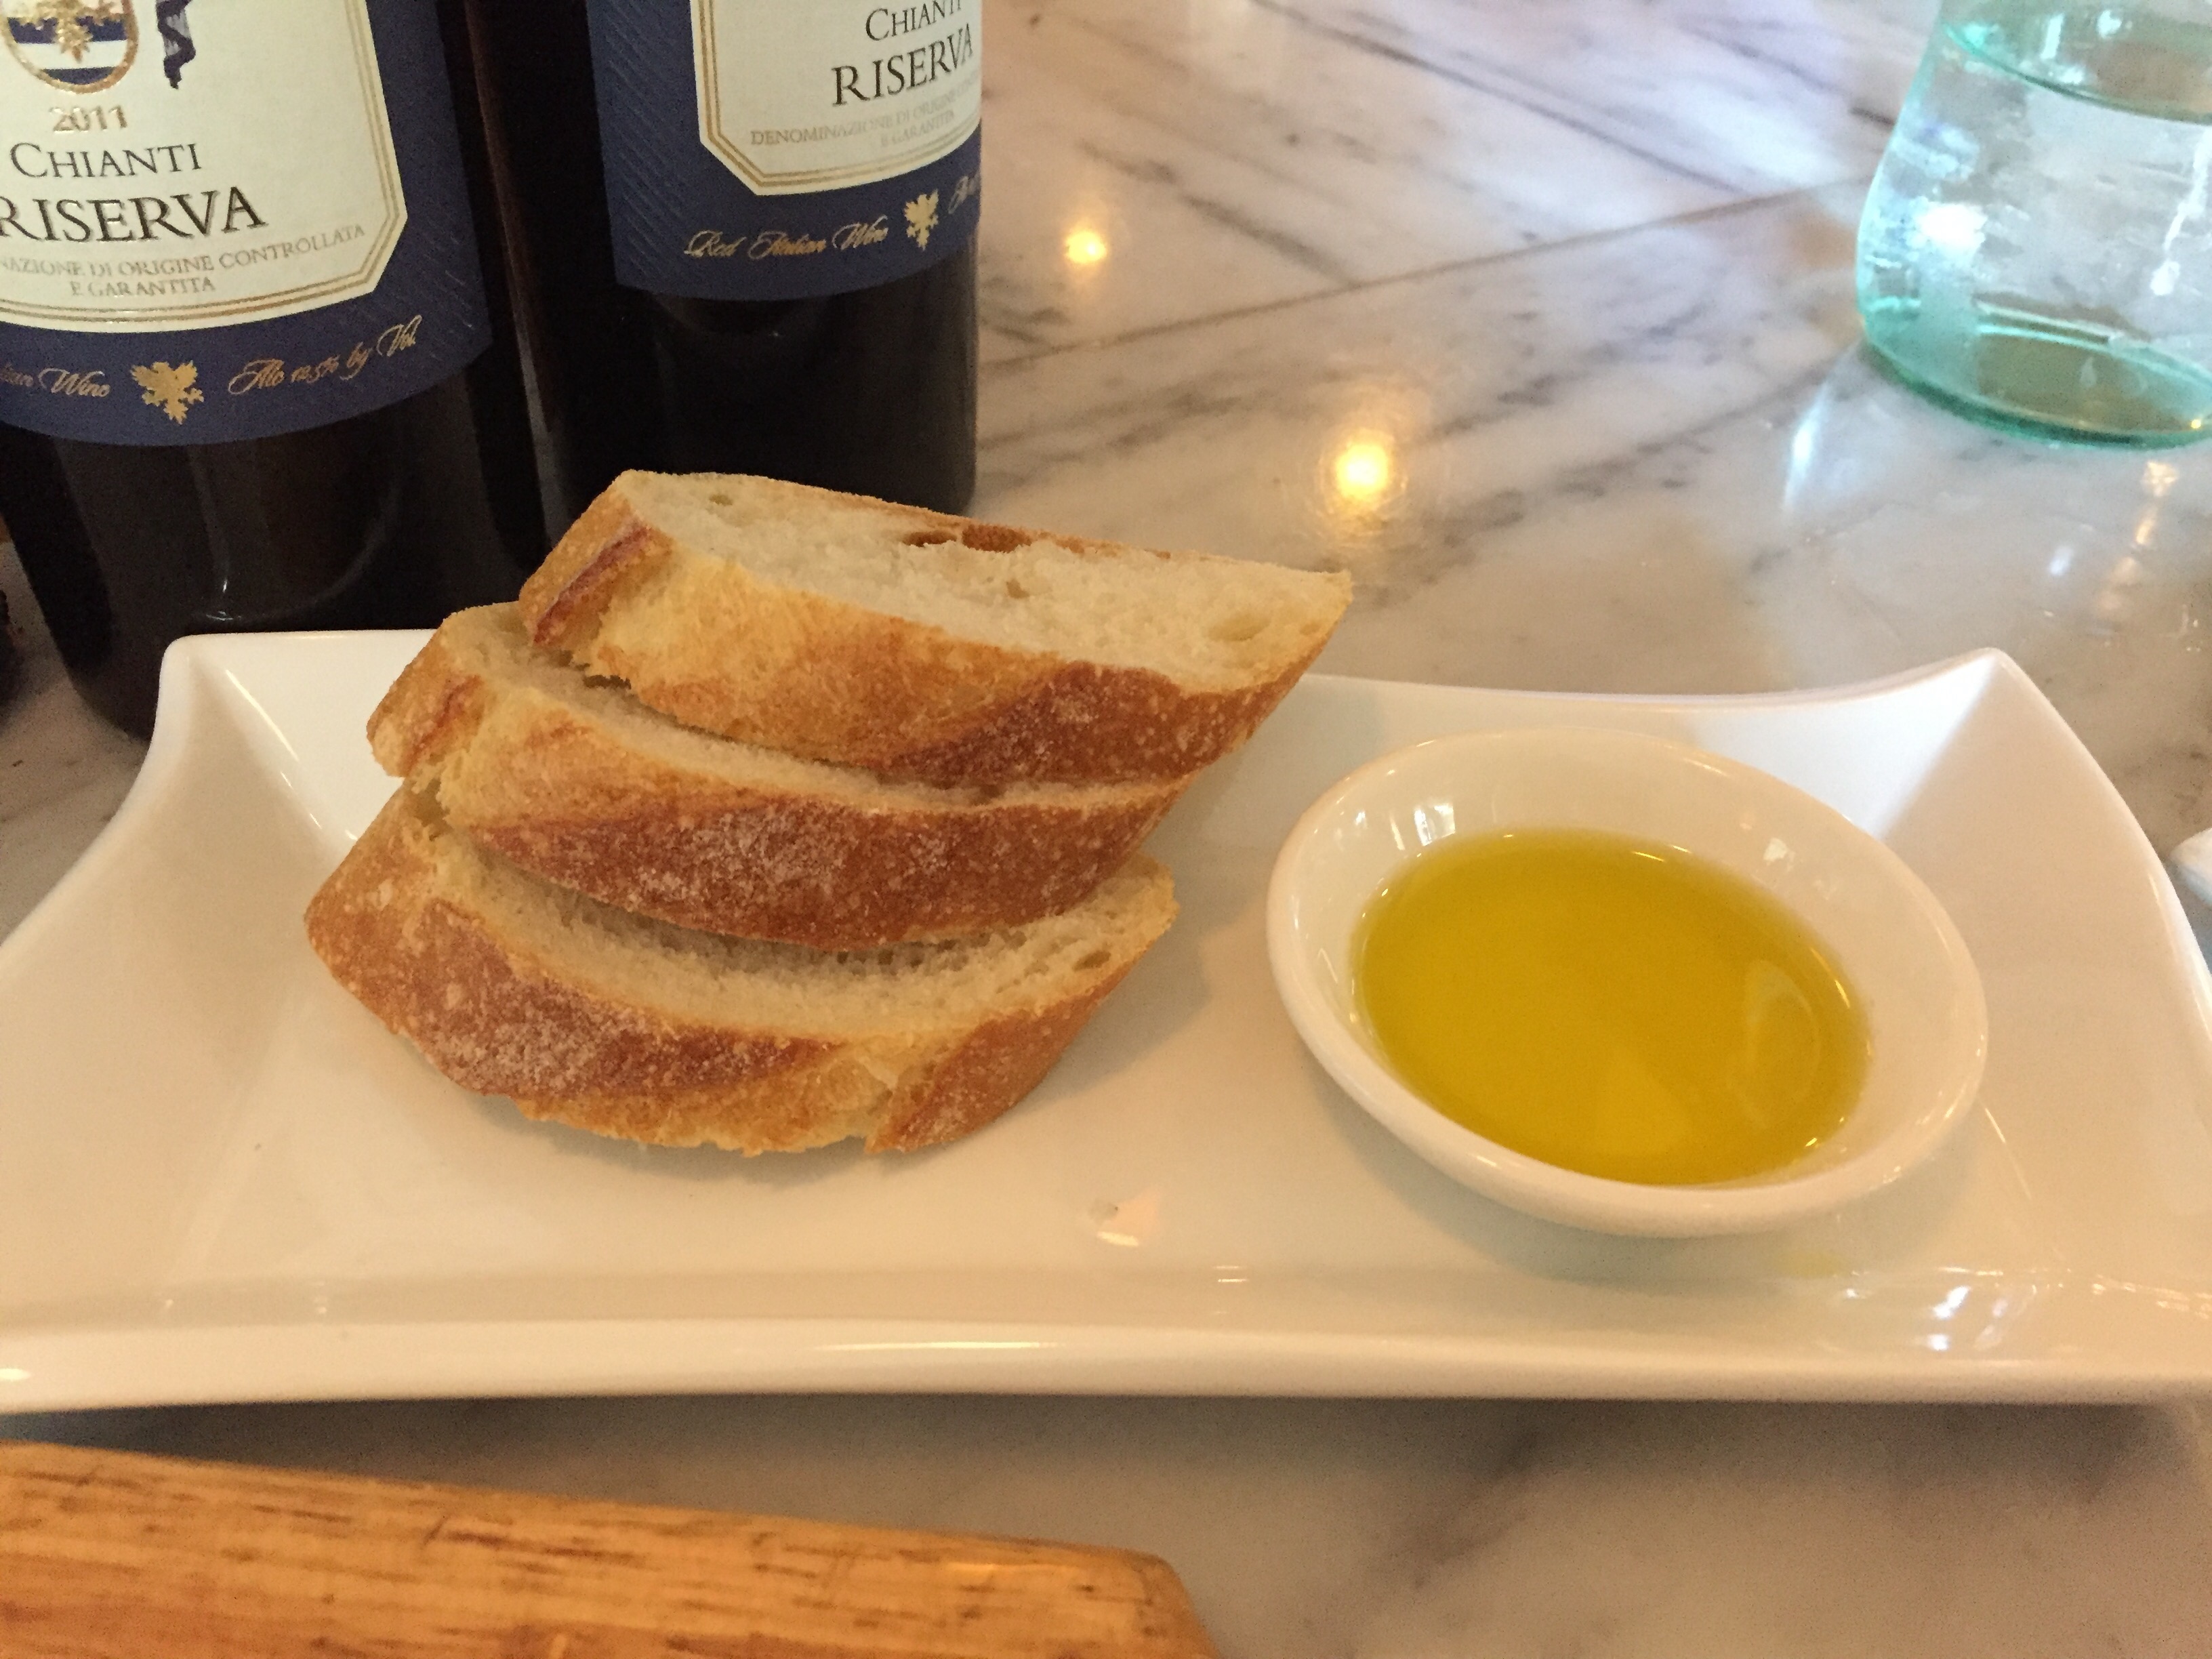
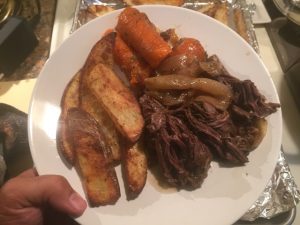
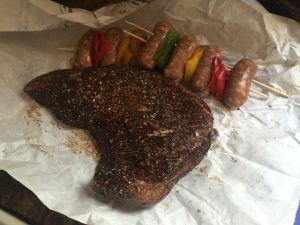
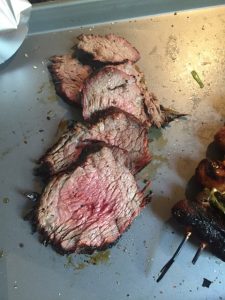
After several weeks of vacation and a lot of work travel I haven’t been able to cook as much as I tend too. So when Paul got word about his promotion, it was a good reason to try out a few new recipes I have been waiting on.

First off was the Pineapple Upside-down cake; for some reason I had a craving for its sweet and gooey texture when I got back from Provincetown. I cheated some and used a Duncan Hines box as the starter (and they were recently on sale) along with canned Pineapple. The recipe I started with is below and my changes are in red.

  • ½ cup (1 stick) butter or margarine, melted
  • 1 cup firmly packed brown sugar [I prefer dark but light will do]
  • 1 can (20 oz.) pineapple slices, drained and lightly patted dry
  • 4 Maraschino cherries, halved [I forgot to buy them..]
  • 1 package Duncan Hines®  Signature Pineapple Cake Mix
  • 1 package (3.4 oz.) vanilla instant pudding and pie filling [I actually use coconut instant pudding – it adds a different yet subtle taste.]
  • 4 large eggs
  • 1 cup water
  • ½ cup oil
  • 1 teaspoon of vanilla extract
  • pitch of salt

Intructions:

Now the cast Iron pan I use is larger than the one they recommend by an inch or two.. but that just means it won’t be a high

  • Preheat oven to 350°F.
  • Melt butter in 12-inch skillet with oven-proof handle or cast iron skillet. [Because I use a cast iron skillet, I actually put the pan in the oven while it heat up, then once hot, put in on the burner while I add the butter to melt]
  • Remove from heat. Evenly sprinkle with brown sugar.
  • Arrange pineapple slices on top of mixture and place cherries in center of each pineapple; set aside.
  • Combine cake mix, eggs, water, oil, salt, vanilla and instant pudding in large bowl.
  • Beat with an electric mixer at medium speed for 2 minutes. [Mixing by hand works perfectly fine as well]
  • Pour batter evenly over fruit in skillet.
  • Bake 50 minutes or until toothpick inserted in center comes out clean. [My oven had the cake perfect at 42 minutes – but had I wanted a more well cooked top, I could have left it in longer.]
  • Cool cake completely on wire rack in the pan. While it cools the dome in the middle will sink down and flatten out.
  • Invert onto serving plate.

Now to kick this up a few notches – you could drizzle in rum over the cake while it is still warm.. I am just saying..


Sunday was our last day of vacation – so it was grill time

Most Sundays we try to eat early so that we can settle in and prep for the week ahead. Since it was to be our first Monday back after a vacation  – it was even more so important.

I decided the easiest thing was to grill up some veggies, meat and keep it simple.

I saw that Hatch Peppers were in season and on sale – so picked up some of them (they are the long ones) BUT be careful some are mild and some aren’t. I ended up with ones that have more heat than our household will enjoy. So I packed them in olive oil and garlic to marinate them for another day. We had a few peaches at home i wanted to use up so sliced the in half and tossed them on too. The tri-tip comes marinated, but I always add more salt and pepper.  The basic method I use for grilling try-tip is as follows:

Preheat both sides the grill to high. Scape down the grate, cover and reheat.

Toss on the meat, fat side down for 10 mins and don’t touch it! Cover the lid

After 10 min’s. lower the heat to medium on one side, and flip the meat over on to the lower side for 20 – 25 min depending on your grill and how you like the meat done. Once you pull it off, cover in foil for up to 10 min to keep the juices in.

Add the veggies etc to the hot side  and cover for 7-10. then check the veggies for char marks and to flip. They are done when they get to the stage you like them. Remove and cover.

For the watermelon & feta salad – couldn’t be more simple, slice and layer, top with tomatoes, sprinkle with hot pepper flakes, salt and corse pepper. Chill till ready to serve.Just before serving drizzle lemon juice, olive oil and balsamic vinegar (peach vinegar and champagne vinegar also taste great) to taste.

Angel Mornings @ Gifford House

I have been lucky to have the generous tasting of these folks from the different locations in Ptown over the last few years – so was excited to check them out at the Gifford House in a traditional dinning room setting.

I am so glad we did. A great menu – actually pretty large by Ptown standards for breakfast fare. It’s not going to rock your socks off  “ambiance” wise – the room is basic to what it needs to be – but the flavor and food quality is where it is at. They make basic ingredients, taste the way they are supposed too and they invite you to “kick it up a notch” with the graceful punch of seasoning and combinations. From the egg scramble with sausage to the omelettes.. I could eat here every morning.imageCheck out the full image

menu. They are open 8am to 2pm and the entire Menu Served All Day

508-487-8600


image

Jimmy’s HideAway simply can’t be beat

Really is no way to get creative when place is simply “always good”. Jimmy’s Hideaway  is that for us. No matter when we go – it is consistently working at the top levels of quality. From the subtle flavors of the Avocado & Cucumber soup or the Watermelon, Tomato and Feta appetizer to the equally as filling and rich entrees. For our last visit, we ended up ordering the same two app’s we did in previous year – but did realize we did until we tasted them and the memories flooded back. For our Entree, we went with the Organic Statler Chicken Breast, dressed in herbed lemon and sage with a roasted shallot au jus, piled high over a sinfully good smoked gouda corn bread pudding and grilled broccolini. Like with the apps, I ordered for the nights specials menu and selected the Lobster Fra Diavolo. Rich and spicy this plate is not for those with sensitive tummy’s with i’s complex spices, sauce and cooked lobster.

Jimmy’s HideAway

179 Commercial  St. Provincetown, MA. 02657

Reservations recommended 508 487-1011

on Facebook, or visit them on the web: www.jimmyshideaway.com


It’s happening again! #Ptown24

I got a chance to participate in this last year and I have to say it was really a lot of fun. Seeing other folks images that had been in similar places over the course of day, taken over different times and angles.

It really resonates with the diversity and history that Provincetown offers and how we all saw things differently, but when packaged together for those 24 hours create a cohesive story.

Any of you local peeps or those of you planning to be on vacation in town August 24th think about taking part #PTown24 . It’s really easy to participate and you help build a part of local history as well as capture moments in time.
Share the word

Sponsored by Provincetown Community Television and LIPTV, special thanks to the #Ptown24 folks whose contributions appear in this video!